GS - 4th Gen (2013-2020) Discussion about the 2013 and up GS models

Illuminated door sills installed!

Thread Tools
 
Search this Thread
 
Old 10-07-16, 12:51 AM
  #16  
avs20
Driver
Thread Starter
iTrader: (2)
 
avs20's Avatar
 
Join Date: May 2013
Location: TX
Posts: 198
Likes: 0
Received 20 Likes on 11 Posts
Default

I don't have a pic, but it's the light that shines on the floor by the pedals. It is mounted in the lower panel under the steering wheel.
Old 10-07-16, 10:25 AM
  #17  
Staggered3
Pole Position
 
Staggered3's Avatar
 
Join Date: Sep 2013
Location: TX
Posts: 315
Received 18 Likes on 15 Posts
Default

I really wish Lexus would make this for all four doors and just make it standard.
Old 10-08-16, 12:20 PM
  #18  
DallasDave
Lead Lap
iTrader: (1)
 
DallasDave's Avatar
 
Join Date: May 2016
Location: TX
Posts: 626
Received 119 Likes on 73 Posts
Default

Hey, this was pretty easy to do after all. I'm not sure where the confusion is, but it only took me about fifteen minutes per side (and that was taking photos along the way). As mentioned in this thread, I tapped into the footwell lights on each side.

There are three phillips screws that need to be removed to drop the panel under the dash on the driver's side. Once the screws are out, the panel falls away easily.


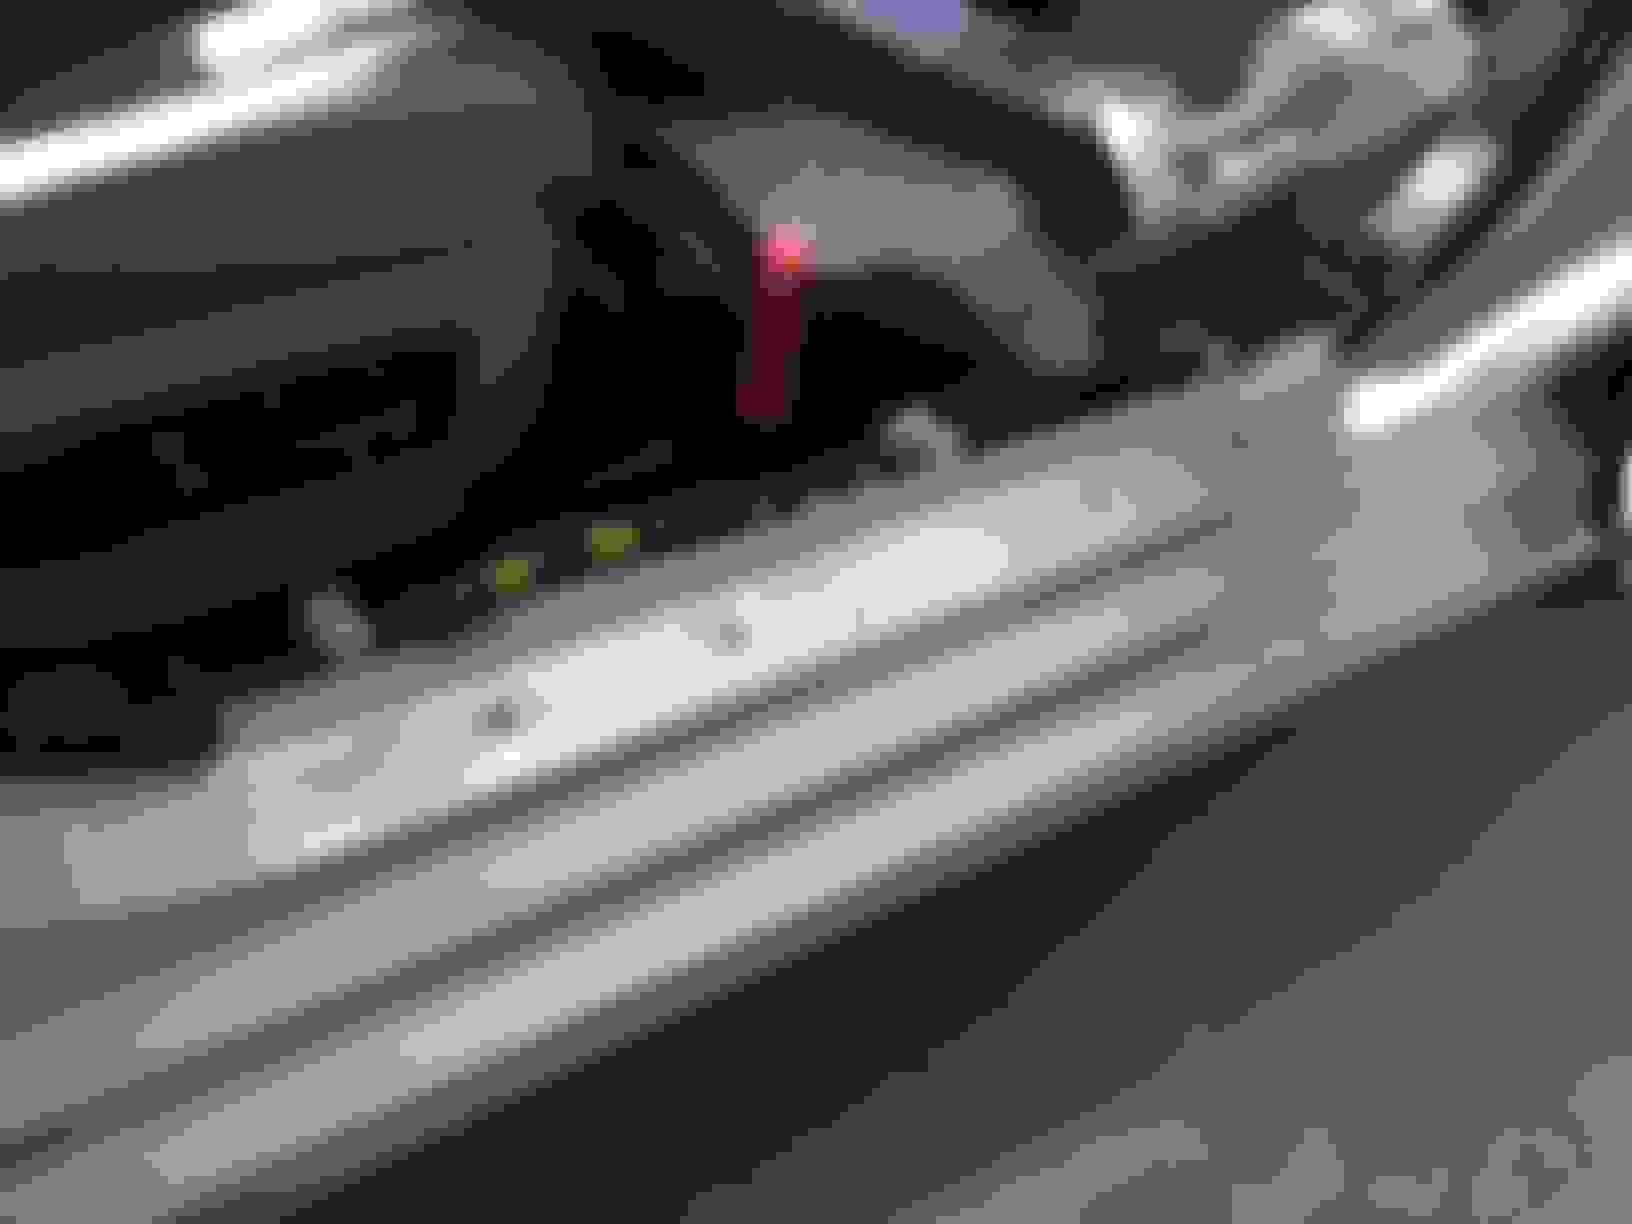
Once exposed, look for the two wires that connect to the foot-well bulb (reddish and blue):


Those will be the wires you use to connect the illuminated door sills.

Last edited by DallasDave; 06-19-17 at 01:37 PM.
The following 5 users liked this post by DallasDave:
LatinLS430 (01-31-17), NickMayer (10-25-19), Patrick4GS (12-06-16), phins2rt (01-31-17), psinsyd (04-05-18)
Old 10-08-16, 12:26 PM
  #19  
DallasDave
Lead Lap
iTrader: (1)
 
DallasDave's Avatar
 
Join Date: May 2016
Location: TX
Posts: 626
Received 119 Likes on 73 Posts
Default

Don't connect the wires just yet, you need to run the door sill wiring loom. Remove the old door sill. I used the new one to easily locate where the snap-mounts were located. With a pry bar and/or panel tool, the old sill just pops out.

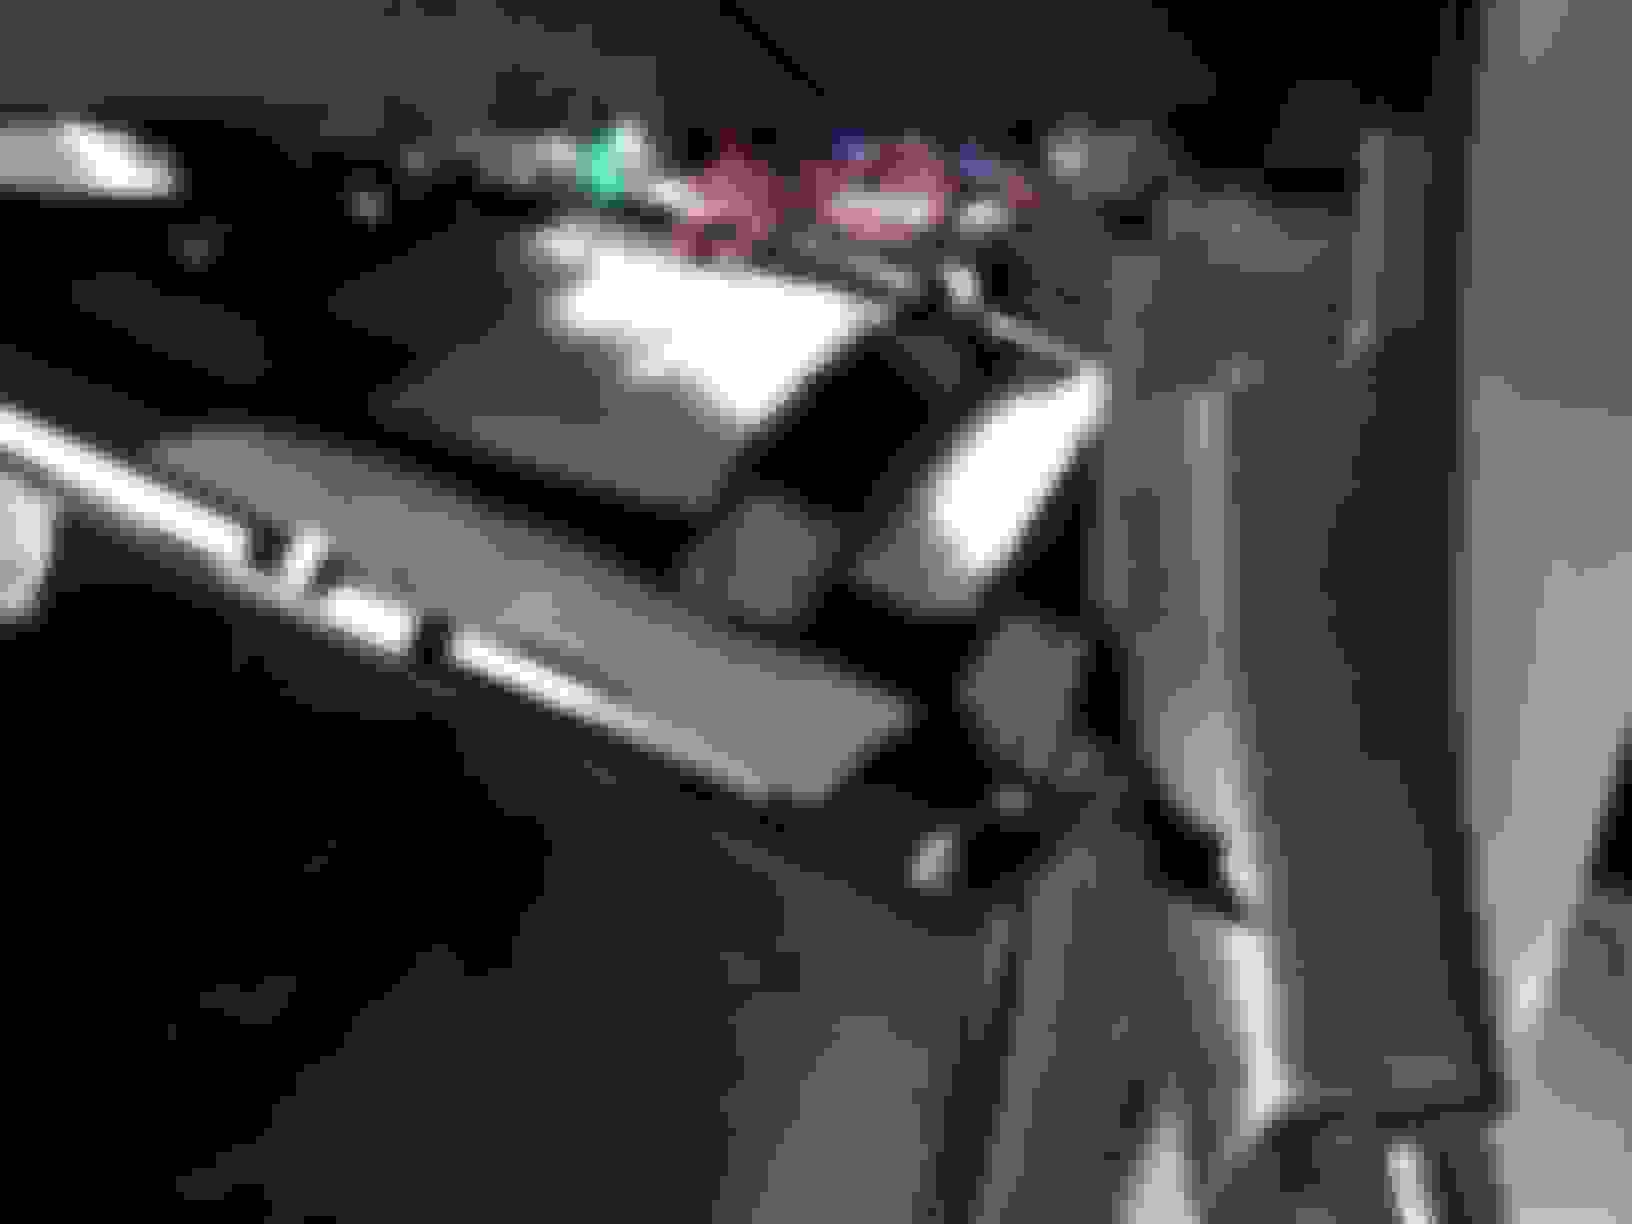
You'll see that the rocker panel was also moved out of the way to make routing the sill wiring a simpler task:


Once the cable is routed correctly, use the included wiring splitters:


Tidy things up (the kit includes zip ties), optimize the cable path, reinstall the rocker panel and molding...then snap the new illuminated door sill in place.


Last edited by DallasDave; 10-08-16 at 12:42 PM.
Old 10-08-16, 12:31 PM
  #20  
DallasDave
Lead Lap
iTrader: (1)
 
DallasDave's Avatar
 
Join Date: May 2016
Location: TX
Posts: 626
Received 119 Likes on 73 Posts
Default

The passenger side was even easier, as there are no screws. Pry the old sill out using the same method as before:


As before, the rocker molding pops off and makes routing the new door sill wiring a breeze;


The passenger side panel snaps away from the underside of the dash (no brute force needed):


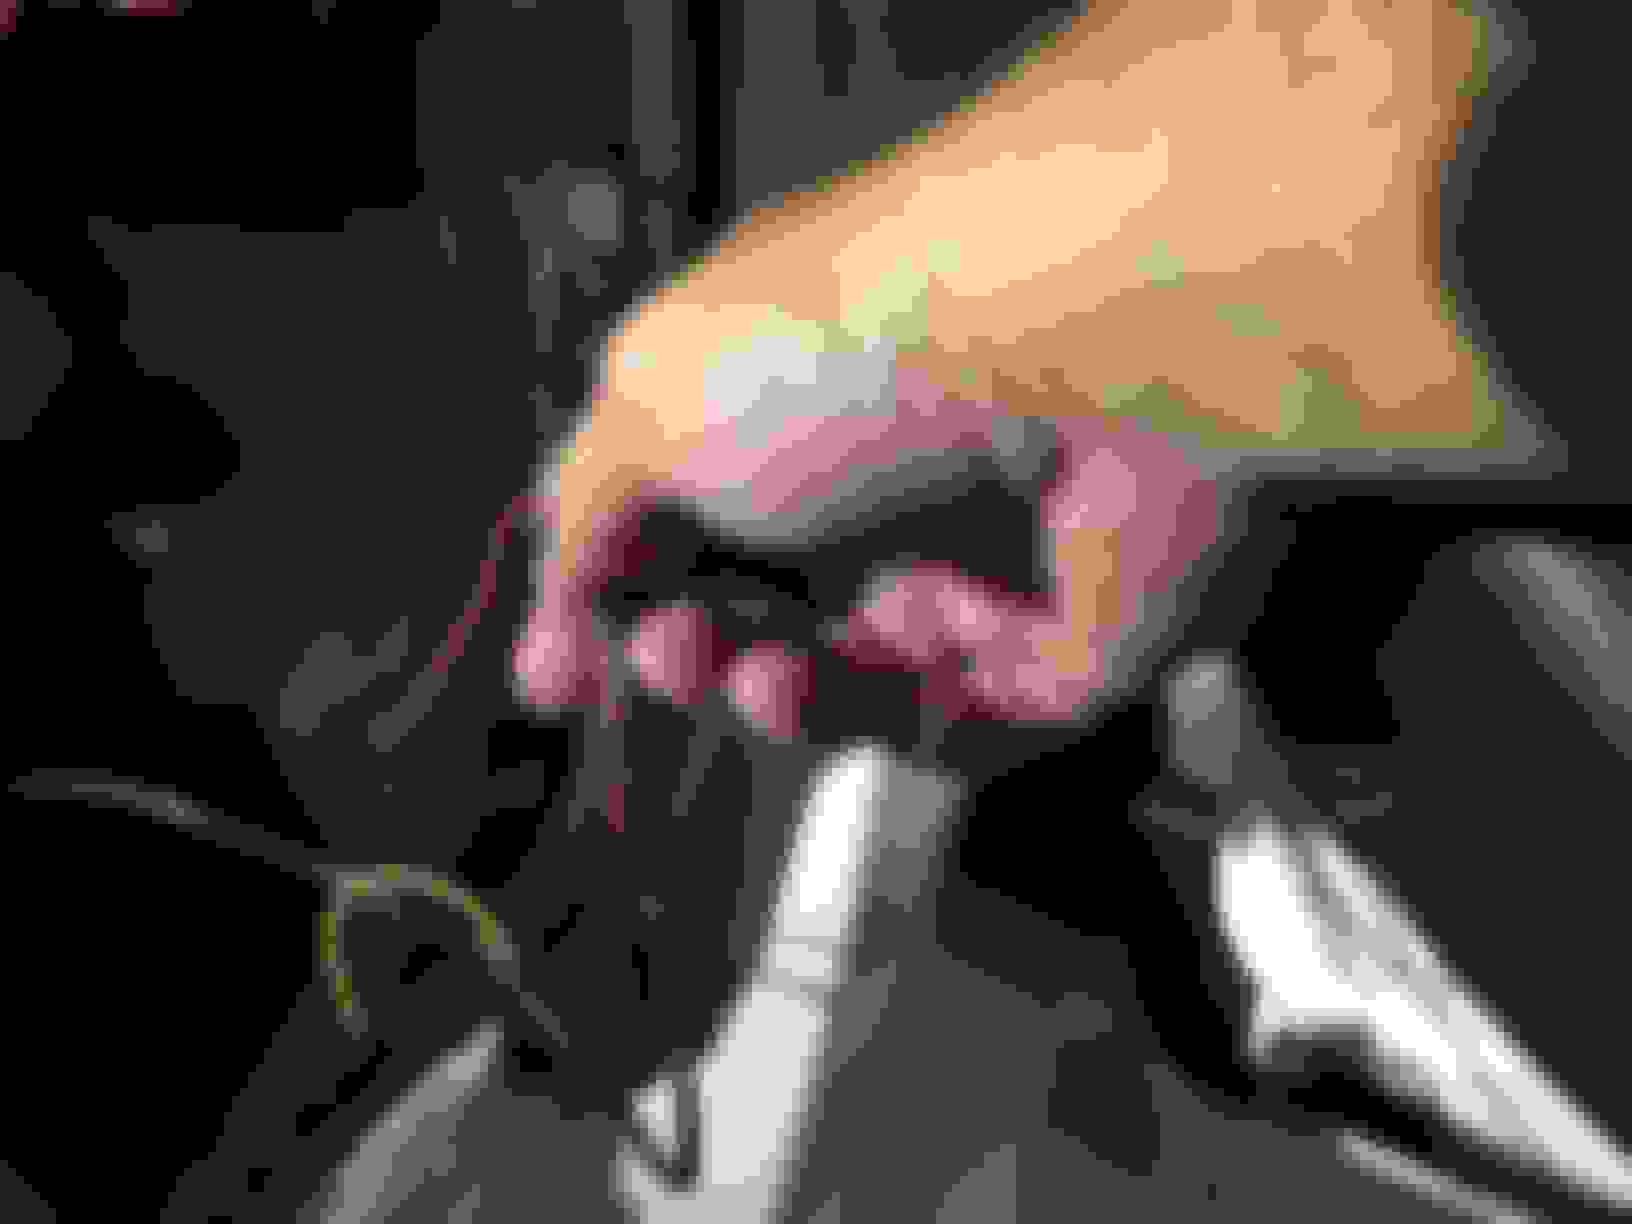
Locate the foot well light, that's your target power source. I removed the housing from the panel in order to make the new wiring connection a simpler task:
Old 10-08-16, 12:37 PM
  #21  
DallasDave
Lead Lap
iTrader: (1)
 
DallasDave's Avatar
 
Join Date: May 2016
Location: TX
Posts: 626
Received 119 Likes on 73 Posts
Default

Here's the foot well light's housing removed from the panel:


Now route the new door sill wiring:


Tap into the wiring like the driver's side and tidy up the cables:


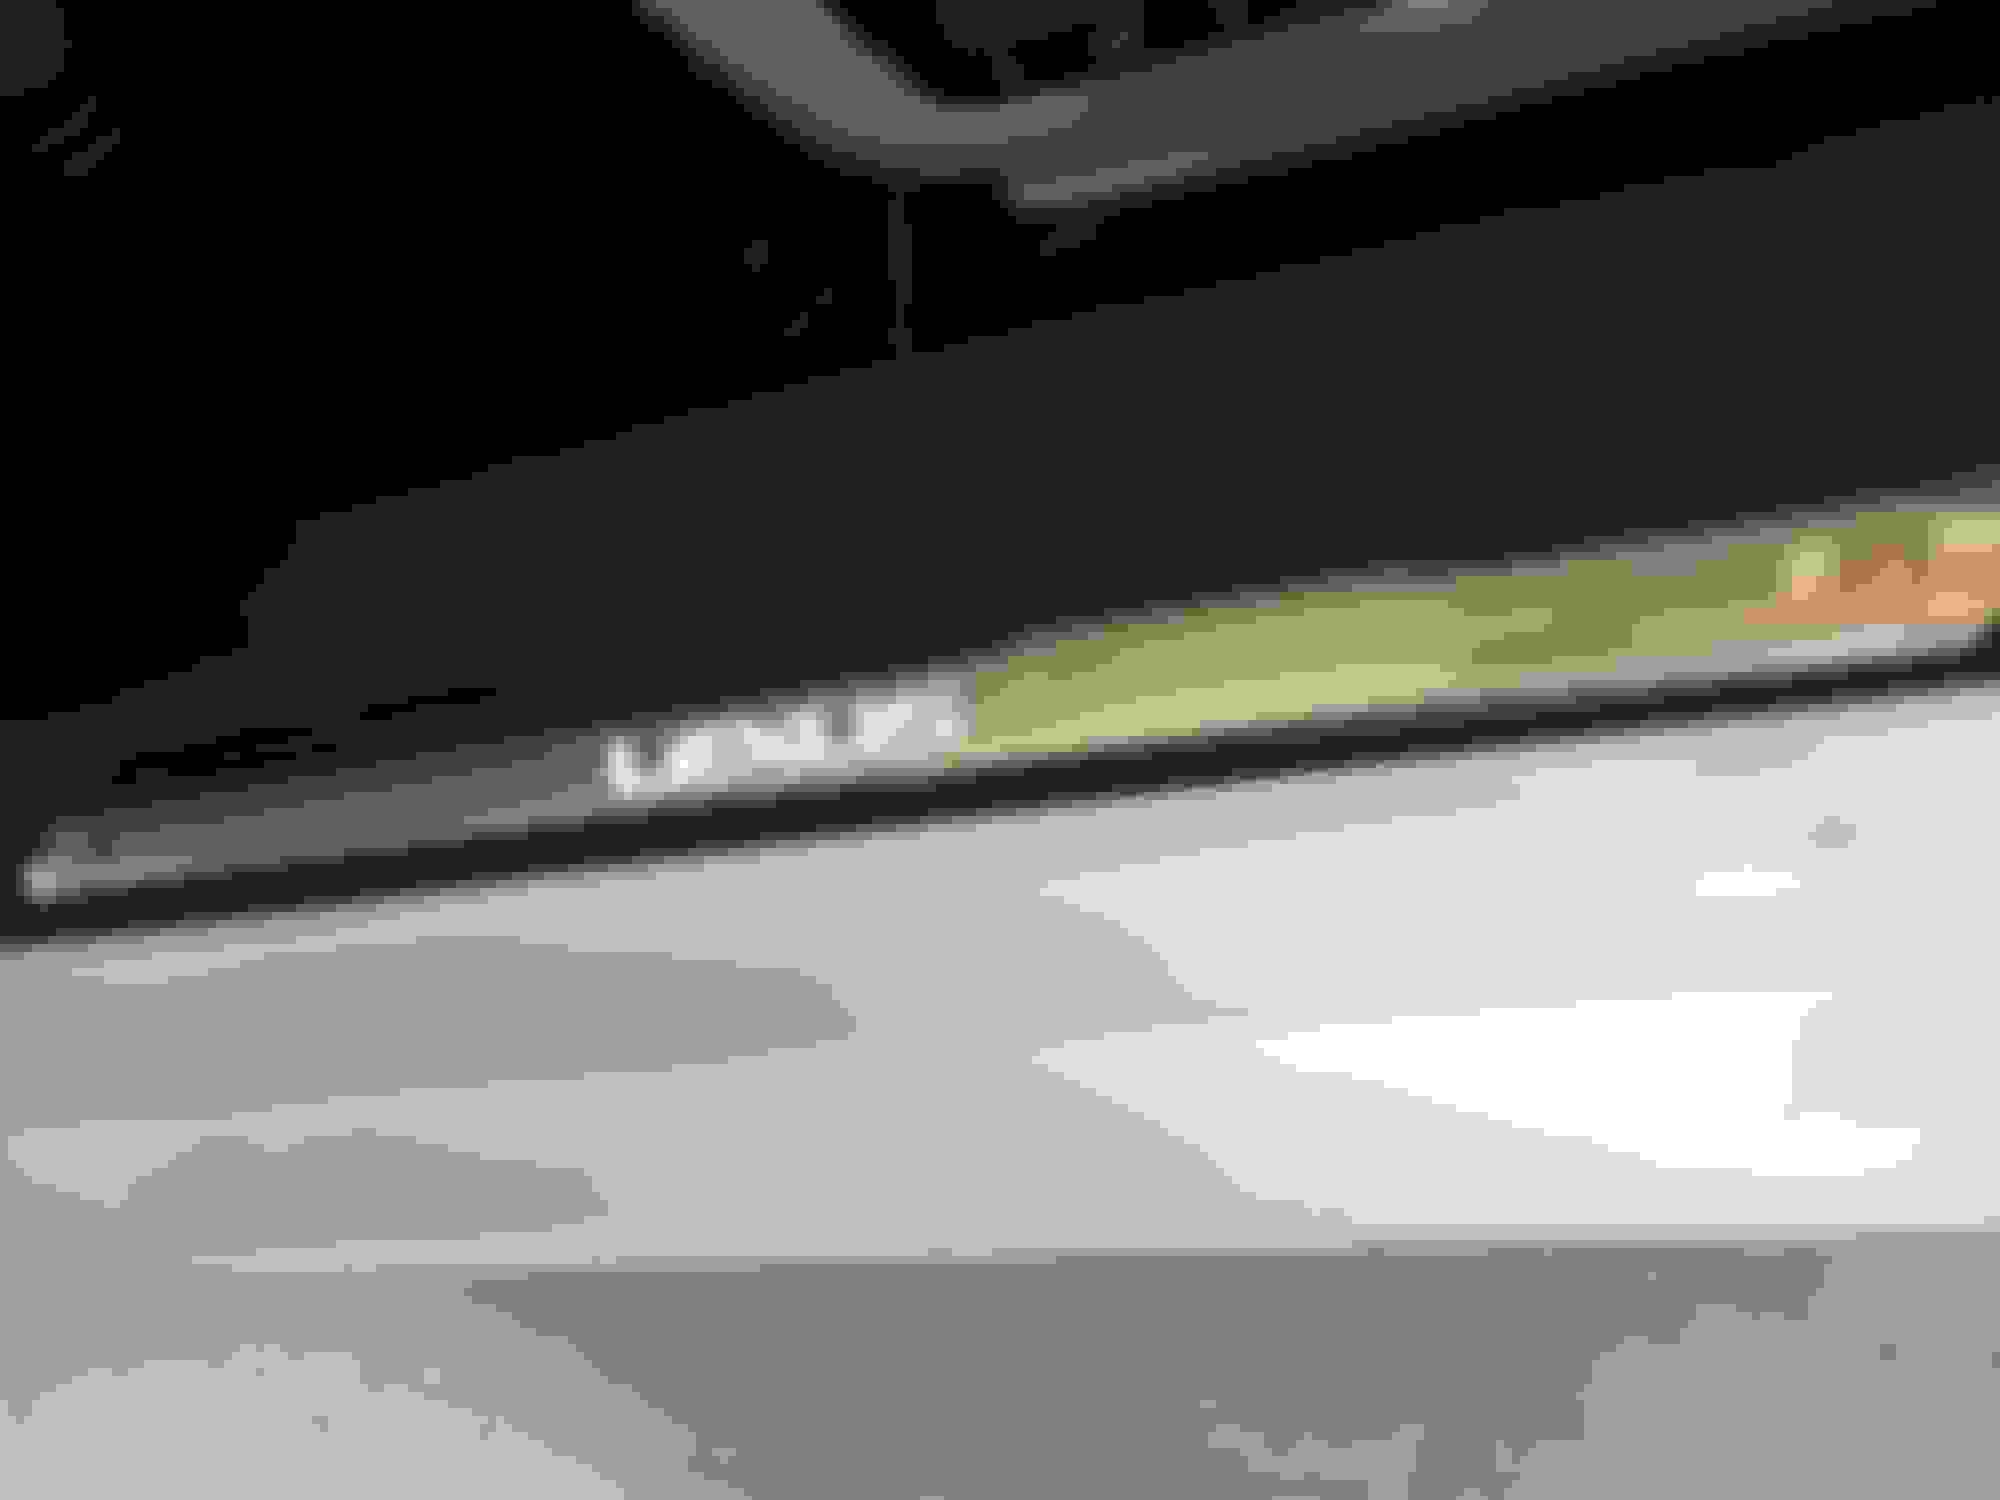
The pictures don't really do the new sills any justice. They look much better in person:


I also did the rear sills, but didn't take any pictures. Just snap the old ones off, and snap the new ones in place. Okay, it was a little difficult to get things lined up perfectly, but still very straightforward.


I swear it only took this long to complete...
Old 10-08-16, 12:40 PM
  #22  
DallasDave
Lead Lap
iTrader: (1)
 
DallasDave's Avatar
 
Join Date: May 2016
Location: TX
Posts: 626
Received 119 Likes on 73 Posts
Default

They look very good during the daytime too.


I'm still very confused why there wouldn't be an option for the rears. BTW, the night time photos make the lighting look a little blurry, that's not the case in-person.

AND, I was concerned about using the footwell light as a power source since the light will stay on while driving. I think it's perfectly fine. When the doors are opened, I like the way the sills glow then get brighter (just like the dome/foot well lights do). It's a nice side effect, if you pay close attention.
The following users liked this post:
NickMayer (10-25-19)
Old 10-08-16, 02:42 PM
  #23  
Im2bz2p345
Instructor
 
Im2bz2p345's Avatar
 
Join Date: Nov 2013
Location: TX
Posts: 980
Received 208 Likes on 142 Posts
Default

Originally Posted by DallasDave
Hey, this was pretty easy to do after all. I'm not sure where the confusion is, but it only took me about fifteen minutes per side (and that was taking photos along the way). As mentioned in this thread, I tapped into the footwell lights on each side.
Awesome posts DallasDave and thanks for the quick DIY pics!

I may have to tackle this one of these days or if I'm ever in the Dallas area, I may have to contact you to make this easier

Where is the best place to get the illuminated door sills kit (that comes with everything you need)?

~ Im2bz2p345
Old 10-08-16, 03:20 PM
  #24  
DallasDave
Lead Lap
iTrader: (1)
 
DallasDave's Avatar
 
Join Date: May 2016
Location: TX
Posts: 626
Received 119 Likes on 73 Posts
Default

The local Dealer wanted just over $400. eBay (it was a Lexus Dealer anyway) was $244 plus shipping.

http://www.ebay.com/itm/LEXUS-OEM-FA...lXvylG&vxp=mtr

This is who I ordered from. BTW, there was NO instructions in the box. Lol, that's probably why I was able to install them so quickly!
The following users liked this post:
NickMayer (10-25-19)
Old 10-08-16, 07:42 PM
  #25  
avs20
Driver
Thread Starter
iTrader: (2)
 
avs20's Avatar
 
Join Date: May 2013
Location: TX
Posts: 198
Likes: 0
Received 20 Likes on 11 Posts
Default

Glad you got them installed! I think people just make things more difficult than they need to be...probably the easiest mod I've done to this car..
Old 10-10-16, 12:53 PM
  #26  
frotiss
Lead Lap
 
frotiss's Avatar
 
Join Date: Oct 2003
Location: New York
Posts: 510
Likes: 0
Received 2 Likes on 2 Posts
Default

Thanks for the great post did you Tap the wire to the foot light in the rear.
Old 10-10-16, 02:52 PM
  #27  
trinhchau
Driver School Candidate
 
trinhchau's Avatar
 
Join Date: May 2009
Location: california
Posts: 48
Received 1 Like on 1 Post
Default

Thank for the instruction
Old 10-10-16, 04:54 PM
  #28  
DallasDave
Lead Lap
iTrader: (1)
 
DallasDave's Avatar
 
Join Date: May 2016
Location: TX
Posts: 626
Received 119 Likes on 73 Posts
Default

Originally Posted by frotiss
Thanks for the great post did you Tap the wire to the foot light in the rear.
Nope, the rear sills are NOT illuminated...just a different sized font for the word LEXUS
Old 10-17-16, 09:56 PM
  #29  
murdoc
Driver School Candidate
 
murdoc's Avatar
 
Join Date: Oct 2016
Location: Ca
Posts: 37
Likes: 0
Received 2 Likes on 1 Post
Default

Nice work! Thanks for sharing those pics and the link to the ebay sale. 244 for OEM, shoot... sounds like a deal to me! I might just have to do this!
Old 12-04-16, 09:14 AM
  #30  
capese21
Driver School Candidate
 
capese21's Avatar
 
Join Date: Apr 2015
Location: Warwickshire UK
Posts: 10
Likes: 0
Received 2 Likes on 2 Posts
Default Excellent

Many Thanks for this guide. It was perfect and took around 40 minutes to do both sides. The Lexus instructions are 25 pages!! Not sure why they say to remove the centre console trim it is not necessary. These are an expensive option here in the uk maybe they make it look complicated to justify the cost!!

Thanks again

Ed


Quick Reply: Illuminated door sills installed!


All times are GMT -7. The time now is 04:20 PM.