Where Have you Mounted Your Radar Detector!


 01-19-13, 01:42 PM
#32
Driver School Candidate

Just finished installing my Escort 9500 I got the smart wire kit and hardwired it into the rain sensor wires and ground it into roof console using a 10mm bolt. Ran my wires underneath the headliner and routed the wires down my A Pillar down through out the dash and my mute button and status light is mounted by my parking brake
Ill take pics for anyone who needs it.
Ill take pics for anyone who needs it.
01-19-13, 06:35 PM
#33
Driver School Candidate
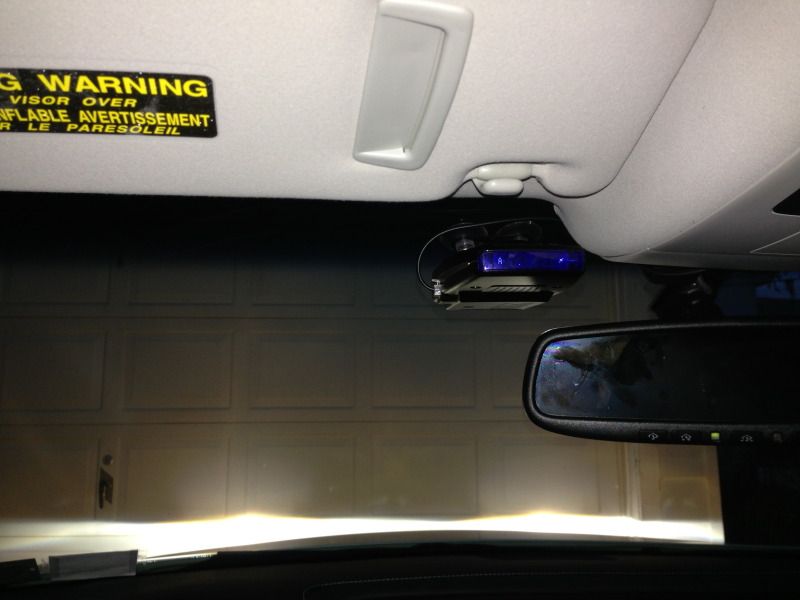
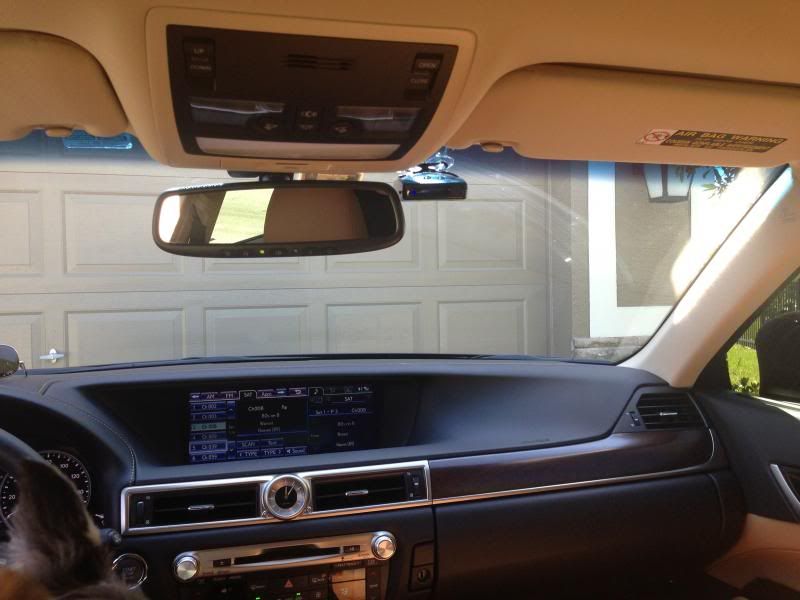
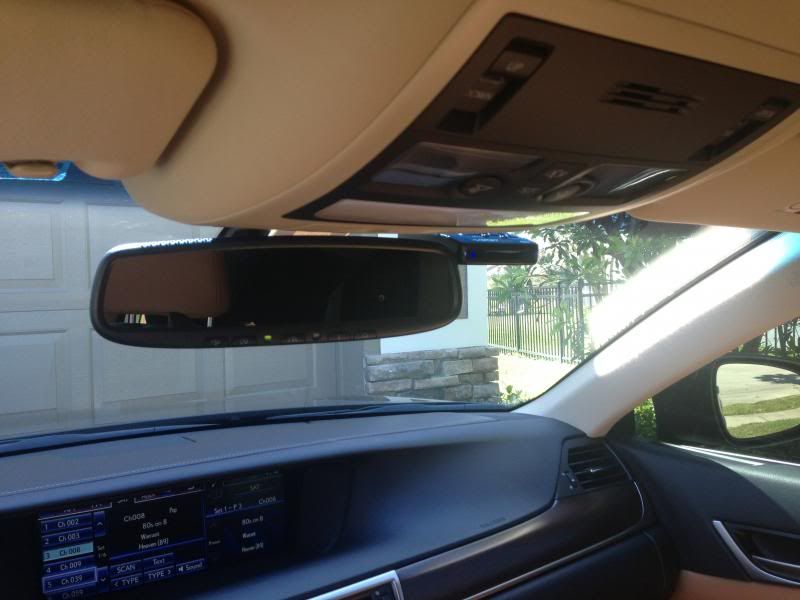
Not the best pics since the sun was coming down but here is how i installed mine
Then i ran the wires underneath the headliner and behind the A pillar molding where the side air bag is continuing down behind the weather stripping and then behind the driver side kick
panel.
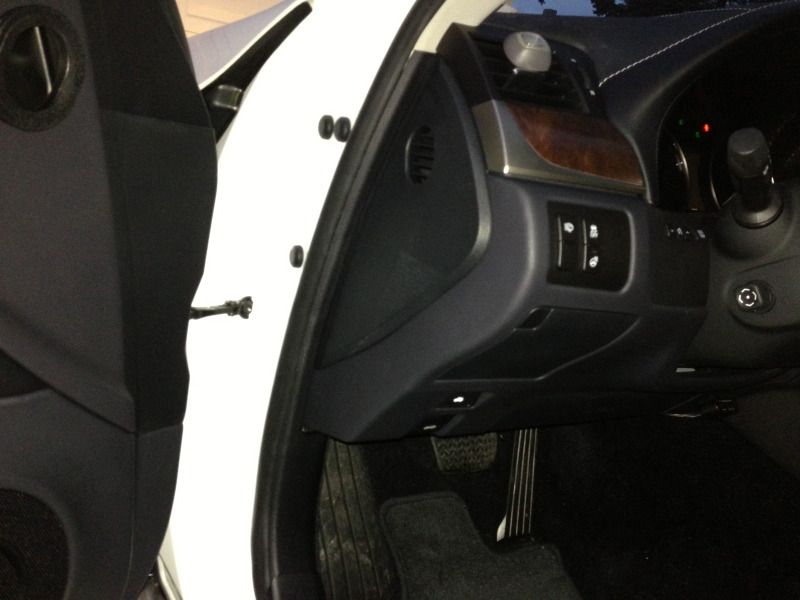
The wires now run under the dash there should be a platic panel with 3 screws below the driver knee airbag thats where i tucked the wires and then mounted my smart cord display
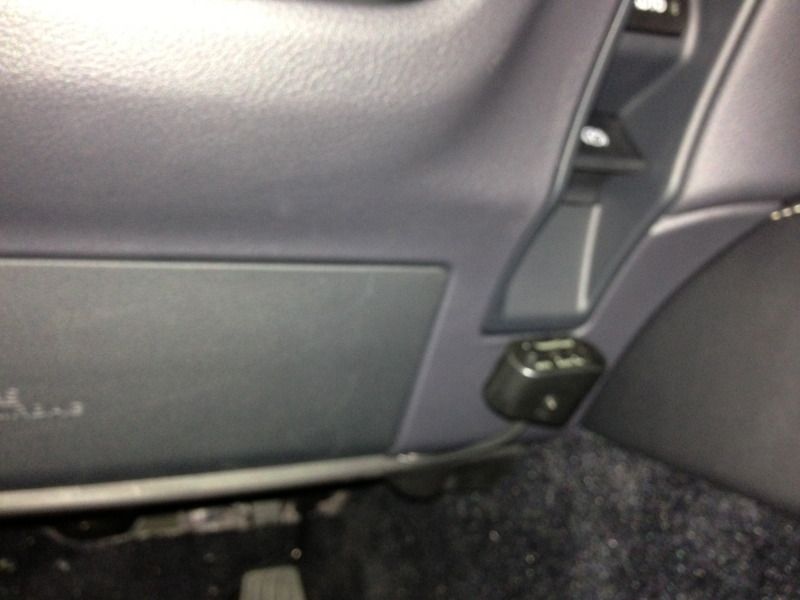
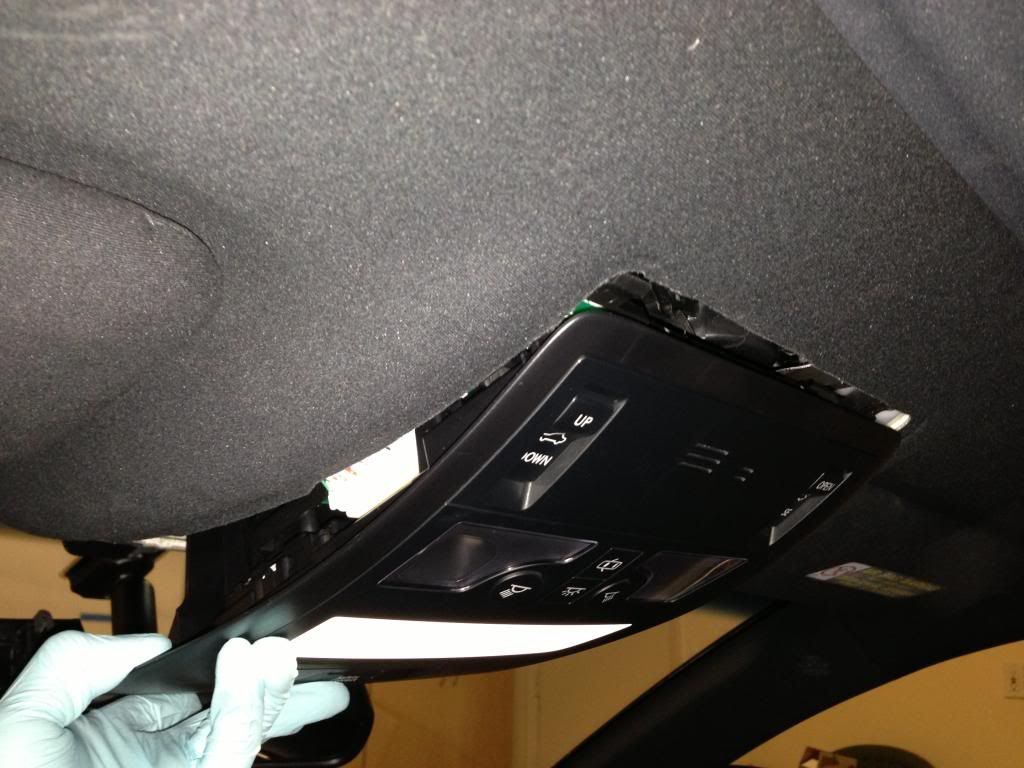
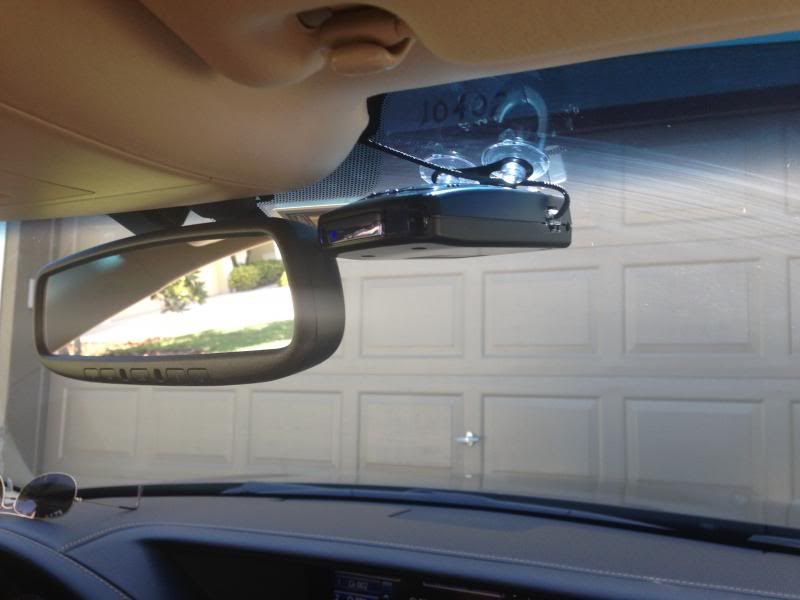
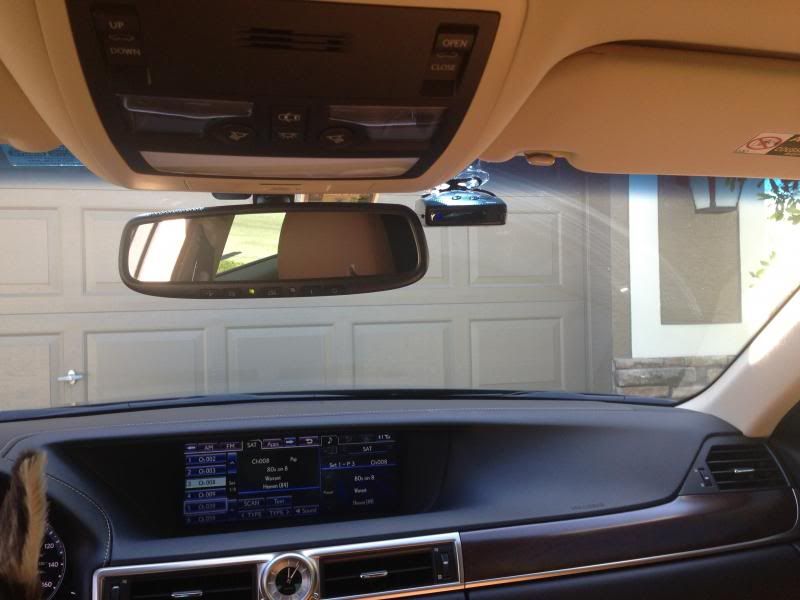
this is the finished product
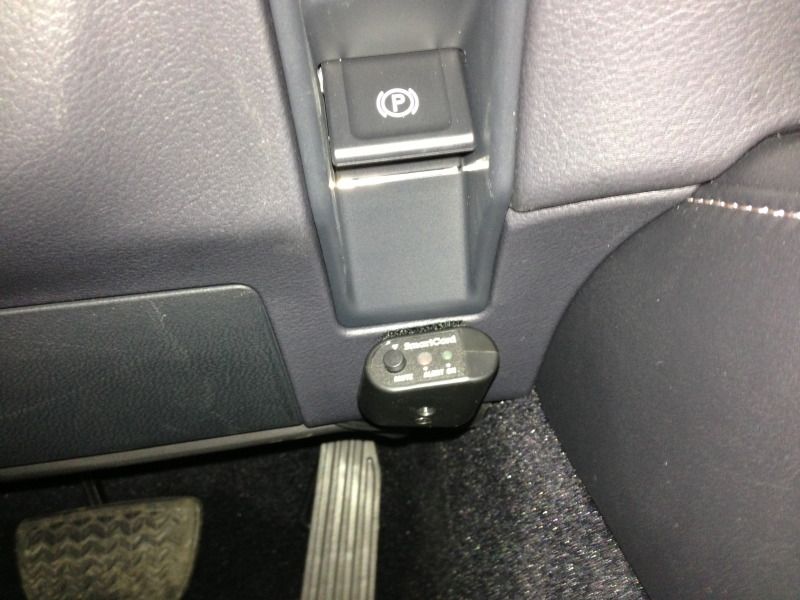
when the radar goes off i can simply reach down and press the mute button. the green status light does stay on but thats normal and when im driving i dont notice the light until i look down at the parking brake
Then i ran the wires underneath the headliner and behind the A pillar molding where the side air bag is continuing down behind the weather stripping and then behind the driver side kick
panel.
The wires now run under the dash there should be a platic panel with 3 screws below the driver knee airbag thats where i tucked the wires and then mounted my smart cord display
this is the finished product
when the radar goes off i can simply reach down and press the mute button. the green status light does stay on but thats normal and when im driving i dont notice the light until i look down at the parking brake
01-19-13, 10:15 PM
#34
Not the best pics since the sun was coming down but here is how i installed mine
Then i ran the wires underneath the headliner and behind the A pillar molding where the side air bag is continuing down behind the weather stripping and then behind the driver side kick
panel.
when the radar goes off i can simply reach down and press the mute button. the green status light does stay on but thats normal and when im driving i dont notice the light until i look down at the parking brake
Any tips for pulling off the overhead console to access rain sensor wires?
01-24-13, 01:31 PM
#35
Then get out your checkbook and hie to a stereo shop (most also sell radar detectors). Either buy a detector there or give them yours and tell them you want a Blendmount (mounted to mirror stalk) with concealed wiring. They will smile, take your money, and you will have a perfect install. OR...
Grow a set, pull the f*ng panel, use a voltmeter to find 12VDC and ground, tap it, run the power cord, install the mount, test everything, snap panel back, and smile. Your choice.
Grow a set, pull the f*ng panel, use a voltmeter to find 12VDC and ground, tap it, run the power cord, install the mount, test everything, snap panel back, and smile. Your choice.
 Sorry about the background, took this in a parking lot during lunch.
Last edited by DaVeyBoyTX; 01-24-13 at 01:35 PM.
01-24-13, 02:09 PM
#36

As williakz said previously, start at the windshield and work your way back. You need to be firm but gentle because that trim panel is tougher that it looks like it is. You might notice a little bit of flex because the panel around the SOS button is a separate panel connected to the overhead console panel but it still comes off in one piece. Don't let the flexing bother you too much though as the whole thing comes off eventually.
01-24-13, 02:44 PM
#37

Good luck.
01-25-13, 11:07 PM
#38
Just hardwire mine. Thanks everyone for all your help. I've added a few more pictures in case you're still afraid to do it.
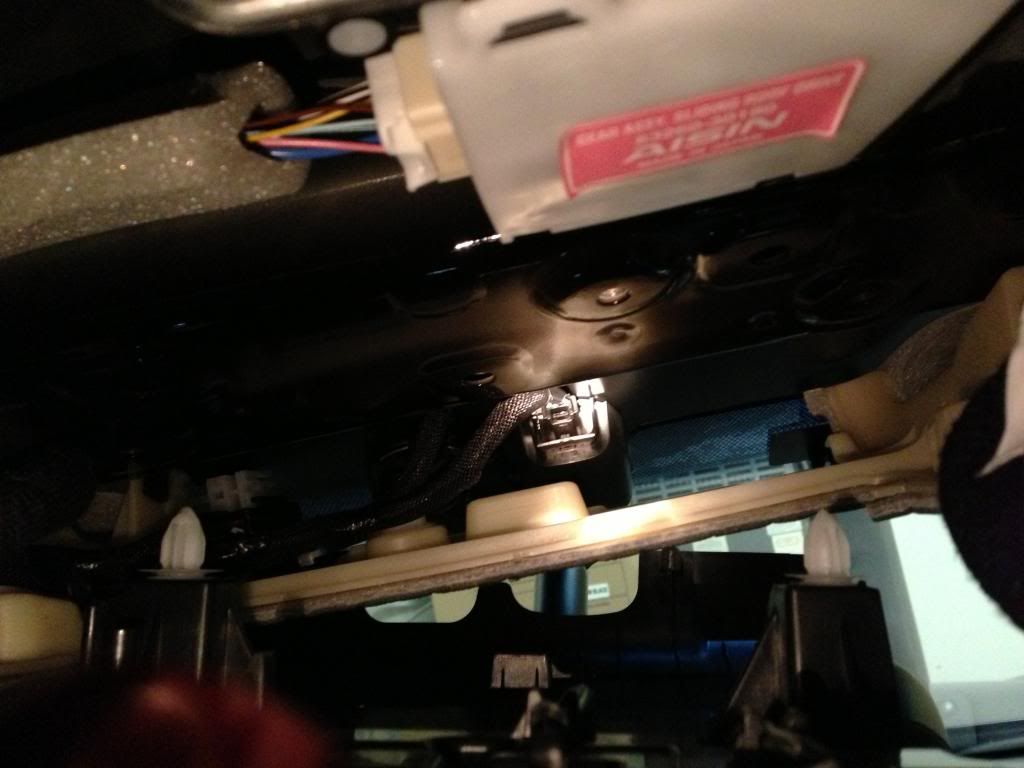
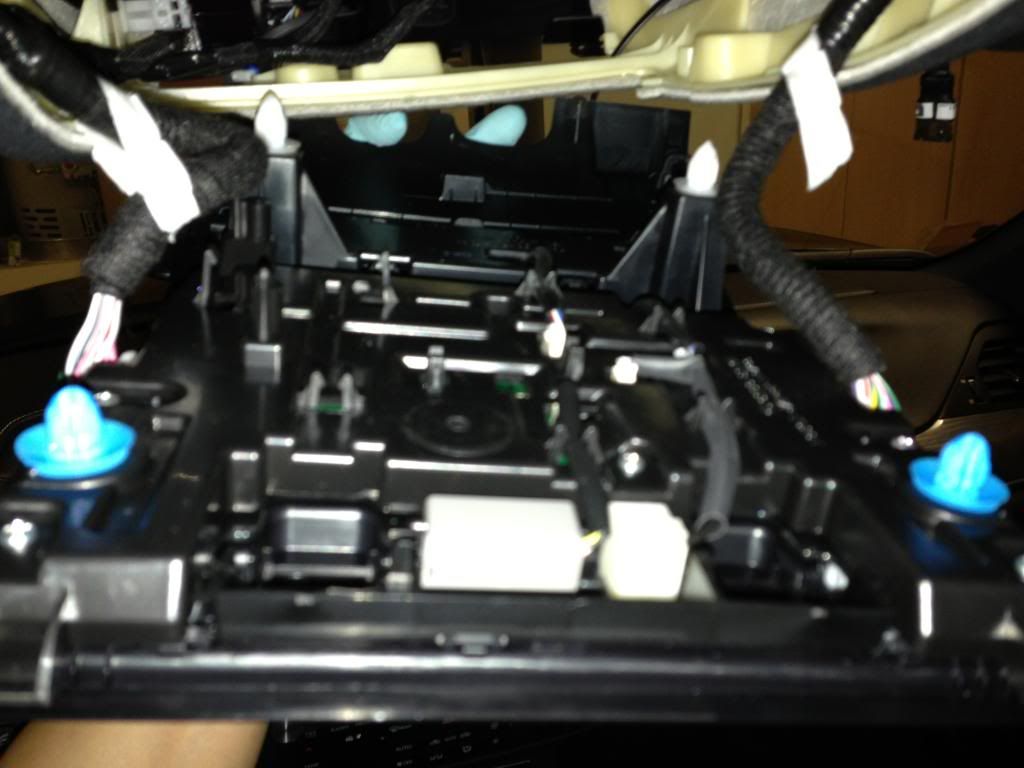
Turns out you don't need to pull as hard as I thought you would. As others have said, start at front of car and headliner, gentle pull to pop first part of panel out. Then use your finger and slowly pull both sides of panel by running your fingers between panel and roof of car. The panel will gently pop out. Also I didn't remove any harness except the rain sensor (white/pink/green). Ground wire (black) on mirror tap goes to (white) wire on sensor and (red) wire on mirror tap goes to (pink) wire on sensor.
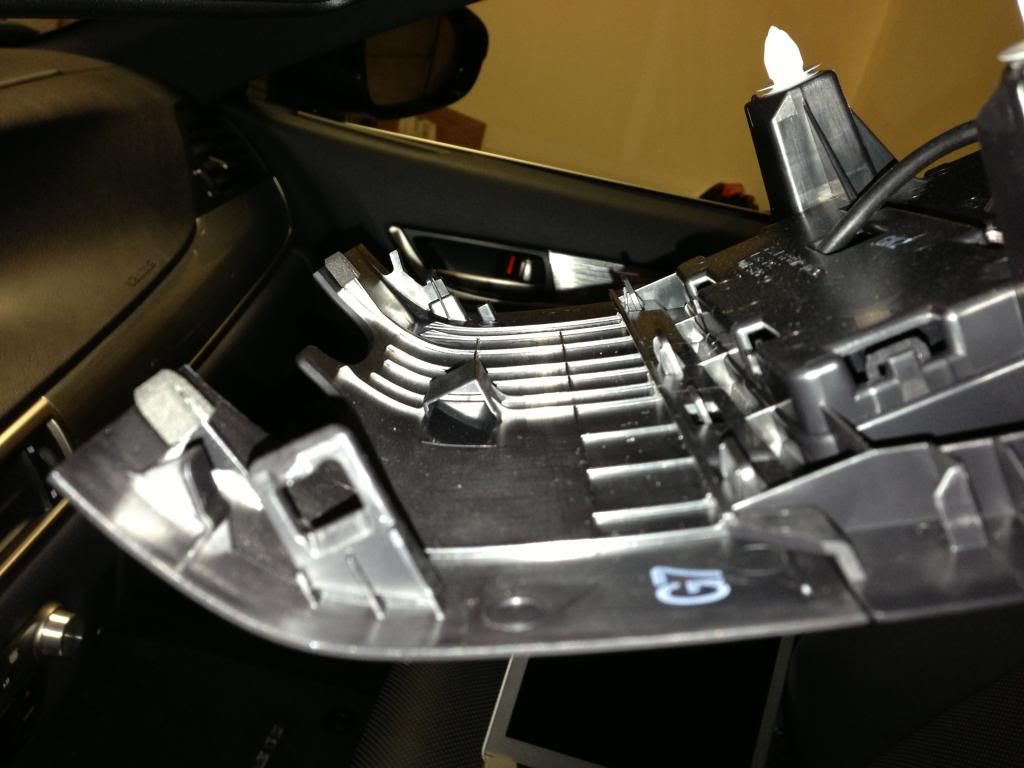
Took me a little longer to put the pieces together, namely the rear part of the panel. Also when putting back the front end of the panel do the front passenger side first by bending and inserting one of the tabs in. Don't just put it straight up you might damage one of the tabs. Once the passenger side is inserted you can bend/ curve the driver side in.
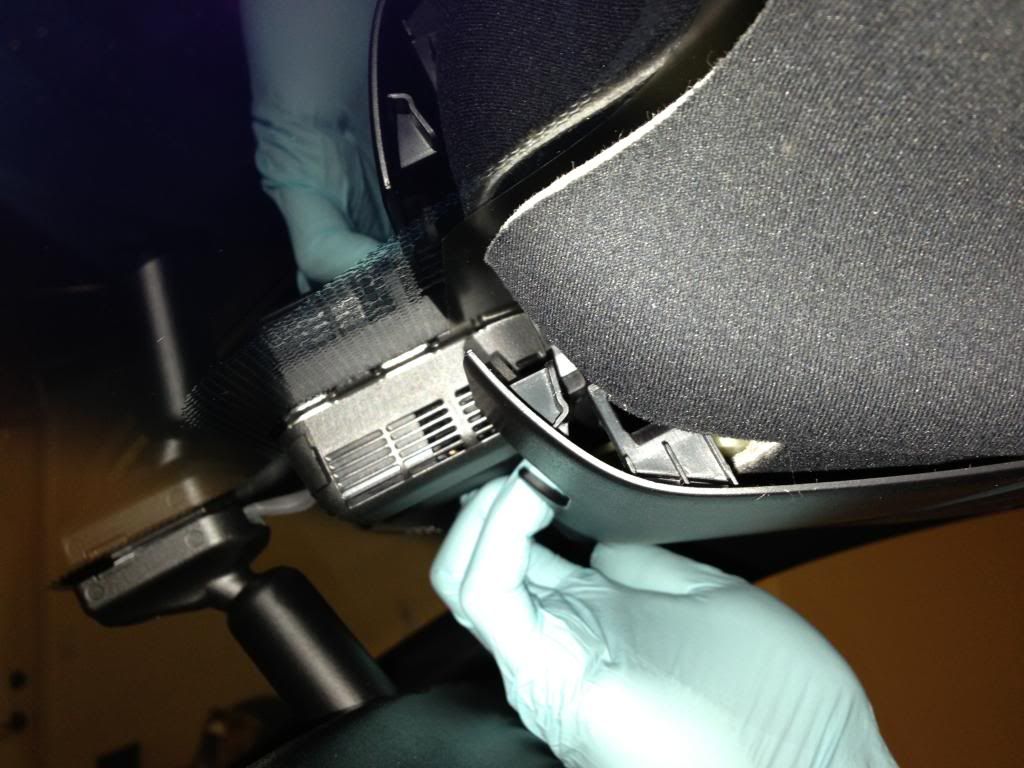
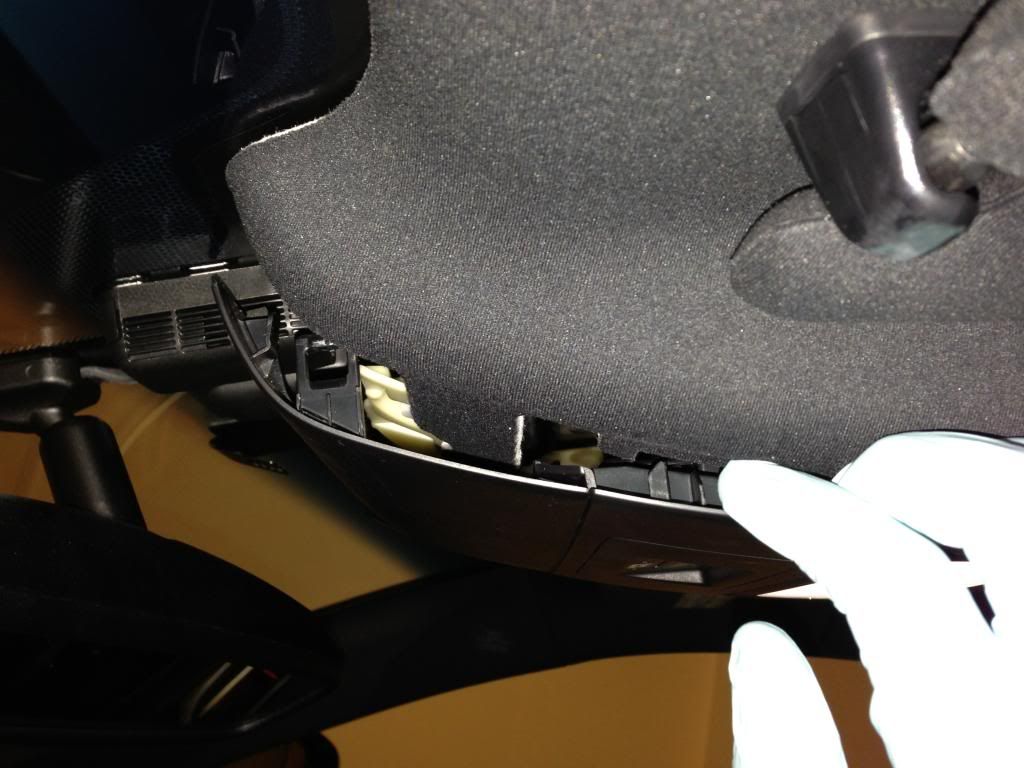
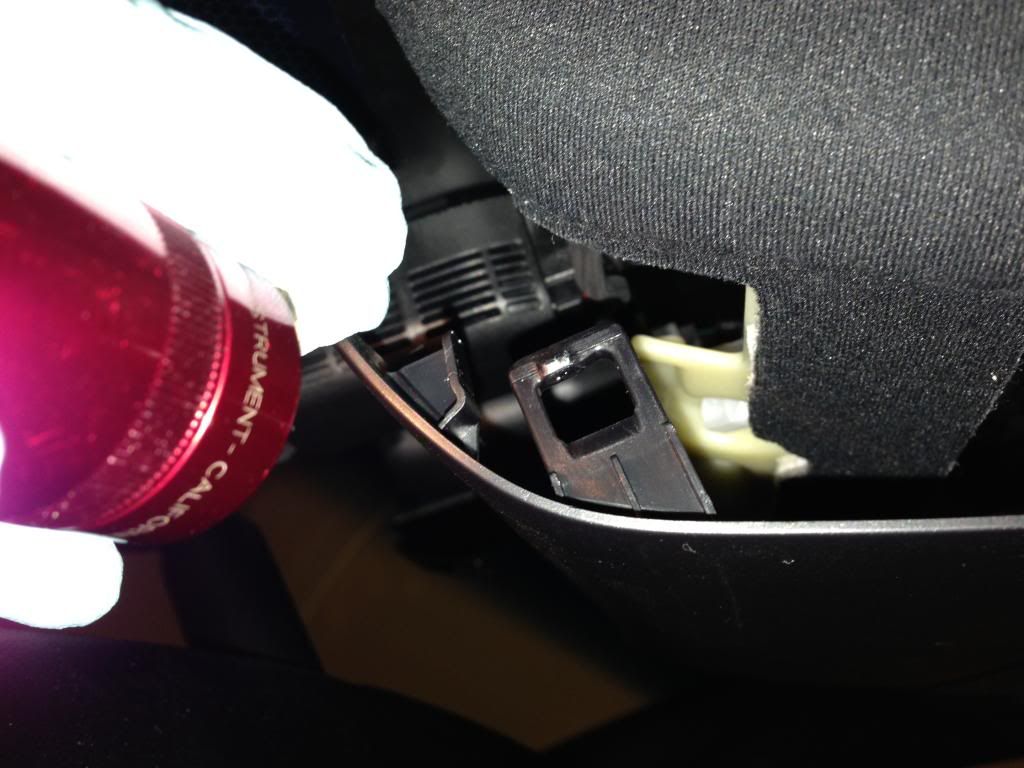

Turns out you don't need to pull as hard as I thought you would. As others have said, start at front of car and headliner, gentle pull to pop first part of panel out. Then use your finger and slowly pull both sides of panel by running your fingers between panel and roof of car. The panel will gently pop out. Also I didn't remove any harness except the rain sensor (white/pink/green). Ground wire (black) on mirror tap goes to (white) wire on sensor and (red) wire on mirror tap goes to (pink) wire on sensor.
Took me a little longer to put the pieces together, namely the rear part of the panel. Also when putting back the front end of the panel do the front passenger side first by bending and inserting one of the tabs in. Don't just put it straight up you might damage one of the tabs. Once the passenger side is inserted you can bend/ curve the driver side in.
The following 2 users liked this post by mso4:
Im2bz2p345 (03-25-21),
January8 (03-25-21)
03-25-13, 05:34 AM
#39
Driver School Candidate
Join Date: Mar 2013
Location: FL
Posts: 5
Likes: 0
Received 0 Likes
on
0 Posts
[QUOTE=mso4;7726444]Just hardwire mine. Thanks everyone for all your help. I've added a few more pictures in case you're still afraid to do it.
Turns out you don't need to pull as hard as I thought you would. As others have said, start at front of car and headliner, gentle pull to pop first part of panel out. Then use your finger and slowly pull both sides of panel by running your fingers between panel and roof of car. The panel will gently pop out. Also I didn't remove any harness except the rain sensor (white/pink/green). Ground wire (black) on mirror tap goes to (white) wire on sensor and (red) wire on mirror tap goes to (pink) wire on sensor.
Took me a little longer to put the pieces together, namely the rear part of the panel. Also when putting back the front end of the panel do the front passenger side first by bending and inserting one of the tabs in. Don't just put it straight up you might damage one of the tabs. Once the passenger side is inserted you can bend/ curve the driver side in.
QUOTE]
Thaks for the roadmap mso4! I completed my own DIY over the weekend, using the mirrortap cable and tapping into the rain sensor, same as others have done. When all was said and done, this was MUCH easier than I anticipated, EXCEPT the following:
Using mso4's advice, worked on re-installng the overhead panel from back to front. When I got to the front (the piece of the panel closest to the windshield), I could not get the passenger side curved piece to snugly re-install no matter what I did. I literally must have had to take the overhead panel on and off (i.e. backing up and pulling the two panel mid-clips out again so I had more room to work with) about 10 times. In fact I got so frustrated, I took a break and went inside for bit, as you really do have to be careful or you wll snap off the little platic piece on the passenger side.
After the break, came back out, tried it two more times, and on the second time I have no idea what I did,I think I maybe bent it more than usual to try and fit back in place, but it installed perfectly and was done! The job should really only take 15 minutes, but I think I spent an extra 15 minutes trying to get that last part done. I still have no idea exactly what or how I did it any different than the previous 20 times.. but mission accomplished and it looks great!
Last edited by Lexus4EVR; 03-25-13 at 05:37 AM.
03-25-13, 06:39 AM
#40
Just hardwire mine. Thanks everyone for all your help. I've added a few more pictures in case you're still afraid to do it.
Turns out you don't need to pull as hard as I thought you would. As others have said, start at front of car and headliner, gentle pull to pop first part of panel out. Then use your finger and slowly pull both sides of panel by running your fingers between panel and roof of car. The panel will gently pop out. Also I didn't remove any harness except the rain sensor (white/pink/green). Ground wire (black) on mirror tap goes to (white) wire on sensor and (red) wire on mirror tap goes to (pink) wire on sensor.
Took me a little longer to put the pieces together, namely the rear part of the panel. Also when putting back the front end of the panel do the front passenger side first by bending and inserting one of the tabs in. Don't just put it straight up you might damage one of the tabs. Once the passenger side is inserted you can bend/ curve the driver side in.
03-25-13, 10:34 PM
#41
Thaks for the roadmap mso4! I completed my own DIY over the weekend, using the mirrortap cable and tapping into the rain sensor, same as others have done. When all was said and done, this was MUCH easier than I anticipated, EXCEPT the following:
After the break, came back out, tried it two more times, and on the second time I have no idea what I did,I think I maybe bent it more than usual to try and fit back in place, but it installed perfectly and was done! The job should really only take 15 minutes, but I think I spent an extra 15 minutes trying to get that last part done. I still have no idea exactly what or how I did it any different than the previous 20 times.. but mission accomplished and it looks great!
After the break, came back out, tried it two more times, and on the second time I have no idea what I did,I think I maybe bent it more than usual to try and fit back in place, but it installed perfectly and was done! The job should really only take 15 minutes, but I think I spent an extra 15 minutes trying to get that last part done. I still have no idea exactly what or how I did it any different than the previous 20 times.. but mission accomplished and it looks great!
Thanks!
03-27-13, 10:49 AM
#42
Driver School Candidate
Join Date: Mar 2013
Location: FL
Posts: 5
Likes: 0
Received 0 Likes
on
0 Posts
Last edited by Lexus4EVR; 03-27-13 at 10:56 AM.
03-27-13, 11:55 AM
#43
They are in my eye-sockets, in Canada radar detectors are illegal. Polices services across the country actively police these devices, they have radar detector detectors. If you are planning on visiting Canada my advice is leave your device at home.
03-27-13, 04:53 PM
#44
Advice from a beginner. There are other ways...