When you click on links to various merchants on this site and make a purchase, this can result in this site earning a commission. Affiliate programs and affiliations include, but are not limited to, the eBay Partner Network.
Hey guys here's a DIY how to access the blower fan and the servo. Some of you may have broken the servo arm or need to just access the blower fan and here's a DIY for it. (I HAVE NOT BEEN ABLE TO FIX THE SERVO ARM SO IF SOMEONE HAS ANY INFO ON IT THEN PLZ ANY WOULD BE HELPFUL)
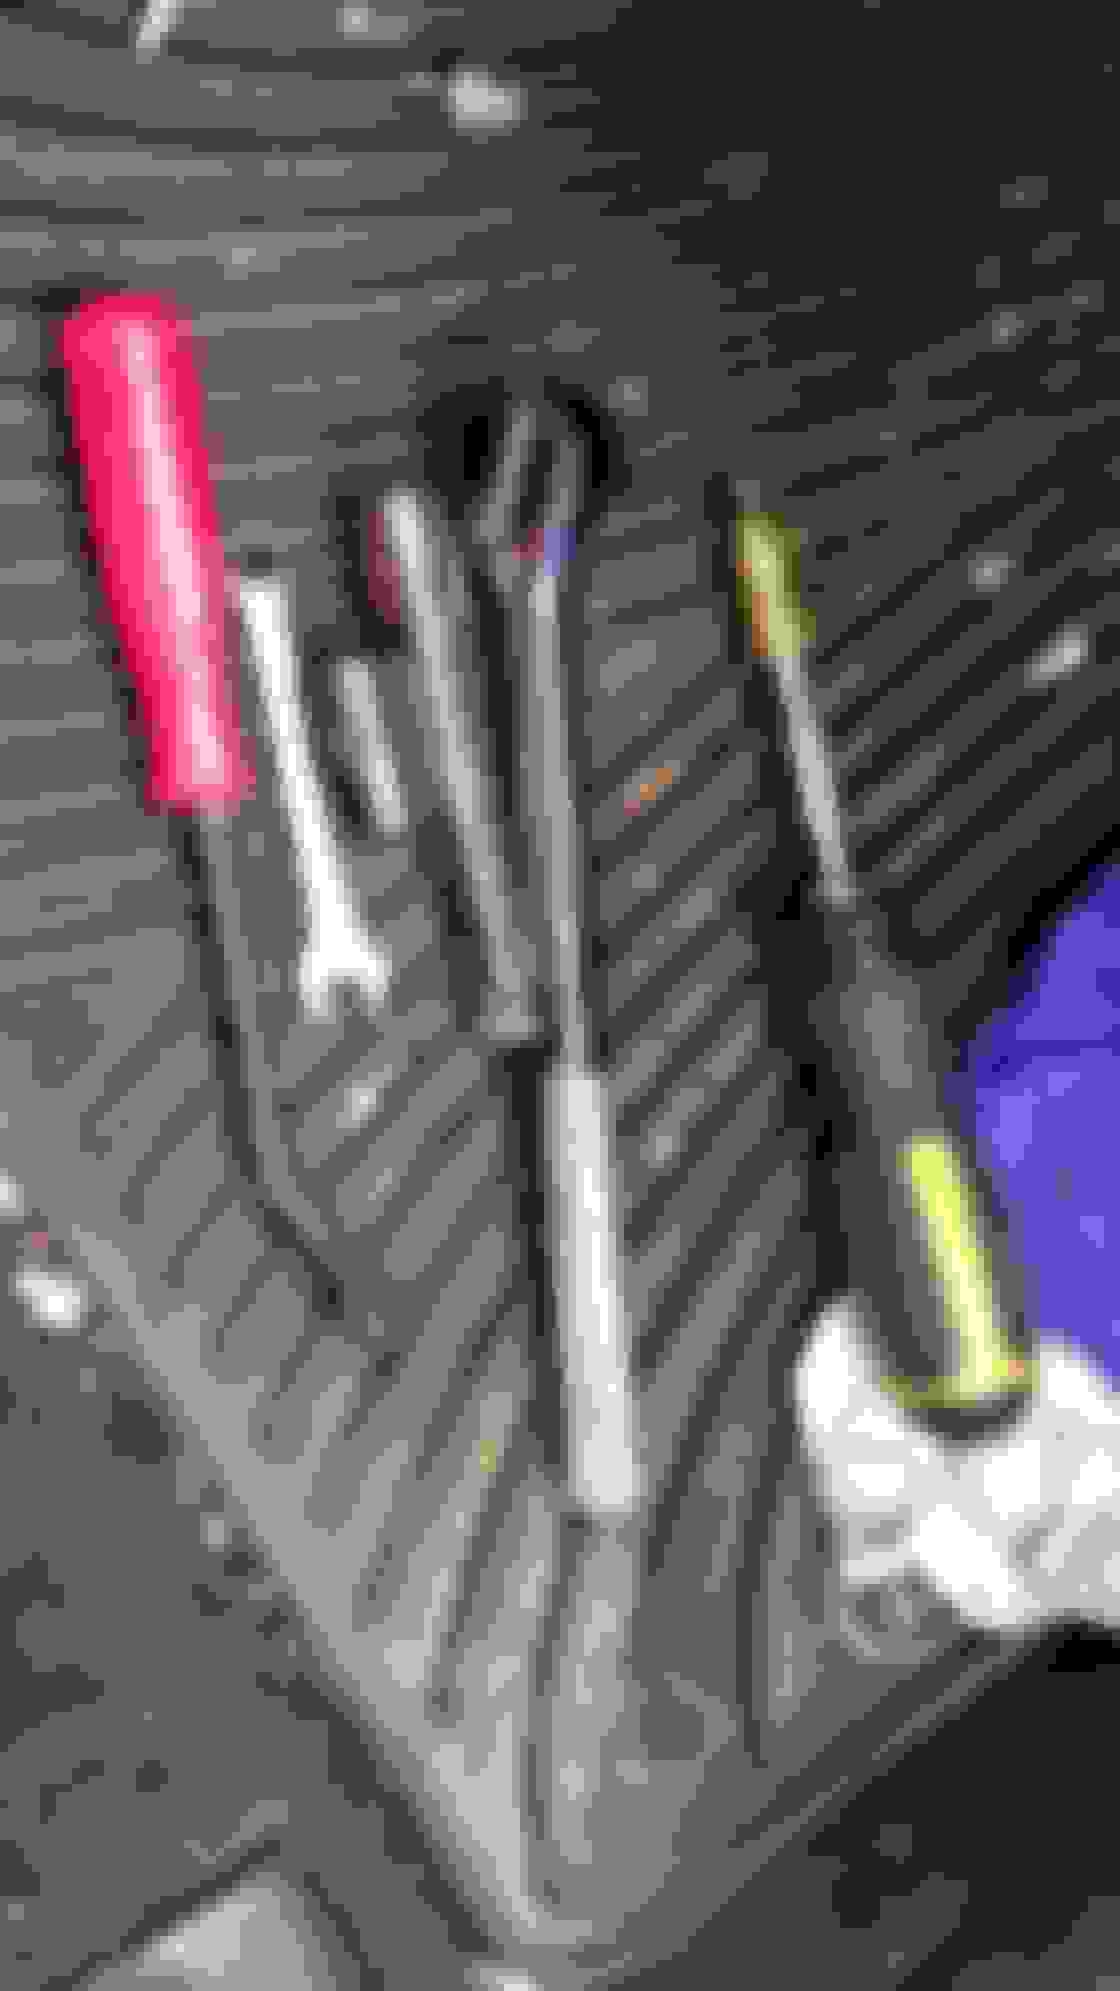
LETS GET STARTED: YOU'LL NEED: - UNPLUG THE BATTERY
- Cross screw driver
- 10mm socket (maybe might not just bring it incase)
- EXTENSION (MAYBE)
- 10 MM WRENCH (MAYBE IF U ALREADY HAVE THE SOCKET)
- interior trim remover STEP 1: PRESS THE FOOT BRAKE, PUT THE CAR IN NEUTRAL SHUT OFF, UNPLUG THE BATTERY FROM THE TERMINALS Here are the tools I used. i believe that is a 10mm wrench, you may need an extension just in case. put your car in neutral DONT FORGET TO PRESS IN THE FOOT BRAKE
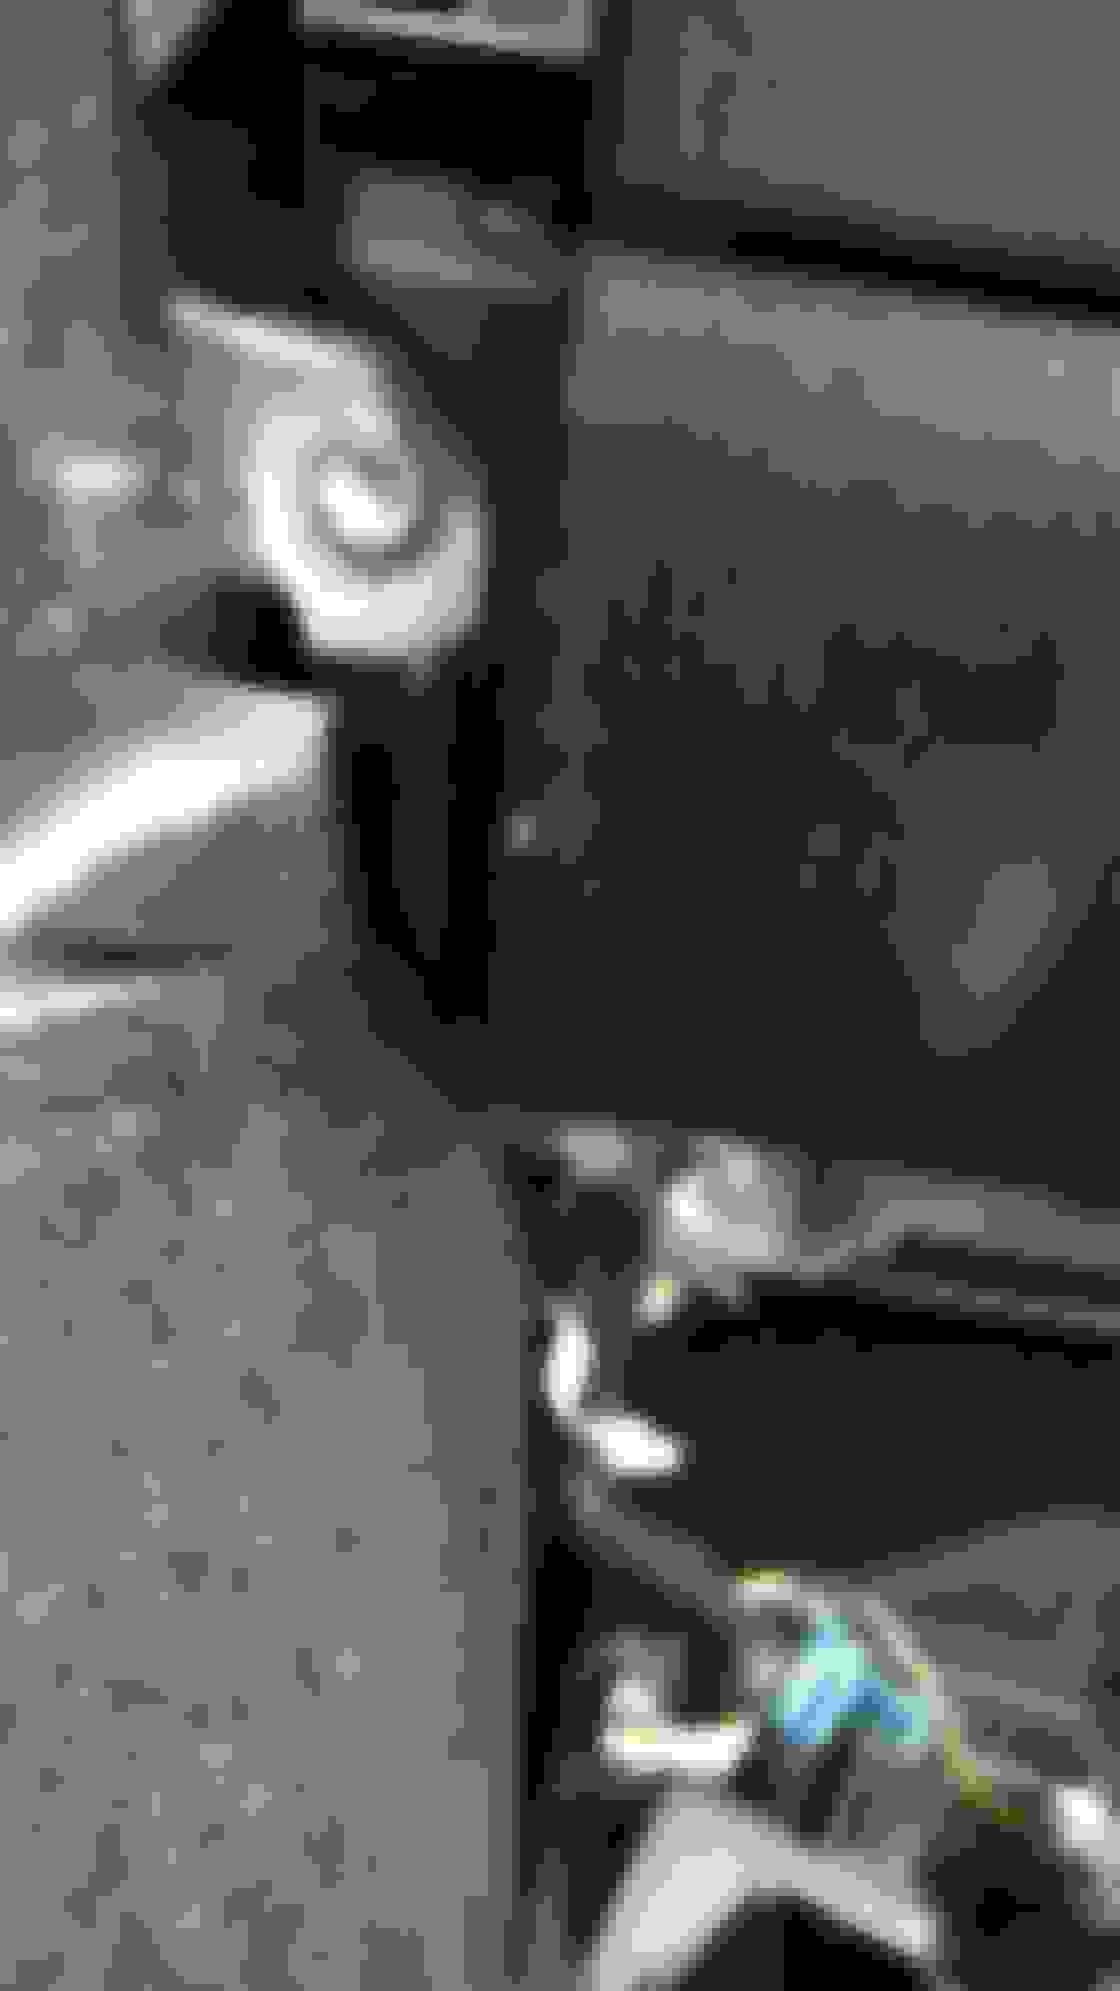
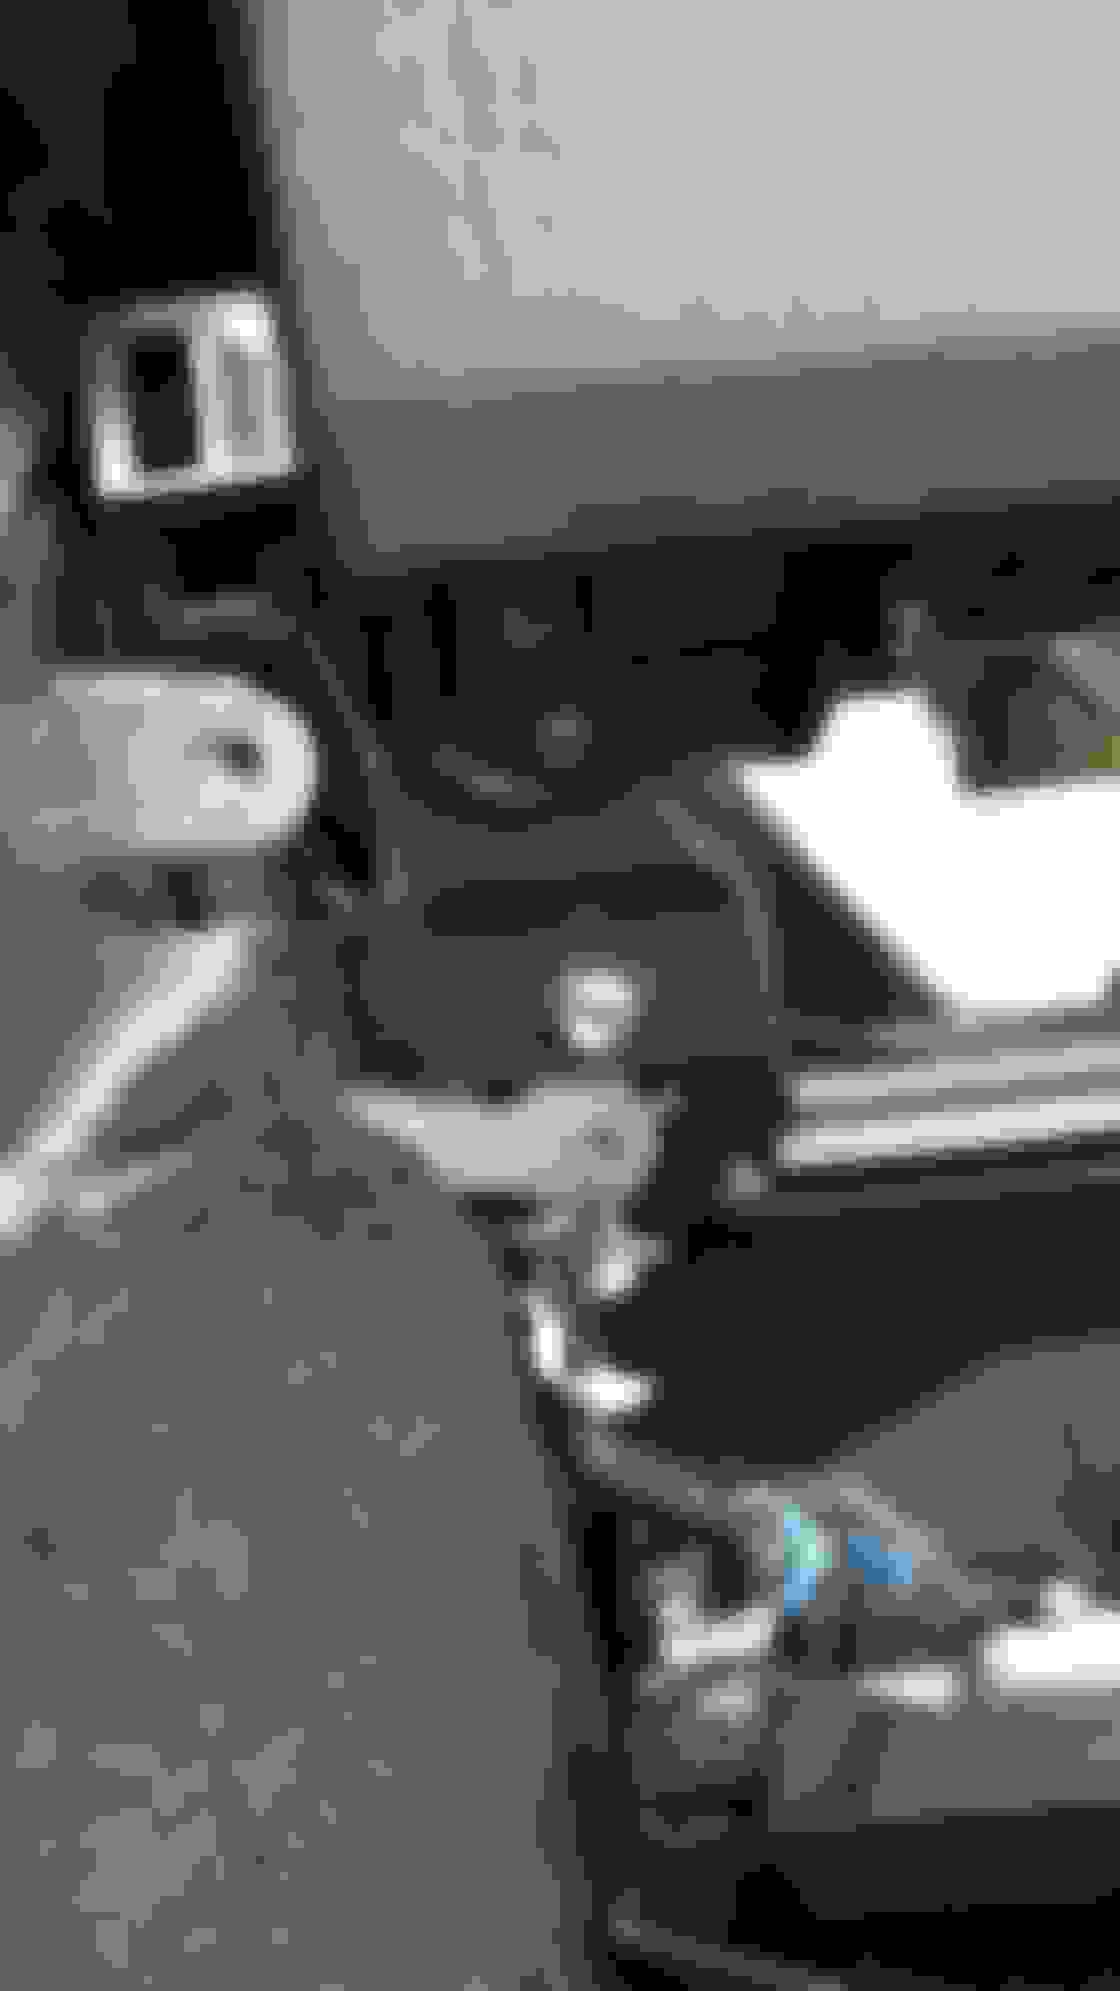
STEP 2:pry carefully here on both side's as you'll be taking the entire assembly out. there should be 1 in the back 2 in the side.
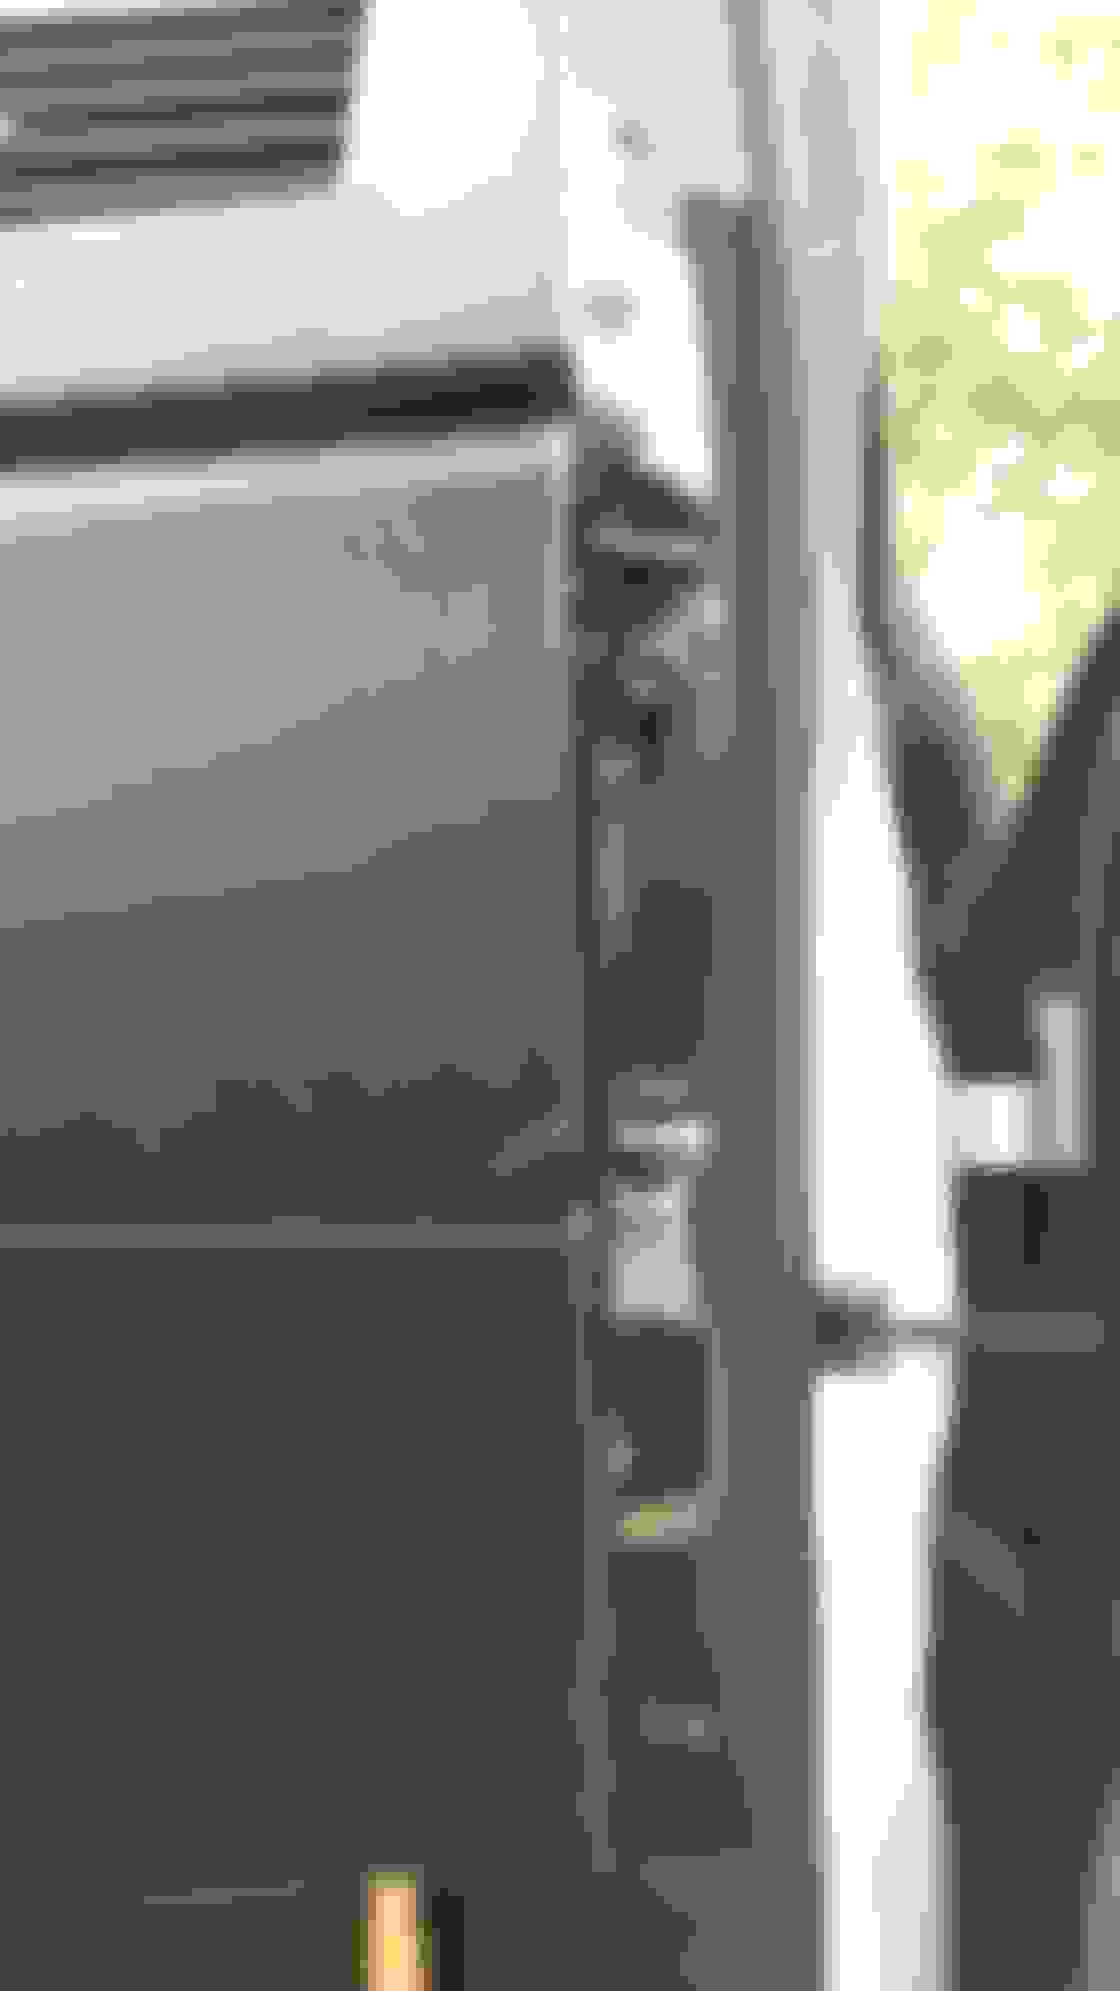
STEP 3:on the right side, you'll be removing about 2 screws STEP 4: this pops right out on the passenger front side STEP 5: you can just pull this down from the vent area STEP 6: you can unplug these wires but i just left these lying on the floor STEP 7: UNSCREW HERE STEP 8:unscrew here the 2 bolts
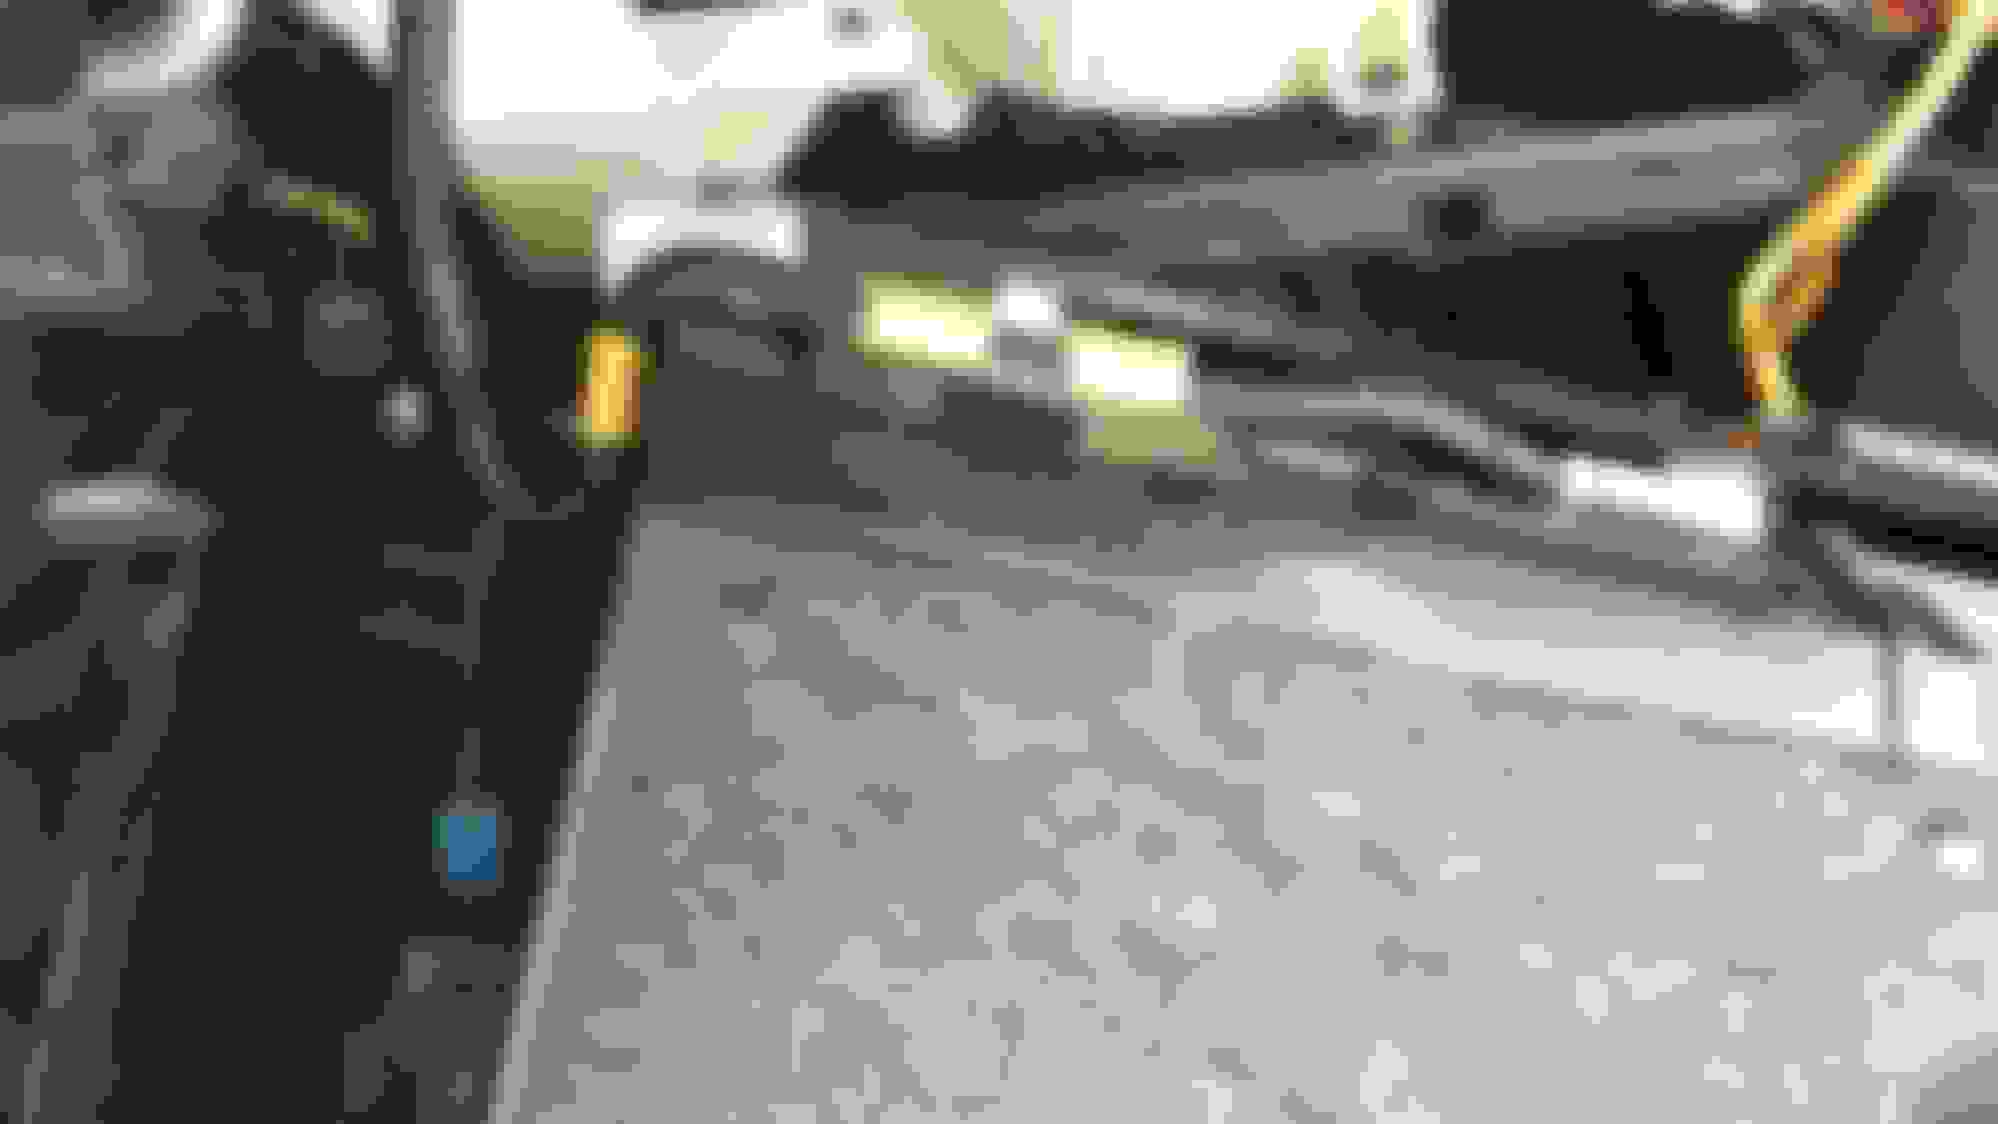
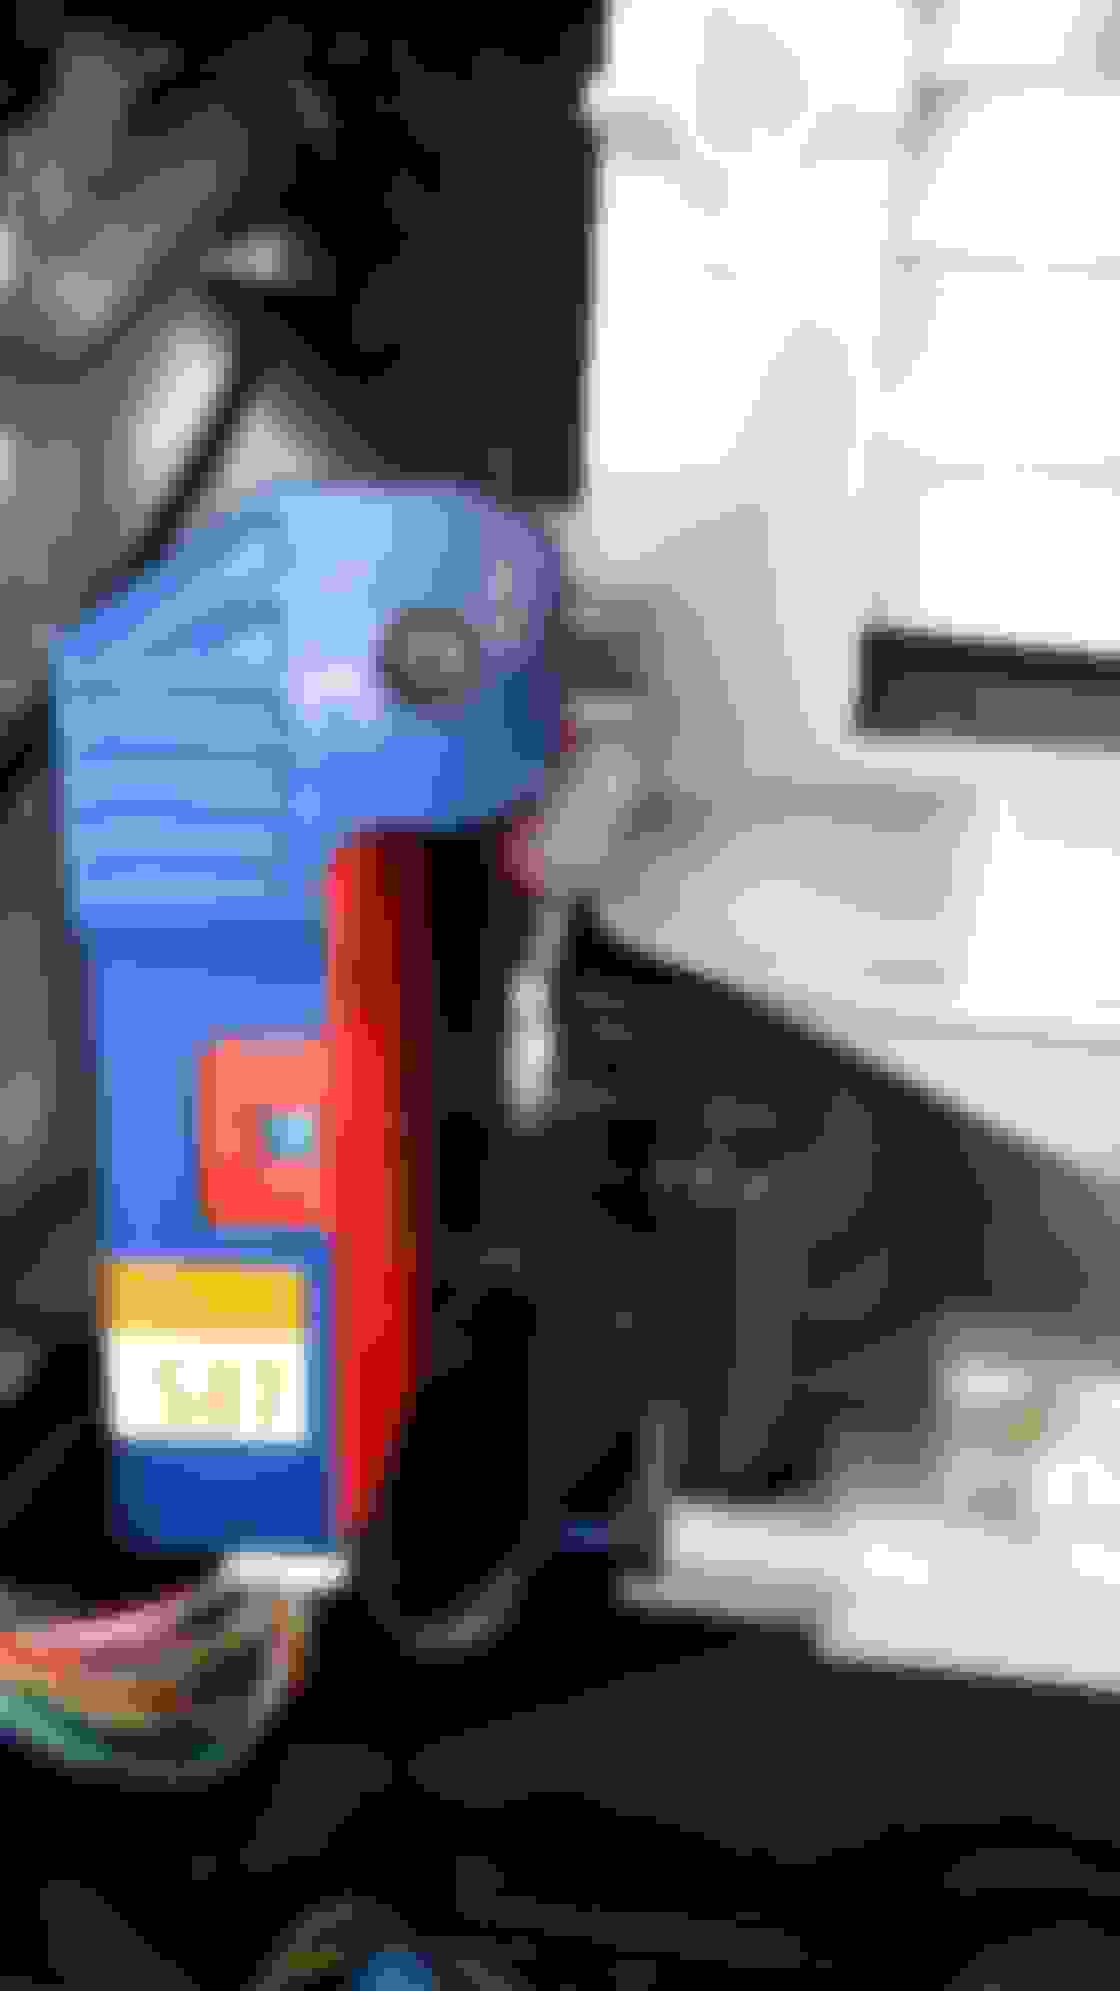
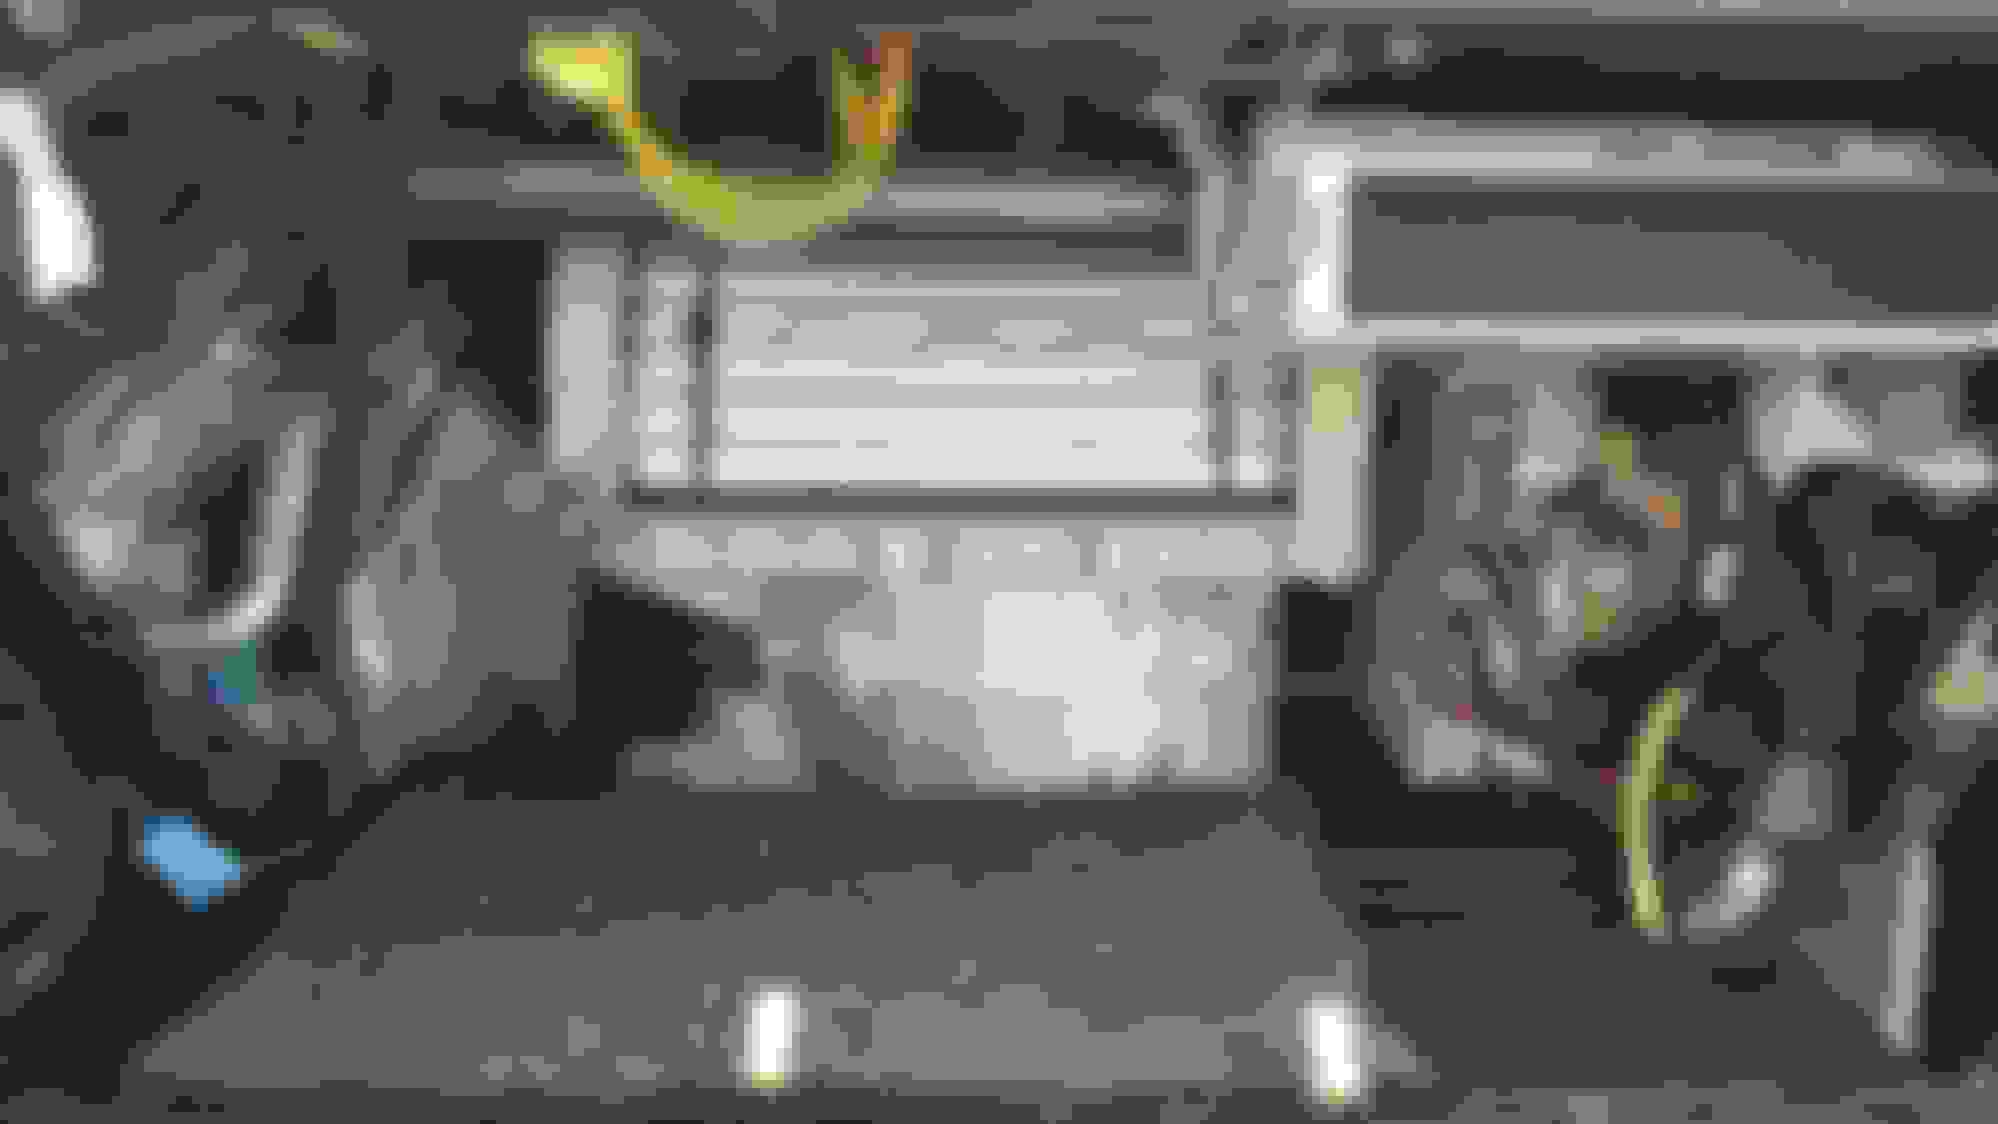
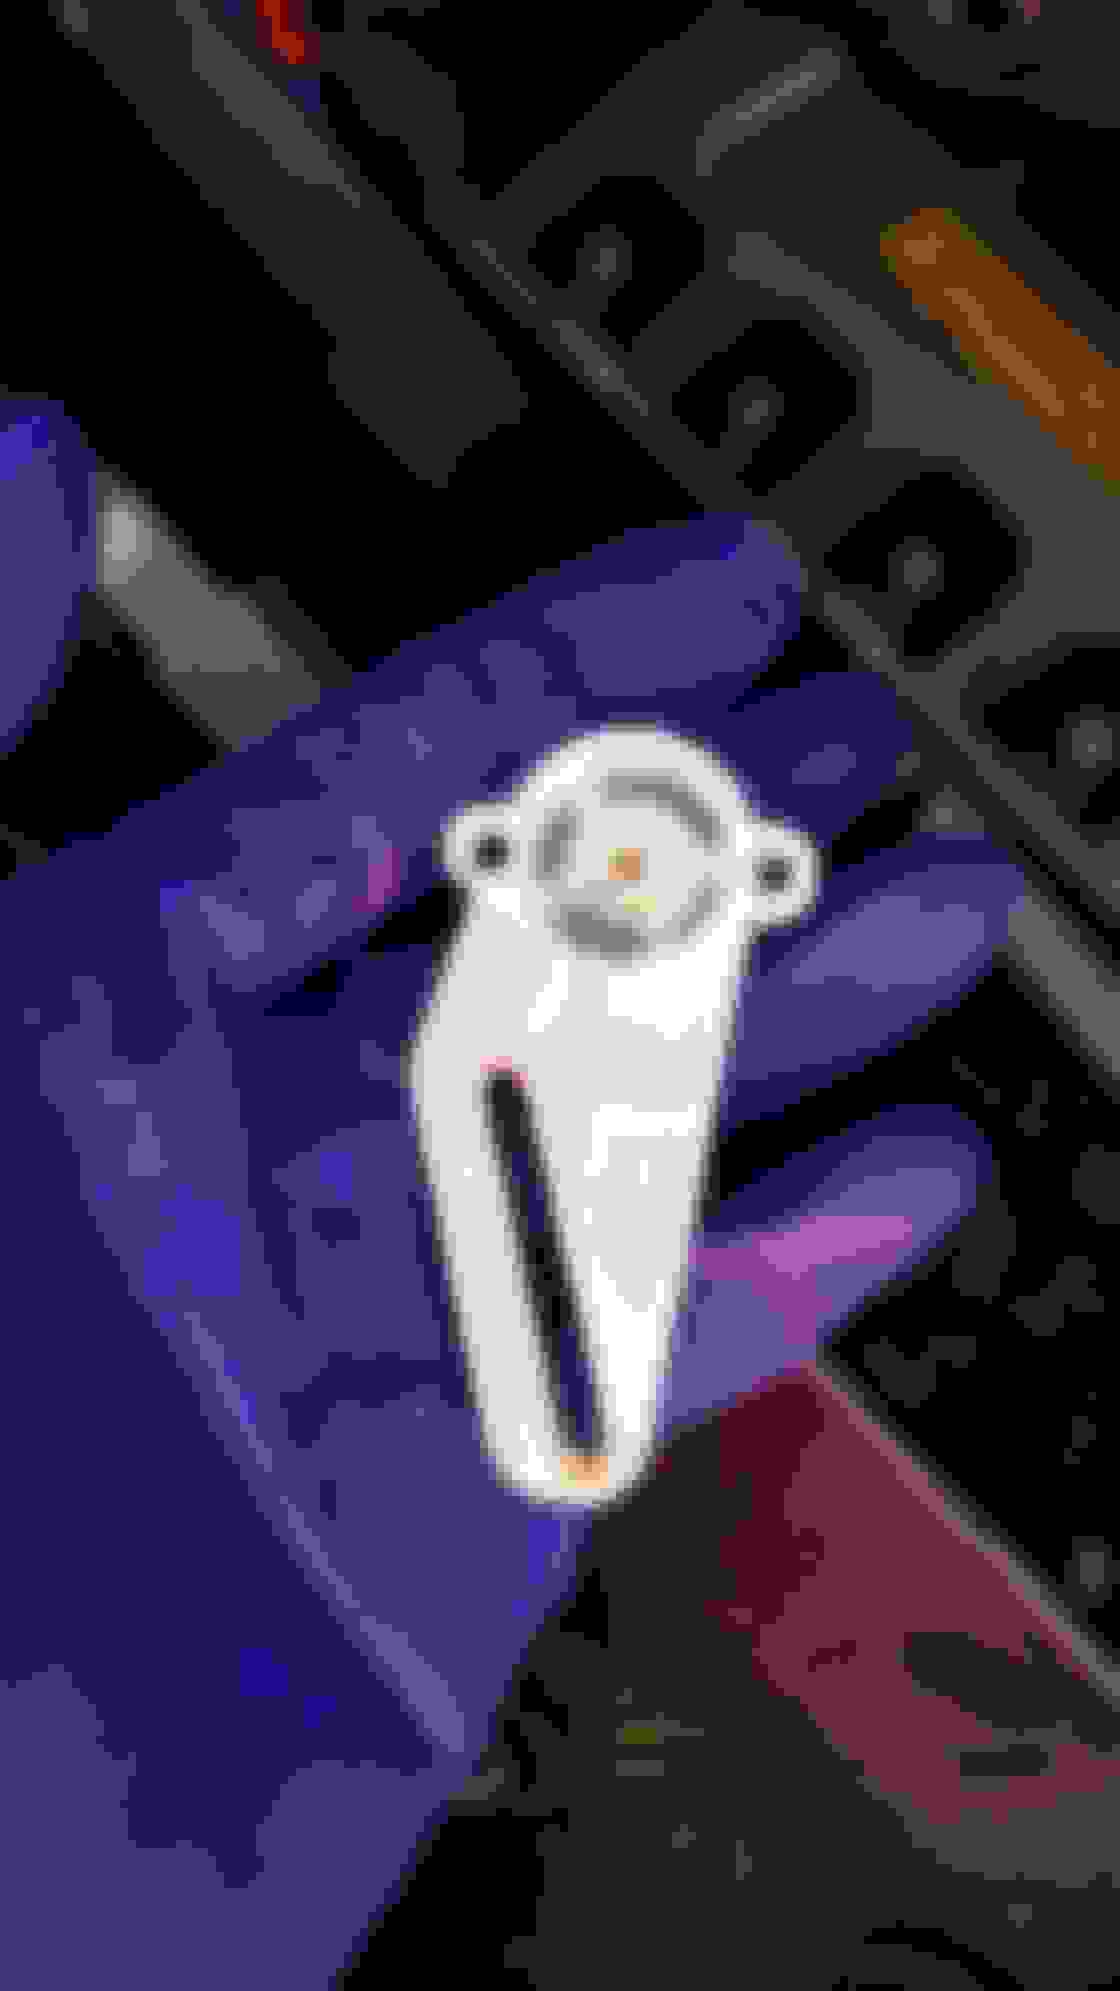
STEP 9: UNSCREW HERE step 10:UNSCREW HERE THE TOP ONE AND THE BOTTOM ONE. I THINK YOU CAN LEAVE THE MIDDLE ONE ALONE step 11: I JUST LEFT EVERYTHING LAYING DOWN TOO LAZY TO UNPLUG THIS STUFF BUT THAT'S PERSONAL OPINION STEP 12: unscrew the 2 black screws i think the silver one doesn't matter STEP 13:UNSCREW HERE, there maybe more than one in the glove box so look around STEP 14: unscrew this here, i'm not sure what that is TBH. the black part is the servo and the arm is in-between the 2 i just mentioned here's a full pic of what everything looks like, I MAY HAVE FORGOTTEN TO TAKE PICS OF THE J VENT GOING TO THE FLOORHERE U CAN SEE THE SERVO ARM CONNECTED TO THE SERVO THIS IS THE SERVO ARM THAT BROKE THIS IS THE SERVO ARM THAT BROKE HERE'S A CLOSER LOOK, THE TOP IS THE FILTER DOOR PART
HERE LIES MY ATTEMPT BUT IT ENDED UP BREAKING ANYWAY. I USED EPOXY 11 DIDNT WORK IDK WHAT TO DO HERE LIES MY ATTEMPT BUT IT ENDED UP BREAKING ANYWAY. I USED EPOXY 11 DIDNT WORK IDK WHAT TO DOI hope you guys enjoyed my DIY, and if you guys have any tips or info please comment! Thanks for looking!
I heard from the other post on 2IS side, that someone did it and it worked fine... I'm not sure if I want to try that. I want to know whats the strongest bonding thing ever and use it... The fasterner is probably the last option kind of thing lol
These are the kind of parts that are very hard to get and most of the time very expensive ... while they are perfectly 3D printable with reinforcement. I really really really need to start looking around to get me one
These are the kind of parts that are very hard to get and most of the time very expensive ... while they are perfectly 3D printable with reinforcement. I really really really need to start looking around to get me one
I'm Not sure but the piece connects to the Door as one whole piece or the entire stick like actuation. I need to remove it again to check. at this point i'm a pro at doing this lol.
Interesting thread. Are we talking here about the servo that selects where the air goes to, or the servos that handle temperature and recirculation?
Because I have a problem where whatever I press air is only blown to the windshield. I see lots of threads on how to fix this for the 2nd gen GS, but few on the 3rd gen.
The dealer told me today that there are three servos in the parts catalog, but wasn't clear about the purpose of each one, so I'll have to do some detective work as usual. I thought there would be four:
Driver temperature
Passenger temperature
Air direction aka mode
Fresh air or recirculation
Can anyone shed light on this from a 3rd gen perspective?
 02-28-17, 03:45 PM