How-To Tuesday: Replacing the Thermostat in Your Lexus ES
 12-15-15, 04:30 PM
#1
Pole Position
Thread Starter

Join Date: Mar 2015
Location: WA
Posts: 258
Likes: 0
Received 0 Likes
on
0 Posts
Replacing the thermostat in your Lexus ES is a lot easier than you might think.
Read the rest on the Club Lexus homepage. >>
 12-16-15, 01:34 AM
#2
I did that last week.
 01-10-16, 04:32 PM
#4
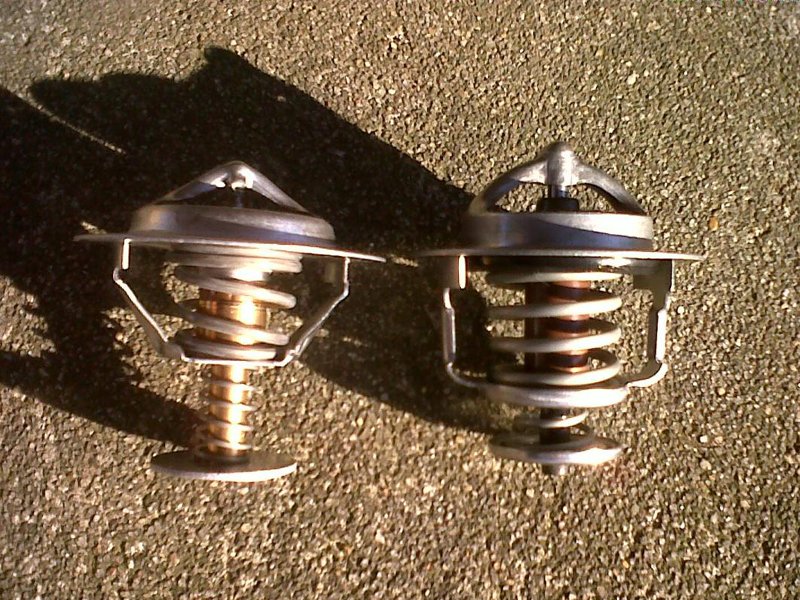
Replaced thermostat today. With 173K miles, the OEM thermostat looked good. Could easily go to 200K.
Removing the housing was tricky - had to remove the idler pulley next to alternator. Did not have to remove the torque control mount as shown in the link above.
Here is my step by step
1. drain coolant
2. remove upper radiator hose from thermostat housing - hose on passenger side going into block.
3. remove wiring harness bolt from alternator, and clip on same harness from valve cover and use bungee coord to pull harness gently towards driver-side to provide some clearance to insert socket on thermostat housing.
4. remove serpentine belt from alternator and idler arm - move to side; you don't need to remove belt completely off.
5. remove idler arm (14mm counter-clockwise).
6. remove nuts (10mm) from thermostat housing. Upper one is a bit tricky and may fall down - watch for that - maybe, place a magnet below it to catch it. You need a 6-inch extension. I recommend buying a wider nut; it will be stay easier in socket when replacing. Nut is M6 flange style, standard threat pitch.
7. remove housing; you may need pliers to pull out thermostat and gasket.
8. installation is reverse.
I went with Gates thmermostat and Felpro O-ring gasket.
Last edited by chuyrobles; 01-10-16 at 04:39 PM.

Thread
Thread Starter
Forum
Replies
Last Post
lexusisgs
ES - 6th Gen (2013-2018)
20
02-12-20 04:29 PM
Nordine01
RX - 2nd Gen (2004-2009)
1
03-08-14 10:18 PM