When you click on links to various merchants on this site and make a purchase, this can result in this site earning a commission. Affiliate programs and affiliations include, but are not limited to, the eBay Partner Network.
99 ES300 codes p1760 0753 0758 along w/ 0330 and 0325
All at once in my 99 es300 i popped three tranny codes p1760 p0753 and p0758... I also am getting intermittent knock sensor codes lately.... they clear themselves and come back... both... are these related or do i have some transmission problems? Thanks in advance fellas...
If your car isn't noticeably going into limp mode, then 99% chance your knock sensors are on their way out and will fail outright sometime soon, or the stub harness is on its way out. Lower chance that the wiring from the stub harness to the ECU is bad. Not related to your trans codes.
Those trans codes refer to Shift Solenoid #1 (P0753), Shift Solenoid #2 (P0758), and Shift Solenoid SLT (P1760). Unlikely that all of them failed at once, so I would suspect a wiring/electrical issue. Also check the condition of the fluid, drop the pan and check the magnets.
@1st99ES300 Following hints I found on another thread, I narrowed the root cause down to a bad (missing) ground connection. This was after doing a motor replacement. I had forgotten to connect the two ground straps that attach to the rear and side of the intake plenum.
@1st99ES300 Following hints I found on another thread, I narrowed the root cause down to a bad (missing) ground connection. This was after doing a motor replacement. I had forgotten to connect the two ground straps that attach to the rear and side of the intake plenum.
Where is that first photo? I had my coolant bypass hose done and I�m betting it�s the same problem.
@1st99ES300 Following hints I found on another thread, I narrowed the root cause down to a bad (missing) ground connection. This was after doing a motor replacement. I had forgotten to connect the two ground straps that attach to the rear and side of the intake plenum.
whwre does that ground cable come from? I think it�s fallen somewhere deep. Would help to know where to start looking for it.
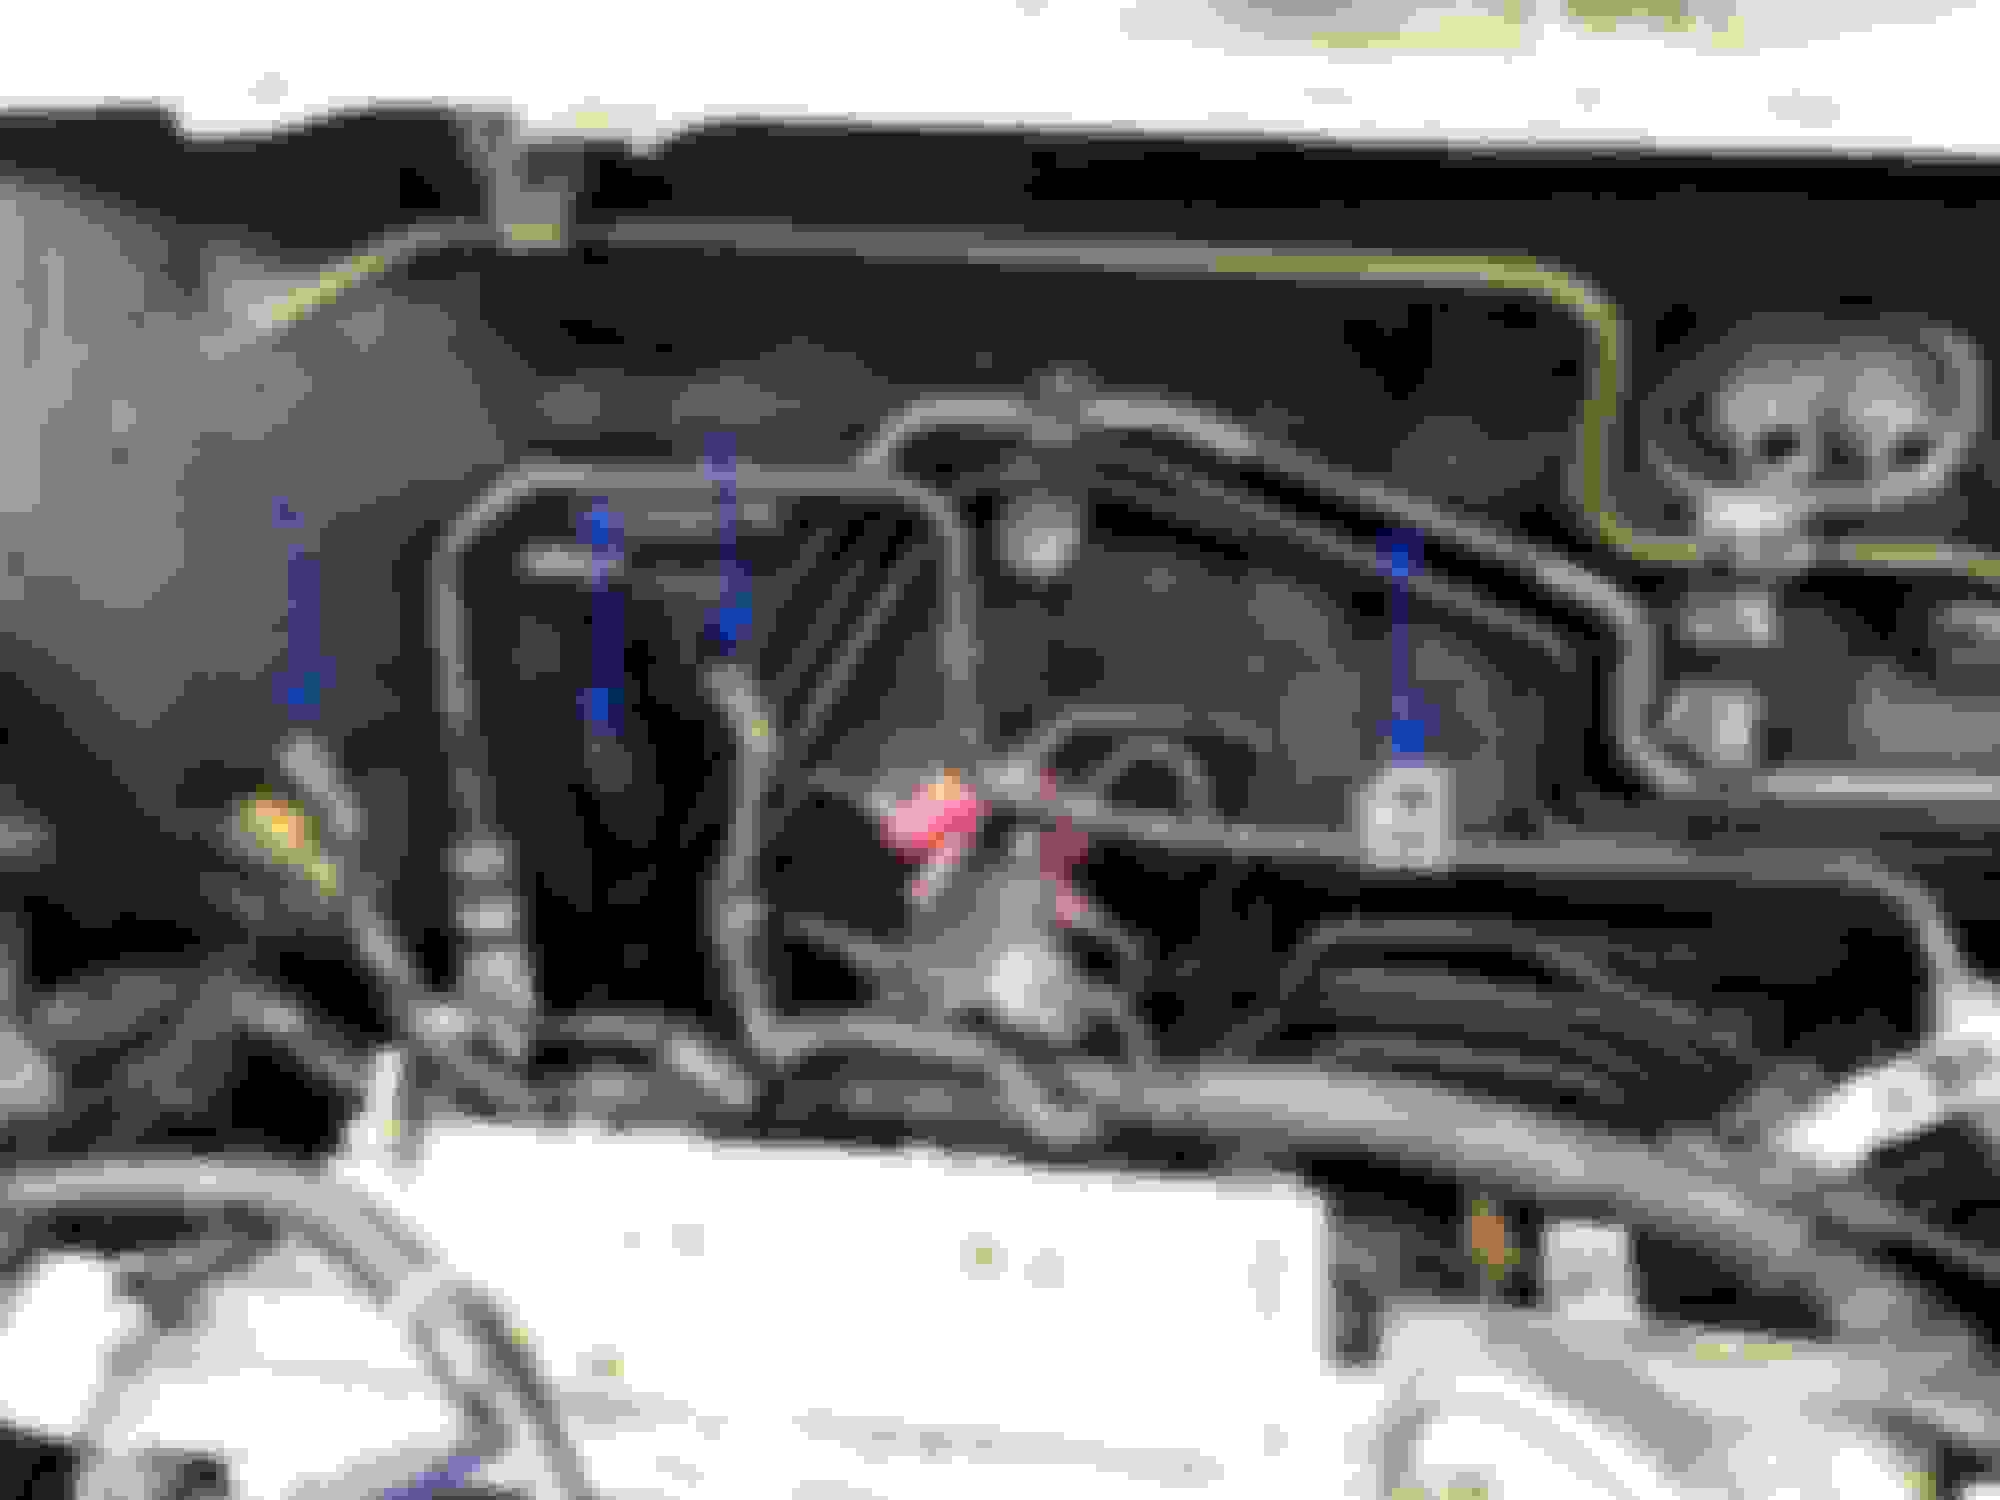
That first image is looking down from the top of the intake plenum, with the firewall at the bottom of the image.
Both of those grounding straps come from the main wiring bundle which is routed across the rear valve cover.
On a side note, everyone knows what a PTA it is to work with the stuff on the back of the intake plenum. But I haven't seen anyone post a good solution.
So here it is ...
Unbolt the rear motor mount from the bottom, and then use a floor jack under the oil pan and give the motor a few inches of lift. This will cause the motor to rotate forward just enough to buy you a few inches of space between the intake plenum and the firewall.
Here are a couple of images I got of my replacement motor after I bought it from the junk yard. The heavier grounding strap attachment next to the the brace with the lifting hardware attached. This particular motor came from a Toyota Sienna, and the wiring harness is different. That might explain why it lacks the heavier grounding strap on the rear. But ... I might be mistaken. Perhaps that heavier grounding strap doesn't emerge from the main wiring harness. (I'll double check when I get some garage time later.)
Here are a couple of images I got of my replacement motor after I bought it from the junk yard. The heavier grounding strap attachment next to the the brace with the lifting hardware attached. This particular motor came from a Toyota Sienna, and the wiring harness is different. That might explain why it lacks the heavier grounding strap on the rear. But ... I might be mistaken. Perhaps that heavier grounding strap doesn't emerge from the main wiring harness. (I'll double check when I get some garage time later.)
sweet, believe I�ve found my problem. Mine are connected just not to ground (I think). It will be difficult getting in there.
So, that looks wrong to me. The power steering line should be attached to the plenum at the far end, and the grounding strap should be attached to the plenum right there.
Please bear with my crude photoshopping technique... but this illustrates what I'm driving at.
Hey good morning @1st99ES300 .
I've got my plenum out (again). I thought I'd add another snapshot (with some hokey photoshop arrows) to better illustrate what's going on behind the plenum.
Behind the 1MZ intake plenum.
On the left you've got the grounding strap that goes to the attachment point on the side of the intake plenum.
Next is the pesky 14mm bolt.
Next is the other grounding strap that attaches to the back of the intake plenum.
And over there is where the power steering line clip attaches.
So, about getting tools on the back of the intake plenum -- my personal tip: Unbolt the rear motor mount. Then put a floor jack under the oil pan (with a block of wood, or something to spread the load). Jack up the motor, which will pivot on the forward mount and cause the whole thing to rotate forward an inch or two. That will buy you some breathing room behind the intake plenum.
 07-11-17, 01:56 PM