DIY: Install AUX input to 1997 Lexus ES300 w/ original CD changer
 06-11-17, 01:21 AM
#1
Driver School Candidate
Thread Starter
My tape cassette adapter has served me well for years now on my ES300, which is reaching 280K+ miles LOL. I heard that playing music through AUX will yield better sound and clarity, so I figured, why not. After digging around, I attempted soldering to L & R on the cassette board to no avail (video guide here - very similar to ES300 layout). It's very disappointing that there are guides for 1998+ ES300 and other models, but not 1997 ES300 (figured they are the same anyways). So I did some more reading and found this thread, which requires a 3.5mm (1/8") stereo panel mount audio jack w/ five soldering points and tapping into the CD changer harness. My guide will follow similar instructions, except using a 3.5mm (1/8") stereo panel mount audio jack w/ three soldering points and taping into the harness behind the center stereo system. This method will still require a blank CD to trick the system into CD mode. This guide may work on 1998-2001 Lexus ES300 w/ CD changer as well. Please do this with caution. Well here goes.
PARTS NEEDED (NOT LIMITED TO):
STEPS:
EXTRAS:
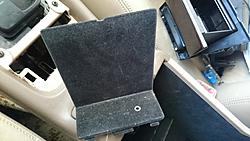
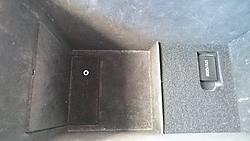
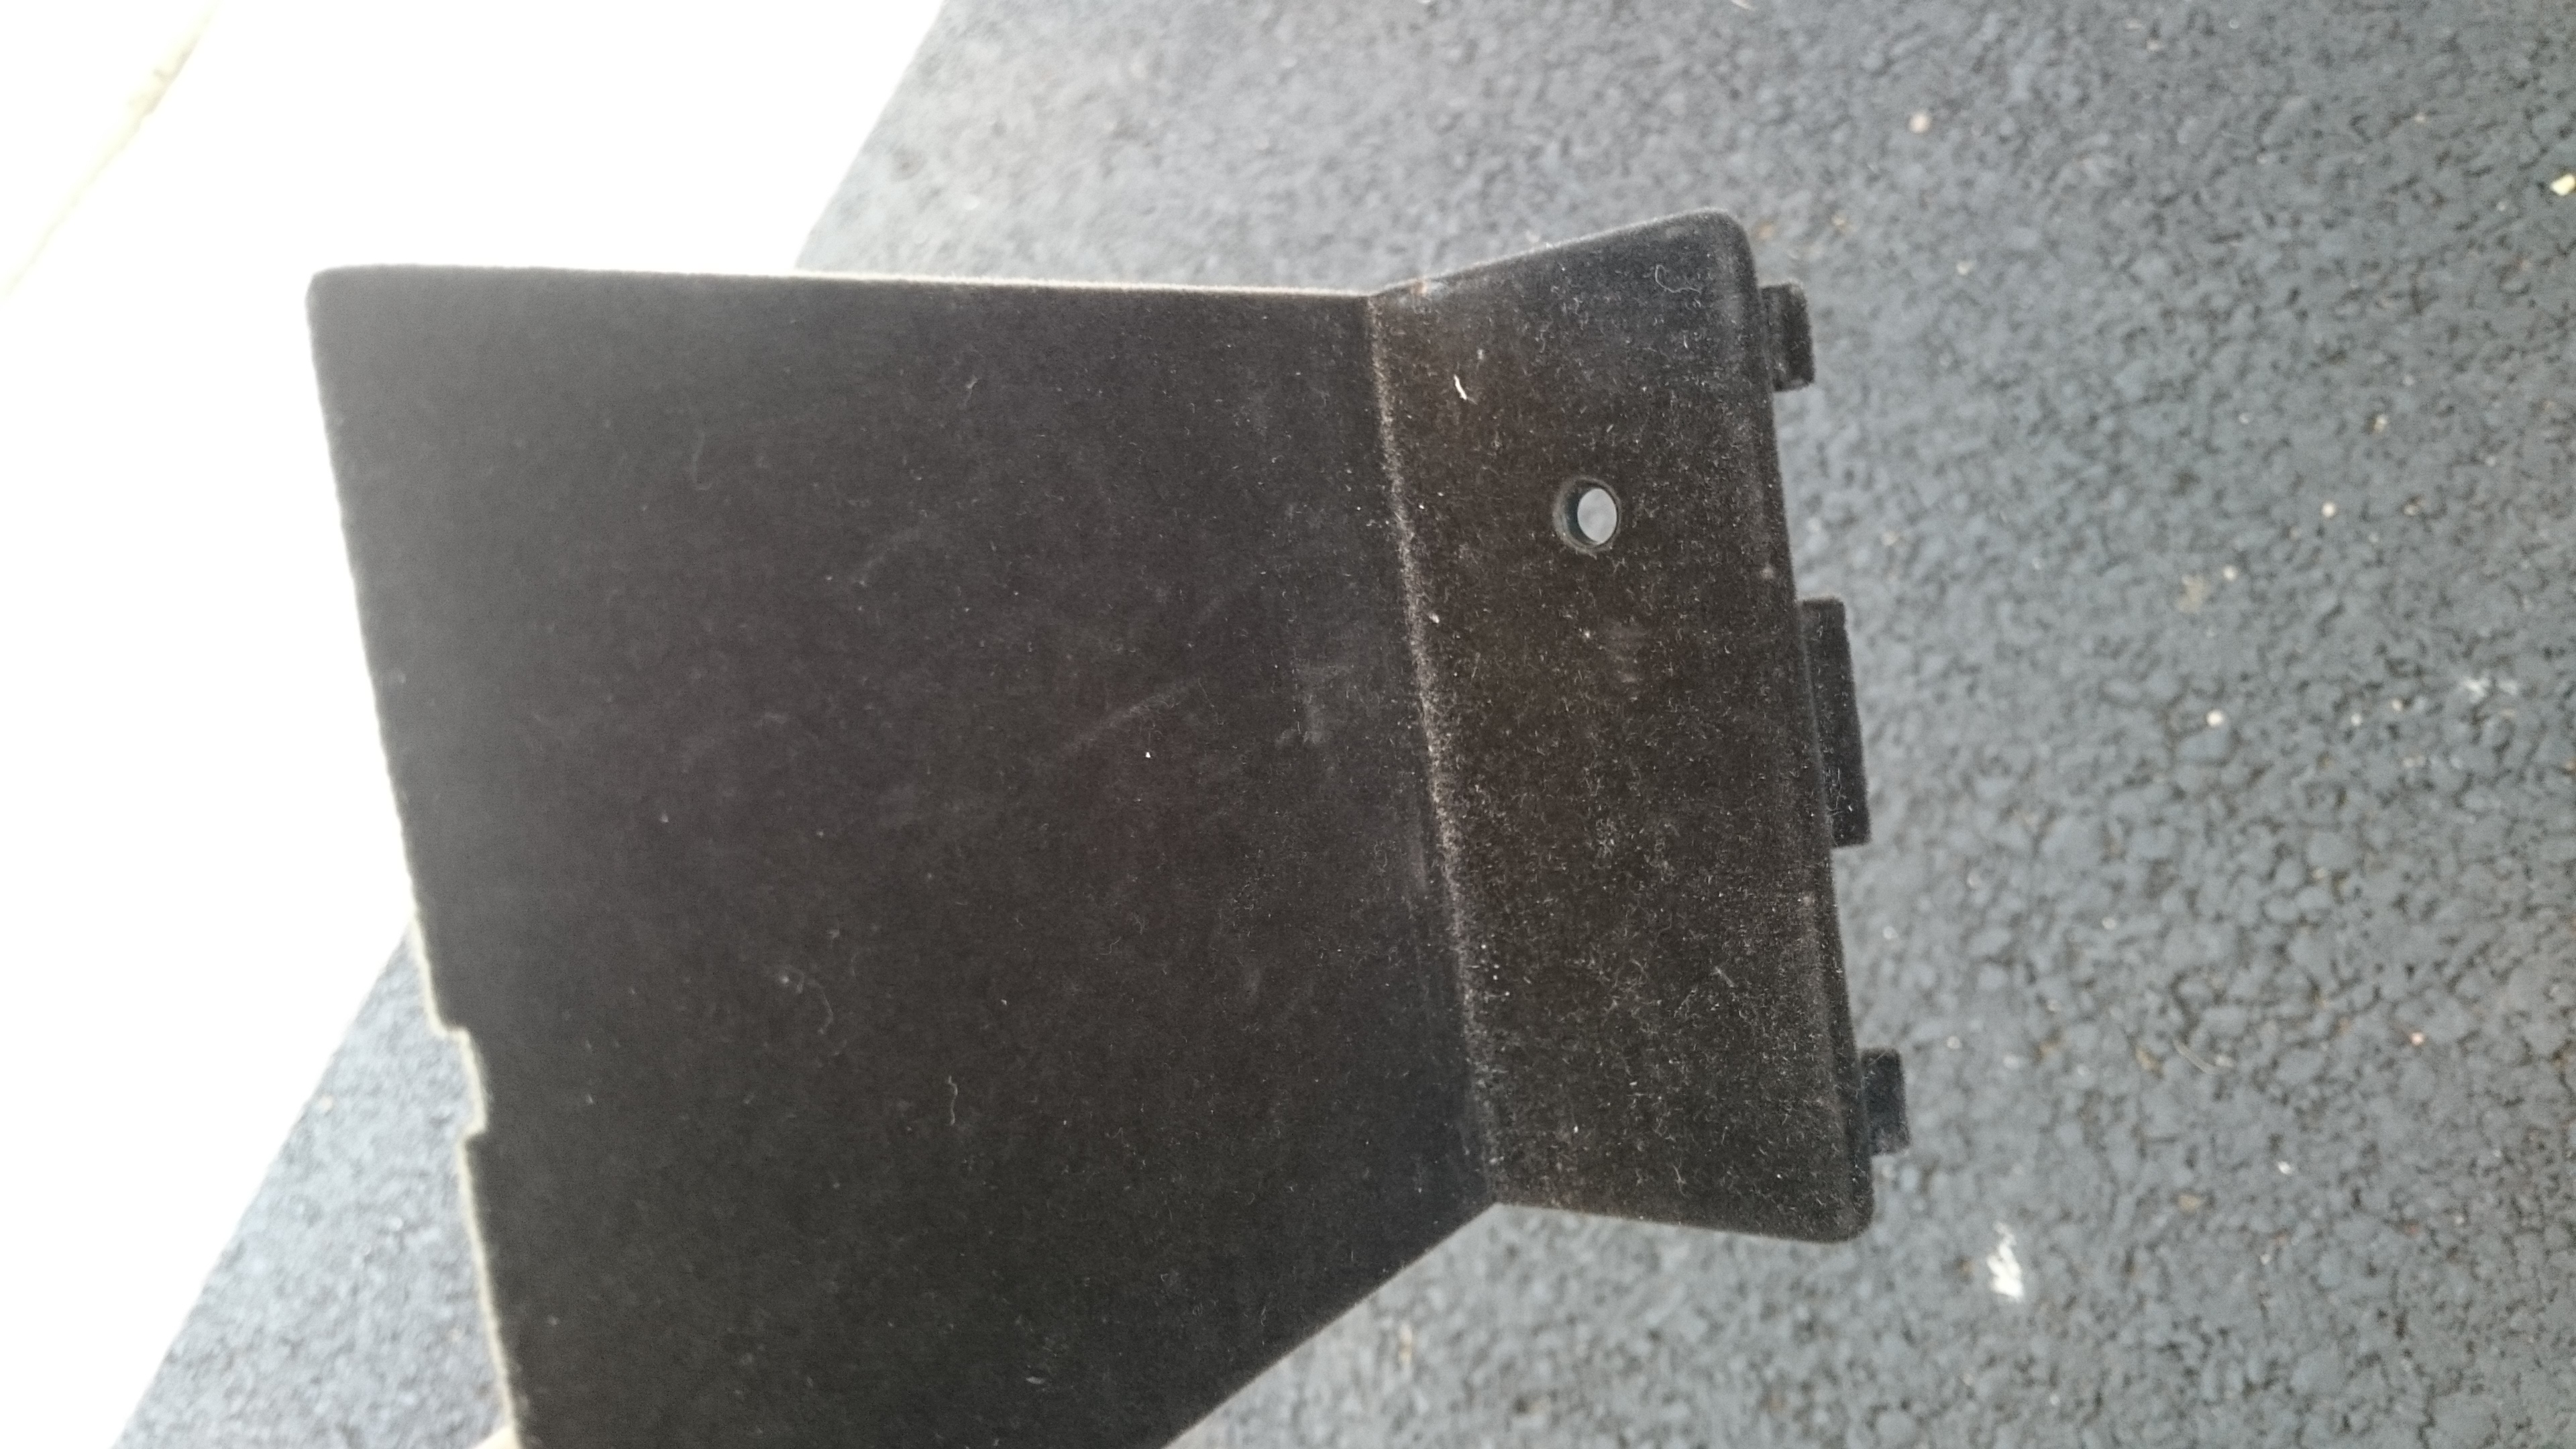
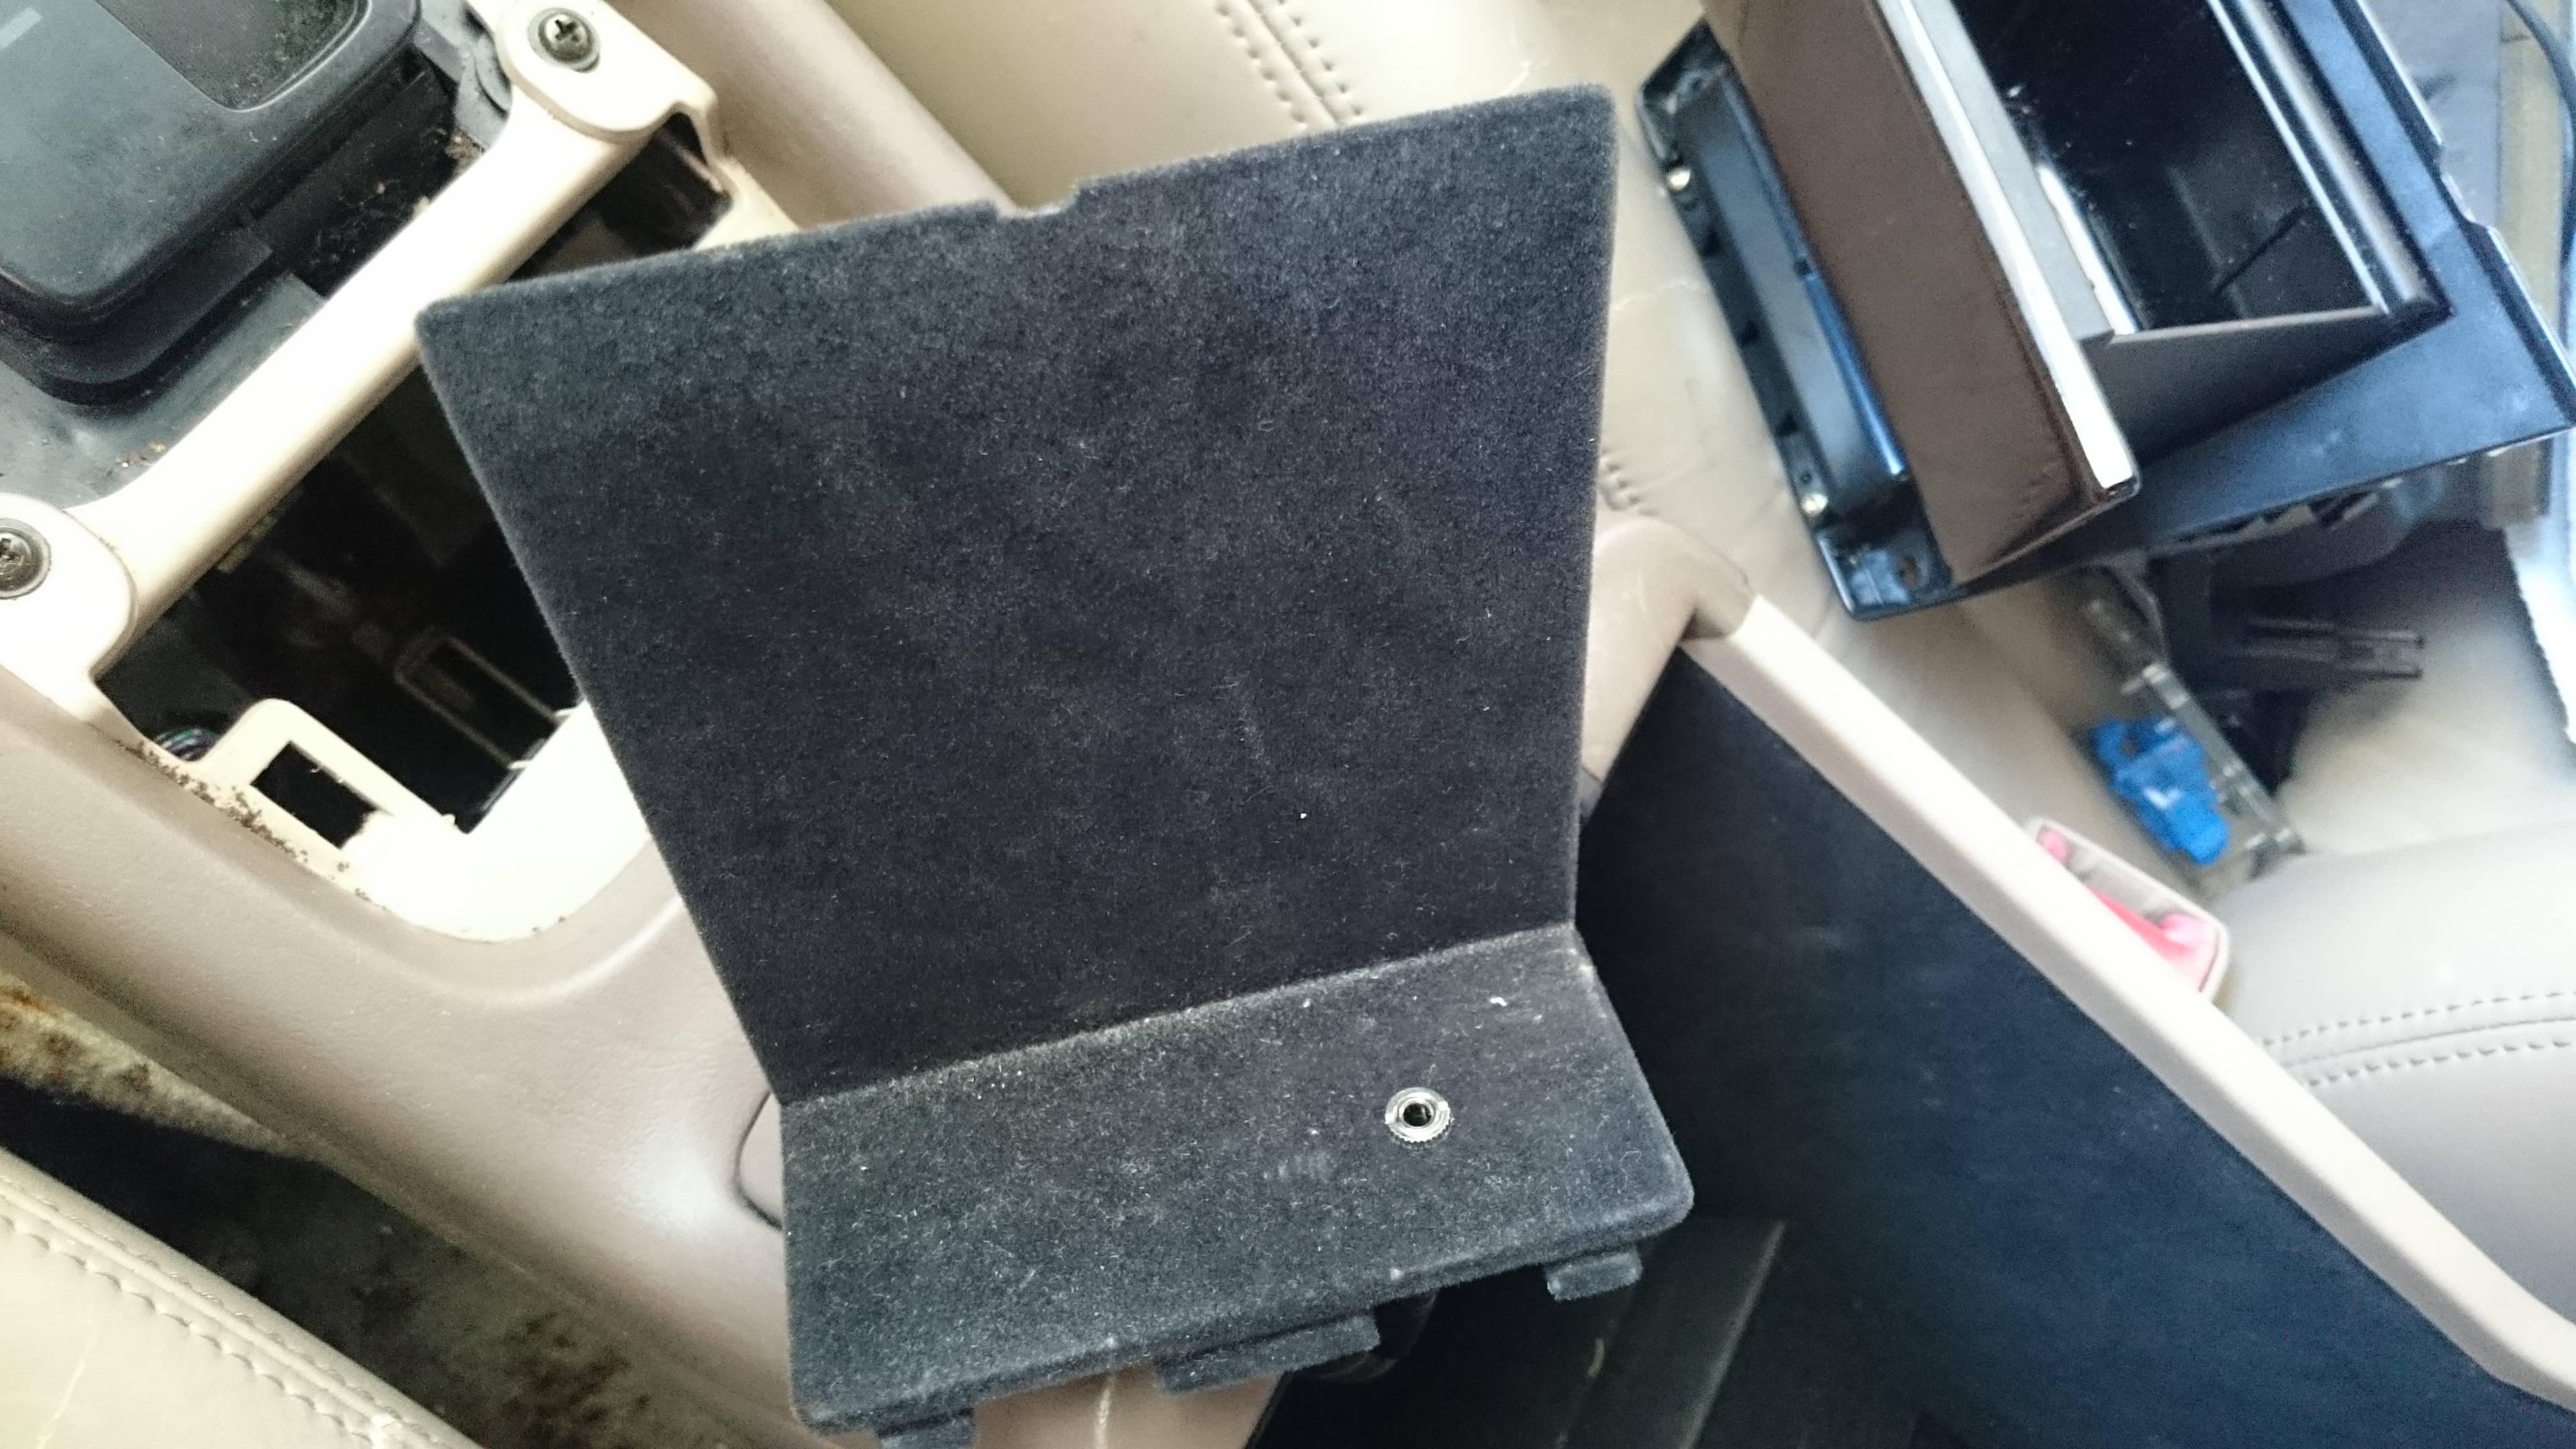
I decided to mount my AUX port under the center console cabinet because it feels natural and it's out of the way.
CONCLUSION/THOUGHTS
Coming from a tape cassette adapter, I can really tell the difference in clarity, and with less noise. However, the volume is not as good as I wanted it to be--I can tell because the music from the CD changer is a lot louder. I have to turn the volume at 12 o'clock to match it to 10 o'clock of the CD changer. That's almost half the volume lost. I'm not sure what the issue is. If anyone have any ideas. Please let me know!
This mod is such a huge savings--all of this can be done under $10, and with experience, under 1 hour. I hope this guide is helpful to anyone looking to add an AUX port on their Lexus!
PARTS NEEDED (NOT LIMITED TO):
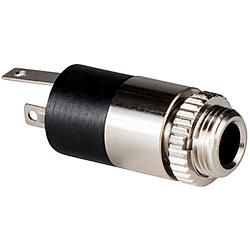
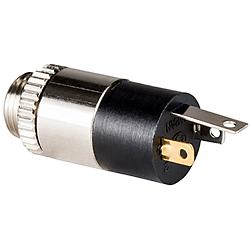
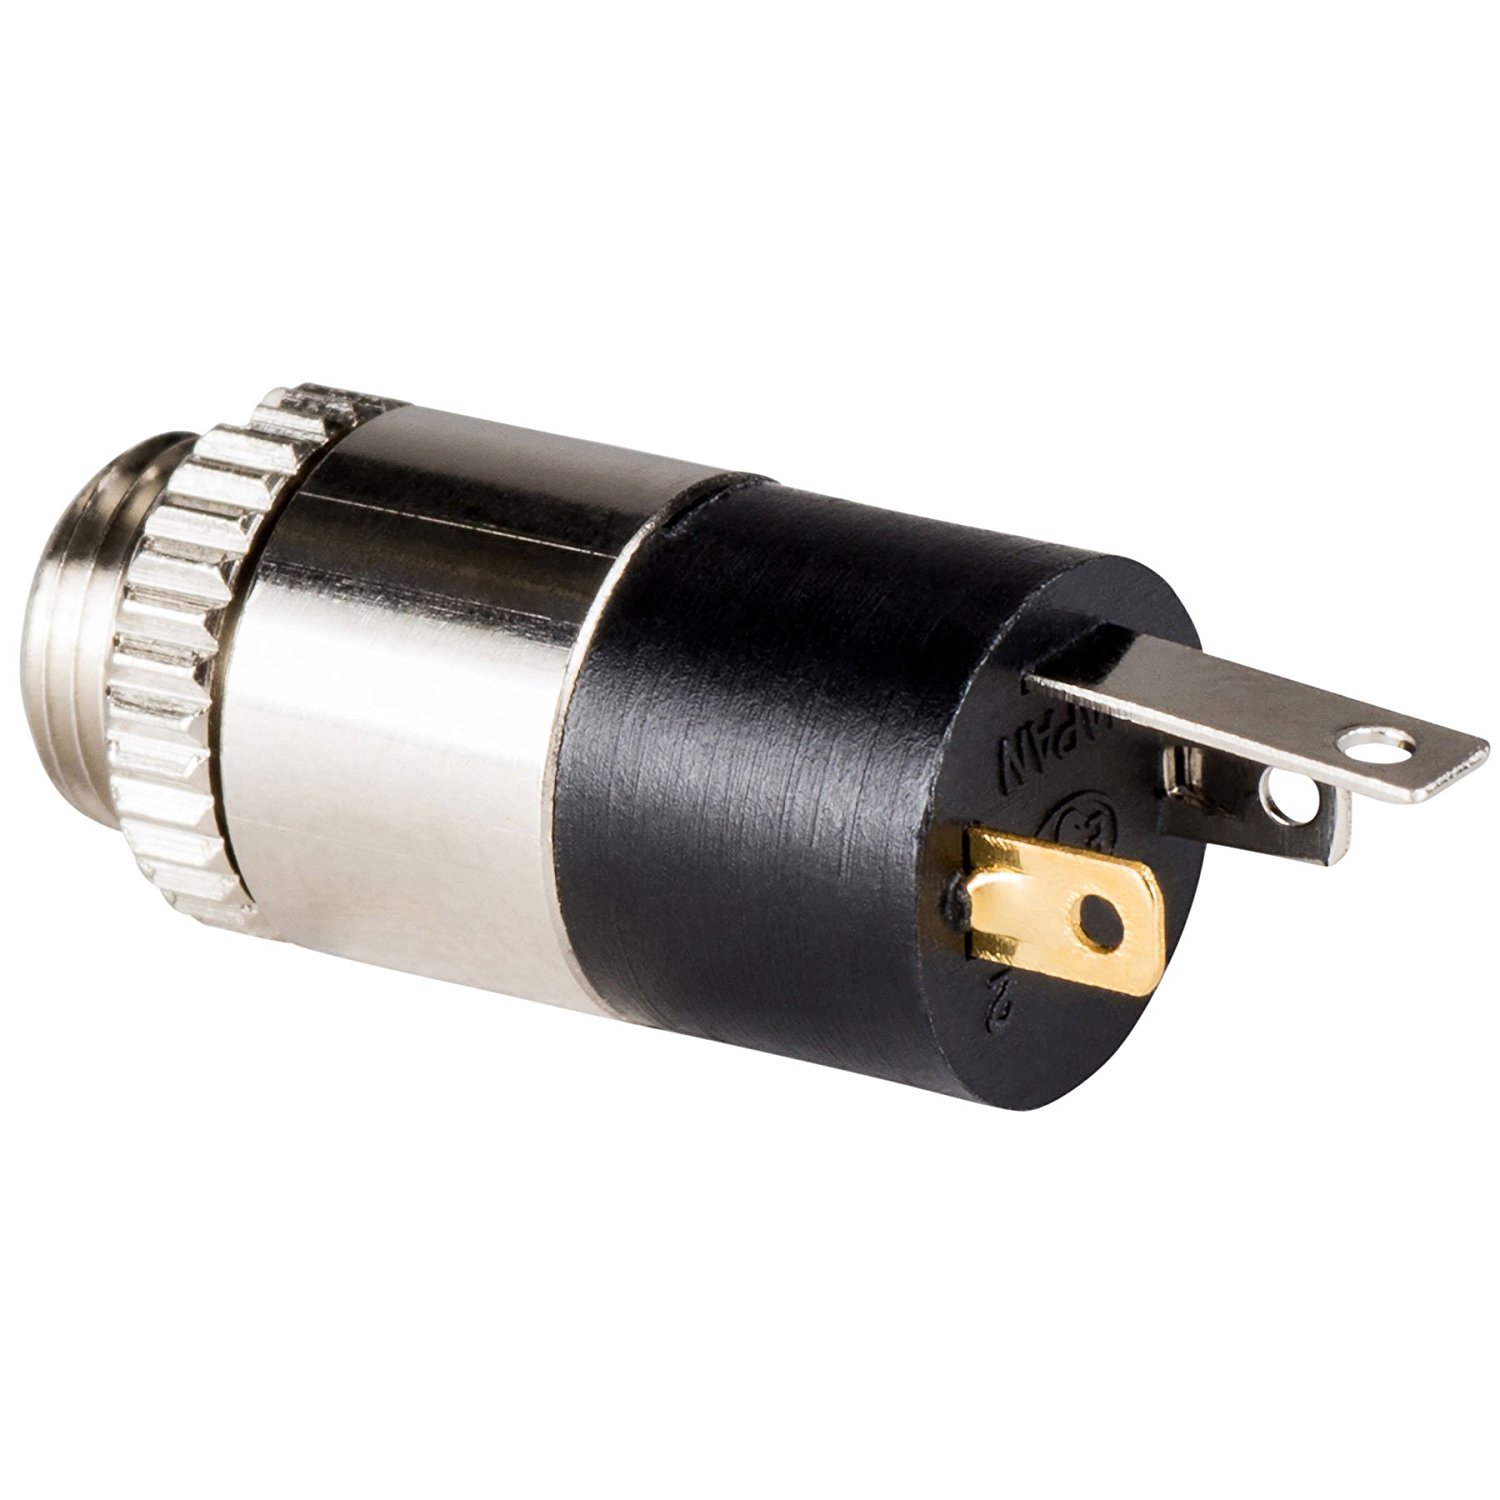
- 3.5mm (1/8") stereo panel mount audio jack w/ three soldering points (Philmore MADE IN JAPAN is best)
- Home theater or speaker wires (16-22AWG will do)
- Soldering iron and soldering rosin core
- Electrical clips, electrical tape, wire crimpers, pliers, etc.
- Blank CD

STEPS:
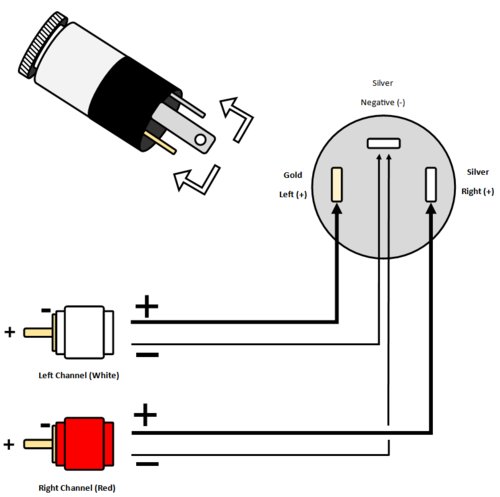
- Make the AUX cable/harness. Solder three wires (enough length to your liking) to the 3.5mm stereo panel mount audio jack. Tape or shrink wrap as necessary. Regarding the leads, top is GROUND, left is L, right is R. For reference, solder points are as follows:

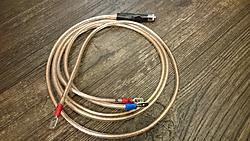
Finished AUX cable:
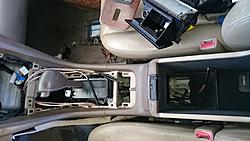
- Take out the stereo system. Follow this YouTube tutorial up to the 1:05 mark to take out the stereo system from the console, or:
- Pry the left and right side of the top vent, detaching the clips. Gently pull the vent out. Unplug the two wire connectors from the vent module.
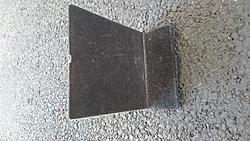
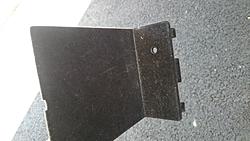
- Depress your ashtray. Pry the left and right of the slim black plastic panel between the ashtray and cassette player, then gently pull to discard.
- Unscrew the four bolts w/ a 10mm. Two are behind the top vent, two are behind the black plastic panel.
- Pull the whole stereo system out, then unplug the two wire connectors and two radio antenna plugs from their sockets.
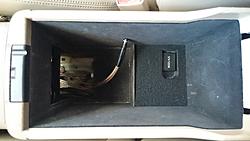
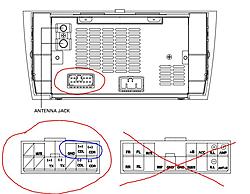
- Tap into the stereo system harness. We will want to tap into the 12-pin connector closest to the radio antenna. The three wires we want are CDL+ (red), CDR+ (black), and GROUND (gray). Connect the three wires from the AUX cable to the corresponding wires on the 12-pin connector.
Please refer to the following diagram as reference:
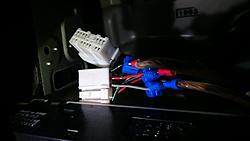
Tapped using quick splice connectors:
- Place or mount your AUX cable at a place of your choice.
- Follow the steps in #2 in reverse to place your stereo back to the console.
- Put a blank CD into the CD changer or (place it upside down; reads error but AUX will work). Turn on CD mode. Enjoy your AUX port with clearer music!


EXTRAS:
I decided to mount my AUX port under the center console cabinet because it feels natural and it's out of the way.


CONCLUSION/THOUGHTS
Coming from a tape cassette adapter, I can really tell the difference in clarity, and with less noise. However, the volume is not as good as I wanted it to be--I can tell because the music from the CD changer is a lot louder. I have to turn the volume at 12 o'clock to match it to 10 o'clock of the CD changer. That's almost half the volume lost. I'm not sure what the issue is. If anyone have any ideas. Please let me know!
This mod is such a huge savings--all of this can be done under $10, and with experience, under 1 hour. I hope this guide is helpful to anyone looking to add an AUX port on their Lexus!
Last edited by hanime; 06-11-17 at 03:00 PM.
 06-12-17, 01:13 AM
#2

Awesome write-up!
Maybe it has something to do with how you're only sending voltage to the positive half of CDL/CDR?
Possibly if you split the output to cover both halves of the sine wave.
As an example, typical car audio setups would use a pair of RCAs from the head unit to the amplifier, so R+/R- and L+/L-.
Maybe it has something to do with how you're only sending voltage to the positive half of CDL/CDR?
Possibly if you split the output to cover both halves of the sine wave.
As an example, typical car audio setups would use a pair of RCAs from the head unit to the amplifier, so R+/R- and L+/L-.
The following users liked this post:
hanime (06-12-17)
06-12-17, 09:13 PM
#3
Lexus Champion
Good stuff.
Glad you didn't follow through on my full video tuturial because the cassette thing was not too reliable in the long run.
The CD player method is the best method for cars with external CD changers.
Glad you didn't follow through on my full video tuturial because the cassette thing was not too reliable in the long run.
The CD player method is the best method for cars with external CD changers.
06-12-17, 09:46 PM
#4
Driver School Candidate
Thread Starter
Awesome write-up!
Maybe it has something to do with how you're only sending voltage to the positive half of CDL/CDR?
Possibly if you split the output to cover both halves of the sine wave.
As an example, typical car audio setups would use a pair of RCAs from the head unit to the amplifier, so R+/R- and L+/L-.
Maybe it has something to do with how you're only sending voltage to the positive half of CDL/CDR?
Possibly if you split the output to cover both halves of the sine wave.
As an example, typical car audio setups would use a pair of RCAs from the head unit to the amplifier, so R+/R- and L+/L-.
Here's a bonus of the AUX in action.

Haha thanks for your YouTube tutorials. Your videos are so helpful!
06-12-17, 11:00 PM
#5
Ah, the dreaded LCD screen failure.
Sounds good, though!
If not a matter of only positive or negative, it could be that your phone's auxiliary output is weaker compared to the CD reader's output.
For example, on my aftermarket headunit, using the AUX input with my phone at full volume is quieter (and has much more distortion) than using the USB input.
06-13-17, 11:27 AM
#6
Driver School Candidate
Thread Starter
Ah, the dreaded LCD screen failure.
Sounds good, though!
If not a matter of only positive or negative, it could be that your phone's auxiliary output is weaker compared to the CD reader's output.
For example, on my aftermarket headunit, using the AUX input with my phone at full volume is quieter (and has much more distortion) than using the USB input.
Sounds good, though!
If not a matter of only positive or negative, it could be that your phone's auxiliary output is weaker compared to the CD reader's output.
For example, on my aftermarket headunit, using the AUX input with my phone at full volume is quieter (and has much more distortion) than using the USB input.
EDIT: I confirmed with my laptop that the source really matters. My laptop at max level is just like the CD changer's output volume--had to turn the **** down lol.
Last edited by hanime; 06-13-17 at 07:29 PM.
04-23-18, 10:58 AM
#7
Driver School Candidate

Join Date: Apr 2018
Location: Nsw
Posts: 9
Likes: 0
Received 0 Likes
on
0 Posts
I tried with all +ve and -ve connectors for both R and L but the volume is still around half.
Has anyone figured out the way to overcome low volume
have tried with diff phones aswell. difference is minimal
Has anyone figured out the way to overcome low volume
have tried with diff phones aswell. difference is minimal
Trending Topics
01-20-20, 12:43 PM
#8
Driver School Candidate

Join Date: Jan 2020
Location: master
Posts: 25
Likes: 0
Received 0 Likes
on
0 Posts
I always notice that even when plugging a Phone into a direct USB on newer cars there is a massive volume reduction from MP3 so try writing FLAC files, you will notice a missive increase in volume, But also another thing is, Your going from tiny wires into big fat wires, this will cause Resistance and don't forget about low voltage cable.. the longer it is, the weaker the signal. just an idea but bloody great hack I'm about to do this.,
Lets face it, this is a 20 year old car with all the stock speakers... and the sound quality is amazing Toyota/Lexus.
Lets face it, this is a 20 year old car with all the stock speakers... and the sound quality is amazing Toyota/Lexus.
07-26-21, 12:12 PM
#9
Driver School Candidate

I want to make a littl update on the topic:
I recently tried to do similar thing o a 97 ES300, but to mount bluetooth receiver instead of 1/8" input. But later on that below...
Now, about this technique here. There are 3 things that are worth mentioning when you connect it like this
1. It wont work just cutting CD+L, CD+R and GROUND (I believe: red, black, gray) and connecting it to your aux mod. You need yo make "y" path cable. So the signal from your aux is soldered to radio unit (connector) and to amplifier at the same time. (You can also use those three CD-L, CD-R, GROUND. It does not matter at all. I believe it would be just phase flip. )
2. Signal connected that way as described is flowing through ALL types of connections (FM setting, AM setting, TAPE setting, CD setting). It means, when you listen to FM radio and play some sound via
your aux mod input, it will be heard along with the radio. So only when you put blank CD and go to CD mode you'll have just dry aux signal... This connection actually has some advantage -> you can play CDs as usual, because you're not loosing any CD changer signal at all. Aux signal is carried pararell.
3. I'm wonedering what's TX-R, TX-L in that connector? Anyone?
4. BLUETOOTH tip. As you need to make 12V to unit (w/ground), you gotta connect it somehwere. Don't connect it to the (right) connector (shown above) because I did it for the 1st time and it was noisy as hell... I ended using 4 pin connector from digital clock (just above radio when air vents are). The 4th pin (ACC+) is 12V, the 2nd pin labeled (E-) is ground.
It works great :-)

Thread
Thread Starter
Forum
Replies
Last Post
ES300JAX
Lexus Audio, Video, Security & Electronics
2
02-26-07 06:41 AM