When you click on links to various merchants on this site and make a purchase, this can result in this site earning a commission. Affiliate programs and affiliations include, but are not limited to, the eBay Partner Network.
Did a headlight restoration this weekend. Spent more time than I planned but I'm happy with the results.
Finished product http://imgur.com/a/OB8rl
The fog lights show what they looked like before. Haven't done the turn signal part yet.
I started with purchasing the Mothers ReNu headlight restoration kit. It has 1500 and 3000 grade sandpaper, with a a polishing pad for a drill and polish. Got some 2500 grade paper as well. Also purchased some gloss clear spray paint.
I started with a good initial clean and scrub to get all the crap off.
Moved to a 1500 grade sand with the pad provided. Slapped it on the drill and went to work. Moved to the 2500 paper after a quick clean to remove the loosened oxidation. Made sure to do a wet sand between all of this.
After the headlight was sanded down, I started to apply the clear coat, made sure to cover the car well with a few garbage bags.
I did about 4 coats with a wet sand at 3000grade at the end. A nice polish at the end to do the final touches.
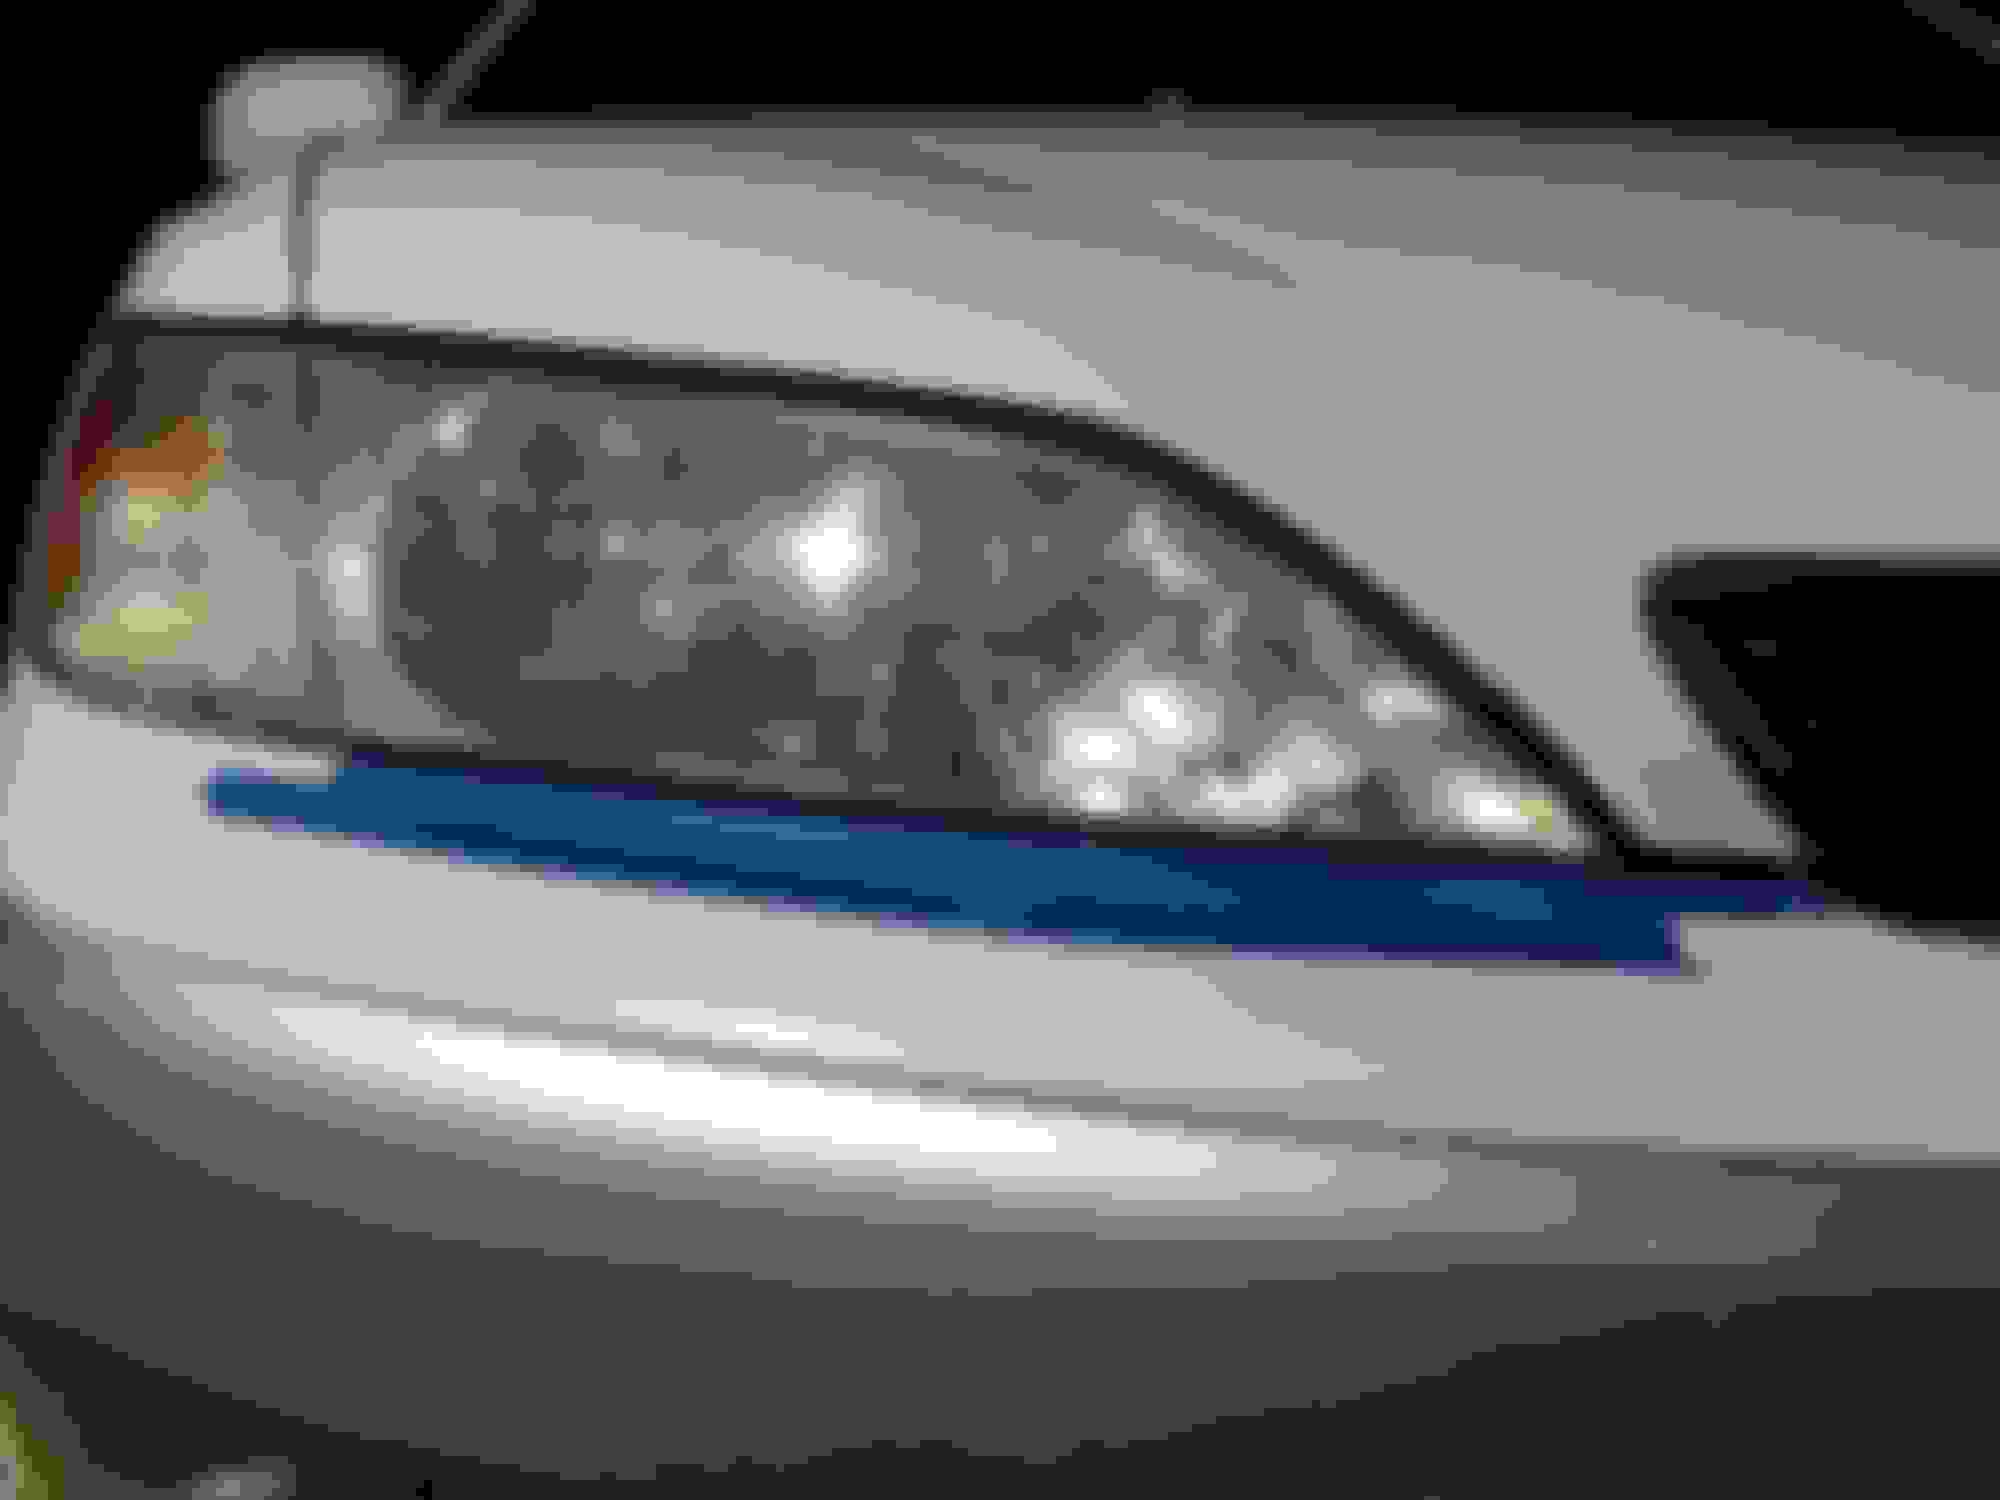
I'm pretty impressed with the results, but managing the orange peel of the clear coat applications. Probably should have wet sanded more to completely remove the orange peel.
I'd recommend this over just sanding and polishing. If you don't reapply a clear coat, you will have to polish every year or more.
I purchased the 3m kit from Amazon ($15.00) for my sons F150 and the results were amazing as they looked like new. I now treat them with a spray a few times a month to ensure they don't get that way again.
I just did the toothpaste thing the other day because the tube was almost empty and the headlights came to mind as i was about to toss it. It worked fairly well, the lights are no longer yellow but the results are nowhere near this good. Still, I was impressed for an almost free cleaning that only took 10 or.so minutes, it's a good start.
Mine were pretty bad when I bought the car, so I tried the Meguiar's restoration kit. Pretty surprised at the results, I was honestly shopping for used ones on eBay before trying this. Yeah, I used just normal painter's tape on the bumper and opened the hood so I wouldn't have to worry about the paint above. While these photos aren't the same headlight housing, I assure you, they were both in the same sorry state when I bought the car.
Before
After
It's been about 3.5 months since I did it, and I've used the protectant in the kit on them every couple weeks. Still looks about the same as in the after photos.
Really does wonders for the cars appearance, now when I drive past yellowed ones in my neighborhood I just want to hop out with some toothpaste and clear them up real quick. "Headlight fairy strikes again, town in terror."
For some reason I wasn't able to see the image in the link. I did the same thing to my car maybe three days ago. The wet sand, the toothpaste, the clear coat, and it worked great, however, I think my clear coat job came out foggy, I was really able to tell at night with the lights on and physically looking at the headlights. I didn't do a wet sand after my clear coat layers though, I didnt know if I should. Would that help get rid of the foggy crystalized look of the clear coat? Or should I re do it?
For some reason I wasn't able to see the image in the link. I did the same thing to my car maybe three days ago. The wet sand, the toothpaste, the clear coat, and it worked great, however, I think my clear coat job came out foggy, I was really able to tell at night with the lights on and physically looking at the headlights. I didn't do a wet sand after my clear coat layers though, I didnt know if I should. Would that help get rid of the foggy crystalized look of the clear coat? Or should I re do it?
Images back up, had to edit out the license plate number just in case I make an enemy here
As for the clear coat, Ive read a thicker grade sand paper (600-800 at the lowest) will help with the clear coat, but what really helps are 3-4 coats of clear coat with a wet sand and polish at the end.
One headlight (driver side) had an initial sand at 600, then a 1500, then a 2500, then clear coat.
The other headlight (passenger) just had the 1500 and 2500.
Both received a 3000 wet sand after the final spray.
The passenger had the worst orange peel, but the clarity is there. I'm putting in HID's this weekend so we will see how it comes out then. If it's poor, I'll just sand down the passenger and start again.
Nice, yea ill wet sand it again and then polish it. Eventually when and if I get new headlights I will do a vinyl cover
Good job. Is all that spray on your car from the polisher, or are those stone chips?
Some chips, but most of that white gunk is the oxidation sanded off. The girl needs a bath, but I was so excited by the results I went right to snapping pictures.
My ES300 is not the prettiest of the lot but she's mechanically sound!
 11-08-15, 03:03 PM