DIY Re-upholstery Leather Seat Kit (Gen2) under $450 shipped
 01-10-13, 08:57 PM
#1
Lead Lap
Thread Starter
Here you go Fellas,
I will post pics first then as memory serves me I will post my notes
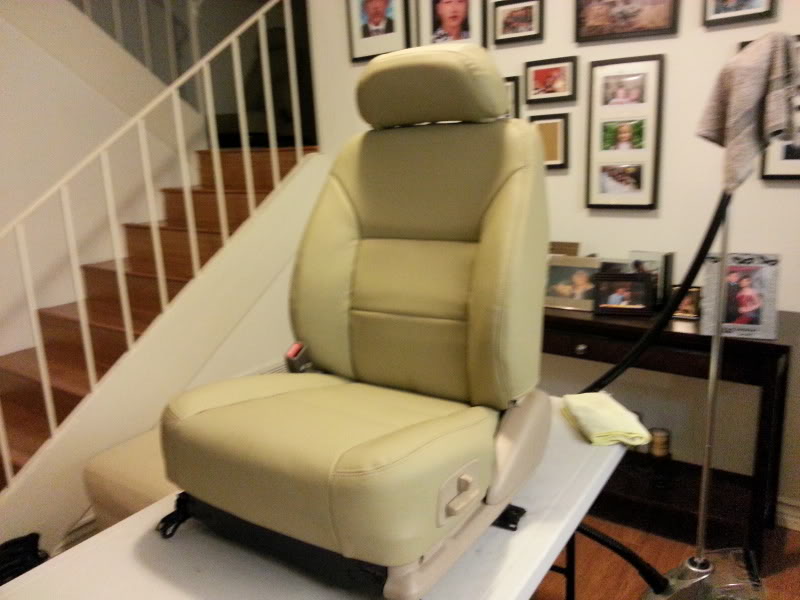
eBay's SEATSSHOP, ( I know I know, I was yelled at by my wife, but she ain't yelling anymore, can't get that silly grin of her face ) Made in China but quality is not bad, they have offices in Canada and Texas. They can also make any seat skins if you send them your original. I sent my Mother's LX450 front seats, arm rest and head rest. Gave me a great deal at $175 shipped, WTD??? I guess they will use it as the sample for future LX450-470 sales.
They were very professional and patient with me, Sent me swatches to make sure I choice the right color
Kit $450 Shipped:
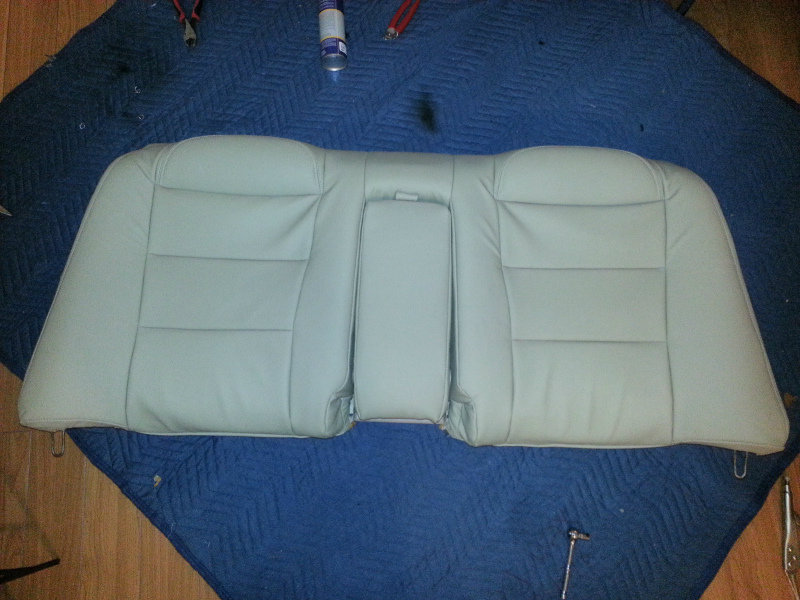
L4 Color, much lighter than OEM but looks great.


Tools Needed, Most Important:
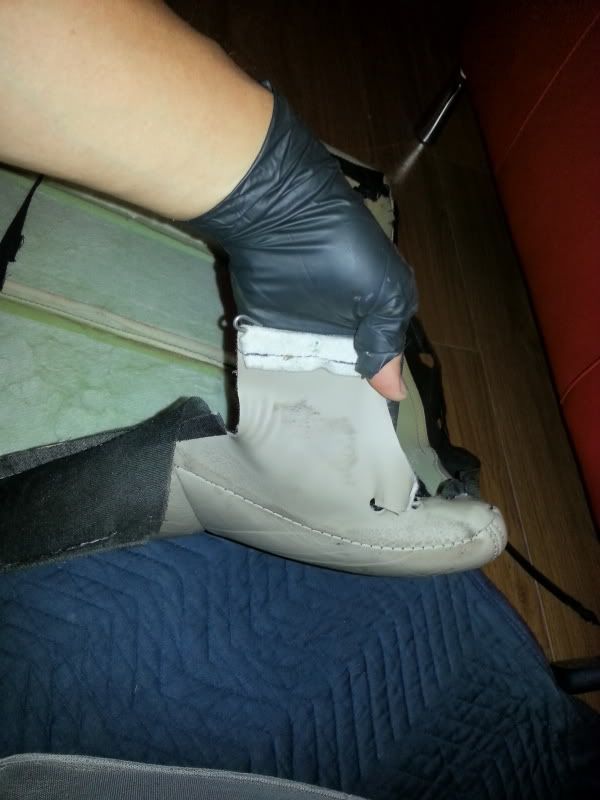
Rubberized Gloves
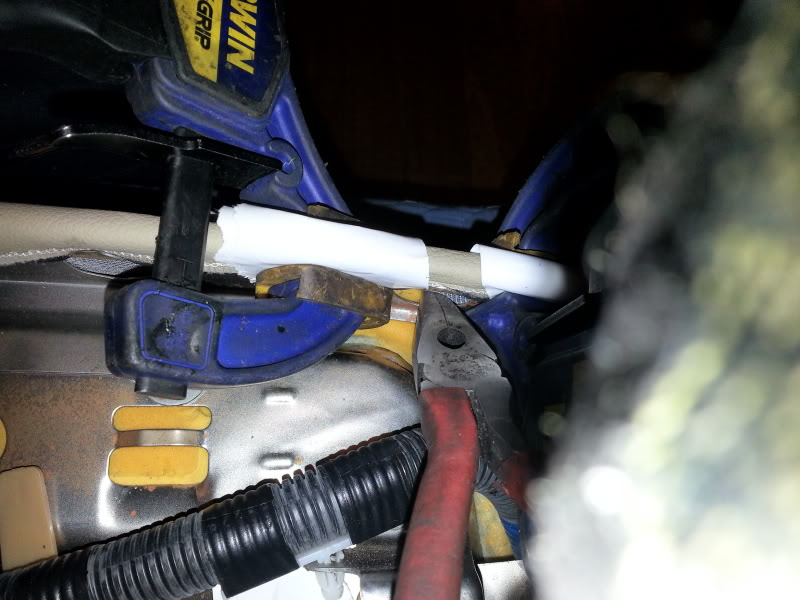
Harden Tipped Cutter, not to cut but to twist and pry those darn hog rings
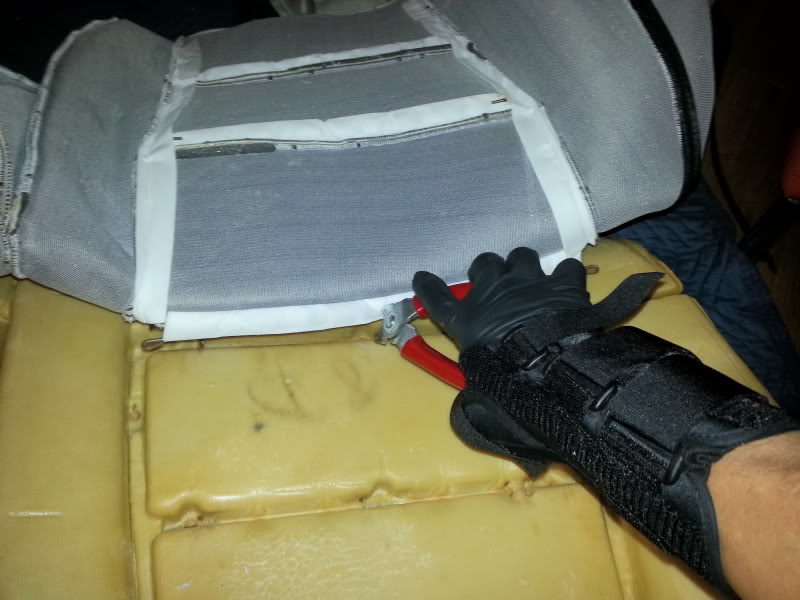
Hog Ring Pliers, preferably angled
Clothes Steamer
Plastic Shopping Bag, you'll see.
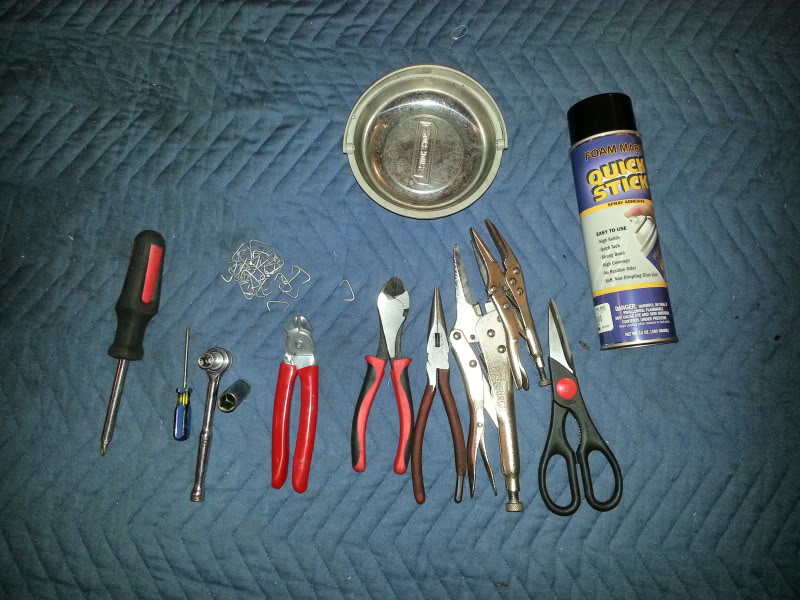
Supplies:
Adhesive Spray
Polished Steel Hog Rings to resist Rust
Mineral Oil to clean adhesive over spray
Please note, I injured my wrist on NYD fun run in my Porsche, lost rear end and ditched her and it snapped my steering wheel the opposite direction and took my thumb with it So yes I did this pretty much with one hand so I guess I could have done it quicker.
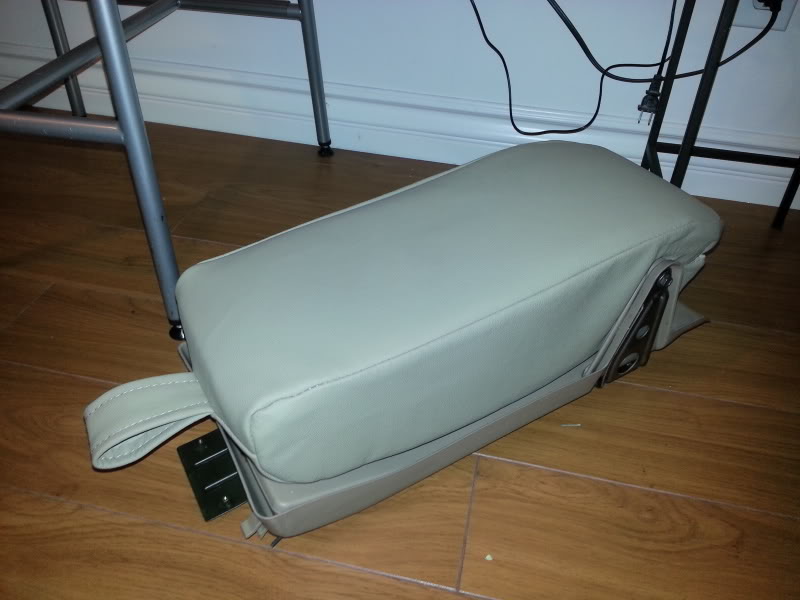
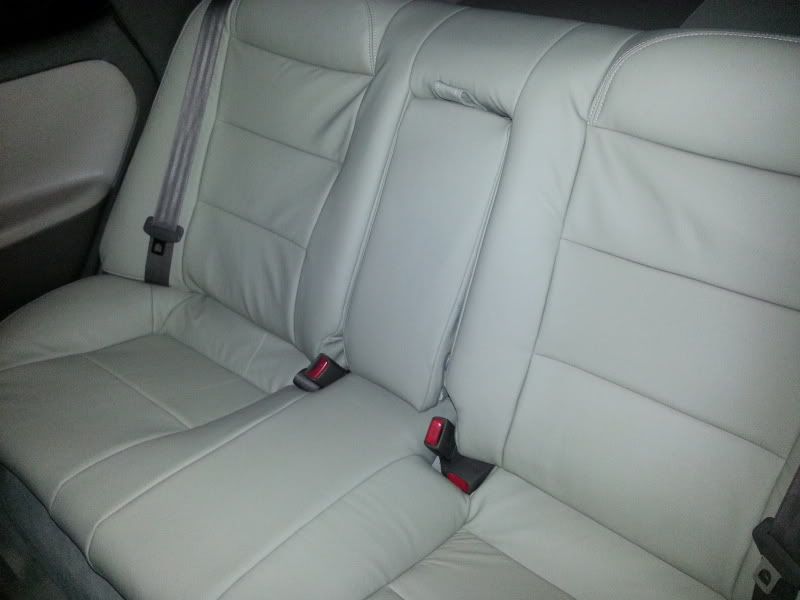
Rear Seat Removal
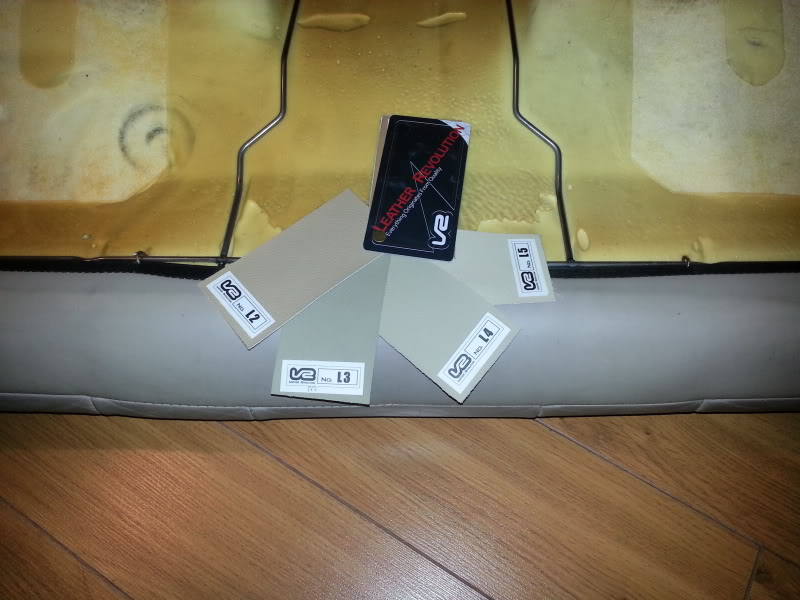
Swatches against the OEM leather color, wife chose L4. Mom chose L3
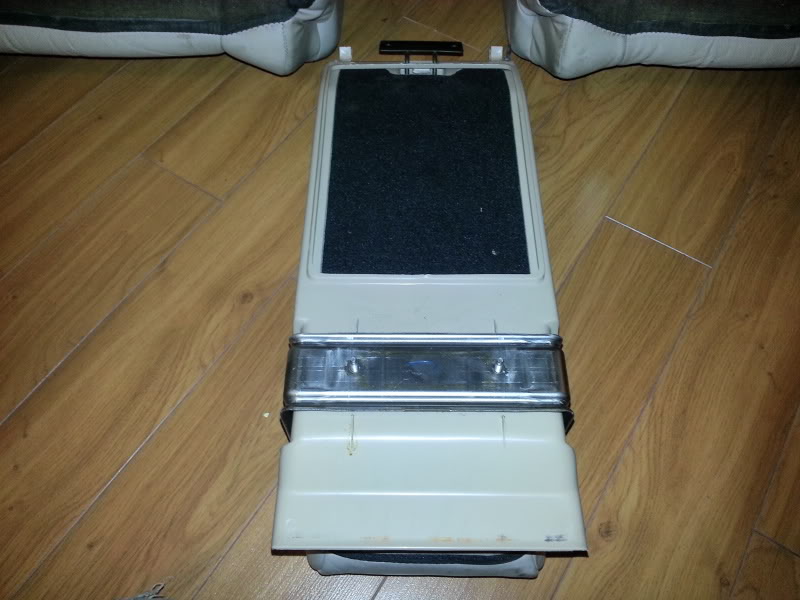
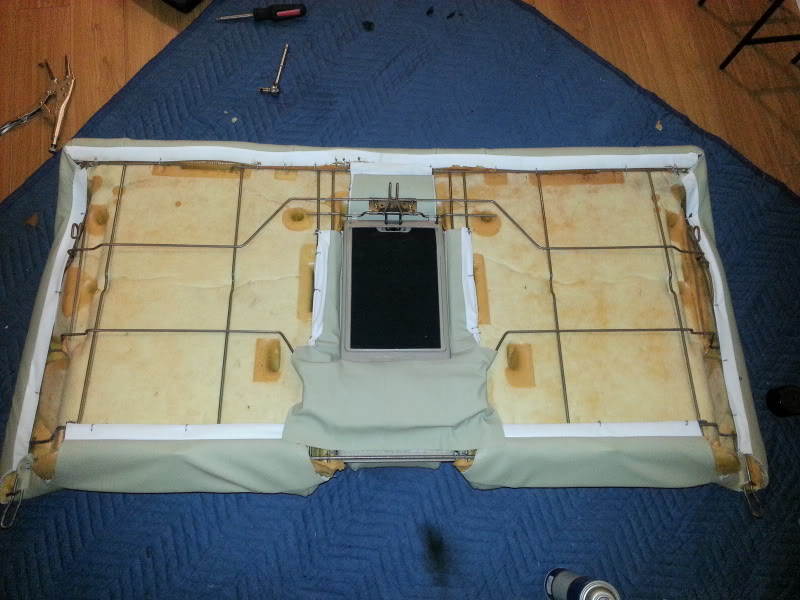
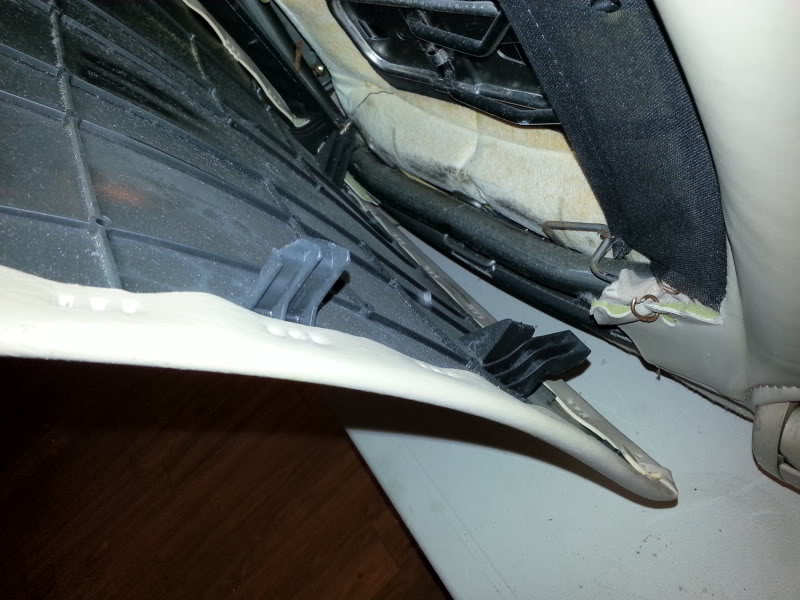
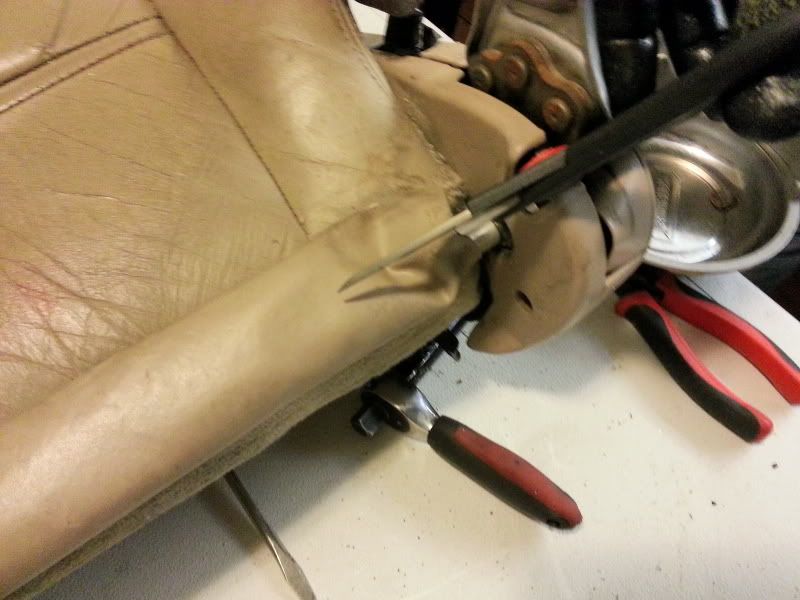
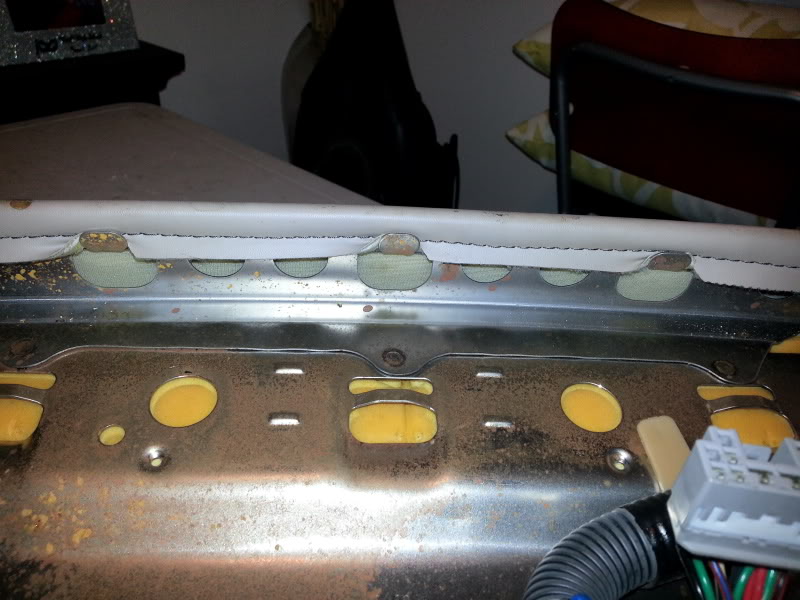
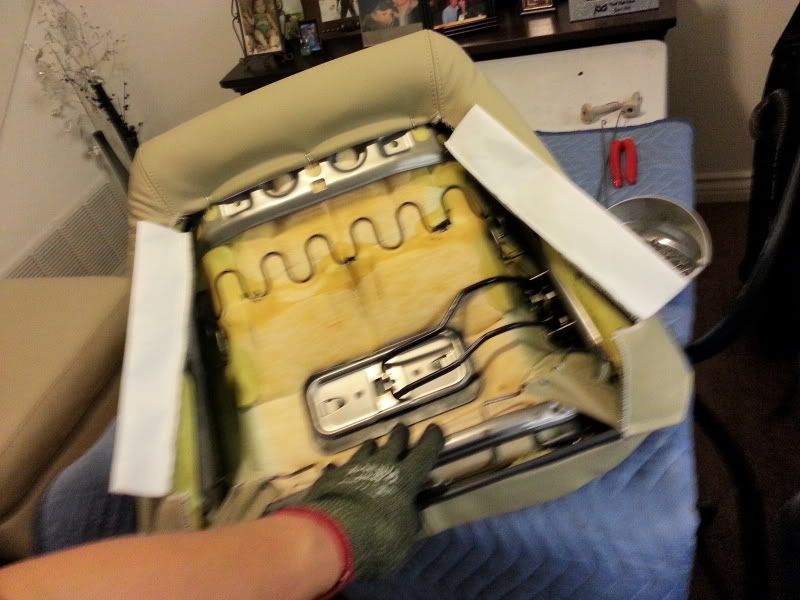
Rear seat just pulls up off of two bracketsand out and the top section is held down by 2 14MM bolts and then it pulls up off the brackets 2 sides and center.
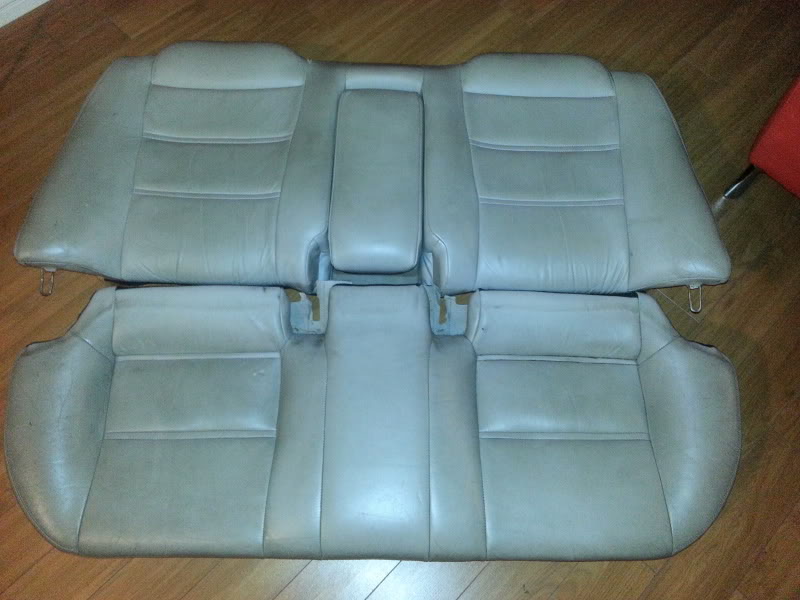
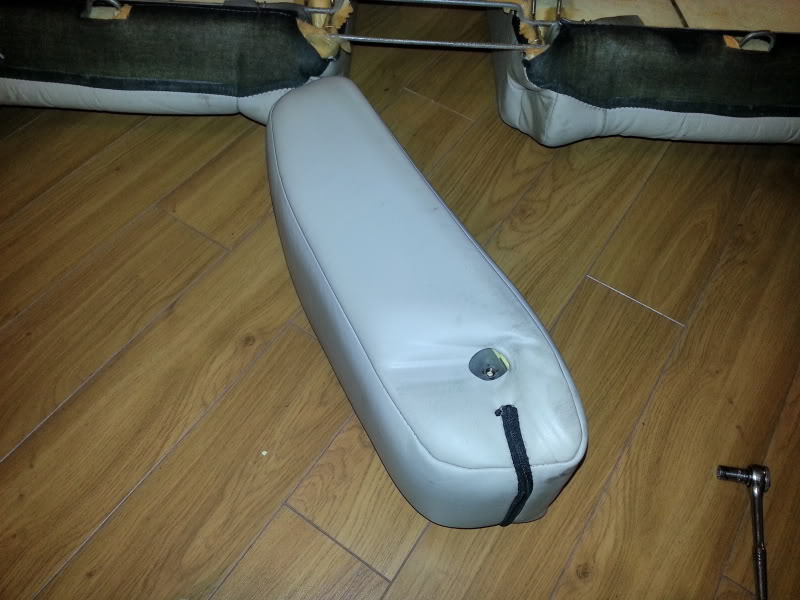
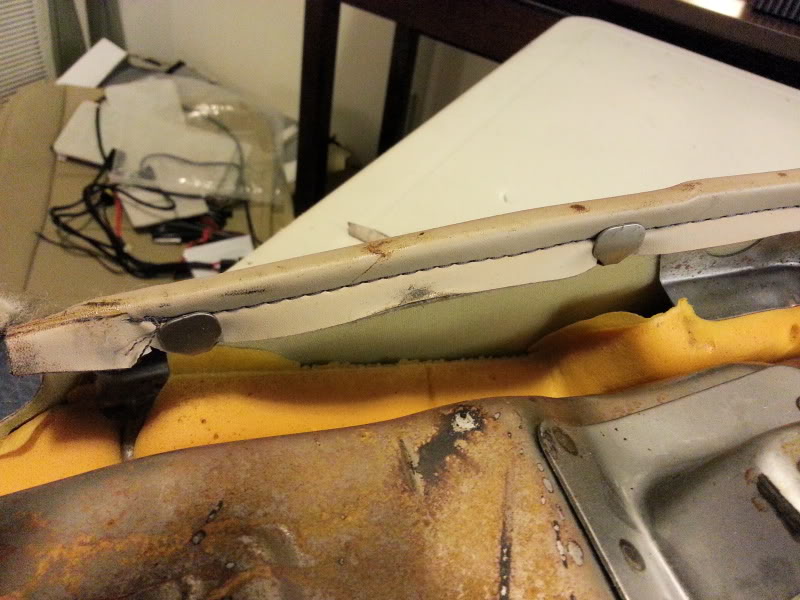
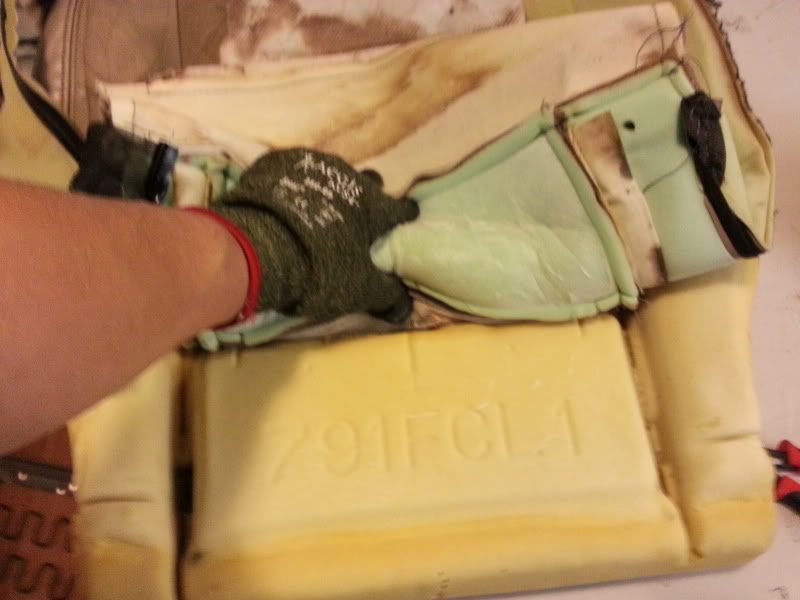
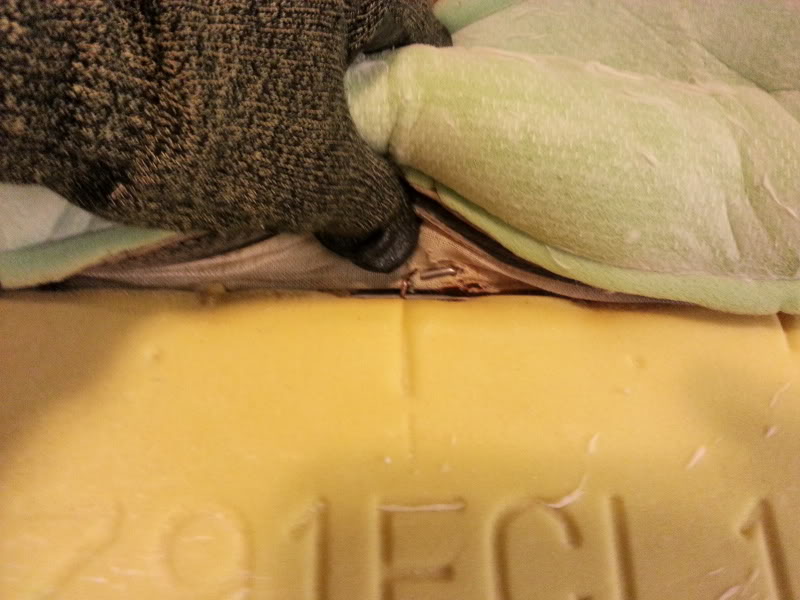
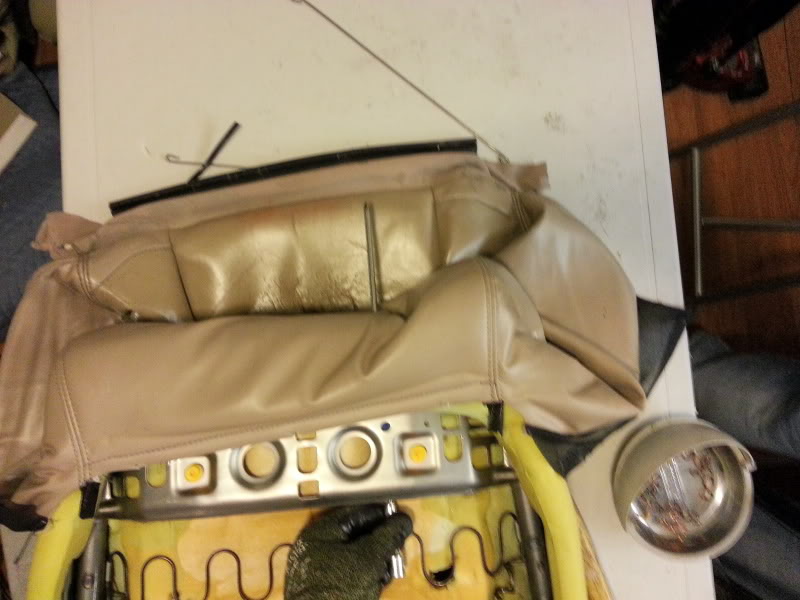
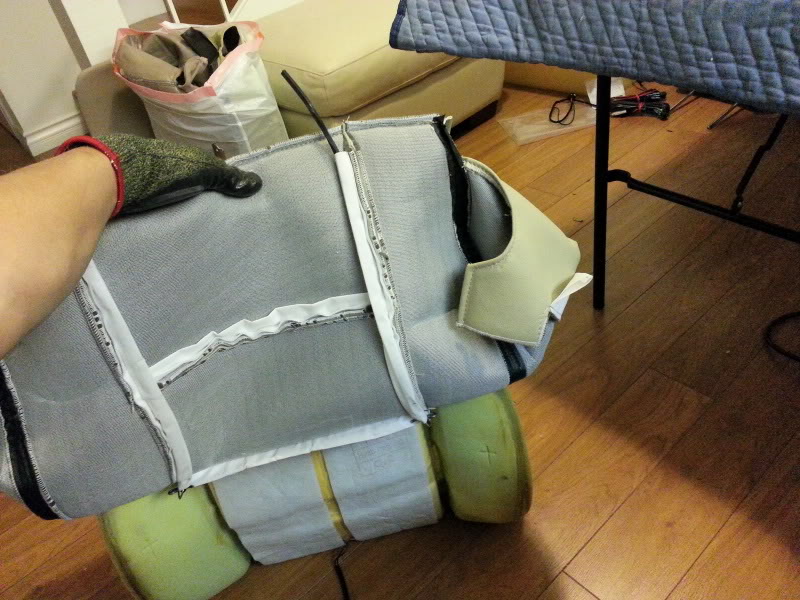
I chose to do the arm rest first. OEM is zippered, the new one comes with a snap strip/clip, like Oragami :P

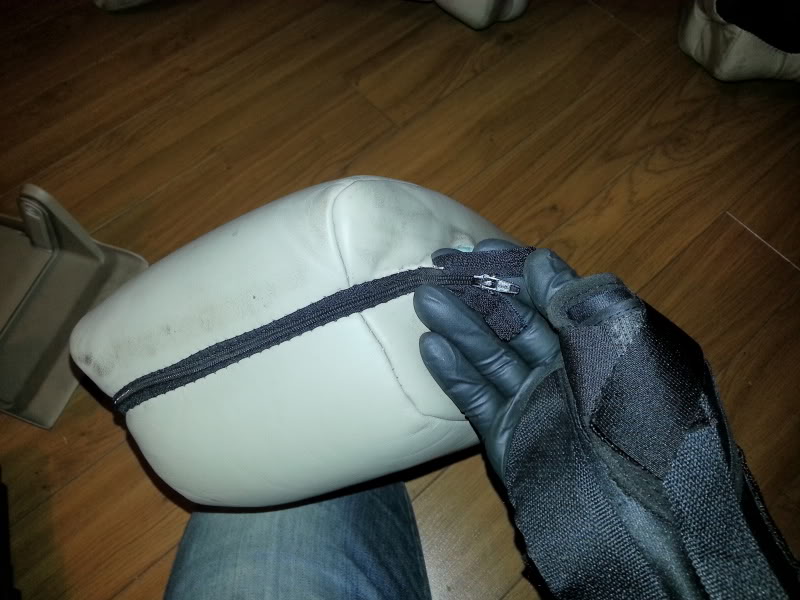

Just needs steaming
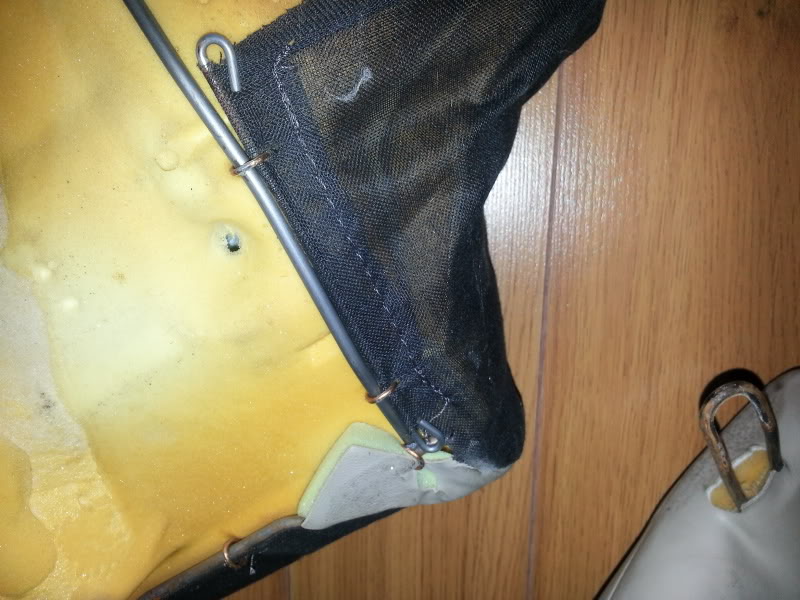
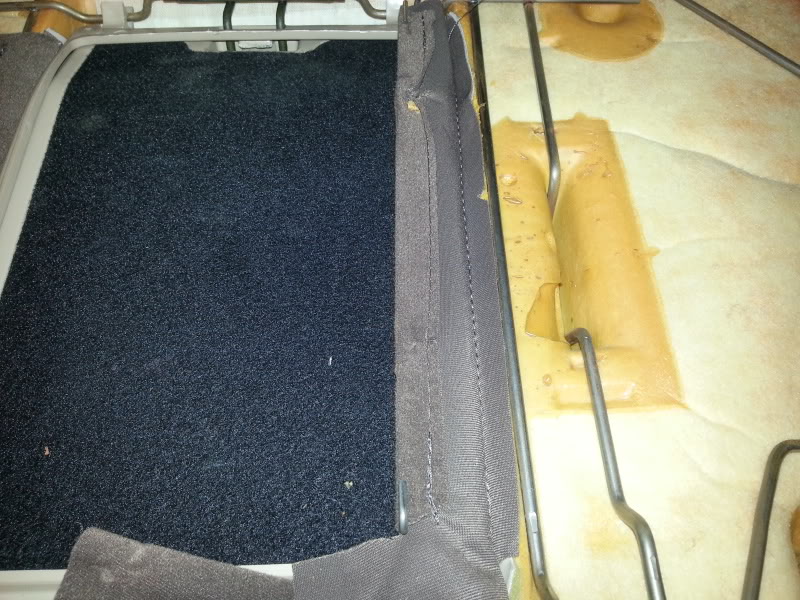
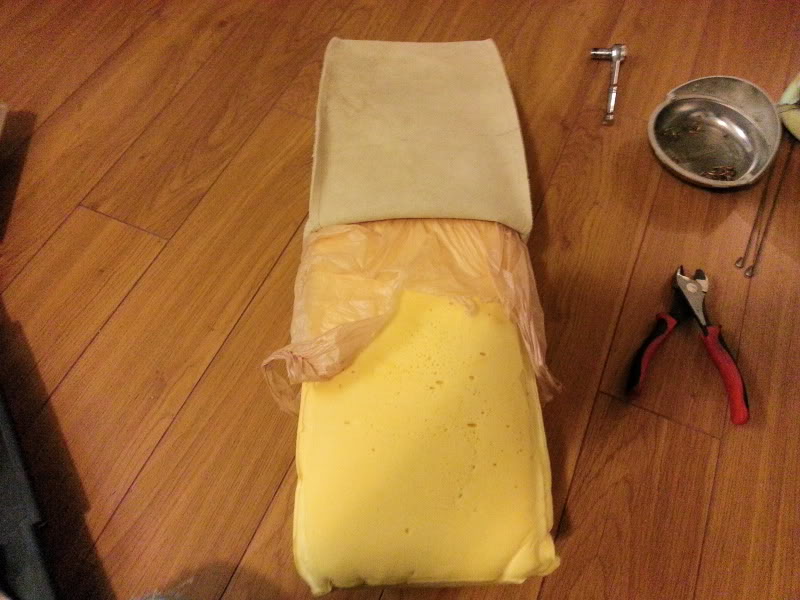
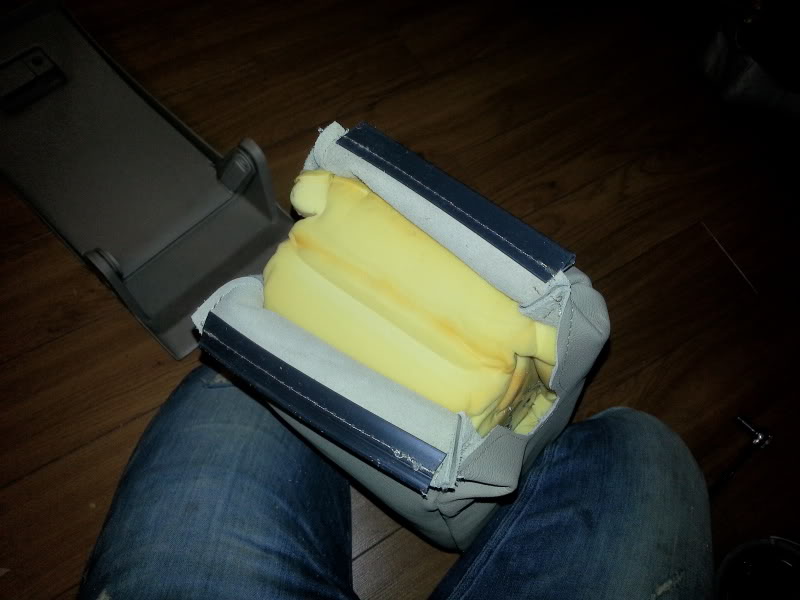
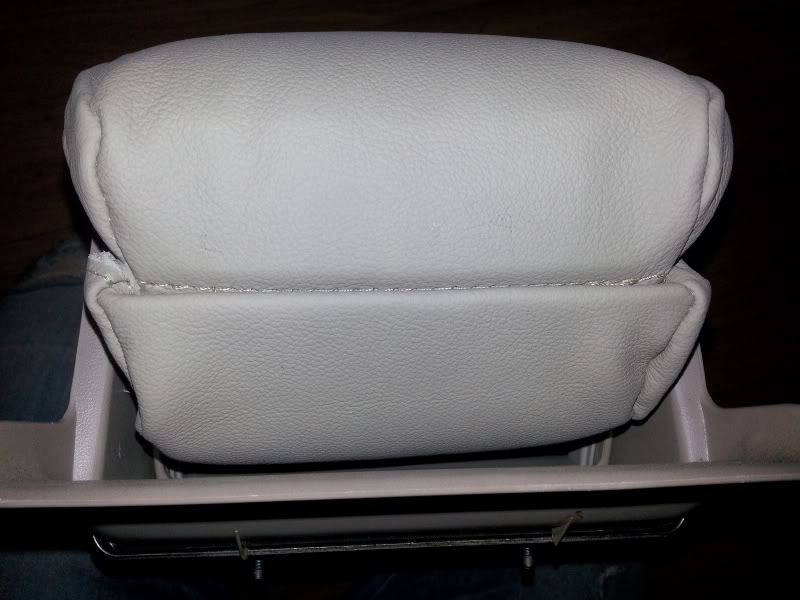
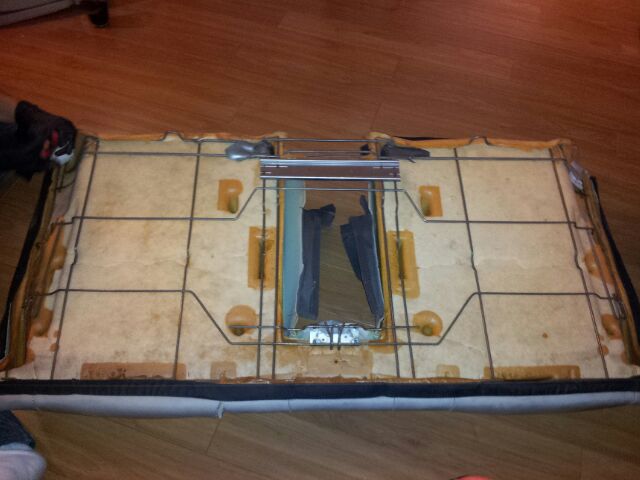
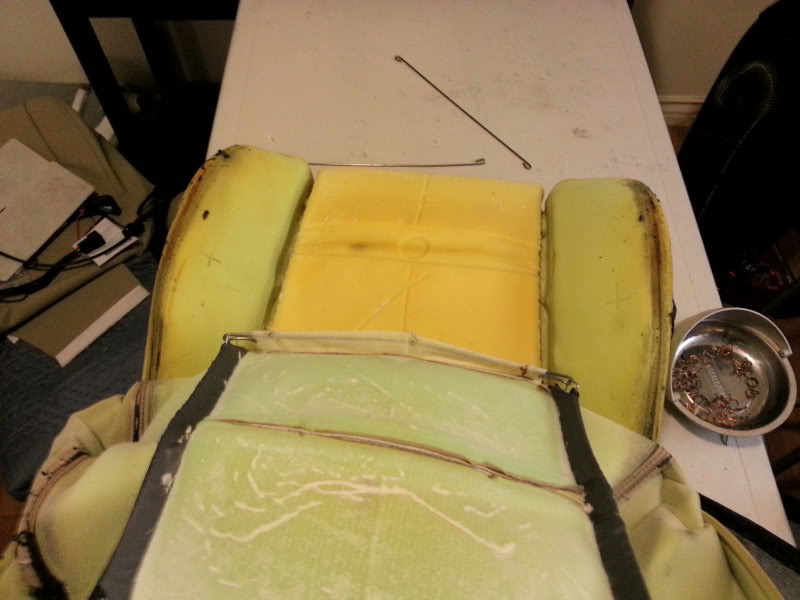
The Rear Seat TOP:
I will post pics first then as memory serves me I will post my notes
eBay's SEATSSHOP, ( I know I know, I was yelled at by my wife, but she ain't yelling anymore, can't get that silly grin of her face ) Made in China but quality is not bad, they have offices in Canada and Texas. They can also make any seat skins if you send them your original. I sent my Mother's LX450 front seats, arm rest and head rest. Gave me a great deal at $175 shipped, WTD??? I guess they will use it as the sample for future LX450-470 sales.
They were very professional and patient with me, Sent me swatches to make sure I choice the right color
Kit $450 Shipped:
L4 Color, much lighter than OEM but looks great.
Tools Needed, Most Important:
Rubberized Gloves
Harden Tipped Cutter, not to cut but to twist and pry those darn hog rings
Hog Ring Pliers, preferably angled
Clothes Steamer
Plastic Shopping Bag, you'll see.
Supplies:
Adhesive Spray
Polished Steel Hog Rings to resist Rust
Mineral Oil to clean adhesive over spray
Please note, I injured my wrist on NYD fun run in my Porsche, lost rear end and ditched her and it snapped my steering wheel the opposite direction and took my thumb with it
So yes I did this pretty much with one hand so I guess I could have done it quicker.Rear Seat Removal
Swatches against the OEM leather color, wife chose L4. Mom chose L3
Rear seat just pulls up off of two bracketsand out and the top section is held down by 2 14MM bolts and then it pulls up off the brackets 2 sides and center.
I chose to do the arm rest first. OEM is zippered, the new one comes with a snap strip/clip, like Oragami :P
Just needs steaming
The Rear Seat TOP:
Last edited by DRACO A5OG; 01-10-13 at 10:42 PM.
 01-10-13, 08:57 PM
#2
Lead Lap
Thread Starter

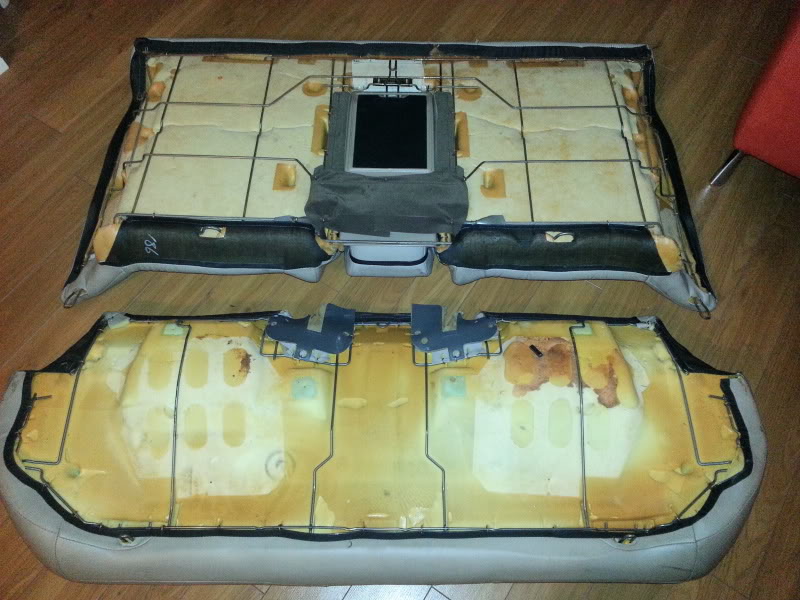
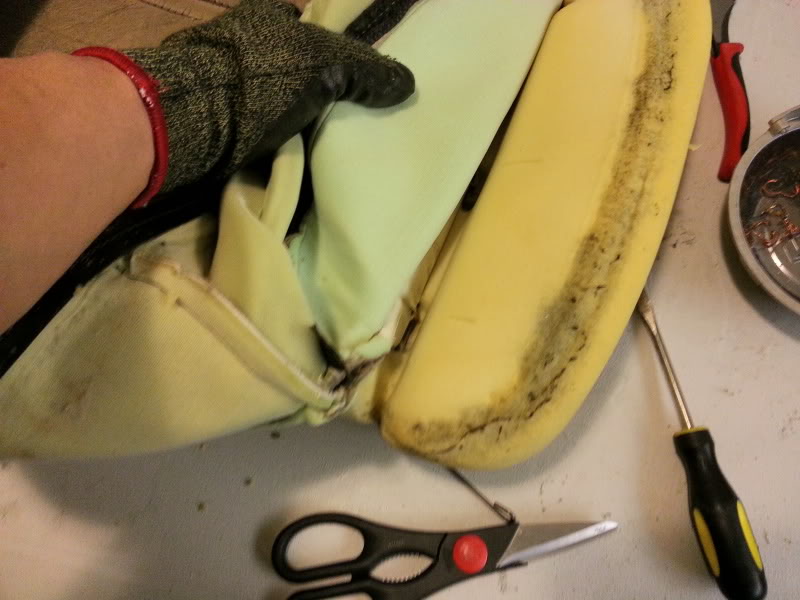
Bottoms are pretty much the same steps, try your best to make sure everything is aligned, if not no worries the STEAMER will fix it

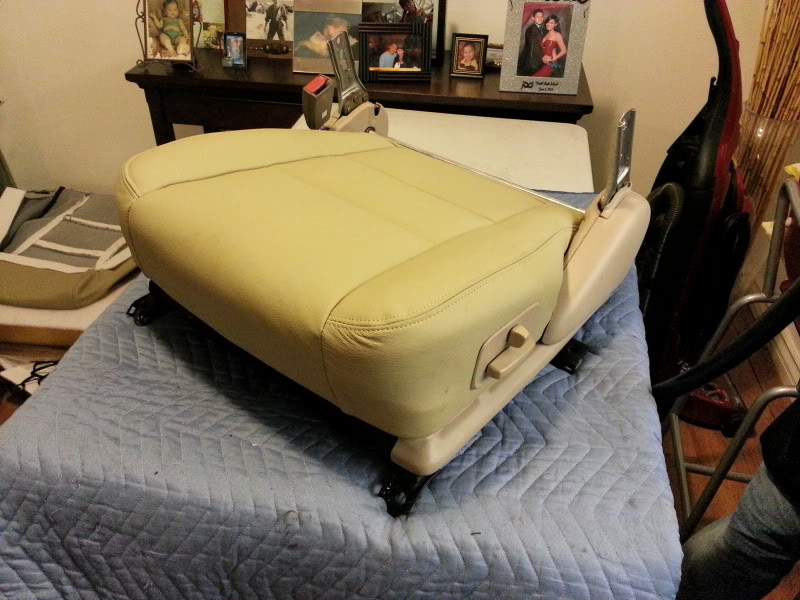
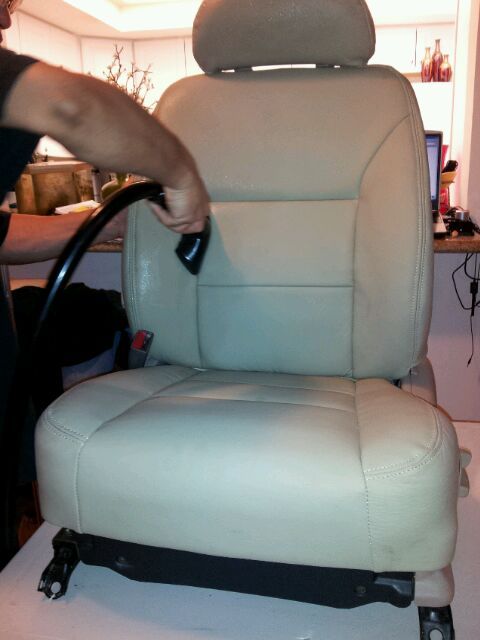
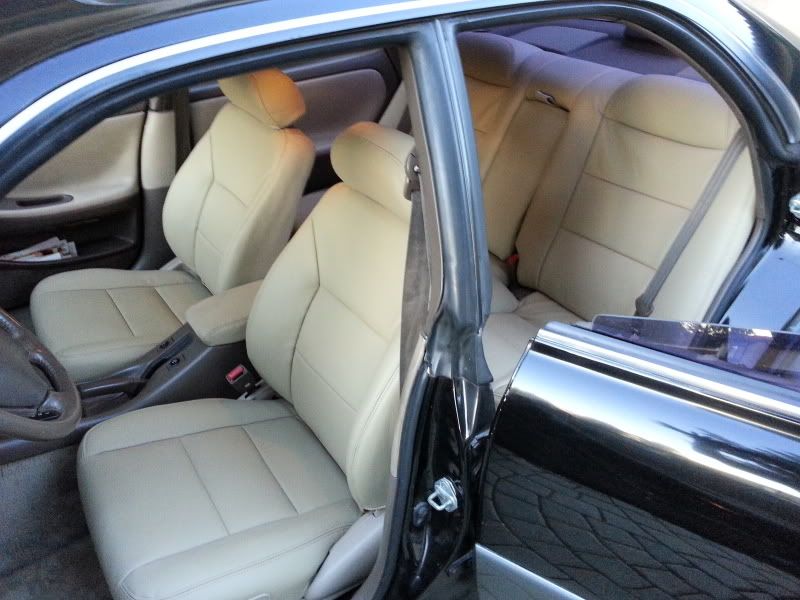
Installed:
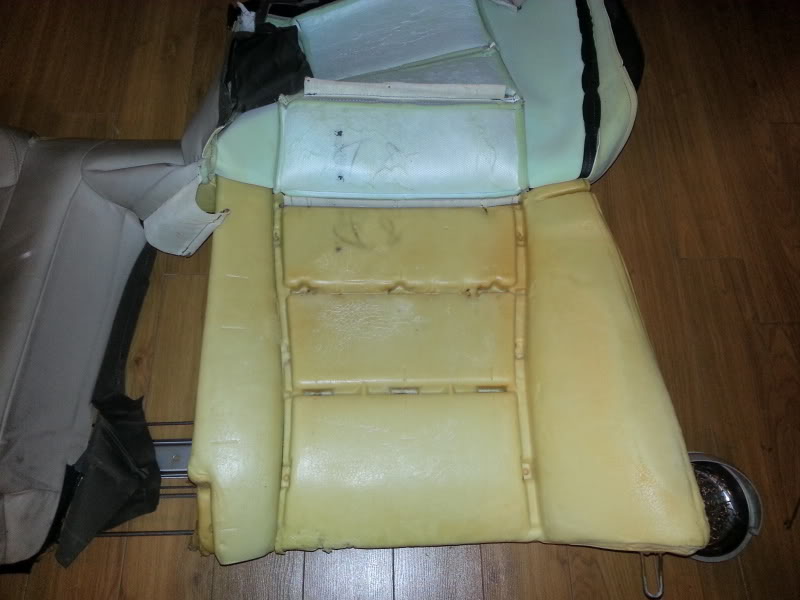
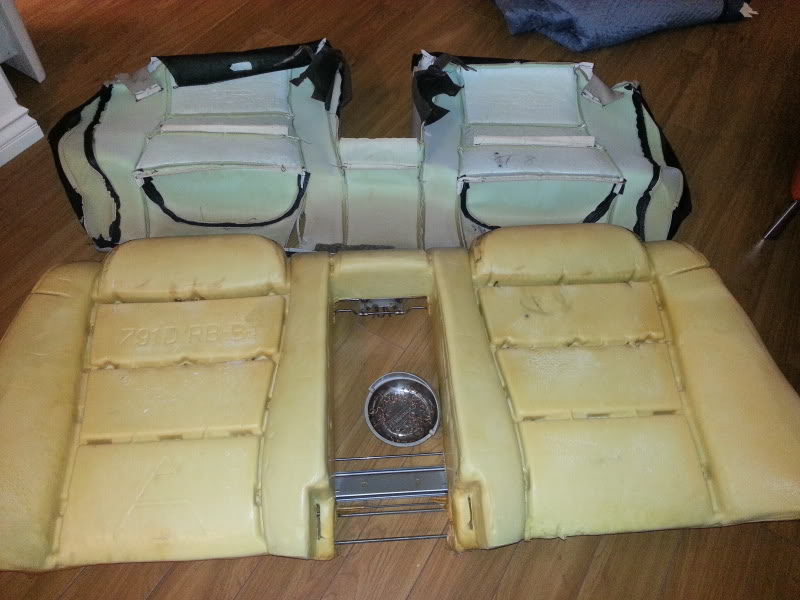
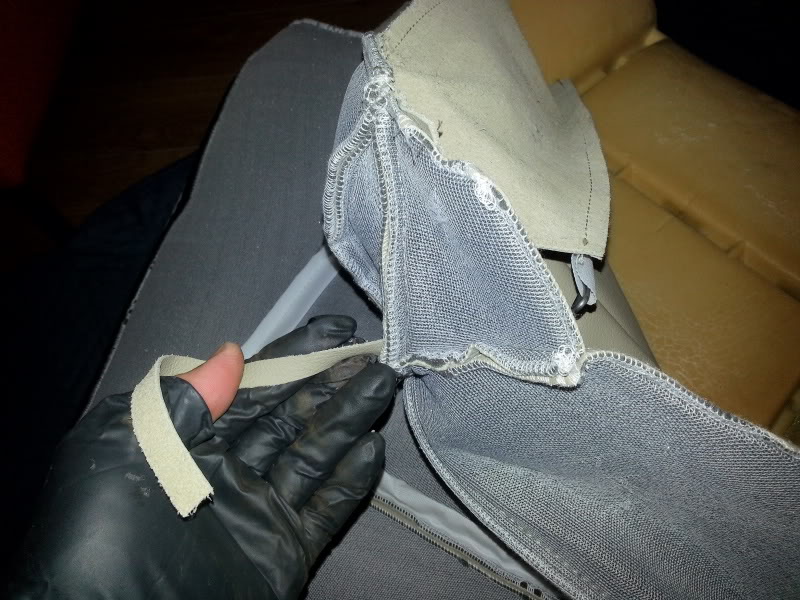
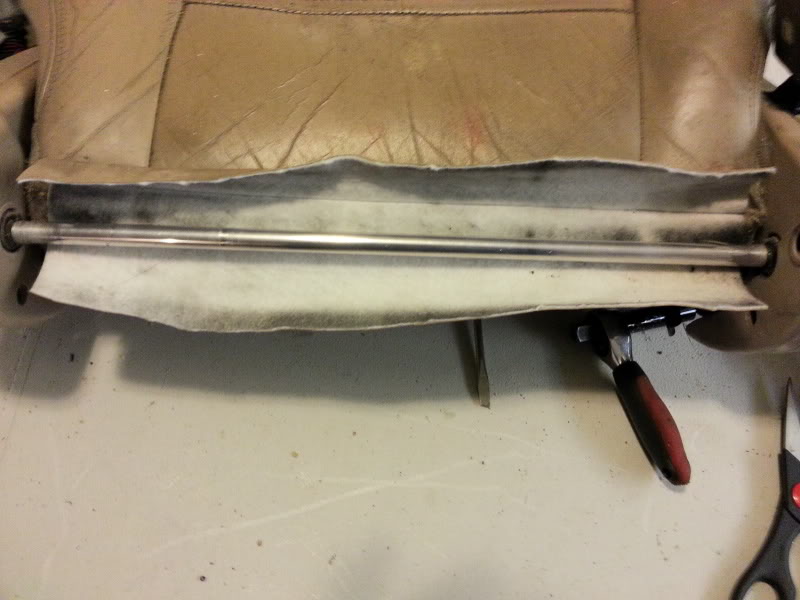
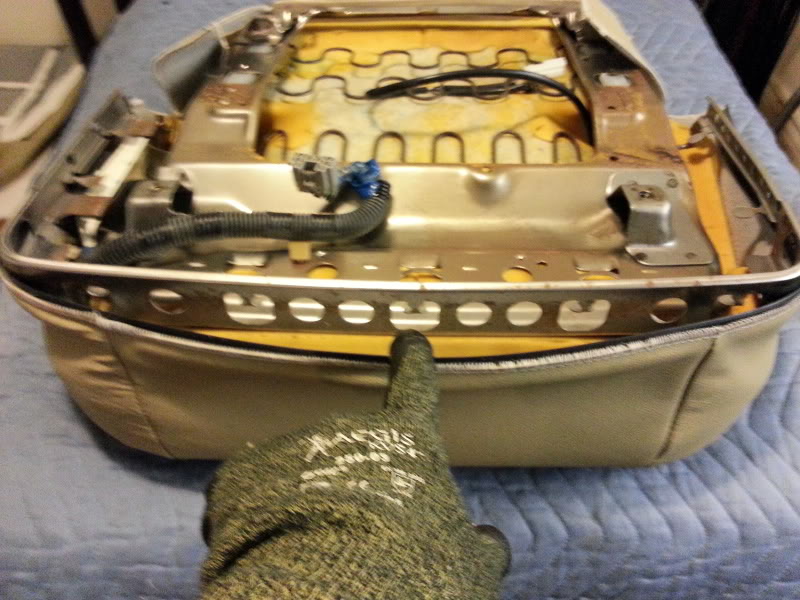
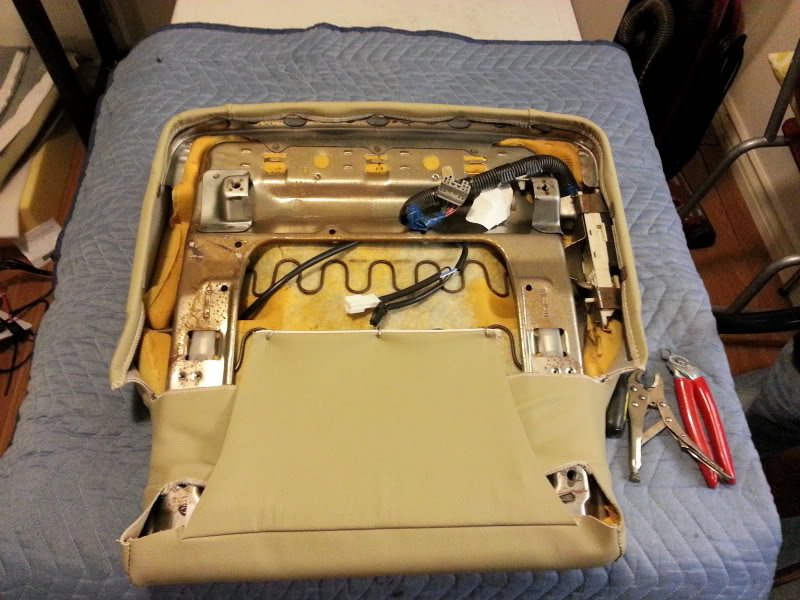
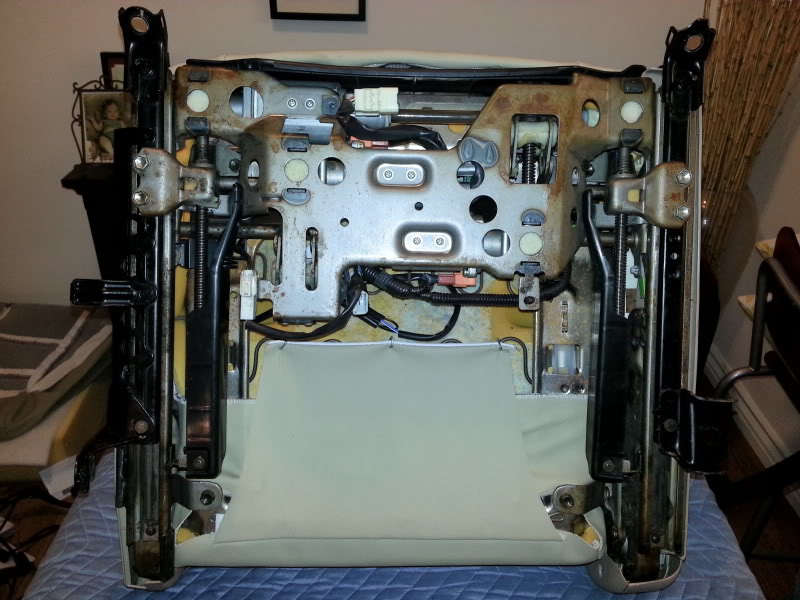
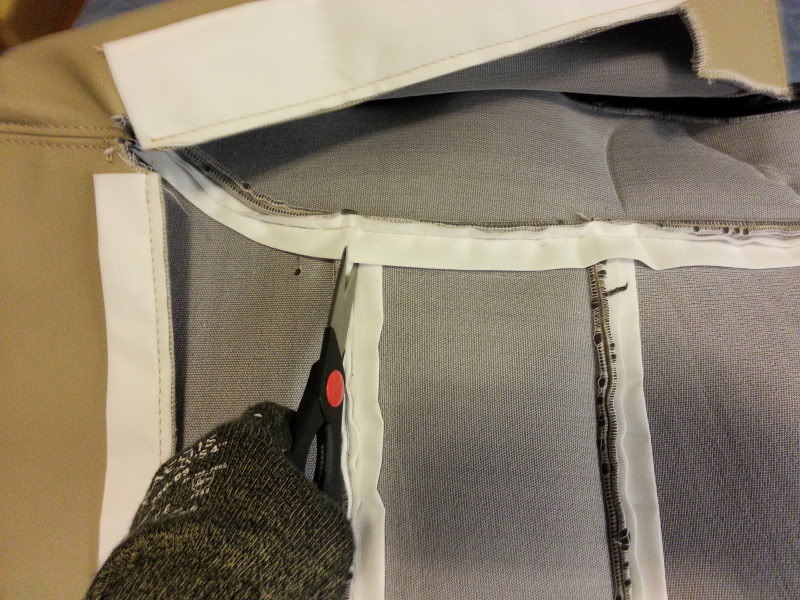
FRONT Seats, you must separate the tops from the bottoms:

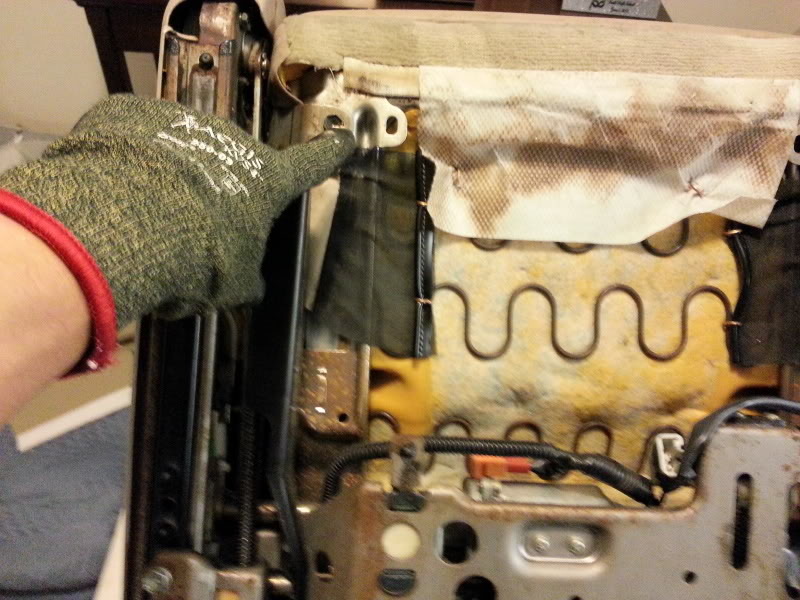

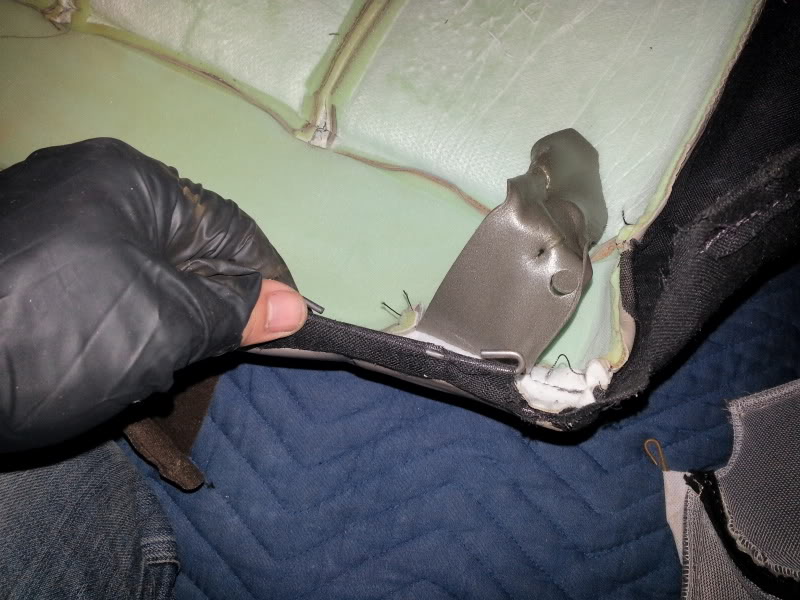
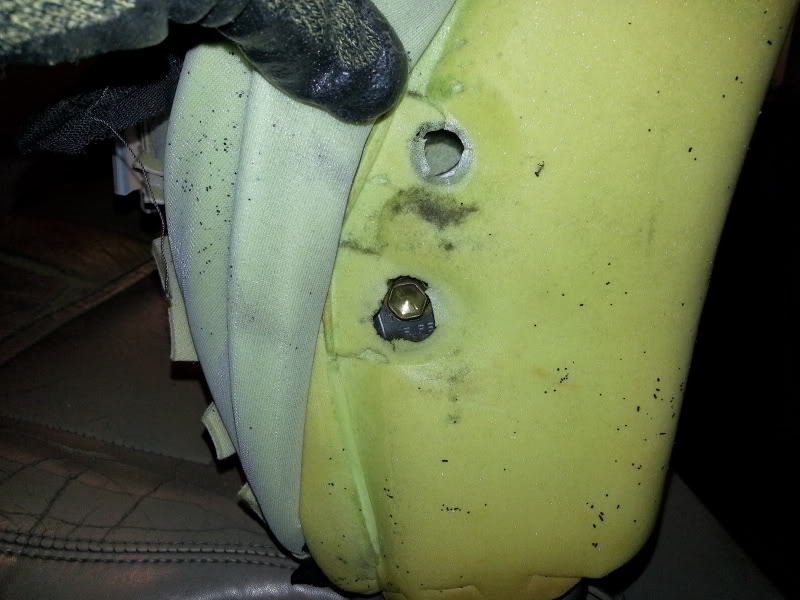
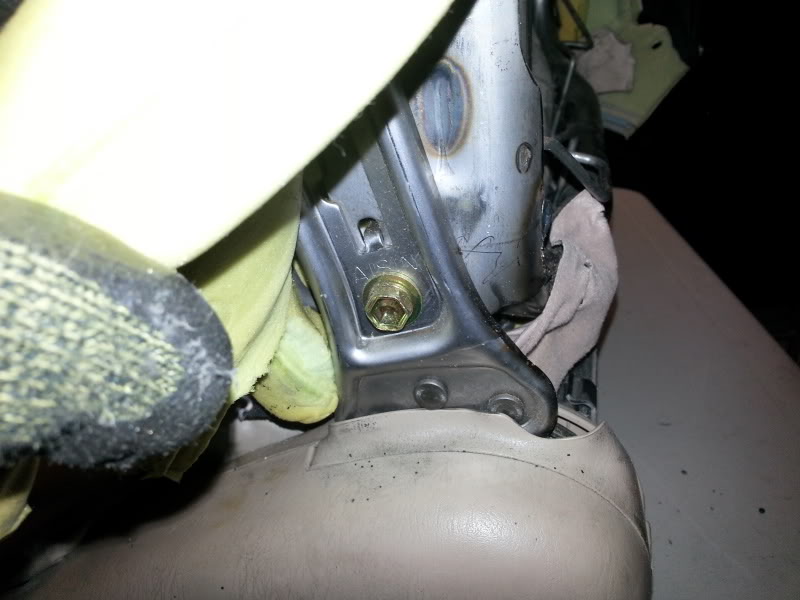
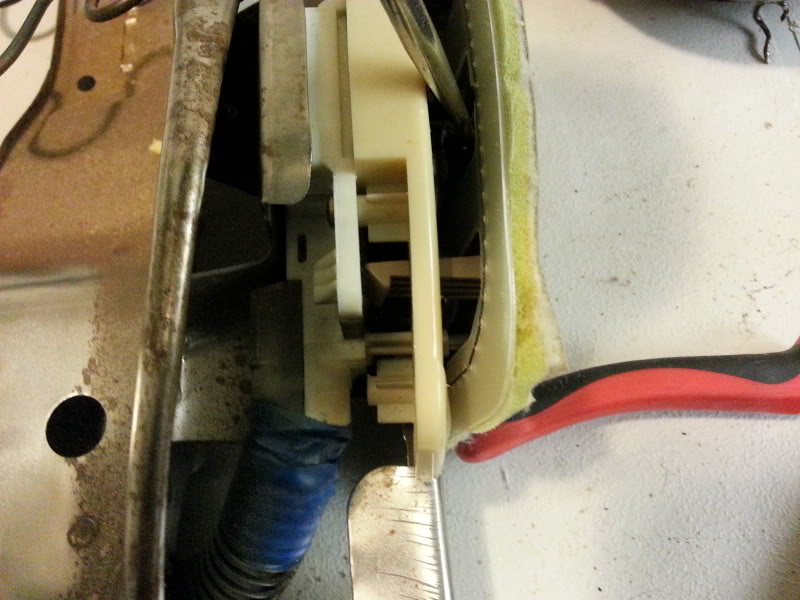
These tabs if not all one will break, can't help it, NO worries you can go to Toyota and it will cost you $2.74 each, I got lucky and only need two Toyota Part# 7176933010
There is supposed to be a clip there, mine was missing, no biggy made one with a paper clip with same OD, worked perfectly

Infamous Clip Strip, what a PITA
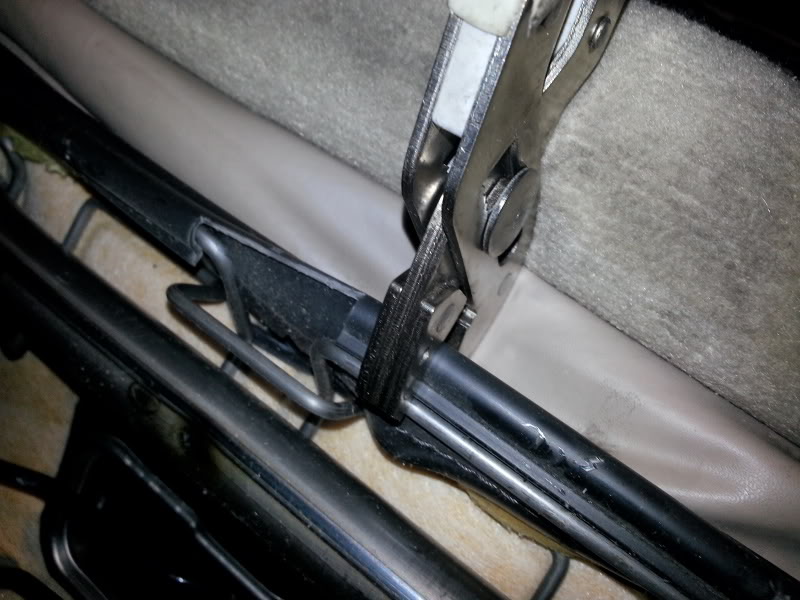

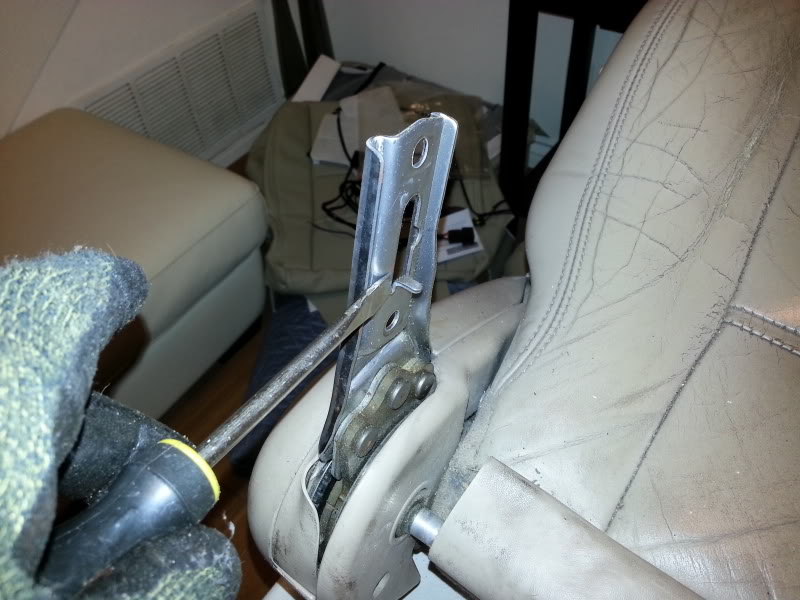
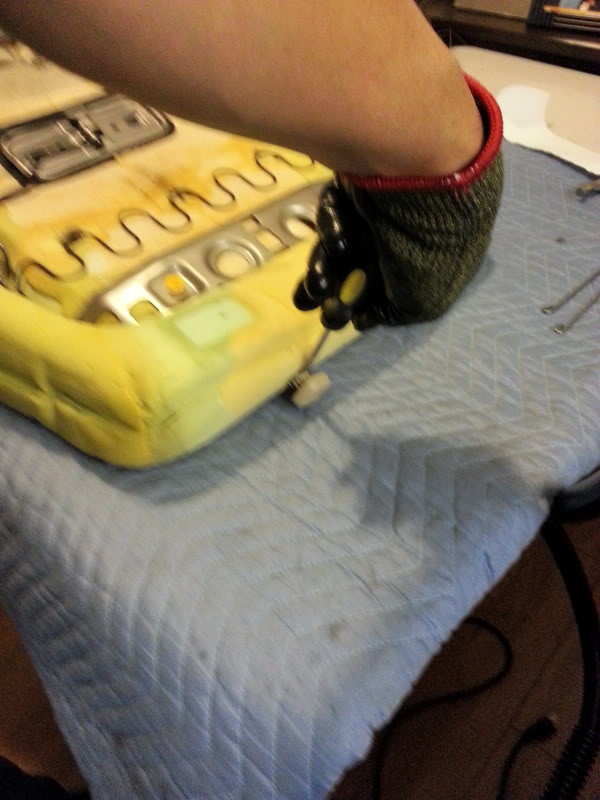
Once the two 14MM bolts are removed, there is tab that keeps it in place, just push to the side and one side will release then go the opposite direction and it will seperate.
Last edited by DRACO A5OG; 01-10-13 at 11:06 PM.
01-10-13, 08:58 PM
#3
Lead Lap
Thread Starter
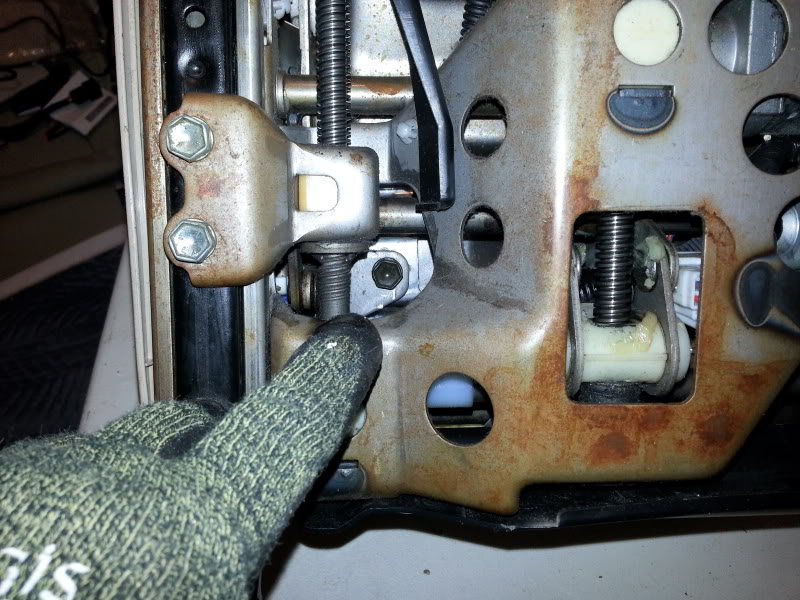
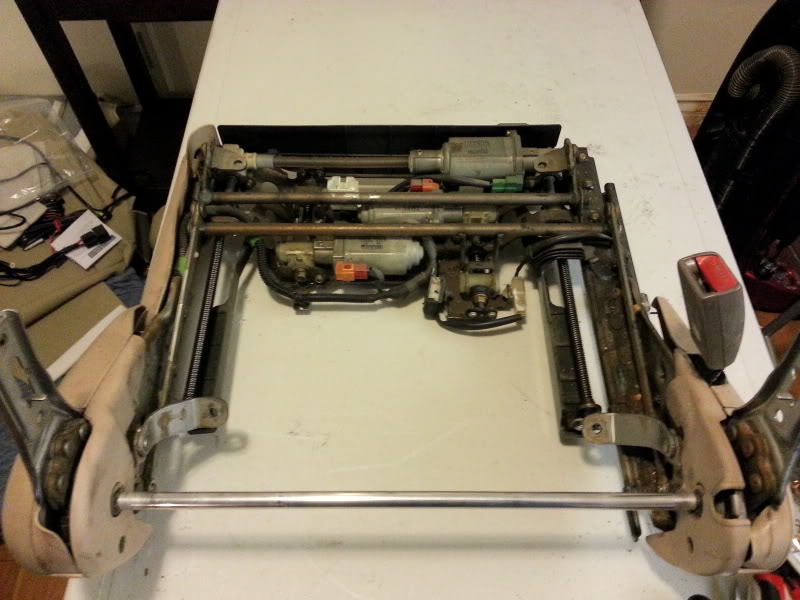
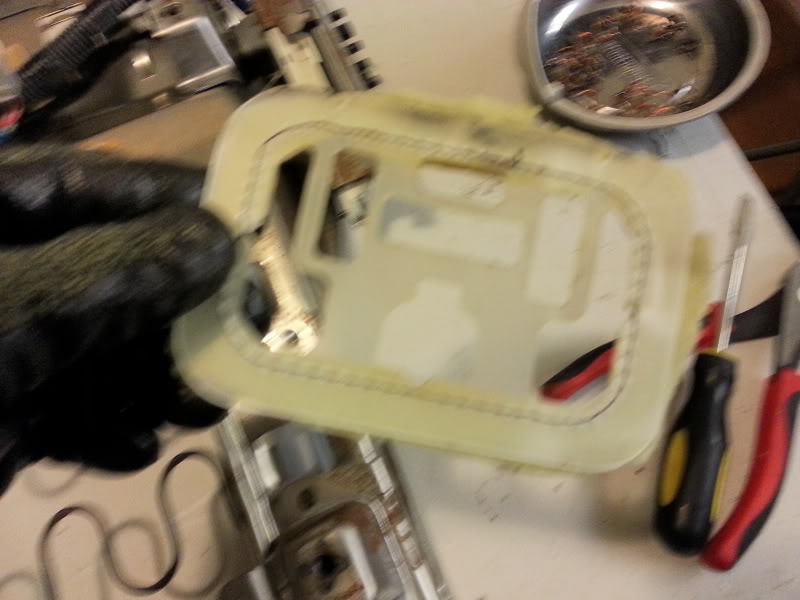
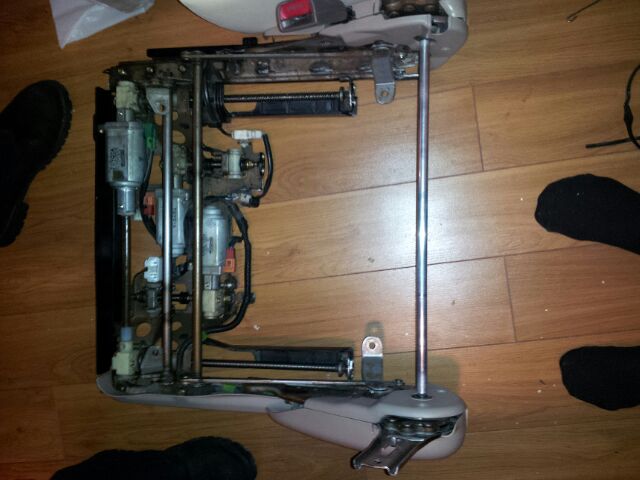
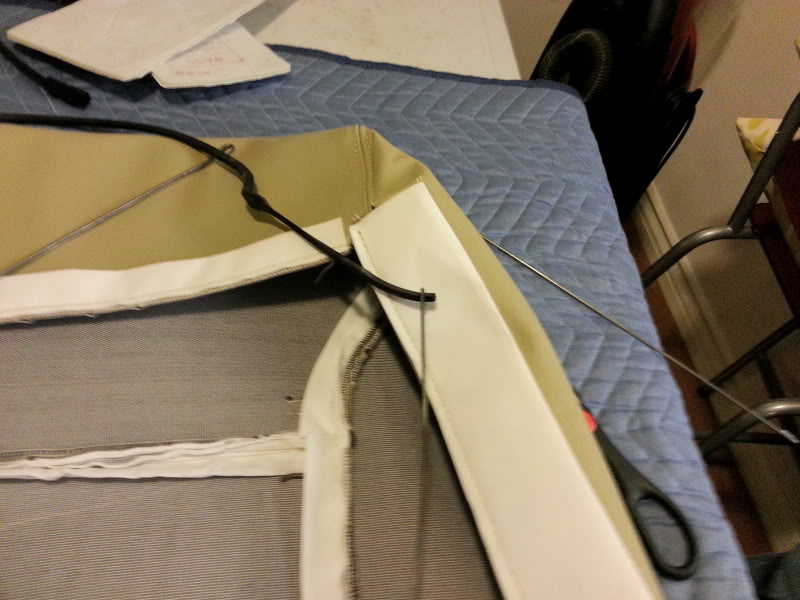
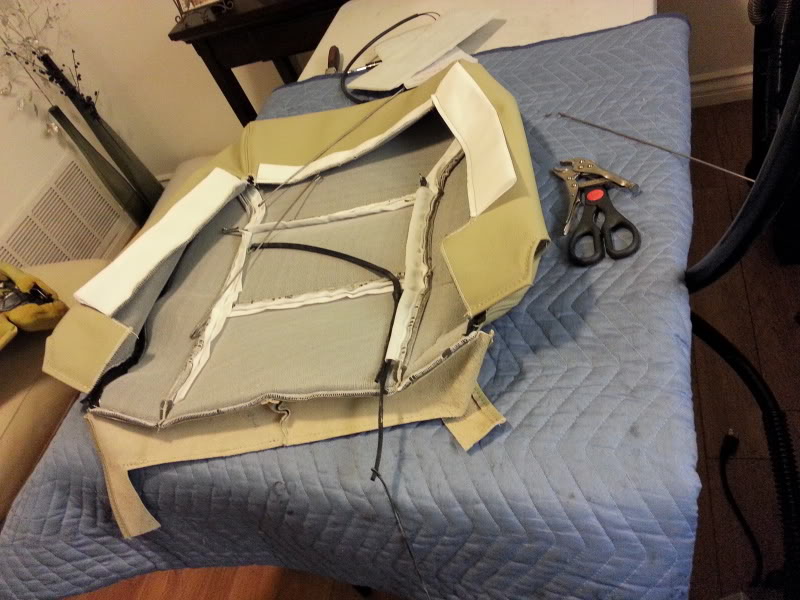
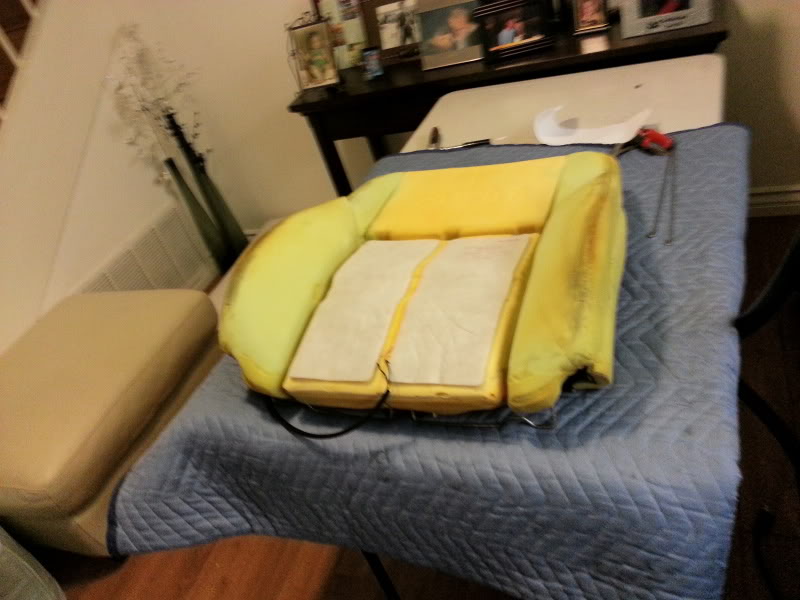
Bottoms: Remove bottom motor rail.
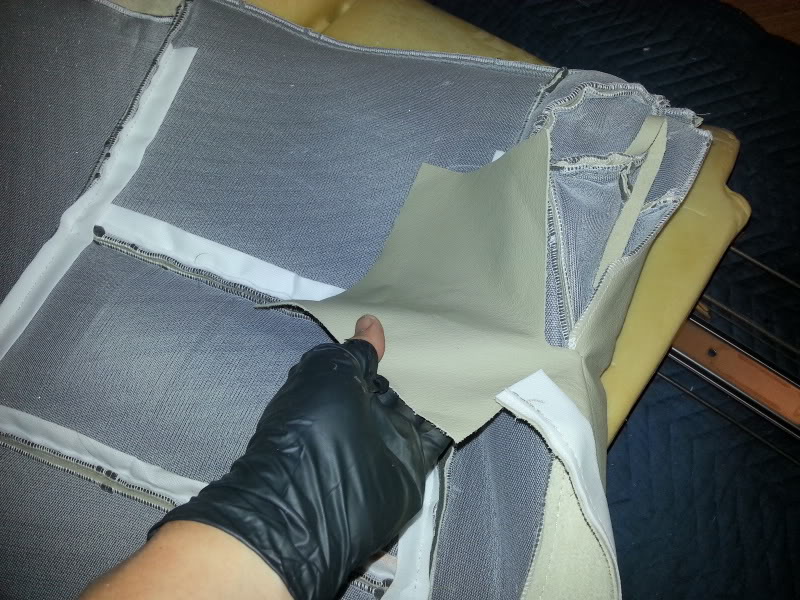
This is the OEM filler piece, new kit does not have it. If you want it, you will need to order some leather to install in separately. I chose to do without.
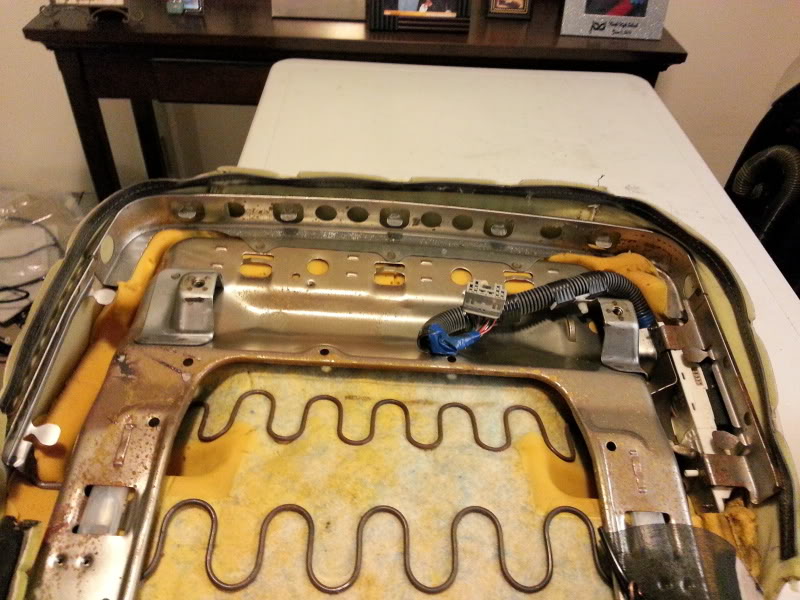
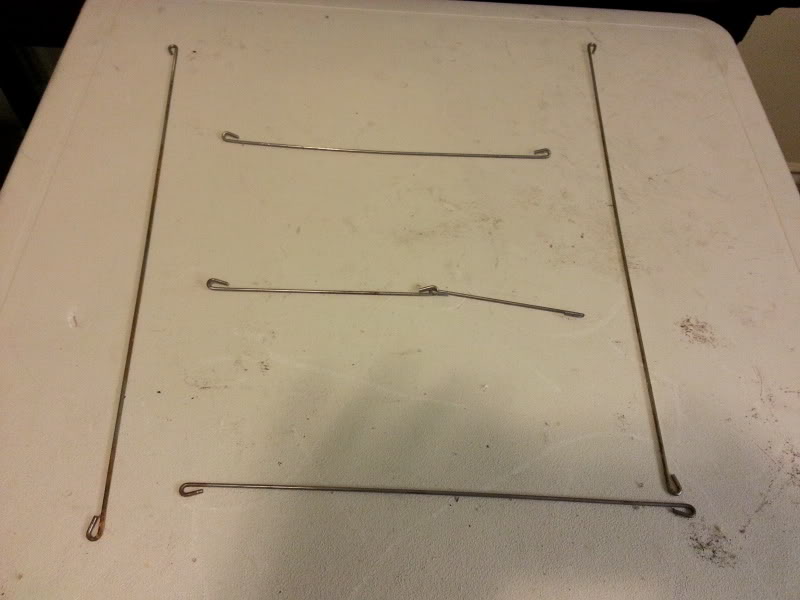
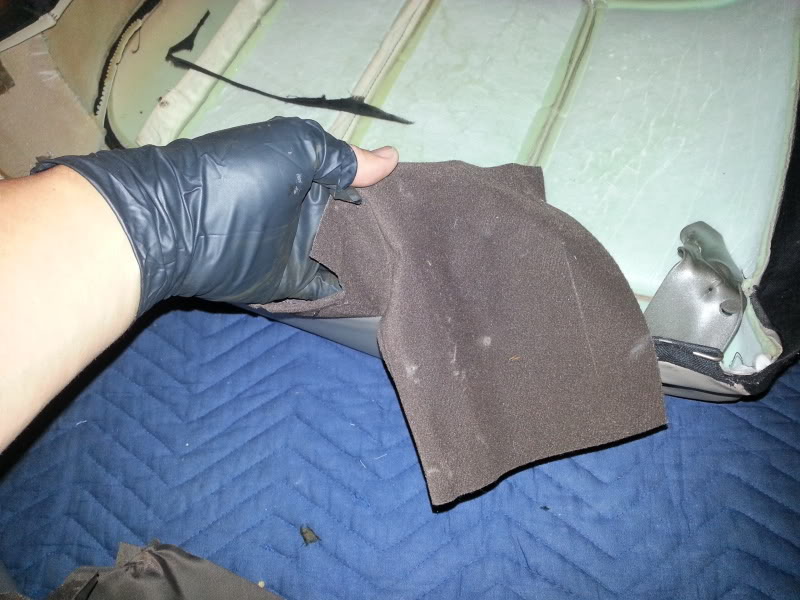
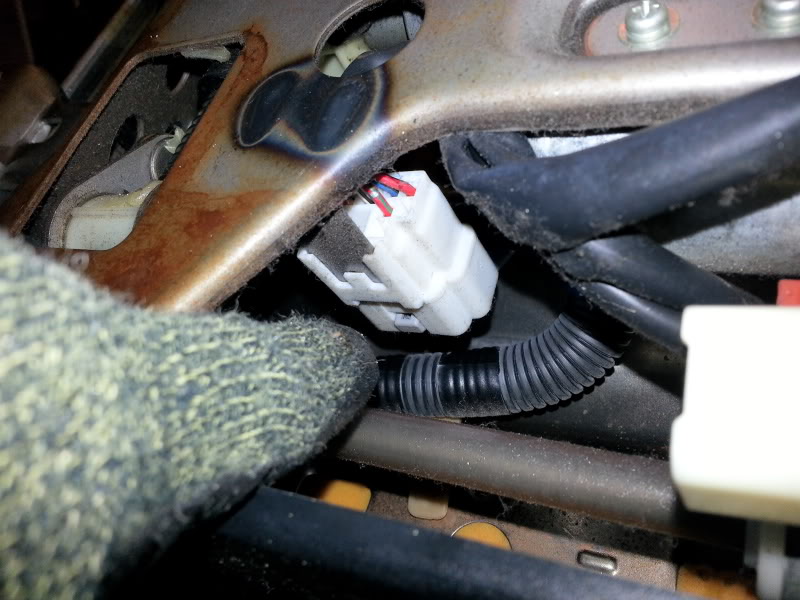
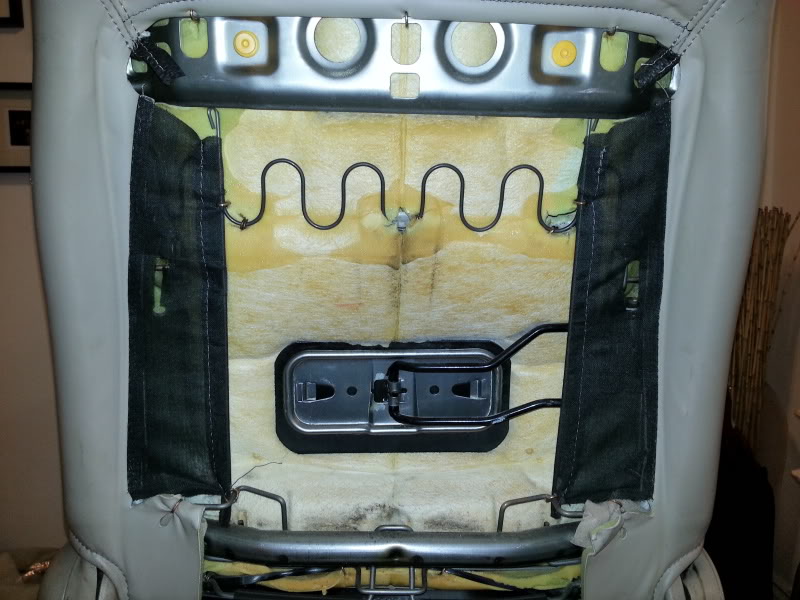
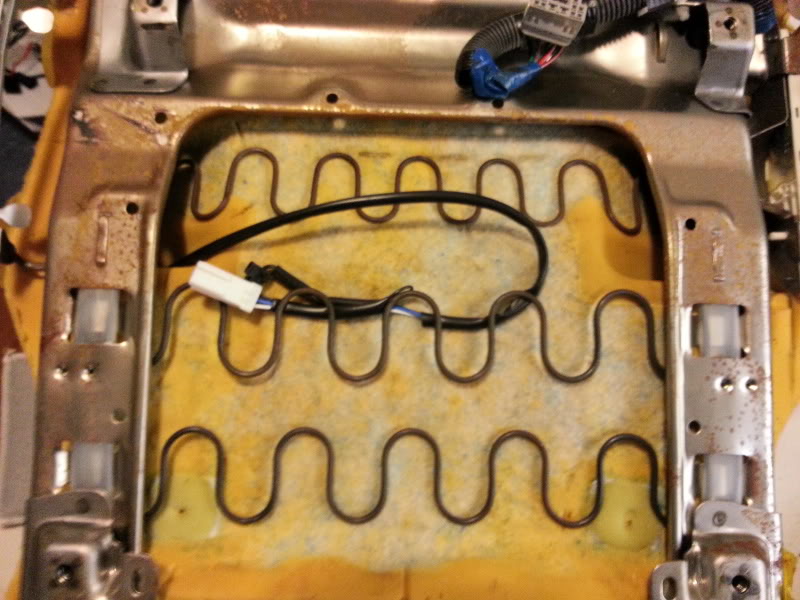
These wires need to be pulled from the old seats to use on the new kit

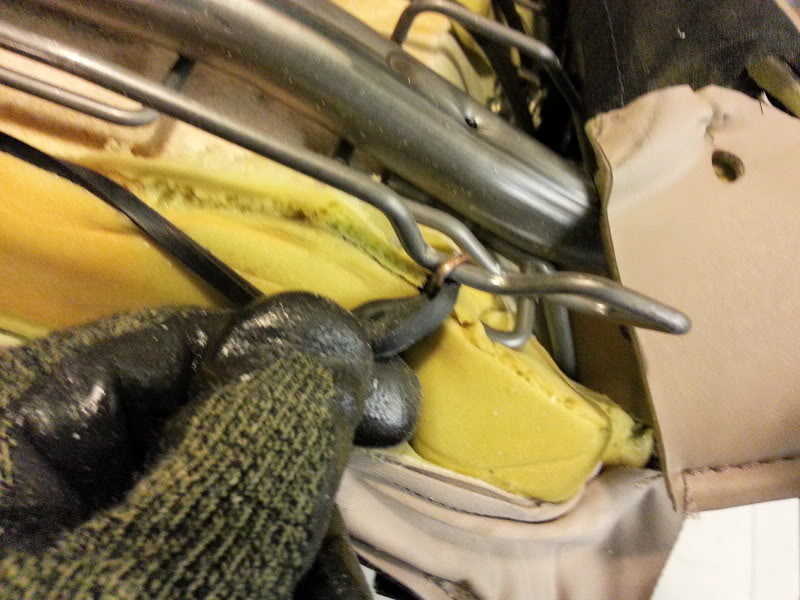
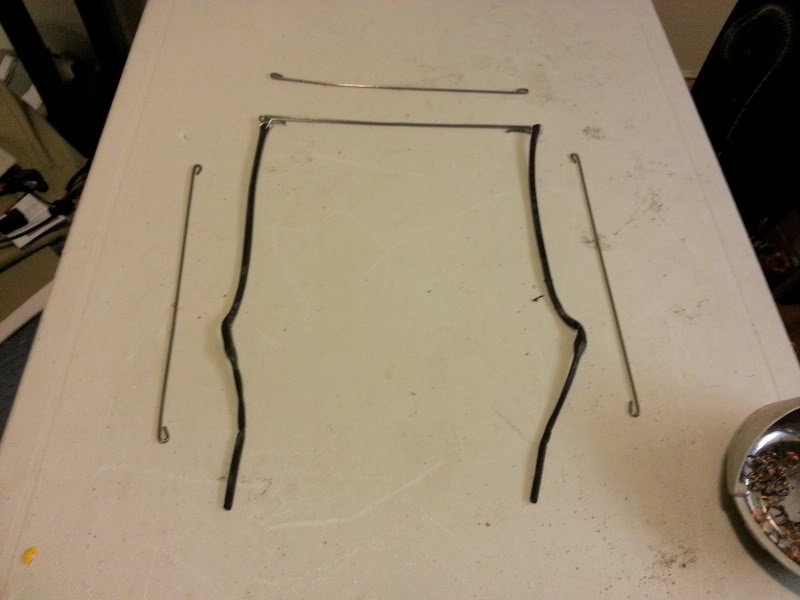
Top's wire and rubber cord parts needed from OEM seats.

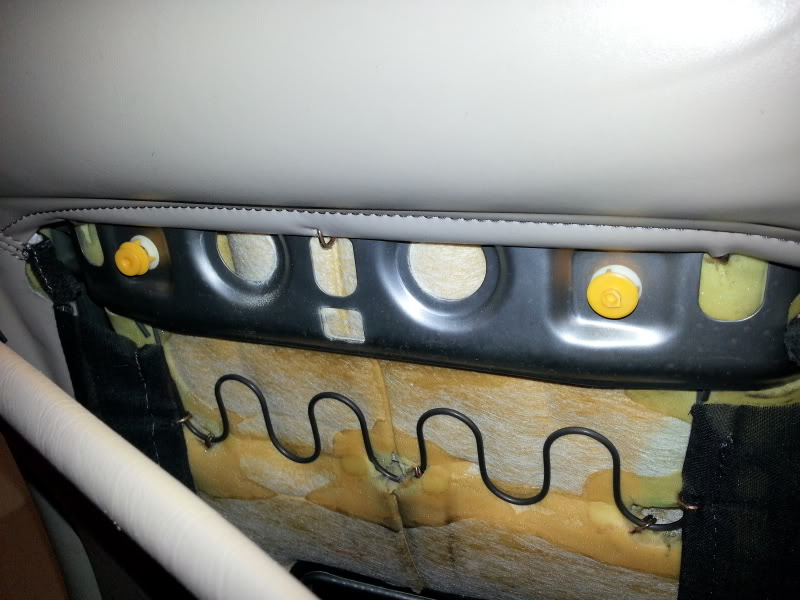
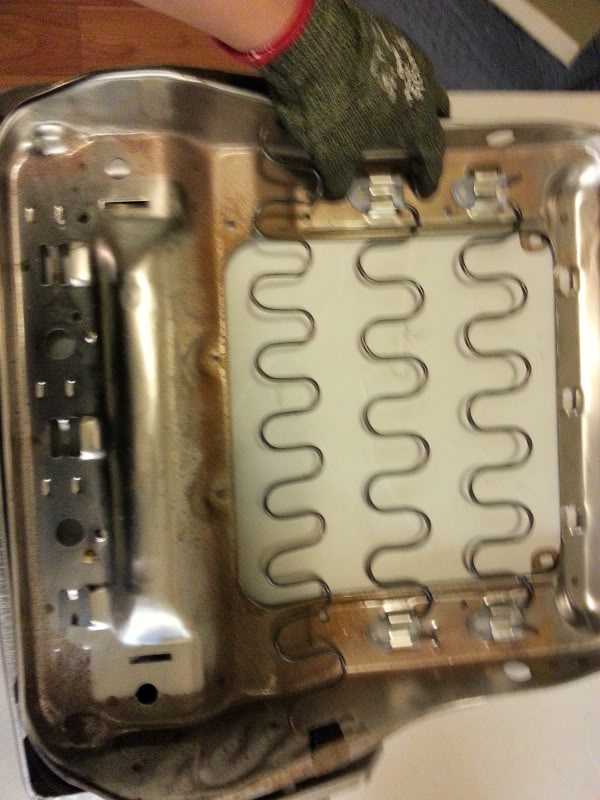
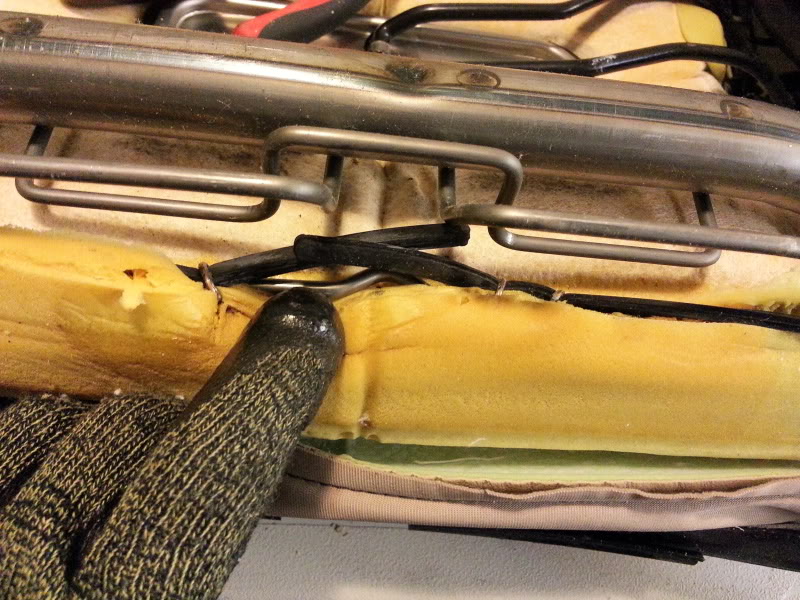
Heat pad install, You must insure wires are not caught between the two wires when hog ringed down
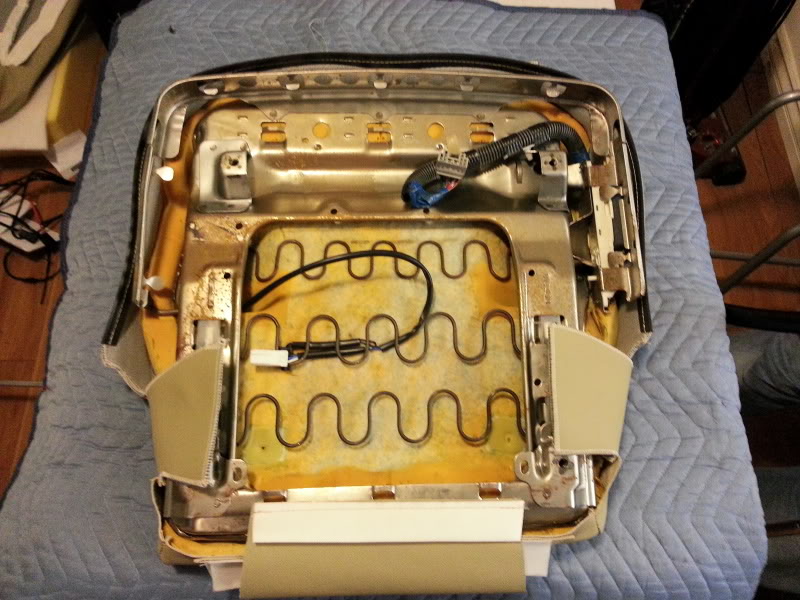
This is the OEM filler piece, new kit does not have it. If you want it, you will need to order some leather to install in separately. I chose to do without.
These wires need to be pulled from the old seats to use on the new kit
Top's wire and rubber cord parts needed from OEM seats.
Heat pad install, You must insure wires are not caught between the two wires when hog ringed down
Last edited by DRACO A5OG; 01-10-13 at 11:15 PM.
01-10-13, 09:00 PM
#4
Lead Lap
Thread Starter
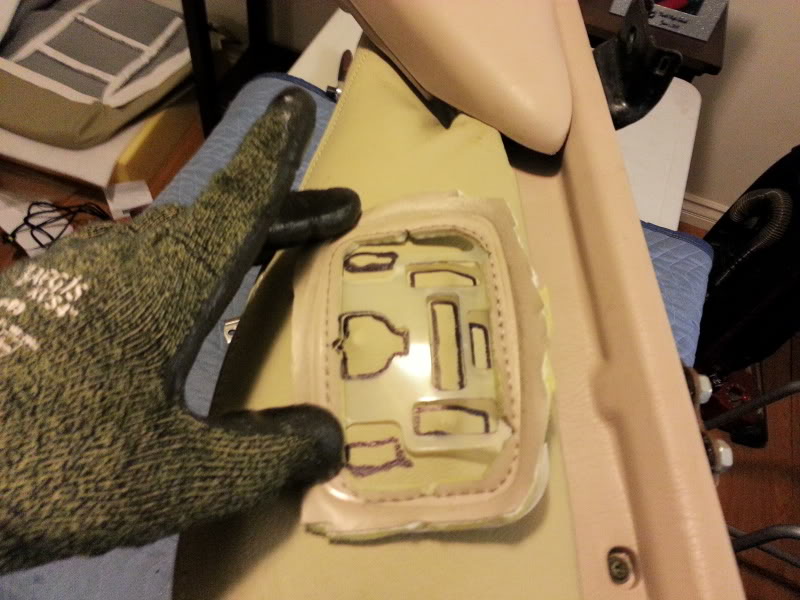
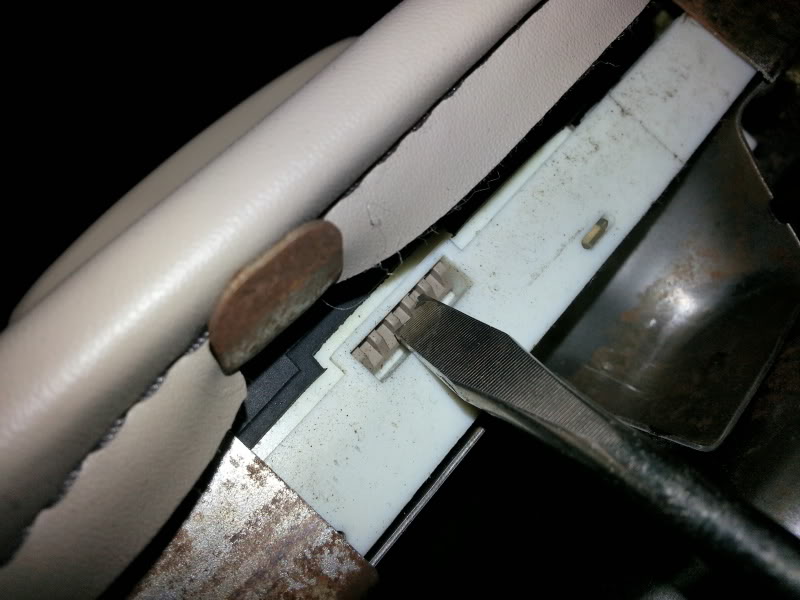
Use OEM trim guard to template your holes for the switches on the sides.


That's wierd went out of order, This is driver side back control.


Last edited by DRACO A5OG; 01-10-13 at 11:25 PM.

Trending Topics
01-10-13, 10:53 PM
#9

Looks amazing, my car isn't anywhere near this but I do plan to keep it for the long haul so this will be great to have for future reference. Thanks for taking the time to post this up with all the detailed notes attached.
01-10-13, 11:37 PM
#10
Lead Lap
Thread Starter
I promise to organize and edit as issues come up about my steps.
Sorry for all the pics or lack there of. If you have a helper to assist when you slip the corners over would be helpful. Oh yeah don't hurt your wrist before you do this, it makes it twice as long.
Hope this helps someone tackle their next project.
Jim
Sorry for all the pics or lack there of. If you have a helper to assist when you slip the corners over would be helpful. Oh yeah don't hurt your wrist before you do this, it makes it twice as long.
Hope this helps someone tackle their next project.
Jim
01-11-13, 02:30 PM
#12
Lead Lap
Thread Starter
Doh! shipping will kill me :-)
Indeed it is involved but lucky I did my Porsche seats first, what a freakin nightmare.
Well, if one has OCD and patience, one can definitely do it and for under $450, why not.
Doing Mom's LX450 tonight :-o
Indeed it is involved but lucky I did my Porsche seats first, what a freakin nightmare.
Well, if one has OCD and patience, one can definitely do it and for under $450, why not.
Doing Mom's LX450 tonight :-o


