Bringing a Lexus ES300 back to life - Engine Replacement


 09-22-12, 02:06 PM
#17
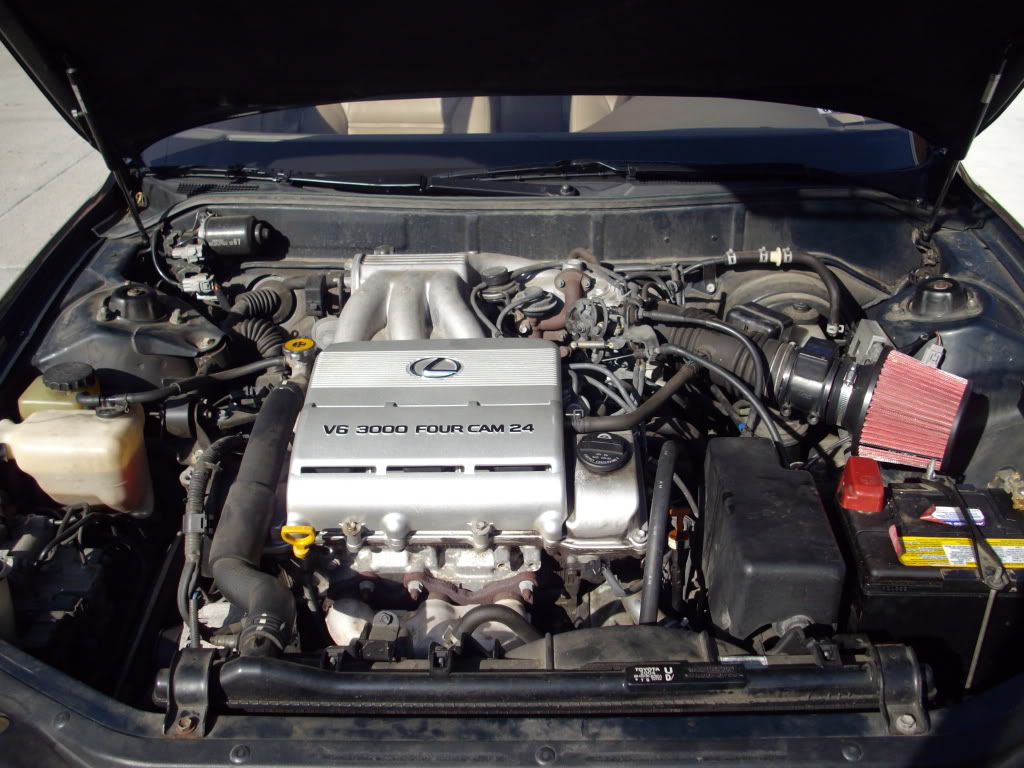
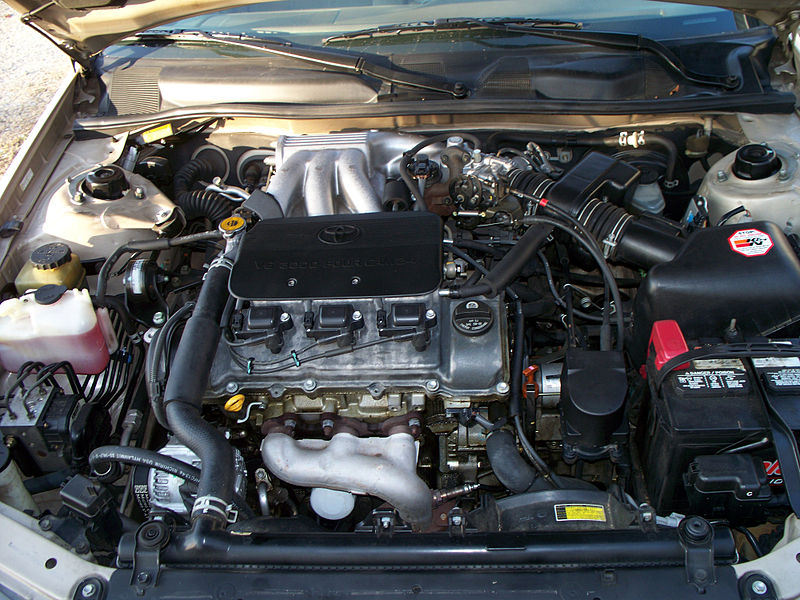
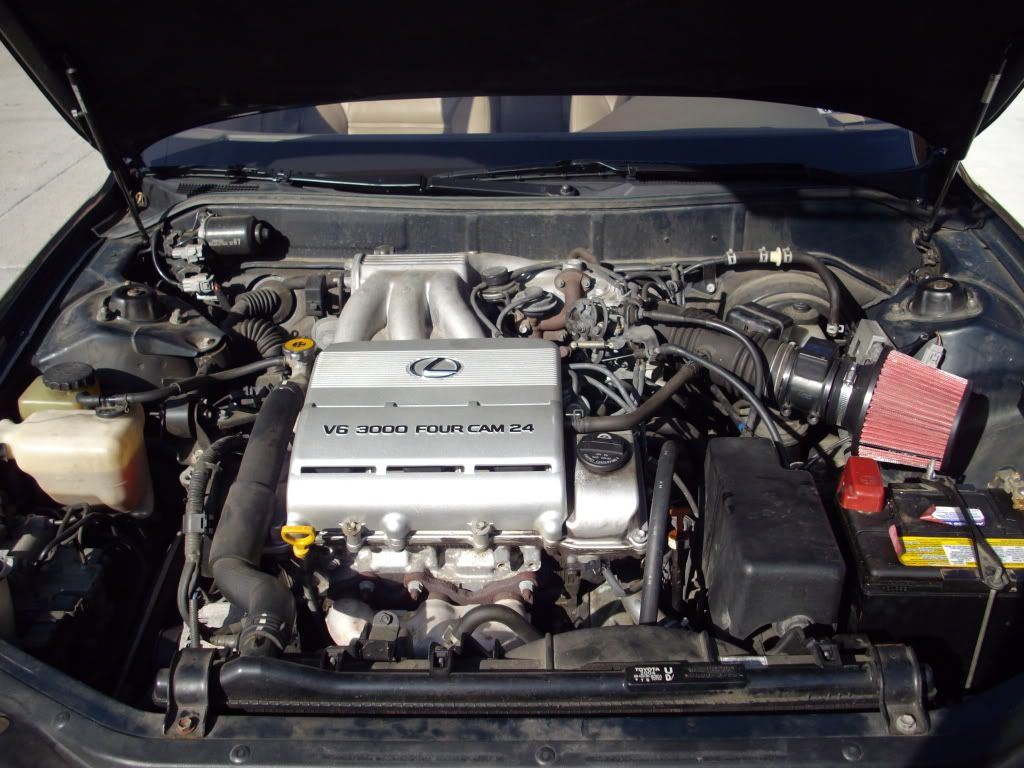
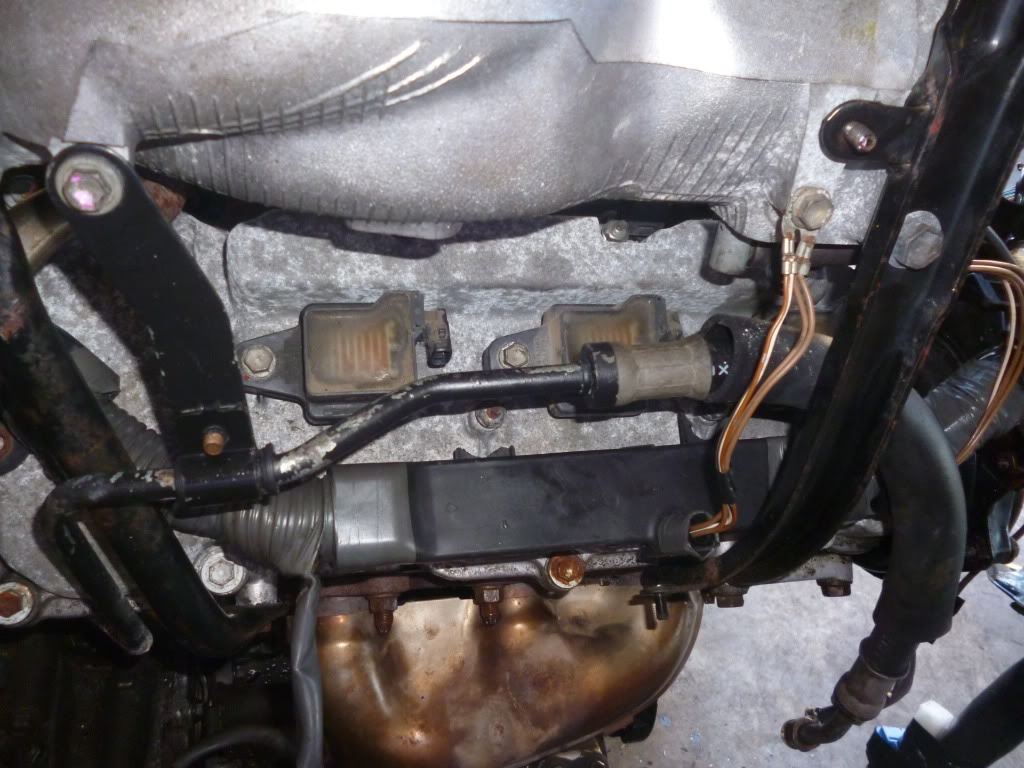
I see a problem. Thats the newer style 1mz from i'd guess a 97 ES300 before it switched over to VVT-i. the whole back bank of that motor uses spark plug wires (COP W/ waste spark ignition) vs your 95's full on COP ignition. Remember to swap the engine harness or she's not gonna run so well.
09-22-12, 07:42 PM
#18
I see a problem. Thats the newer style 1mz from i'd guess a 97 ES300 before it switched over to VVT-i. the whole back bank of that motor uses spark plug wires (COP W/ waste spark ignition) vs your 95's full on COP ignition. Remember to swap the engine harness or she's not gonna run so well.
 09-24-12, 06:15 AM
#20
Driver

Join Date: Jul 2010
Location: FL
Posts: 117
Likes: 0
Received 0 Likes
on
0 Posts

 09-24-12, 06:36 PM
#21
Driver School Candidate
Thread Starter
Join Date: Sep 2012
Location: OH
Posts: 12
Likes: 0
Received 0 Likes
on
0 Posts
Thanks all!!
Thanks again for the nice catch concerning the engine. I opened the trunk and found 6 COP coils..... Also examined the valve covers, they match bolt for bolt with the new engine so hopefully no problems there, as noted I will have to ensure I watch the harness carefully.
Sorry for no new update, was a bit of a slacker this weekend, had two birthday parties I had to attend and could not get into the garage. Promise more updates soon!
Cheers!
10-02-12, 03:38 PM
#22
Driver School Candidate
Thread Starter
Join Date: Sep 2012
Location: OH
Posts: 12
Likes: 0
Received 0 Likes
on
0 Posts
Here is a bit of an update. Been busy all last week and had another birthday party on the weekend (funny how those cut into garage time).
Anyway Hopefully will be dropping the engine this weekend. As long as I don't have too much fun at a bachelor party this Friday, I should be up and at 'em to drop this engine.
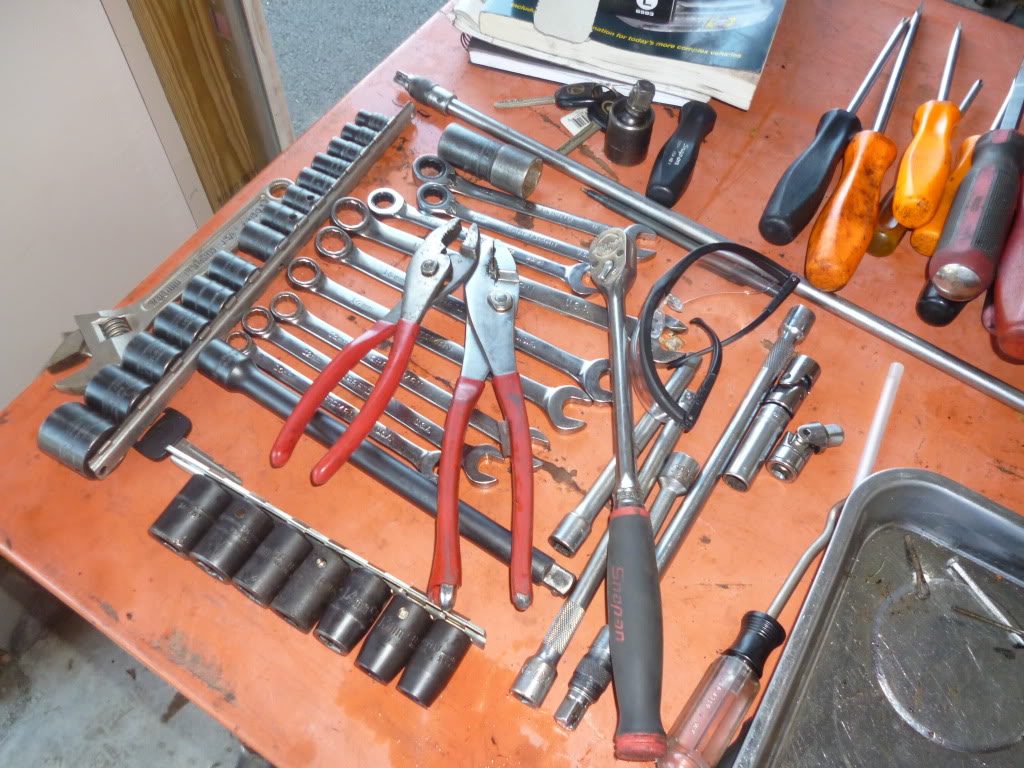
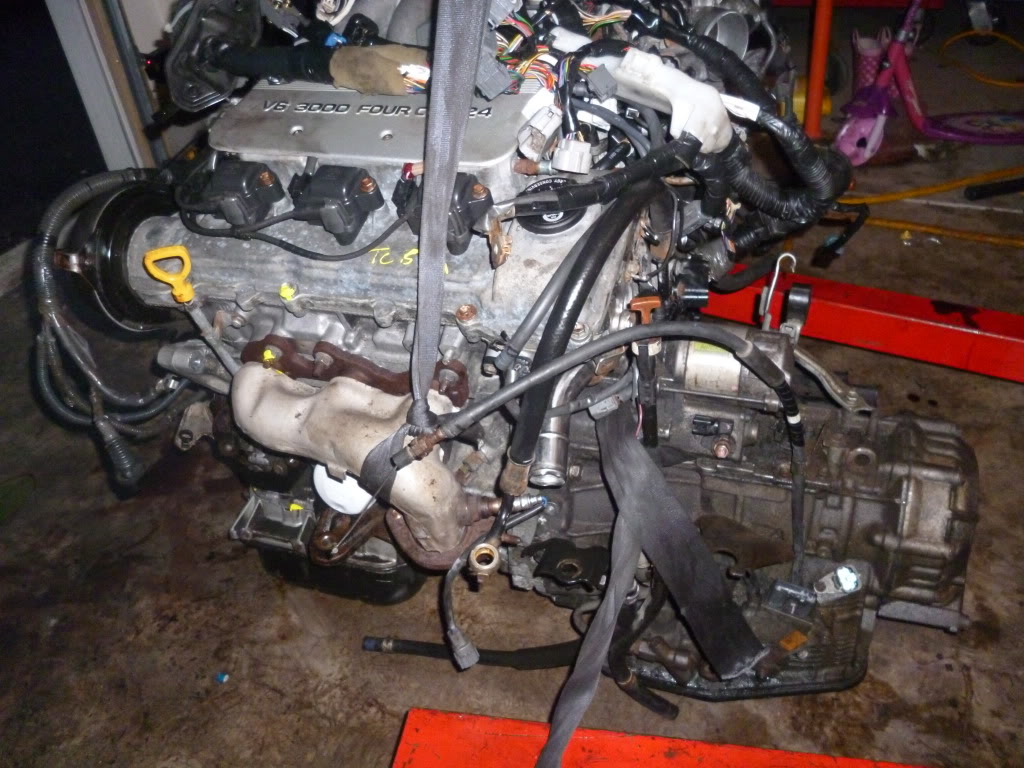
I am working on another car as well and needed to get organized. This is as neat as it has been in a while. The amazing thing is that 95% of the work I do can be done by just these tools and the air guns.
Also had to replace a broken stud in the exhaust manifold where it bolts up to the exhaust pipe. Ended up using the old manifold. Was just easier that way!
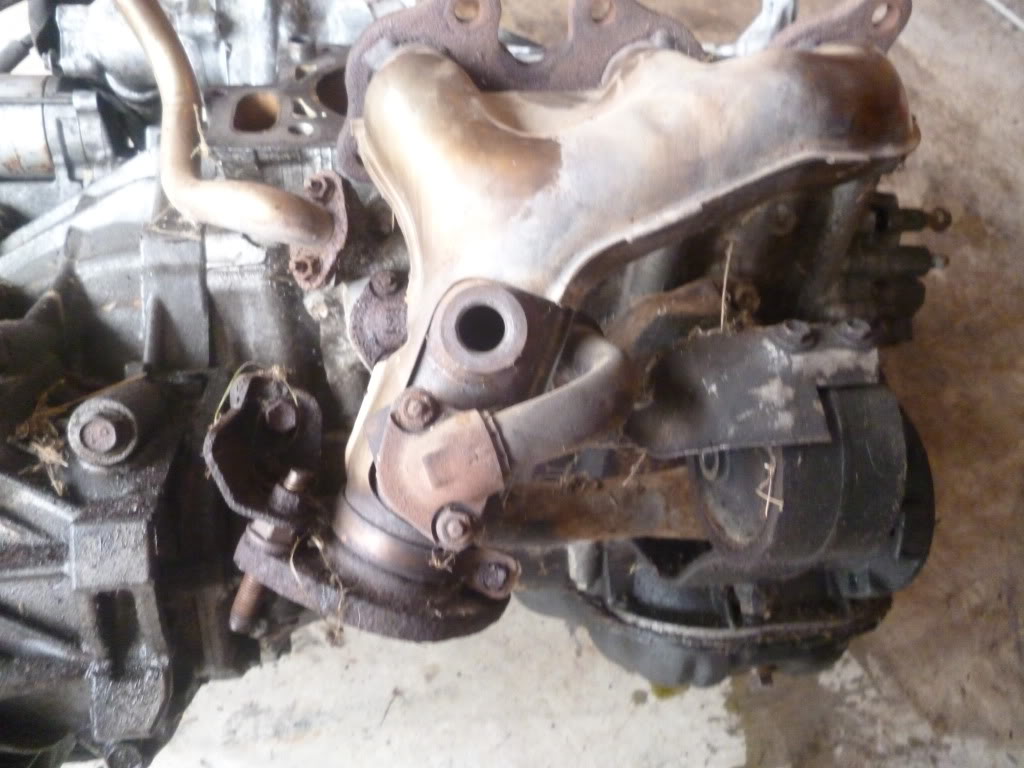
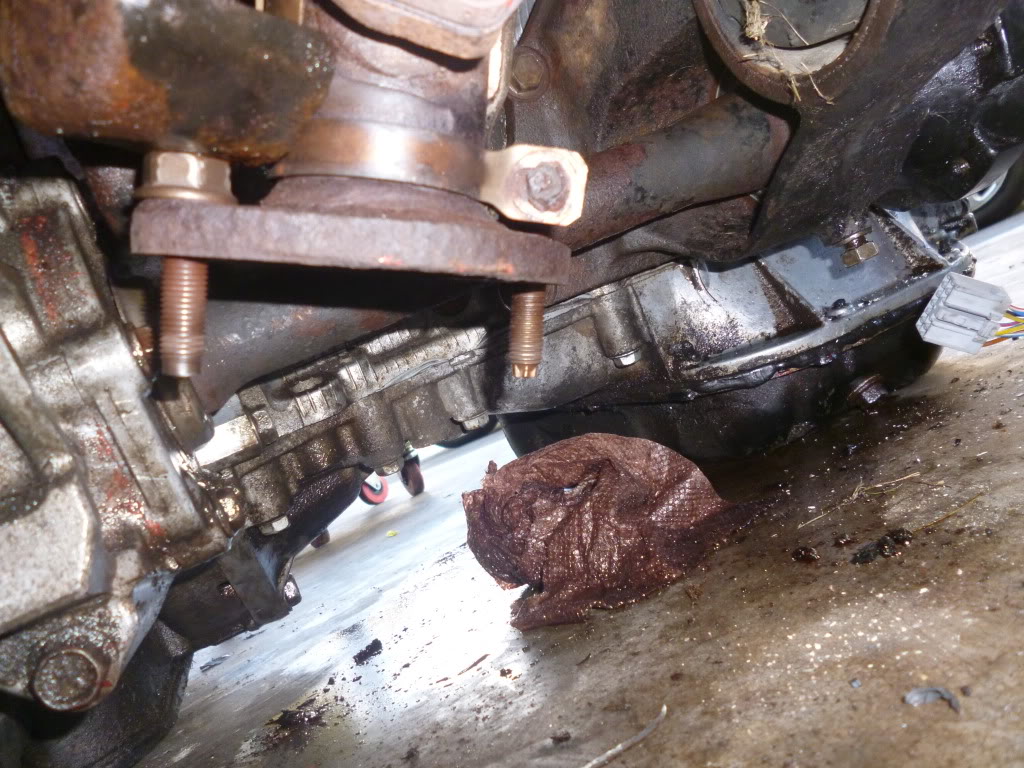
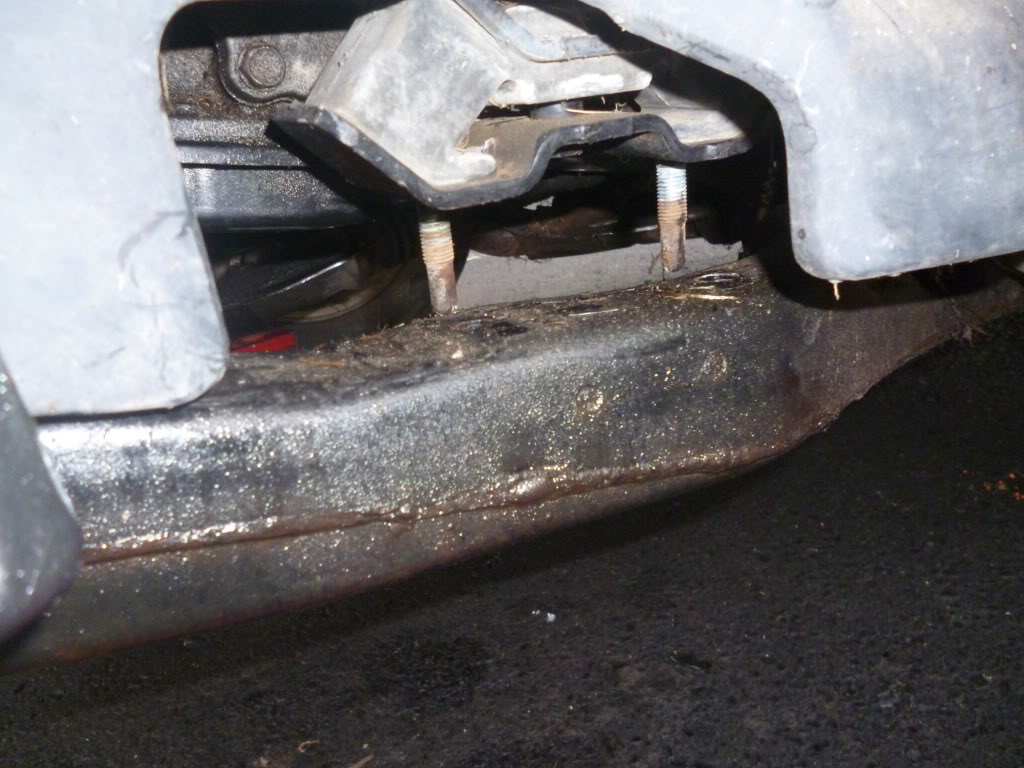
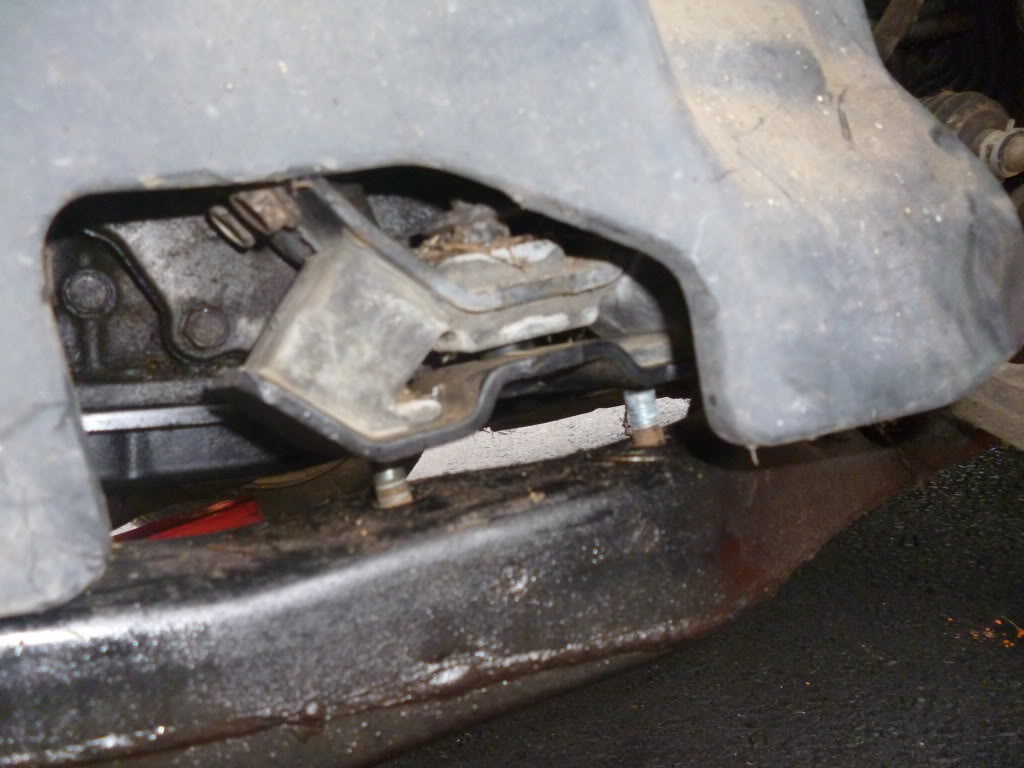
I put the motor mount back on as well as the Half shaft/CV joint. There was no issue getting it back in place. Used some steel wool to knock out some of the rust in the bearing carrier. Spins nice and free... All good.
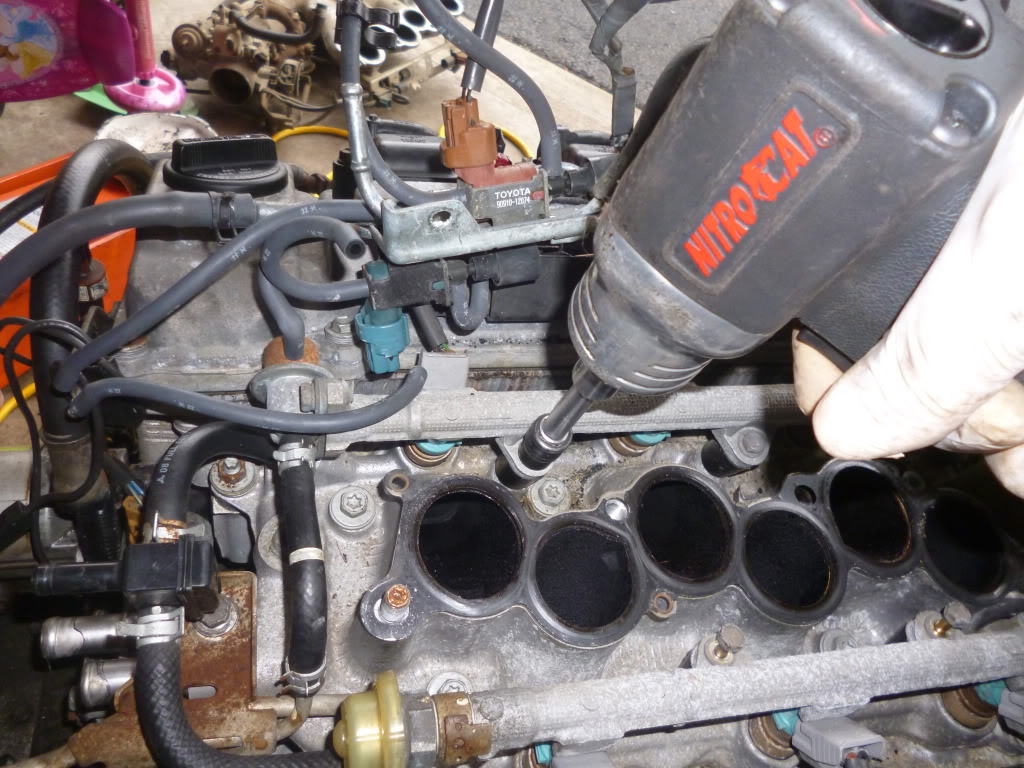
Here is a key issue now. Of all things to get cut for this replacement engine, they cut a high pressure fuel line. Luckily I have the old one from the prior engine and will have to replace the whole fuel rail system. I will have to remove the Intake manifold to do this.
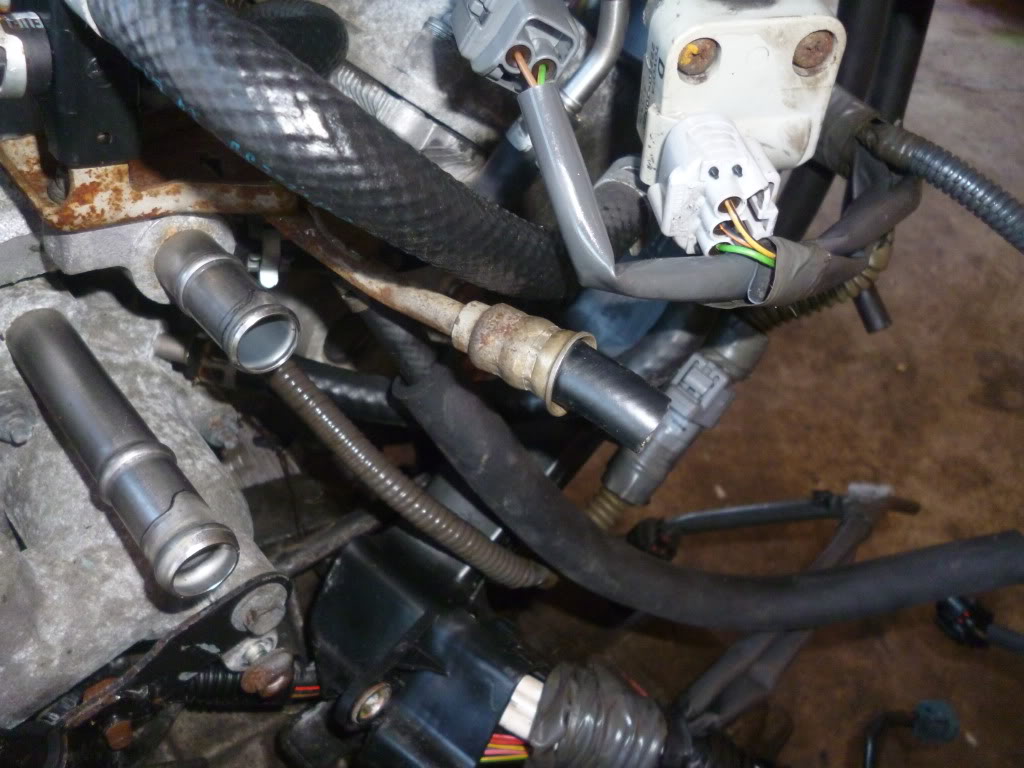
This is not as bad as it seems because the intake manifold needs to be removed anyway for me to be able to place the engine harness in the proper position. (see those support brackets! make it almost impossible to route the whole harness through those). The only problem is that I lose a nice hoist point. Note: I put in my original COP units on the backside.
More fun to follow.
Cheers!
Anyway Hopefully will be dropping the engine this weekend. As long as I don't have too much fun at a bachelor party this Friday, I should be up and at 'em to drop this engine.
I am working on another car as well and needed to get organized. This is as neat as it has been in a while. The amazing thing is that 95% of the work I do can be done by just these tools and the air guns.
Also had to replace a broken stud in the exhaust manifold where it bolts up to the exhaust pipe. Ended up using the old manifold. Was just easier that way!
I put the motor mount back on as well as the Half shaft/CV joint. There was no issue getting it back in place. Used some steel wool to knock out some of the rust in the bearing carrier. Spins nice and free... All good.
Here is a key issue now. Of all things to get cut for this replacement engine, they cut a high pressure fuel line. Luckily I have the old one from the prior engine and will have to replace the whole fuel rail system. I will have to remove the Intake manifold to do this.
This is not as bad as it seems because the intake manifold needs to be removed anyway for me to be able to place the engine harness in the proper position. (see those support brackets! make it almost impossible to route the whole harness through those). The only problem is that I lose a nice hoist point. Note: I put in my original COP units on the backside.
More fun to follow.
Cheers!
Last edited by KarlHungus; 10-02-12 at 04:05 PM.
10-07-12, 11:24 AM
#24
Driver School Candidate
Thread Starter
Join Date: Sep 2012
Location: OH
Posts: 12
Likes: 0
Received 0 Likes
on
0 Posts
Got my other projects done and now can focus more time on Tyrannosaurus Lex  .
.
Started this morning around 10 am. Was cloudy and was hoping rain would hold off.
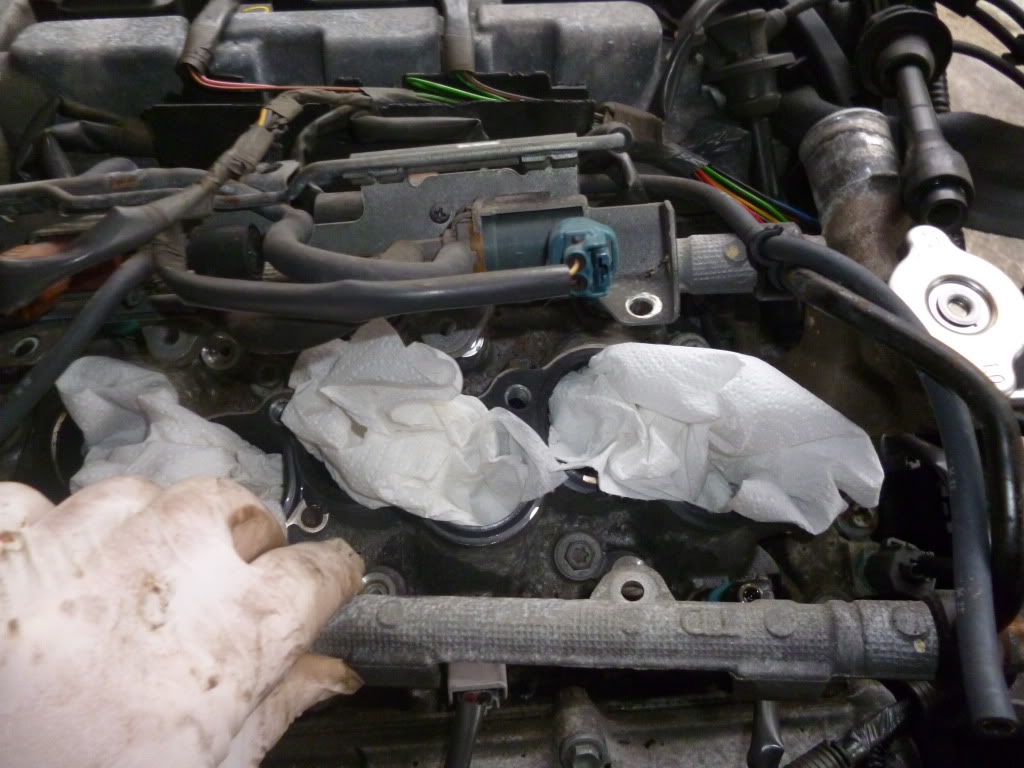
Removed the intake manifold from the new engine as well as the fuel rail system.

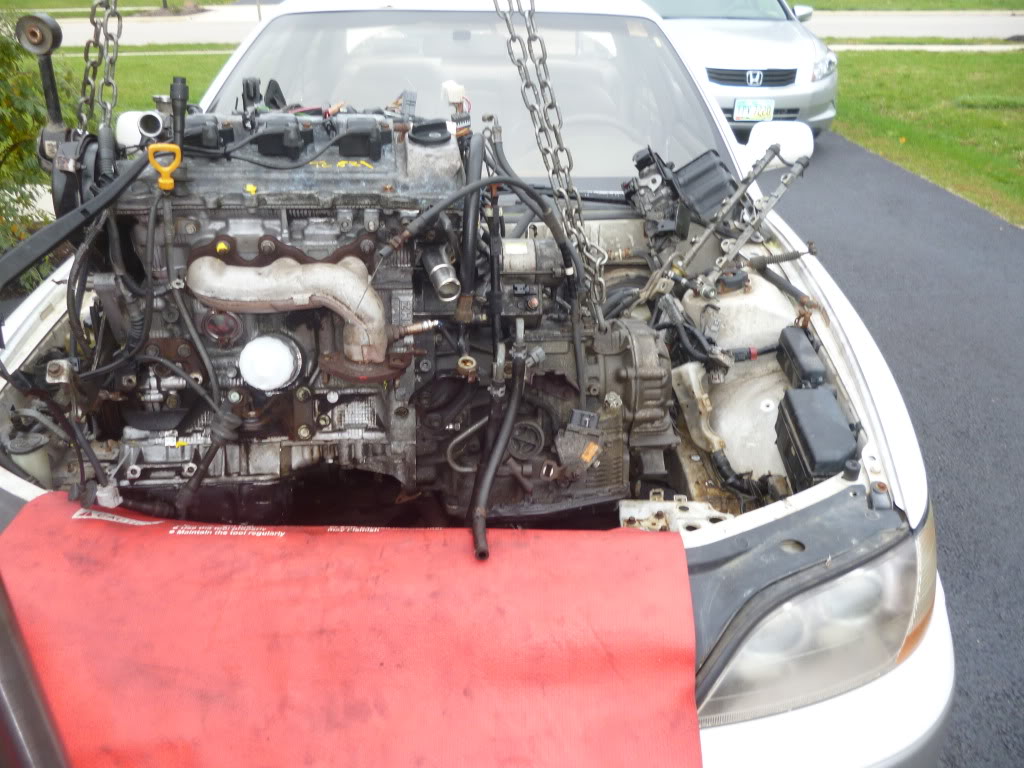
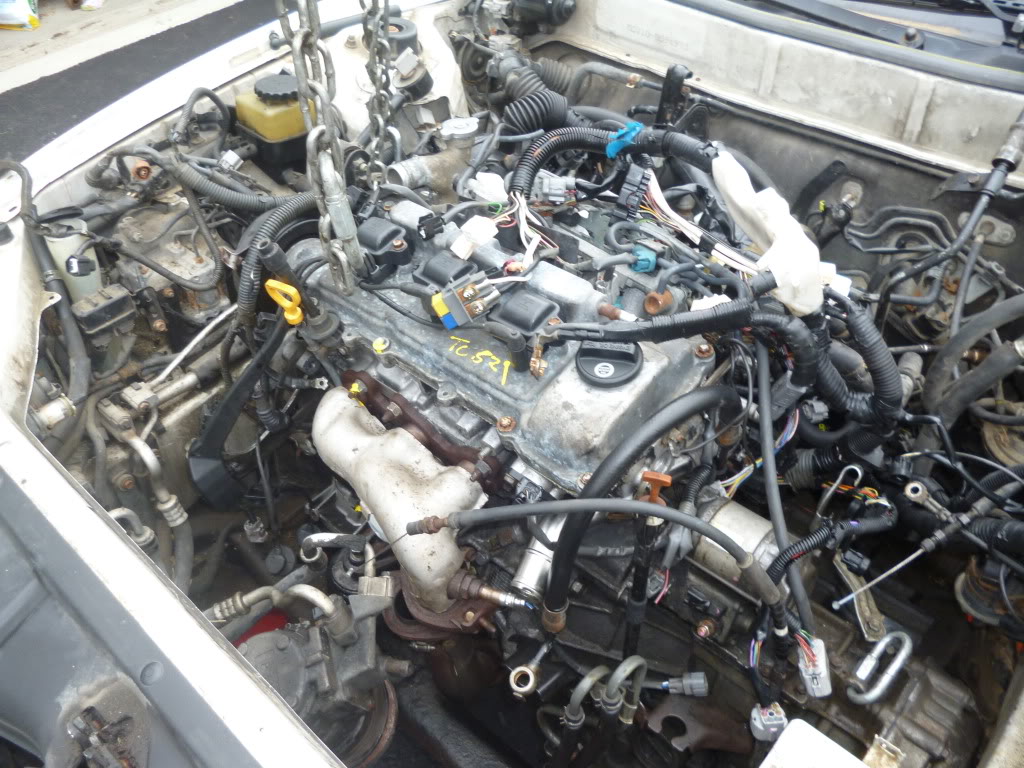
Hooking up the engine and tranny to leveler and cherry picker.
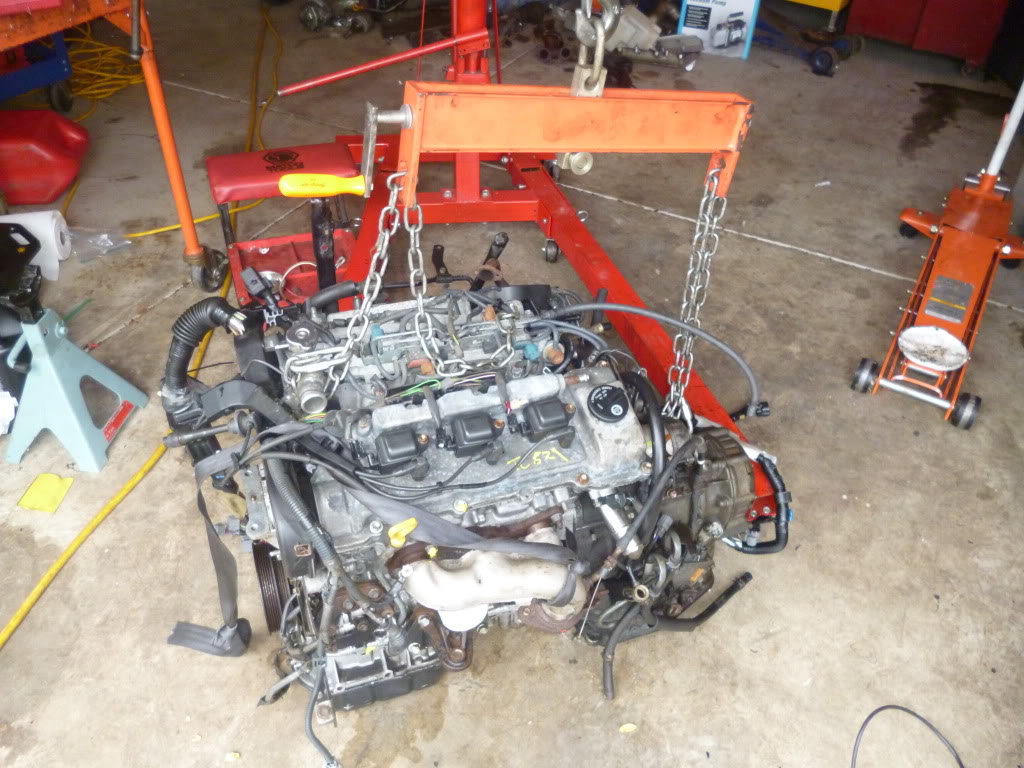
Hanging free!
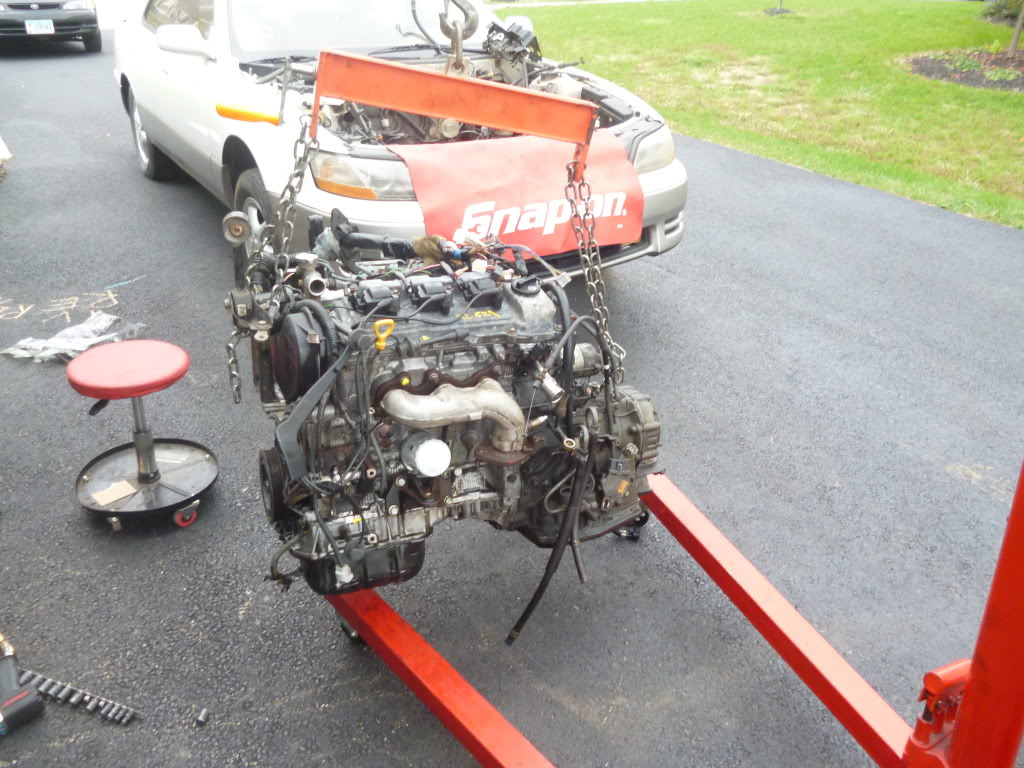
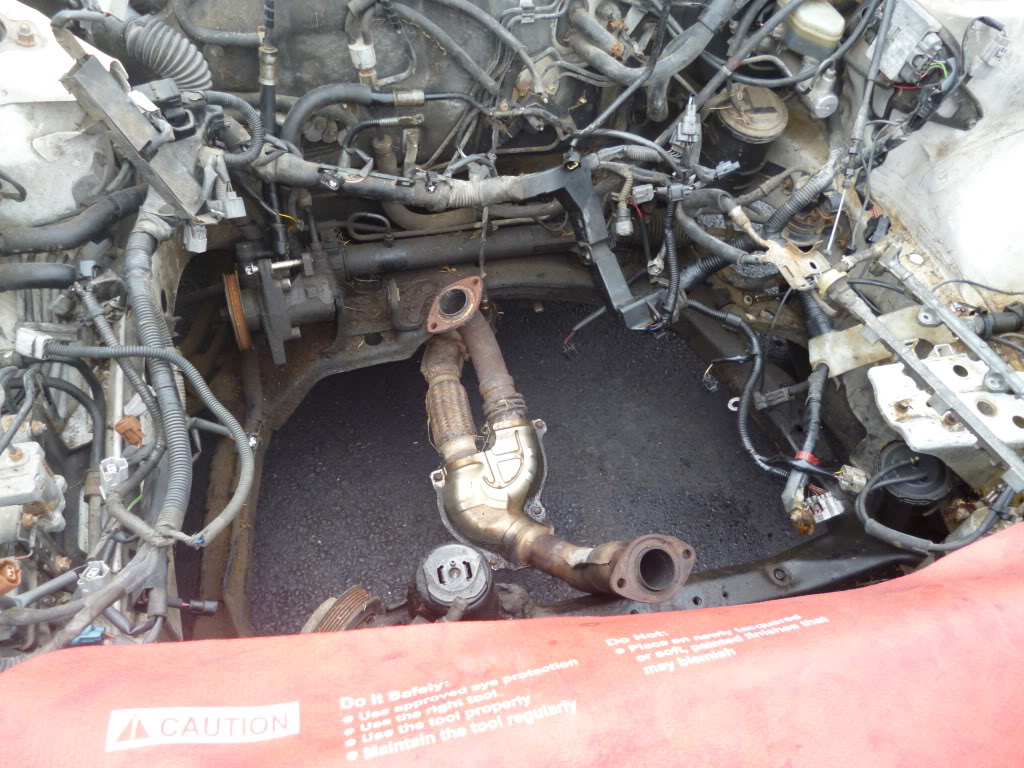
Dropping her in:
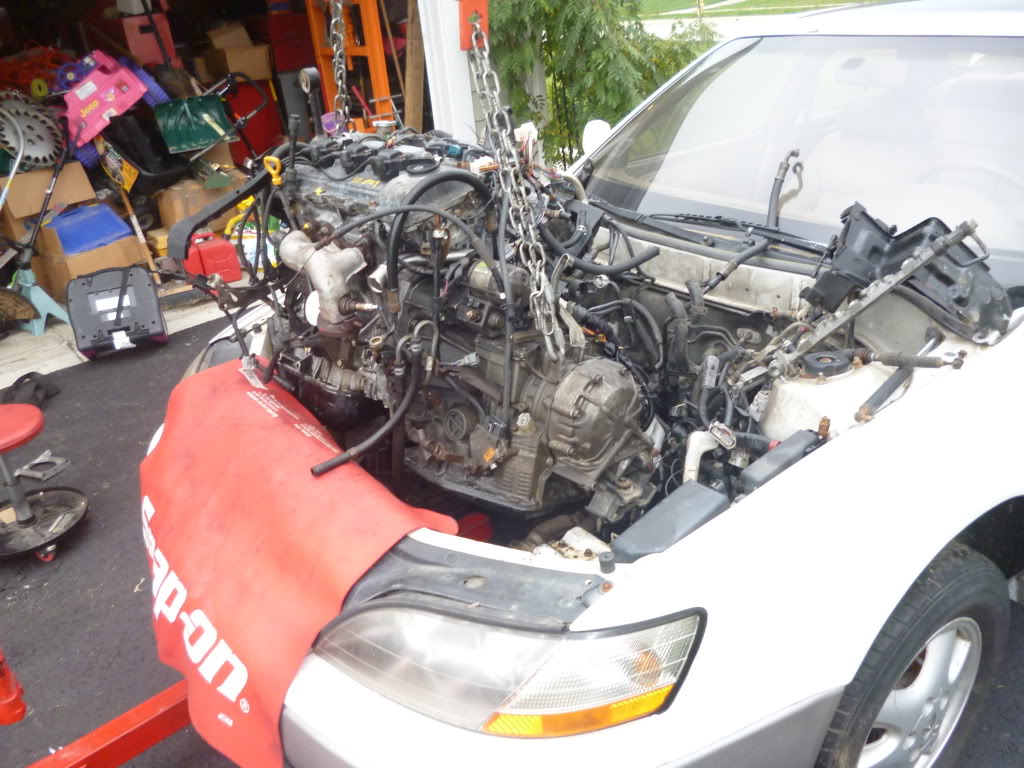
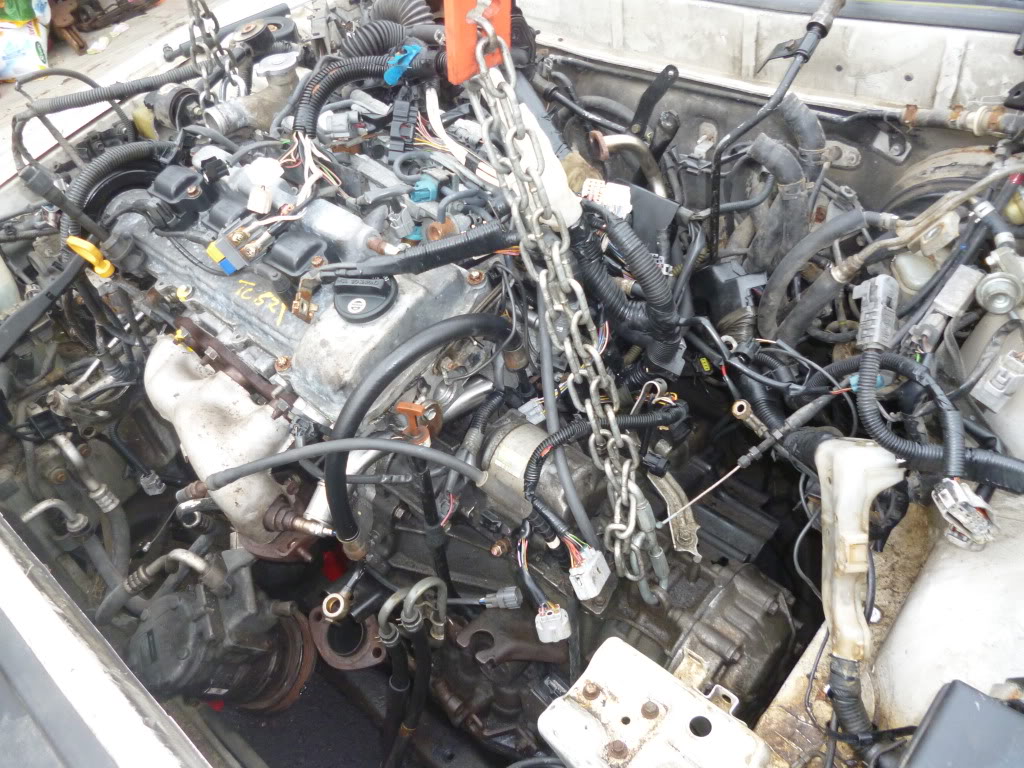
Getting the driver side motor mount lined up:
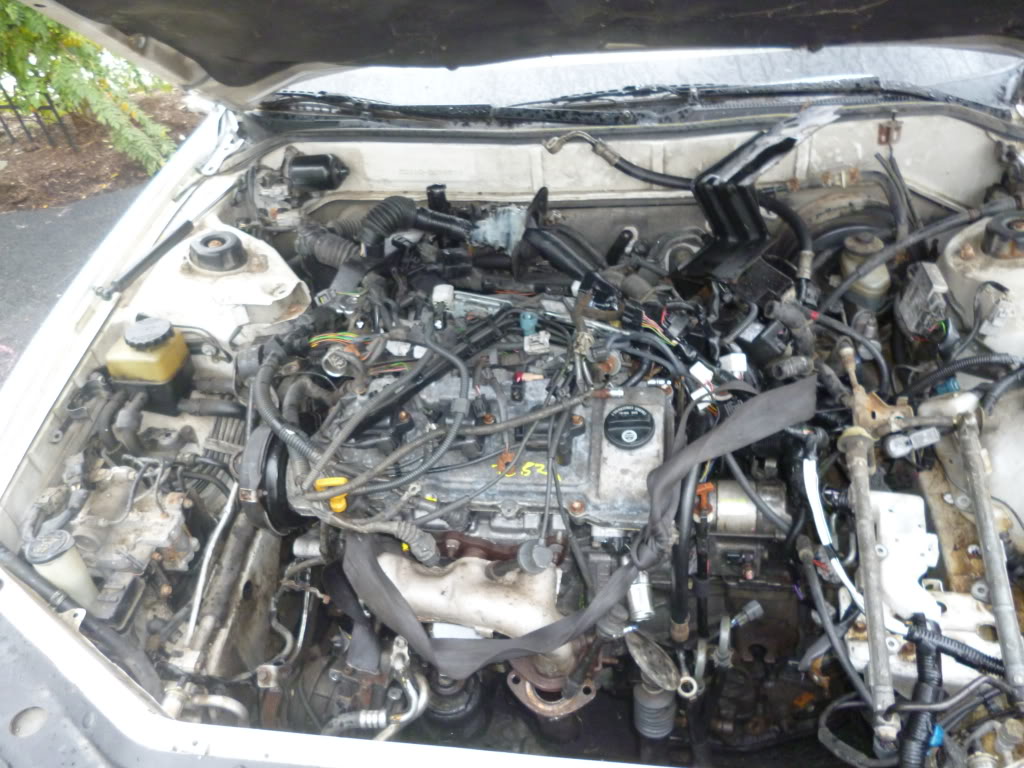
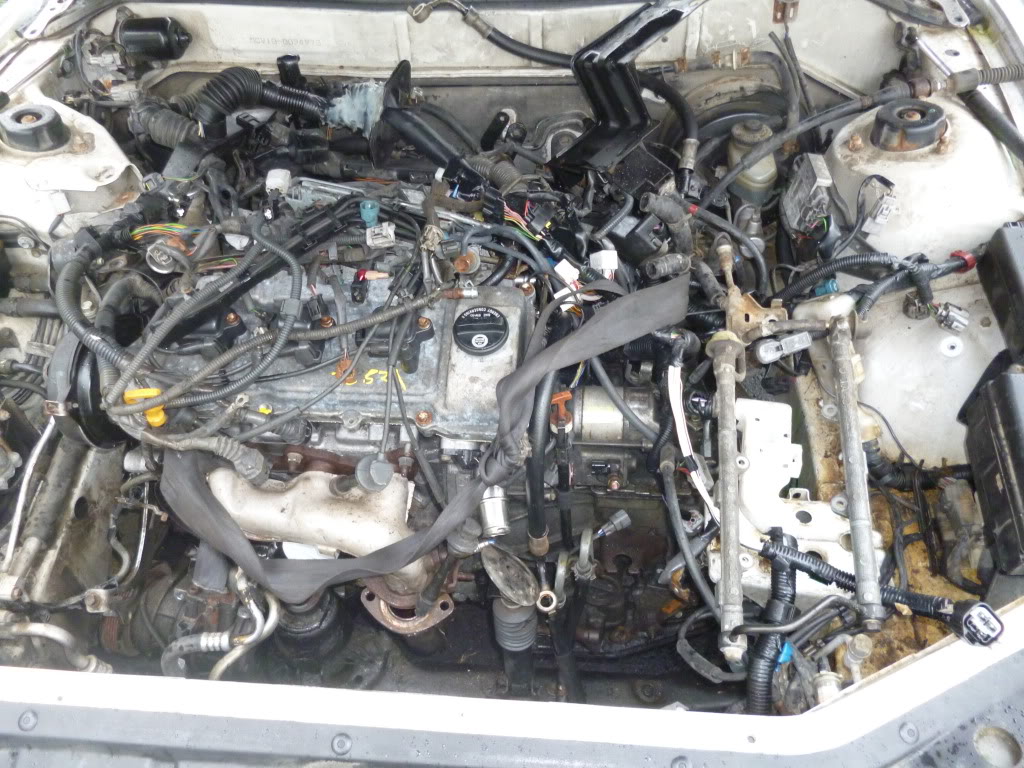
Settling in:
Got all the motor mounts/motor mount bolts in with no issue. This car is pretty easy to drop an engine into. Drops straight down. No angling the motor.
Was getting moving pretty well when around 1:30 the rain started... Game over for the day. Looking forward to clearing out my garage so I can work in there this winter.
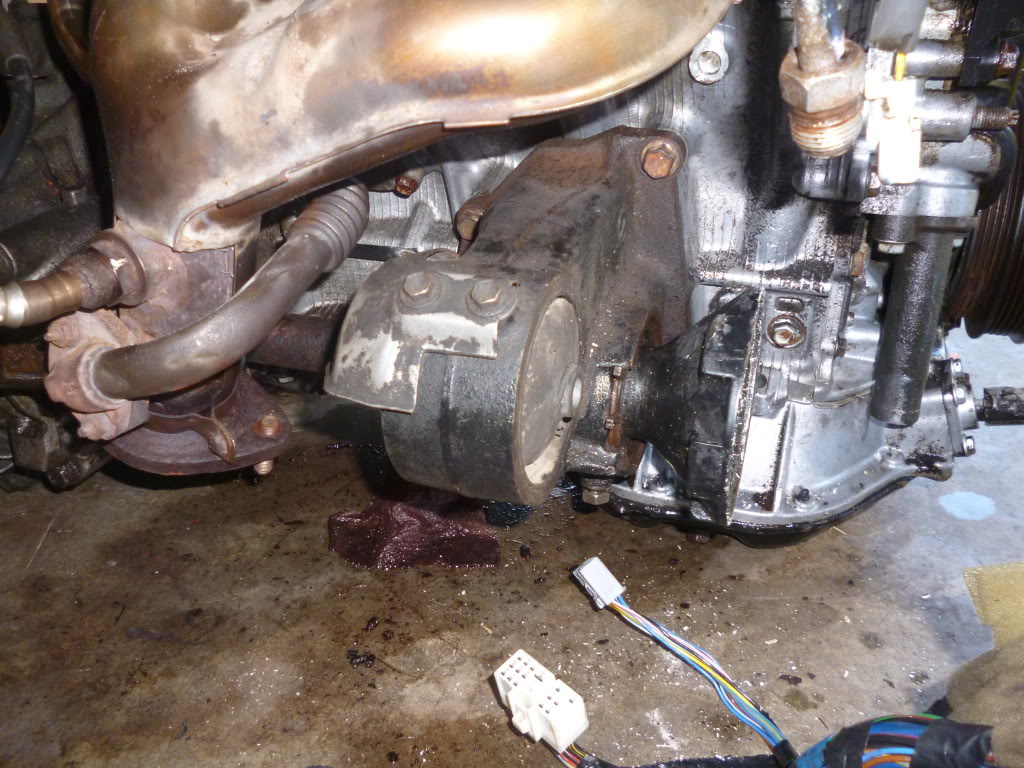
Only issues right now is lining up the front exhaust manifold. Just need to jiggle it more, and also how to put on the power steering pump. Since it was already removed when I got the car I am looking through all the loose bolts for the lower bolt. I was lucky and found the top bolt.
Around another 4 more hours of work and she will be ready to turn over.... Better weather predicted for tomorrow, but SWMBO has me scheduled for chores all day... Will post update as soon as I can.
.Started this morning around 10 am. Was cloudy and was hoping rain would hold off.
Removed the intake manifold from the new engine as well as the fuel rail system.
Hooking up the engine and tranny to leveler and cherry picker.
Hanging free!
Dropping her in:
Getting the driver side motor mount lined up:
Settling in:
Got all the motor mounts/motor mount bolts in with no issue. This car is pretty easy to drop an engine into. Drops straight down. No angling the motor.
Was getting moving pretty well when around 1:30 the rain started... Game over for the day. Looking forward to clearing out my garage so I can work in there this winter.
Only issues right now is lining up the front exhaust manifold. Just need to jiggle it more, and also how to put on the power steering pump. Since it was already removed when I got the car I am looking through all the loose bolts for the lower bolt. I was lucky and found the top bolt.
Around another 4 more hours of work and she will be ready to turn over.... Better weather predicted for tomorrow, but SWMBO has me scheduled for chores all day... Will post update as soon as I can.
Last edited by KarlHungus; 10-07-12 at 12:26 PM.


Thread
Thread Starter
Forum
Replies
Last Post
305lexus
ES - 1st to 4th Gen (1990-2006)
25
03-14-11 05:24 AM