When you click on links to various merchants on this site and make a purchase, this can result in this site earning a commission. Affiliate programs and affiliations include, but are not limited to, the eBay Partner Network.
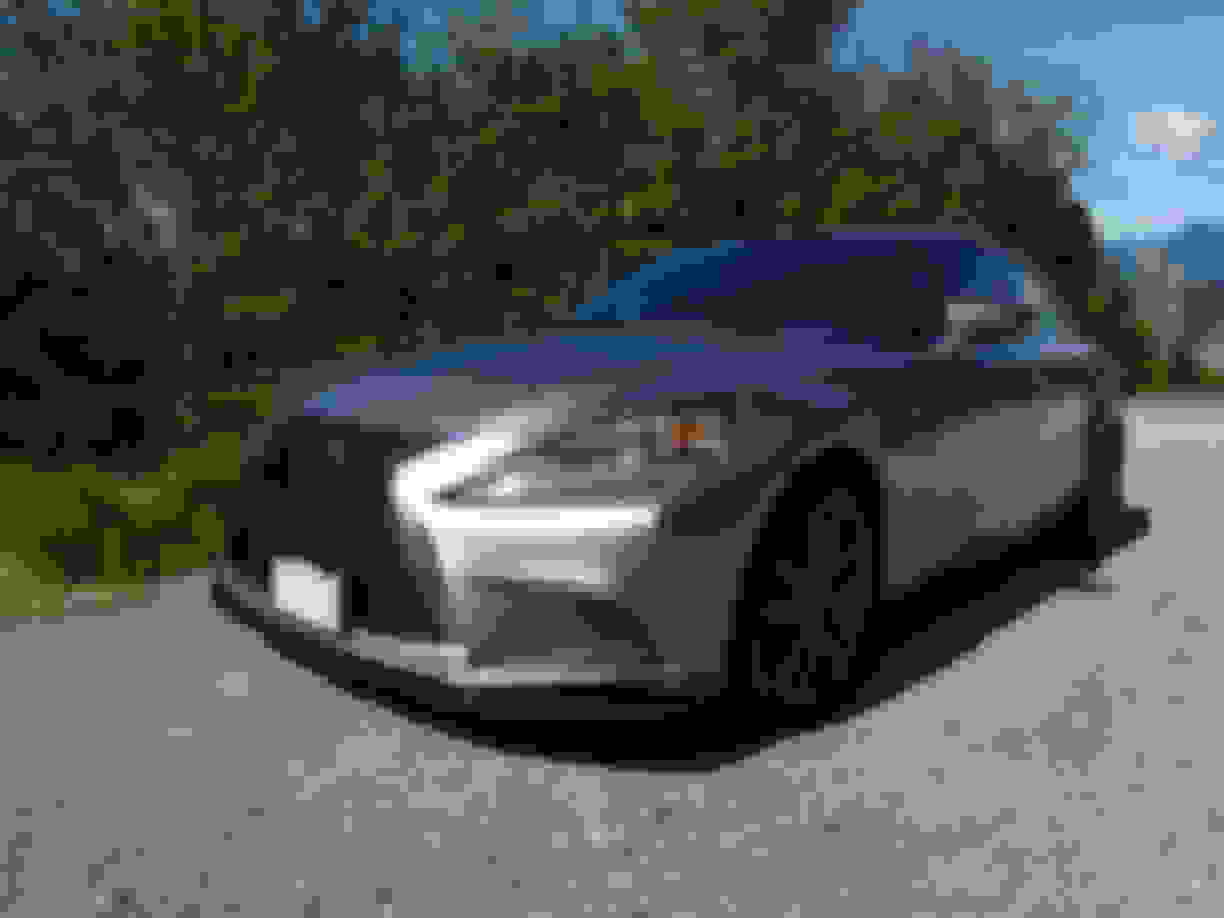
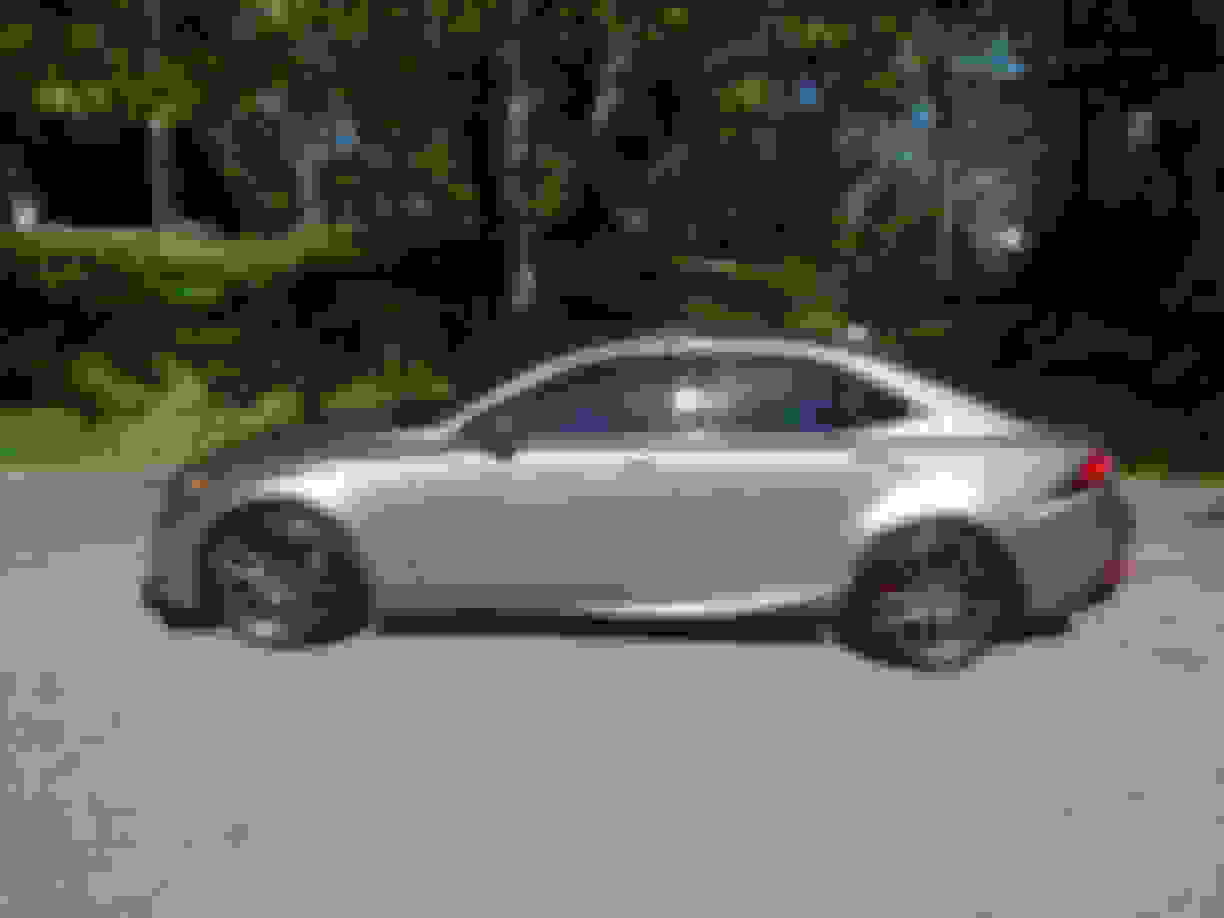
2014 Lexus IS350 AWD F-Sport (BC, Canada)
Atomic Silver on black
Full load - ML audio, radar cruise, PCS, rear shade, wiper de-icer, heated steering wheel, etc.
Bought at 60,000kms December 2018, 2nd owner
Documenting mods done to this, my first Lexus. Our family has had three others: 1992 LS400, 2005 LS 430, 2009 RX350. and all have been fantastic. The "+" is my general intention, to tweak the car to where I think it could or should have been from the factory, plus likely a bit of extra personalization. Will provide links to where I purchased items as much as possible.
Done:
Tsudo Cat-back exhaust (link)
BloxSport wheel spacers (link)
R1 Concepts Carbon GEOMET front rotors (link)
Akebono ASP 1118 front brake pads (link)
Front and rear mud flaps (link)
Door hinge guards (link)
Console tray (link)
K&N Engine air filter
Considering the price of OEM, it only made sense to spring for something not only better but that will last... likely for the life of the car. Labels placed so shops don't change them out!
Very bright and white light; makes a huge difference.
3 x front dome
2 x front vanity
2 x front footwells
2 x front door
2 x mirror puddle
3 x rear dome
1 x trunk
(didn't do license plate) Total: 15 bulbs
Replacement is extremely simple, just remove and replace. The mirror puddle lights are the trickiest. Once you've done one, the other is MUCH easier. Takes some nerve to get in there and pry the mirror off, but do it gently and in multiple points at once and it'll come.
Was originally planning to get an axle-back system with a subdued but deep quality sound like the Tanabe (F-Sport is nice, but yikes on the price), then work on customizing the midpipe by removing cats, putting in a new X-pipe and resonators, all with proper-sized piping. But then this came along and changed all that (link):
2.5" mandrel piping on a full cat-back exhaust, for less than most axle-backs alone, and 1/4 the price of many cat-backs. Didn't want the burnt tips, but had to jump on it. Good thing too, as it wasn't long before they reported out of stock, and who knows if we'll ever see that price again.
While the burnt tips are pretty and all, I just don't think they're right on a Lexus so I picked up some "de-ricer" and got to work.
After many hours of polishing by hand, they were done. If I'd known it was that much work, I would have happily paid or found an electric polisher to do it but they do look nice:
You may have noticed that the left tip is crooked. None too happy, but such is the quality control apparently. Might just mean going to quads at some point.
Next, off to the shop for install. You may have noticed that the Tsudo is for RWD, but the only difference with AWD is that the front piece on the driver's side that attaches to the collector has an extra bend in it to accommodate the drivetrain. Here's how the stock pipes look next to the custom work done to make it fit:
So any cat-back system built for RWD should fit AWD, but will require some modification. They quoted me 1.5 hours but were closer to 2. Here's the finished look from the back:
Should also note, both systems just barely fit in the car. That is, the Tsudo box won't fit in the trunk but will go in the back seats, and our stock X-pipe can fit if you angle it right:
Good idea to keep the OEM around, imo, whether it be for parting-out the car when you sell it, change back in case the sound gestapo get uppity, or even to sell it to someone who wants to go back to stock. Btw, the stock system is at most 2" piping, and even narrower at the axle-back, maybe 1-7/8". The x-pipe looks squished so it's likely narrower as well. In another post on CL, a guy with full exhaust and headers went from 2.25" to 2.5" pipes and saw up to a 10hp increase from that alone. Ideal size for our engine's displacement is likely 60mm or 2.36".
How does it sound? Mine is the only one I've heard IRL, the rest have all been recordings from Youtube and the like. I haven't heard it running from the outside yet, only at idle. It's not as loud as I figured it might be, considering the tiny resonators and no secondary cats. Sounds like a chainsaw when cold but quickly settles down to a quiet idle with a nice low rumble. When running it up it does get the brapping sound but sounds good from inside (performance-ish), and drone-wise there is some in that usual 2000-2500 range that's typically on highways, but it's not unbearable. Definitely droney when going up hills.
Will likely look to replace the resonators with something bigger at some point, to shape/smooth/refine the tone or maybe quiet it slightly depending how it is after it breaks in. If I go ultra-quiet, might even consider headers with high-flow cats, but bang-for-buck isn't very good on them. Very pleased with it so far aside from the crooked tip, and as mentioned, may look to go quads in the future. Will get some recordings when I can, but in the meantime, here are a couple examples from Youtube (Saneddie's, I believe):
May 3rd update: Been on for a couple months now, and it definitely seems quieter on the freeway at 2K cruising speed. More just a gentle background hum than a drone or howl. In fact, it only starts howling when going up hills. Gets the typical "puff" or "belch" when slowing down like most apparently do. Pretty happy with the sound from the inside in general, but still considering a couple tweaks.
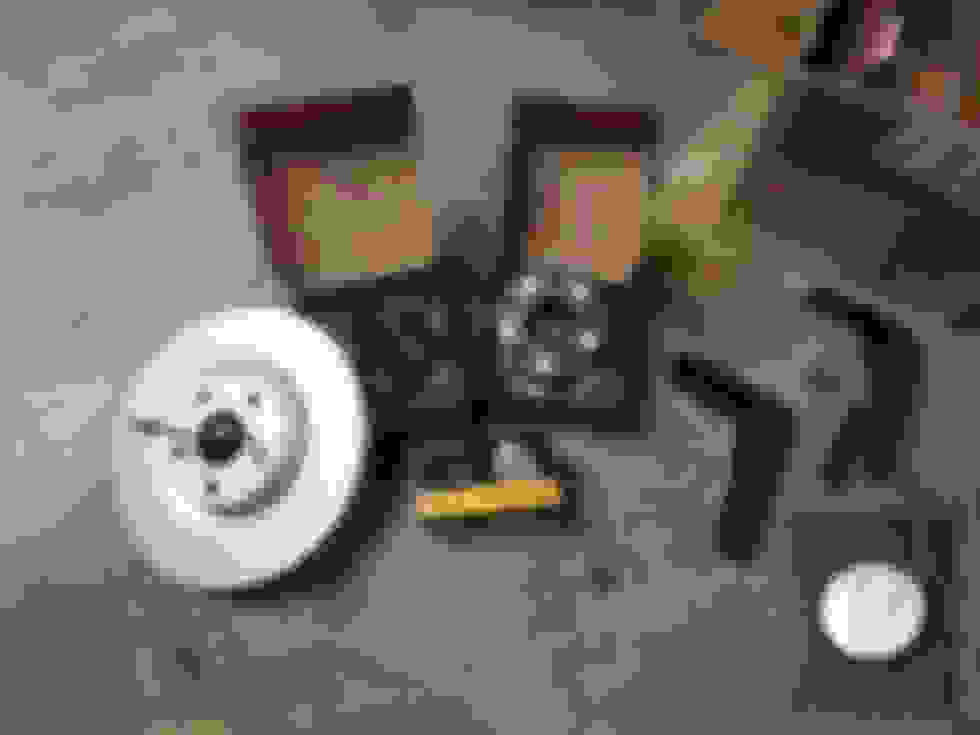
Time to get the front brakes done. Rotors were somewhat rusty and salty, coming from winterworld Calgary, so decided to replace them. Went with R1 Concepts Carbon GEOMET and Akebono ASP 1118 pads. Had Akebonos on my BMW Z4 and they were excellent -- performed as well as OEM but way WAY less brake dust. Also the right time to get wheel spacers on, and mudflaps as the wheels will kick up even more road debris with them out wider.
Parts list:
R1 Concepts Carbon GEOMET front rotors (link)
Akebono ASP 1118 brake pads (link)
BloxSport wheel spacers (20mm front, 15mm rear) (link)
Front and rear mud flaps (link)
Notice the over-engineered studs on the spacers -- 12.9 vs 10.9 OEM. While less-expensive spacers are available, I liked the looks, anodized finish, and design narrative of the BloxSport, and didn't want to go cheap or take any chances with something like this. They are also one of the few brands that have the studs built-into the 15mm version.
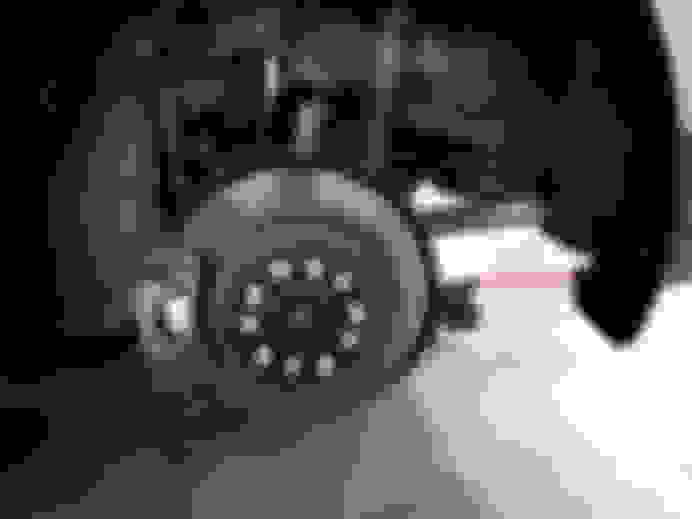
The holes in the rotors are very helpful in releasing them from the hubs, just need to thread in an M8 bolt and they snap free. Slathered anti-seize on the hubs, seated and torqued up the spacers to 80ft-lbs (more like 100), along with some Loc-Tite for good measure, and got the mudflaps on. Rear brakes have 70% left, so just did spacers and mudflaps.
Front mudflaps -- bottom is a ratchet bolt, top is a screw to replace a clip but doesn't sit very tight
Rear mudflaps -- like the fronts, the top screw doesn't really hold. Need to drill a pilot hole for the lower screw, and the hole for the clip underneath is too large so I drilled a new one.
As expected, 20mm front and 15mm rear are indeed correct -- just the right distance and no rubbing whatsoever. The wheels really pop now, and the stance looks great from the back, wide and aggressive. Fronts definitely need the springs done to reduce the gap, then they'll sit nicely as well.
I've had my RS-R Downs since January but been waiting for our mechanic at work to have time to put them in. He's finally ready, so it was time to get done the couple things that require jacking up the (stock) front end, as both hydraulic jacks I have access to won't fit unless I drive up on 2x4s as it is. Also have a front lip to put on, so once those are done it will be even more difficult.
Deliberated over G2 brush or VHT/Rust-oleum spray, but considering my general lack of skills I figured mask off real well then get a better/more consistent result with spray rather than have potential brush strokes and such. Would have liked F Sport blue, but the VHT is too dark so went with the "usual" red. Also decided to flat-black the rotors to clean up the look, as the R1 Concepts fronts were silver/white from the original coating and rears had surface rust spots. That ended up making it a much longer day, most of it spent masking and prepping. Doing calipers alone would have been probably less than half the time, being a single and easier masking.
1 x VHT "Real Red"
1 x VHT "Satin Black"
1 x VHT "Gloss Clear"
(all bought locally)
F Sport white labels (link)
Brake spray cleaner, steel fiber drill brush, sandpaper, masking tape, etc.
The rears are more true to the real colour. The VHT "Real Red" is a deep or blood red, not orangish like the front pic.
Masked off a bit beyond the inner untouched diameter on the rotors, so once driven the pads smoothed out the edges so they're rounded out now (see bottom pics). It was tedious enough doing around those sections, but the rear calipers have a lot of small things to work around, unlike the large fronts which just have the open pads area and a couple of rubber grommets. Almost packed it in on the rears after doing the black until time to change out the pads, as I think removing the calipers is probably the best way to go in general, but glad I did them anyway as they turned out better than I thought I could get them.
Figured I'd missed masking some spots, but essentially zero over-spray! Speaking of, the spray comes out quickly so it takes some practice to get it down right. Particularly tricky to get that first "tack coat" without missing areas or putting on too much. Can't get to all the areas of the calipers when they're on the car, but certainly enough that nobody will notice unless the wheels are off, and even then you'd have to look around behind. VHT is proud of their ability to spray upside-down, which does work fairly well in short bursts but not too well with the gloss. Hard to say for certain, but I'm not sure how much effect the gloss had tbh. I chose the second-largest labels, which were nice quality and very easy to apply.
The cans say to do 3 coats within 10 minutes of each other (2 light, 1 medium) but I put 4 or 5 on the fronts with the last two fairly heavy, as I didn't think they had enough colour after 3. The 4th one definitely made them pop. I did 3-4 gloss on the fronts, yet the rears actually look glossier despite only 3 max. Pretty satisfying to get it done, hopefully the can's directive to "bake at 200 degrees Celsius to cure" isn't all that critical. Here's them on the car, shaded, after driving for a few hours:
I like the sound under full throttle, but being a city dweller it's rarely run that way. More concerned about the lower end, so I've ordered Vibrant 1793 resonators which should smooth out the rifling or "brappiness". They are the same 4" body diameter but 18" long versus the 7" Tsudos, and thereby will modulate the tone more.
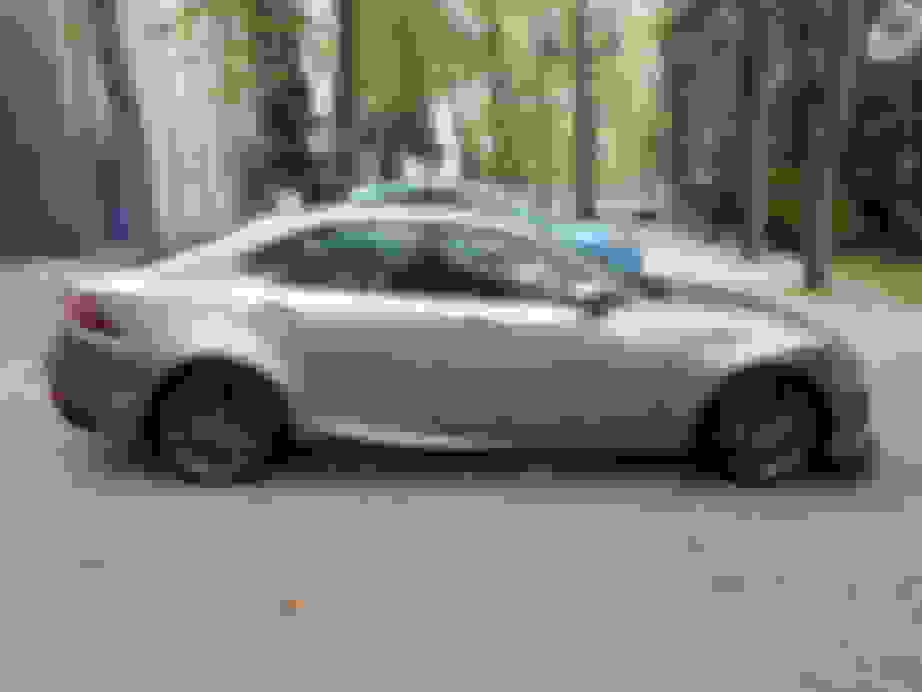
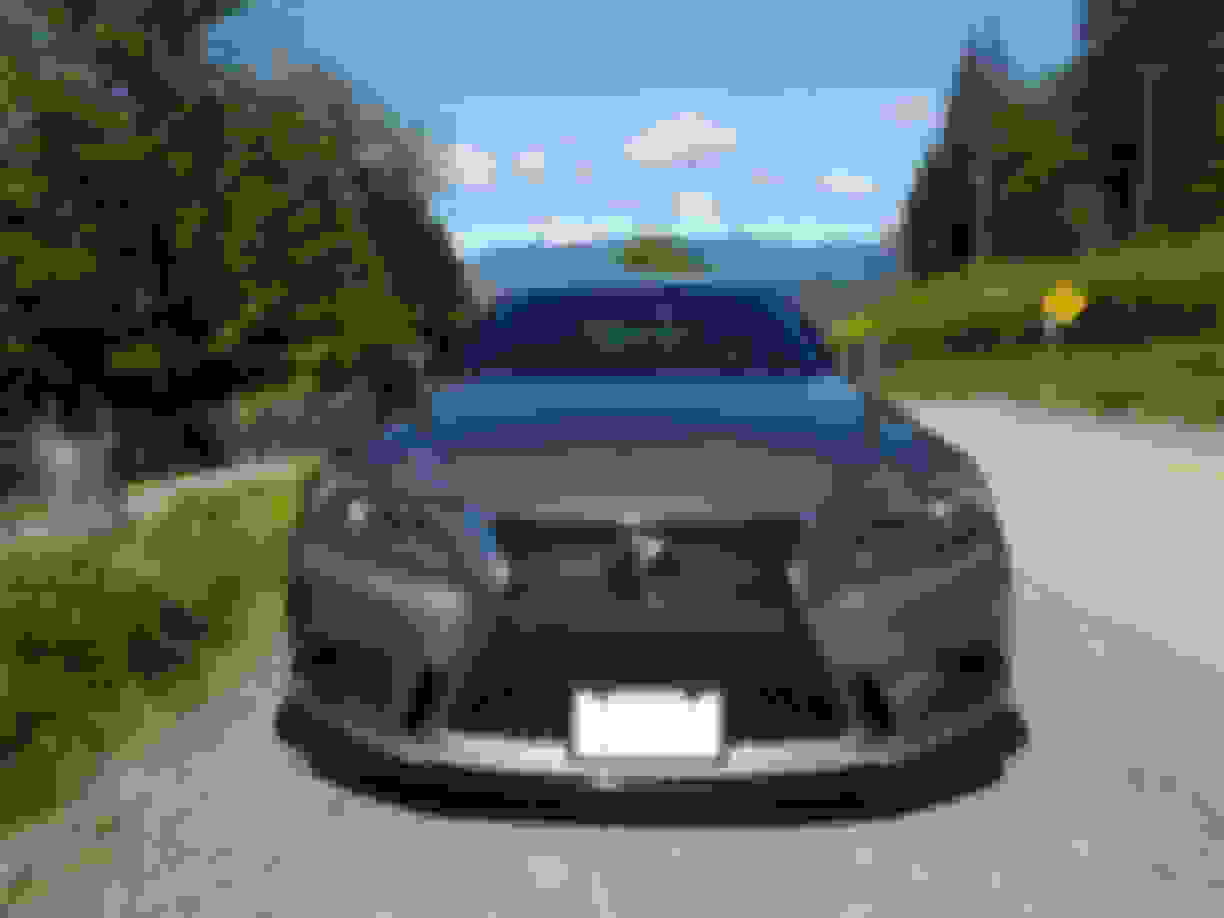
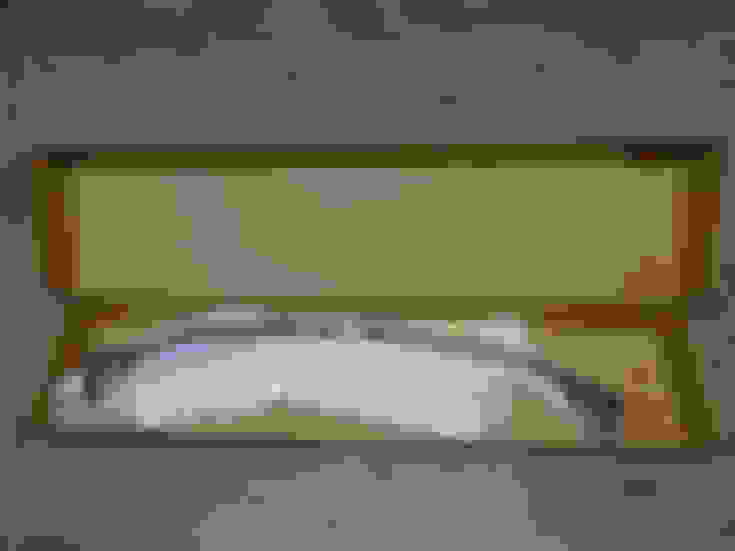
With spring install imminent, also put the front lip on when I had the car jacked up to do the calipers last week. Really like the look, as it straightens/evens out the bottom of the F Sport bumper, nice contrast with the body colour, the only caveat being that I think the Ikon version might stick out a bit less, as I was hoping for it to be generally subtle.
Say what you will about replicas, but no way was I going to spend $600-800US (close to a G Canadian) for something that's inevitably going to get scratched and beat up.
The lip (link) was $10 less than the Ikon and came with mounting things which Ikon didn't, and is finished exactly how I wanted it -- not "primered unfinished" as many such parts are, but has a semi-gloss to it so it's not matte black either. No need to do anything to it, just mount up. The kit came with alcohol pads, screws, and double-sided tape, but while attempting to mimic the red 3M, it is basically the holding quality of Post-It notes. Essentially useless, not sure why they bothered including it.
The six flanges line up with the bolts under the front bumper. They are Phillips screws but best-removed with a 10mm, as mine were rather rusted-up and strip-endangered. Used the tape to try to hold it in place while mounting but it didn't really help any, so after test-fitting just started in the middle while a friend lined up one side. On the ends you'll need to drill two small pilot holes for the screws inside the fender well, and in the gaps between the flanges there tends to be a bit of "sag", so drill through the lip and bumper with pilot holes and use the supplied screws. That makes it mount up nice and flush with the bumper.
And yes, that's my front plate mount. The car came from Alberta where front plates aren't required, so there are no holes in the grill and I want to keep it that way. Eventually may get the L-mount which puts it higher up nearer the standard location, but it's something like $80 and the strapties I used with the OEM bracket have worked out fine.
Good stuff. Would you say you are going for more of a subtle build? I like the mud-flaps since they don't stand out that much. I also plan on doing the LED lighting kit & changing out the courtesy lights on the side-view mirrors. Why only a maybe on the RR Racing ECU tune? I think it would be well worth it
Good stuff. Would you say you are going for more of a subtle build? I like the mud-flaps since they don't stand out that much. I also plan on doing the LED lighting kit & changing out the courtesy lights on the side-view mirrors. Why only a maybe on the RR Racing ECU tune? I think it would be well worth it
Thanks, and yeah that's the general idea -- "enhanced/refined stock". About halfway there, with springs, spoiler(s), and some wrapping being the main things left. Never liked the slammed-and-riced-out look, even when younger. Rather, max out on OEM or similar things then tweak others, like I did with my '99 Mustang (from new):
It was a V6, but lots of GT and Cobra things bolted on, plus aftermarket things like CAI and short-throw shifters were available, but did nothing wildly over-the-top to make it gaudy (at least, imo). This was at the track, btw -- yeah, I did run a V6 Mustang there
On the Lexus, changing the lights was one of the easiest mods and something you notice right away, not to mention inexpensive. Mudflaps are decently functional, especially with the spacers on and because we get a lot of rain, and provide more black contrast as well. The tune is over $500US, and from what I understand it's mostly the top end you gain on, and being a primarily daily city driver I'm not sure how much I'd use/benefit from it. I put it closer to the bottom of the list, so once the $ are replenished it could well come along anyway. Same with the headers, I'm interested but for the minimal gains I don't think it's worth it, plus I'd likely get high-flow cats because it will be LOUD. Quite certain I'll get their intake pipe regardless, as a proper intake DOES make a difference, at least in throttle response.
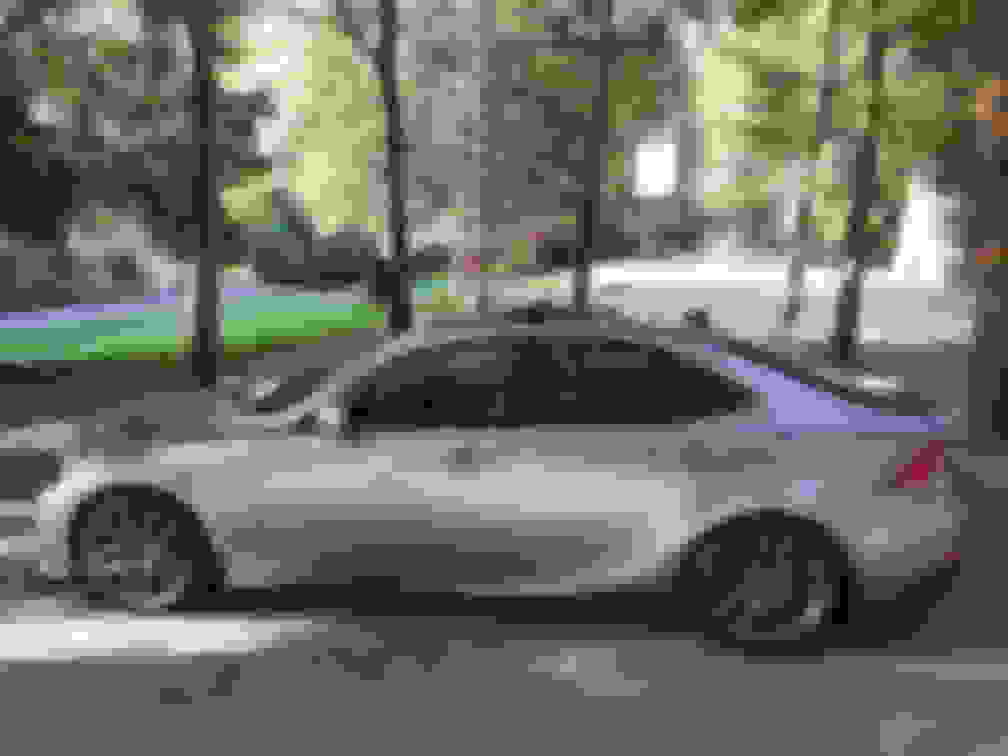
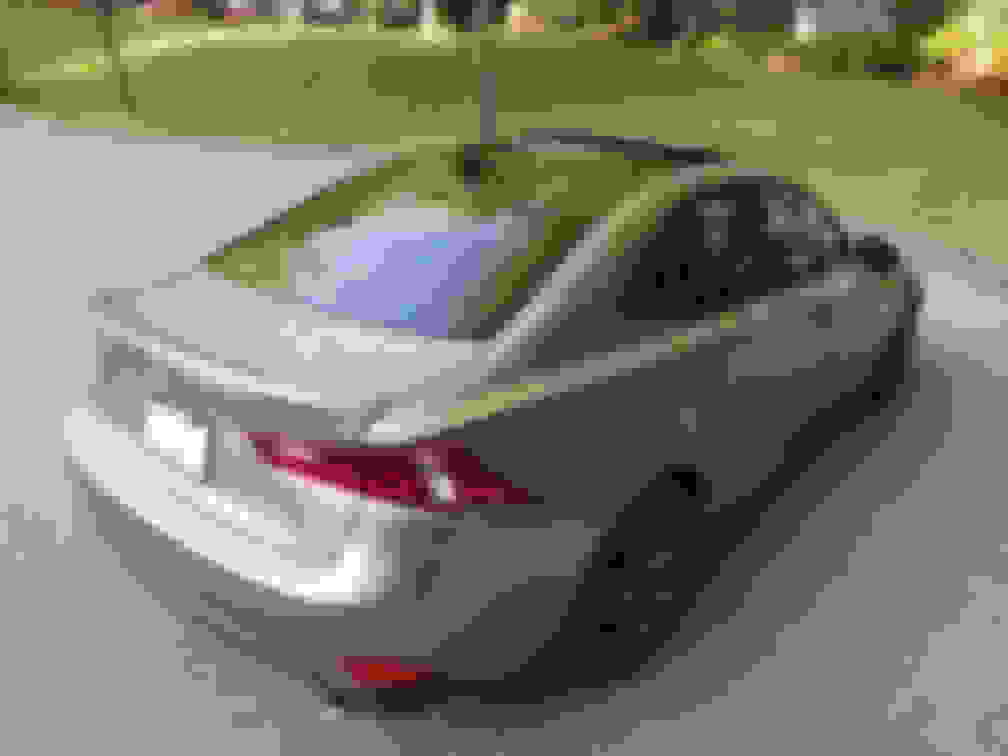
Looked for quite a while for the right one, didn't like the big TRD-style and the small one's didn't look right, so ended up going OEM. Full-width, suits the car, and is not a ricey tack-on but generally subtle. Did not get an actual Lexus OEM but went with a replica from DAR, which was less (from eBay) but also without all the bolts and not requiring a drilling template for another $45+. Apparently the bolts are removable from the OEM, but since I was doing tape-only I went with one that was designed for it.
Did come with two short screws, but hardly worth drilling holes for. Just used the 3M tape, which they are apparently using more of now than in their instructional video (on same page). And this tape is serious stuff, not like the the feeble gum that came with the front lip. In fact, after positioning it and peeling out the first strips, the last piece was already so tightly against the trunk it broke while pulling, leaving a length remaining. No matter, it's going NOWHERE.
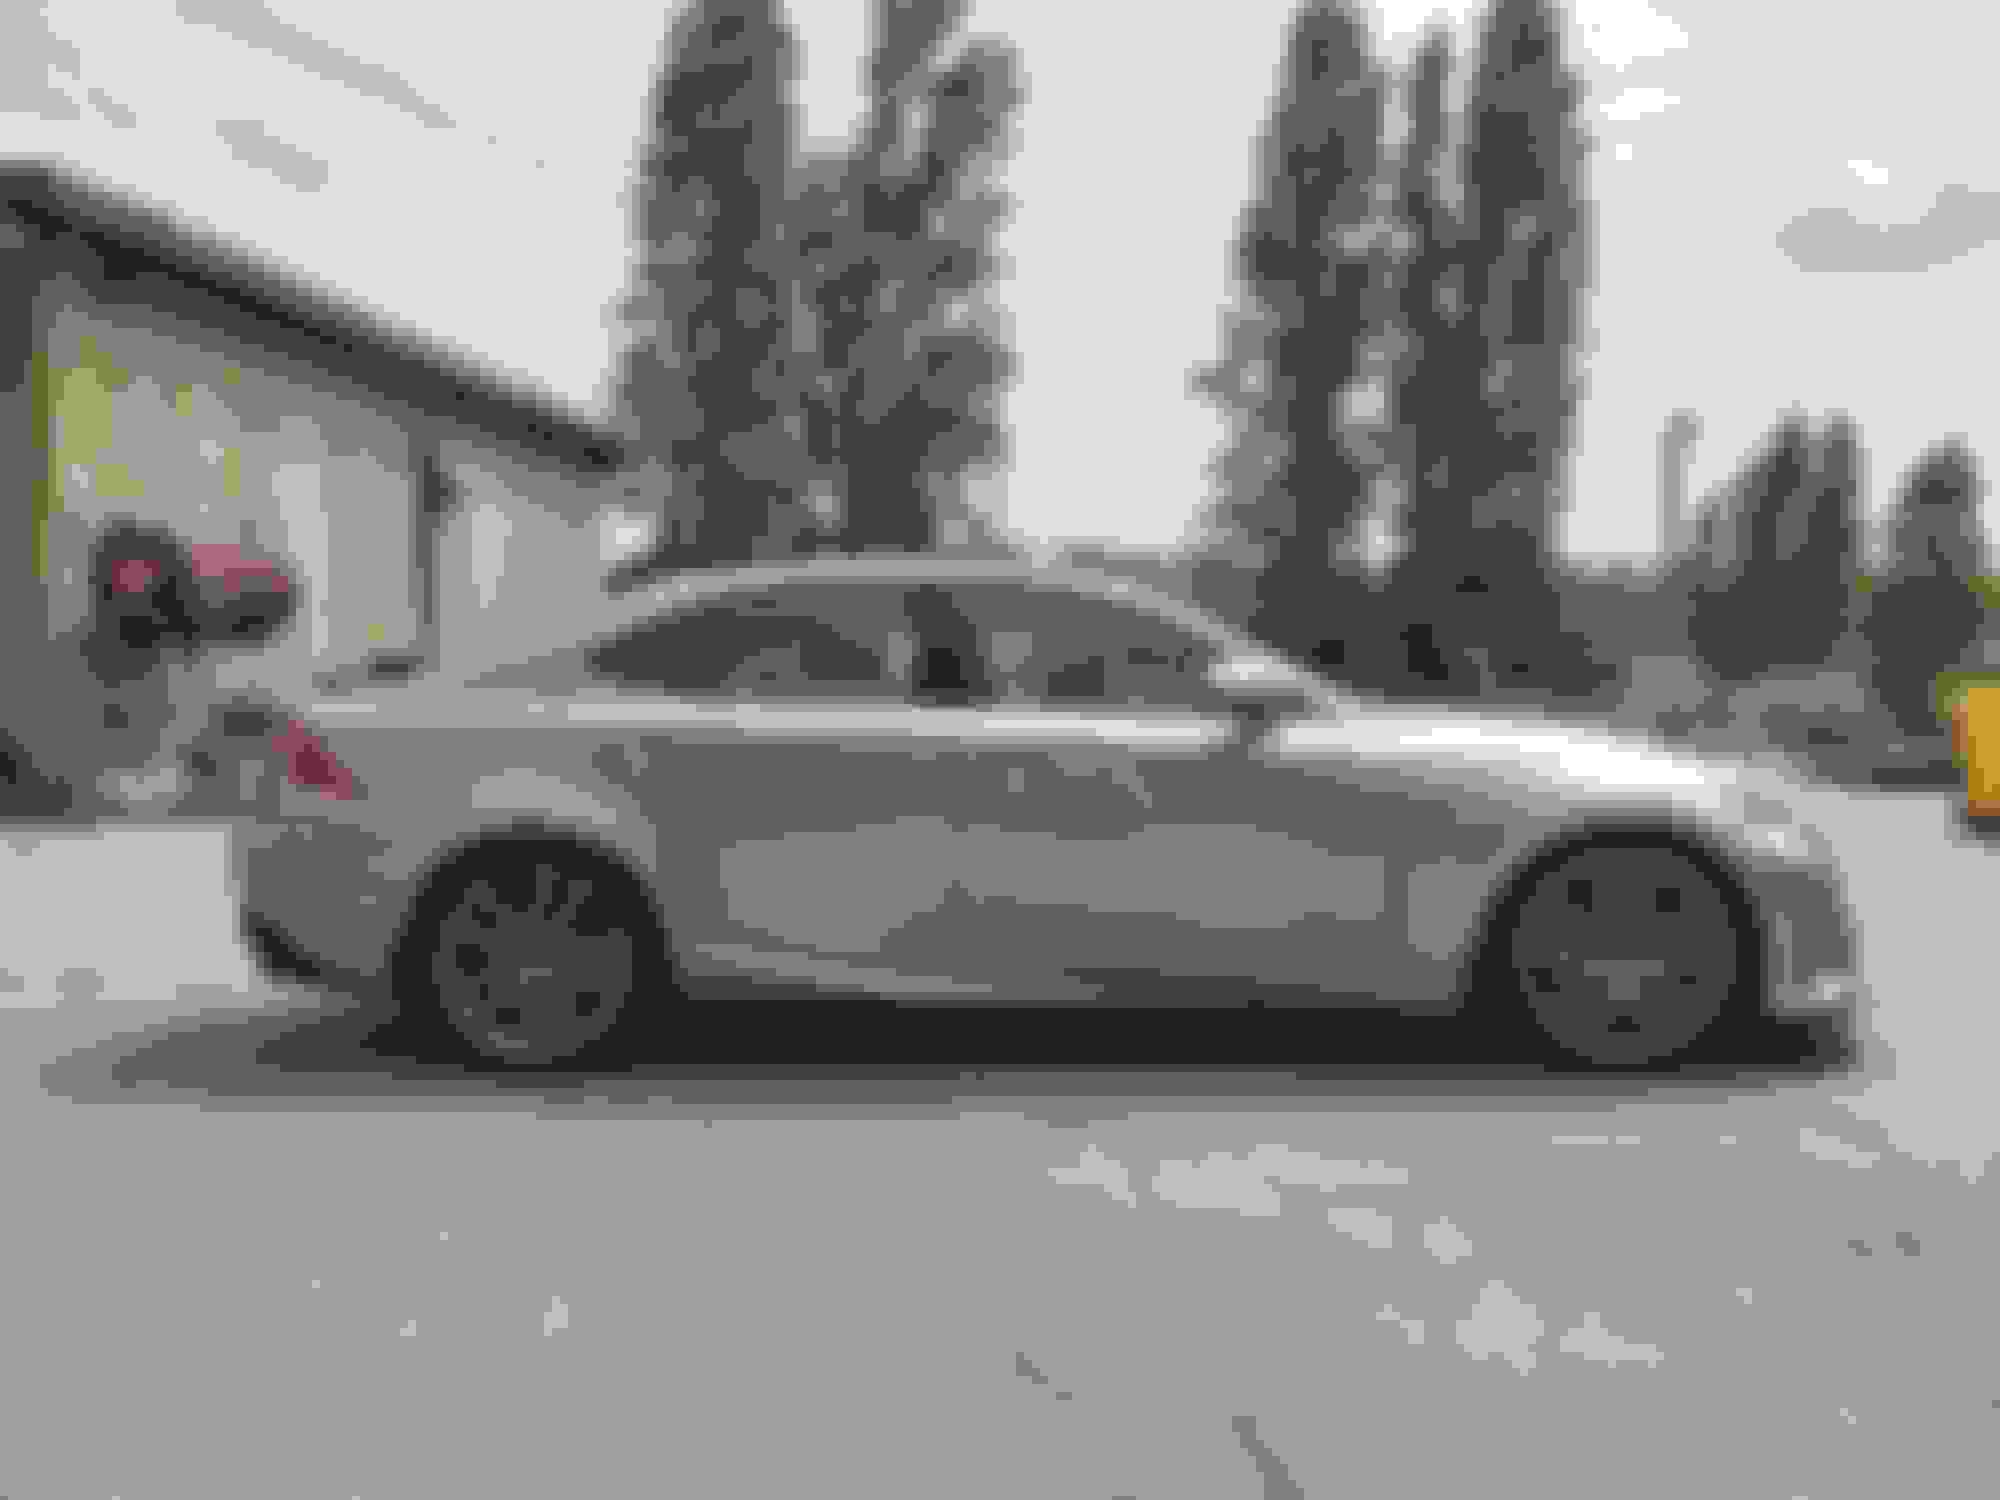
The paint was excellent, all the equal of an OEM, and the fit perfect. It's an easy mod compared to drilling OEM -- just position it, mark out the corners with tape, then peel away the ends, place, and pull out the rest of the tape. Press it down and it's on and done. Here it is on the car, next to my underground neighbour with a 2015 250 AWD F-Sport for direct comparison:
The front lip and rear spoiler help give the appearance of increased car length, which will be even more apparent once the springs are on. The result is an overall effect of not only style and performance but also sitting balance. Have the fronts ready, will have the rears next week and hopefully both on by then.
Your car looks amazing man. Makes me double think my color choice of going with black lol. How does the car ride with the bloxsport spacers? I just installed them on my car as well 3 days ago and street driving was fine but at 80 on the highway i had a weird vibration from the rear. Maybe im just paranoid and its my worn tires.
Your car looks amazing man. Makes me double think my color choice of going with black lol. How does the car ride with the bloxsport spacers? I just installed them on my car as well 3 days ago and street driving was fine but at 80 on the highway i had a weird vibration from the rear. Maybe im just paranoid and its my worn tires.
Hey thanks! It is a cool colour, changes a lot -- like in the underground, it looks charcoal.
I haven't noticed a thing with the spacers driving-wise. We torqued them up "real good", at least to the usual 78ft-lb spec for lug nuts. Also put a drop of the loc-tite thread-locker onto the studs. Had the wheels off to do the calipers but didn't check them to see if they'd moved, although others who've torqued them well have done so and said they hadn't changed.
Vibration's definitely not good, maybe check them for peace of mind anyway. Did you also seat them well? We tapped with a 2x4 to make sure they were right flat against the hubs as they fit very snugly, especially if there was any corrosion or salt around them.
 03-23-19, 03:42 PM