When you click on links to various merchants on this site and make a purchase, this can result in this site earning a commission. Affiliate programs and affiliations include, but are not limited to, the eBay Partner Network.
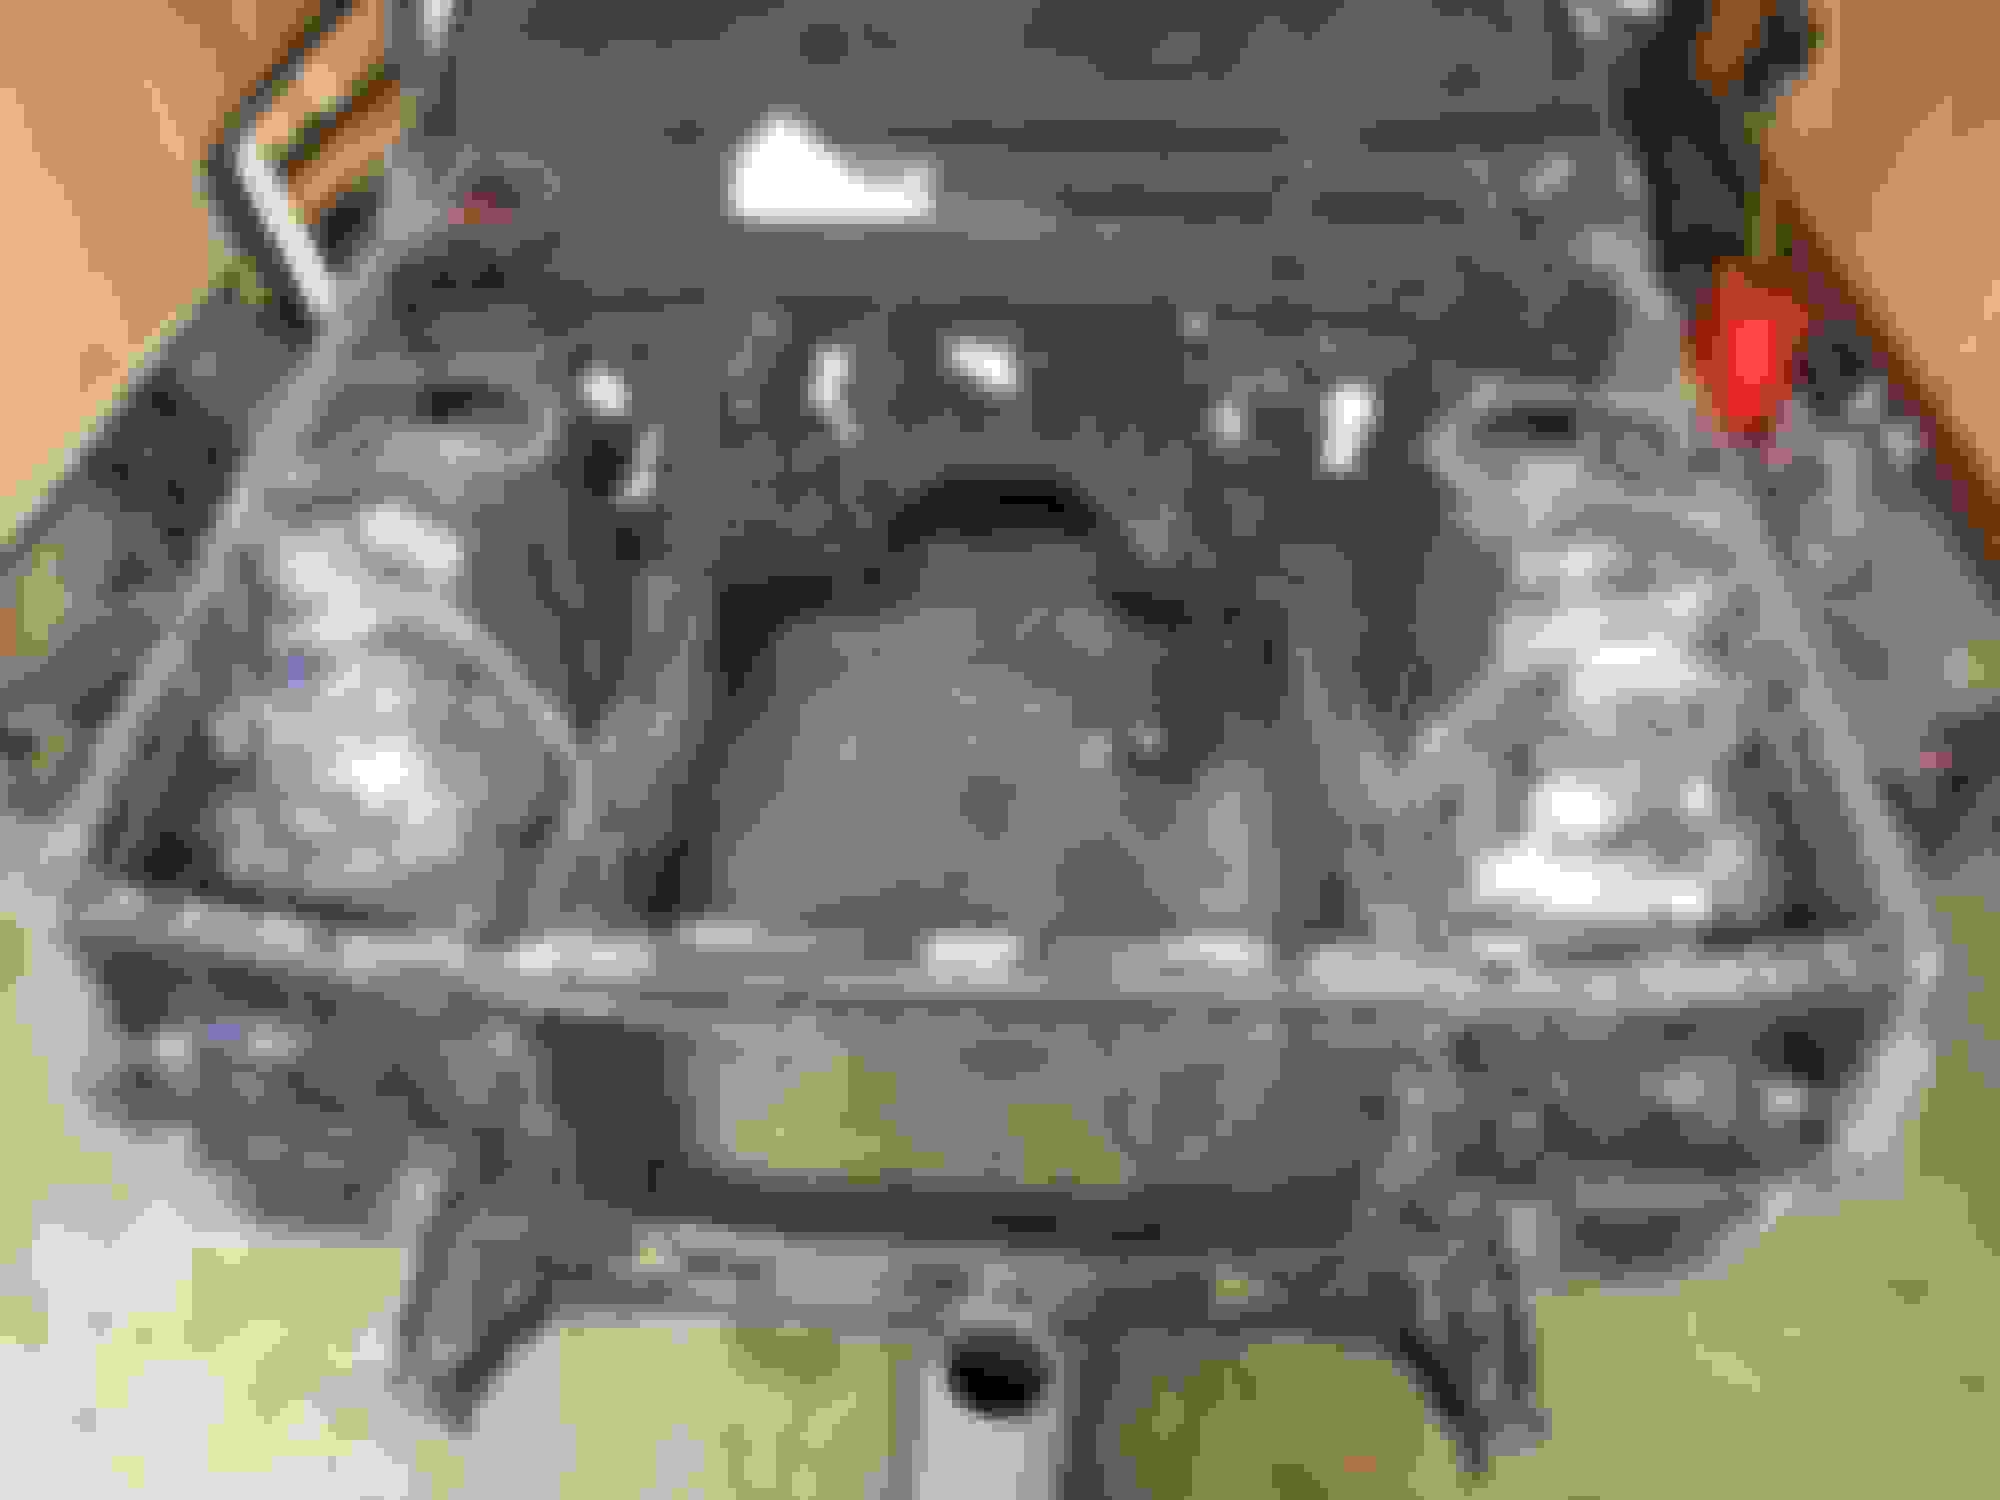
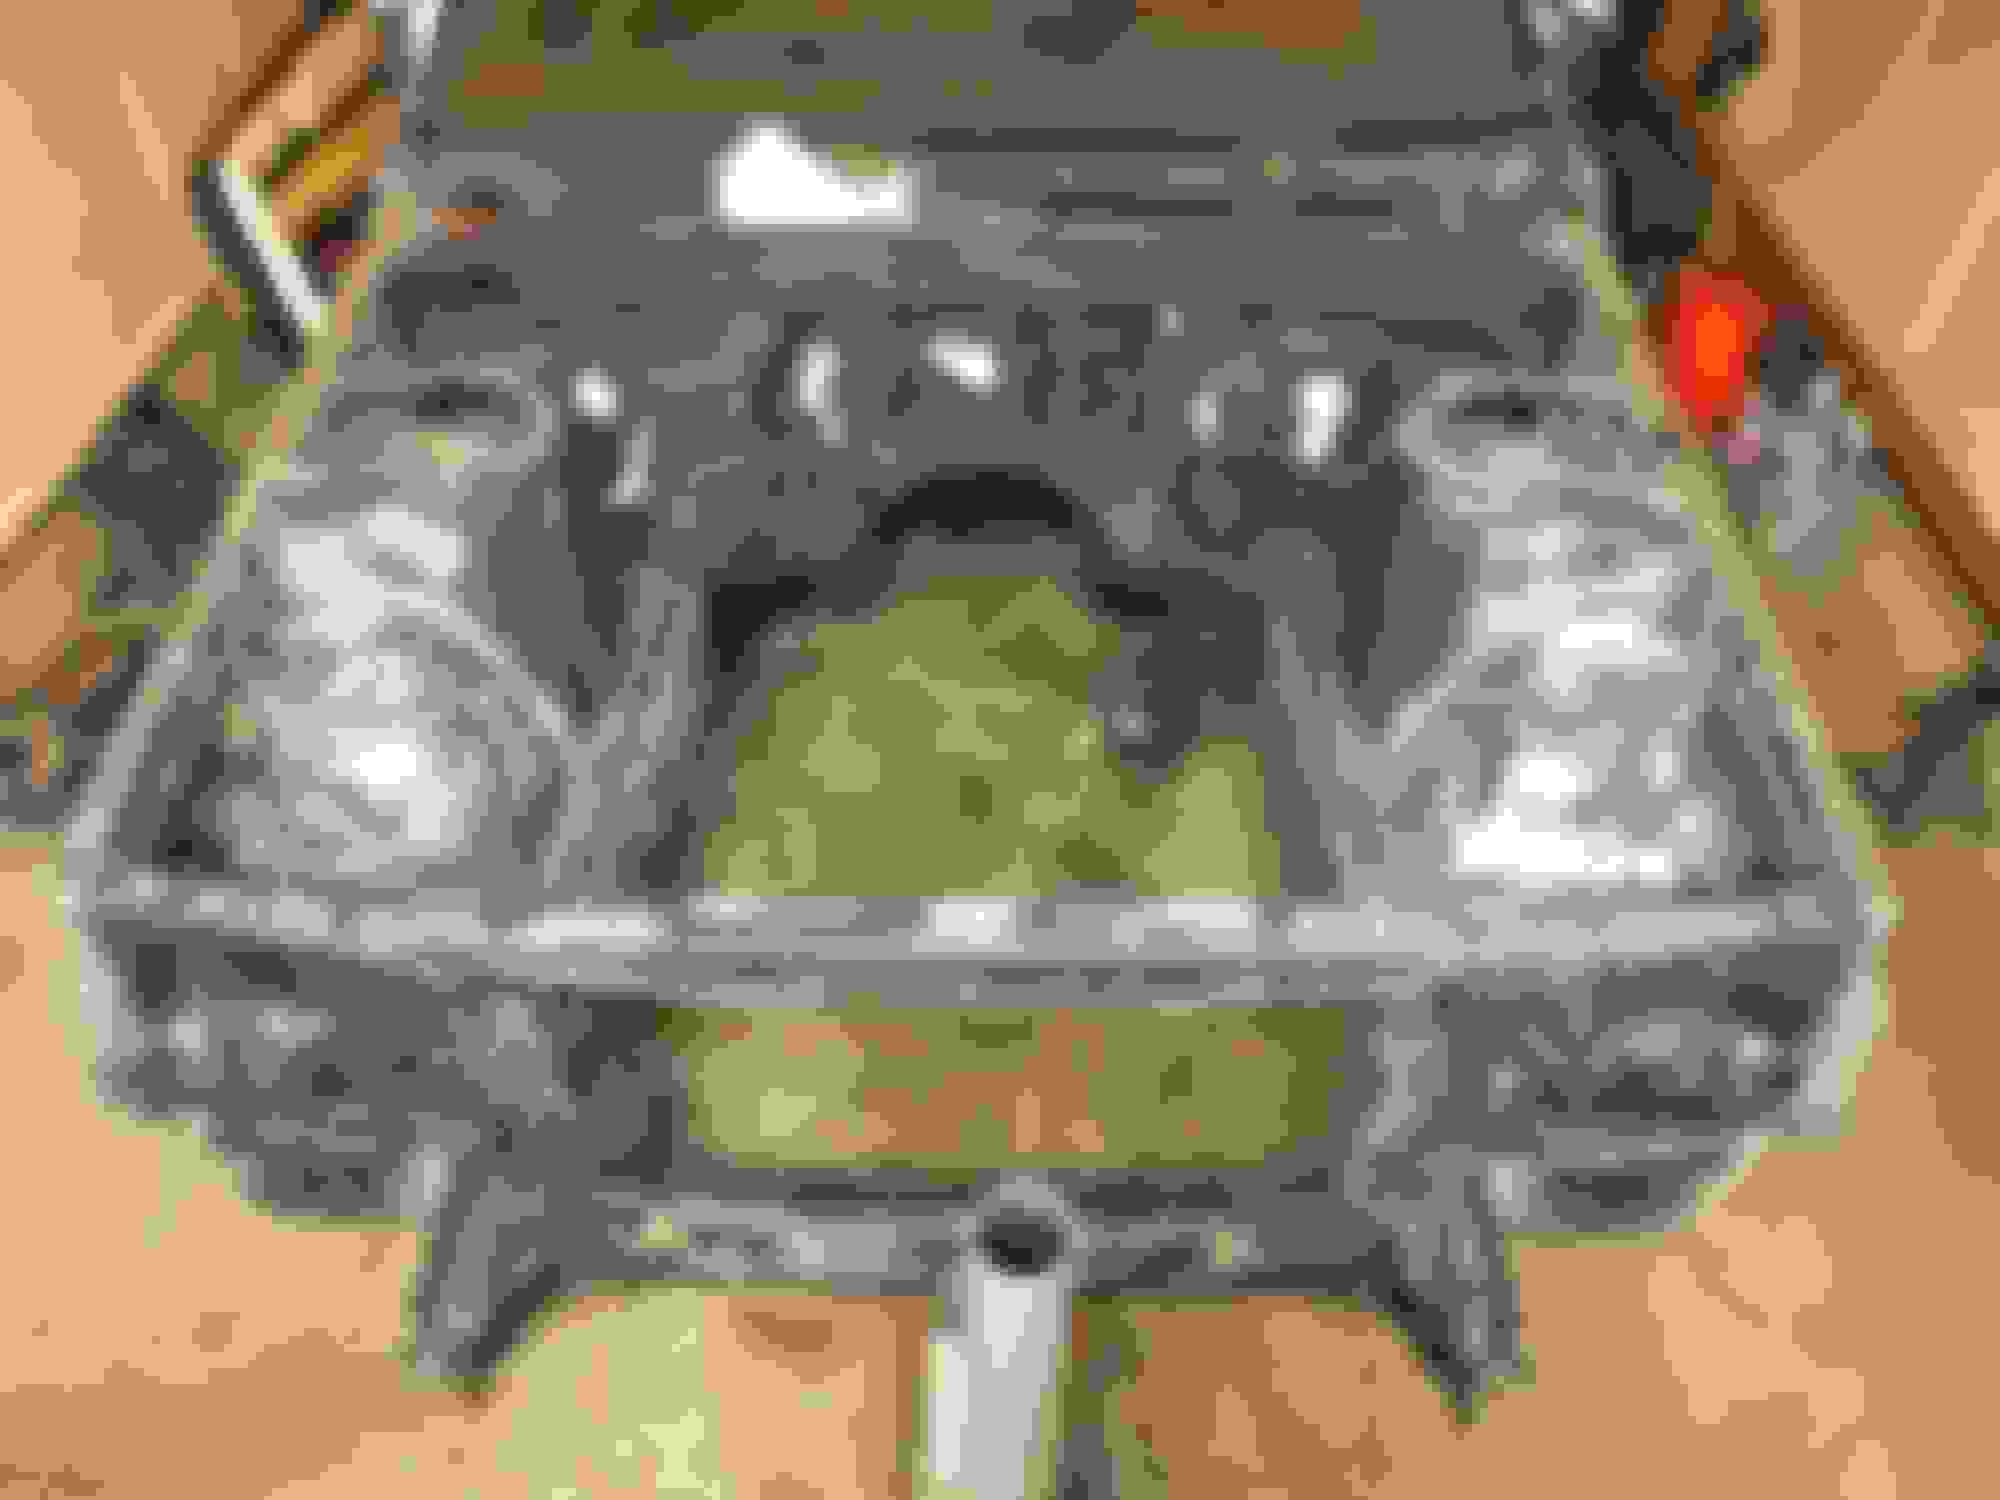
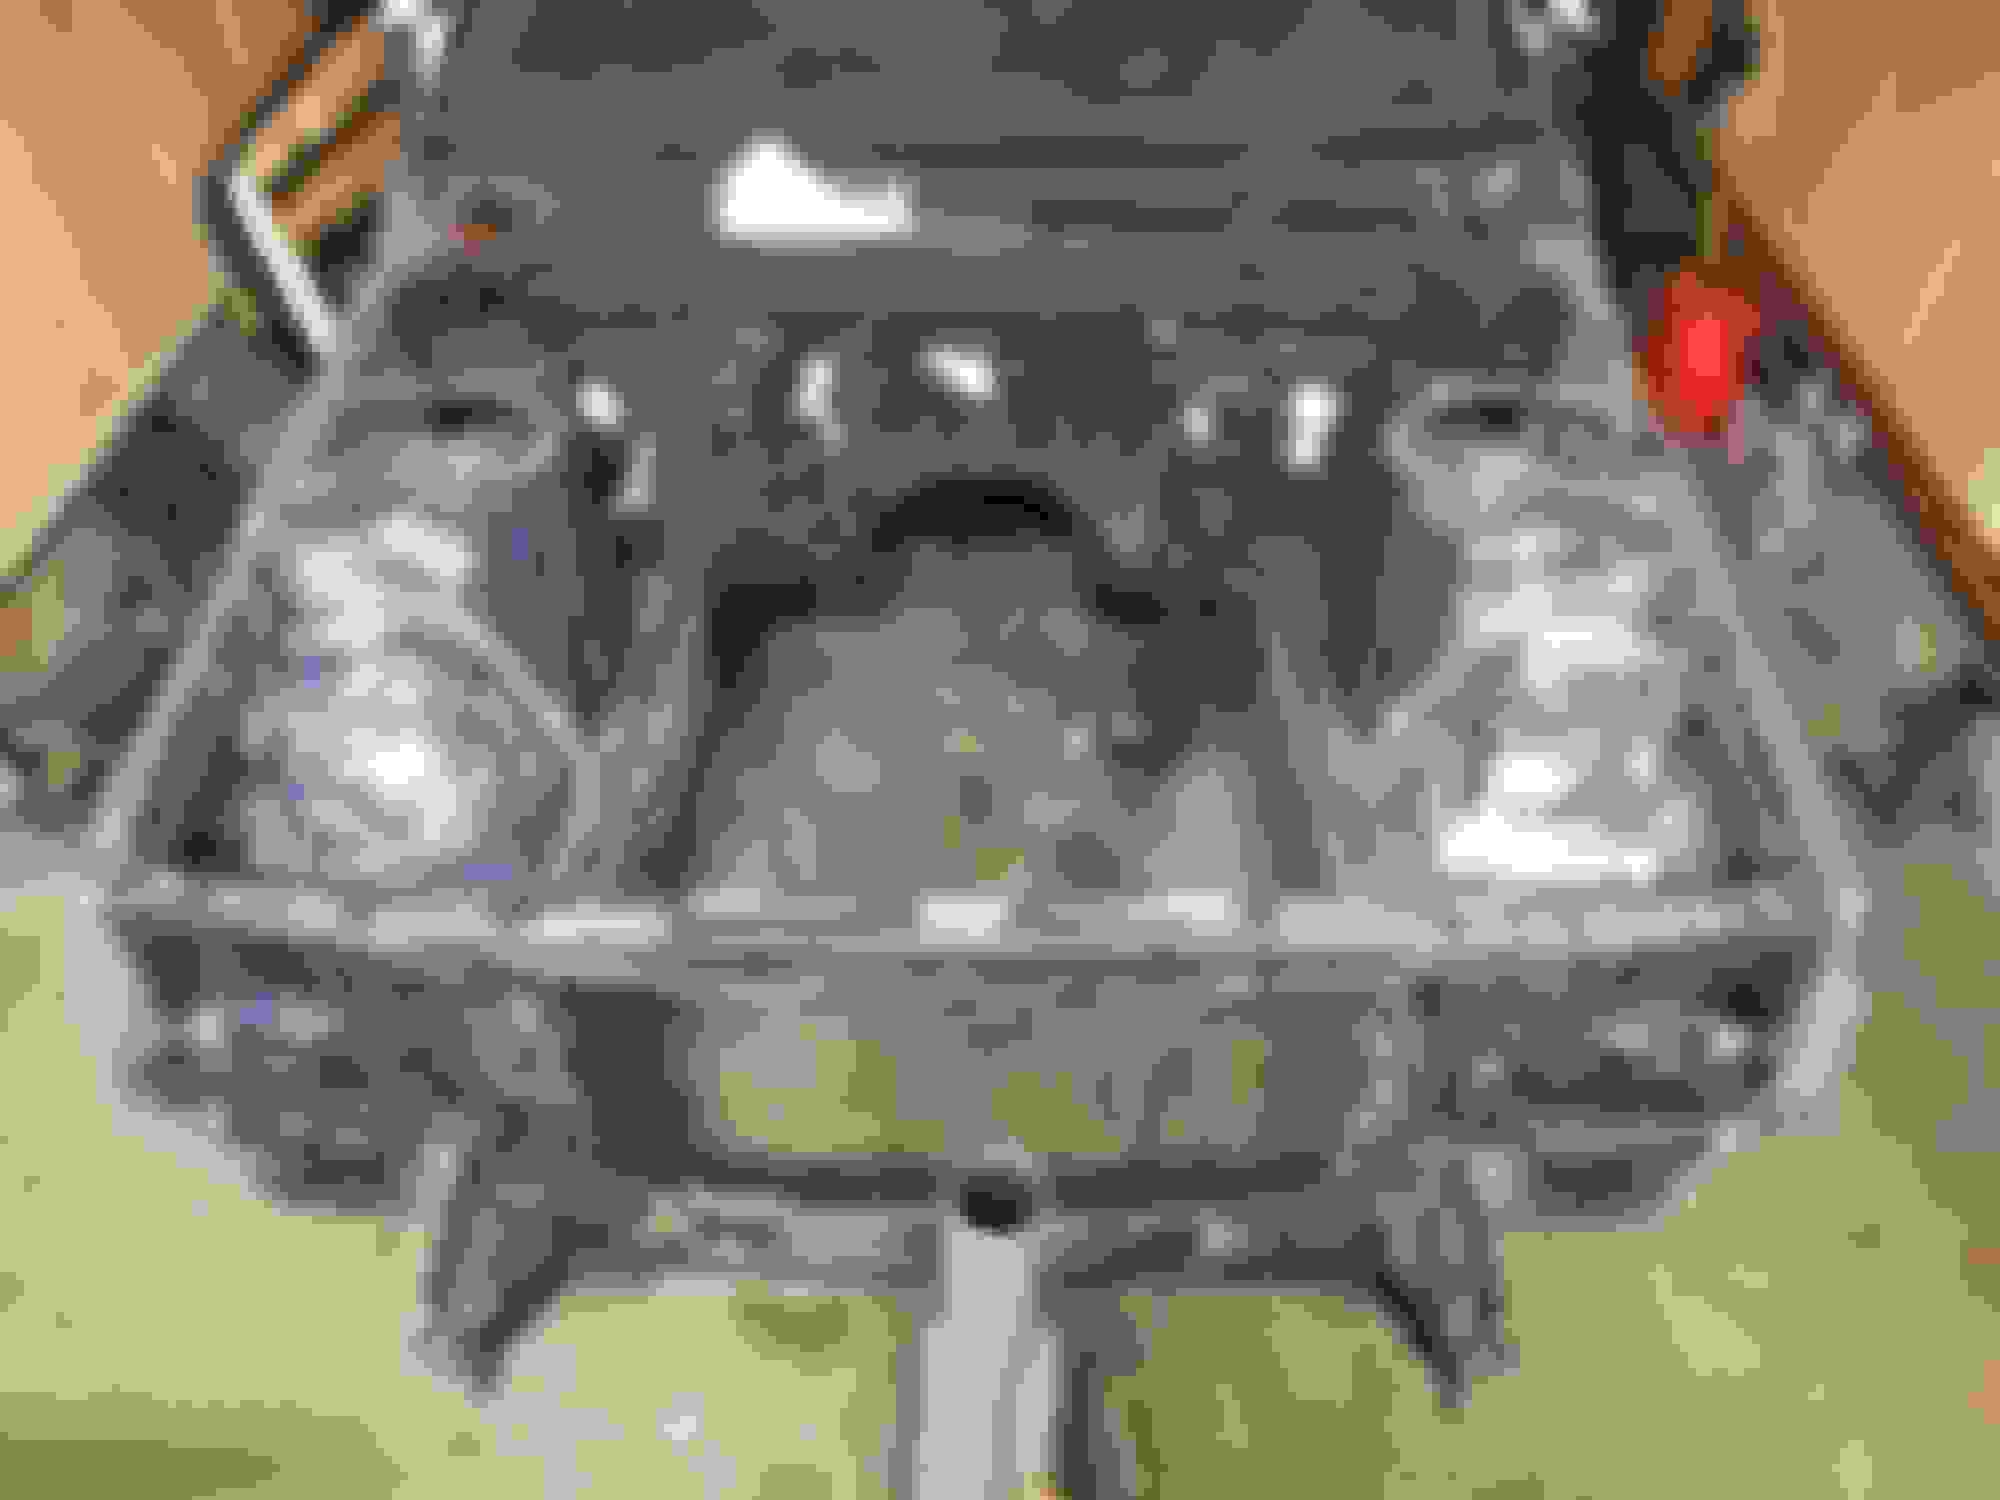
^^ That NA-T engine is starting to look mean. That big intake plenum will handle 400whp for sure. What you may find is that low end torque will be a bit less without the factory cross-over intake manifold. But that will be mitigated mostly by your choice of turbo on that Treadstone manifold if it can spool pretty quickly. Are you perhaps thinking of going with a 58mm or 62mm size for that projected power level?
For diff gearing to match the new engine in your MX73 are you going to use a 3.90 or 3.73 ratio from an MKIII?
kilo
So i have a 60mm size and currently i have the stock 4.10 auto diff welded. I have a lsd from an auto mx73 but Im not sure what ratio it is I havent looked at it yet.
I ran my 2jzge swap through a w58 to a stock welded auto diff and didn't have any issues with gearing. I'm sure going NA-T could change that, but I don't remember any of the gears feeling too long or too short to be honest.
I ran my 2jzge swap through a w58 to a stock welded auto diff and didn't have any issues with gearing. I'm sure going NA-T could change that, but I don't remember any of the gears feeling too long or too short to be honest.
Yeah should be good, Im not too worried about running it like that for now main concern is to get this thing in the car first haha
What's up! I installed the belt last month and haven't uploaded the pics since. I got around to cleaning and painting the belt covers, I'm really pleased on how they turned out. Bumper and trim paint is the bizz. Went for that oe look, not a huge fan of gloss.
For this months project, I'm going to work on the turbo rebuild! Stay tuned.. or shall I say stay boosted ya'll!
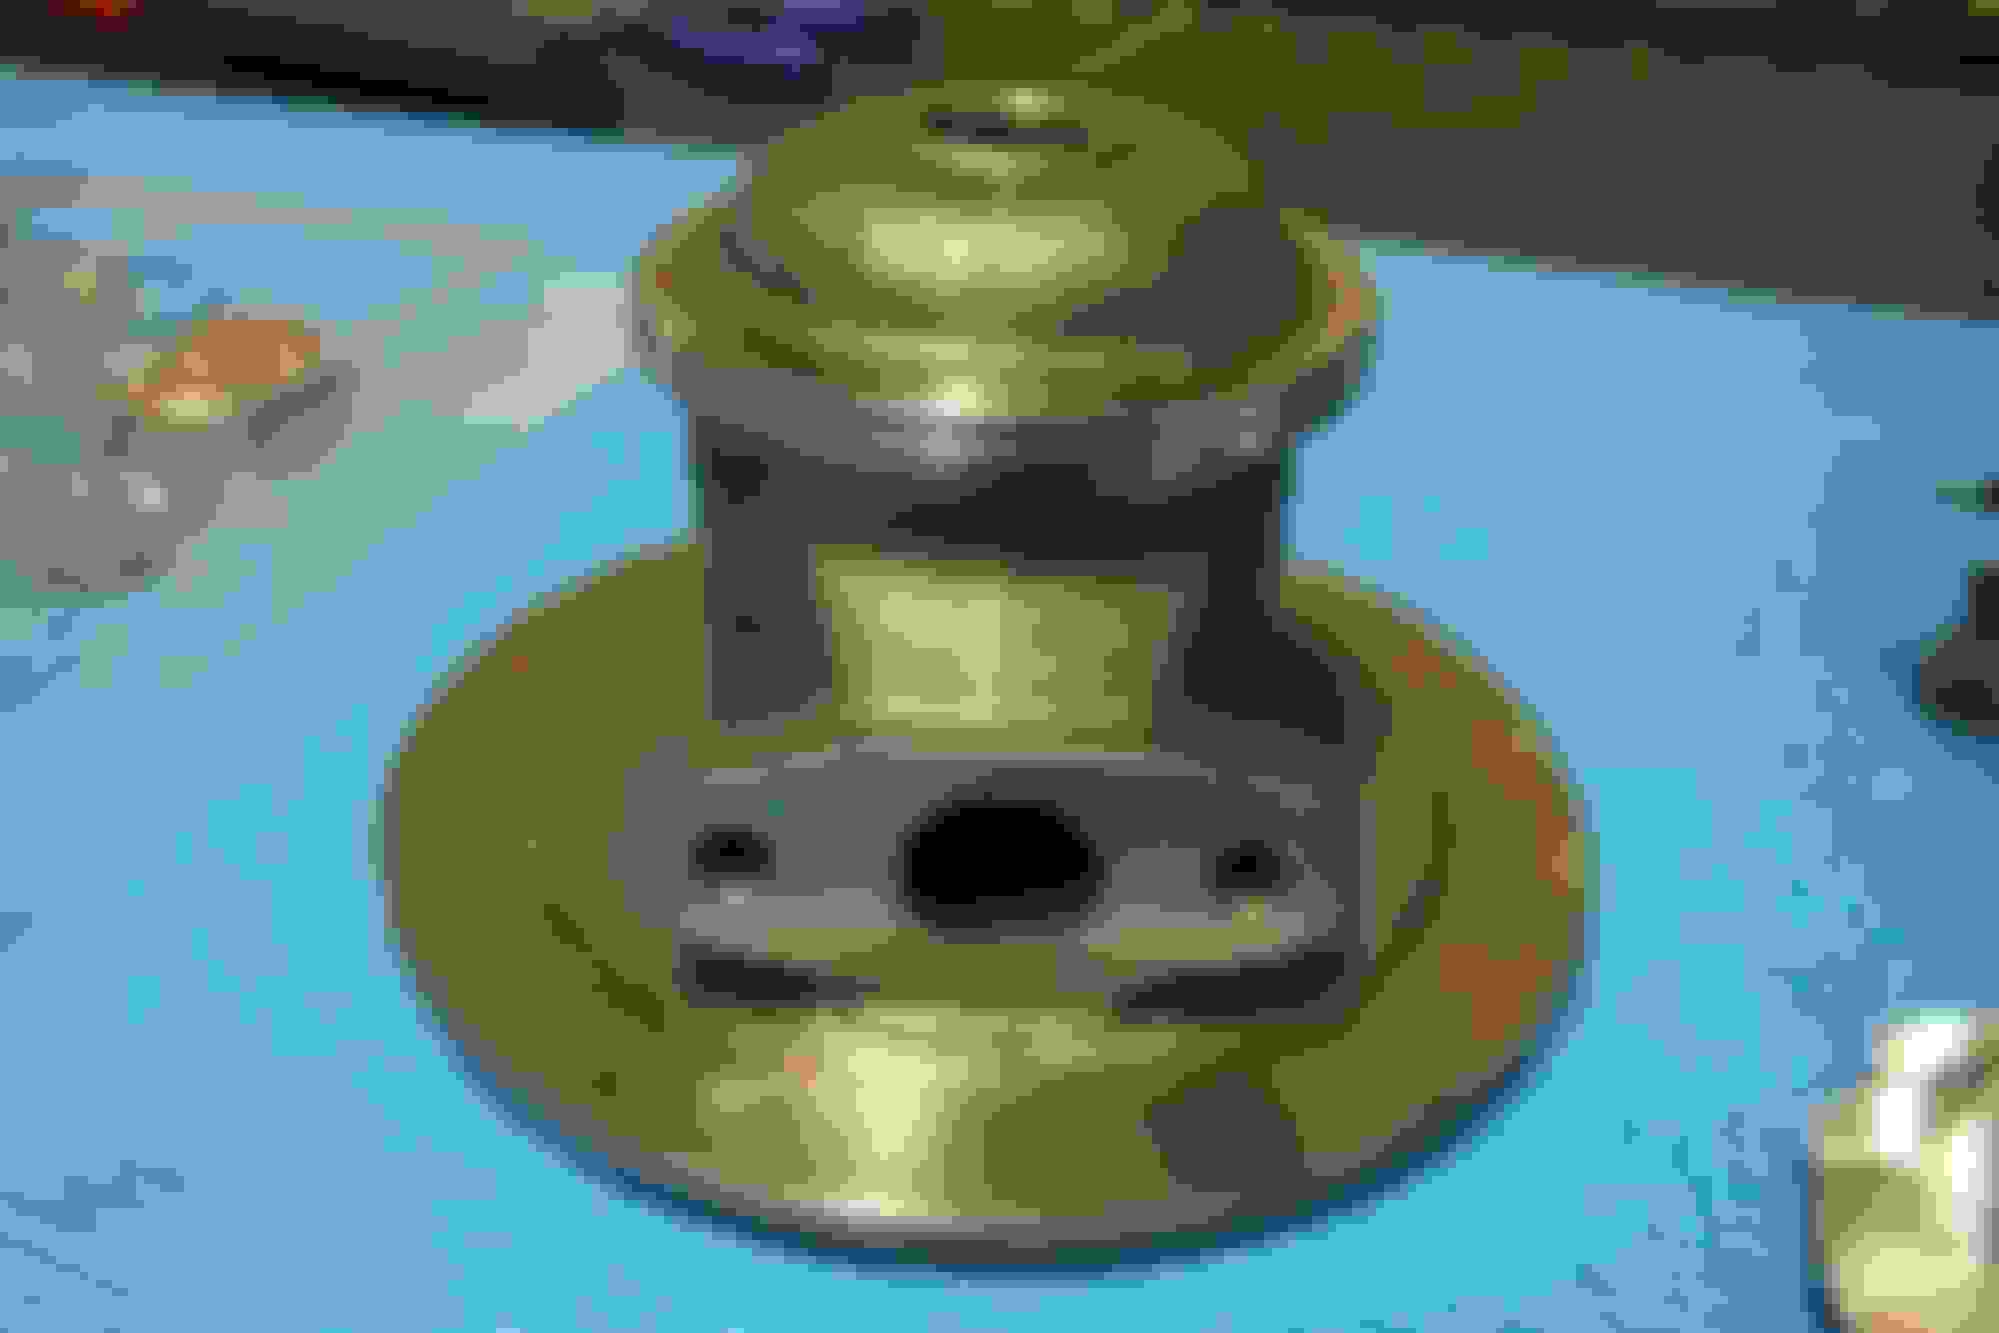
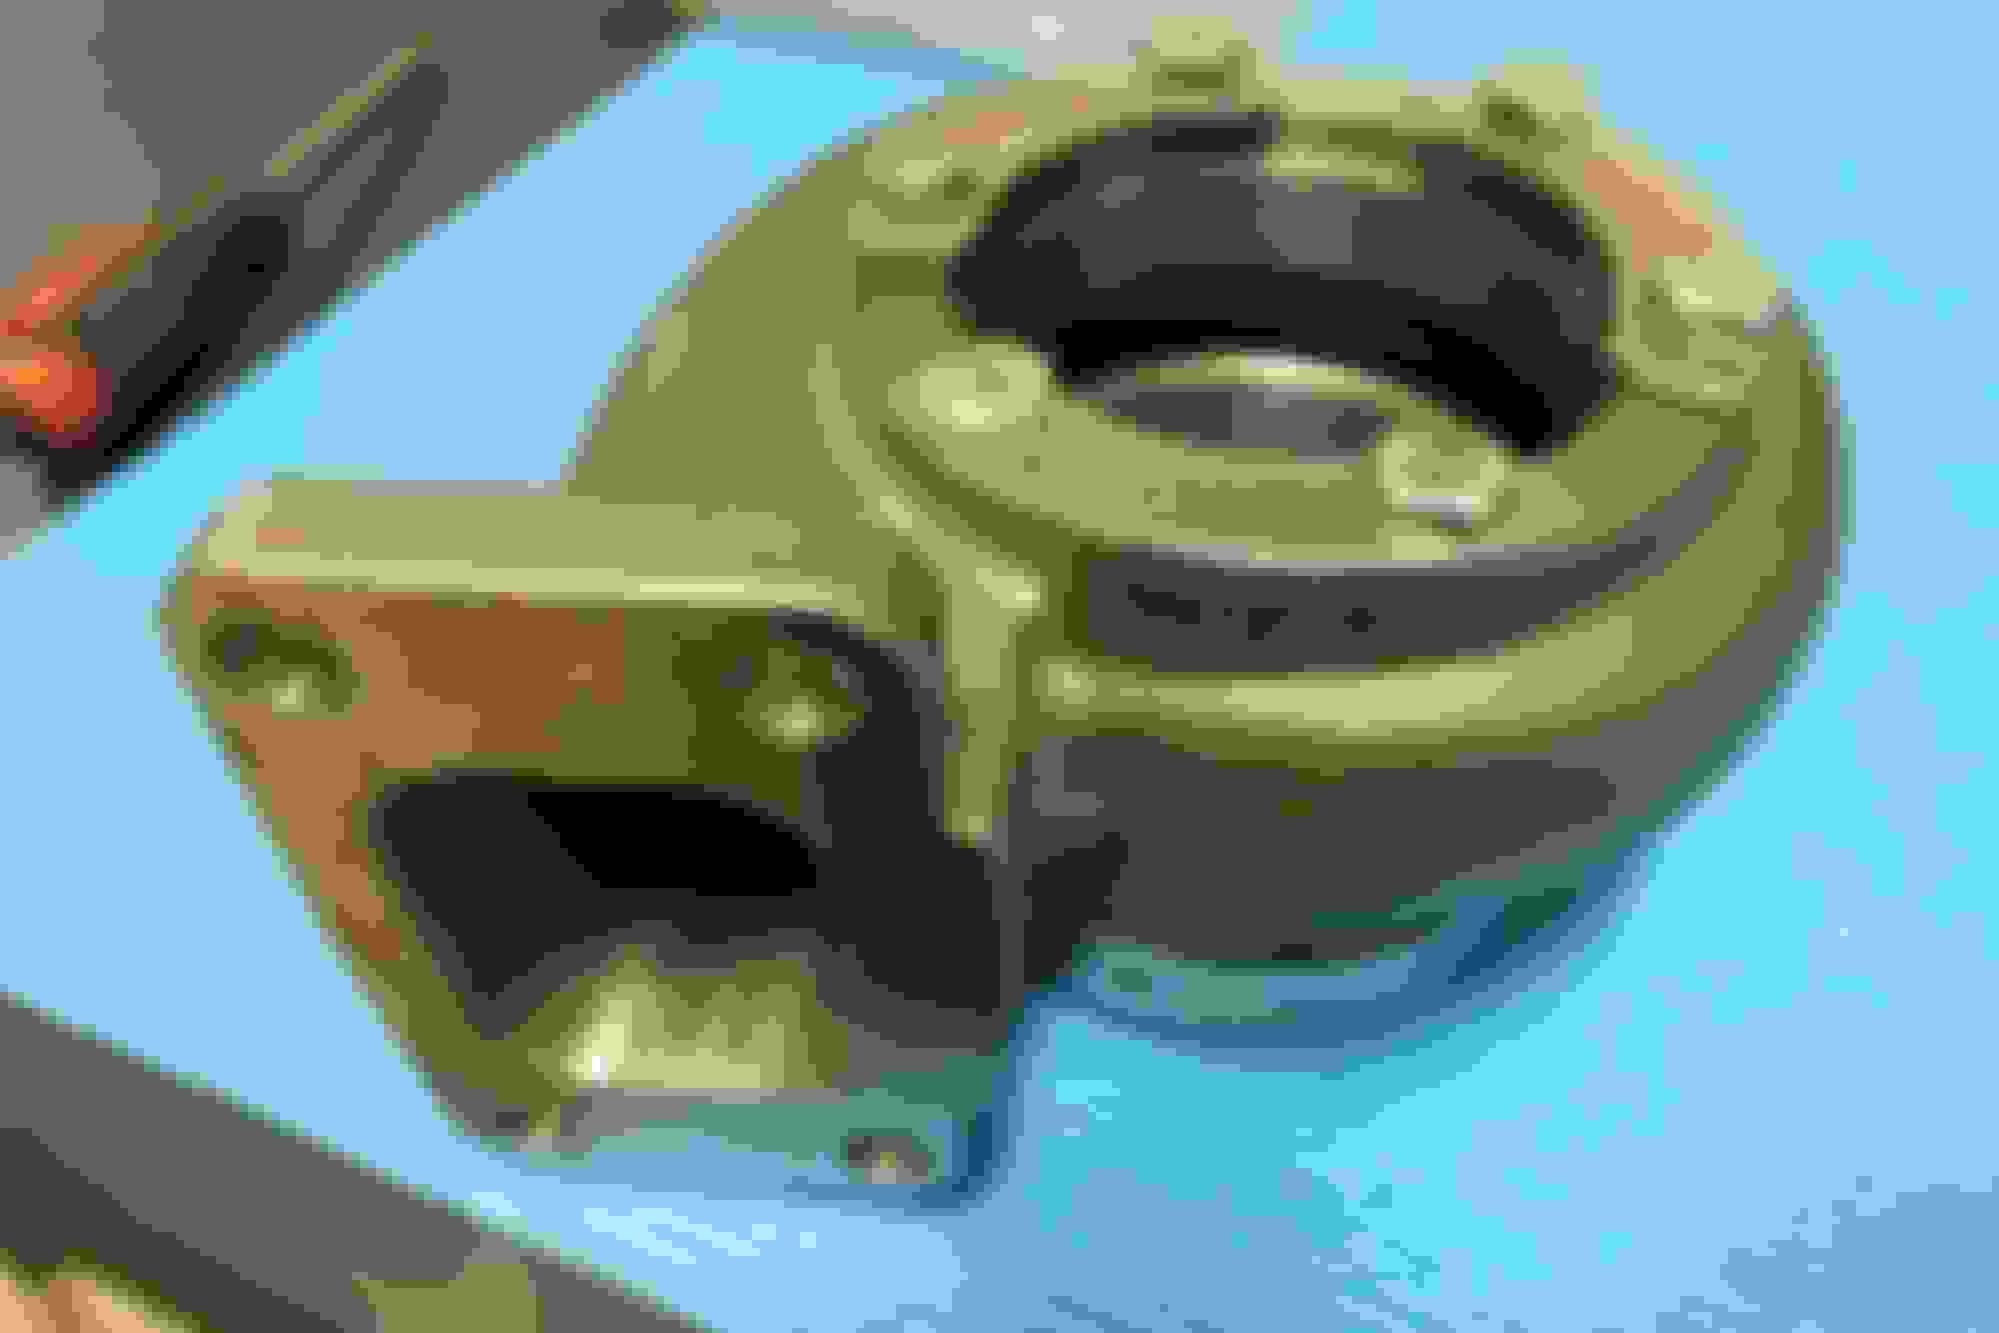
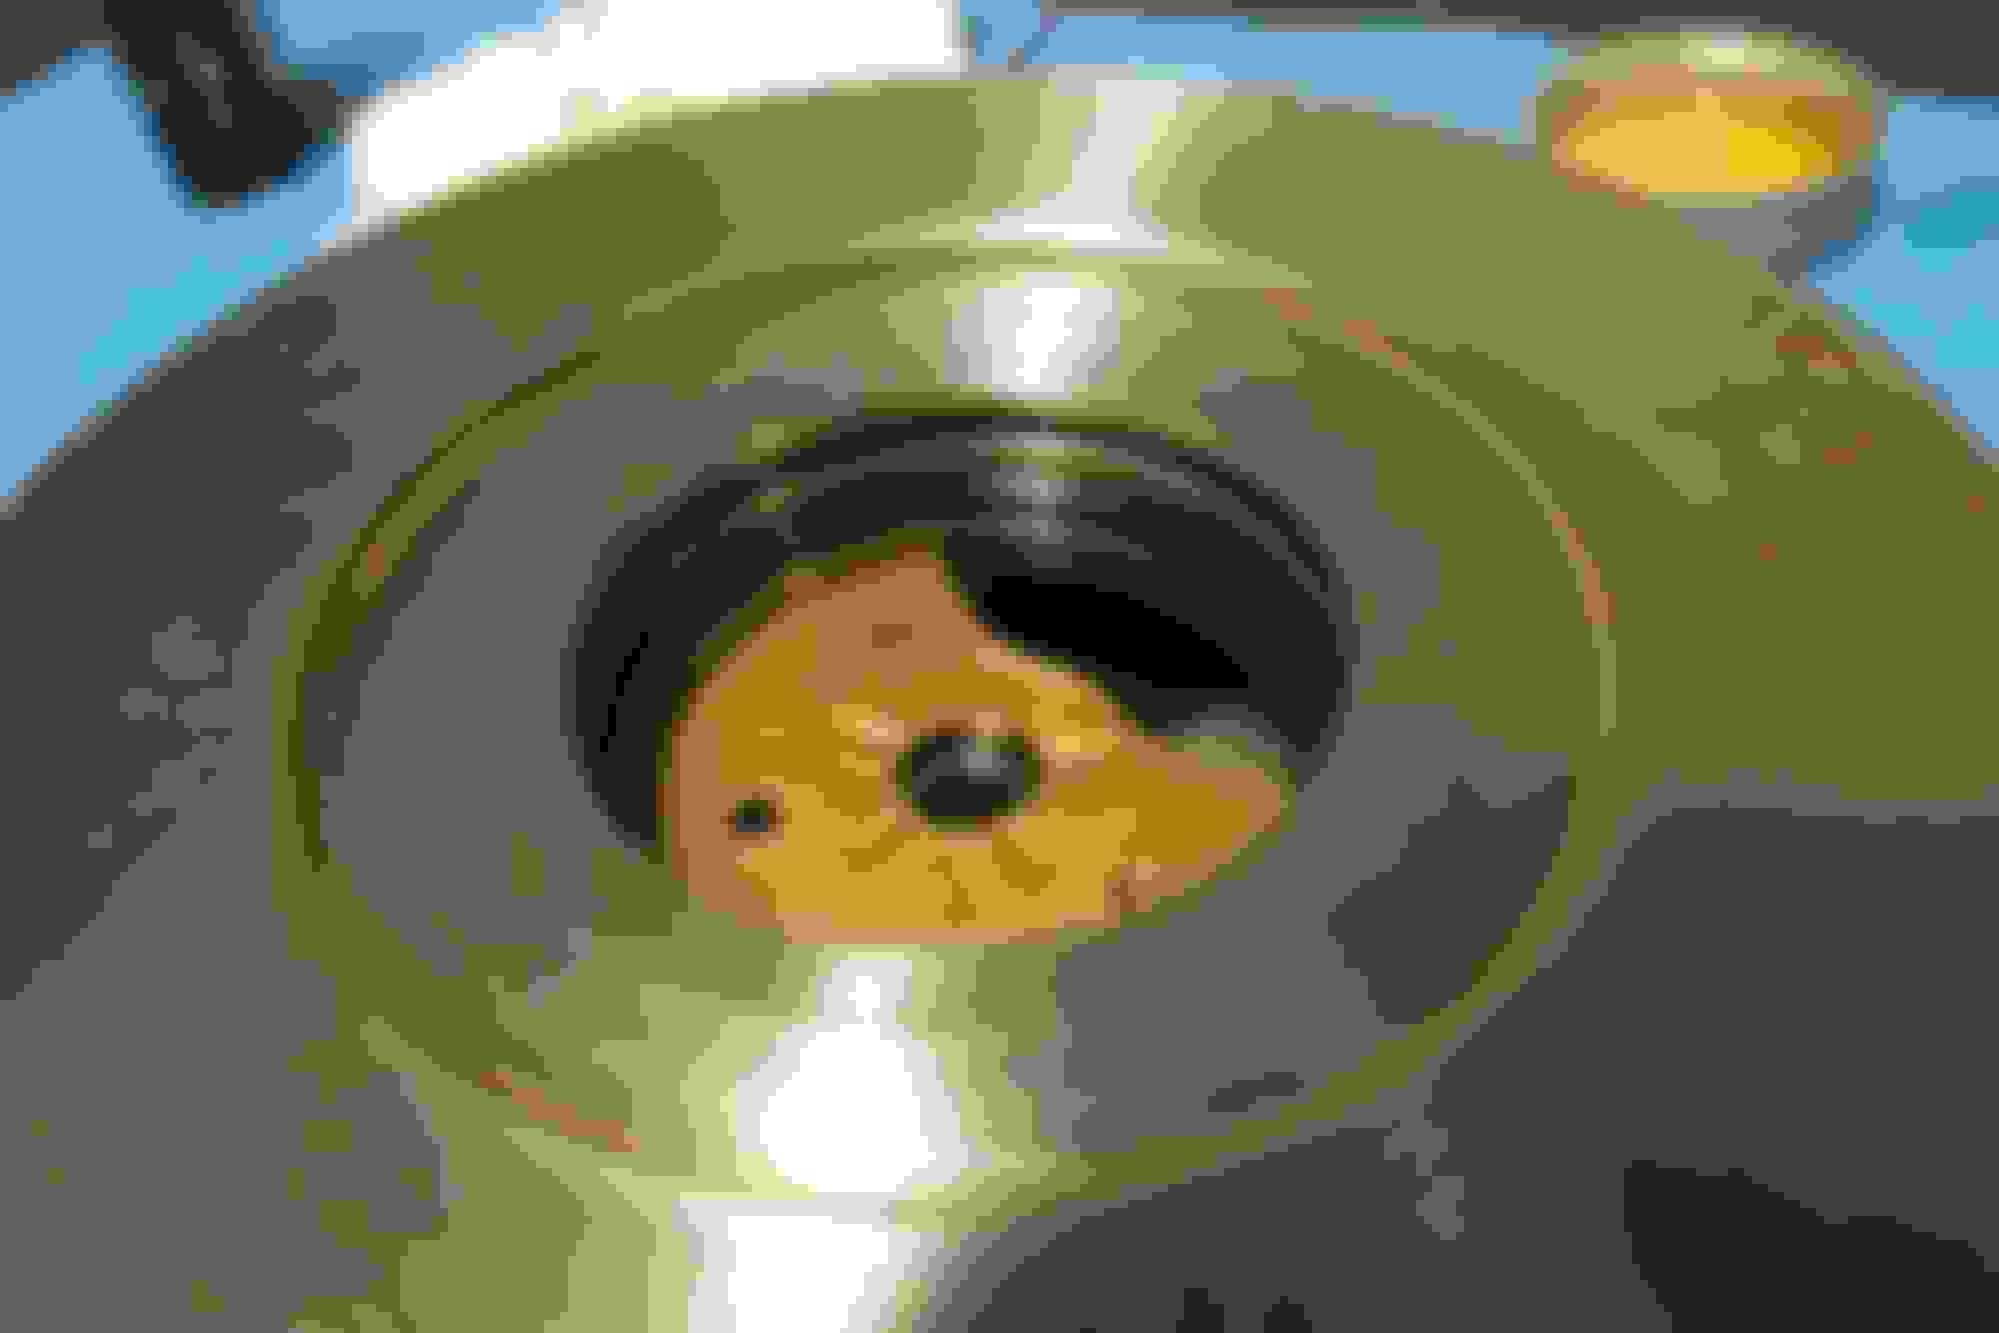
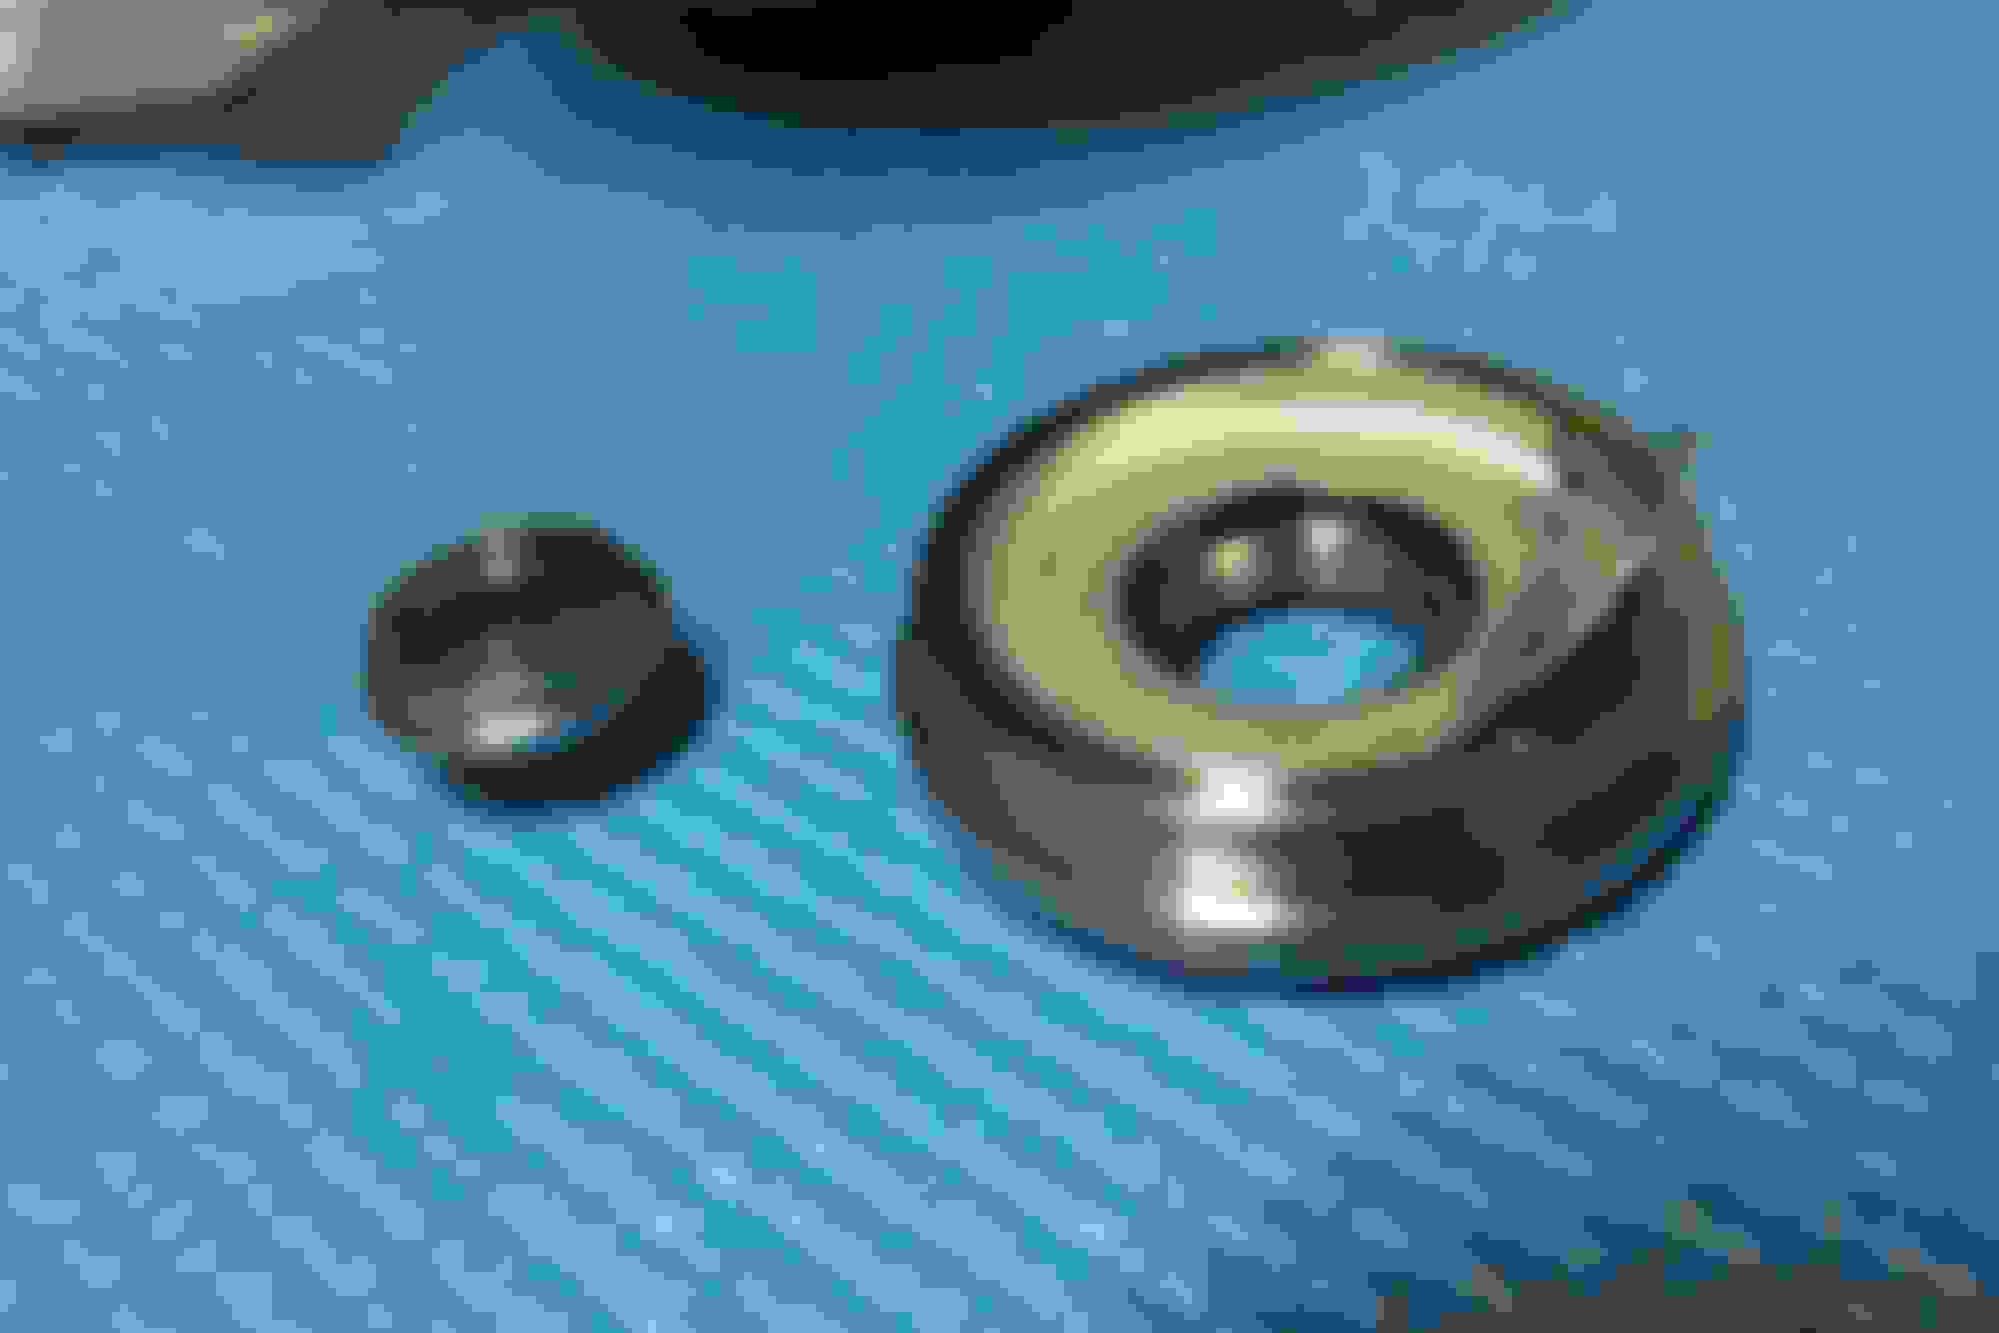
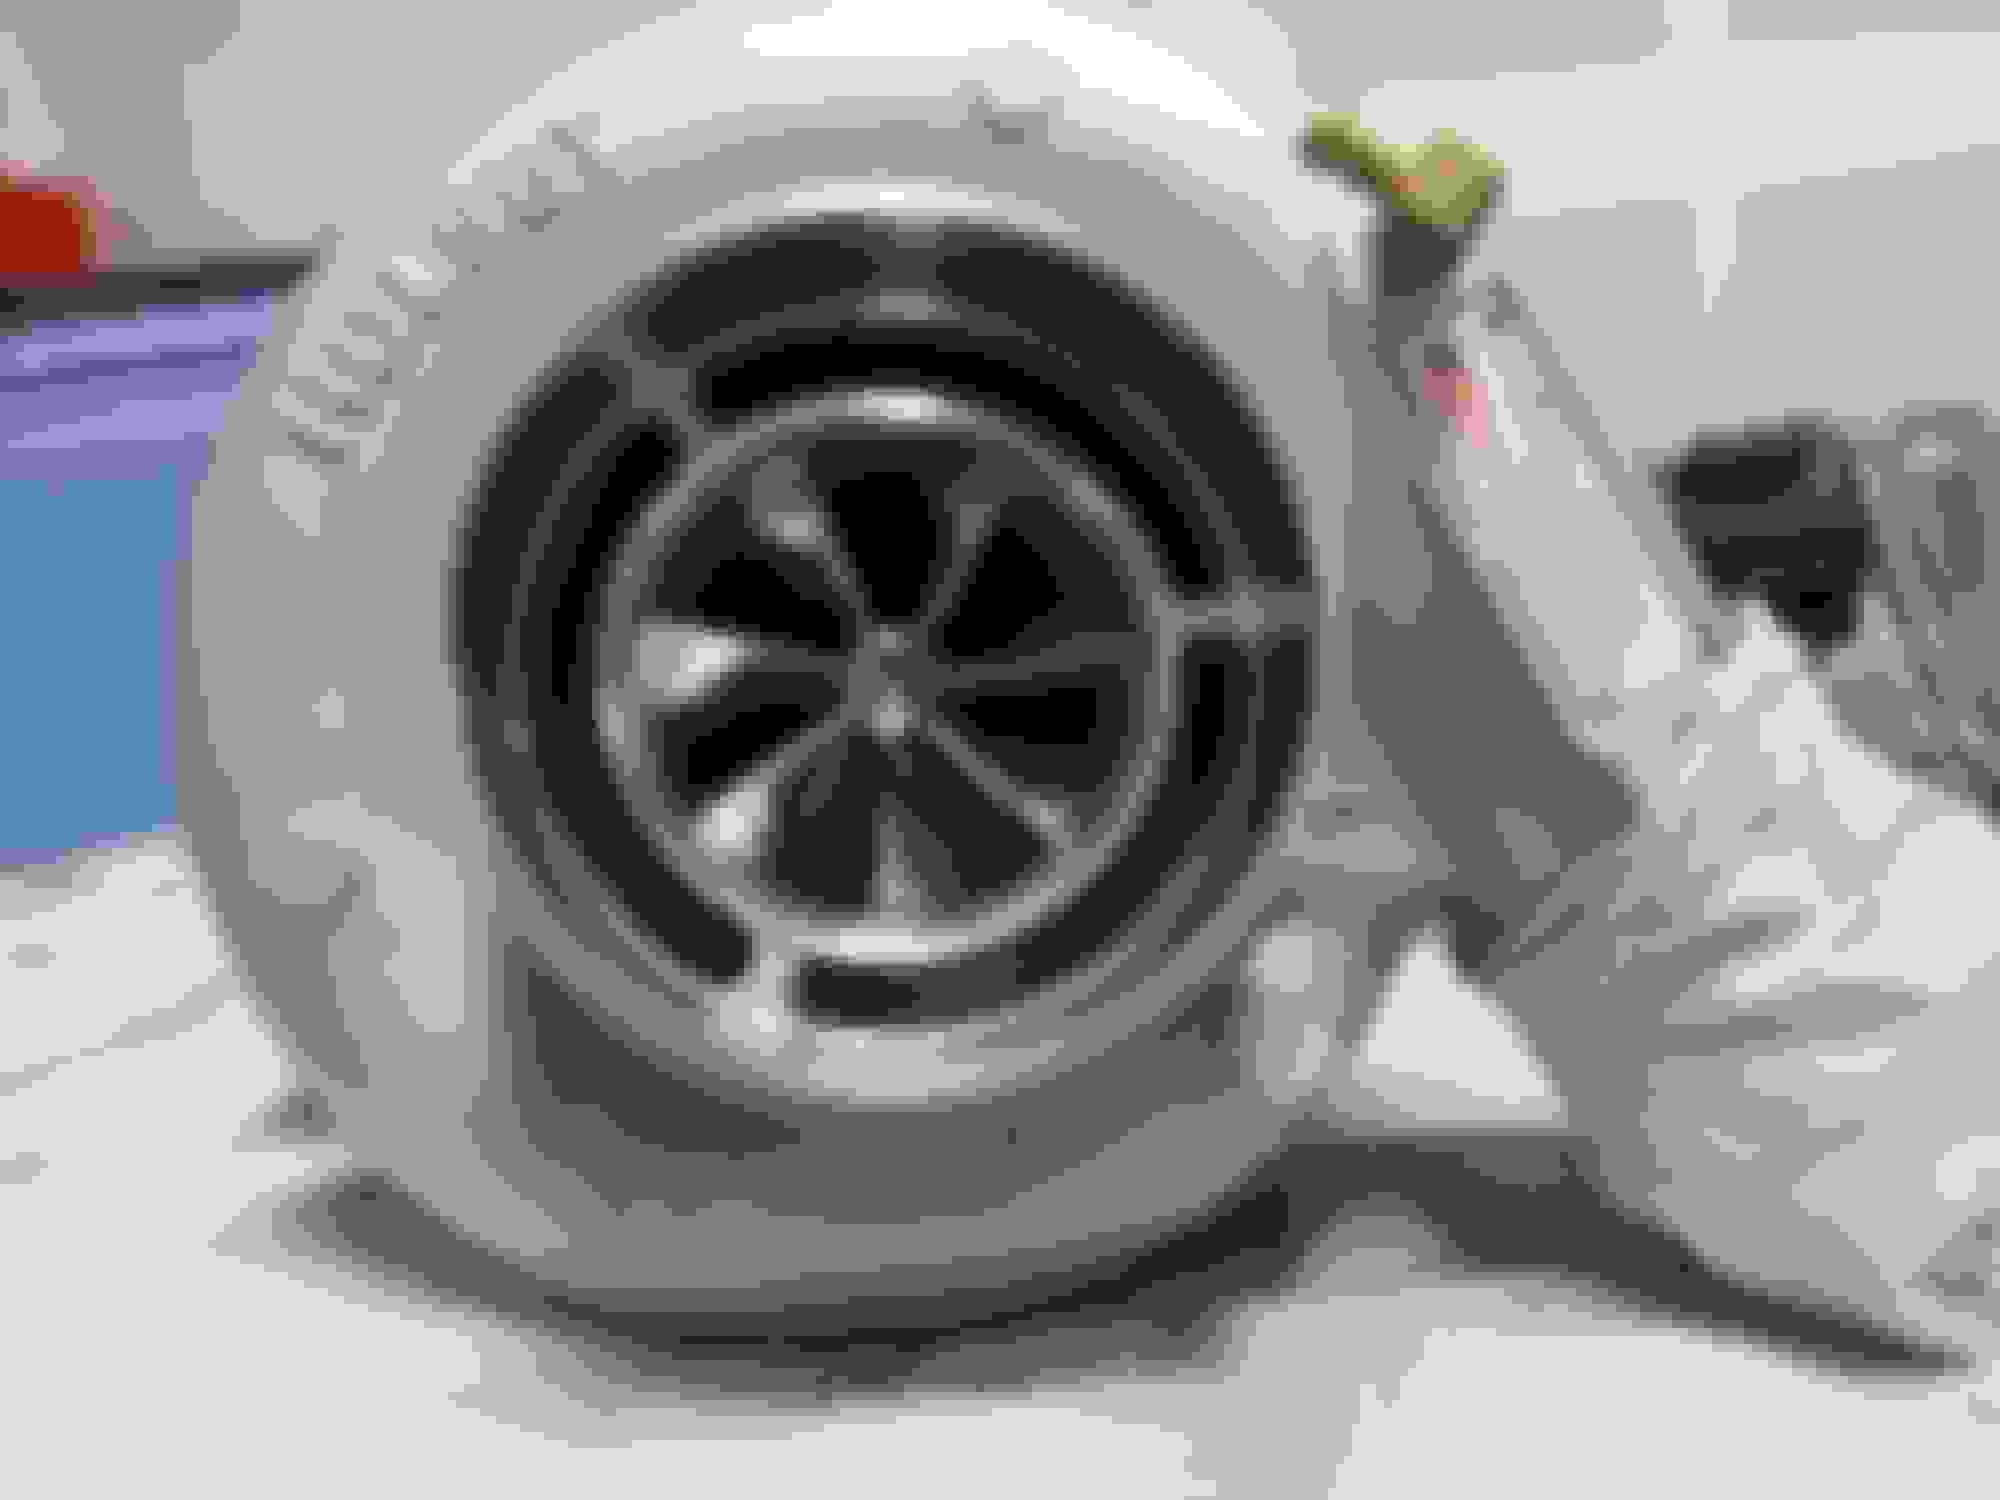
What's up clublexus!! Here's the rebuild of my Holset HX35 turbo rebuild. I upgraded to the HX40 billet compressor wheel(60x86) and 10 blade turbine wheel. Switched from the stock internal wastegate exhaust housing to the undivided housing(.82 a/r vs .72). So I purchased the HX35 and it was completely rusted out and the compressor wheel was chewed up. I spent weeks soaking it in vinegar, pb blaster and the exhaust housing would not separate even with heat and a mallet lol. So the turbo has all new components, except for the compressor housing, which was machined to accept the larger billet wheel. I bought a garbage HX35 for $200 and spent $550 to do this rebuild, so in total I spent $750 for a rebuild turbo. The wheels were balanced as an assembly and the compressor housing was machined by Turbolabofamerica. In short, I have a HX35 with HX40 guts.
Hey whats up guys, its been 3 months since I've been on here. Just had a baby and haven't had the time or energy to upload stuff.. but the 2j is almost ready. Brace yourselves for the photo dump!! Enjoy
Found shorter OEM bolts to fit the treadstone manifold
BYE BYE 5mge its been a good 6 years
Dirty old girl
Mostly everything removed and power washed to see what I have to work with.
Sanding and removing seam sealer, Attempted to weld all unwanted holes for a cleaner bay, but time was not on my side so I just used metal filler.
Alternator relocation bracket with ls430 high amp alternator Belt fits perfectly -10an oil drain Ric flair drip New coolant hoses Repositioned mounts to have rad sit flush
Intercooler fits behind hood latch. Not a fan of hood pins, nothing hood bout me lol Corrected valve lash Hot side 0 gauge ground Hood exit mocked up Can�t go wrong with these bad boys My buddy did my harness plug and play 3 years strong. All oem style clips for turnkey application. If you need custom wiring hit me up! Vibration eliminator Home made 3� down for the budget build
update** 3-28-24 sheesh
a few years later
I�ve been enjoying the motor, I never updated this thread but it has been running perfectly. It�s been through 3 track days since with no issues. Planning on upgrading the ecu and injectors this year.
High pressure line adapted to AN fittings IAT installed IACV flange fabbed up
 04-13-19, 11:45 PM