When you click on links to various merchants on this site and make a purchase, this can result in this site earning a commission. Affiliate programs and affiliations include, but are not limited to, the eBay Partner Network.
Rear lights are done. Not really into the iJDMTOY reflectors, including the diffuser light there's now a lot going on in the back. But other people say LEDs will start to die after about a year so I'll enjoy them for now.
what are these called and where could I find the link to purchase?
assuming you are talking about the RGB DRls...
I purchased them through Gerlicious Performance. 10/10 would recommend, I had a weird issue after the install but after troubleshooting with him through DMs we eventually found the problem. Loose wire xD
Clean build so far man! Nice to see you're some what local haha I live in IL , you come to any shows down here? Also , I'd be careful with the blinking sequence on the NIA 3rd brake light, i had the same sequential blinking for the brake light and i thing it shorted out some LEDs on it , had to replace the light.
I purchased them through Gerlicious Performance. 10/10 would recommend, I had a weird issue after the install but after troubleshooting with him through DMs we eventually found the problem. Loose wire xD
I had the DRL's on my RC done by Ger also, I cannot give him or the DRL's enough praise. I had a loose wire issue too, funny enough. He was super helpful in getting my issues solved.
I had the DRL's on my RC done by Ger also, I cannot give him or the DRL's enough praise. I had a loose wire issue too, funny enough. He was super helpful in getting my issues solved.
Highly reccomend his work.
Wow, yeah it's funny how wonky the lights were with just a loose wire.
Originally Posted by Santi18
Clean build so far man! Nice to see you're some what local haha I live in IL , you come to any shows down here? Also , I'd be careful with the blinking sequence on the NIA 3rd brake light, i had the same sequential blinking for the brake light and i thing it shorted out some LEDs on it , had to replace the light.
Thank you! YUP. Just noticed some dead LEDs today
Was the light easy to replace? I'll be contacting NIA shortly for a new one
Looking into installing the '17+ rear diffuser as well on a '15. Did you put it on yourself? Can you explain how you did it?
Not myself. But I'm 99% sure it's easily doable. My mechanic did it without removing the rest of the bumper when he installed the exhaust. If I recall correctly he might have taken out the reflectors. It's 4 push pin clips on the bottom of the diffuser, and then you should be able to pull the diffuser off.
However, I did remove the entire rear bumper to install the wiring and THAT was pretty easy. It was off, wiring installed, and put back on in less than 90 minutes.
Also installed this for the RGB fog lights. Unfortunately I found out my IS is not pre-wired for fogs. I probably won't get around to those until next month.
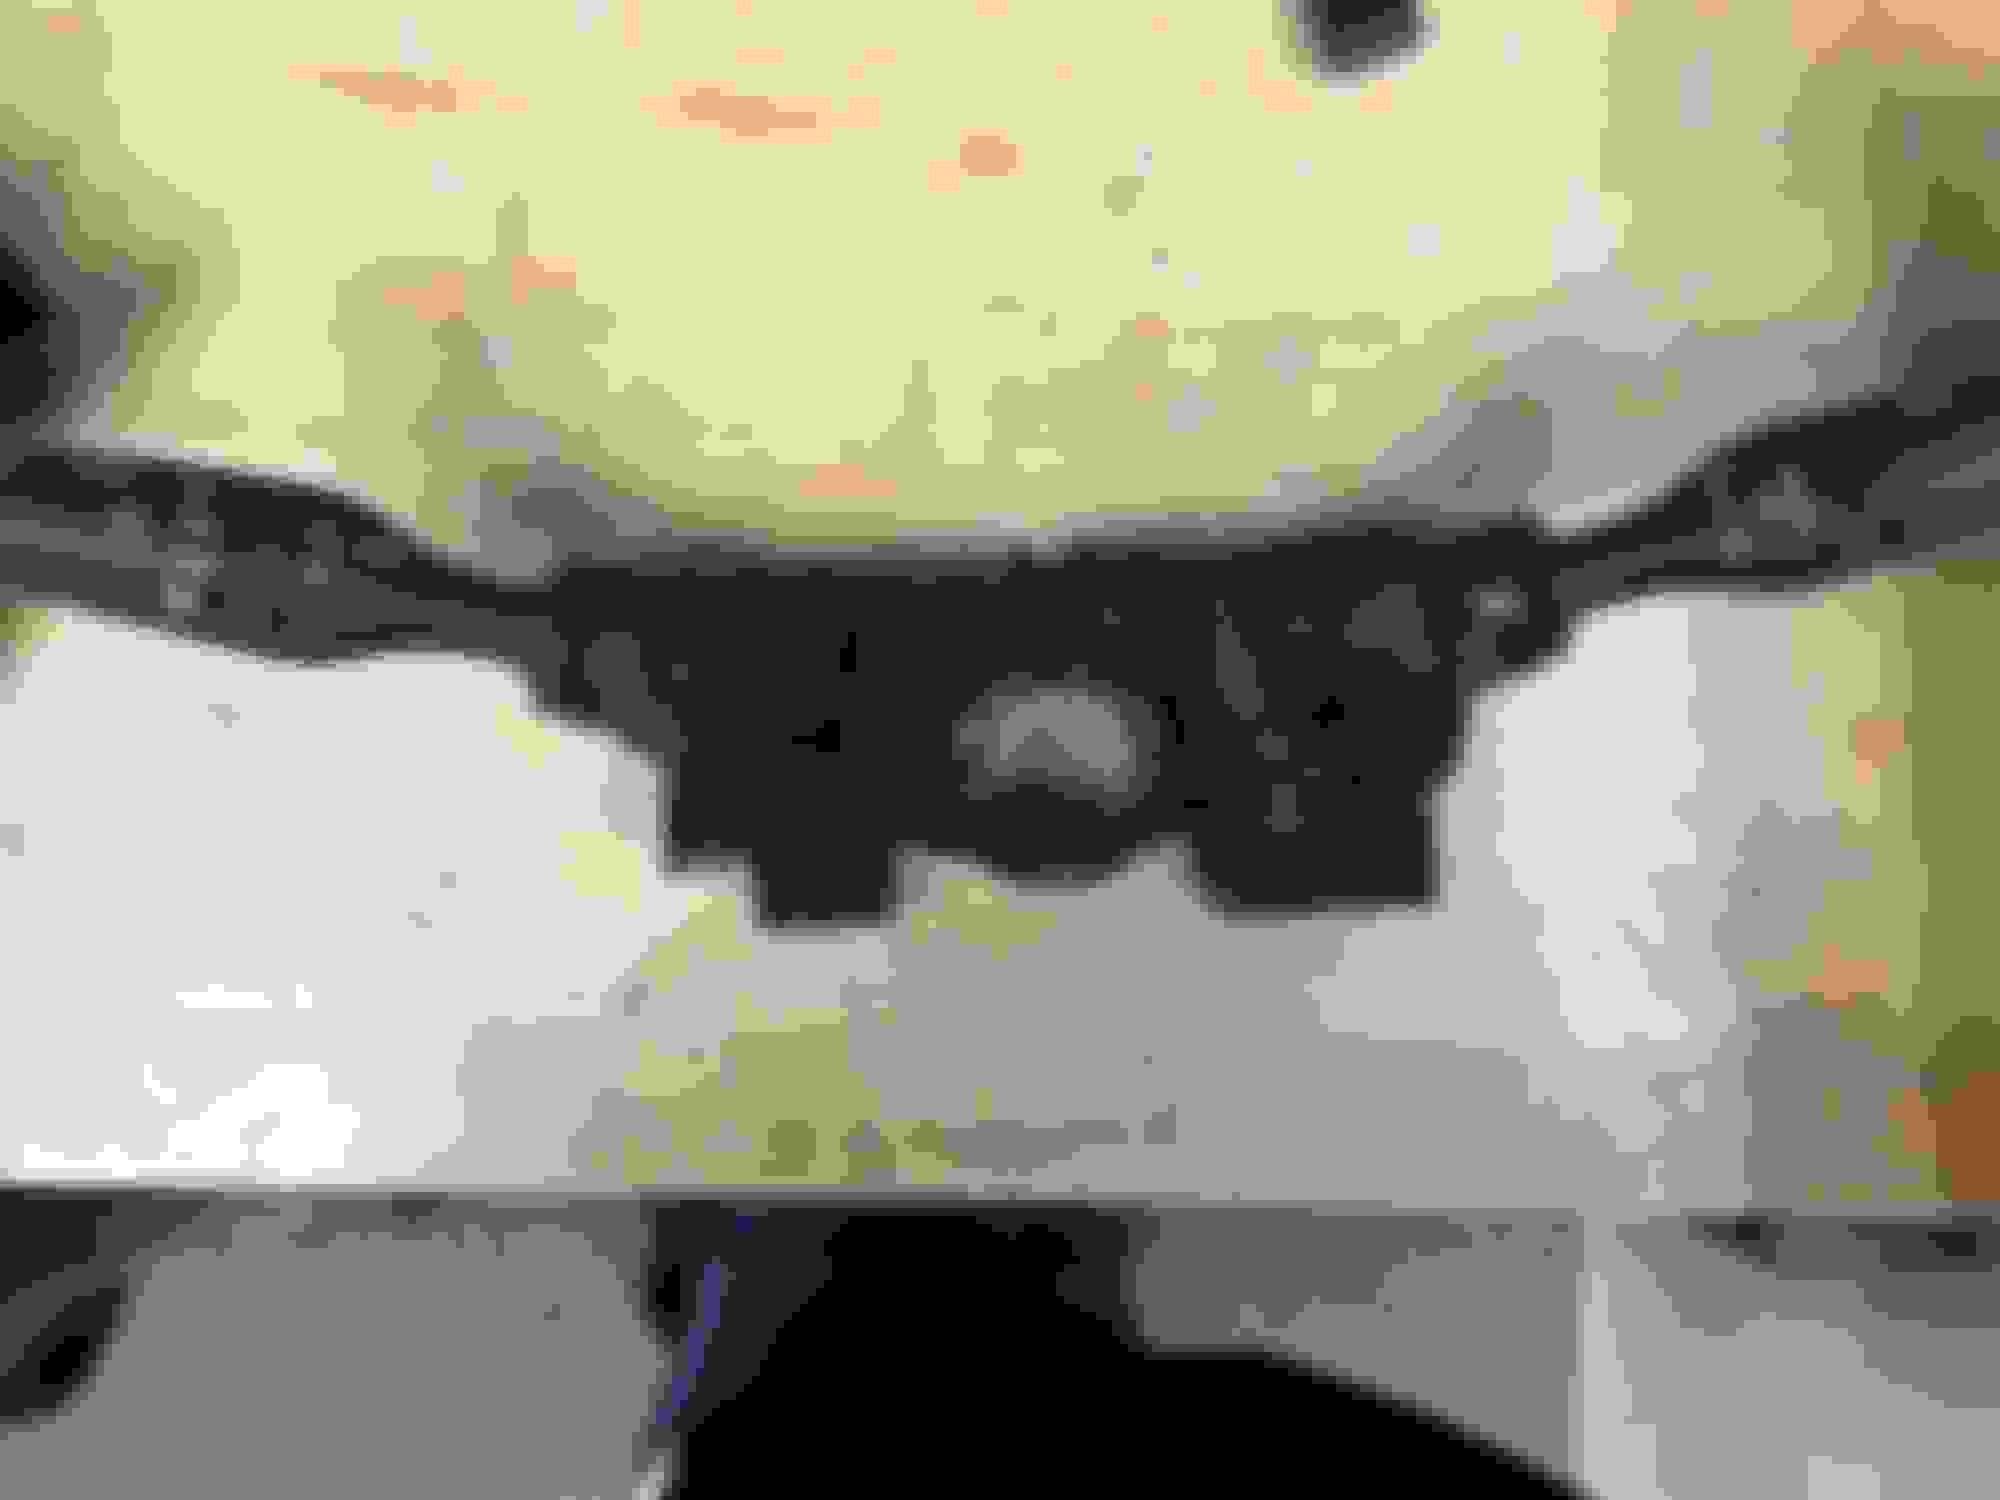
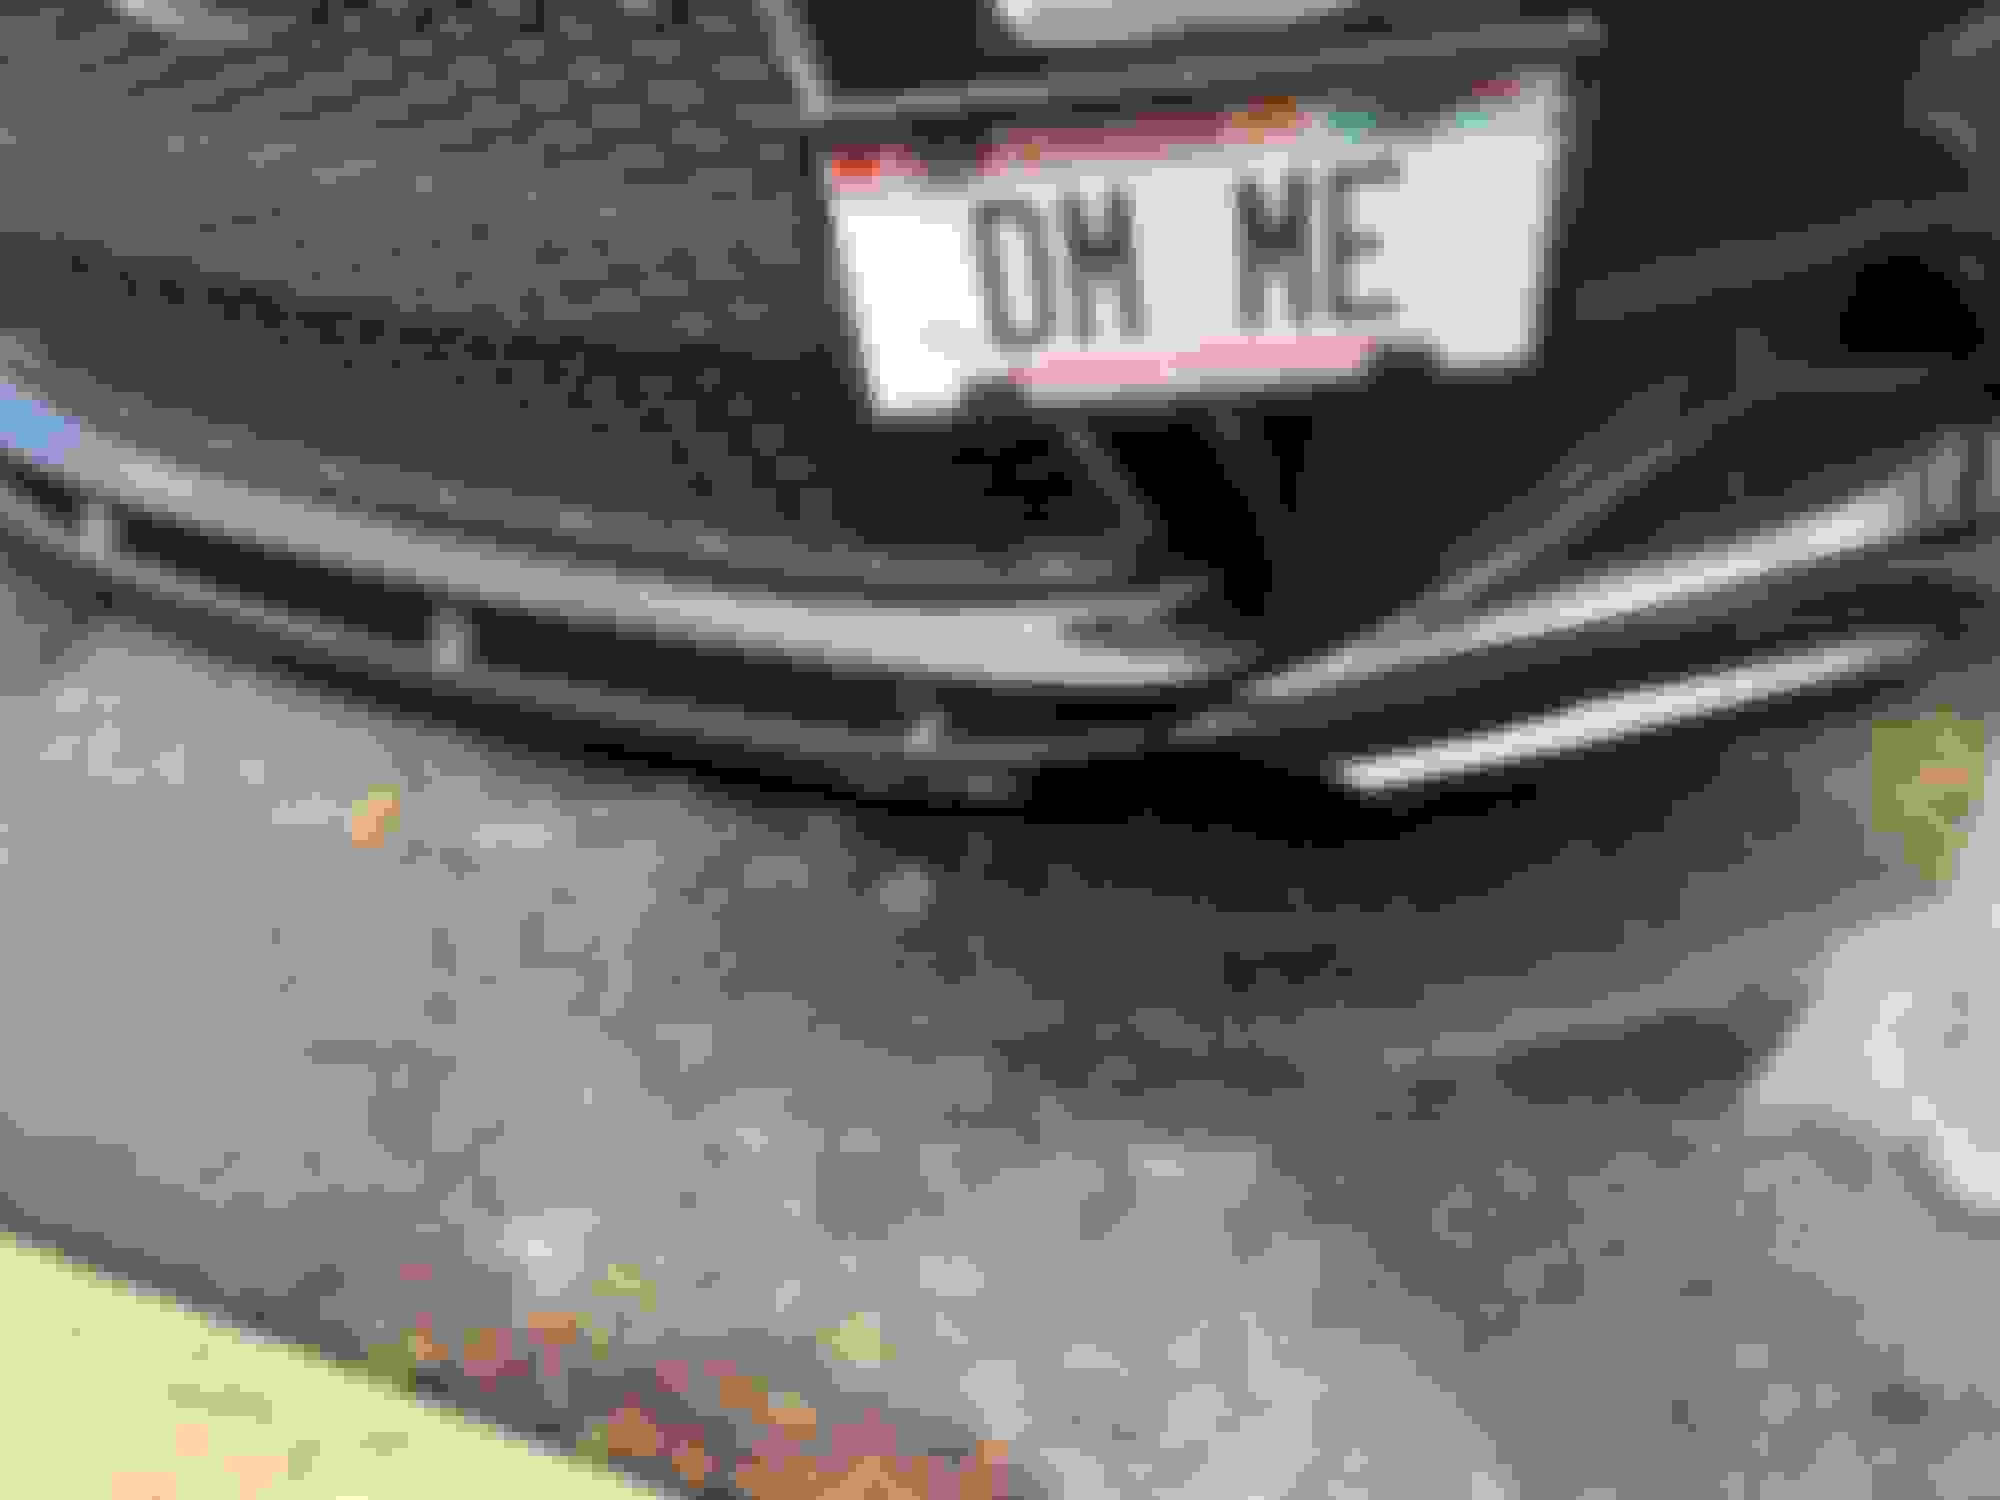
Another update on my NIA splitter. I decided to raise my ride height since I am now on my 3rd NIA splitter... I guess it's pretty common that these get chipped because they are low AF.
The second one the damage wasn't too bad (see pic) so I tried to repair it myself. I have absolutely NO experience with bodywork or bondo, so I messed up a few times.Will post another update when I get the paint done:
stupid rail road tracks >.<
Luckily I was able to salvage the back support from the lip. With bondo to hold it in place I had a much better area to work with.
*AGAIN i have no experience with bondo* after sanding for hours trying to re-create the curves I became frustrated when i saw all these air bubbles exposed. You can see my "template" from NIA splitter #1 above, i used it as a guide sort of.
After more sanding (and bondo) I finally finished! It's not perfect. But I am happy with the final result. Now time to paint!
 04-01-19, 11:49 AM


 still need to finish some wiring for the third brake light