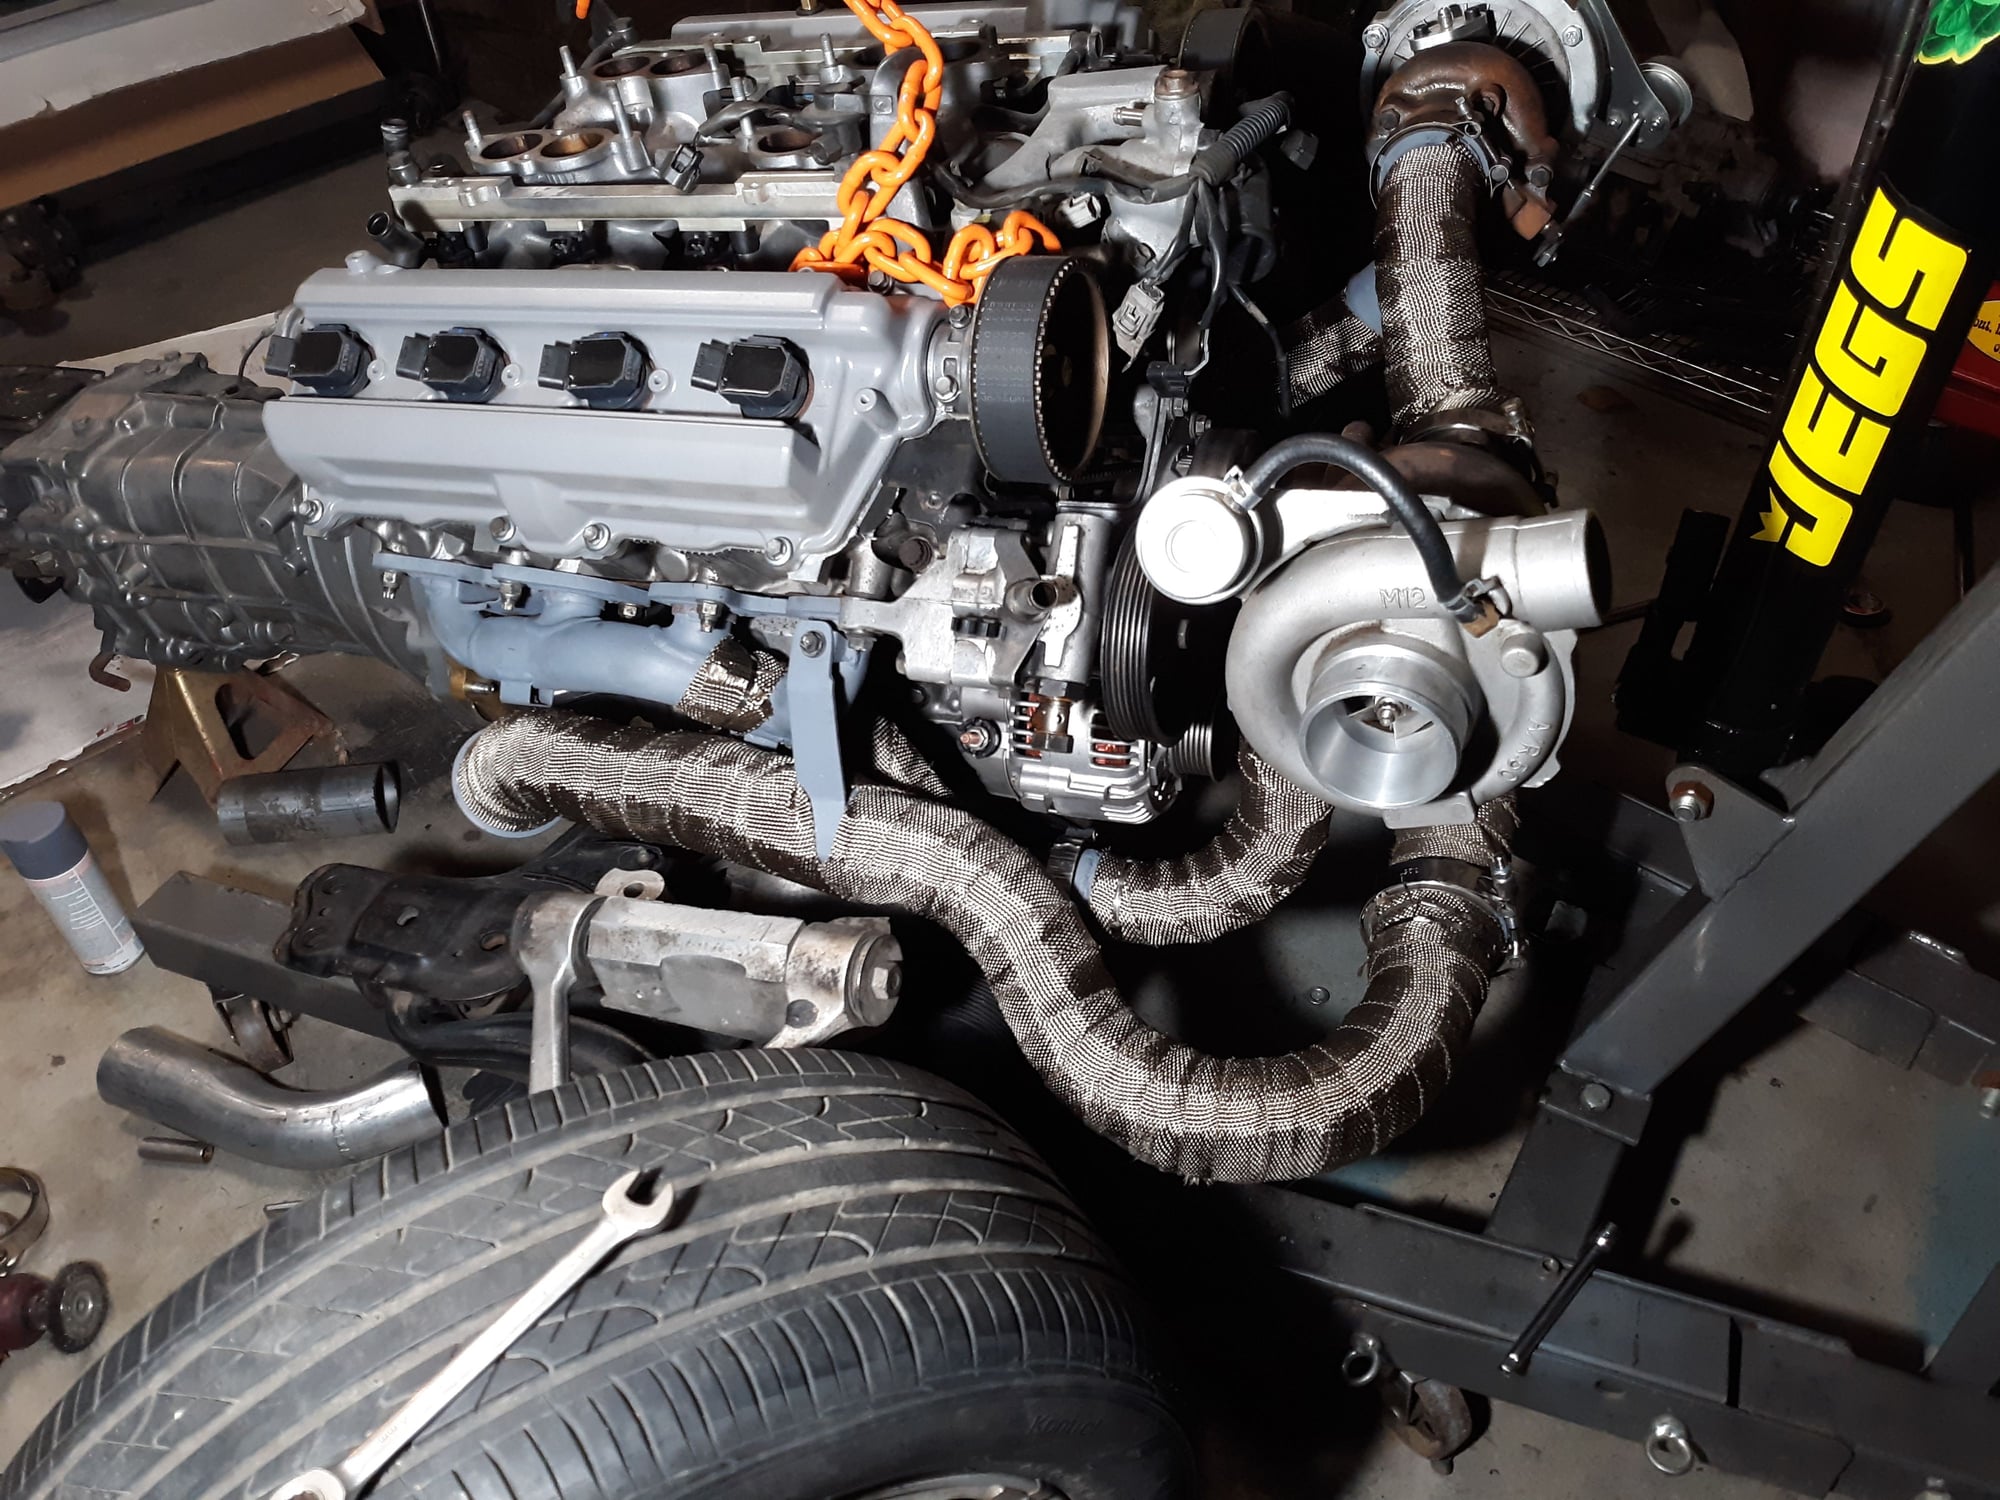
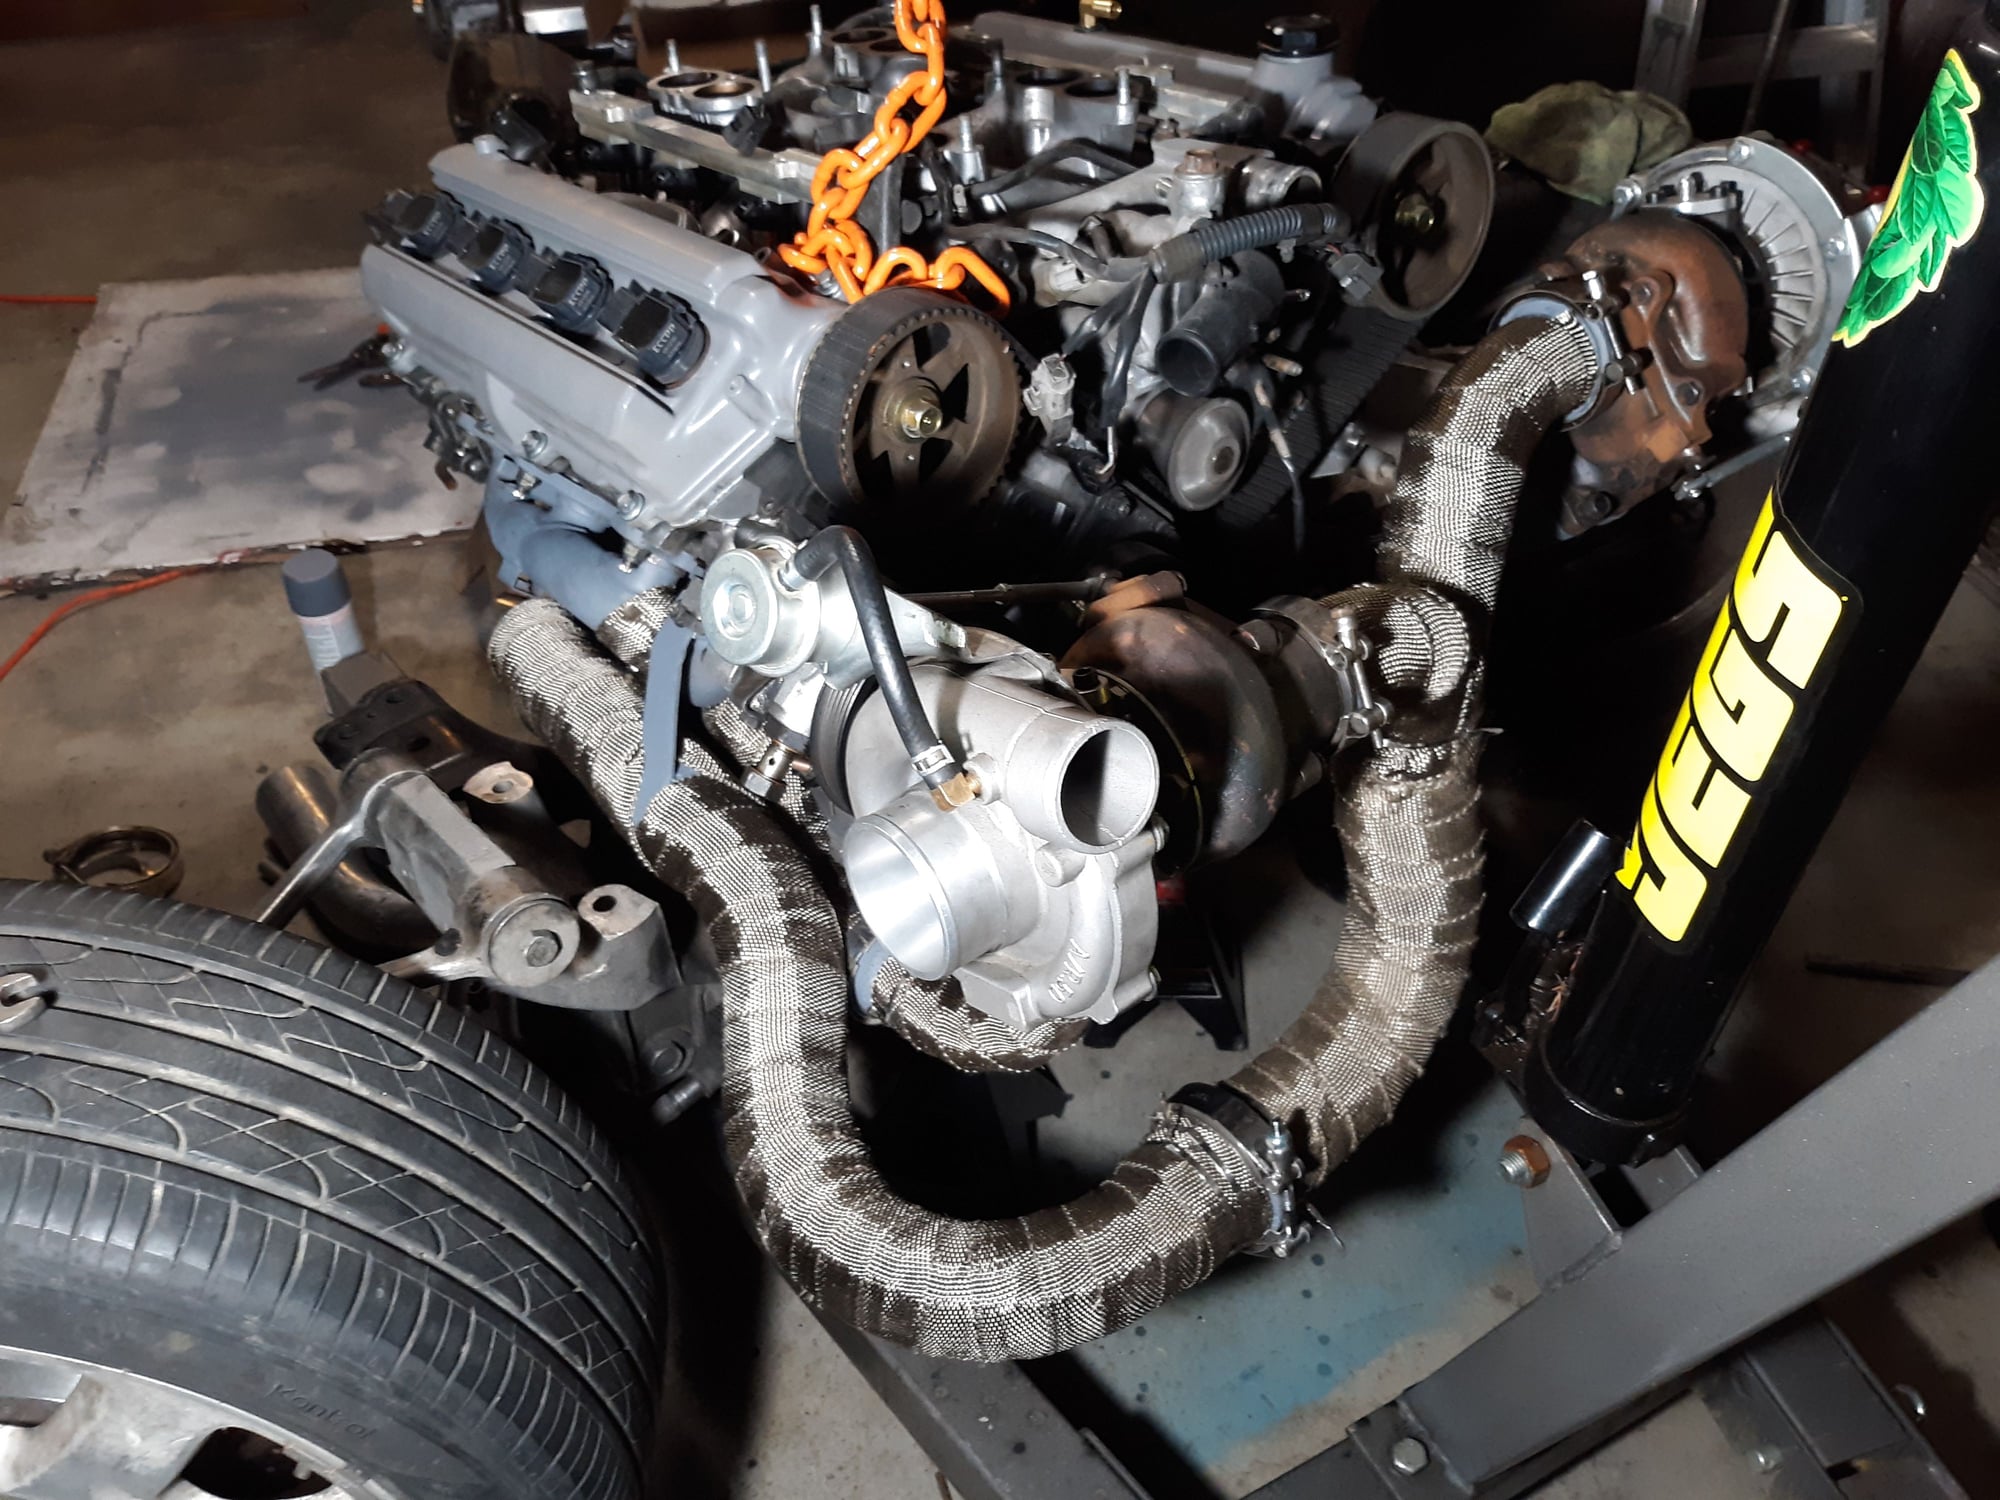
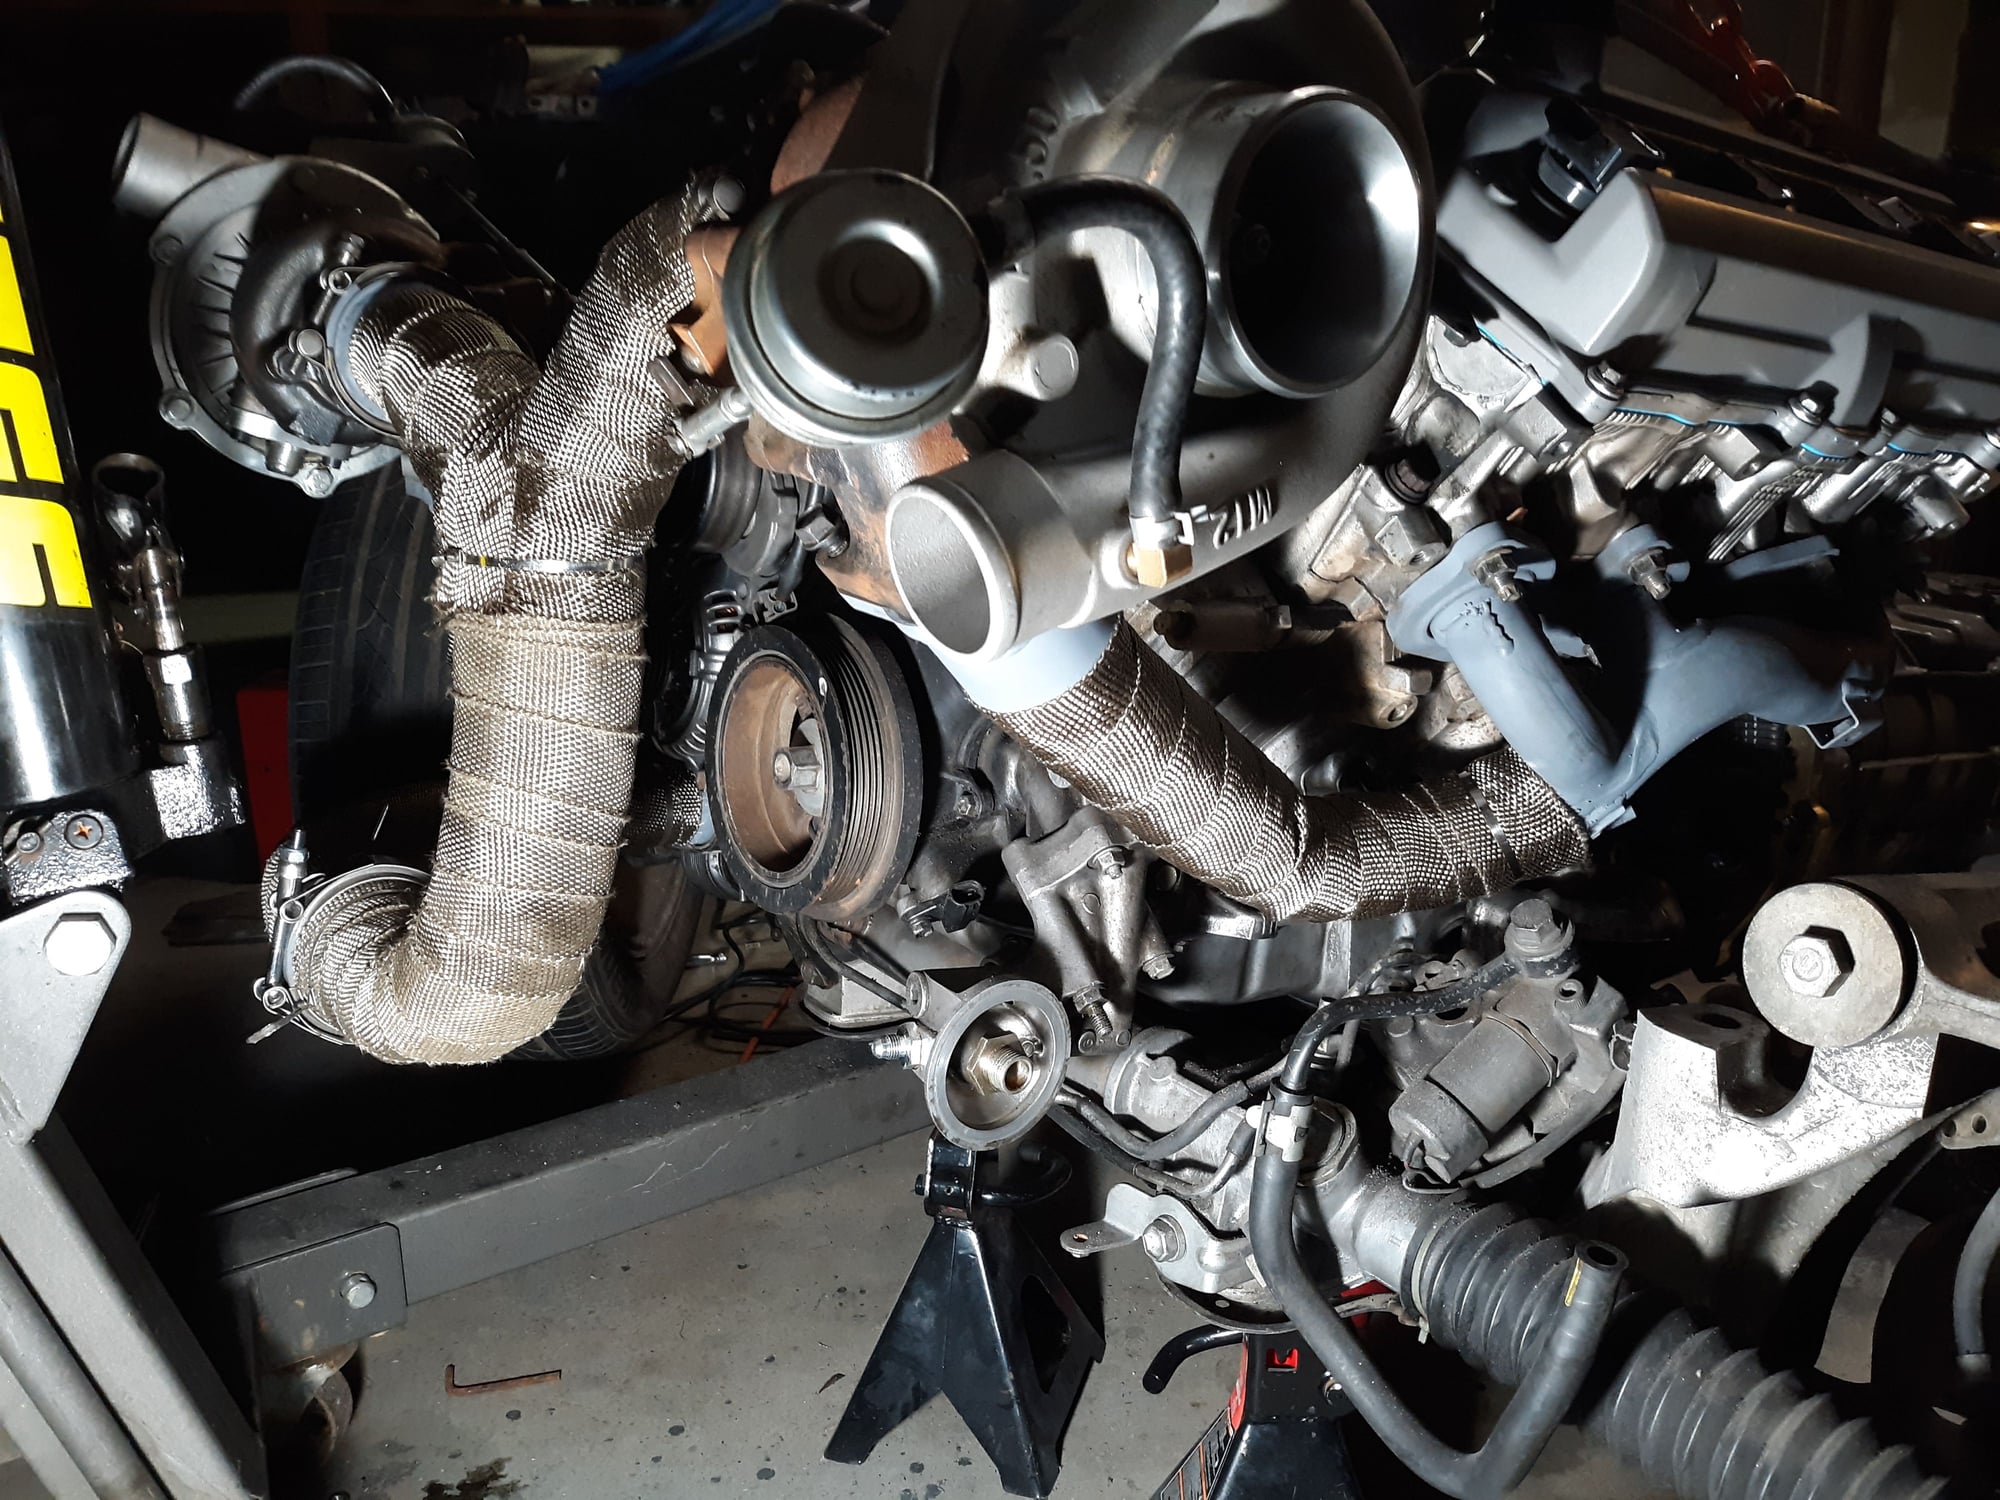
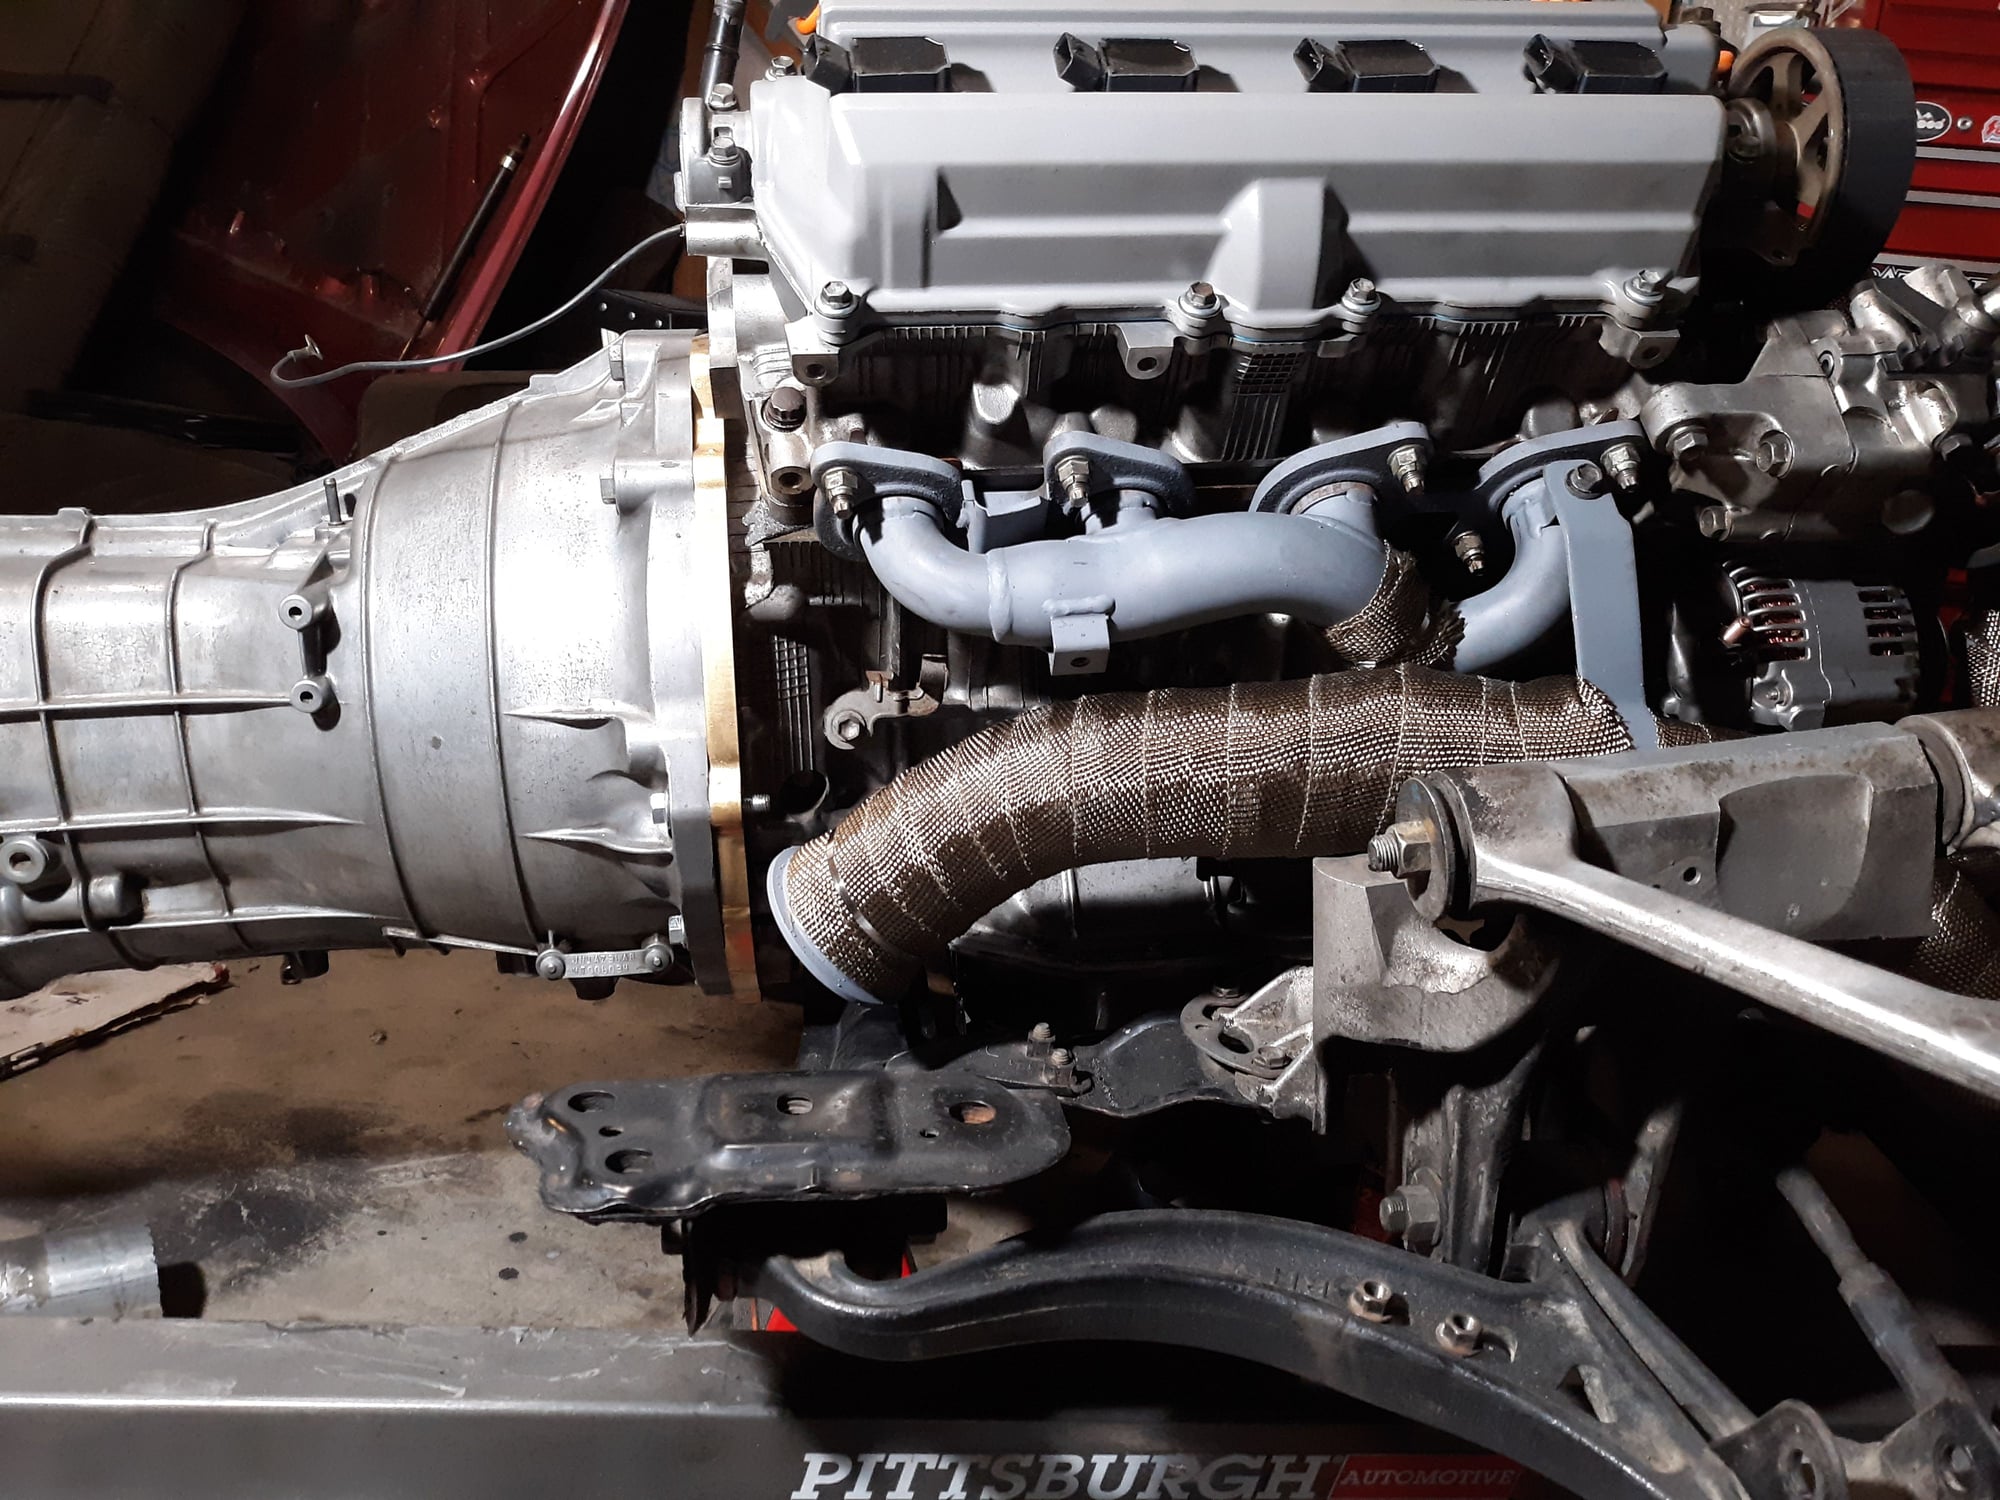
93 sc400 TT 6-speed, pt2
#35
Man that setup is lookin good! What are you thinking on timeline to have it back in the car and start the wiring?
#36
Driver
Thread Starter
Join Date: Jul 2015
Location: Ca
Posts: 153
Likes: 0
Received 0 Likes
on
0 Posts
I would put a first start about 1.5 to 2 months out from now, the company that sent the megasquirt is being slow about sending some of the bits I need.
I'm hoping to create the harness out of the car so that I can plop everything in and not struggle around the firewall, or adding loom in car.
#37
Driver
Thread Starter
Join Date: Jul 2015
Location: Ca
Posts: 153
Likes: 0
Received 0 Likes
on
0 Posts
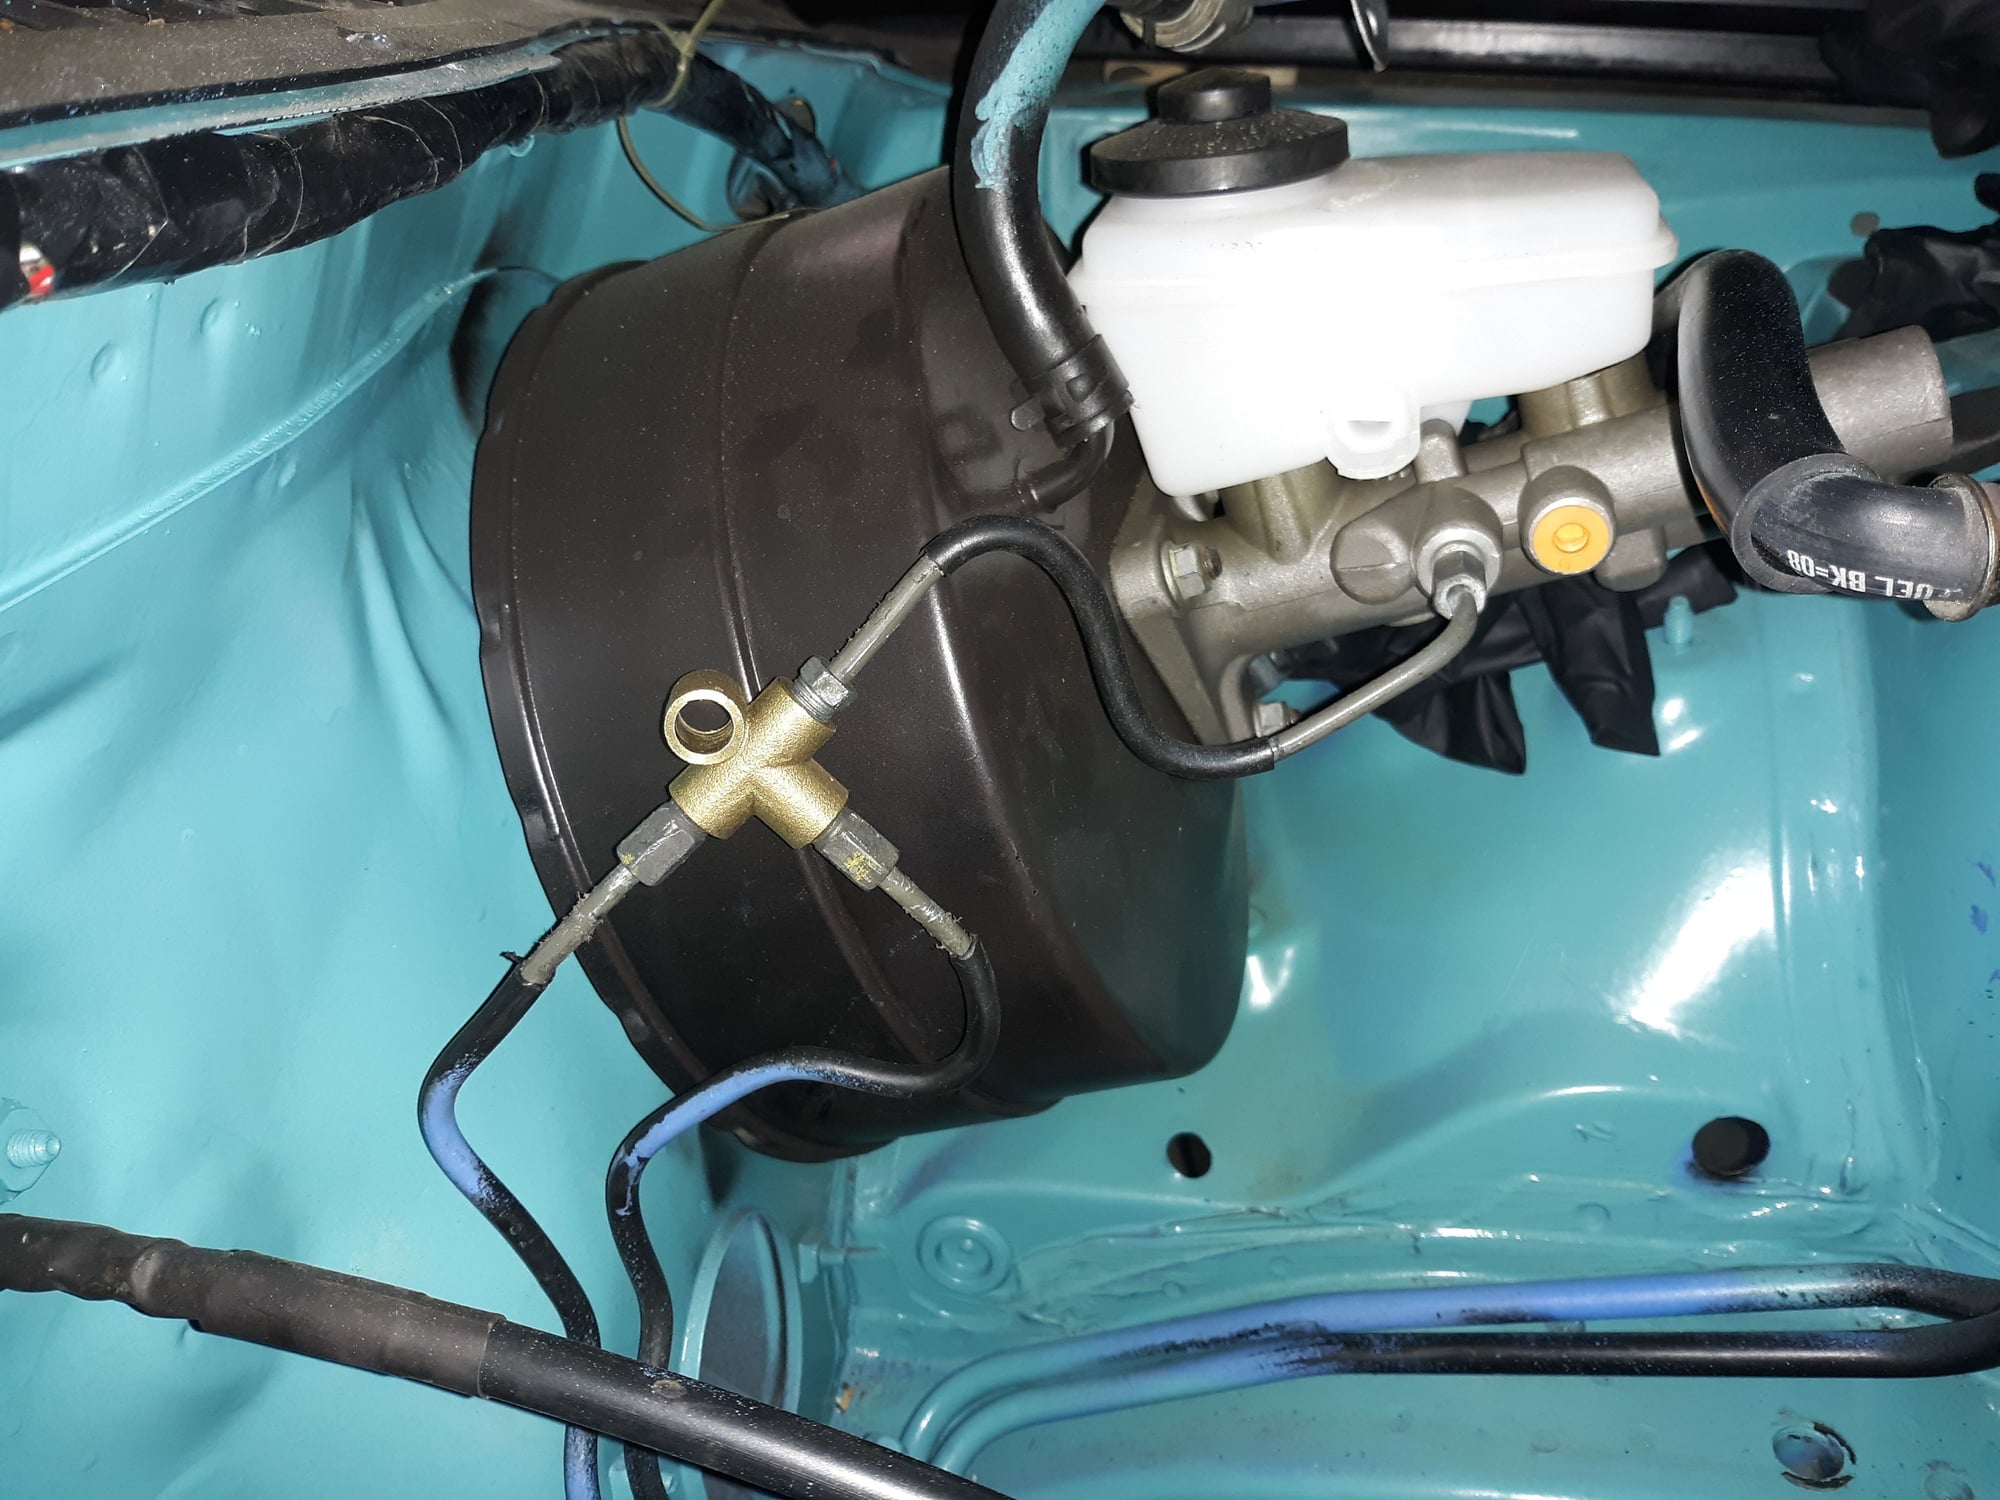
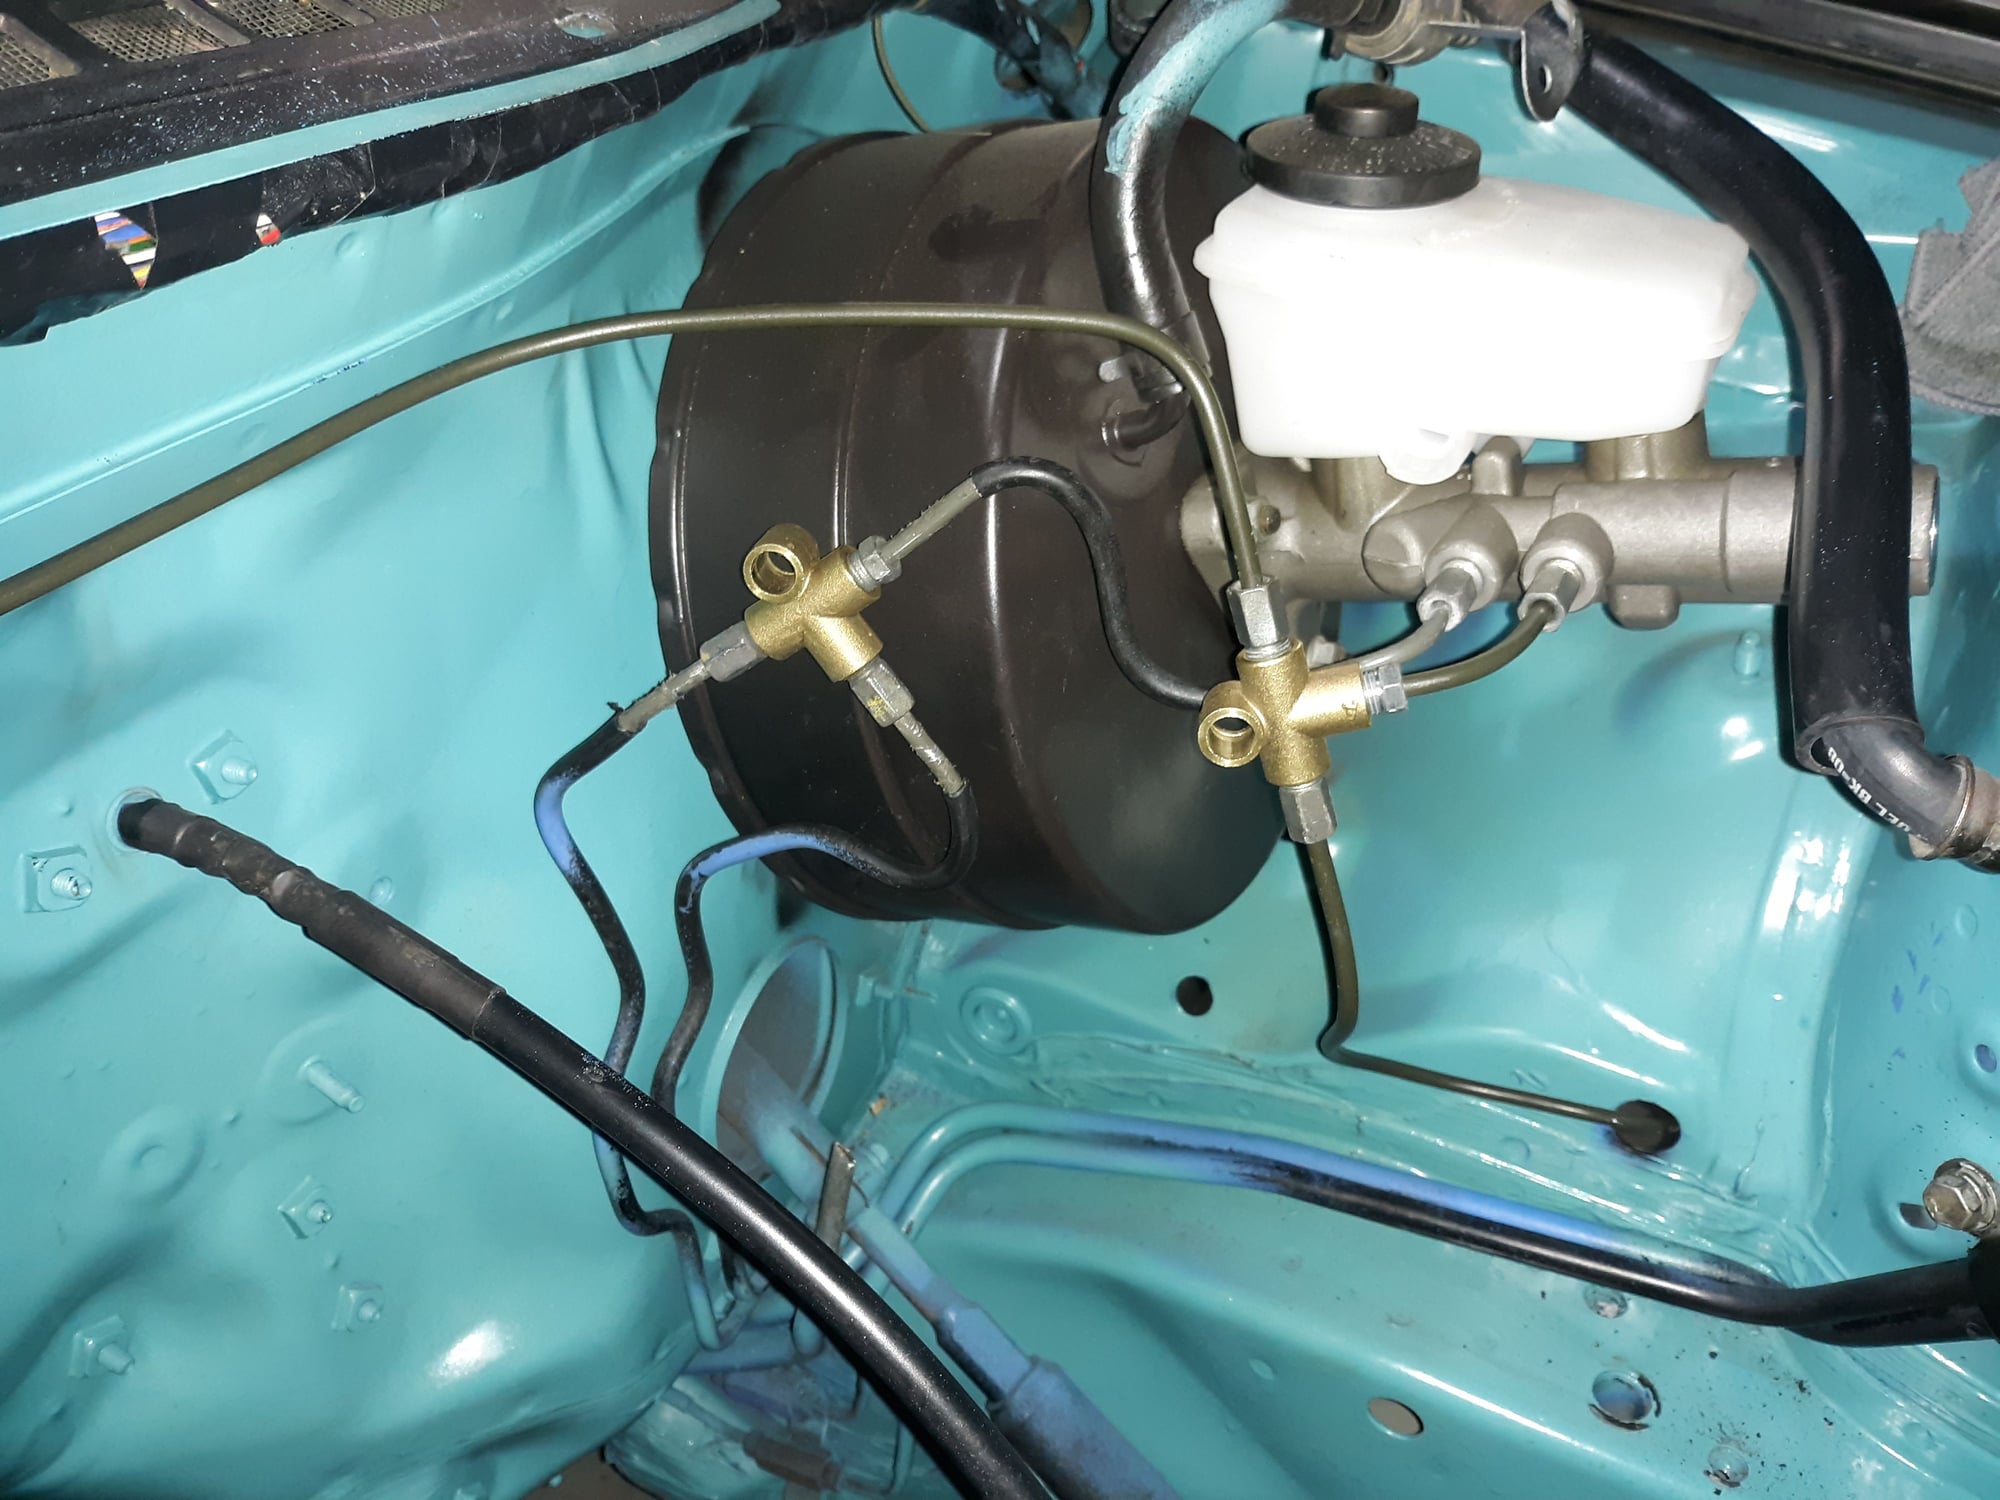
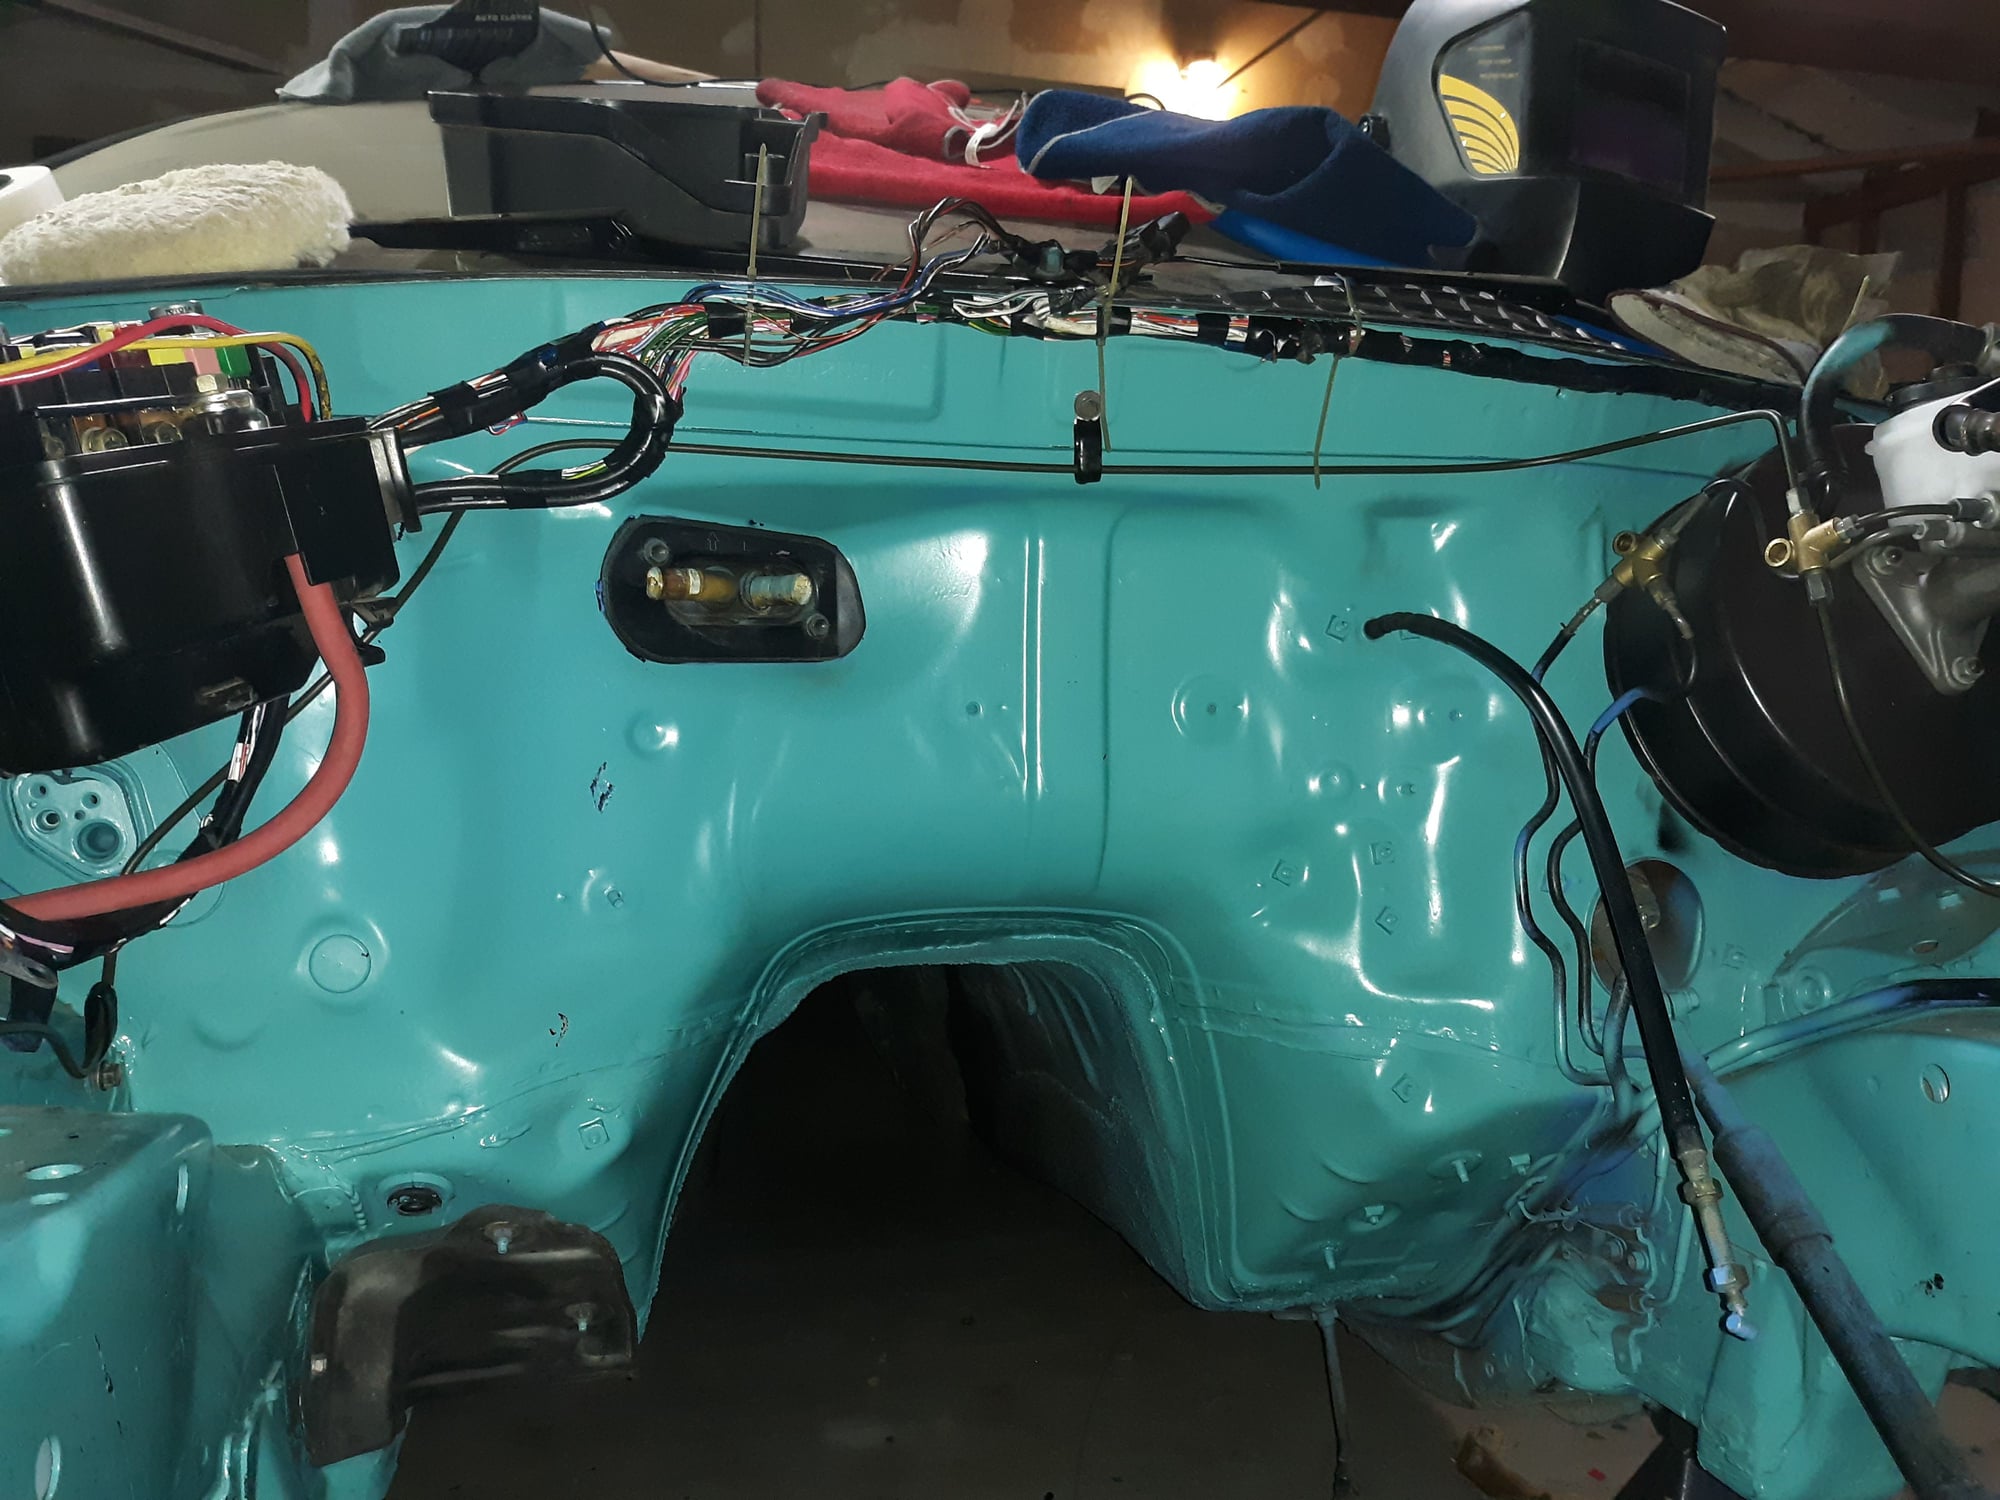
Rear brake lines are ready, fronts will be started tomorrow if I can get the right size tube locally.
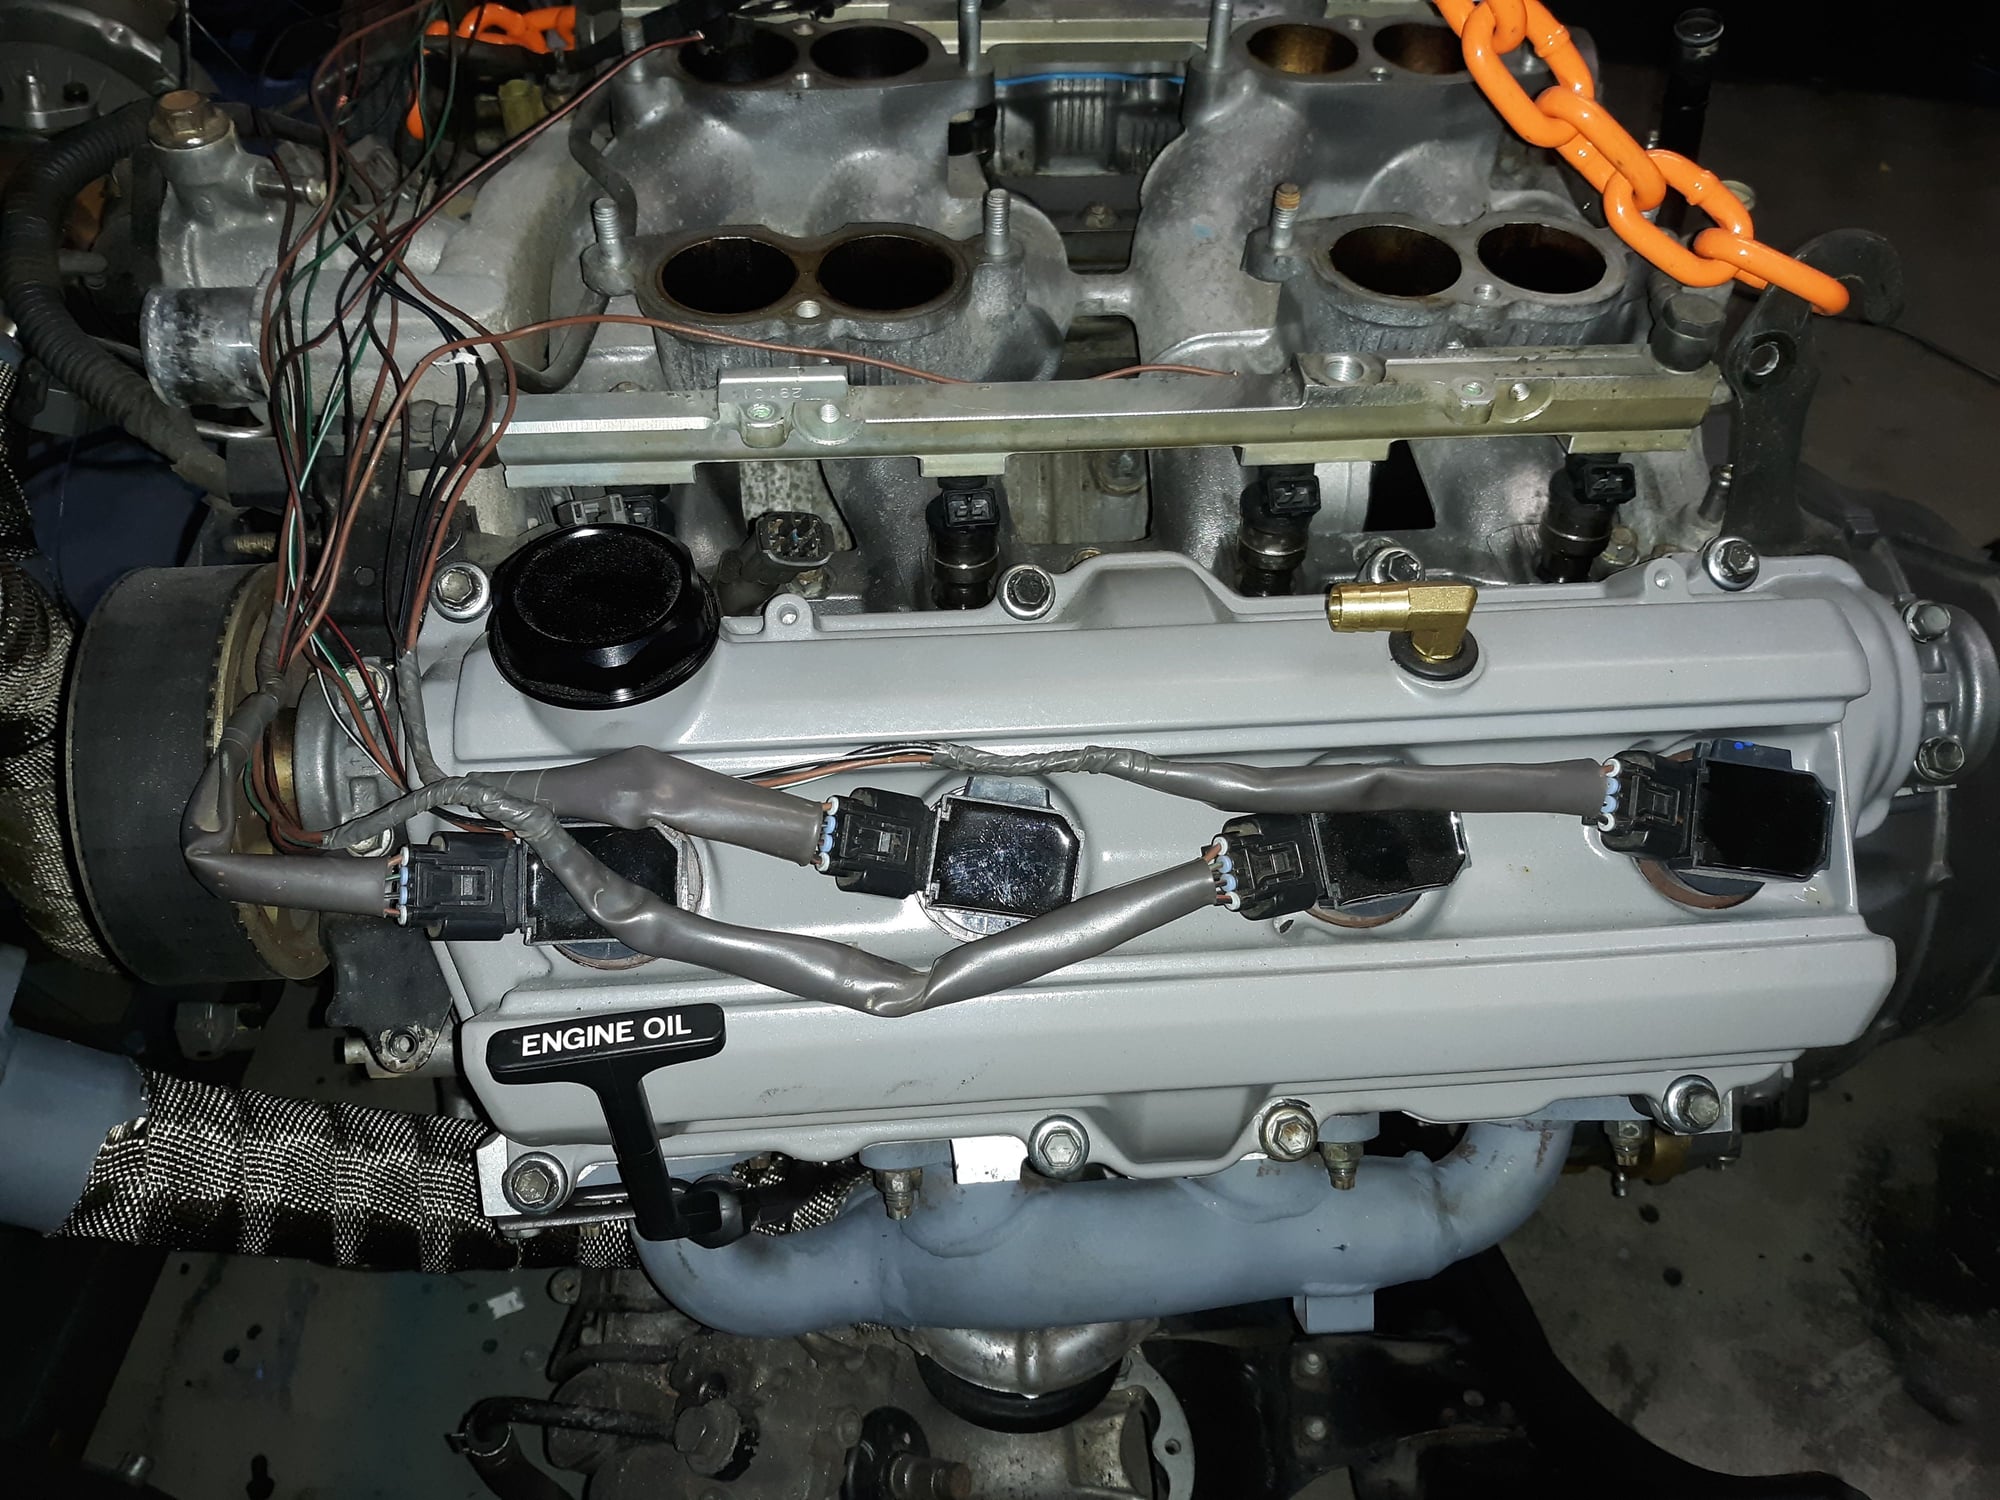
Started tearing into the wiring and getting the bits I need, I'm thinking of running the wiring harness over the front of the motor so theres no chance the coilpack wires will rub on the firewall.
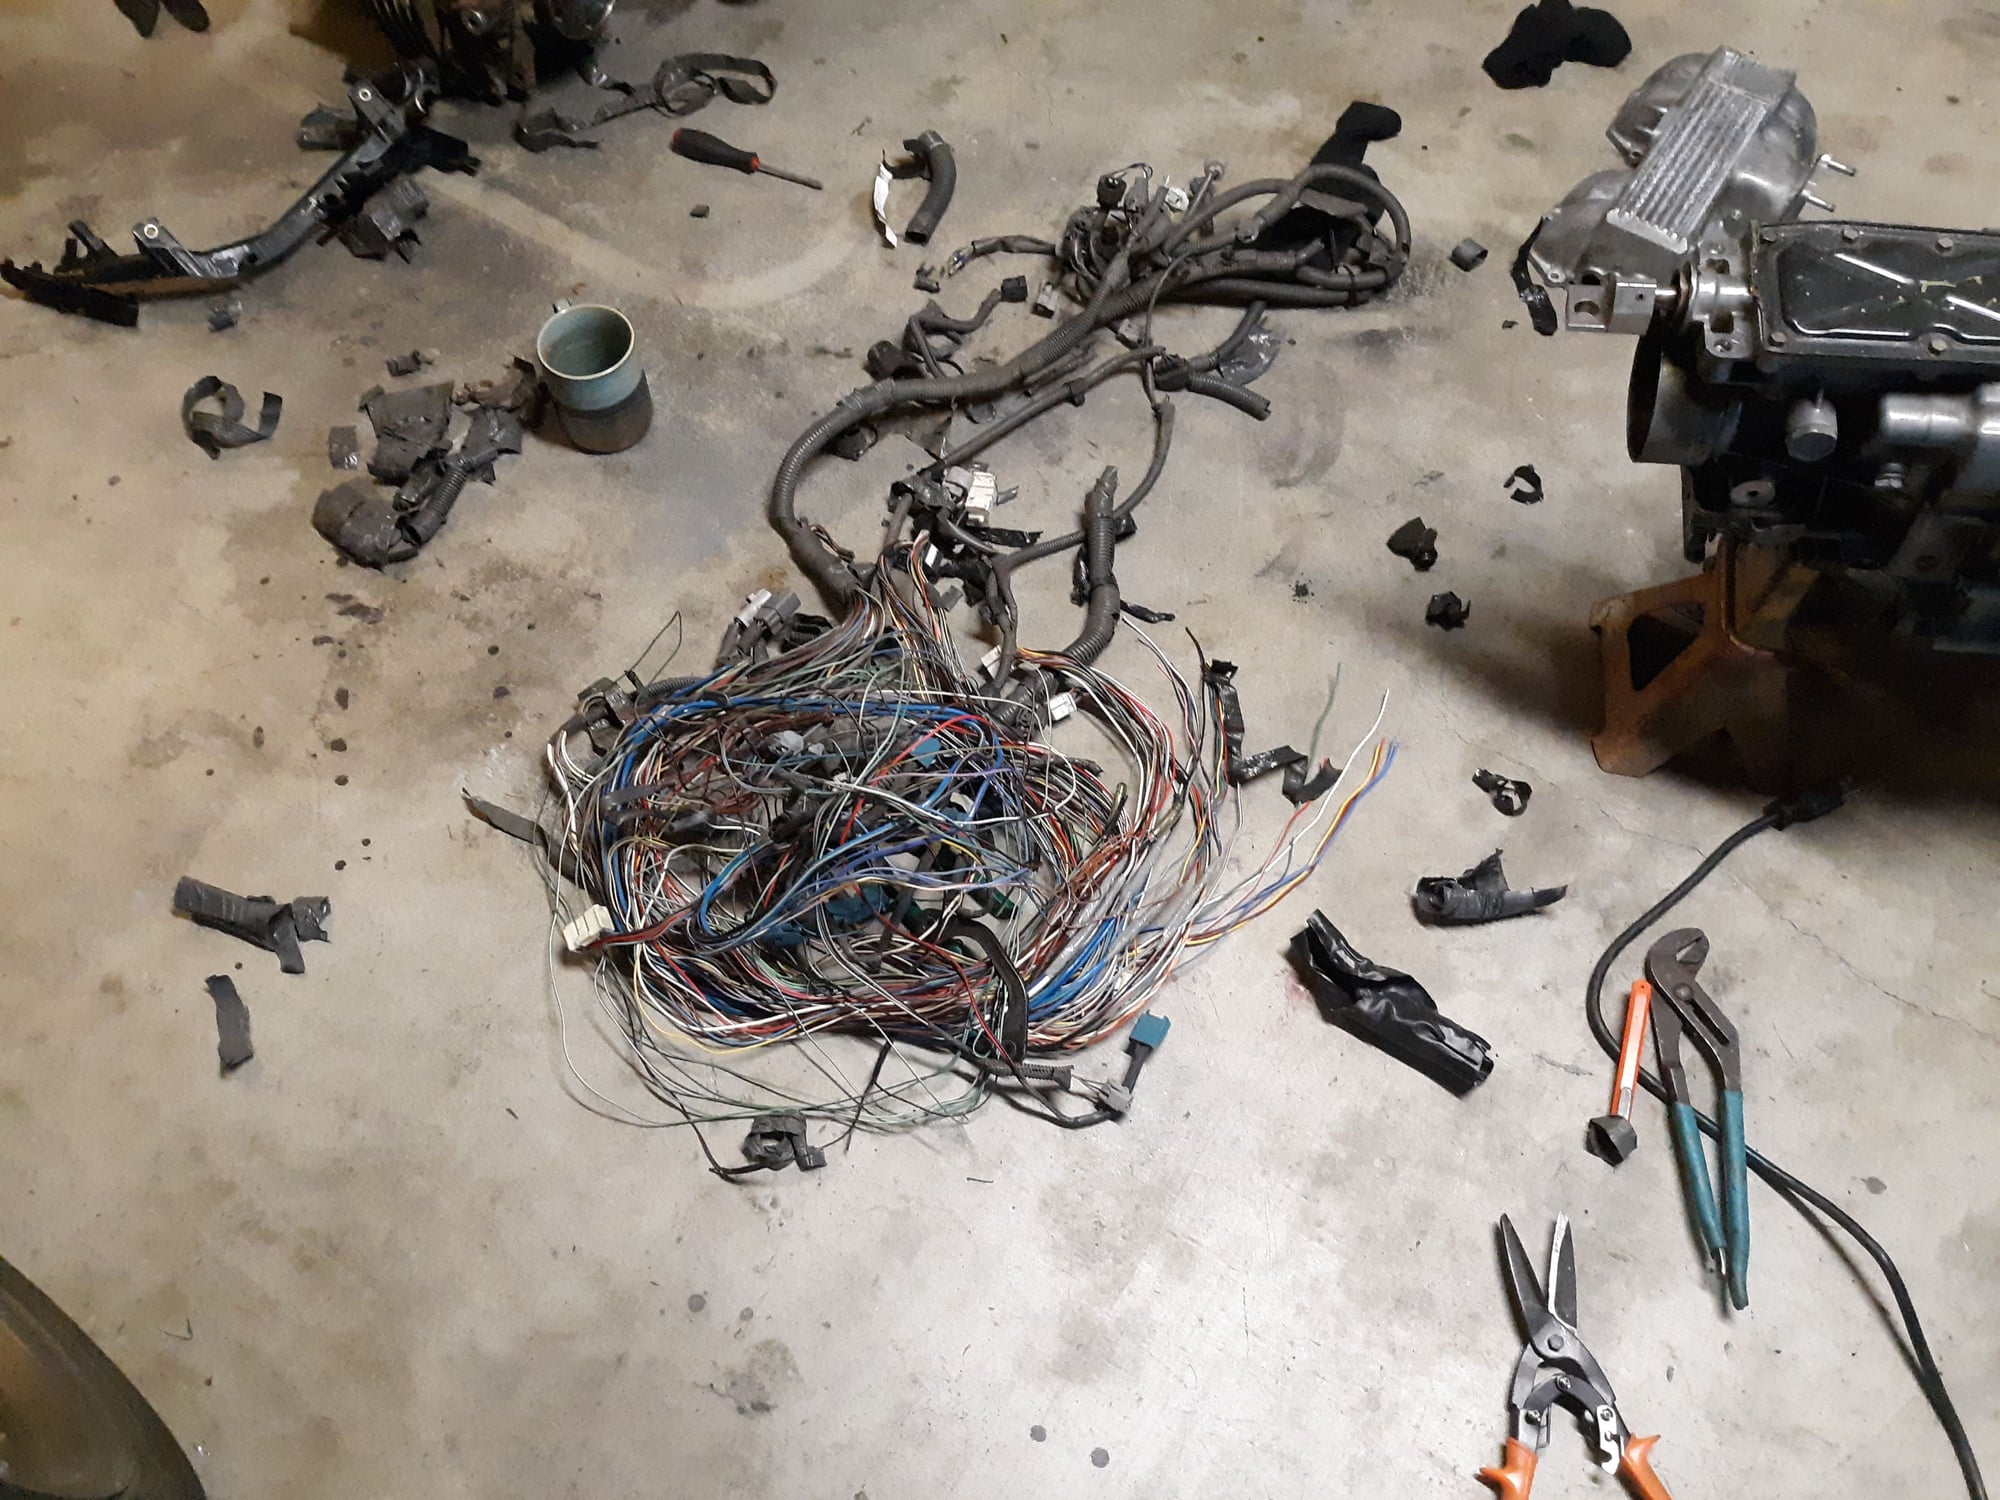
Heres the tundra wiring harness after I'd pillaged it.
#39
Man this is awesome 😎 that is some great attention to detail. I love seeing builds like this. Makes me wish i had a garage!
what is the next step you have planned? You've been truckin along for a while now
took me a min to realize the mini jcw stood for john cooper works edition. That has to be a good time to whip around in
what is the next step you have planned? You've been truckin along for a while now
took me a min to realize the mini jcw stood for john cooper works edition. That has to be a good time to whip around in
#40
Driver
Thread Starter
Join Date: Jul 2015
Location: Ca
Posts: 153
Likes: 0
Received 0 Likes
on
0 Posts
Man this is awesome 😎 that is some great attention to detail. I love seeing builds like this. Makes me wish i had a garage!
what is the next step you have planned? You've been truckin along for a while now
took me a min to realize the mini jcw stood for john cooper works edition. That has to be a good time to whip around in
what is the next step you have planned? You've been truckin along for a while now
took me a min to realize the mini jcw stood for john cooper works edition. That has to be a good time to whip around in
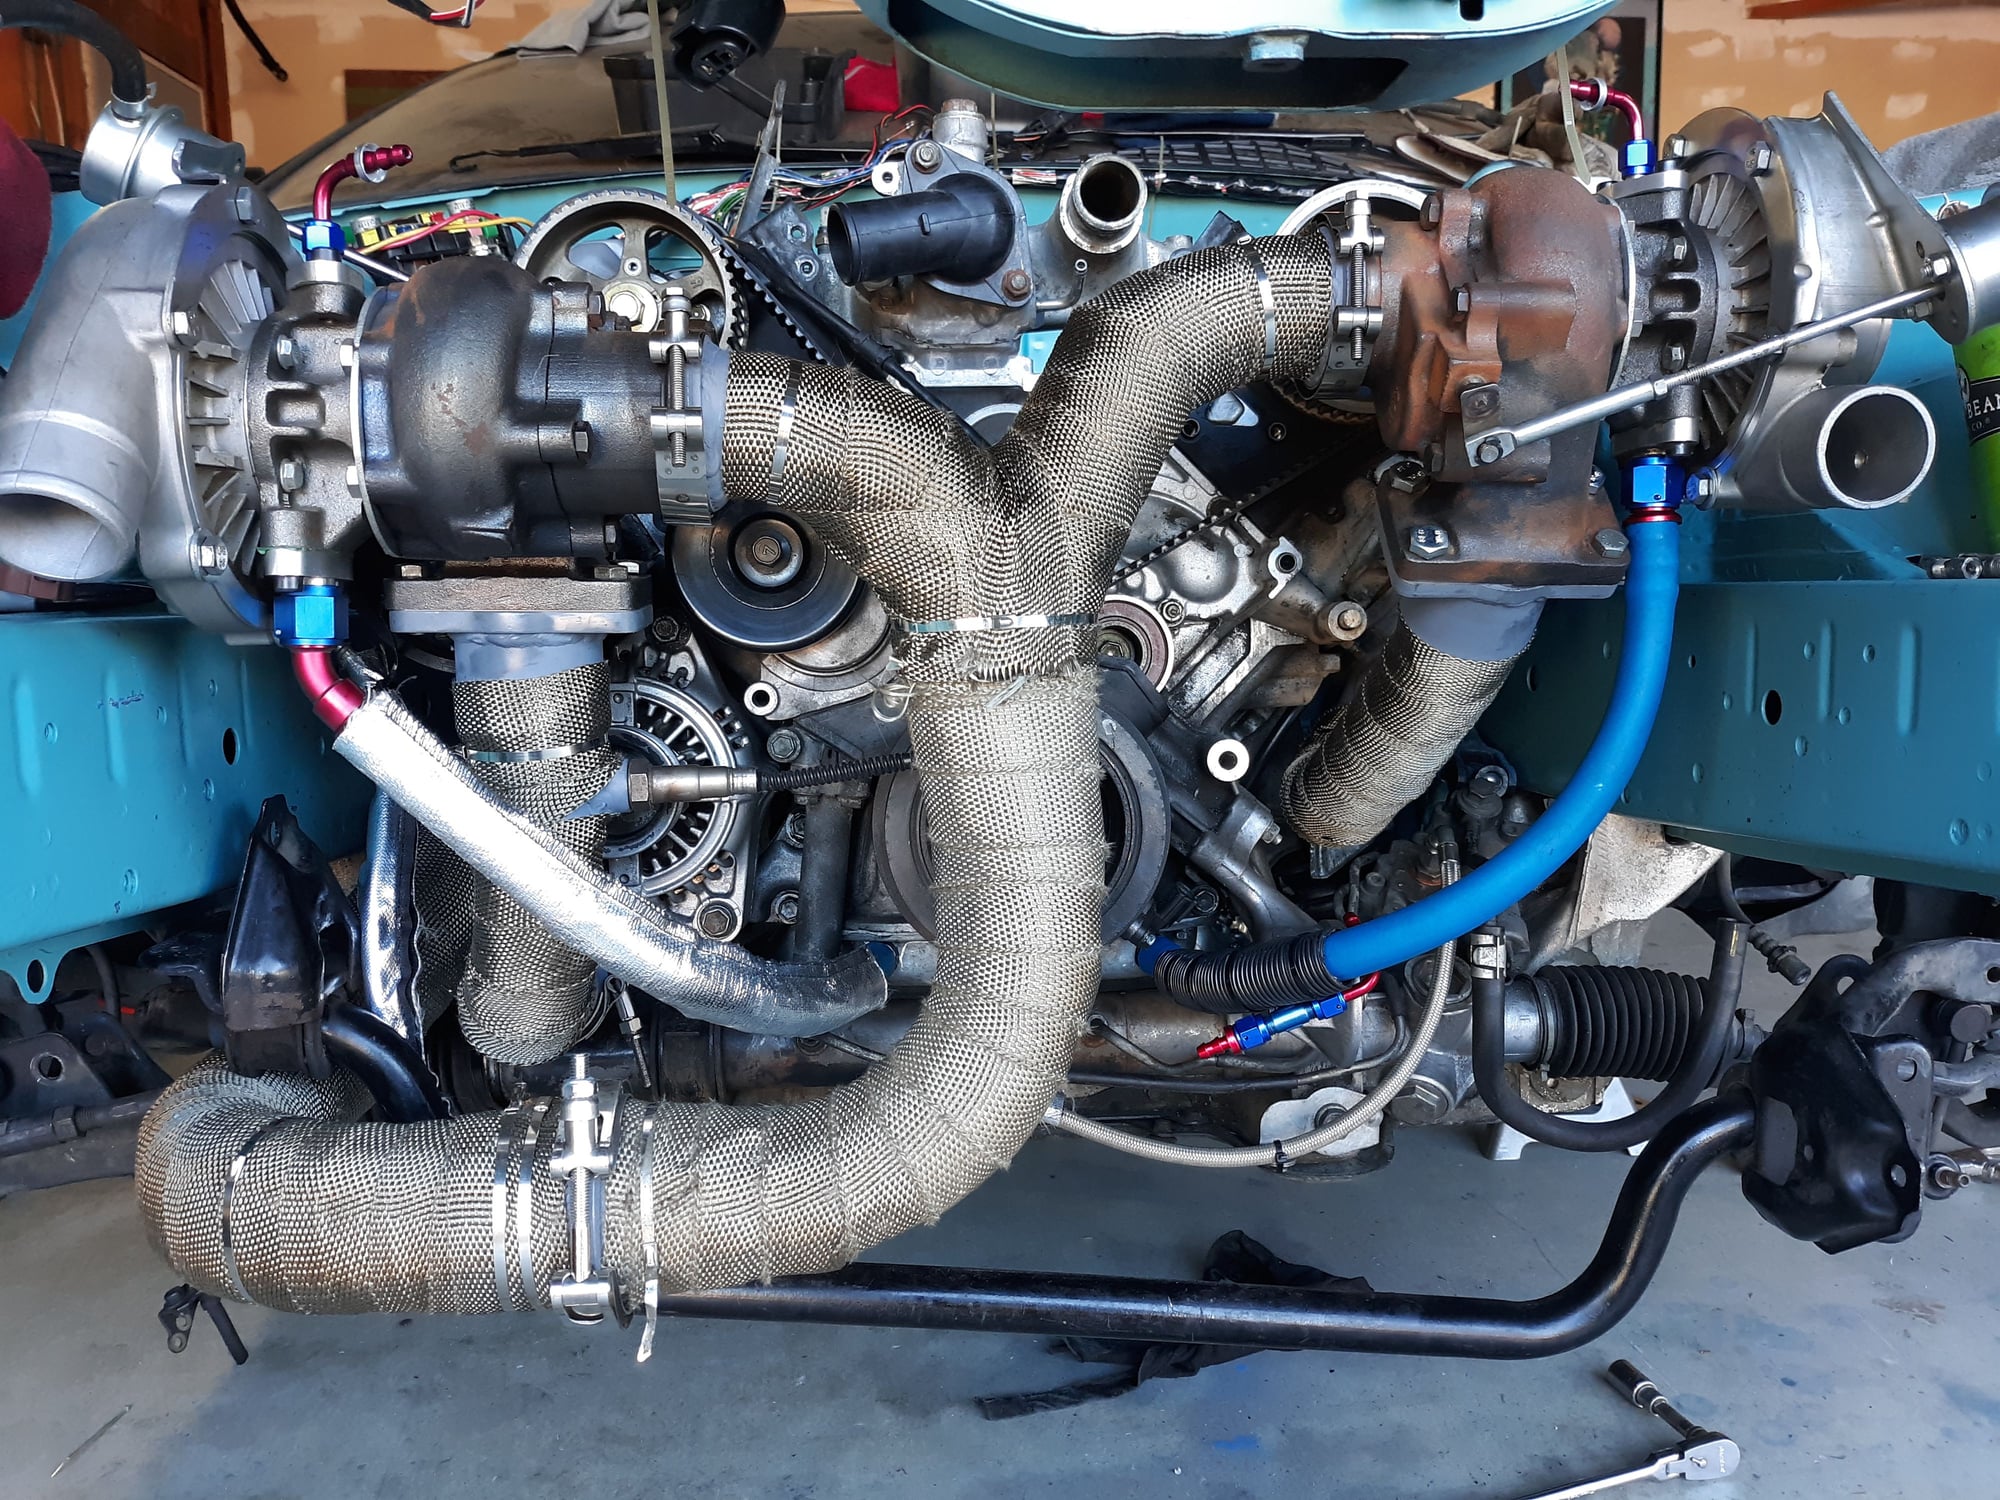
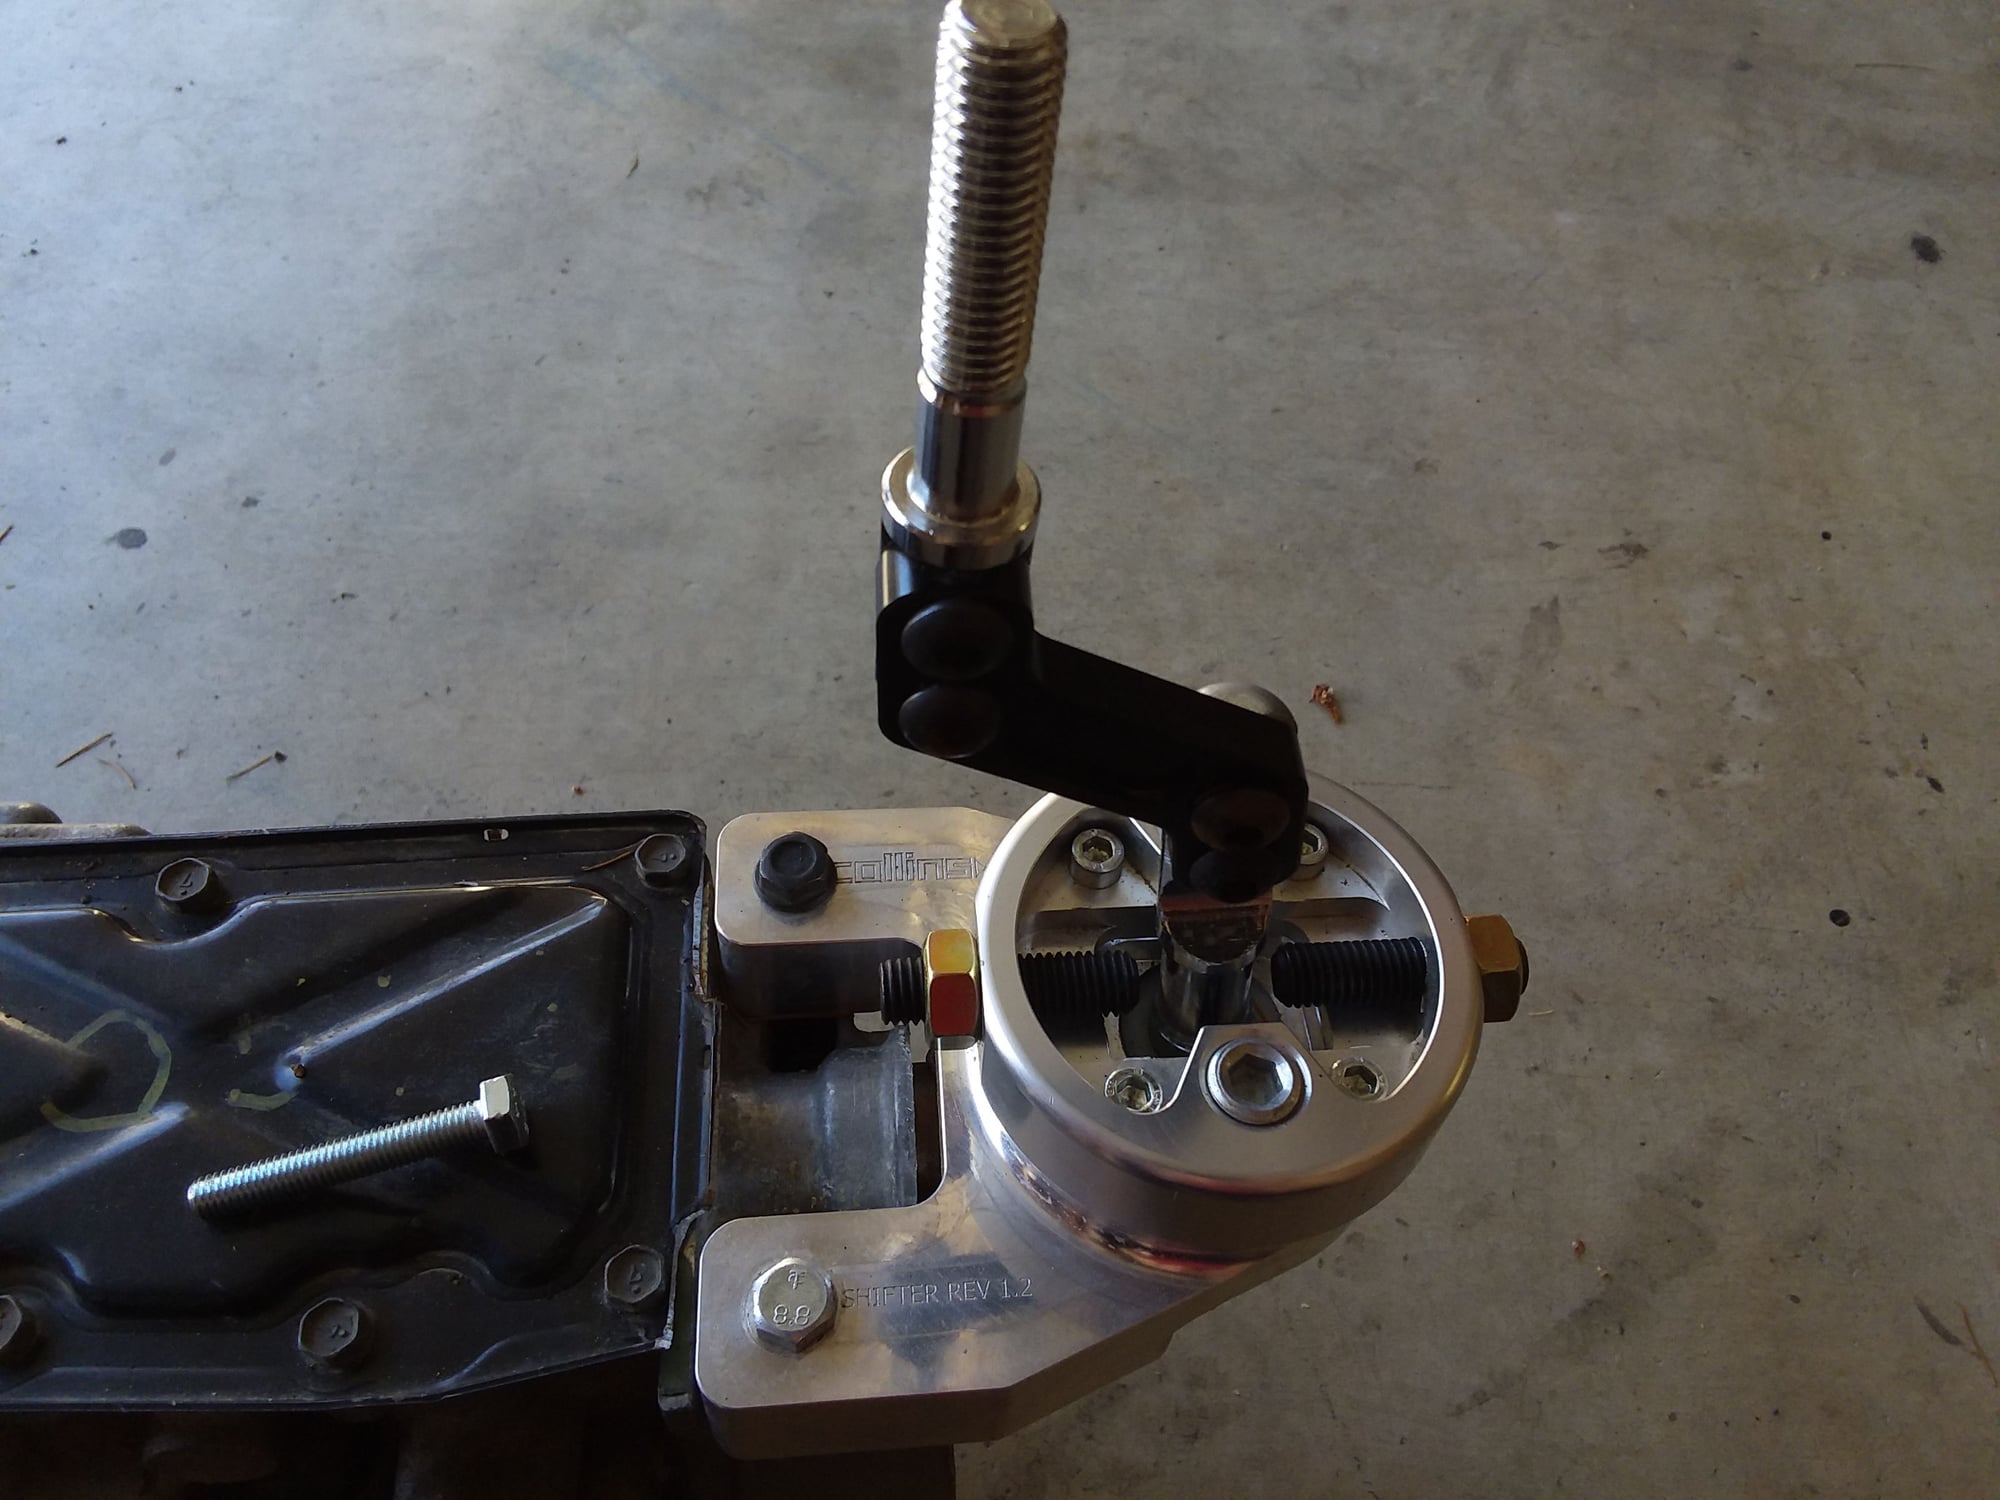
Just installed the Driftmotion braided powersteering line, got the oil return lines done(driverside has a bunch of loom to keep it from rubbing on the oil filter thingamajig). Next up will be mounting the shortened shifter and trimming the transmission tunnel.
#41
Driver
Thread Starter
Join Date: Jul 2015
Location: Ca
Posts: 153
Likes: 0
Received 0 Likes
on
0 Posts
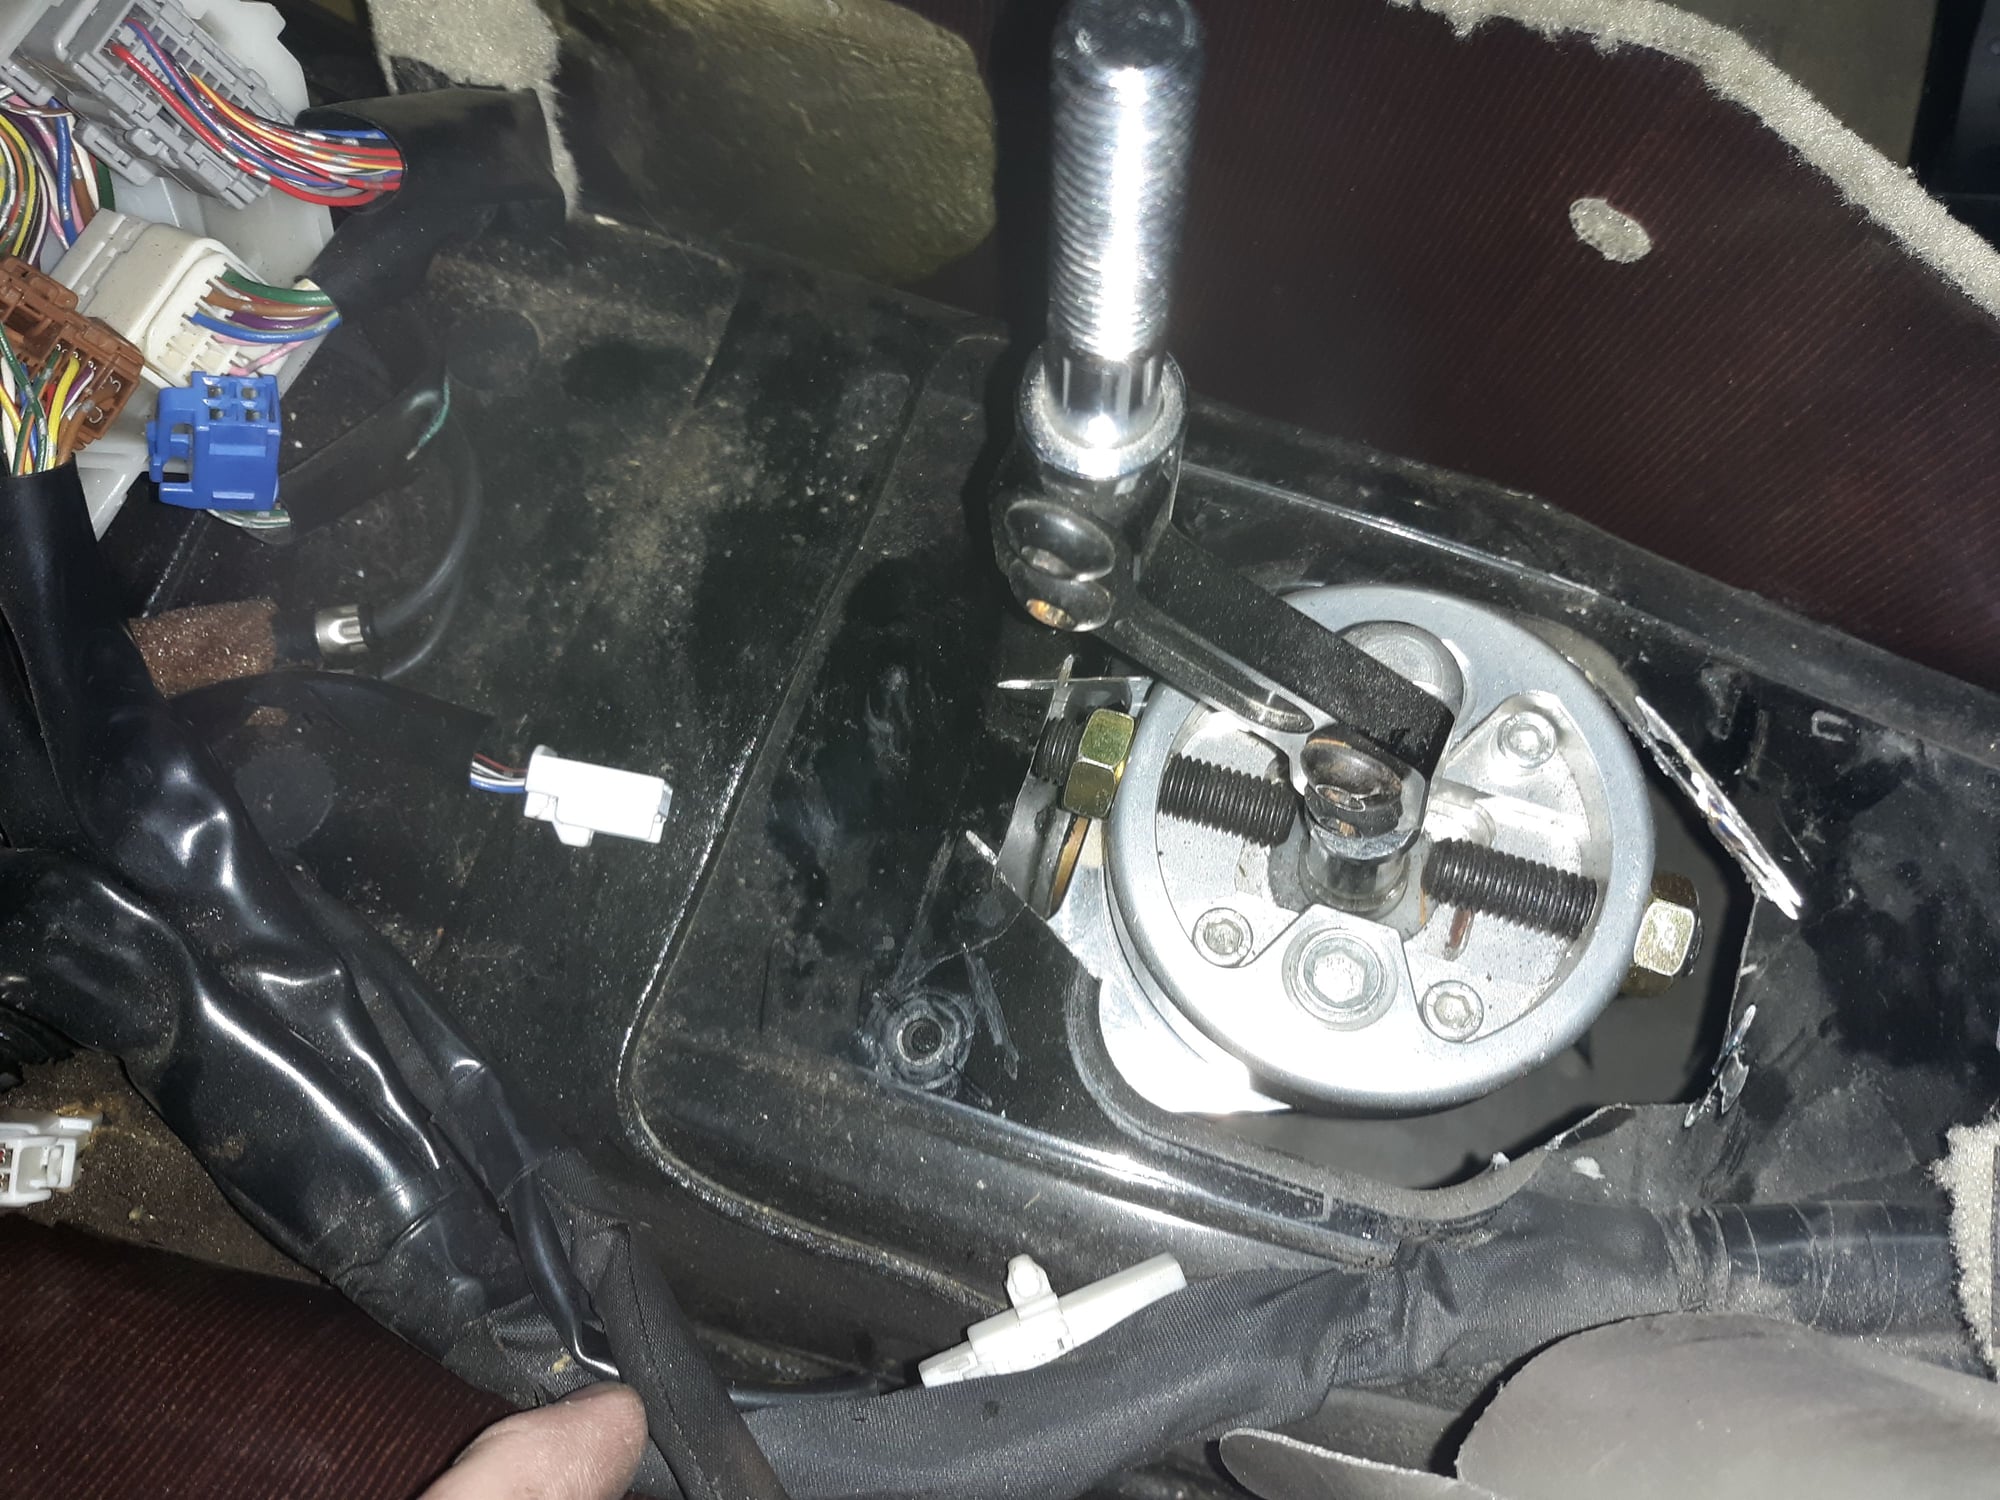
Collins shifters in after some work with the angle grinder.(wish I'd been cleaner but my dremel wasnt up to the task)
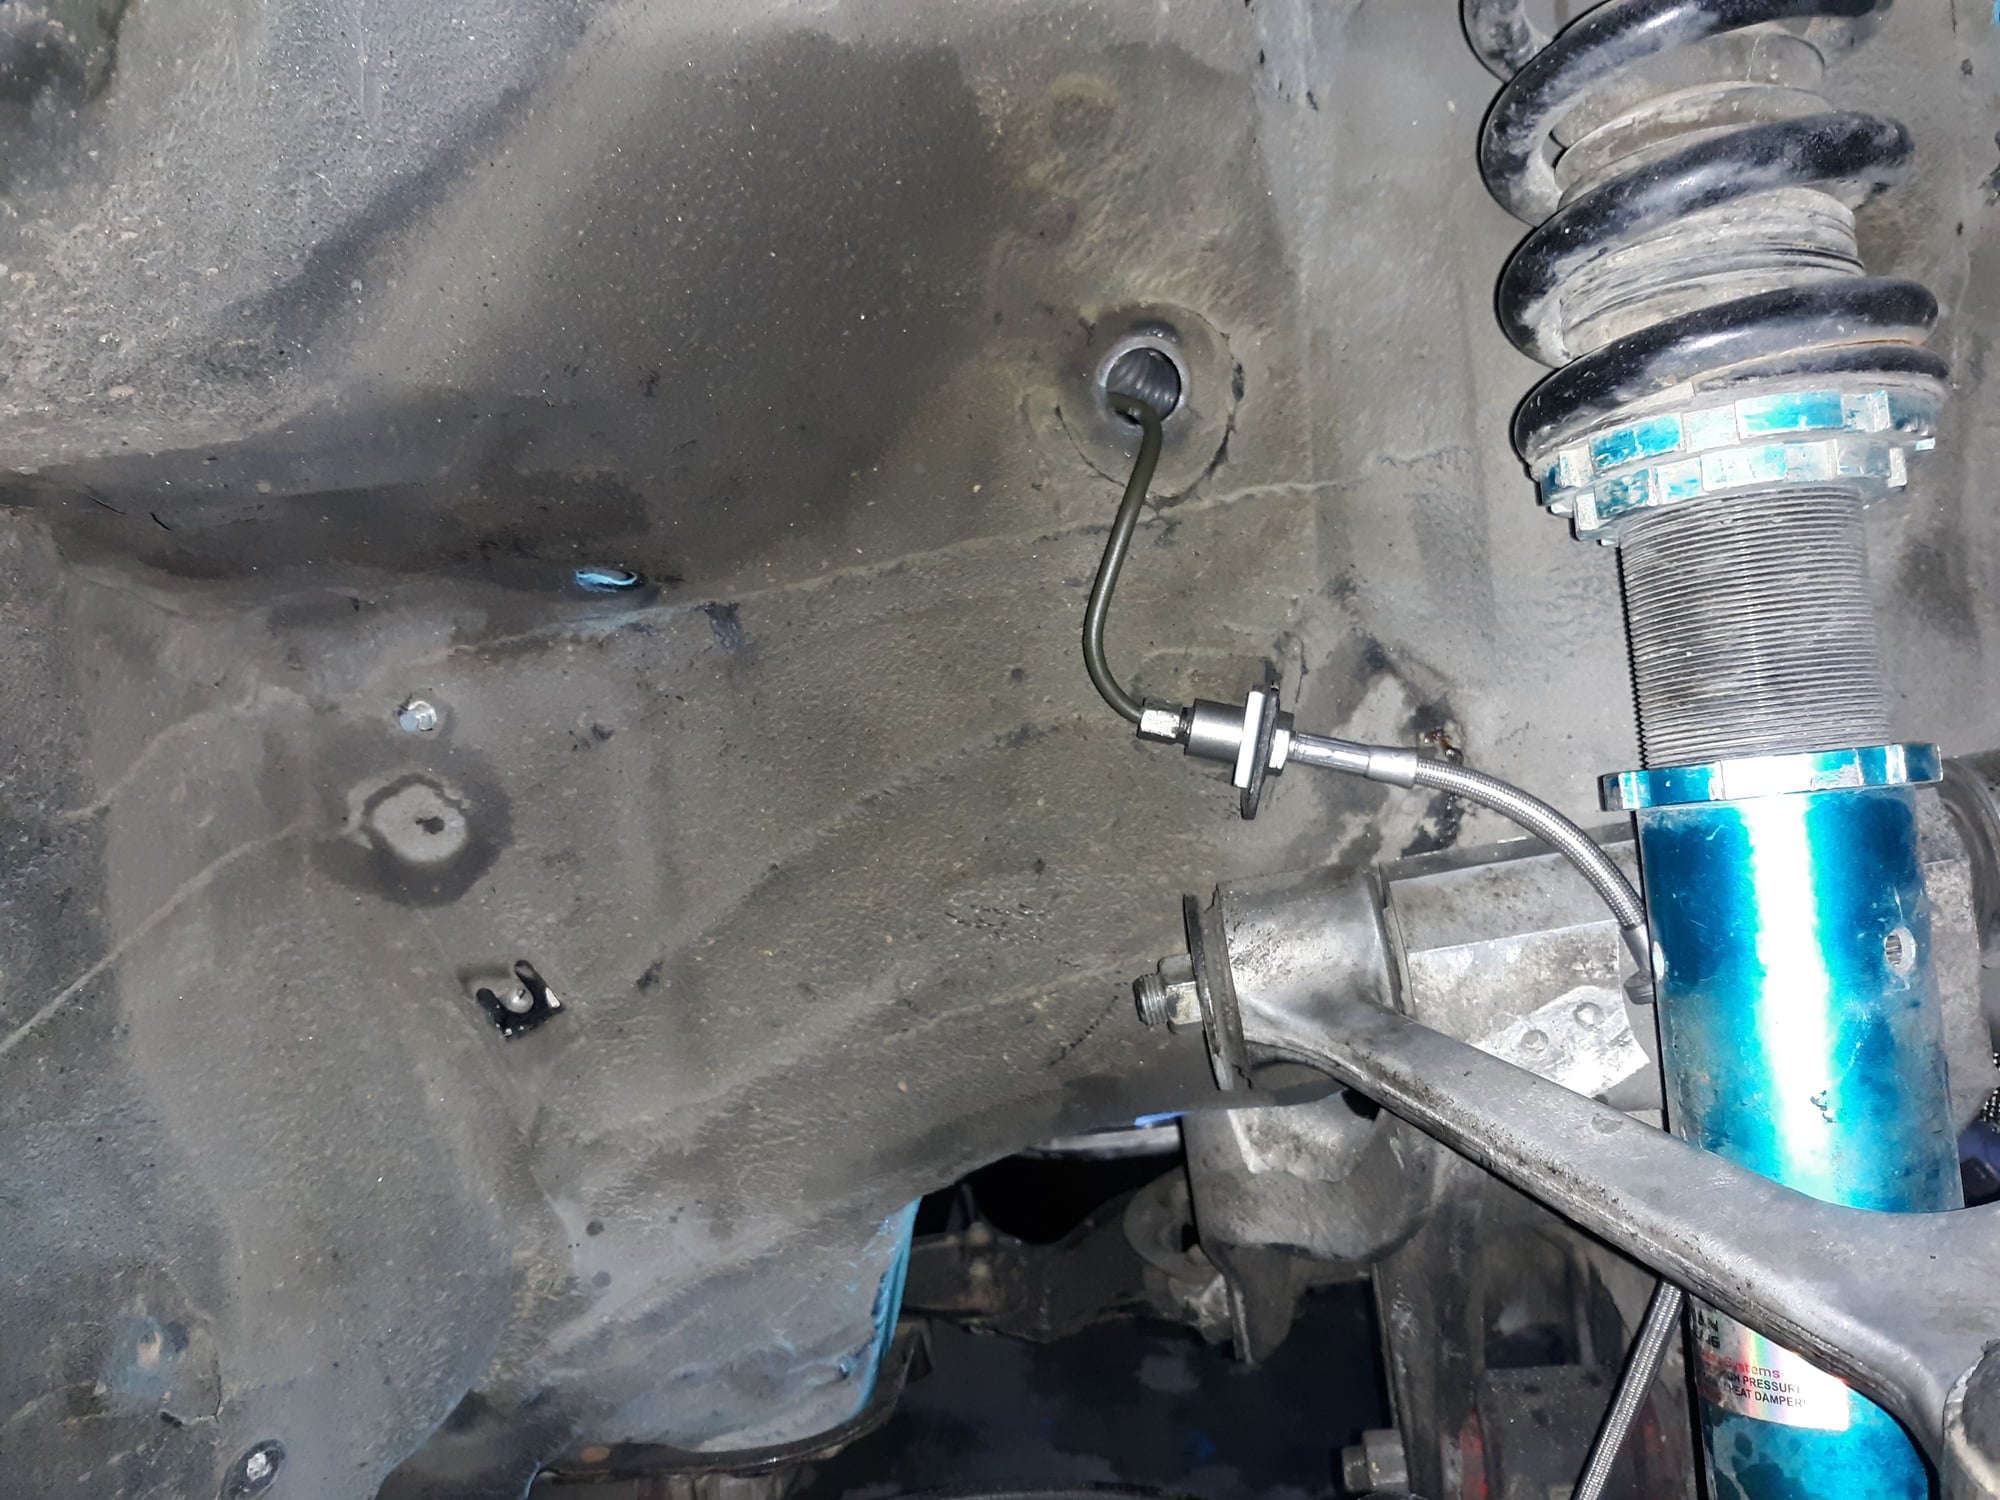
Got the Goodridge brake lines installed on the front.
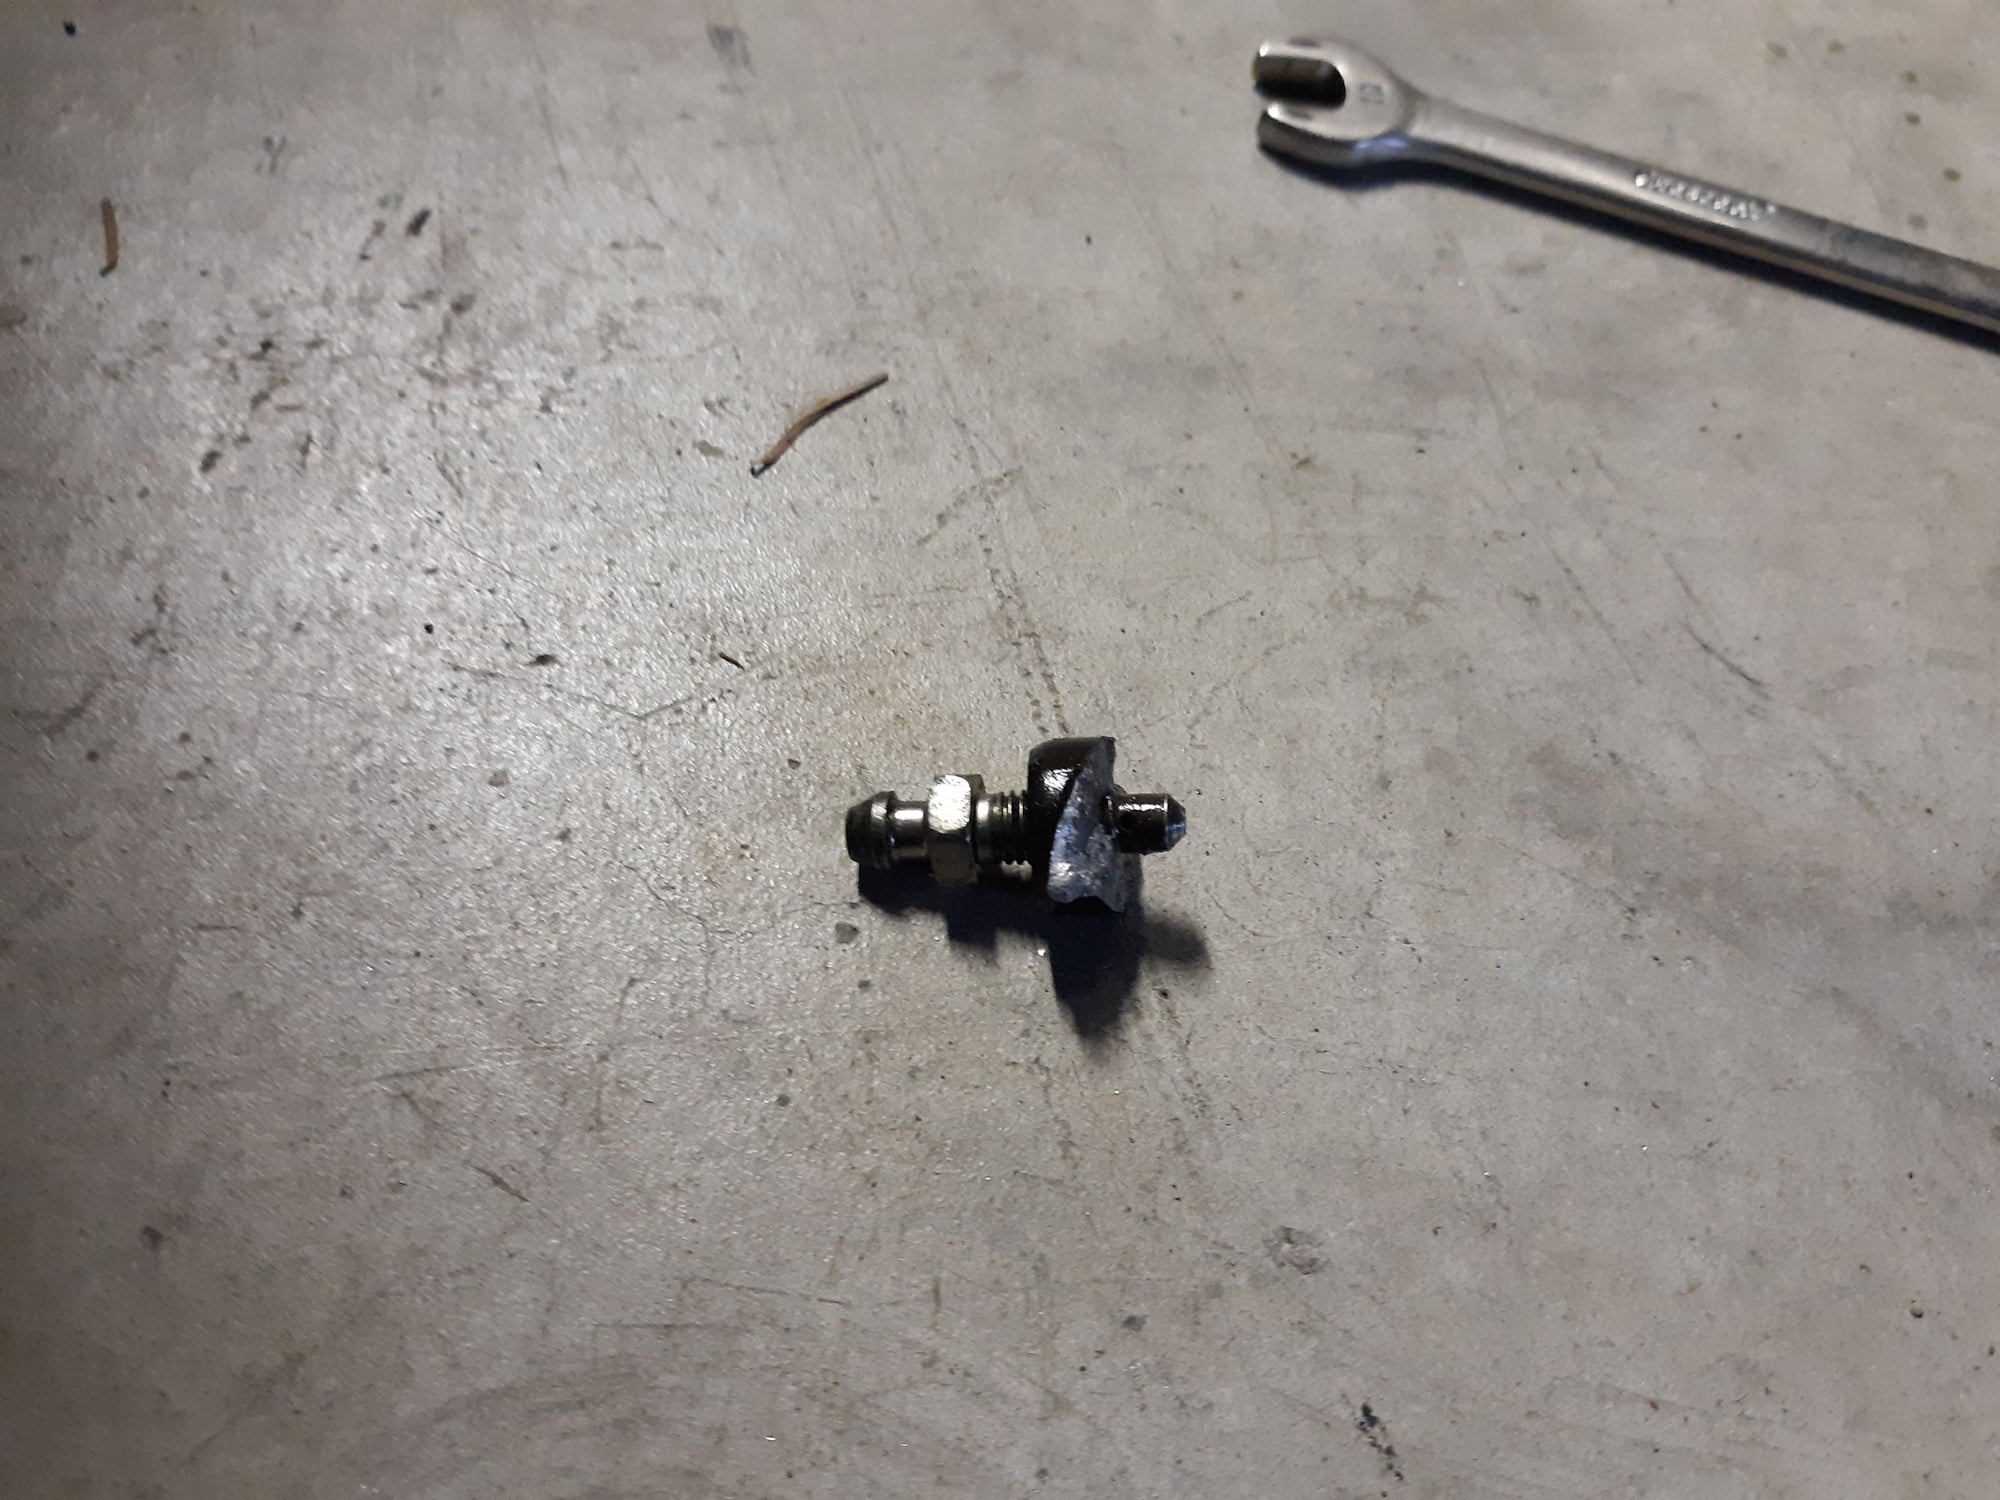
Spent all day remaking fittings that I hadn't done right the first time and when it came to bleed the brakes the bleed screws took the caliper with it. So now I'm buying 99 Ls400 Calipers a little quicker then I'd wanted.
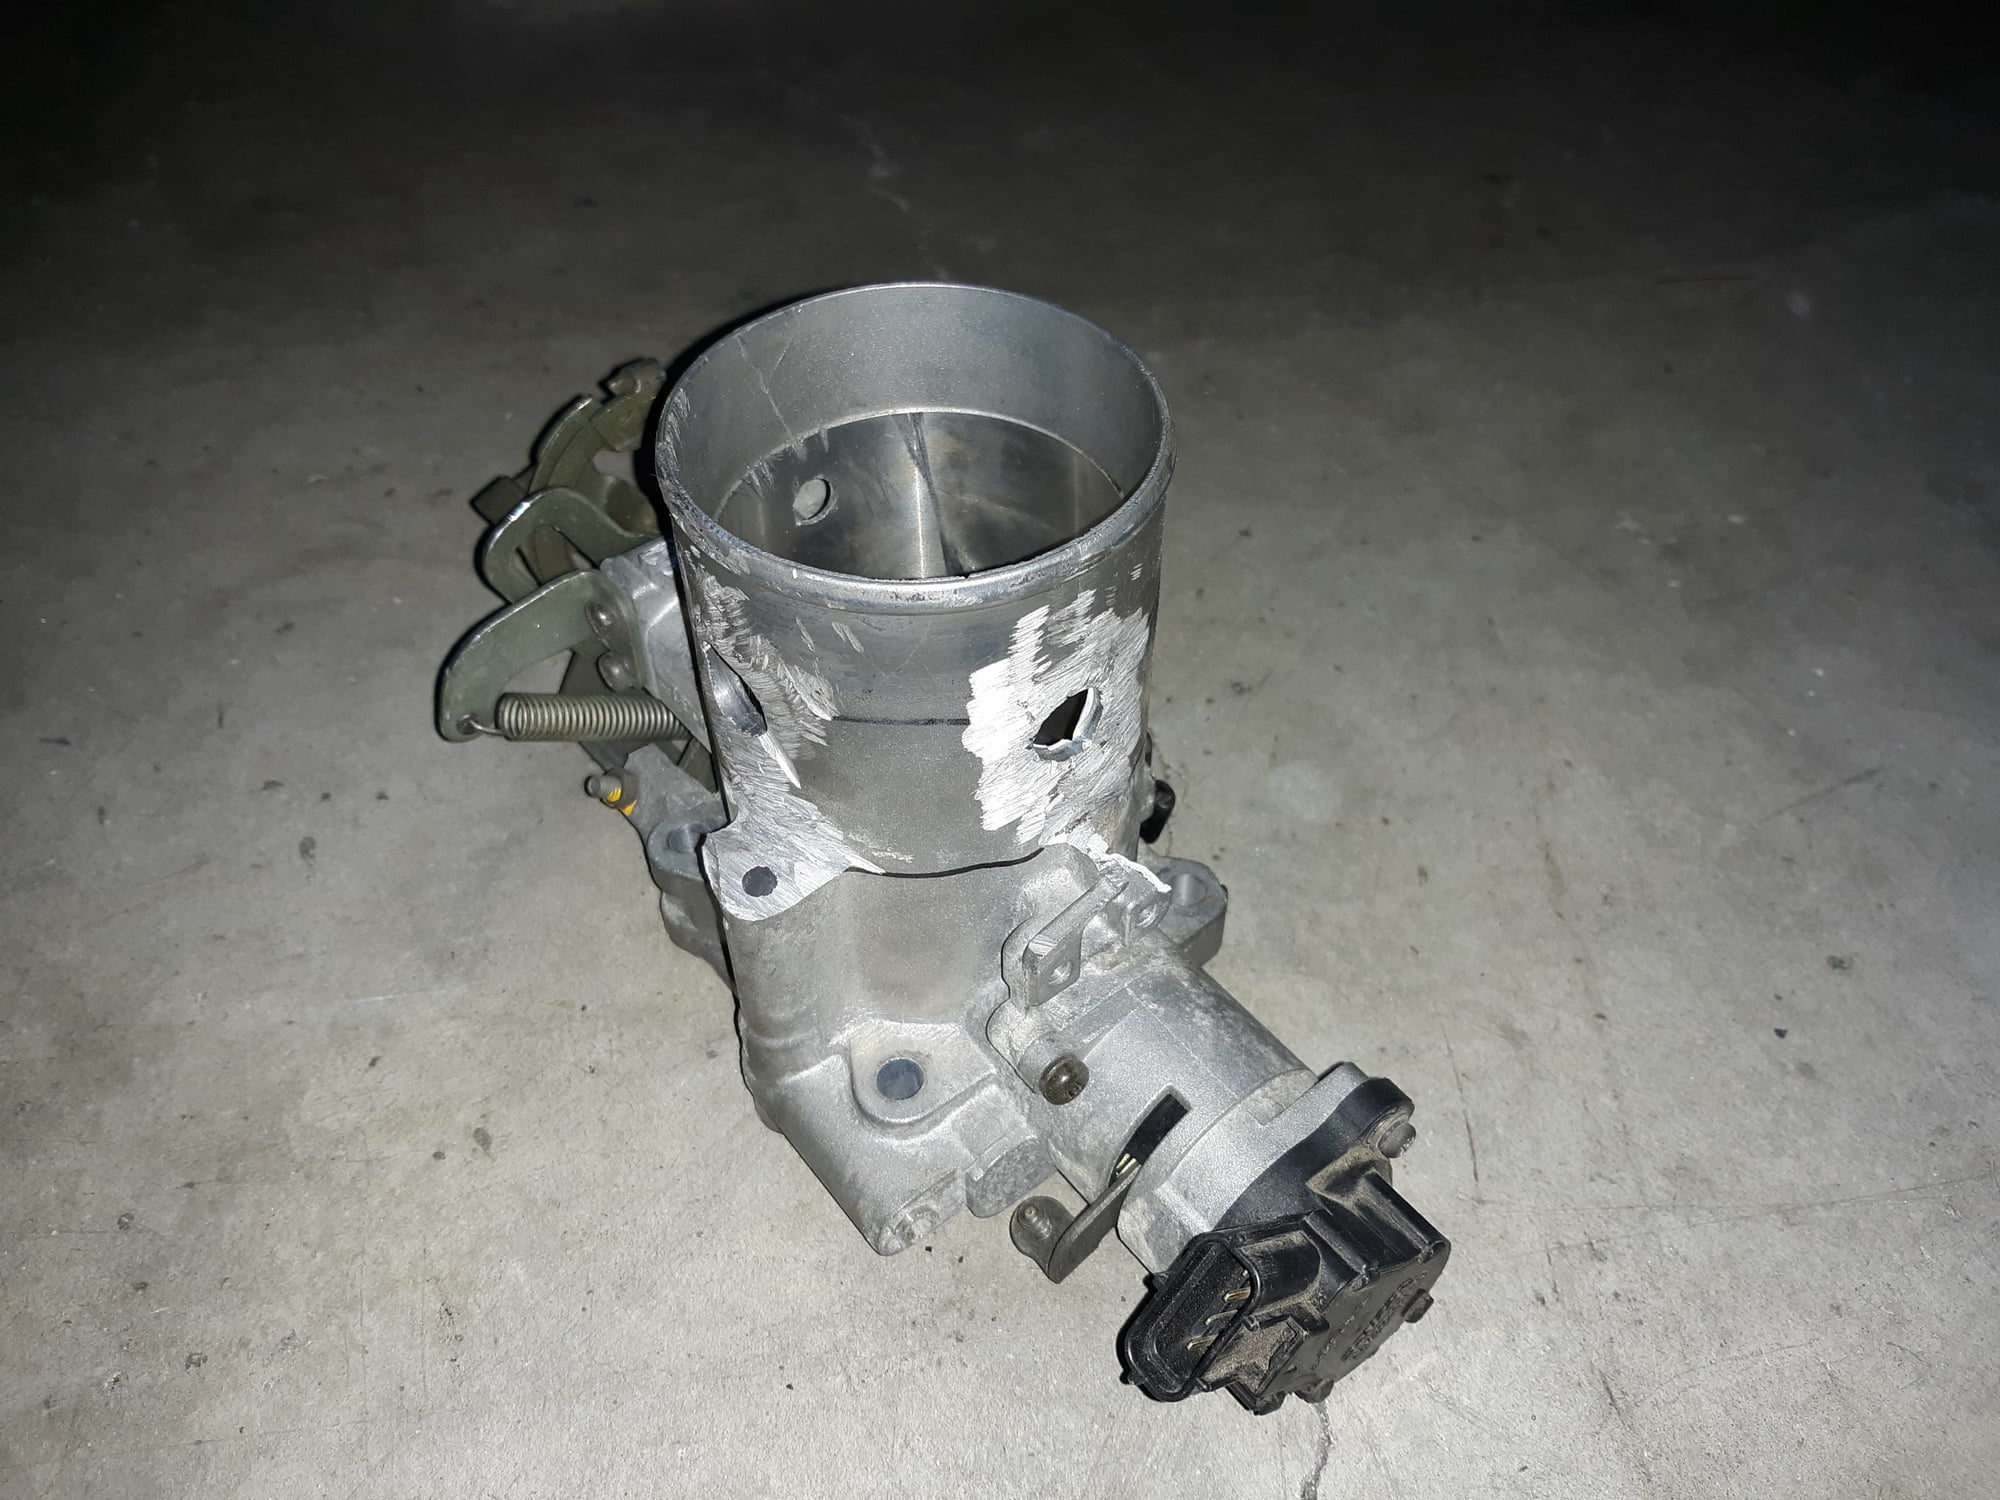
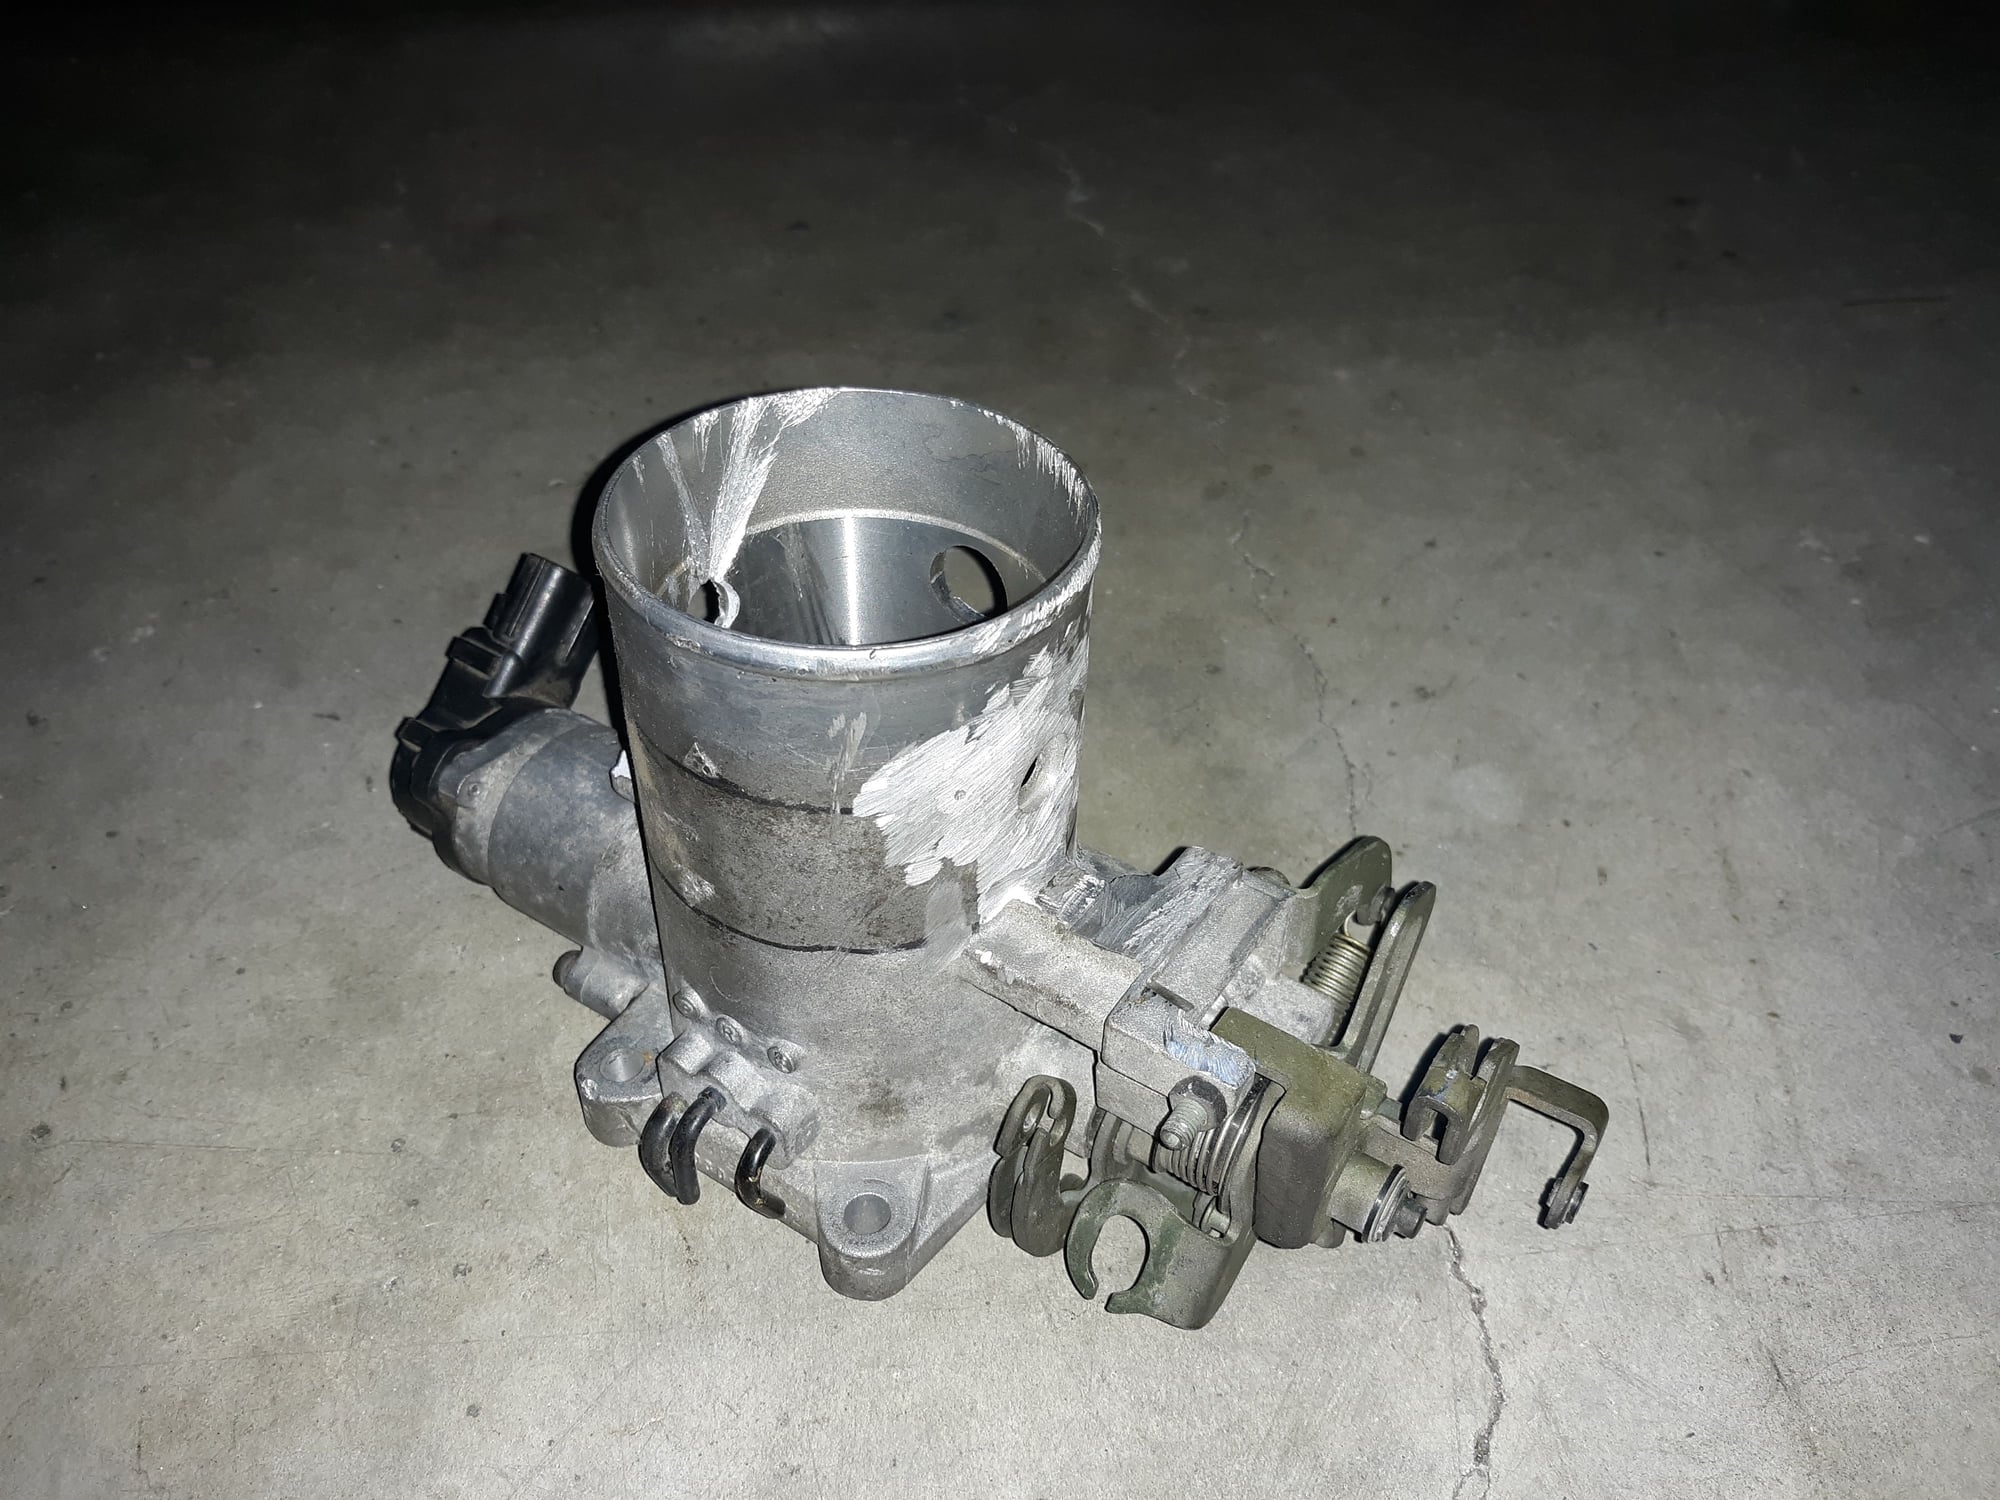
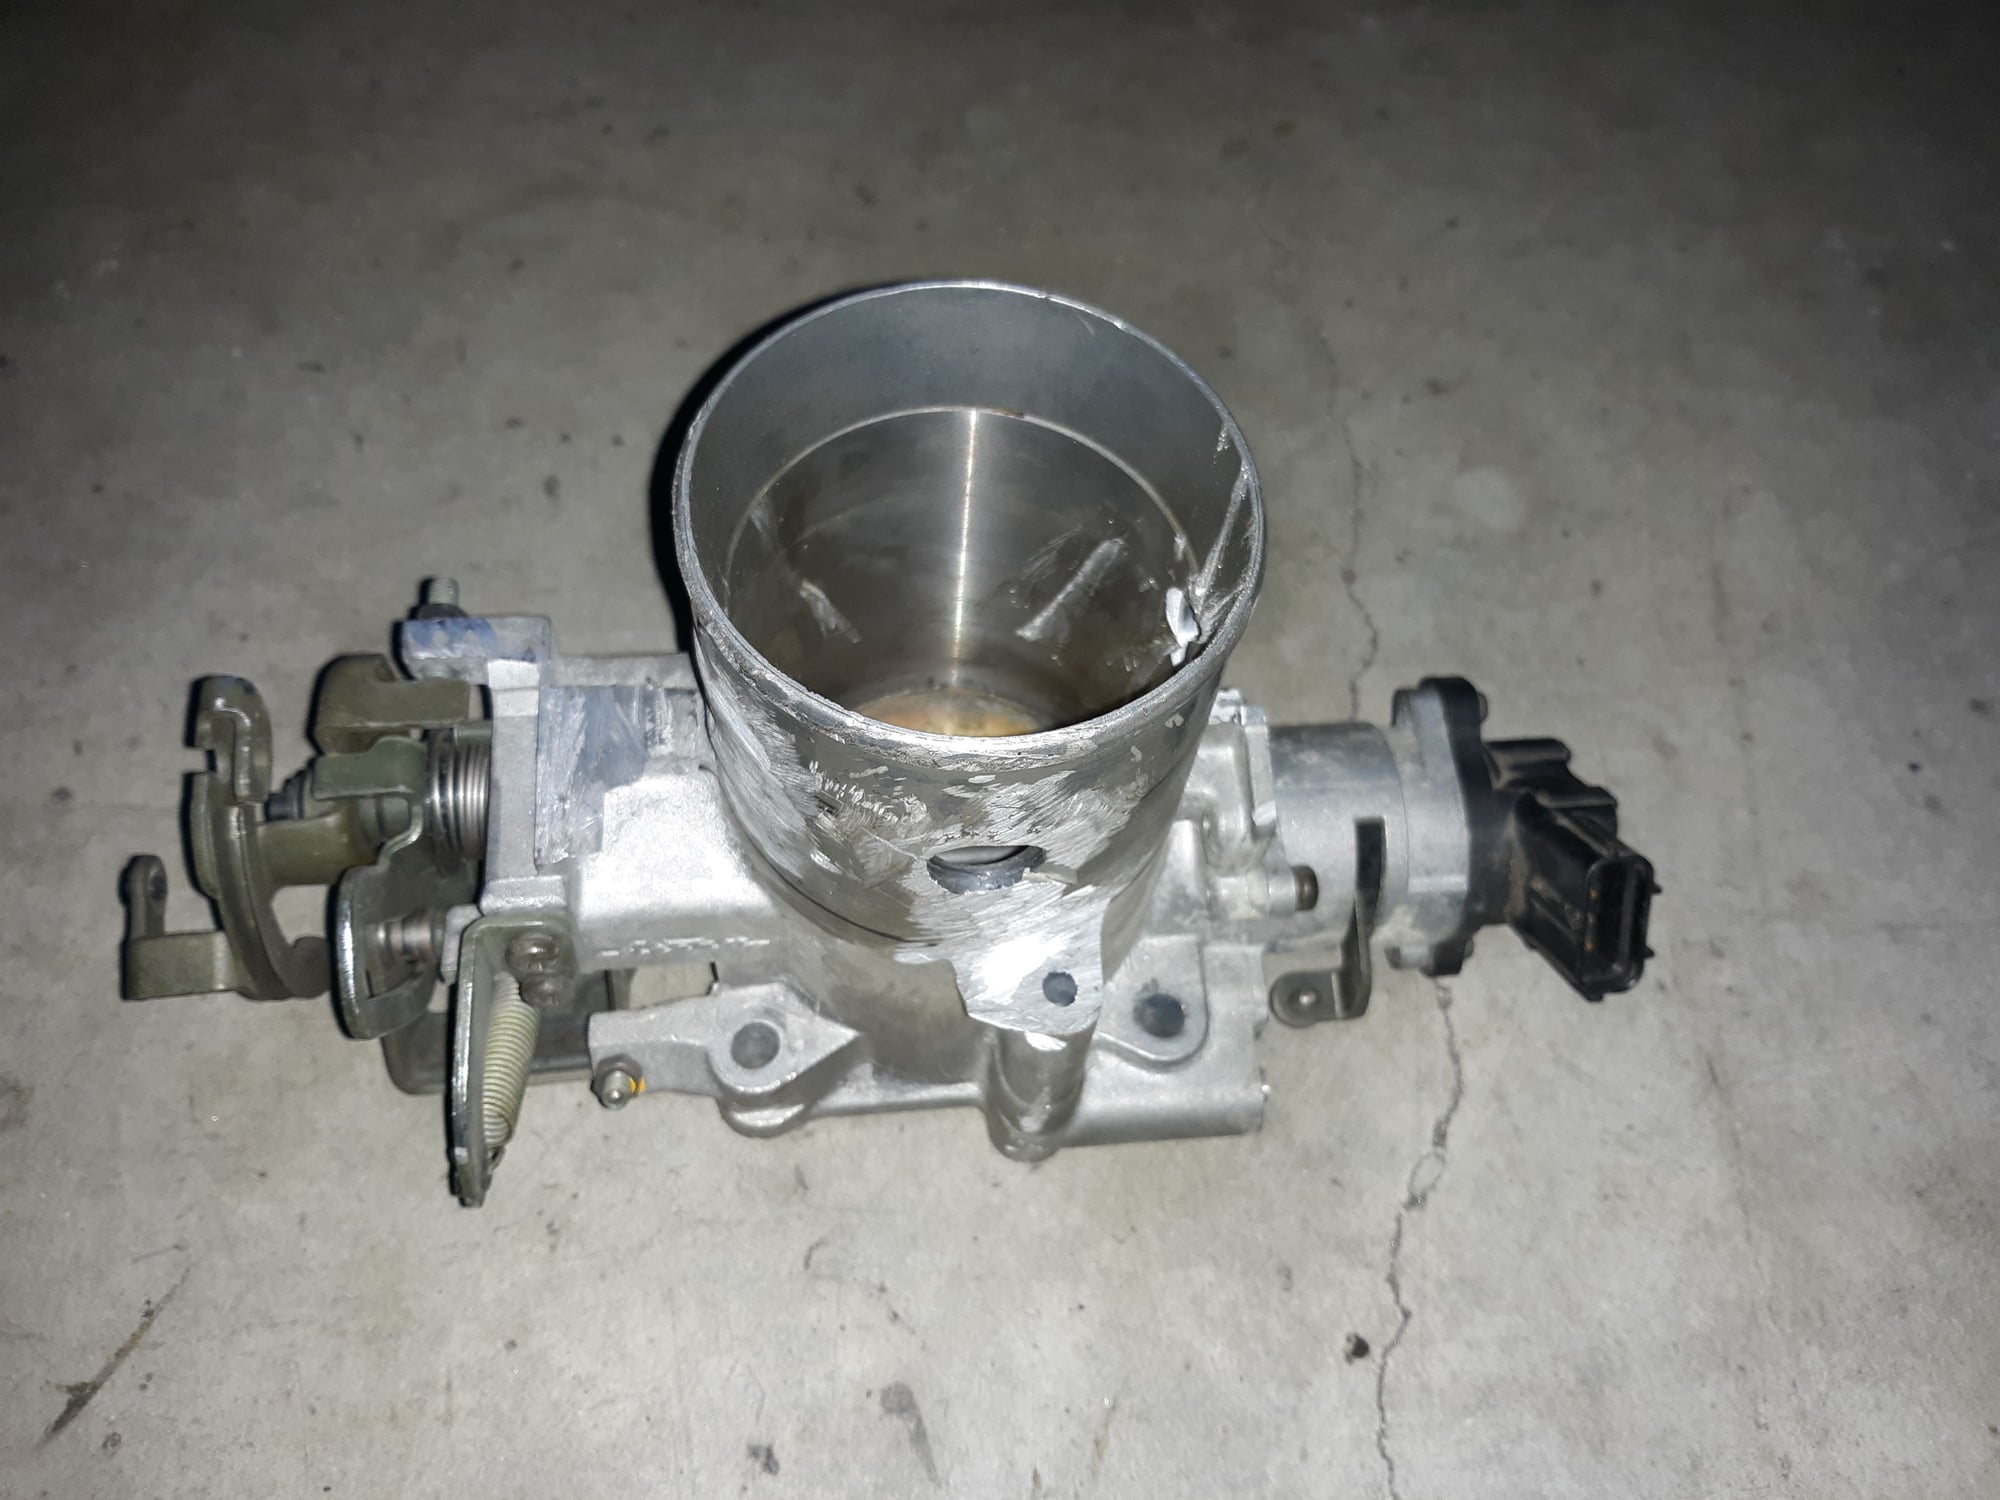
Ground the trac throttle section, PVC port, and coolant port off. This way a silicone coupler can slide down and block off the new holes I've created, it looks hokey now but wont matter once its covered.
#43
Sweet work and custom fabrication! I cant wait to see how much power it will put down when you're finished. The MS3X works great on the 1UZ, if you need any info to get it running, let me know.
Cheers, Kyle
Cheers, Kyle
#44
Driver
Thread Starter
Join Date: Jul 2015
Location: Ca
Posts: 153
Likes: 0
Received 0 Likes
on
0 Posts
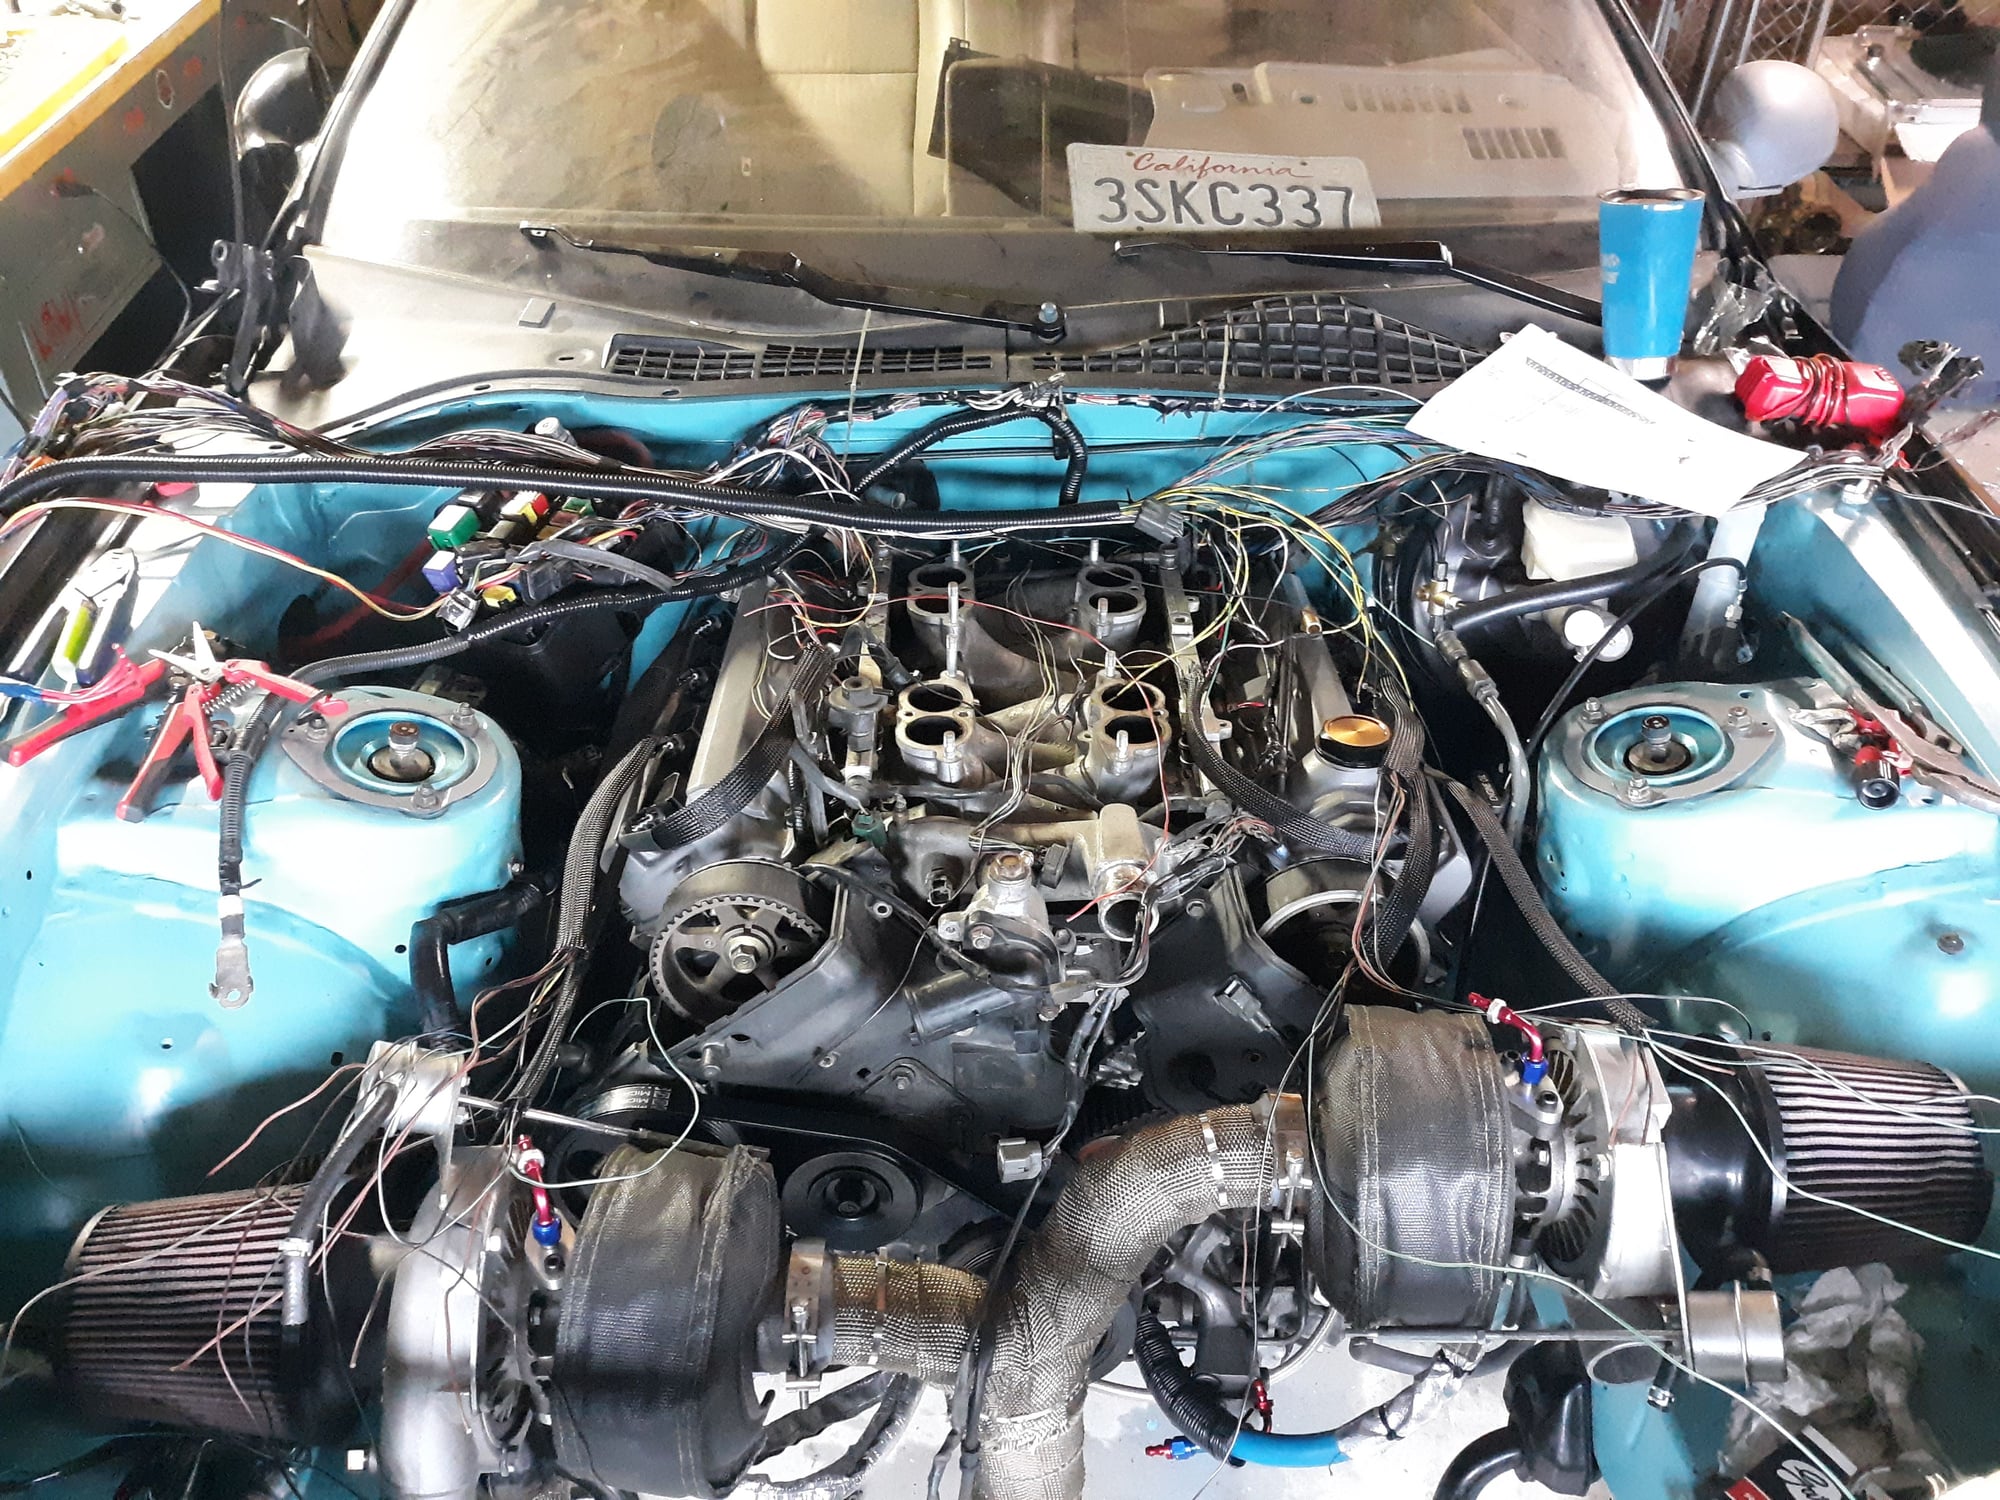
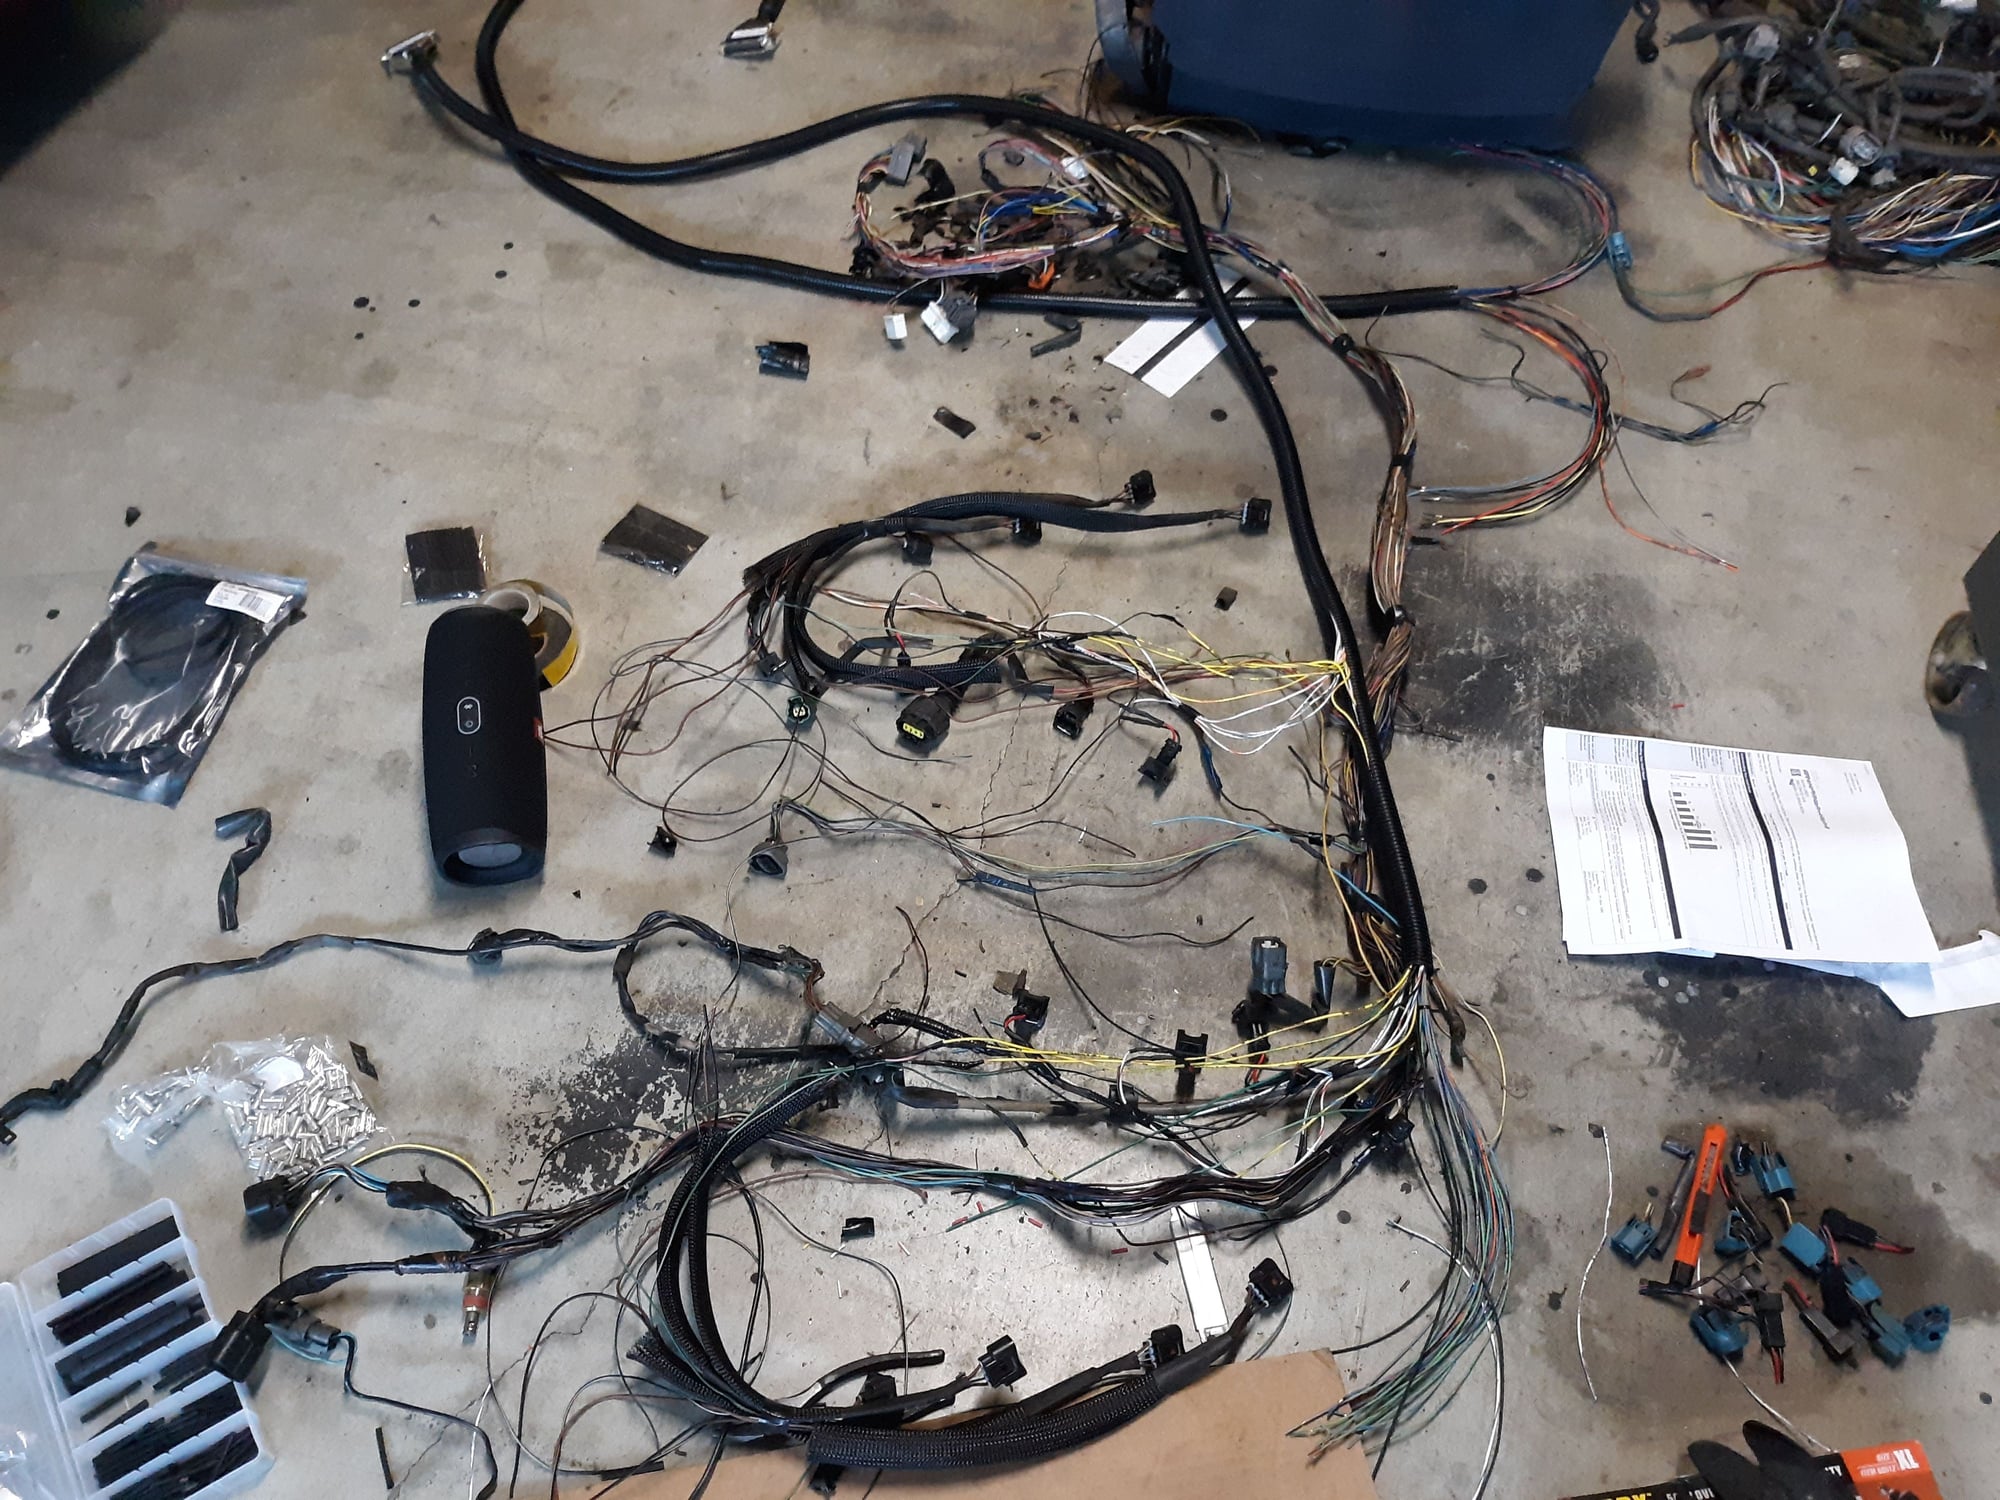
Wiring in the ms3x harness currently, decided to go crimp method instead of soldering. The injectors are done but still all the ignition grounds to be done, 1 ground to ecu and 1 to engine for each coil. Progress is slow but it's coming along.
#45
Driver
Thread Starter
Join Date: Jul 2015
Location: Ca
Posts: 153
Likes: 0
Received 0 Likes
on
0 Posts
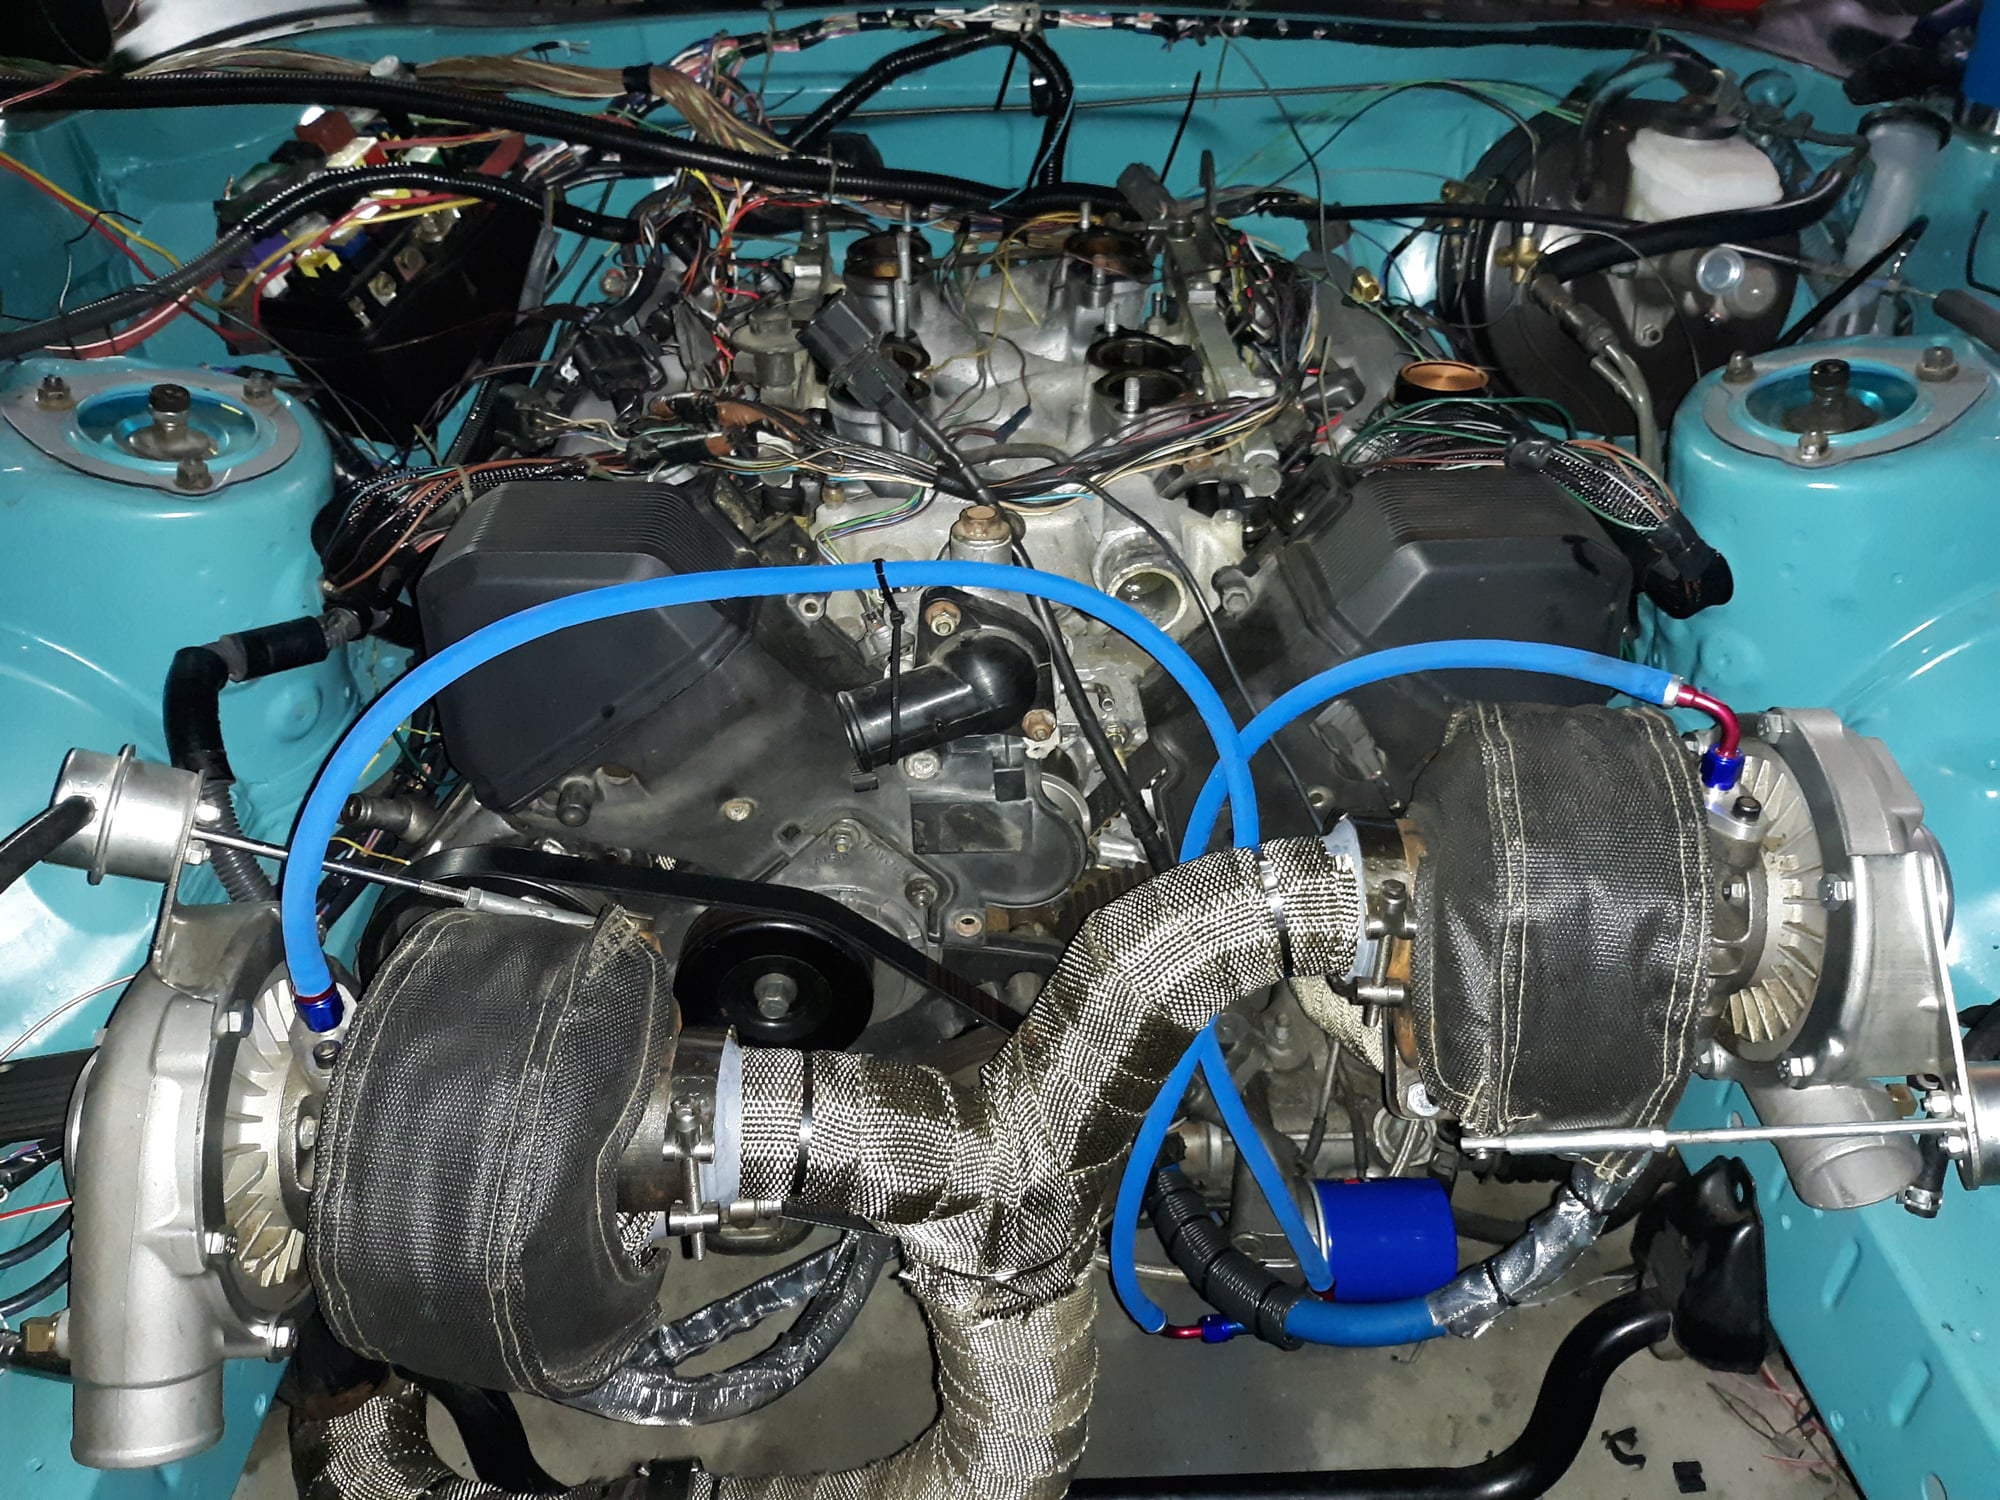
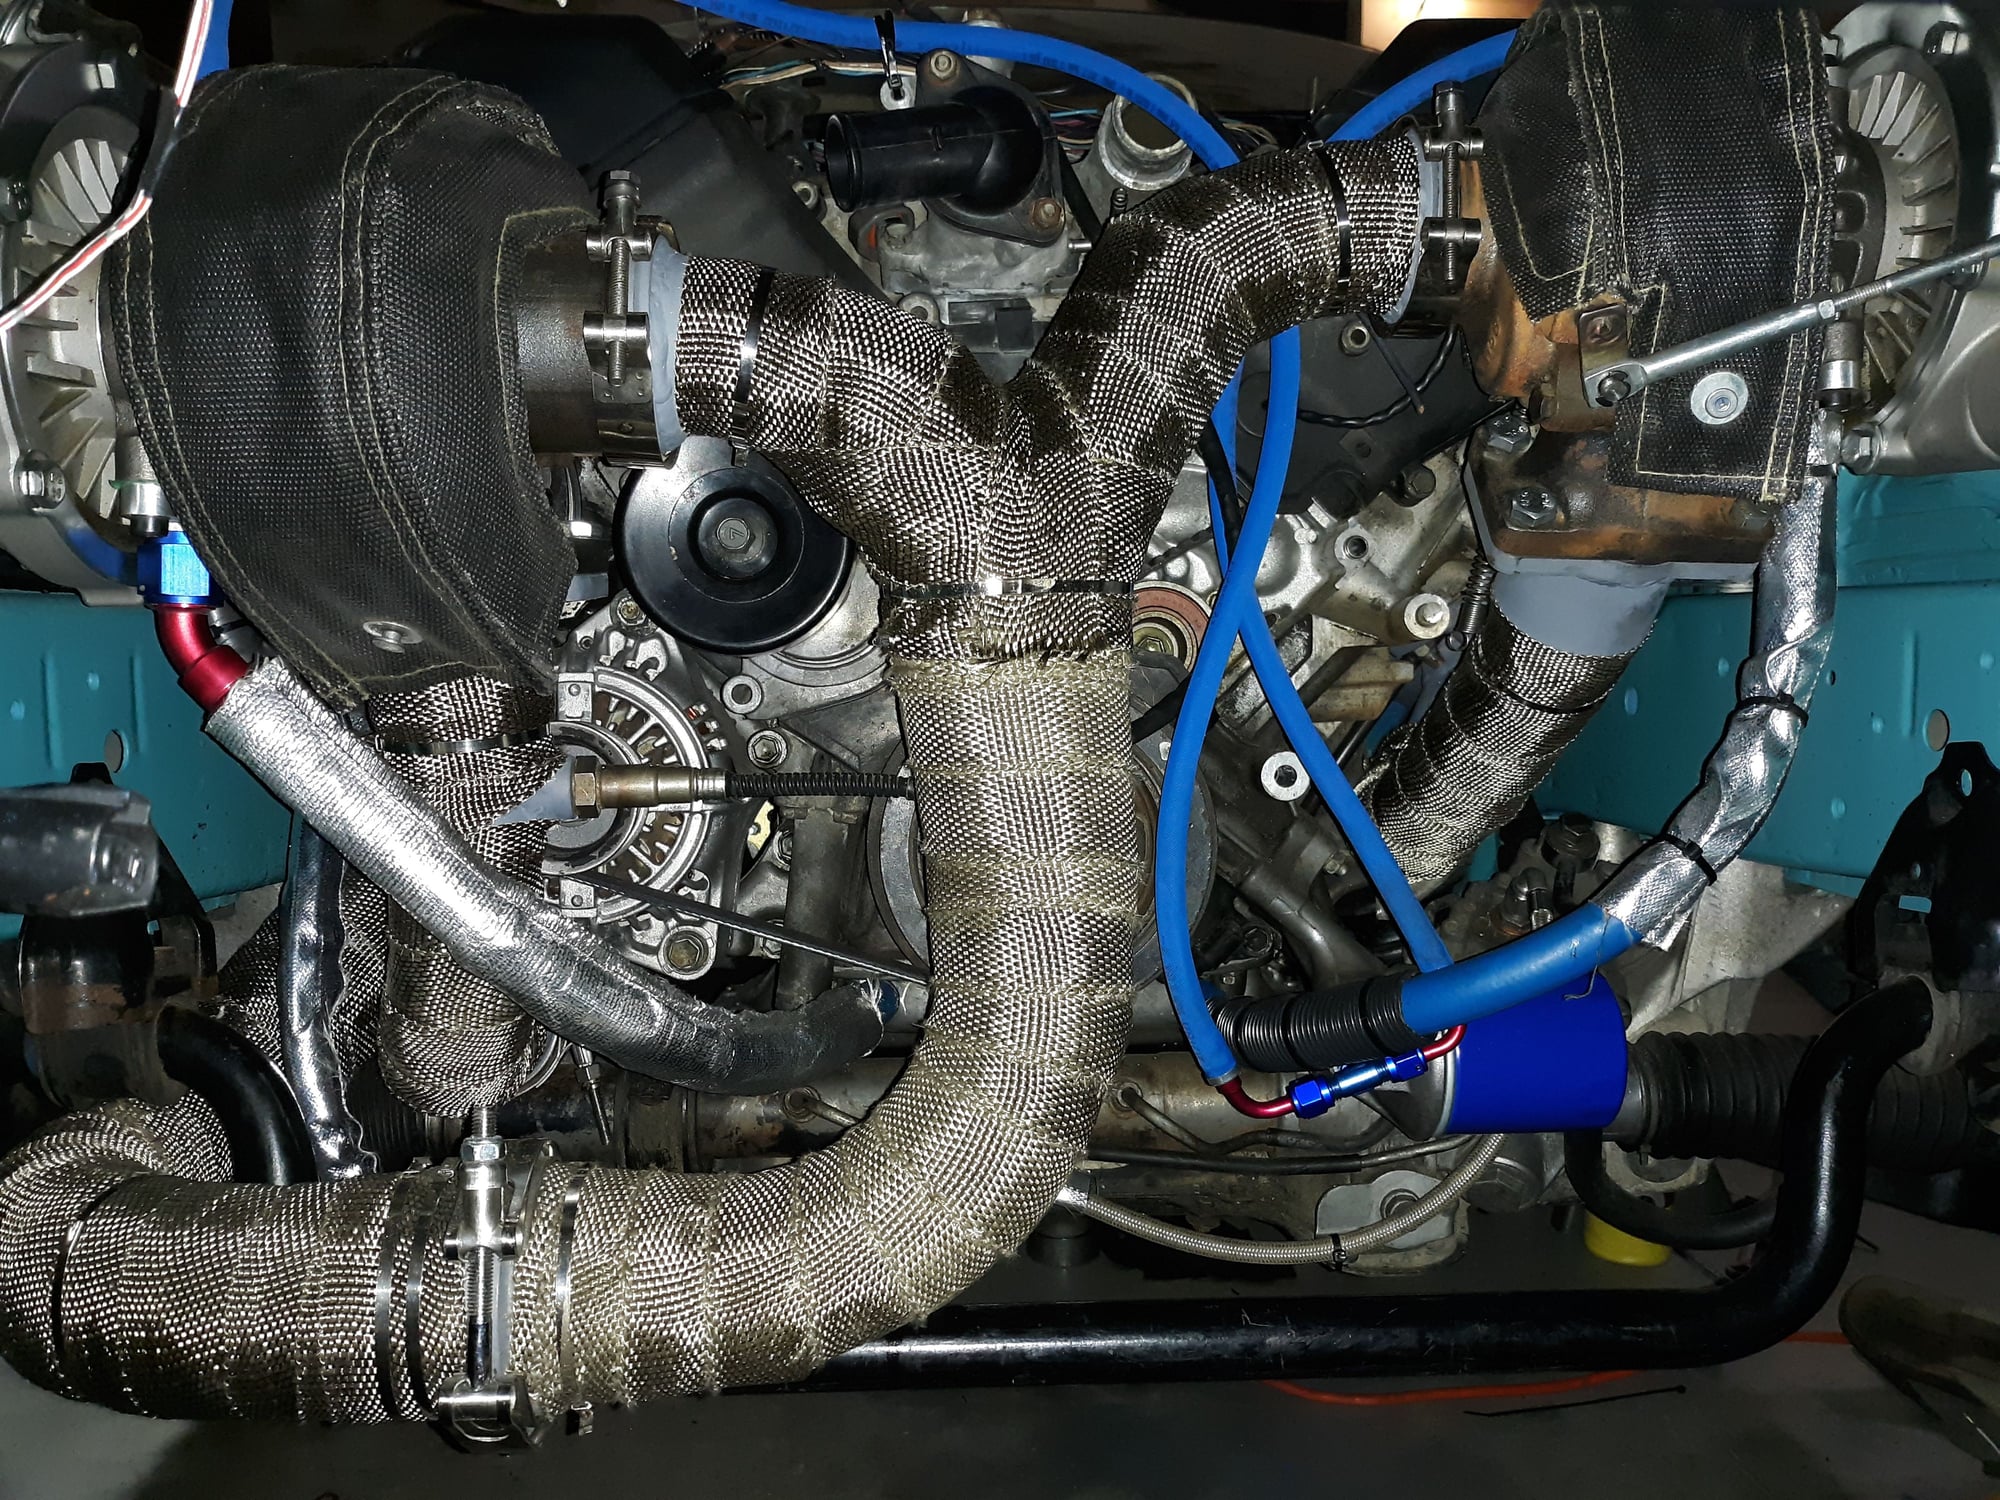
Oil feed lines are done, got a serpentine belt the fits after 3 tries, and trimmed down the cam covers to only cover the cams and not the valve cover.
Also did a bit more wiring though I'm not fully understanding how some grounds are supposed to be wired back into the ecu. There only appears to be 1 wire for sensor (and coil) ground but I'd be splicing into it 10 times after each coilpack, ect, and iat. Either way I'll figure it out soon.


