1992 SC300 NA-T Build List
#16
Rookie
Thread Starter
Join Date: Jun 2018
Location: arizona
Posts: 53
Likes: 0
Received 0 Likes
on
0 Posts

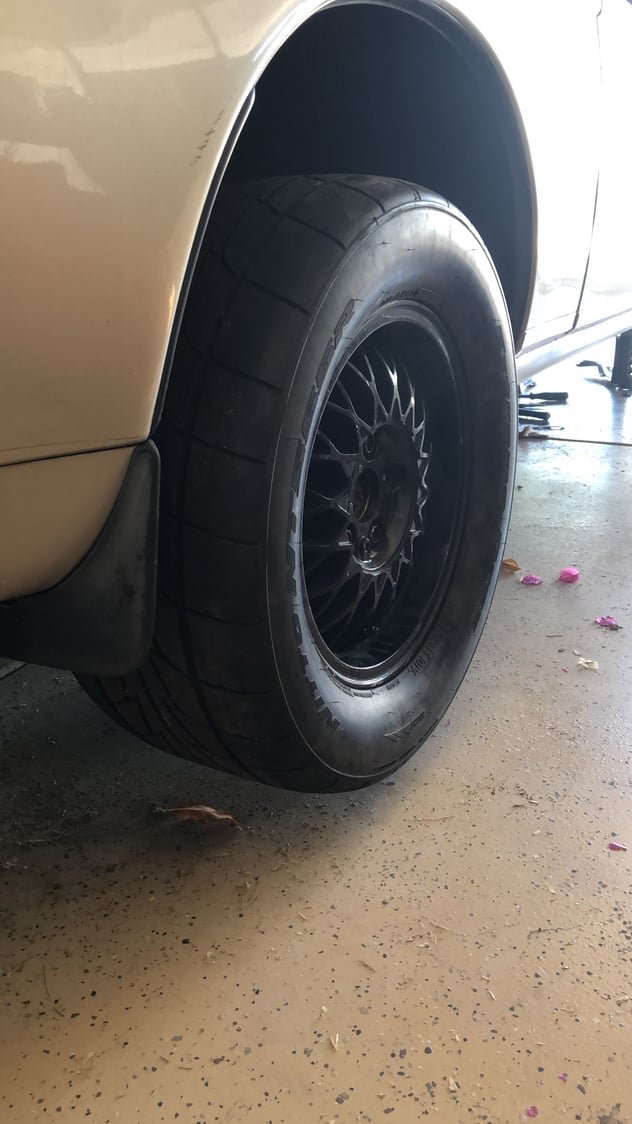
Got some Nitto NT555Rís 275/50/r15 mounted in back. Went with these because I bought the car with garbage 205 section all seasons and a buddy of mine sold me the Nittoís for cheap. Once the built is complete Iíll also get rid of the really ugly wheels the previous owner put on it.
Working by myself Iíve skipped documenting a lot of the first parts of the build to make it go faster, but Iíll try to start throwing up pictures of each part of the build as well as any articles/threads that helped me so others wanting to do a similar build can find all the info in one place.
#17
Rookie
Thread Starter
Join Date: Jun 2018
Location: arizona
Posts: 53
Likes: 0
Received 0 Likes
on
0 Posts

Cams out, ready to pull the head and install the gasket and studs. The repair manual is very comprehensive and easy to follow. http://www.2jz.se/application/files/3314/3781/4782/HeadRemoval.pdf

Didnít take a picture while doing it, but got the Walbro in. Easy DIY: Remove the bottom seat by pulling up, and there will be 3 bolts holding the back section on. Peel off that round metal cover and unscrew the gas tank access panel. Unbolt the fuel pump assembly and the instructions should be easy to follow from there. You donít need to drain the tank, but make sure you wear the appropriate mask and that the level is below the access panel. Be prepared for the old pump and filter to have fuel.
Will upload more soon.
Last edited by IISevv; 06-26-18 at 07:25 AM.
#19
Rookie
Thread Starter
Join Date: Jun 2018
Location: arizona
Posts: 53
Likes: 0
Received 0 Likes
on
0 Posts
I need to sell my E36 to have more cash on hand, at which point I plan on buying a used standalone and figuring out where I want to go with the trans. I was hoping I could at least get a base tune with the SAFC until I had the cash for a stand-alone.
The following users liked this post:
moosejaw2 (06-30-18)
#21

Cams out, ready to pull the head and install the gasket and studs. The repair manual is very comprehensive and easy to follow. http://www.2jz.se/application/files/...eadRemoval.pdf

Didnít take a picture while doing it, but got the Walbro in. Easy DIY: Remove the bottom seat by pulling up, and there will be 3 bolts holding the back section on. Peel off that round metal cover and unscrew the gas tank access panel. Unbolt the fuel pump assembly and the instructions should be easy to follow from there. You donít need to drain the tank, but make sure you wear the appropriate mask and that the level is below the access panel. Be prepared for the old pump and filter to have fuel.
Will upload more soon.
#22
Rookie
Thread Starter
Join Date: Jun 2018
Location: arizona
Posts: 53
Likes: 0
Received 0 Likes
on
0 Posts
#23
Rookie
Thread Starter
Join Date: Jun 2018
Location: arizona
Posts: 53
Likes: 0
Received 0 Likes
on
0 Posts
Spoke to Patrick at ATF. Minus the 2nd gear sprag, the auto will hold 500WHP with their billet forward drive piston, billet accumulator Pistons, valve body upgrade, and a set of Kevlar clutches and steels (Level 10 and IPT carry these). Total for those parts is about $1500 shipped, or about have the price of a built transmission. My fuel system is maxed at about 500WHP anyway, so I will go with those upgrades for now and research another route if I want more power.
#24
Rookie
Thread Starter
Join Date: Jun 2018
Location: arizona
Posts: 53
Likes: 0
Received 0 Likes
on
0 Posts

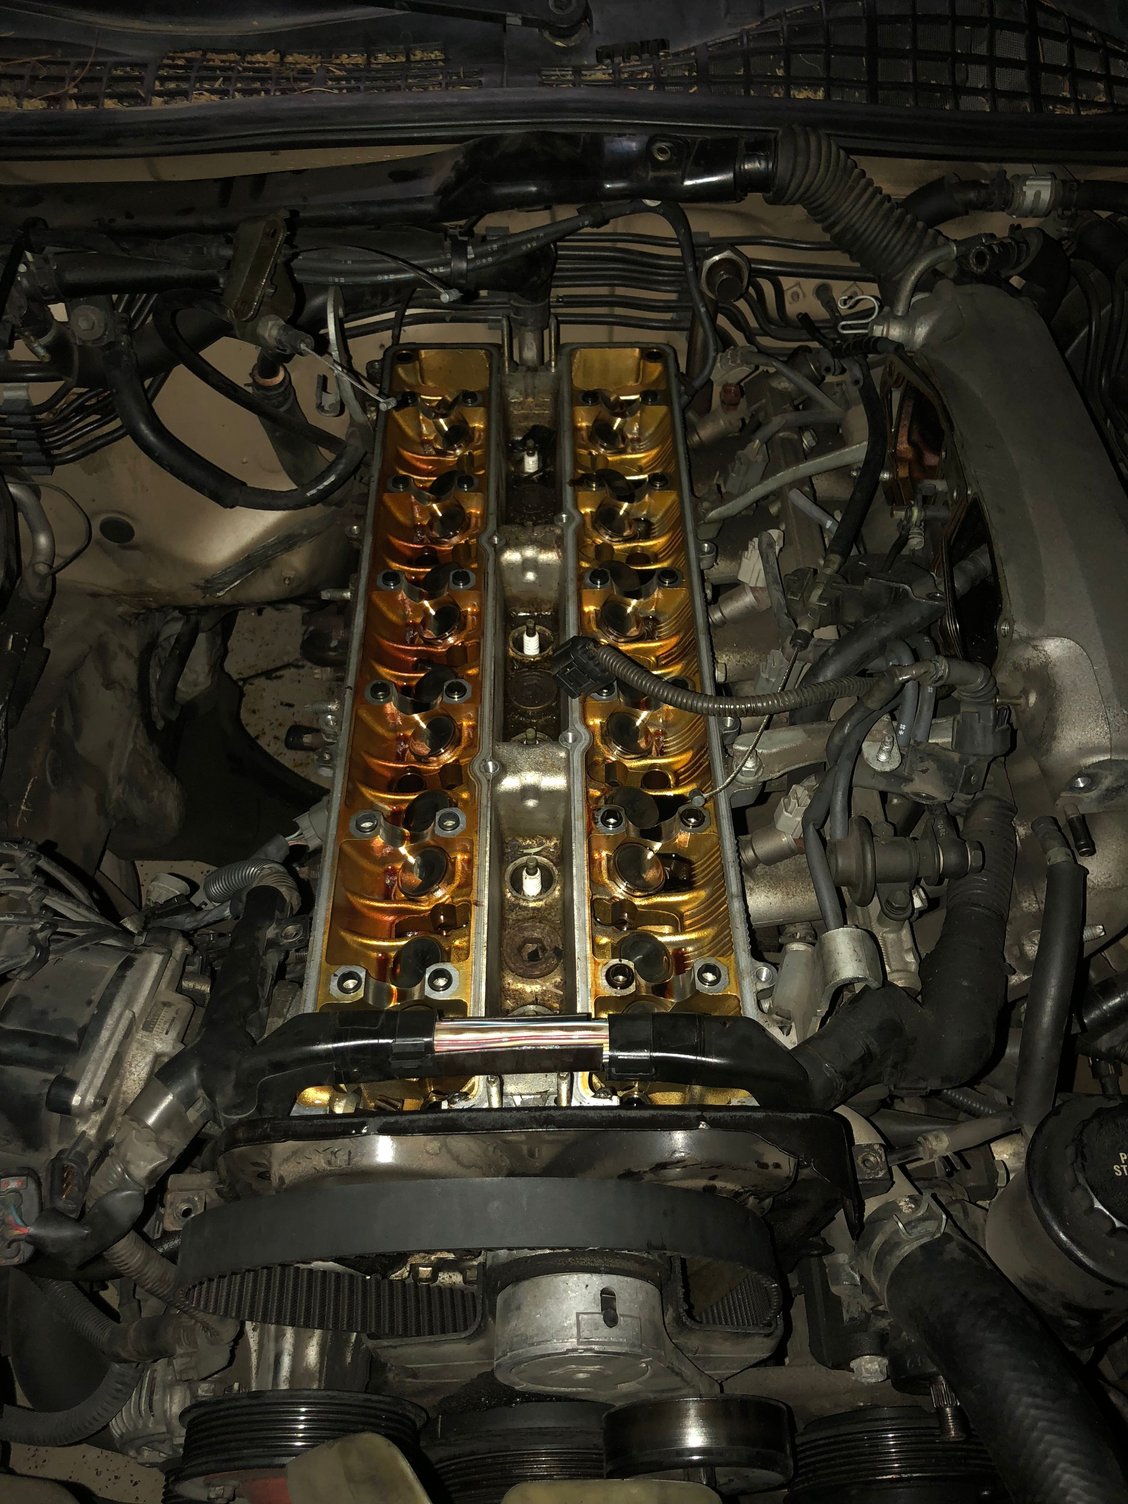
Got the head cleaned and ready to reassemble.
Made some EGR block-off plates out of steel plates and some gasket I had laying around, rather than spend $45 on the same thing. Iím hoping that using the larger 1UZ MAF housing will allow the piggyback to get closer to the desired AFR, but I have money set aside for a stand-alone with the expectation that Iíll need to go that route.
#25
Rookie
Thread Starter
Join Date: Jun 2018
Location: arizona
Posts: 53
Likes: 0
Received 0 Likes
on
0 Posts

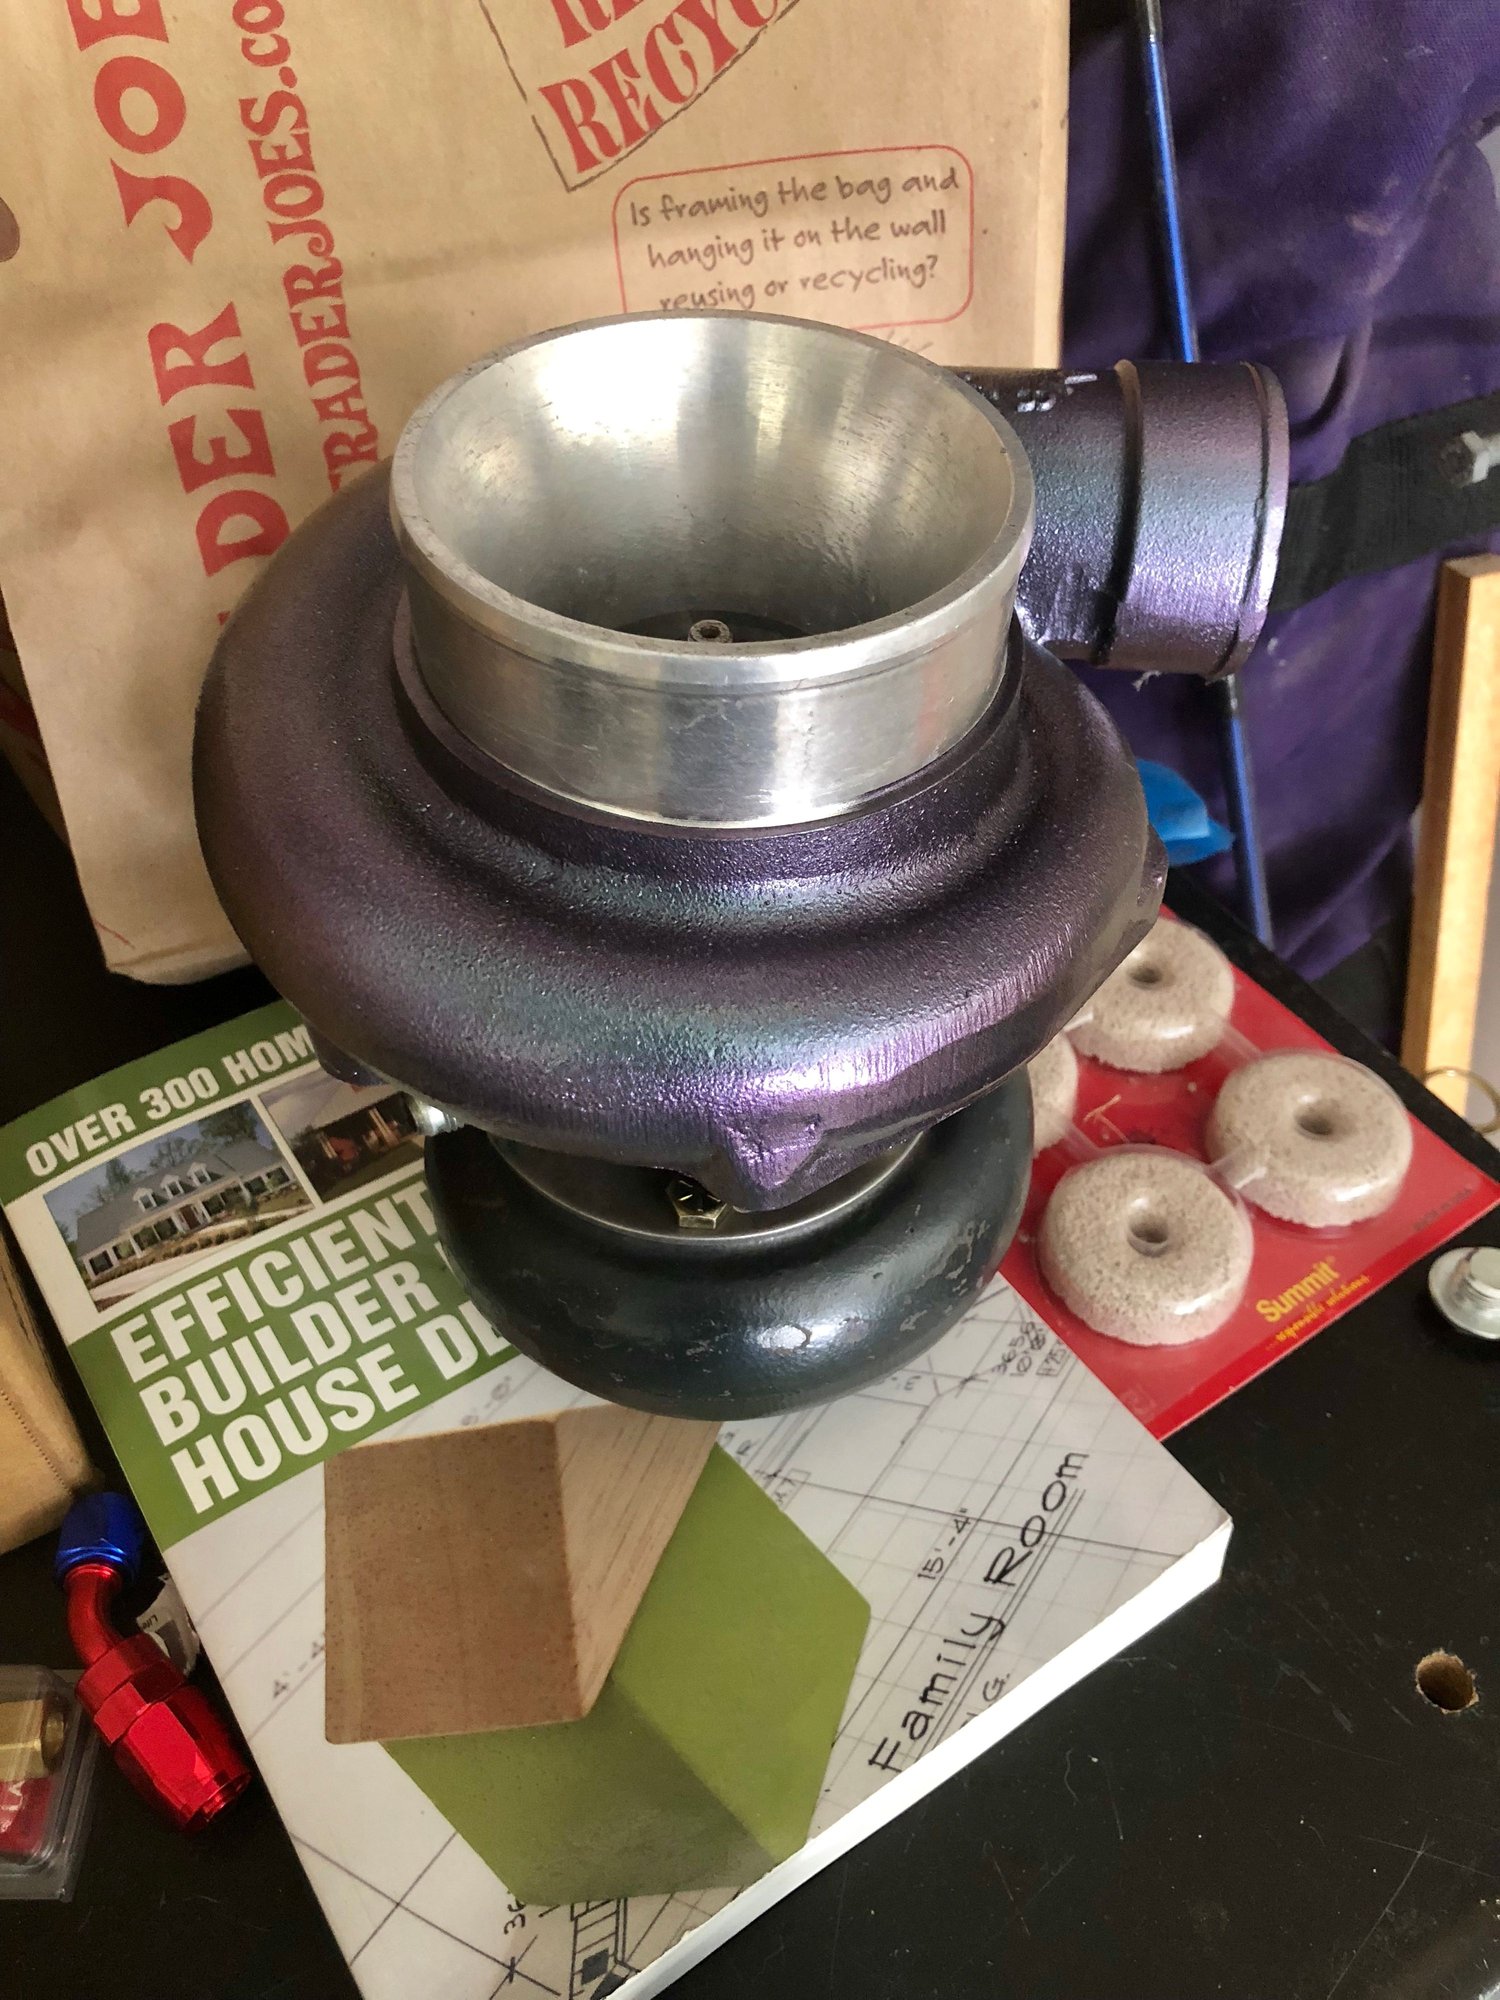
Got the compressor housing painted.
Itís an alien green/purple colorshift. Before the haters chime in, I have a second compressor housing that Iím having polished.
#26
Rookie
Thread Starter
Join Date: Jun 2018
Location: arizona
Posts: 53
Likes: 0
Received 0 Likes
on
0 Posts

New gasket in place and block cleaned (as much as I could without removing pistons)
There was all kinds of gunk and carbon all over the pistons and valves. I polished down the piston carbon to a very fine layer but the bottom layer is impossible to remove short of harsh tools or removing the pistons. It looks worse in pictures than in reality. Iíll try running gumout in order to burn some of that off.
#27
Rookie
Thread Starter
Join Date: Jun 2018
Location: arizona
Posts: 53
Likes: 0
Received 0 Likes
on
0 Posts
Hopefully this helps anyone looking to go NA-T. If you have any questions or need info please post them here so that others can use it for reference.
I think I've decided on a 4-inch exhaust from the downpipe back, possibly adding a set of Vibrant race mufflers. It's only an inch bigger in diameter, but it flows about 78% more air with no downsides.
The spark plugs are straightforward (I used BKR7E #4644) and the injectors are easiest to replace with the head off, or at least the manifold unbolted (or else you can't pull the rail all the way off). Make sure they use stock-style connections or come with new ones and that all o-rings are in place. This seems really basic, but also make sure you get top-feed, high-impedance injectors if you have an NA 2JZ SC300. The GTE used side-feed and I believe low-impedance injectors with a resistor box. Size your injectors based on the fact that a 2JZ makes approximately 1 WHP for 1CC of fuel and that you want to run your injectors at maximum 85% duty cycle (CC x .85). A single Walbro 255 will flow about 500WHP and is about the biggest pump you want to run on the stock returnless fuel system.
If going NA-T you NEED ARP head studs. The stock bolts are TTY and cannot be reused. Even if you do replace them you will strip out your threads with boost. As far as a gasket, an OEM GTE gasket will work for most NA-T builds.
Wastegate sizing: Get whatever size wastegate your manifold is made for. For spring pressure, run a 7-10 Psi spring as this is the base psi you'll be running. You can go higher using a boost controller.
BOV selection: Do not cheap out and get a Chinese-made unit as these will start leaking boost. One is highly recommended to prevent compressor surge.
Most people do not need a fuel cut defender on an NA-T build as the ECU does not cut fuel except at redline (or in very high boost applications flowing a lot of air.)
You do not need to mess with your cams or head until you start shooting for 550-600 WHP or more.
Importantly, use a name-brand turbo. If you don't, they can leak oil or coolant and the compressor wheels can start to chip, ruining your cylinders. There are inexpensive Garrett, Borg Warner, and Holset turbos all over Craigslist.
#28
Rookie
Thread Starter
Join Date: Jun 2018
Location: arizona
Posts: 53
Likes: 0
Received 0 Likes
on
0 Posts
Before buying a standalone, Iím going to try to make the piggyback work because I already have it. To fix the issue of the piggyback not being able to go lean enough, Iím using a bigger, 1UZFE MAF housing. Theoretically, running E85 or E100 will also lean out the mixture as it is much less dense than gasoline (1.5 parts ethanol equals 1 part gas). To get more scientific, running a methanol/gasonline mixture while also adding a cosolvent (ethanol), will give you an even leaner mixture. Running straight methanol is difficult as it requires twice the fuel system parameters as gasoline and is also extremely corrosive. However, adding a cosolvent prevents it from separating in the mixture. While both alcohols, ethanol is distilled from organic matter while methanol is a product of carbon monoxide (itís extremely poisonous).
#29
Lexus Fanatic
iTrader: (7)
I applaud your efforts and thoughts , but please reconsider my aem v1 option . Na-t and computer requirements is far more then just fueling as that's mainly the job your a giving the the larger maf signal to do but the larger concern is controlling timing in anything above atmospheric pressure as stock ECU has no look up maps for positive pressure so you are sole relying on knock sensor to pull and advance timing. :. Very dangerous approach.. pm me we can reach a deal as I'm jUST about ready
#30
Rookie
Thread Starter
Join Date: Jun 2018
Location: arizona
Posts: 53
Likes: 0
Received 0 Likes
on
0 Posts
I applaud your efforts and thoughts , but please reconsider my aem v1 option . Na-t and computer requirements is far more then just fueling as that's mainly the job your a giving the the larger maf signal to do but the larger concern is controlling timing in anything above atmospheric pressure as stock ECU has no look up maps for positive pressure so you are sole relying on knock sensor to pull and advance timing. :. Very dangerous approach.. pm me we can reach a deal as I'm jUST about ready

