When you click on links to various merchants on this site and make a purchase, this can result in this site earning a commission. Affiliate programs and affiliations include, but are not limited to, the eBay Partner Network.
I bought a 2002 GS300 sport design on the cheap which needed some TLC. Black interior but again needs TLC. Also the GE block was only firing on 3 cylinders. I brought the car home and quickly removed all the dented, cracked, front end pieces and replaced them with my spares I had laying around.
front two fenders dented, dented hood, cracked L-sportline front bumper
black interior
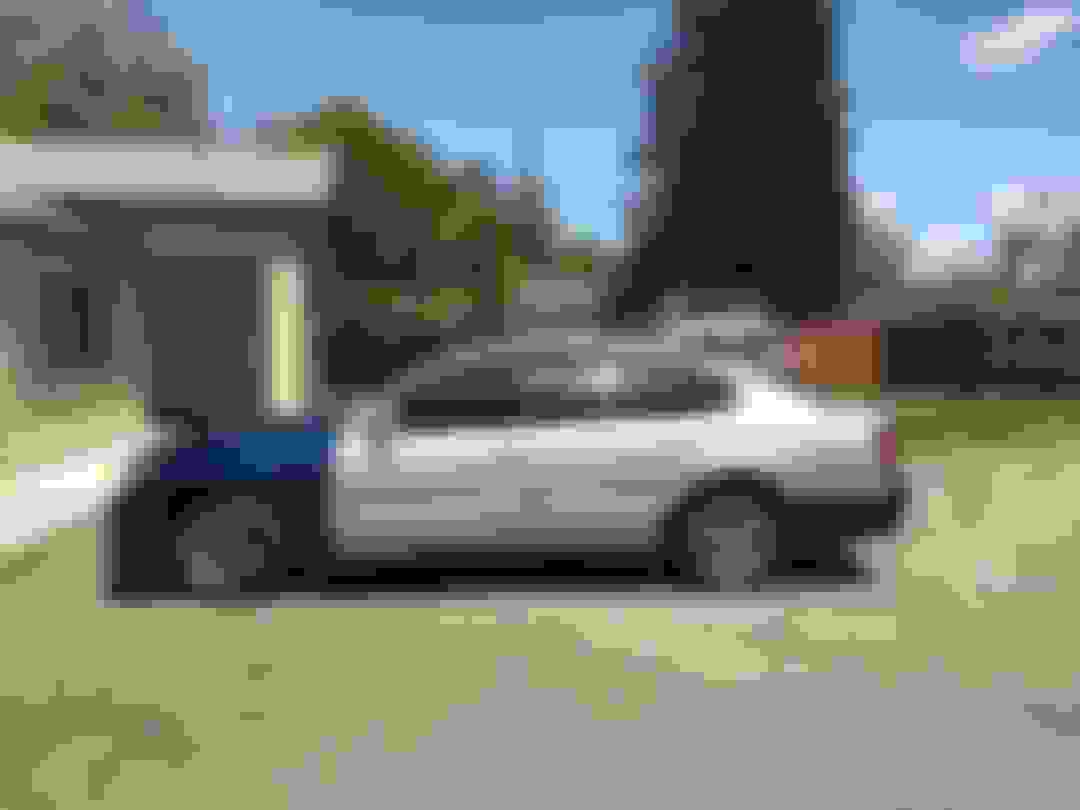
side shot
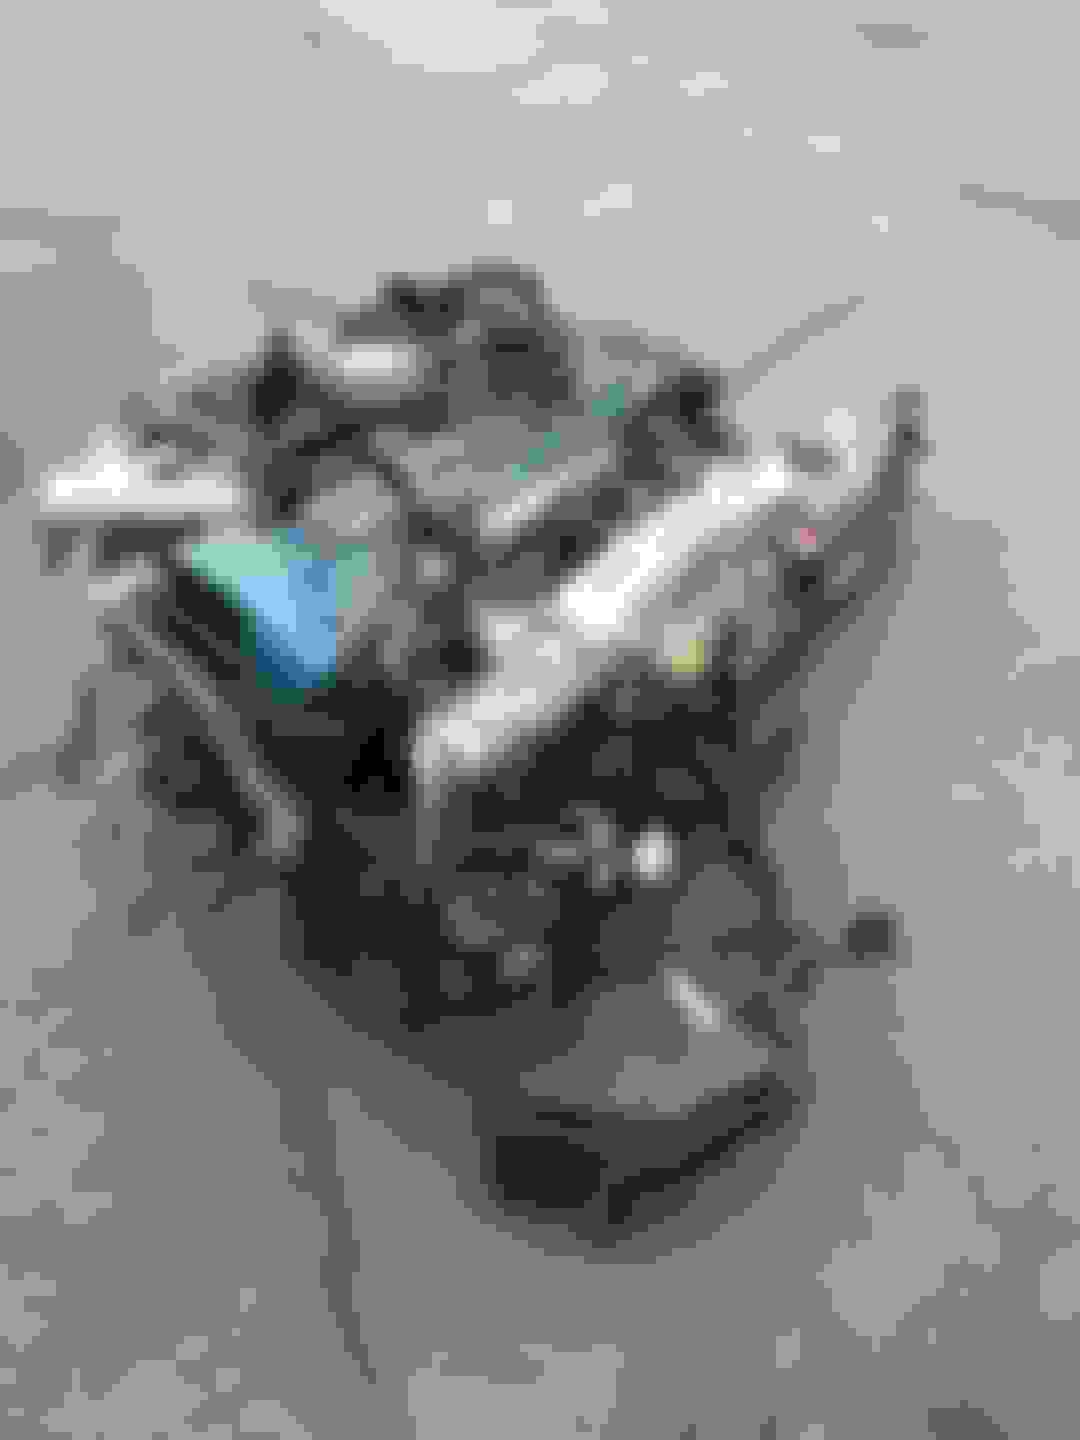
Then I sourced an Aristo motorset - came with the whole ecu box and all plugs.....obviously body wires were cut at the bottom of the box but I still have the body plugs in there.
My brother from another mother got straight to work and already yanked the GE block....We got the GTE block in with some finagling...cut out a piece of metal in the way so it wouldn't touch the motor under load...(thought I took a photo but it grew digital legs)
I didn't get a pumpkin with my set so the stock diff is still present.
The entire stock driveshaft was used. Yes it fit. Yoke on the JDM auto trans was different and you can't just use the yoke from the USDM trans as one center was smaller than the other. Tack welded the yokes together and wallowed out the holes on the JDM yoke to fit the USDM rubber damper/driveshaft (thanks Letsride!)
Last edited by AlphaJZS; 04-30-18 at 09:38 PM.
Reason: build progress
the stock aristo intercooler came in, I had a tough time figuring out how to mount the actual SMIC because I had never seen one in person and you'd be hard pressed to find a photo of a stock aristo with the front bumper off, after a few head scratches finally figured out that one of the ports wraps around the headlight housing. Sure enough the bolt holes all lined up and the USDM chassis had all the provisions to bolt it right up.
Last edited by AlphaJZS; 05-01-18 at 09:24 AM.
Reason: build progress
So you're probably asking why I haven't done the timing and all the essentials, the motor had a sticker on it stating it was done. The t-belt looked new-ish but I still don't trust it so I thought I would at the very least get the motor running in the vehicle before moving forward with maintenance/improvements. My main goal is to have a smoothly running stock vehicle to start from the absolute beginning like I just purchased an Aristo. All builds I have read and seen say to do all the maintenance out of the vehicle because its easier....yes it is....but I still don't care I want this motor running in the vehicle before I dump any more funds into it.
Back on topic, after reading articles, forums, watching videos, I figured out what a lot of you probably knew long ago that there was an ECU plug change late 01, 02+. It wasn't direct 'plug n play.' I called a few 'wiring experts' you guys probably know who they are but they wanted major cash for their harnesses just to make it a plug in affair with no standalone at that. I was quoted at the highest price of over 3k for a 'top of the line' harness. With multiple diagrams online I was contemplating doing it myself since I consider myself fairly good at figuring things out with guidance. I sent a PM to member Letsride and we spoke over the phone. He essentially encouraged me to just do it myself and just trace every individual wire.
I had all the wires from my USDM, all the wires from the JDM, why not just de-pin the entire F59 and F60 plug wire by wire, label them, take notice of the color codes, then look at the USDM E5 and E6 plug and all of their respective roles, then de-pin each wire from the E5/6 and put it in the correct locations on F59/F60. It took a little time but I got it all sorted out.
I have the non-immobilized GTE ecu, and I was afraid because of the plug and wire change 02+ that the GTE harness was plugging in everywhere except the F59/60 and yeah things plugged in, but were they in the correct order on the USDM body side? Also the GE harness had 4 body plugs but the GTE harness only had 3. What goes in that third from front female body connector? Letsride advised me that it was all the VSC/trac stuff but I still don't know for sure lol. Anyway, I merely only de-pinned/re-pinned E5/6 and F59/60 and I left the E5/E6 dangling after I connected F59/60 to the ecu.
Last edited by AlphaJZS; 04-30-18 at 10:27 PM.
Reason: build progress
The Aristo FPA came in. Got to work on that and I felt it was pretty straight forward. Some people use 3/8 line for the return but I went ahead and just used some leftover 5/16 injection line I had laying around from another build. I just ran it along the feed line under the car. I purposely only had less than a quarter tank of gas in the tank for this occasion. When you put the new Aristo FPA in make sure you reach inside and KNOW that the float is not near the siphon line so it doesn't hang up causing fuel gauge inaccuracy. Also, the feed line from the FPA nipple has a rubber outer shell but inside it is hard plastic. I found it terribly difficult to remove the line from the nipple so I carefully cut it off with a sharp razor blade. The feed line from the nipple of the FPA to the bottom of the car is only less than a foot before it connects to the hardline running to the front. Do yourself a favor and just replace the whole length with 5/16 injection line so its easier to put back on the FPA nipple (use hose clamps!). I think the stock rubber hose with the plastic inside is heated and then fitted on the nipple from factory.....If you want to try and heat it up near gas vapors and not replace it thats your choice. good luck.
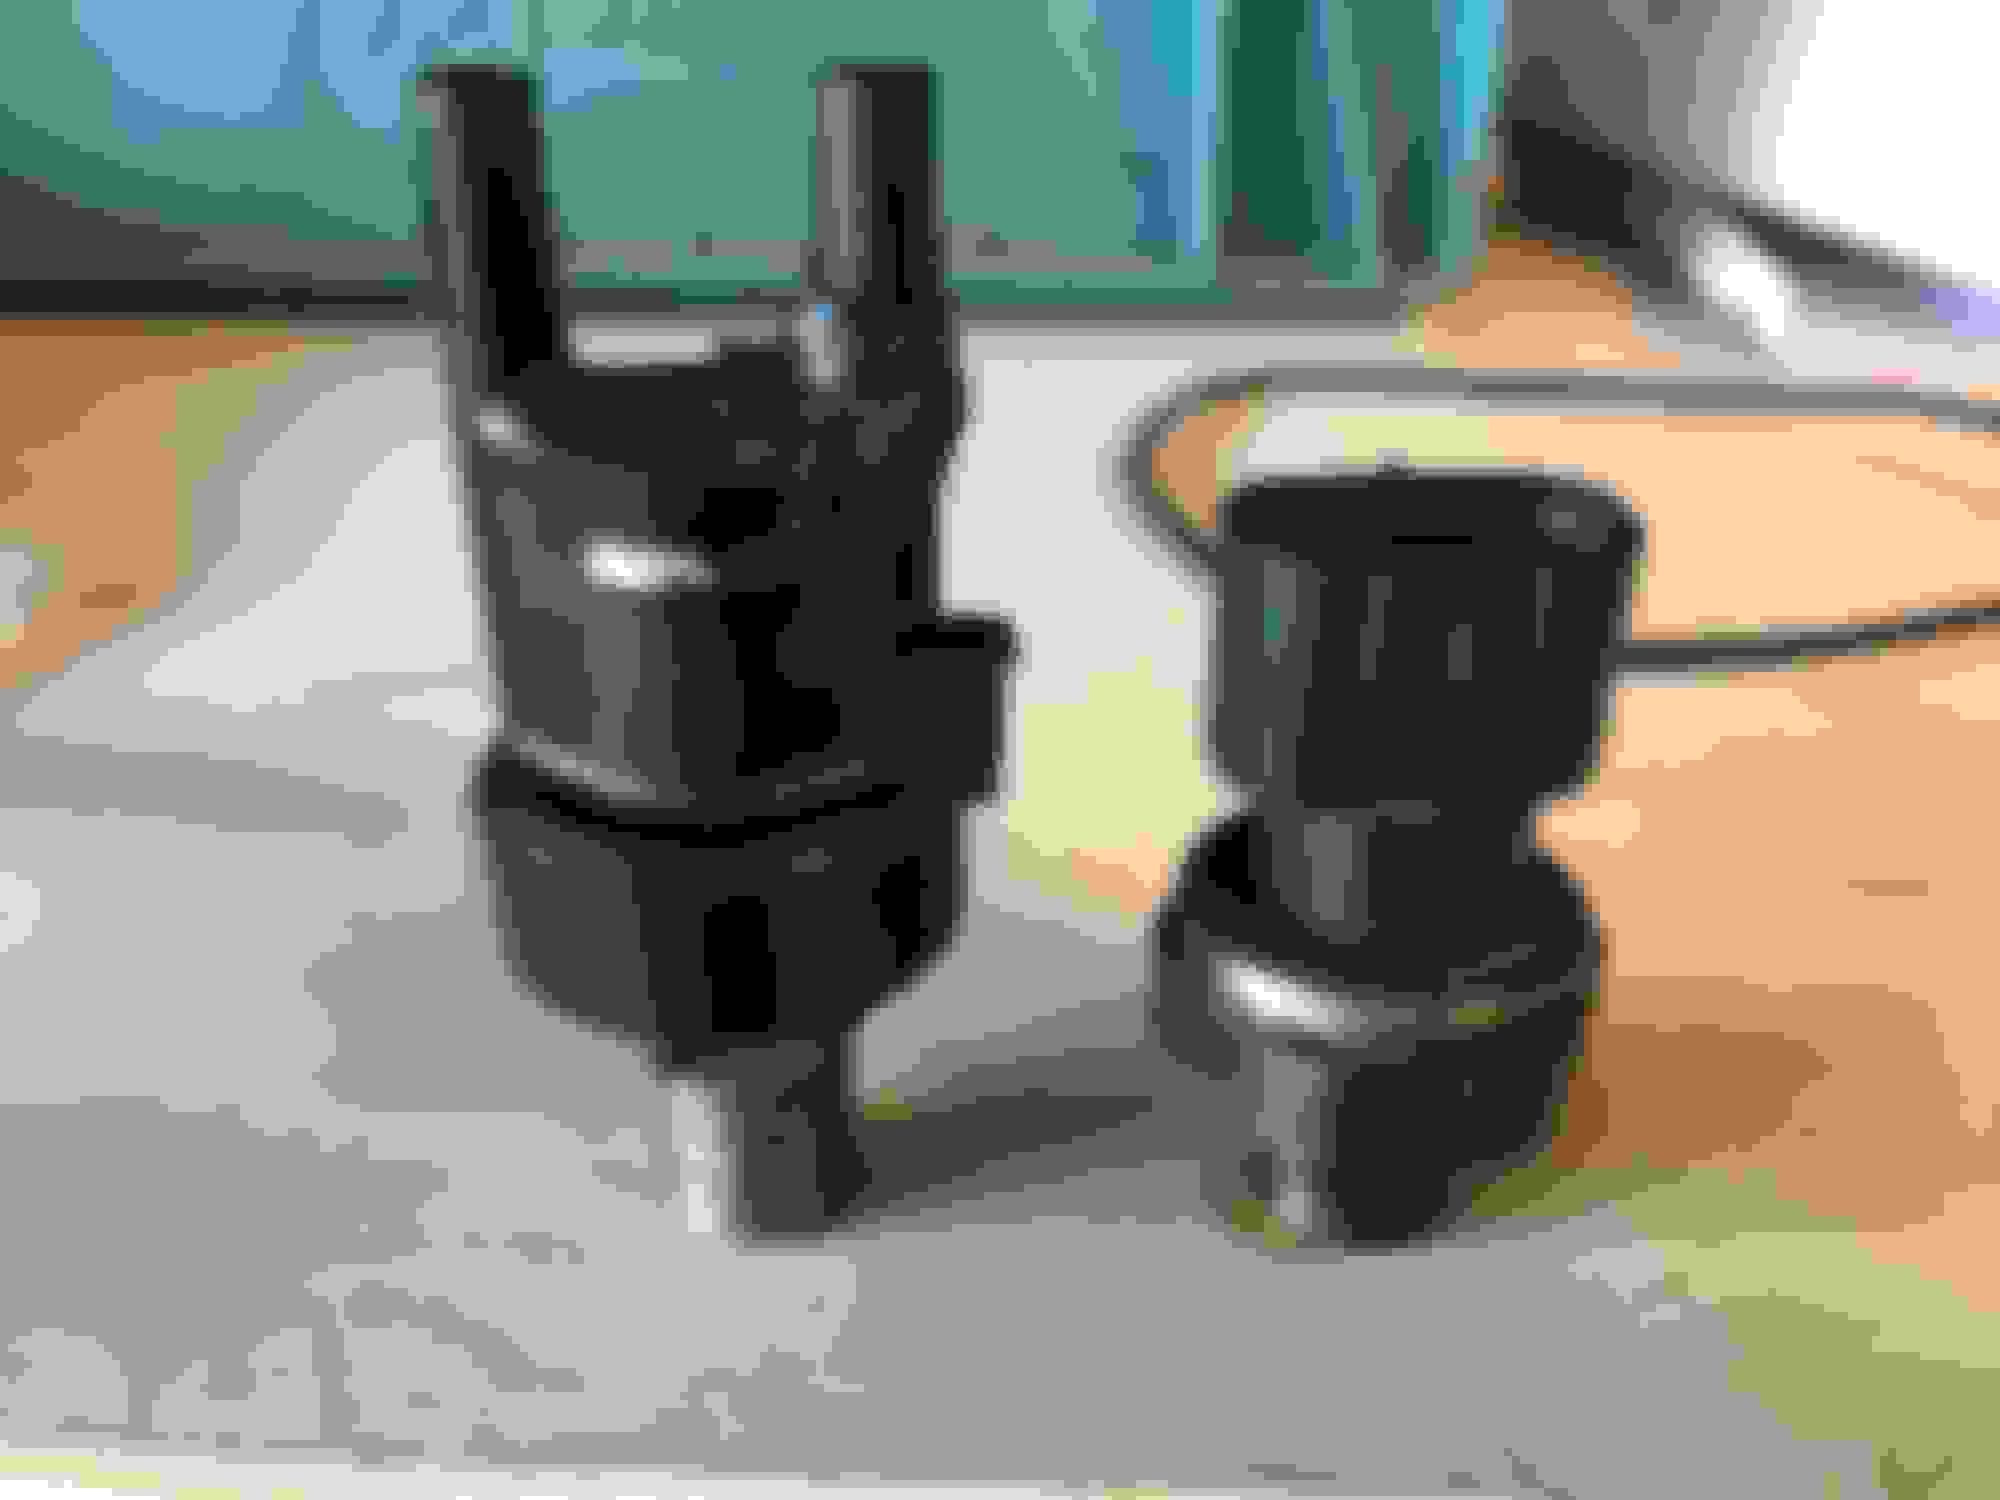
Aristo Left, USDM right
Here is the stock feed line I replaced which you could just cut and re-use as I think there is enough slack but again....if you can get that thing back on the nipple without heating it...good luck.
Last edited by AlphaJZS; 05-01-18 at 09:55 PM.
Reason: build progress
After getting the FPA installed I wanted to give the motor a start just to see if my DIY wiring worked. Key in, turn on, all lights came on as usual, thats a good sign, then go to start........loud 1 click.....hmmm.....try again....loud 1 click....hmmm..... I proceed to take a pole and give the starter a few good whacks and maybe a few swear words for good measure. Try again.....CLICK!
Okay the starter is frozen. In my mind I think....what now spend more money for a new starter? No, I go grab the starter off my GE block and then take the starter off the GTE block....looks the same on quick inspection but when I go to put it in its hitting something firm. I mess with it some more and am wondering why it isn't falling into place because the GTE starter fell right out when I unbolted it. I put the GTE starter back in position and it doesn't hit anything.
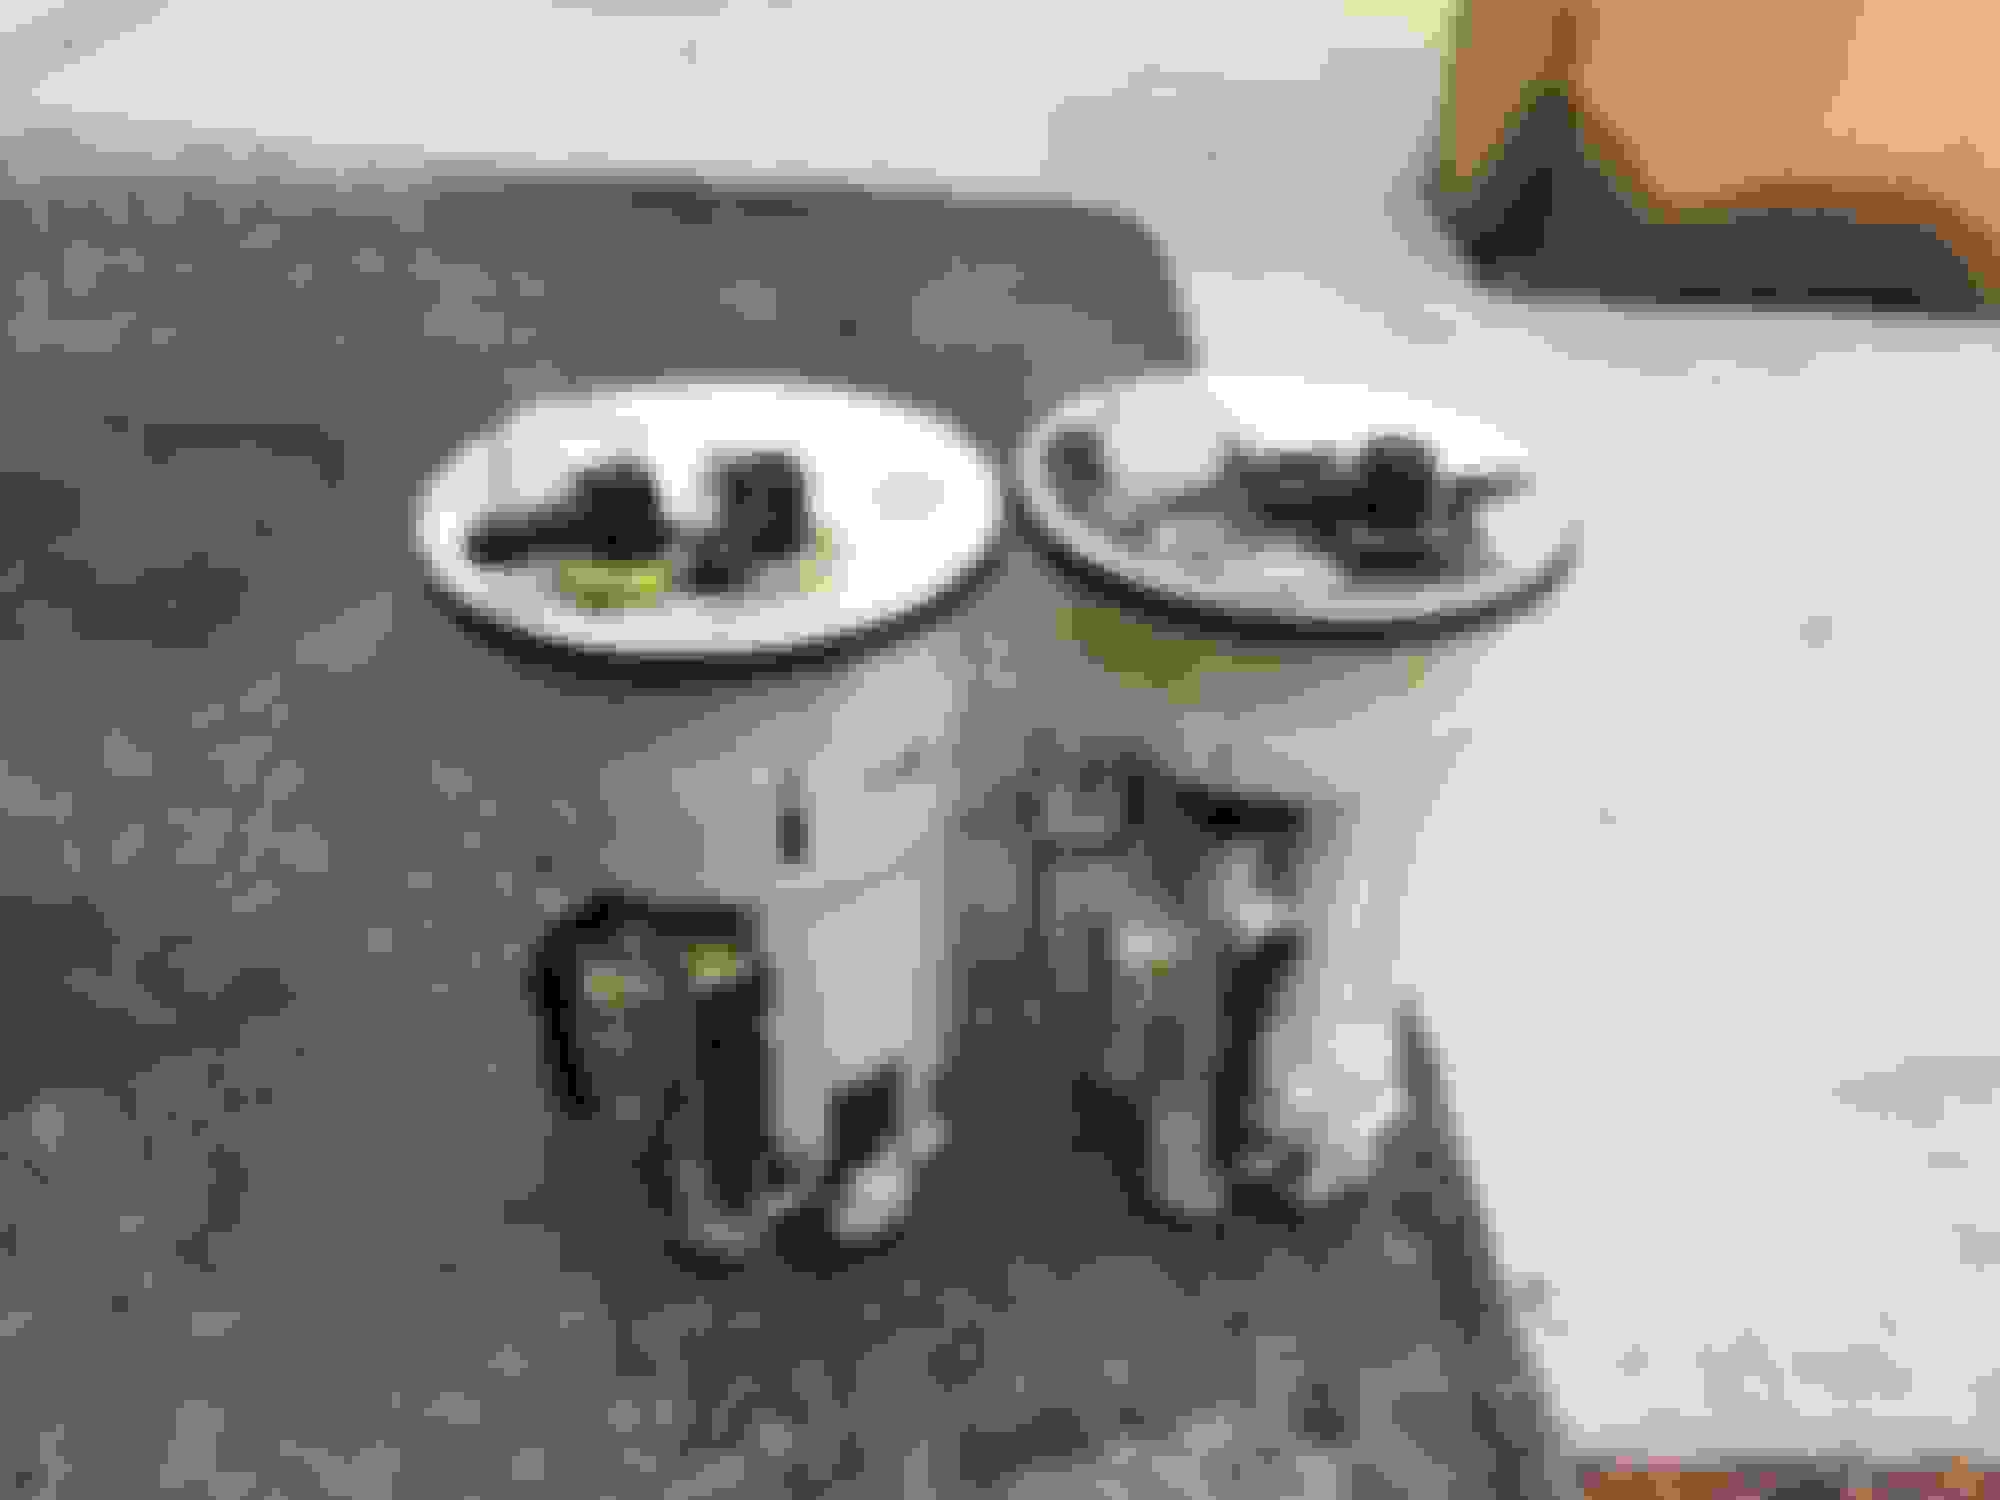
So I lay both GE and GTE starters next to each other and of course I see that they are different...just barely.
GE Left, GTE Right
That little difference made it a struggle to line up the bolt holes while under the car, sure I could have jammed it in there but then there would have been constant pressure on whatever it was hitting not to mention engine vibration killing the starter. I think, ok just go get a new one, luckily a local auto parts store had 1 re-manufactured unit available for $130....but there was a core charge of $40, so i took the bum starter to the store and sucked it up and got the new one.
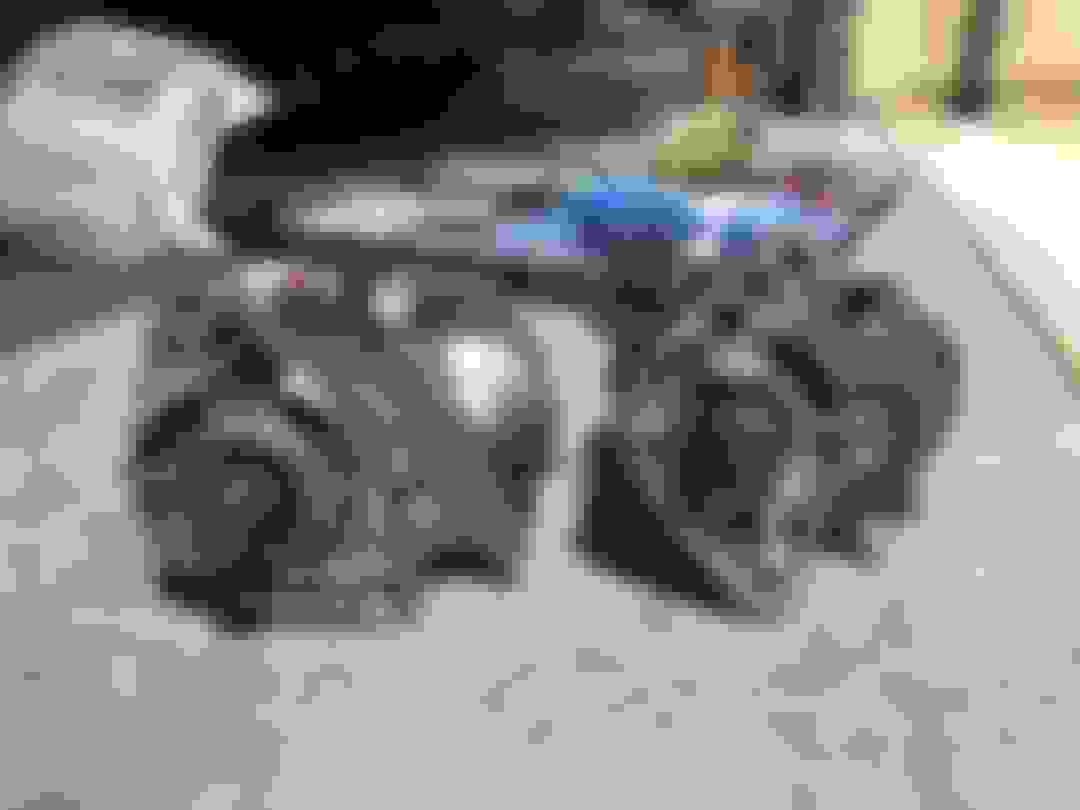
again GE left, New GTE right...with the clean unit you can obviously see the difference.
Put the new starter in and it fell right into place. No struggling. Except for the top bolt which is a pain to get to without long extensions on your socket wrench, have fun with that one.
After that, I go in the vehicle and proceed to start it. Bam it cranks!. But crud I didn't go through all the broken VSV switches..she wants to start but doesn't. I guess its a common thing through overseas shipping that you have broken sensors and plugs everywhere. I started to get to all of that. Instead of buying new VSV switches I looked for the broken pieces which were conveniently inside the vacuum lines. I just used an epoxy black plastic weld to put the pieces back on the switches and waited a night for curing before connecting them back to there respective places.
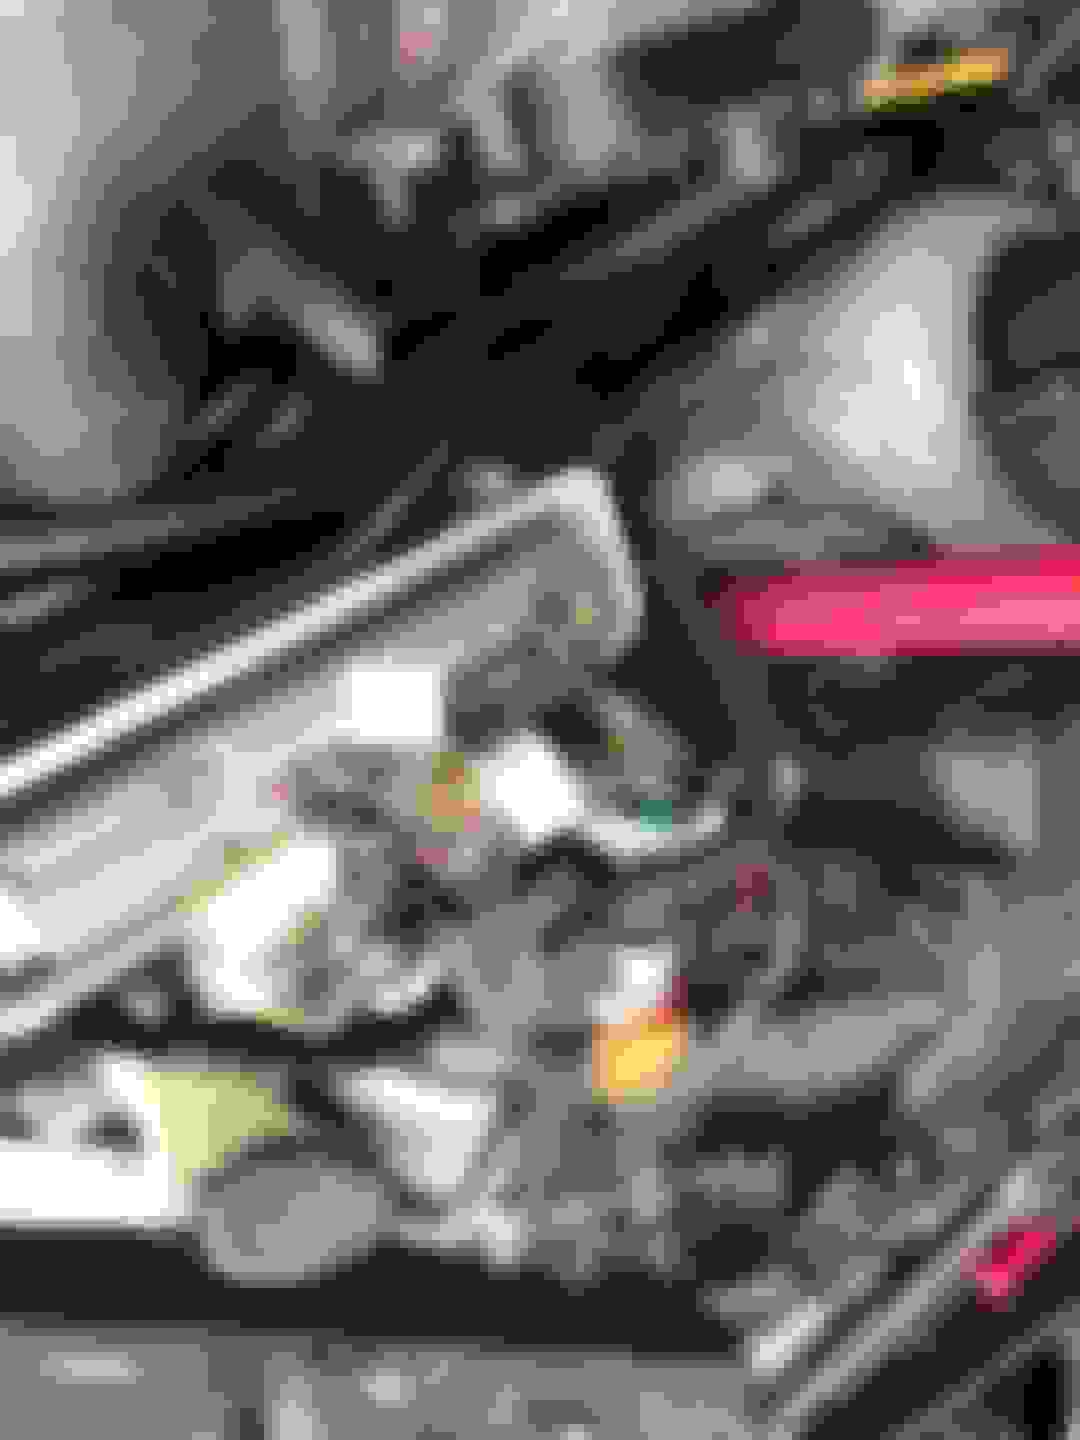
For example when you hook up your USDM steering line to the aristo steering pump, there is a banjo fitting that has a female sensor connector on it, you need to ditch that and use the one from the JDM line which again my importer conveniently left on the pump for re-use. The connector on the banjo fitting on the aristo side is mechanically driven by vacuum, it has two nipples on it, one was snapped off. You can see in the photo my elegant fix.
Last edited by AlphaJZS; 05-06-18 at 08:44 PM.
Reason: build progress
Its coming along nicely. Letsride was very helpful when I needed advice on my build as well.
Thank you, being on this forum for over a decade and being overly active, then not active, then popping in from time to time to this build thread its been a very useful and a fun experience. Still more to come and hopefully startup and troubleshooting videos. I am not a professional but I hang around good people who are and pick up a few things here and there. Hopefully this thread helps out those weekend DIYers who don't want to pay someone to do the work when they have capable hands themselves. Of course mechanics make a living for a reason they know what they are doing because they went to school so you are paying for their expertise. When I get into a jam I call people, to say I'm doing this all by myself is far from the truth.
Respect, hopefully the new cats take heed to what you putting out mane. I had thoughts of just throwing a VVTI Aristo unit in mine but its something about that 2.5 head screaming on that 3.0 block that wins me over every time! what color you going back with bro??!
Andy, just a note in case you didnt do it, but use constant pressure clamps on the return line instead of the regular worm clamps. Over time the worm clamps eat into the hose unlike the constant pressure type.
Had a few minutes to work on the GTE swap. After all the VSV switches were fixed I went around the entire block and physically inspected all the hoses by squeezing them and checking for cracks. I also attached all the coolant heater lines. There is a line right behind the rear turbo arm that literally is right in the way of a line. It was slightly bent upwards before the motor was swapped in. I will say it was a PITA to get a hose on it. FYI do yourself a favor and attach heater hoses on the vehicle and attach to motor afterwards, not the other way around. No photos of this process.
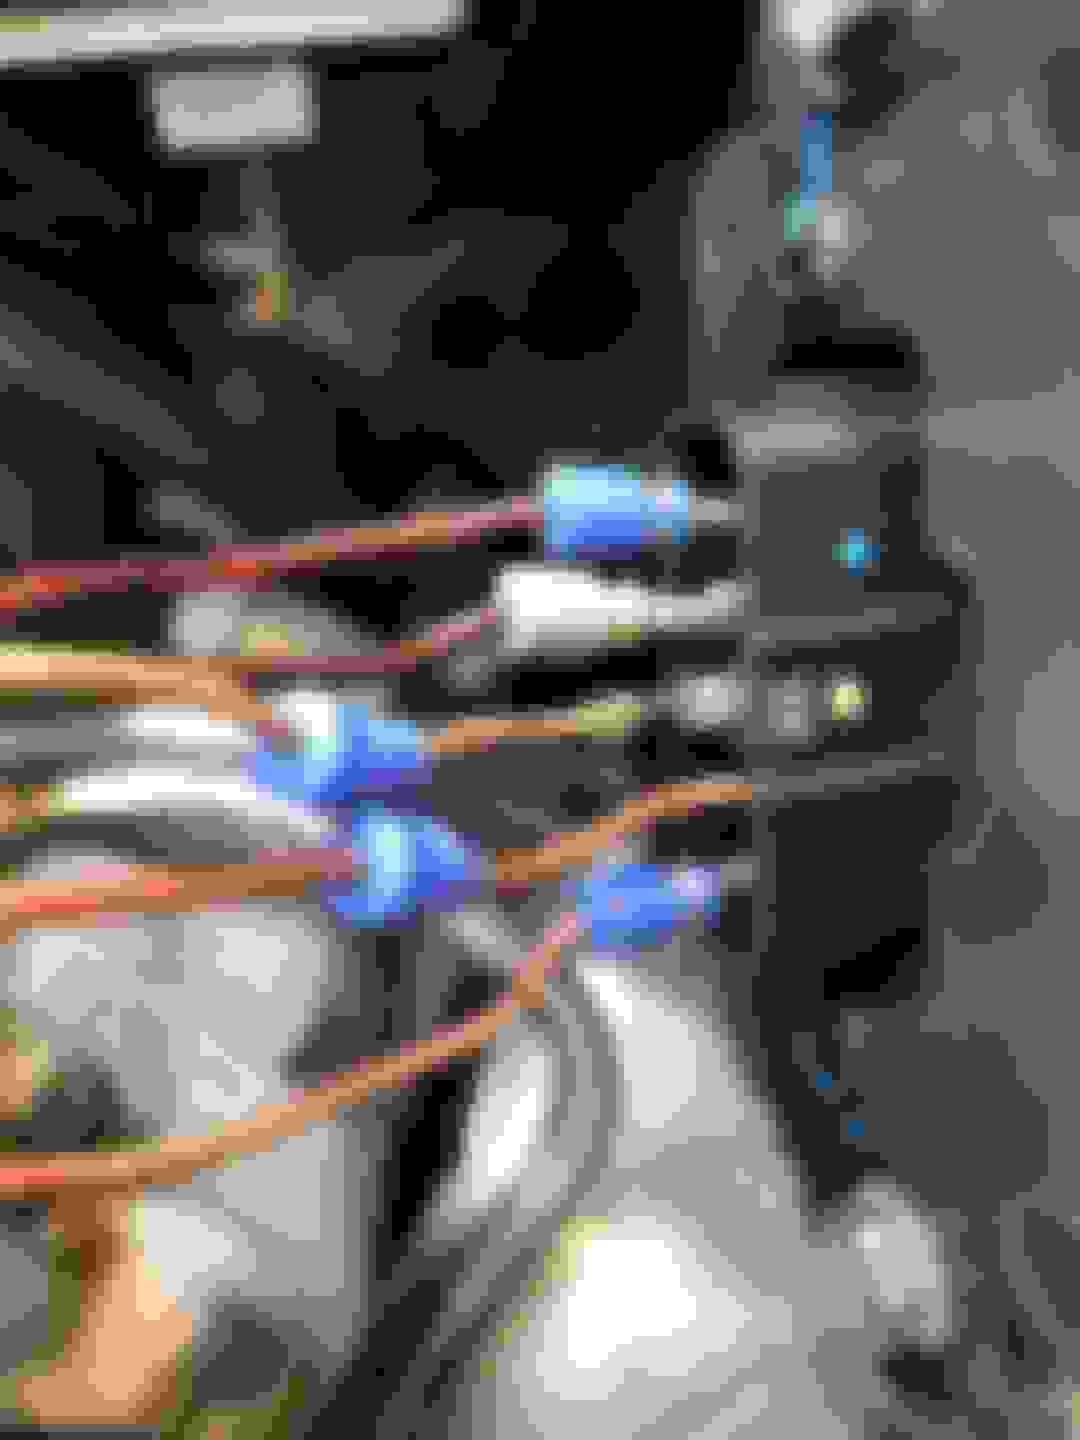
I will also mention here that my GTE harness had a shredded MAF plug and O2 upstream plug - I only had wires there. I went to my GE harness and cut off the MAF plug with 4 inches of wiring. The color of the wires matched EXACTLY of the colors on the GTE harness so I say sweet, just match up the colors. WRONG! DO NOT DO THIS!, USDM GE MAF plug may share the same colored wires but they are in different order on the GTE harness. I failed to mention when I did the first start up, the GTE fired right up but had trouble finding idle and was all over the place. I stopped the motor and checked my wiring and hoses. When referencing the GTE MAF plug wiring order I noticed it was completely off from the USDM wiring order. The following photo is the correct order:
again do yourself a favor, look up the pins on the WILBO666 website and verify that this is the correct order for your pre 07/2000 motor if yours also had a missing or bad MAF plug. Once that was sorted out I put the wires on a 99 GS300 MAF and to my excitement the GTE fired up, no codes, no idle search, BAM it ran beautifully. Unfortunately the JDM MAF I had was bad as I went through at least 4 before a friend had a good one for me to use. I have zero time right now to finish the O2 plug but a new sensor is on the way and I will be cutting the the plugs off my GE harness to replace the shredded 4-wire on the GTE harness. Also a cxracing downpipe is on the way as it allows me to connect directly to the stock exhaust. For now, this will be okay until I do a real world test on the stock setup. Everything will stay stock until I am certain I can trust the vehicle on at the very least...a 2 hour drive. I'd like to post some video of the initial startup but I don't have the time to do that right now as writing this update is quicker than fiddling with youtube.
 04-30-18, 09:21 PM


 p
p