When you click on links to various merchants on this site and make a purchase, this can result in this site earning a commission. Affiliate programs and affiliations include, but are not limited to, the eBay Partner Network.
*Warning* Going to be picture heavy when fully uploaded *Warning*
Hey guys, been lurking on here for awhile as an anonymous user but recently decided to create an account, login and partake the forum journey haha. Had the opportunity to purchase one of my dream cars and pulled the trigger. Always wanted a GS300 on air and was contemplating trying to pick up a 3rd Gen and go that route but have always had a love for the 2nd Gens. So naturally being Canadian getting an Aristo was a logical option and finding one with the added bonus of the 2JZ-GTE stock. With already having an AE86 in my garage going through the blasphemous F20C swap, a big bodied, high horsepowered daily seemed like a logical choice haha. So I pulled the trigger picking up this 2000 Aristo V300 this past June which happened to already be on air. My brother having a single turboed is300 sitting at 545whp I decided to take the plunge and build the 2JZ turning the Aristo into a highway beast.
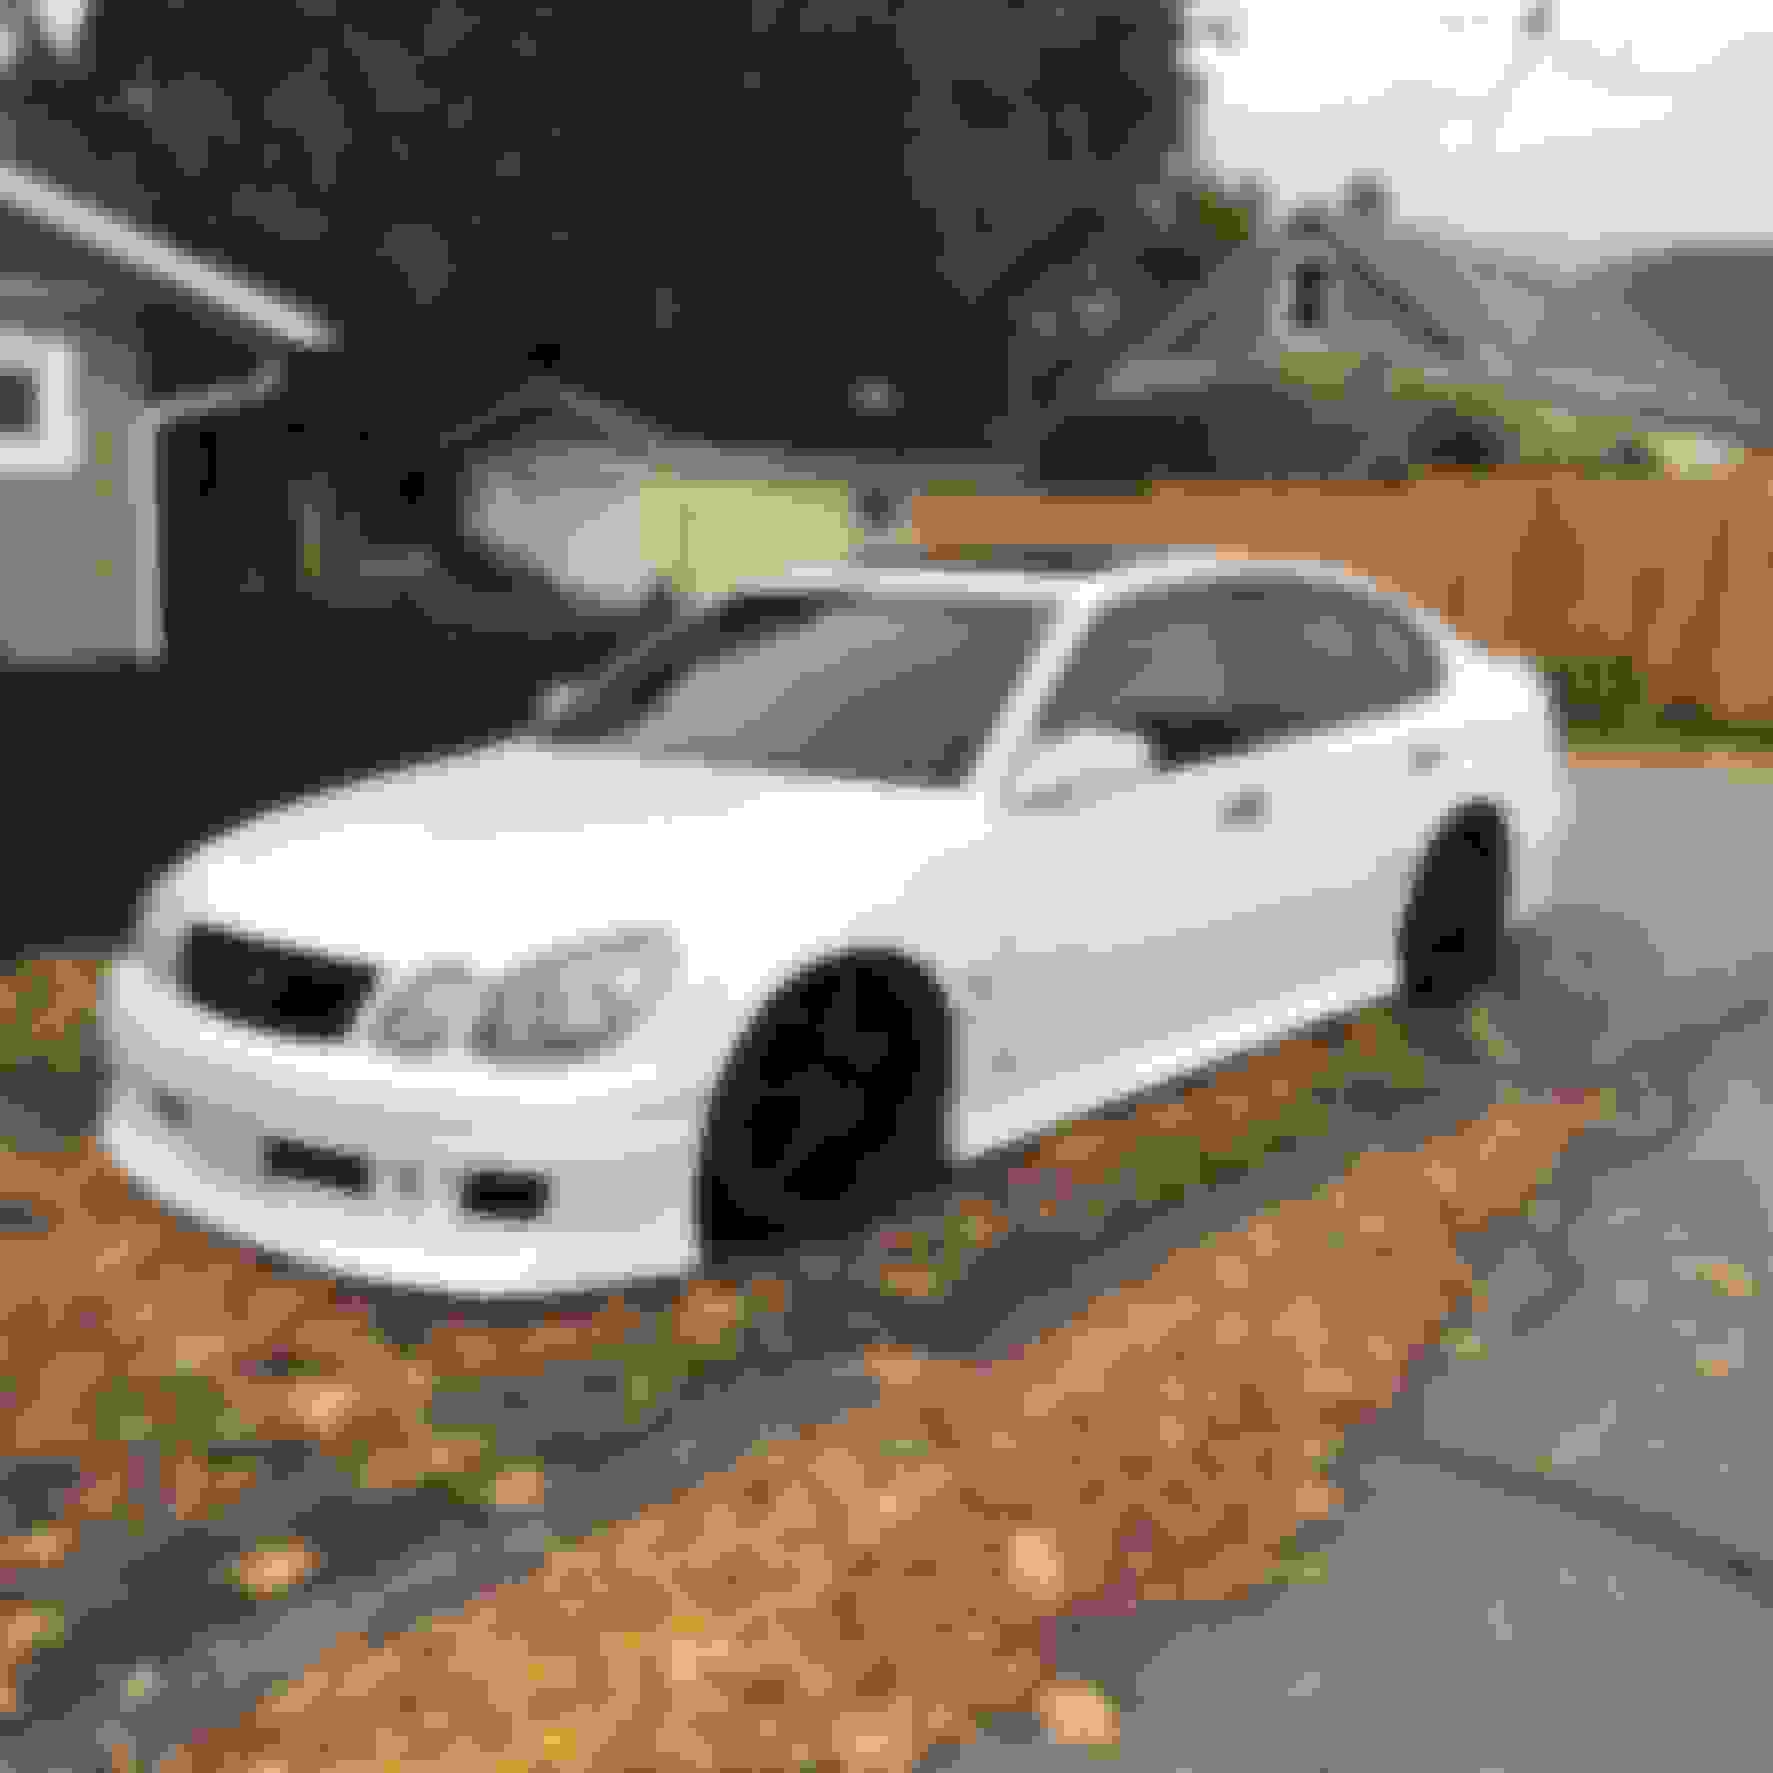
How I took ownership of the Aristo, on Tanabe air ride system with 19" Rays Arthur Exchange x603
After taking ownership of the Aristo the first issue was troubleshooting the old Tanabe Air Ride system that wasn’t fully working. The controller showed no power, which luckily was just the controller not being plugged into the control system for the air ride. Which was lucky for me as I knocked some dollars off of the asking price due to the air ride not working.
Once the airride was working it was all about cleaning up the install. I had a local custom audio shop (Custom Car Concepts) replace all the speakers, add a amp, single 10” sub (All Arc Audio components) and clean up the air ride install. Will most likely install a proper head unit when the car is back on the road this summer. They did a great job and the install is super clean now moving my airride control unit into the ashtray and making more room in the trunk relocating the tank, control unit and compressor. They also cleaned up some leaks in the airlines. (Will add photog when I find one)
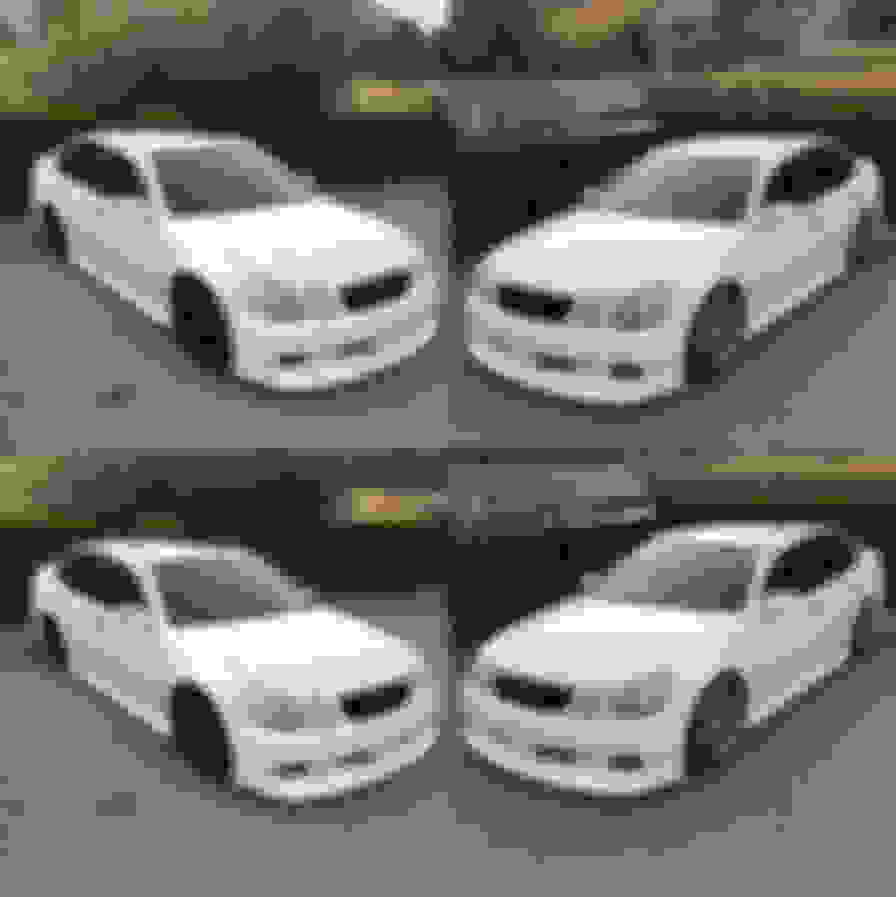
From there I just cleaned up the Aristo. Debadged the trunk and switched the car back to a Toyota grill that I painted black. Then spent the rest of the summer adjusting the ride height and playing with wheel colours. Painted the 19” Rays Arthur Exchange x603s a few different ways and settled for the all black look. Dipped them matte black with a clear gloss over coat. Painted the coil cover a Toyota pearl white. Then touched up the brake calipers with a gold caliber paint as well.
Testing wheel colours on the Aristo (PlastiDip) First cruise in the Aristo with my best friend and his 05 STI
Just a rolling shot of the Aristo
Next step, enjoy the car and the summer.
After chatting with the shop that built my brother’s IS300 (Four Function Autosport), I decided to join their winter build program and started researching how I wanted to go about this build. Being that the labour rate of the shop would be discounted joining the program and having the car built over the winter meant no extended downtime from driving the Aristo this summer, I committed to the shop they’d have my car for the winter. So I started researching the forums (Both ClubLexus and SupraForums) and watching a ton of YouTube videos on parts reviews and tech talks, oh what an age of technology we live in. And also having chats with the shop about their previous 2JZ builds. After a only couple “hours” put into research haha I set my goal...
800whp and A/C
Then started the list.
Being from Western Canada, E85 isn’t really an easy option as the only station is located 5 hours away in Vancouver. So my list was based on a 94 octane + water/meth mindset. It started out mild and became more aggressive once my mind was on the 800whp goal, thinking of a budget I was comfortable with and going from there. The original list. A few changes have been made and quite a few parts have been added.
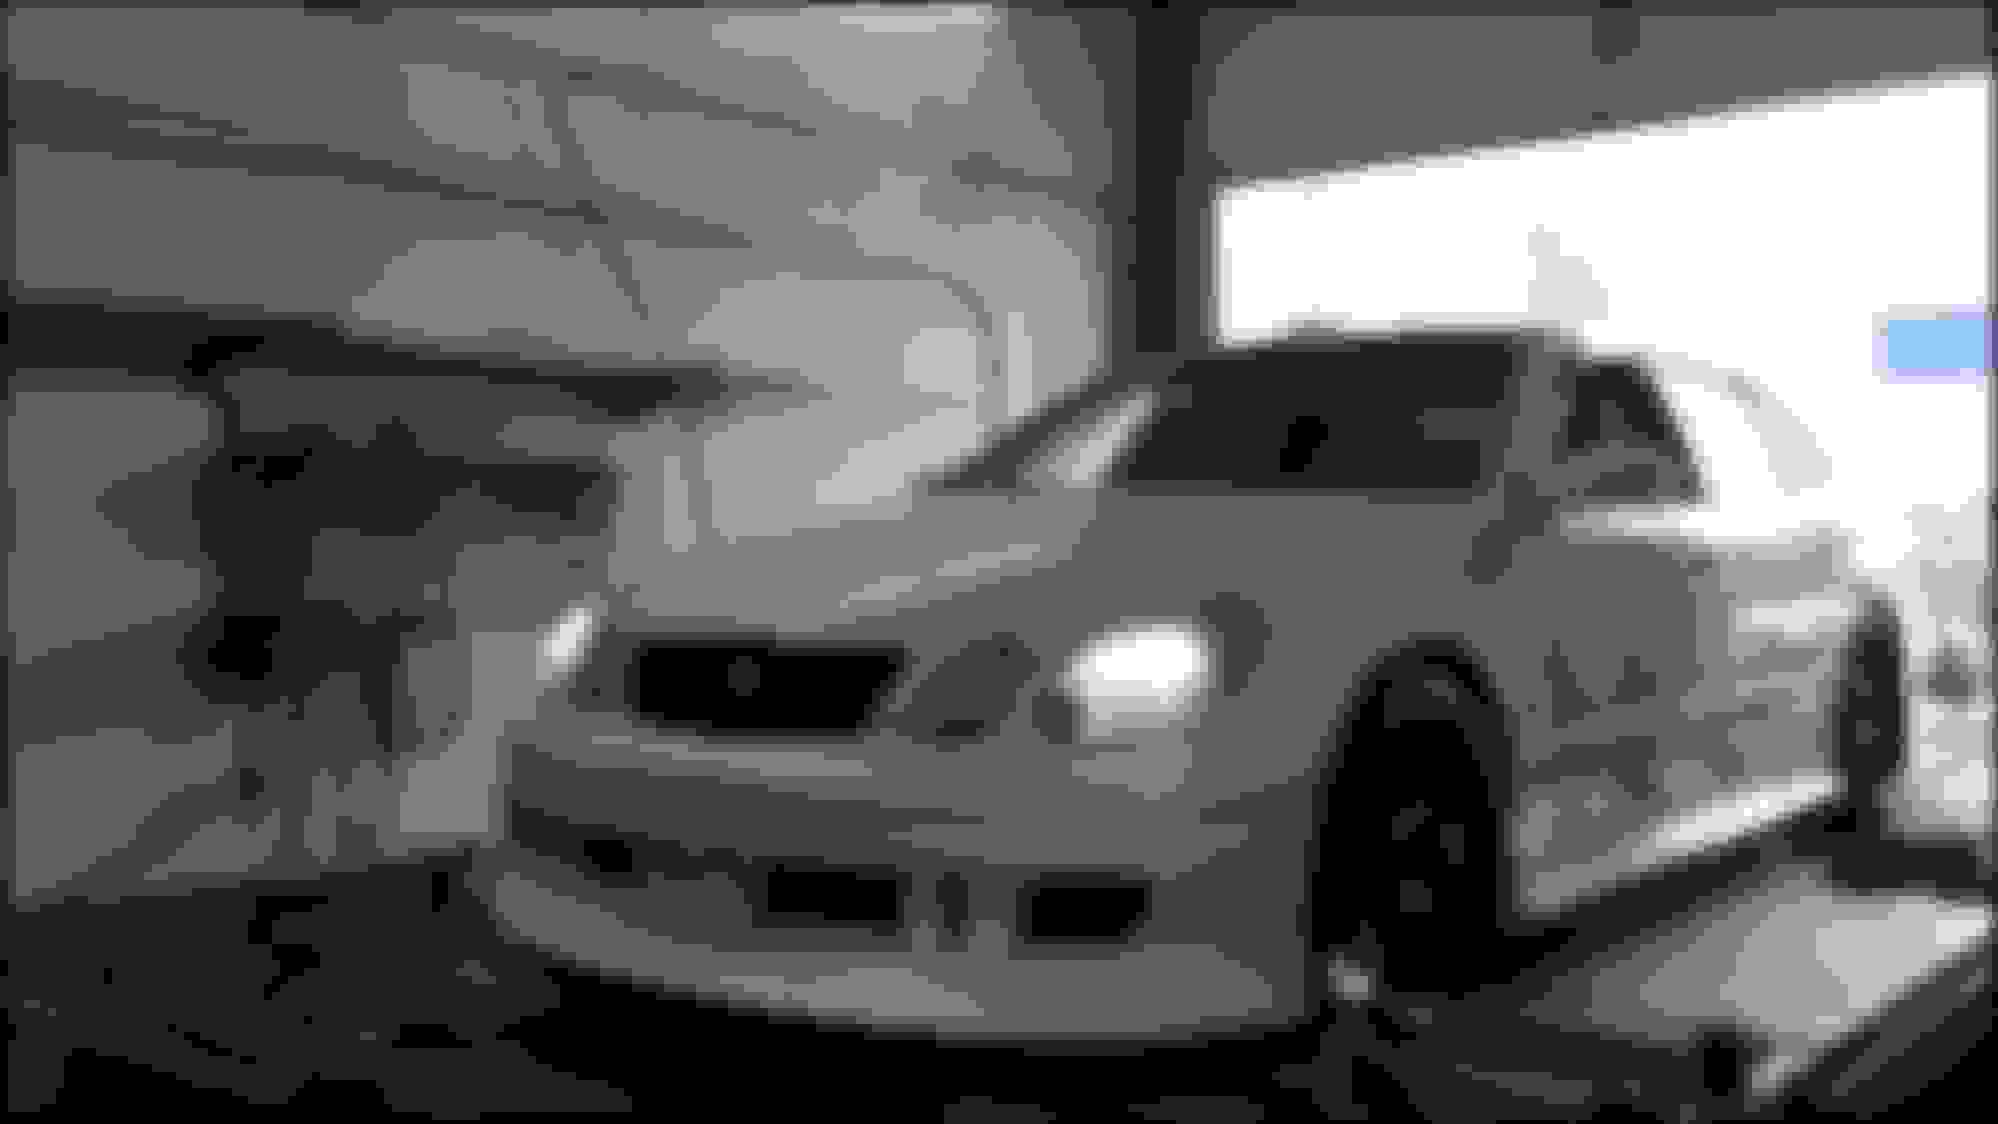
So with that it was fall and one last photog of the Aristo aired out was taken before off to the shop it went for Winter surgery. The car was dropped off at the shop towards the end of October and tucked in with storage insurance lol.
Aired out, last photograph before the winter build... Went to the shop the next day.
First step was a baseline dyno, and surprisingly it did better than expected. With just an aftermarket exhaust (turbo back) and intake that came with the car it made a respectable 241whp/256wtq.
Baseline Dyno, with BPUs installed. 241whp/256wtq
Then began the tear down and ordering parts for the block and head portion of the build so we could get them to the machine shop. While waiting for parts the boys tore into the car eliminating the electronic ABS and installing a clutch pedal (Yup going manual swap!). Along with running new brake lines and hardlining the air lines for the suspension in the engine bay and bunging them through the wheel wells.
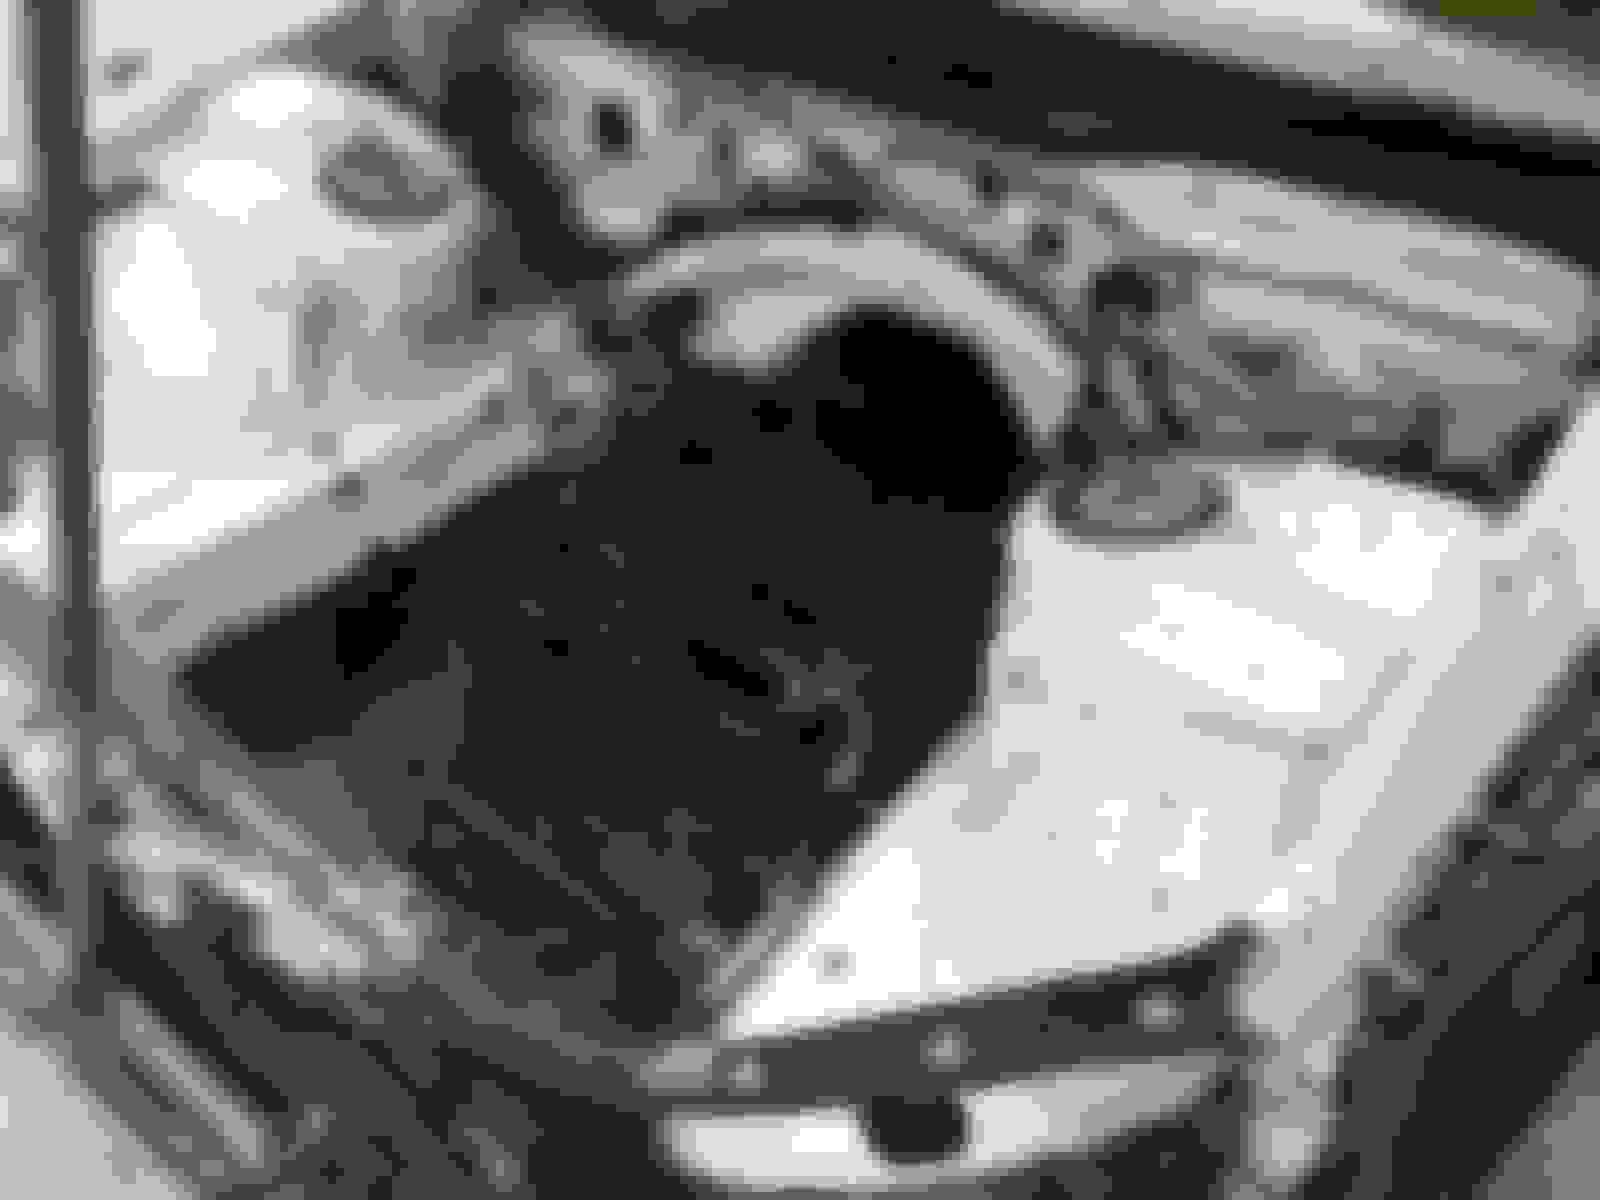
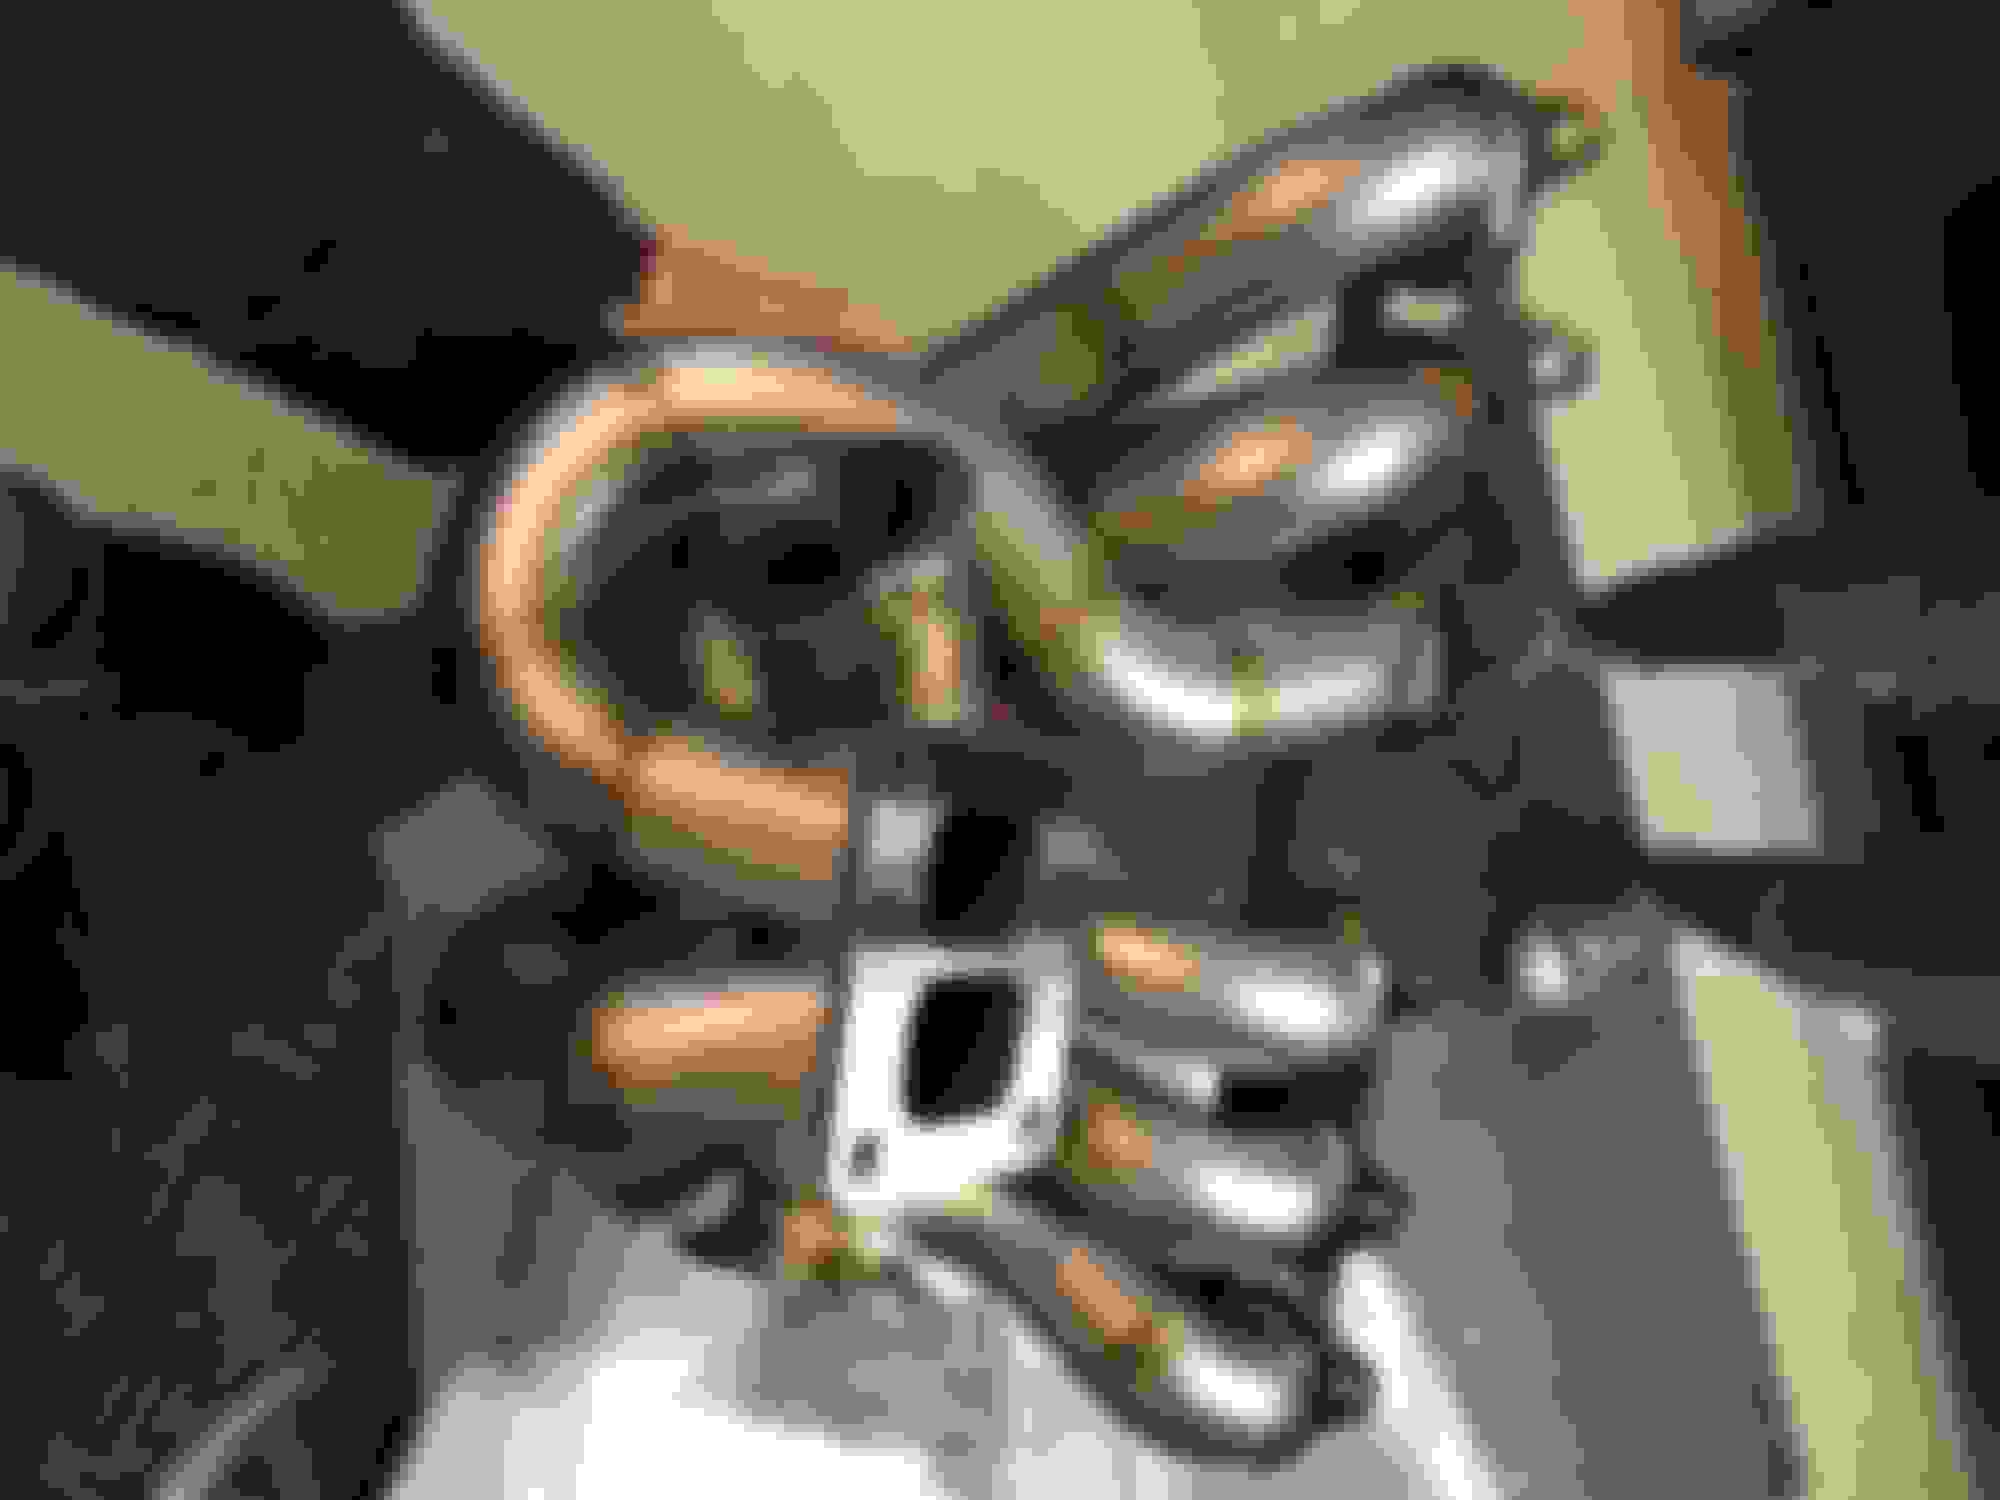
The 2JZ is out
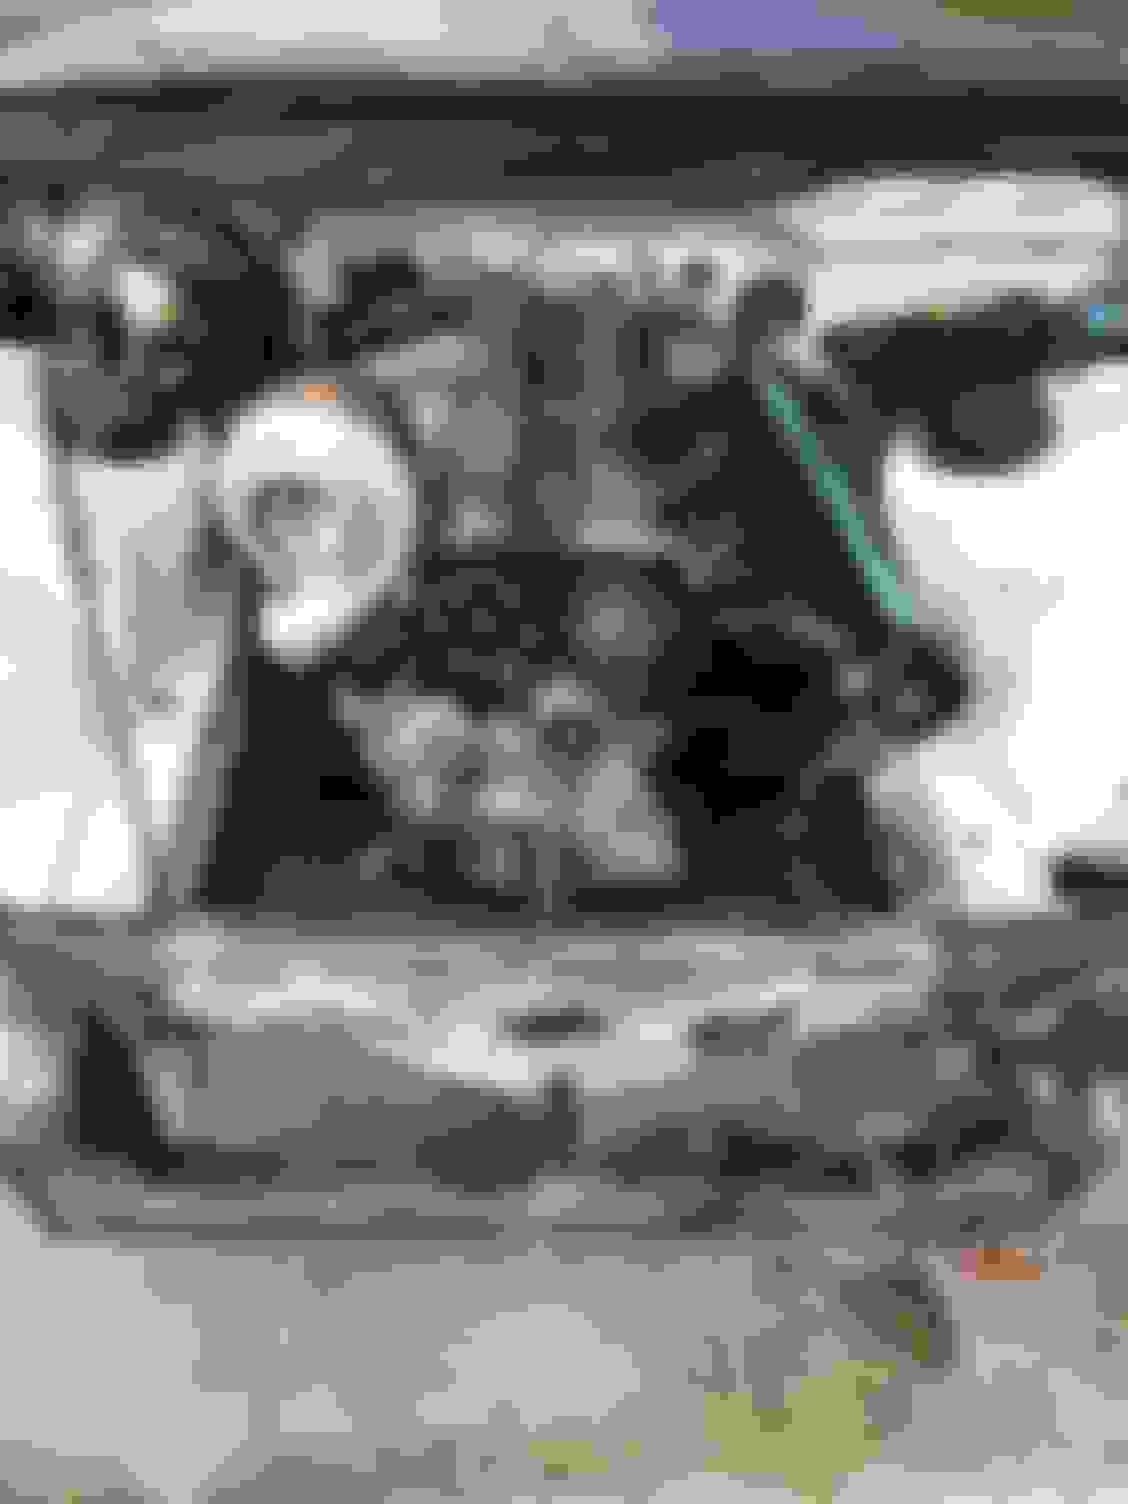
Steam cleaning the engine bay
The after shot of the engine bay, post steam clean.
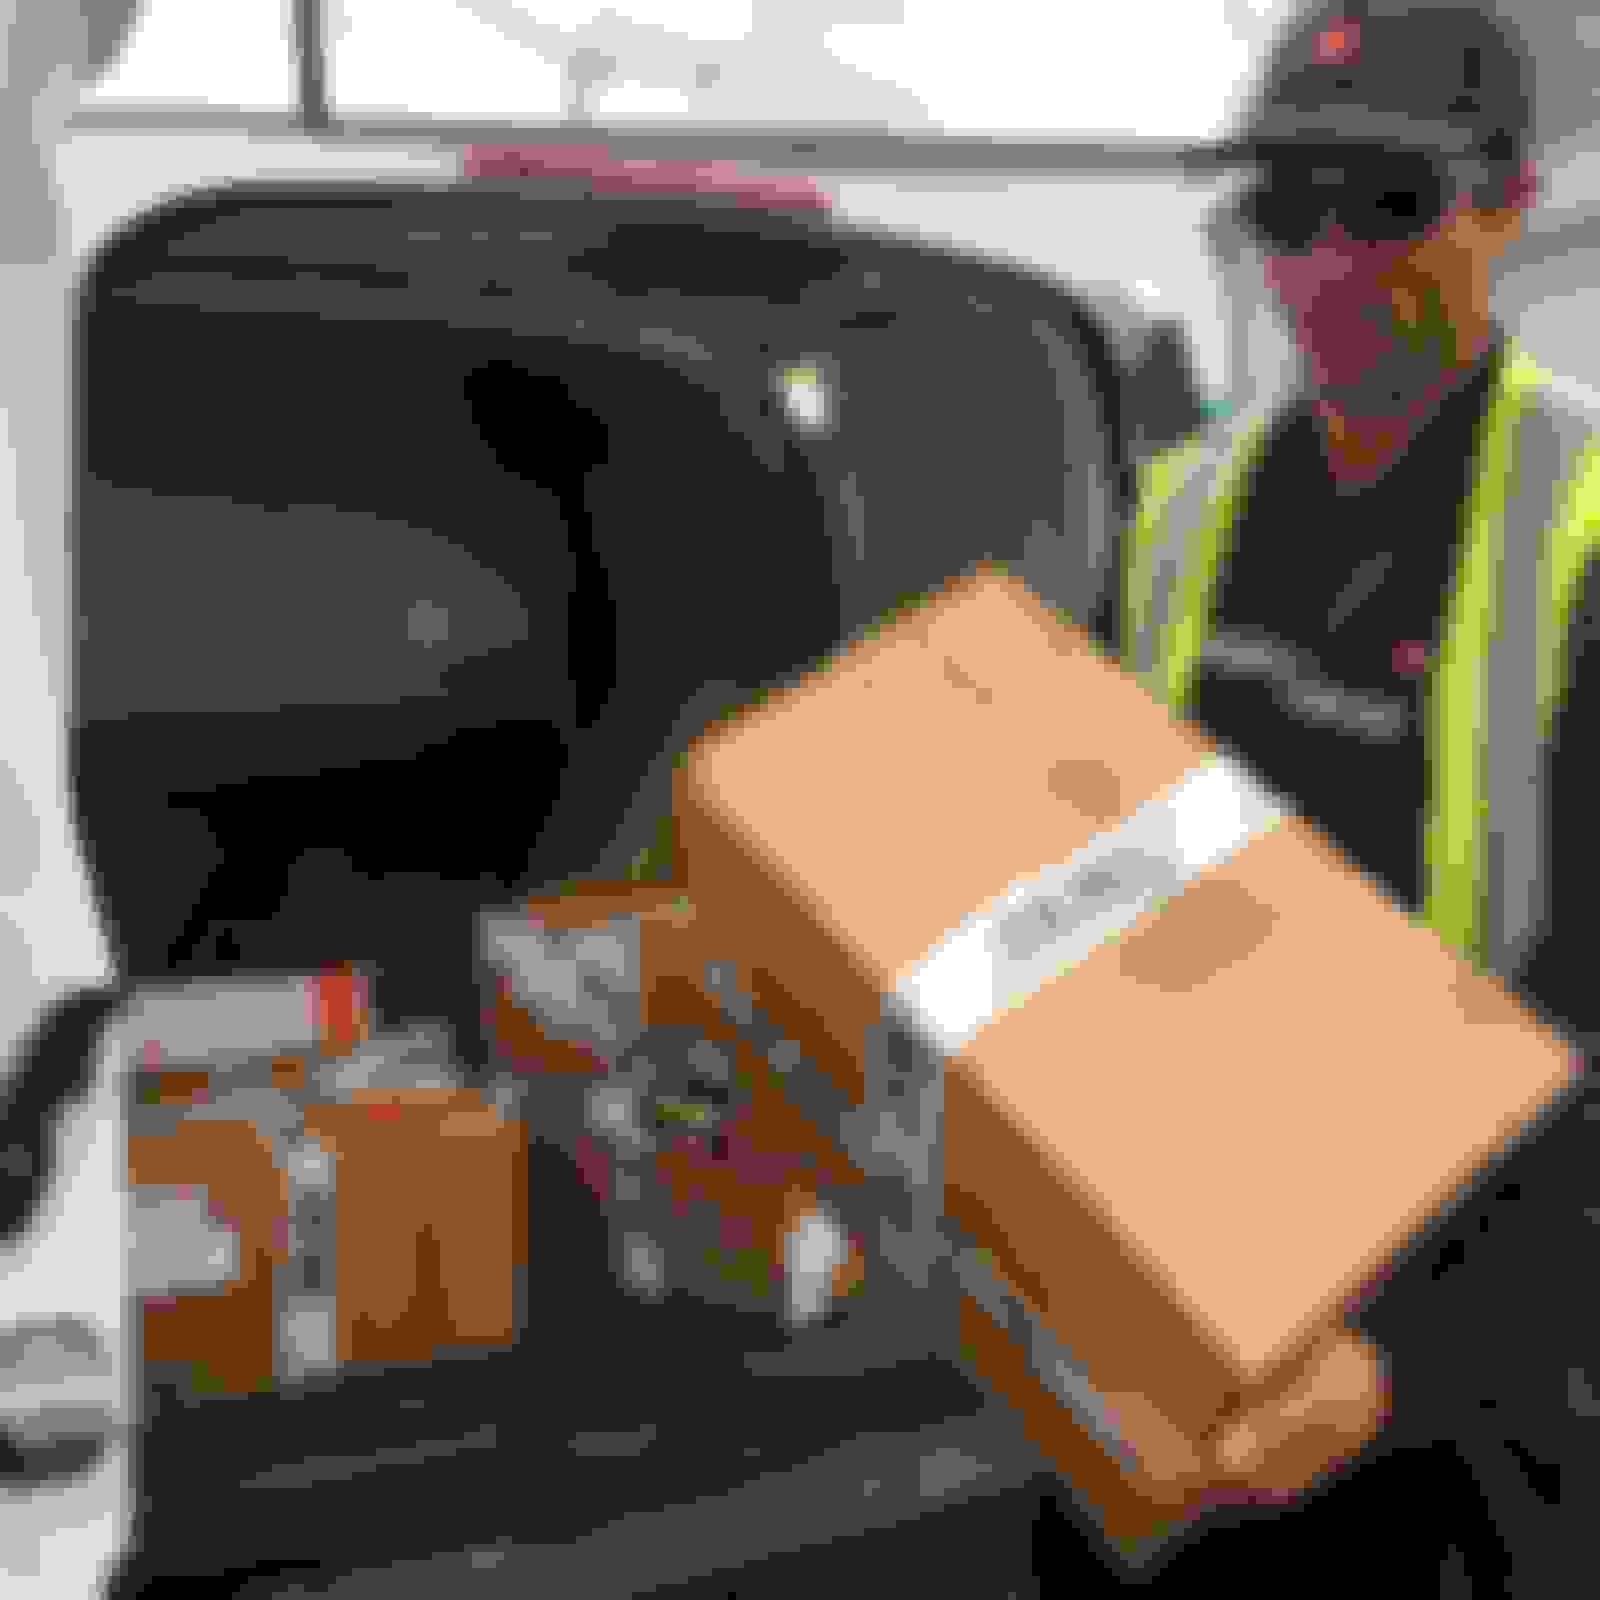
Then the parts started to arrive...
Christmas? The shop gets some packages.
JE Pistons for the build
A delivery from SerialNine of the CD-Pro and the CD999 Shift kits
For the block I ended up with stock block and crank, ACL race bearings, BC Connecting Rods, ARP hardware and JE Pistons. Leaving compression at 8.5:1. A compromise. Boost or compression, can’t have lots of both on pump gas.
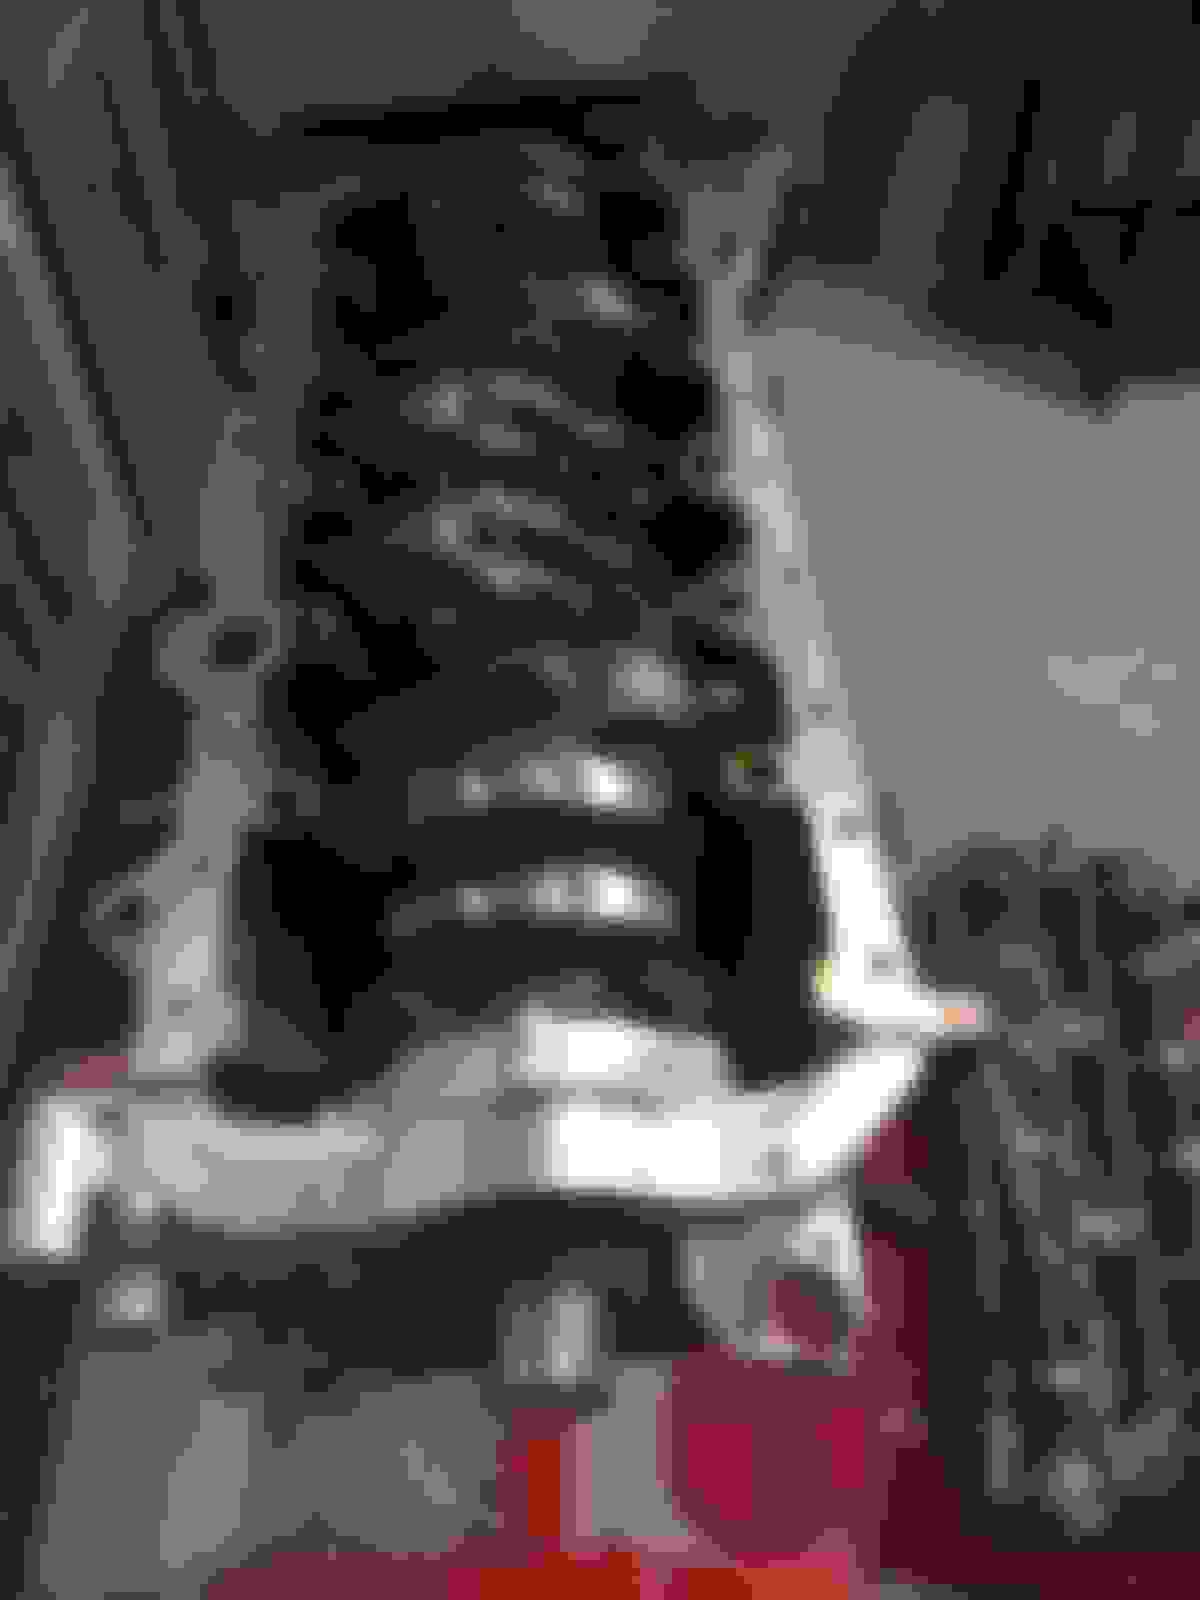
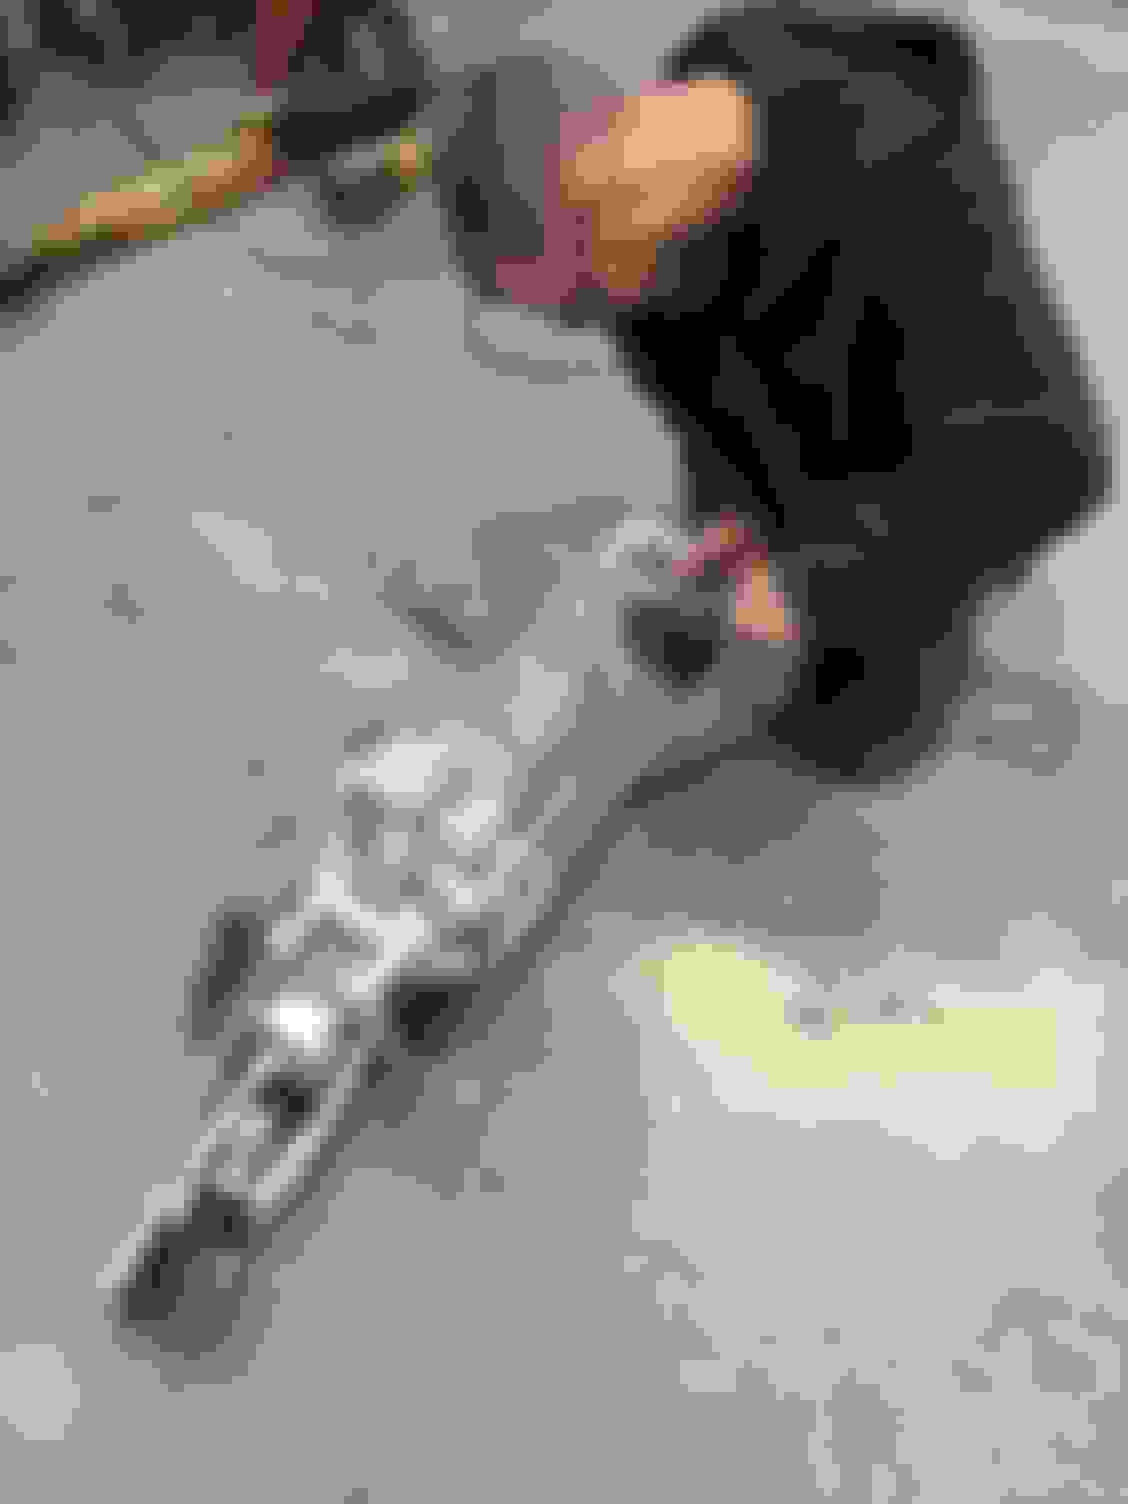
Block on the cart, about to be sent out to the machine shop
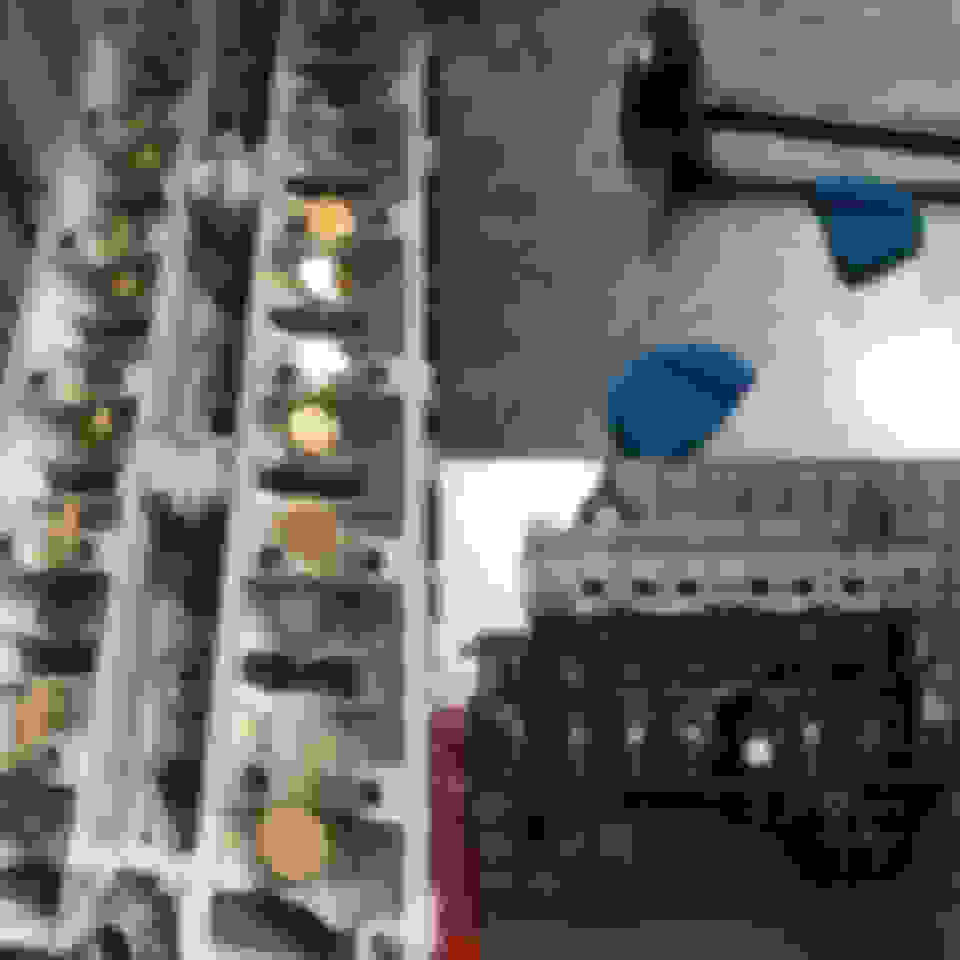
Block back from the machine shop with the new pistons and rods installed.
For the head I decided on BC 276 VVTi cams, BC dual springs, locks, and guides. GSC seals, and after discovering some interesting stock valves during tear down some Ferrea Comp Plus oversized valves (+1mm) were added while the porting of the head was still being completed.
Head back from the machine shop with Ferrea Comp Plus valves, BC dual springs.
Once the block and the head were back from the machine shop the waiting game began.
Titan Motorsports Cam Gear, Real Street Performance Billet tensioner, Powerhouse Racing Oil Pump.
A lot of fitment questions were asked for turbo manifolds as most 2JZ manifolds were for 1) Supras and 2) LHD models. So finding a manifold that was confident in clearing the steering rack and being positioned correctly for clearance in an Aristo for a large single turbo was prooving to be difficult. Big thanks to Calle from the shop with all her hard work communicating with all the companies and getting the information. Because I already knew I wanted a Hypertune intake manifold, we ended up talking with them and getting some more information about their 2JZ dual wastegate divided turbo manifold. Pricey pieces but they threw in the big port version of their intake for free with the combined purchase of the intake/turbo manifolds.
One experience through all of this is that there will always, always be waiting for parts lol. The first wait of the build was for the couple packages from down under.
More parts arrived, research and discussions on build paths also were happening during the wait. Mostly on fuel systems and other aspects of the build. Like transmission options and such. My brother just happened to blow up 4th gear in his W55 transmission right before winter as well so he found a used CD009. We got a third participant in a 2JZ/CD009 swap and got a group rate on SerialNine’s CD-PRO adapter and CD999 shifter kits. So I began the hunt for a used 3rd Gen CD009. And the timing was bad lol as none were for sale at a decent price with lower mileage. Luckily you can pick up a new CD00A for relatively cheap compared to other transmission options through ConceptZ or Z1 Motorsports around $1800USD. So I bit the bullet and went new, the no compromise approach was growing.
As luck would have it the delivery of the transmission and the arrival of the Hypertune packages were a day apart. So the build was back on!
Hypertune 2JZ turbo manifold, beautiful welds. Need to use a T4 spacer for my turbo, compressor interferes with wastegate fit up.
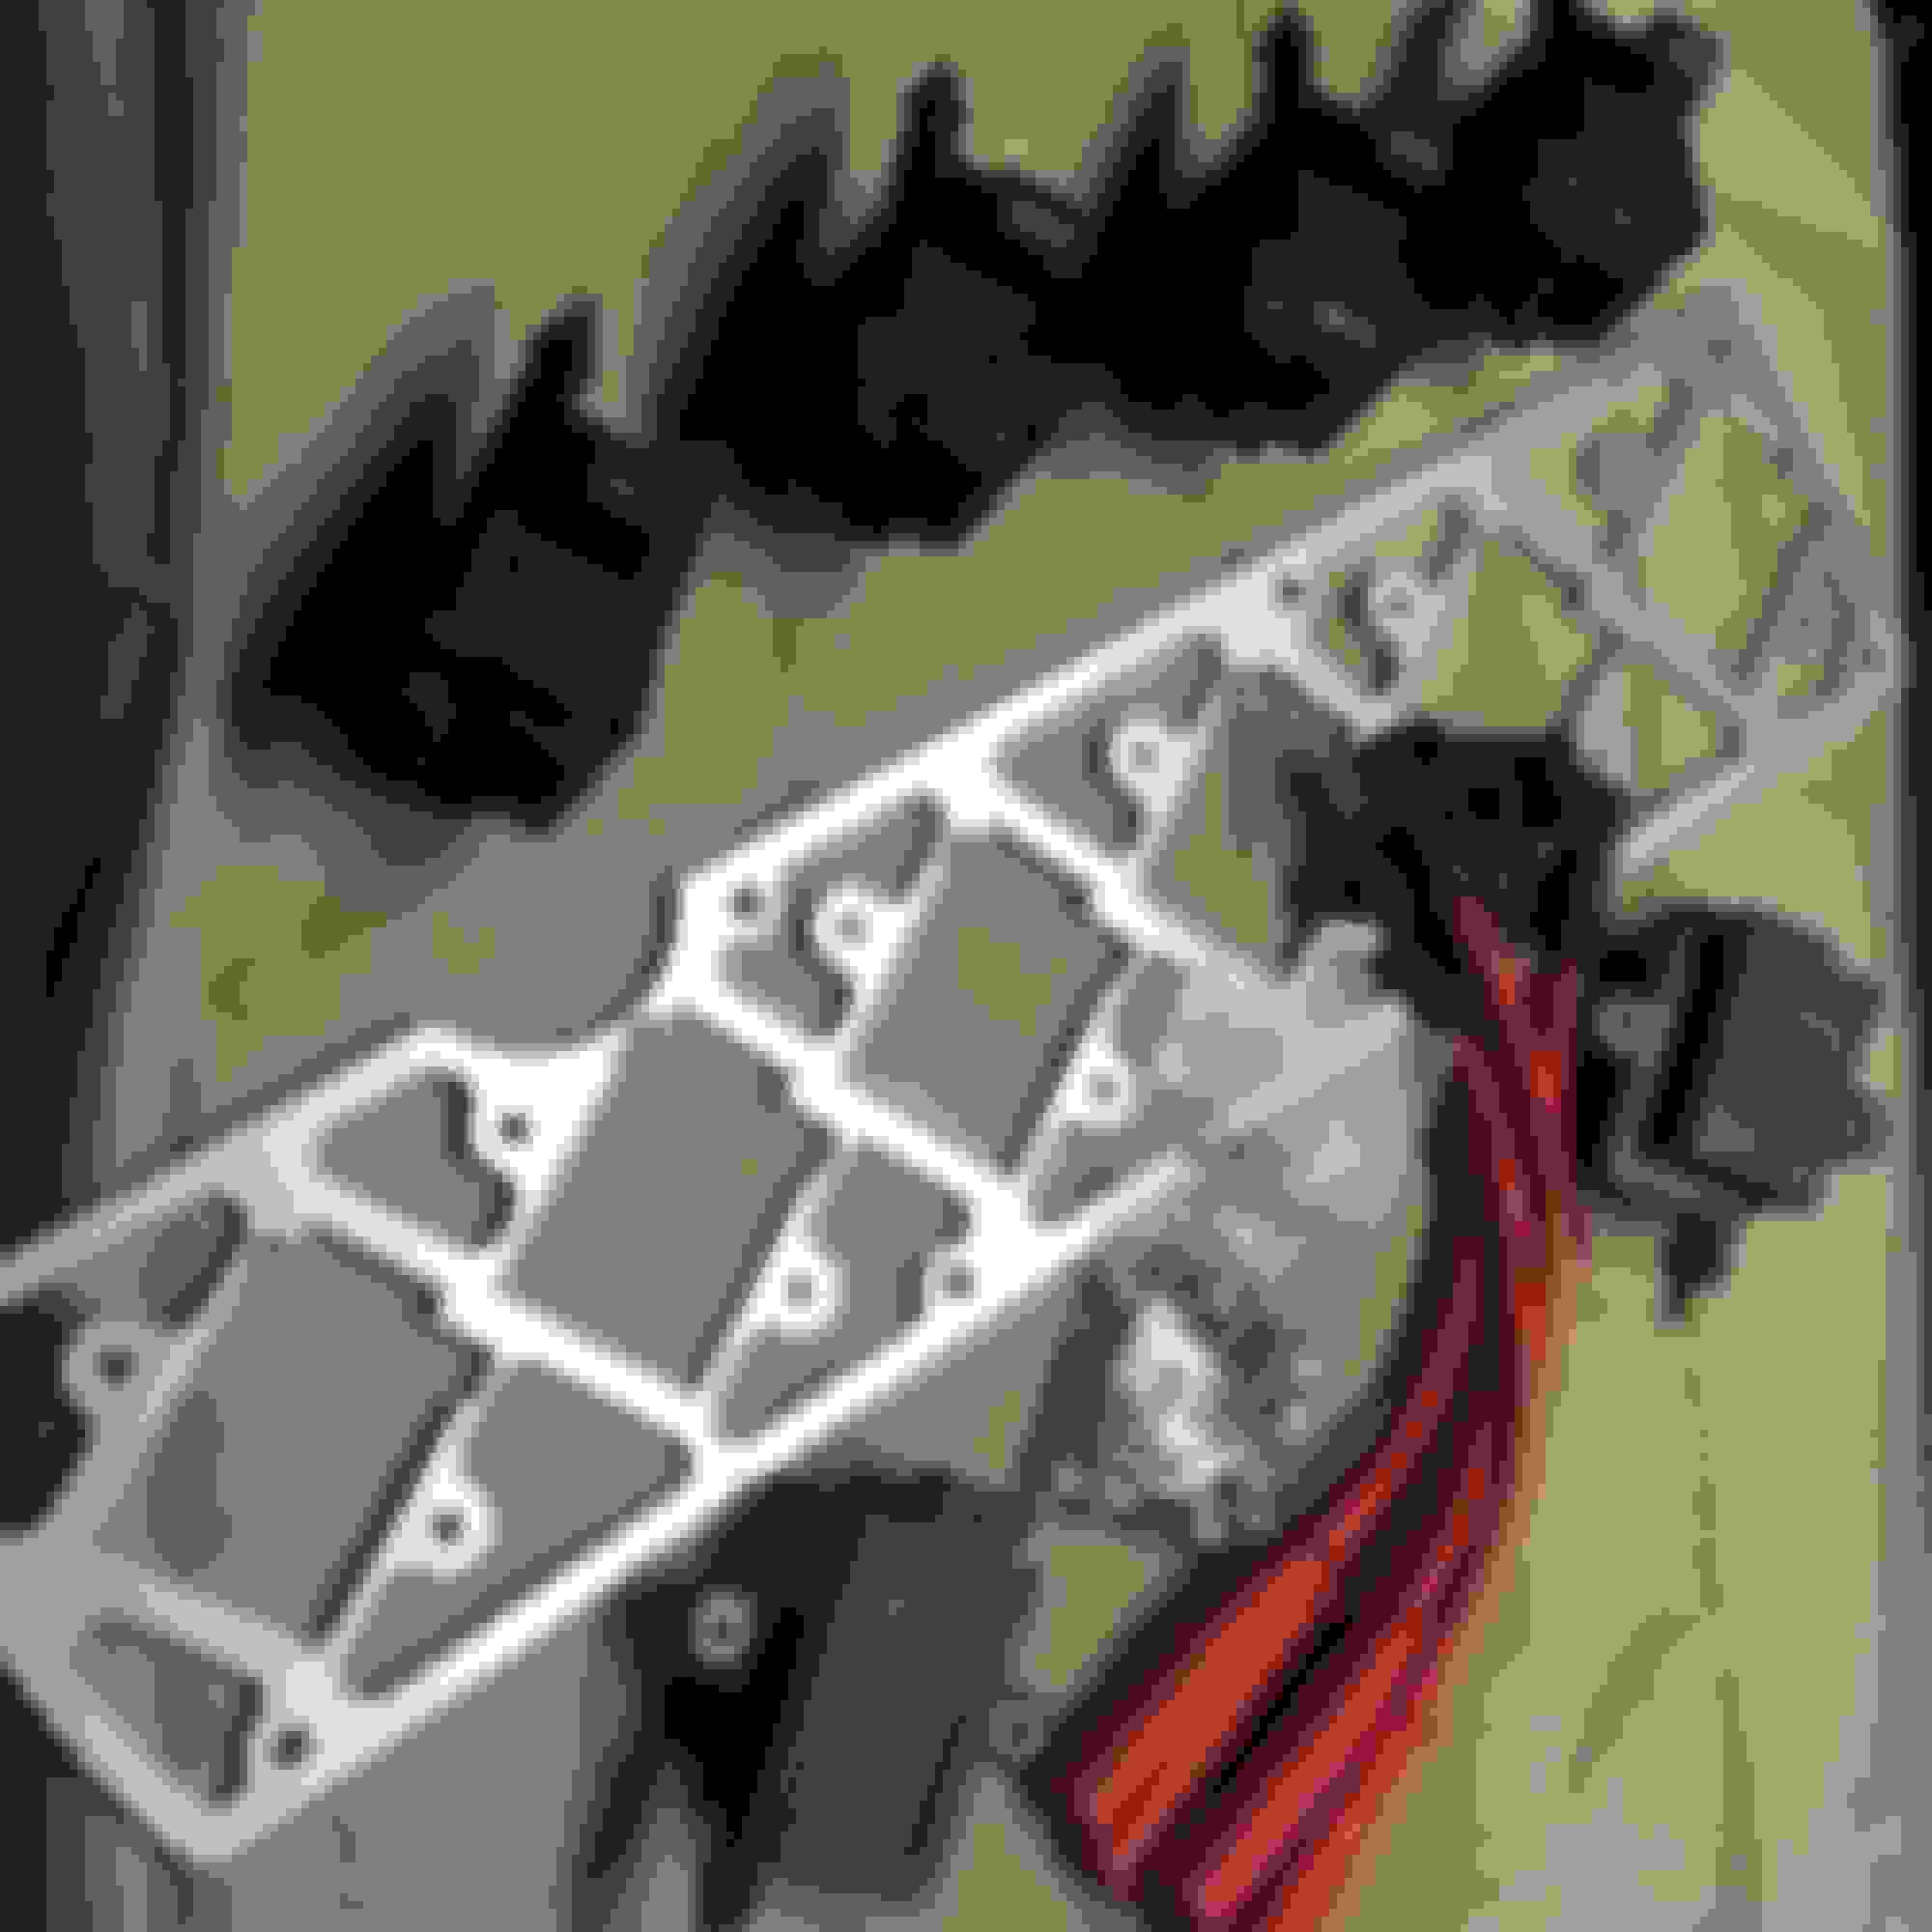
Hypertune 2JZ big port intake manifold, throttle body, and fuel rail
The boys were back on the build and during test fit of the manifolds we found that the compressor of the Precision GT42 Style 7175 was too large and prevented the compressor side 44mm wastegate from getting installed. We installed the engine and transmission into the Aristo to confirm clearances and that we had room to use a spacer under the turbo to create enough room for the wastegate. The turbine side wastegate had no clearance issues. And with that the next roadblock was found. We had been given the wrong transmission cross member with our SerialNine CD-PRO kit. Not a huge issue as Gerard was instantly on getting the proper cross member made for us and we should have it in our possession shortly to continue the build. Need it to set the engine and transmission in its final resting place to start the fab work of the custom down pipe and 4” exhaust and intercooler piping.
First attempt fitting the 7175.
First attempt installing the 7175 checking clearances.
Nothing like cutting up a brand new CD00A transmission to install the SerialNine CD-Pro adapter kit.
It fits! Well mostly, need to add a divided T4 spacer for the turbo to allow clearance on the compressor side for the wastegate.
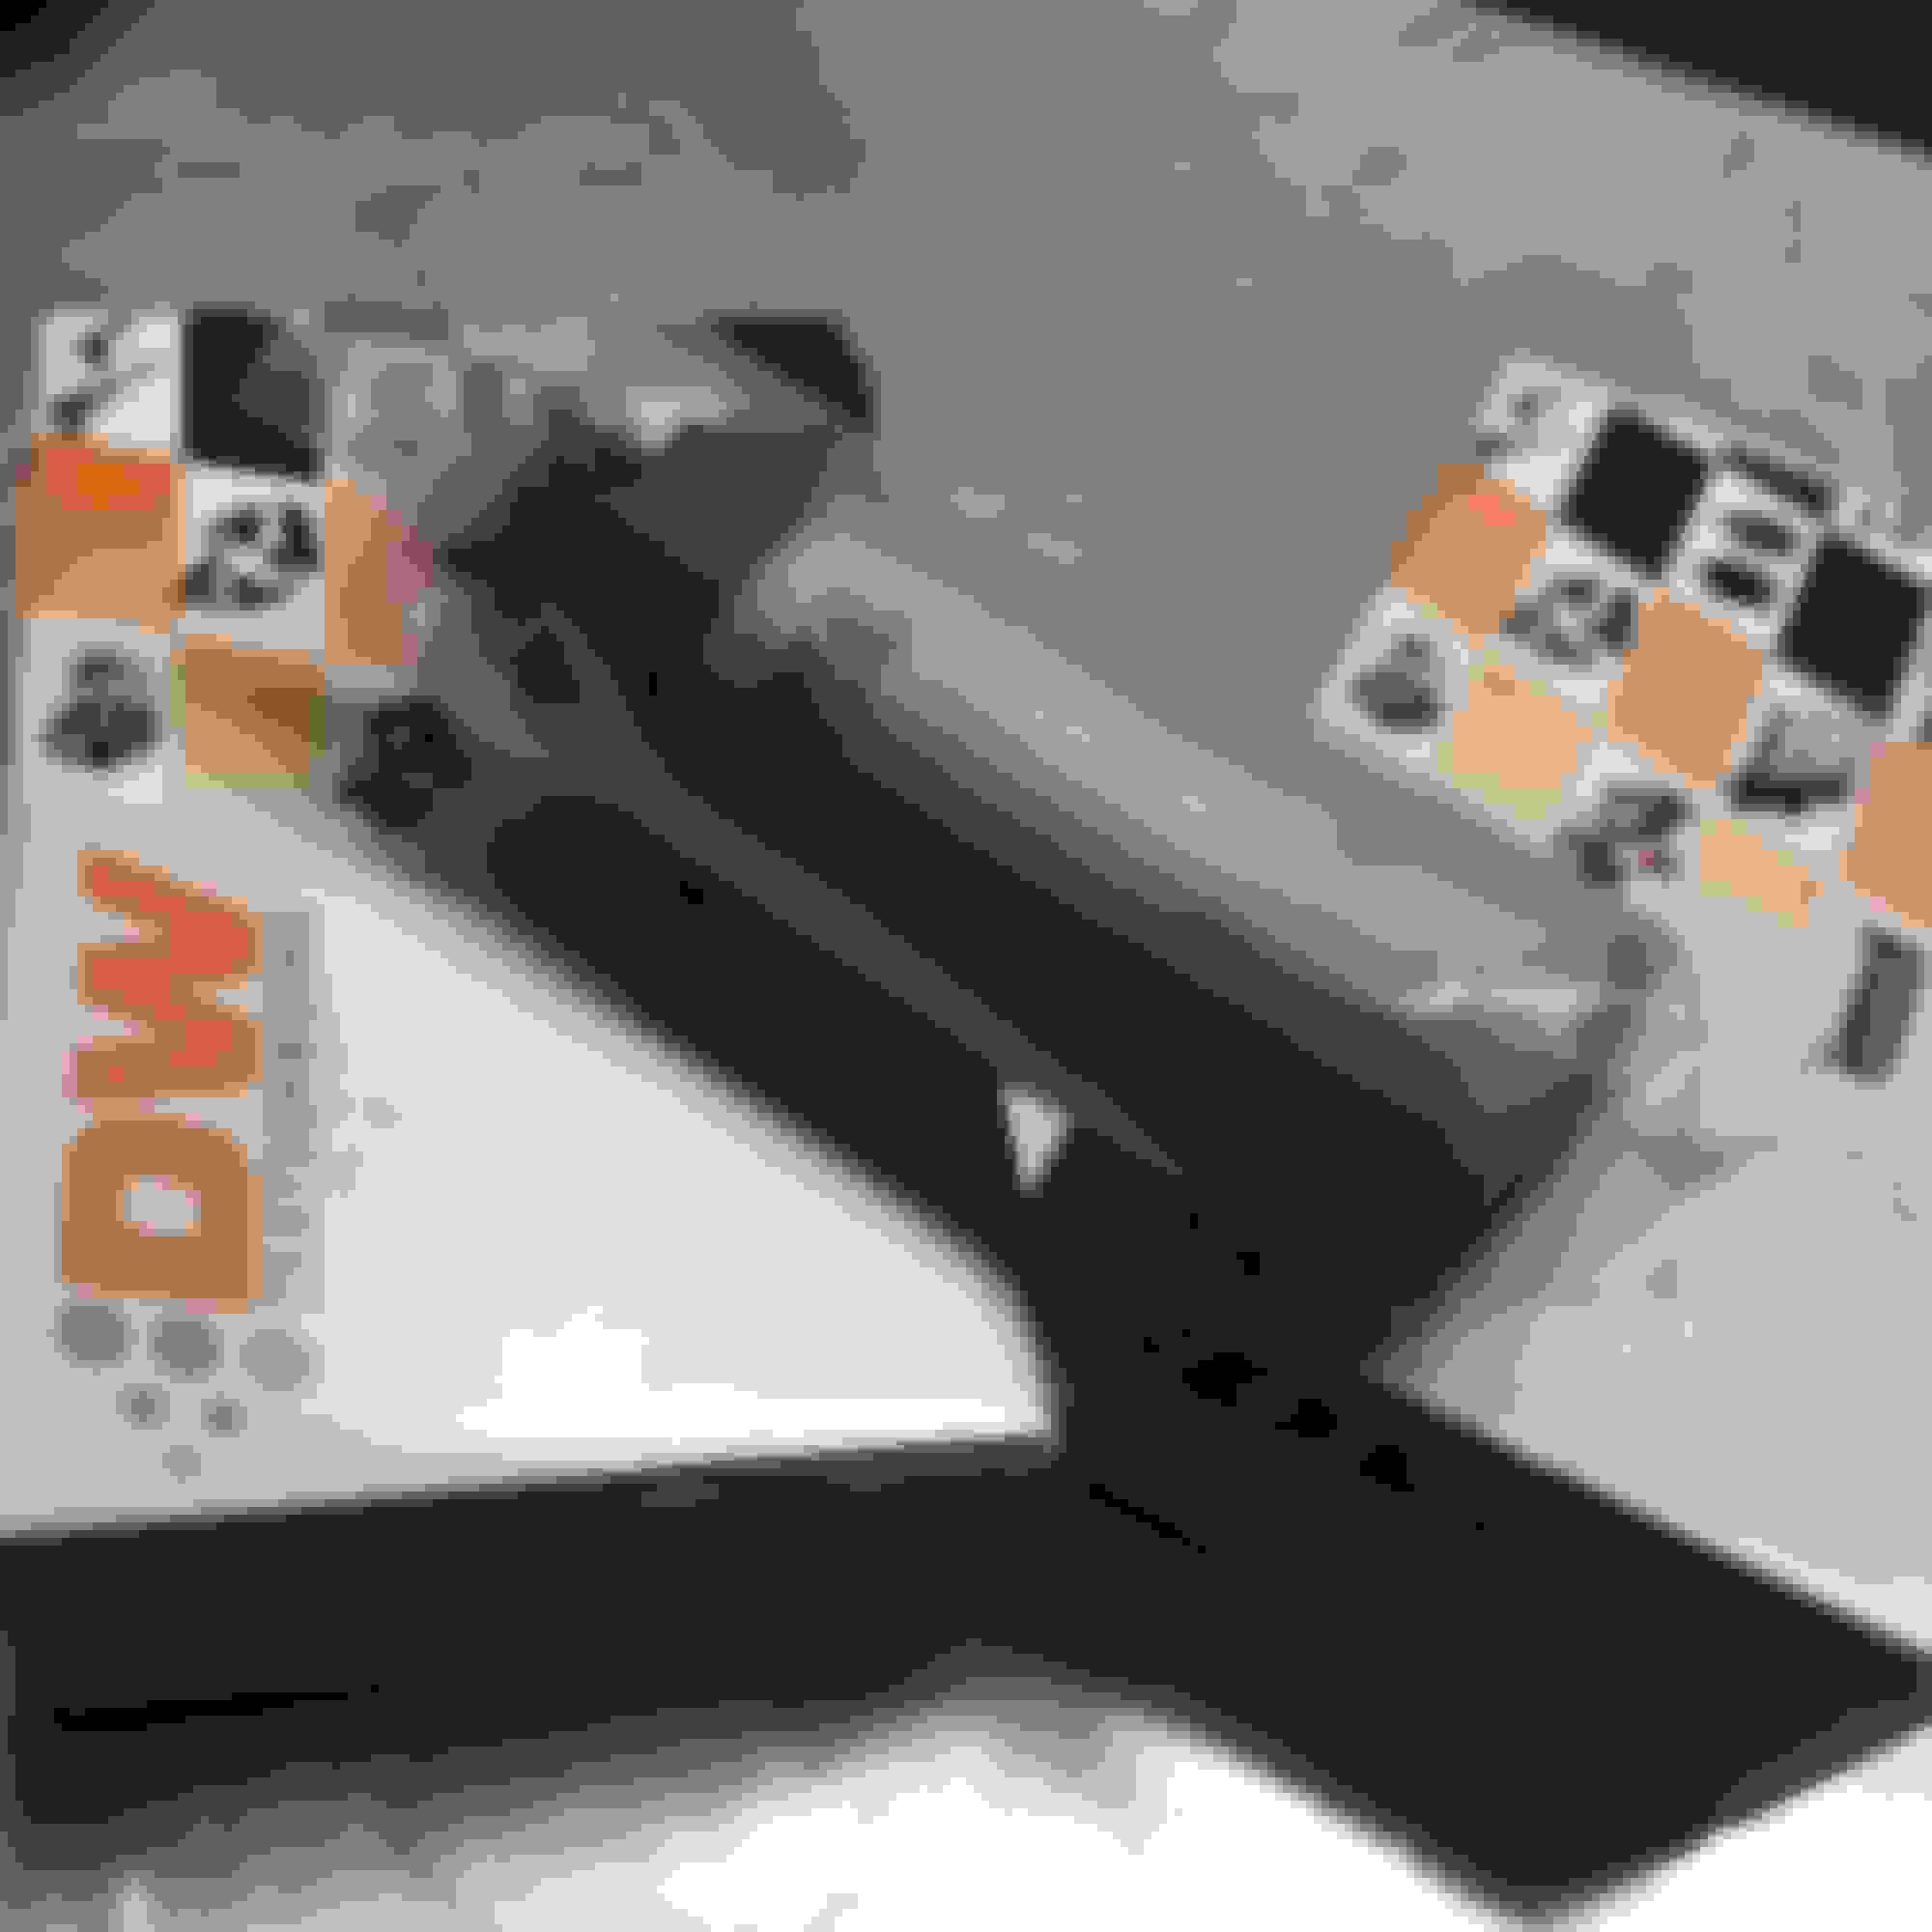
While we wait for that I decided on upgrading my ignition to the Induction Performance IGN1A kit which arrived in like 2 days lol super quick. Had an issue with a couple clips being damaged most likely during shipping but they had no issue sending new replacements which is awesome. And my fuel system arrived as well. Deatschwork DW400 fuel pumps and my Nuke Performance Fuel Surge Tank Kit and accessories.
Induction Performance IGN1A coil pack upgrade kit. Using a Wiring Specialties harness to connect these bad boys to my AEM Infinity.
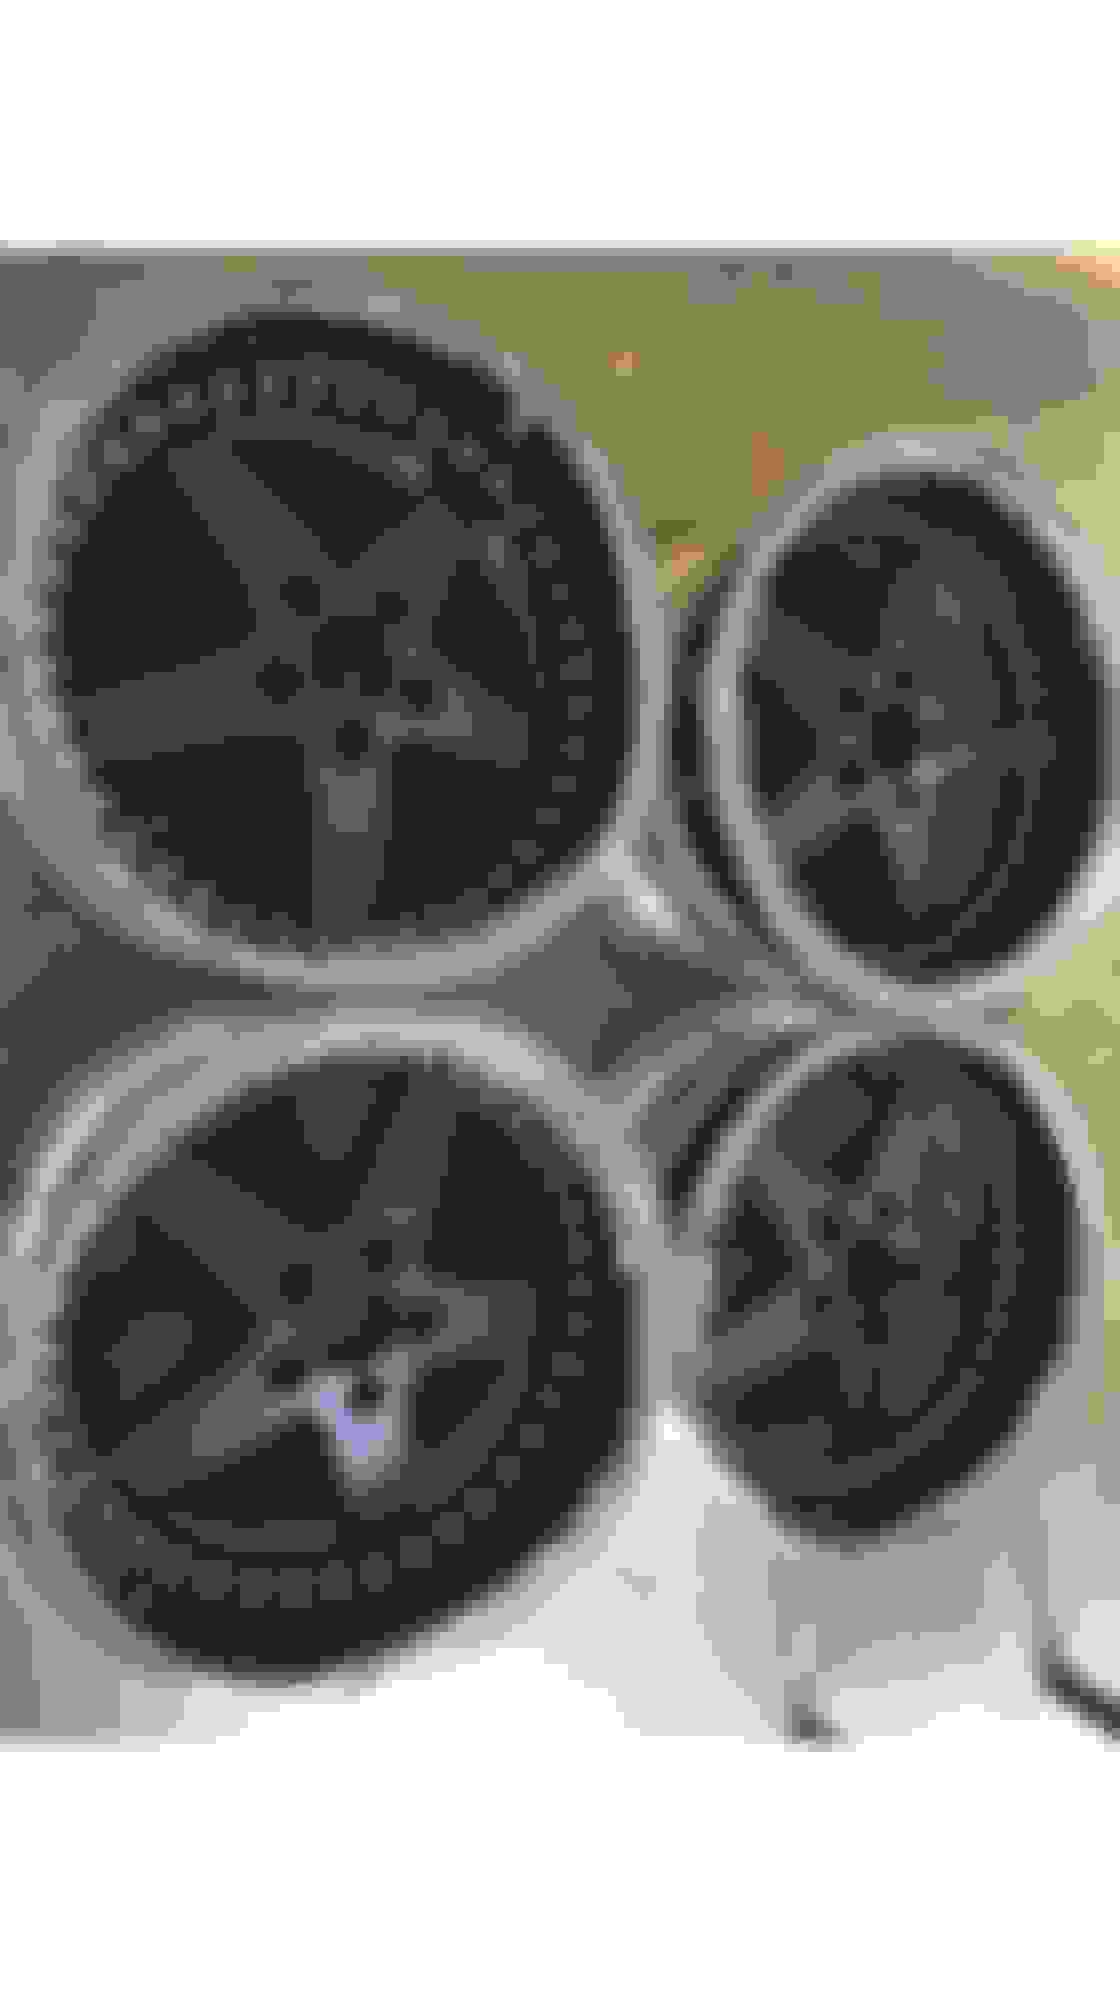
Last but not least I also picked up my dream OG wheels. Found a set of Work Equip 05s in an aggressive but doable setup and picked them up off of @devilswerk on instagram. Had a great experience dealing with David. They were originally chrome but after falling in love with the black setup I was running I had David disassemble the wheels and powder coat them. The lips went gloss black and the centres are matte black.
Fronts: 18x9.5et20
Rears: 18x10.5et20
Currently debating on what rubber to run on these, leaning towards a streetable drag radial like Nittos.
Fronts: NT05 245/40R18
Rears: NT05R 285/40R18
If you have any input on tires let me know!
Fresh Work Equip 05s built by @devilswerk specs are 18x9.5et20 and 18x10.5et20
That is where we sit right now with the build I’m hoping to have it complete, dynoed, and on the street by June.
The bare bones of the project
More updates to come!
Cheers,
Andrew
Last edited by SlowSedan; 04-25-18 at 06:55 AM.
Reason: Adding Photogs
Got some odds and ends back from powder coating, the rest of the engine parts and turbo compressor will be sent out for coating/paint when the fit and fab work are complete. Should be a really clean bay when all said and done, with the small tuck and the Wiring Specialties engine harness.
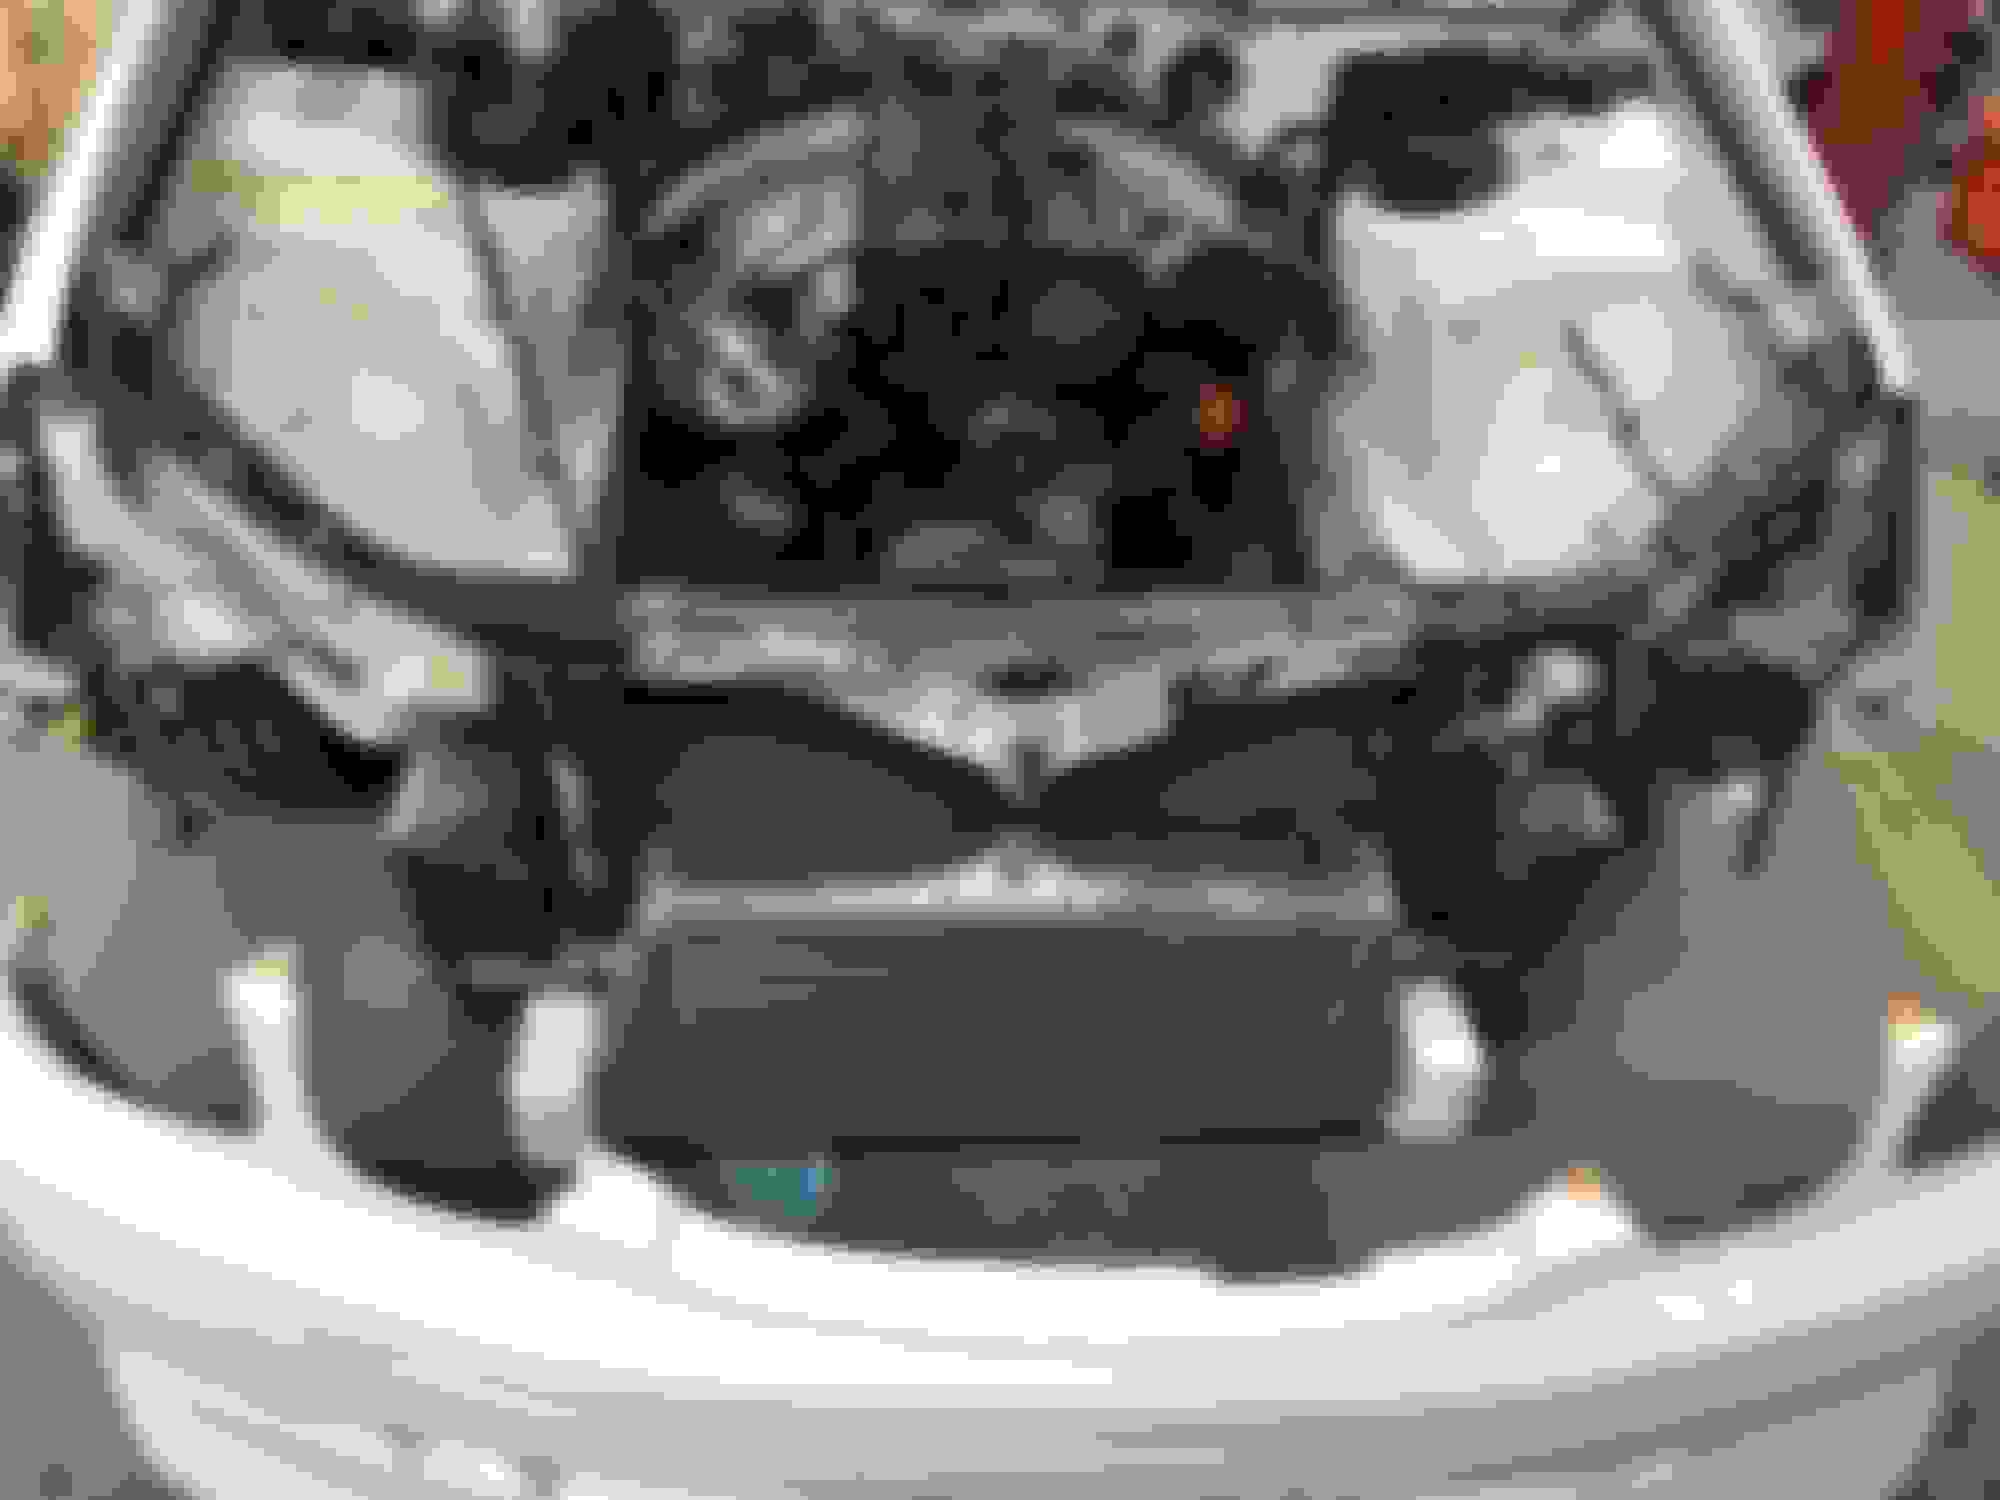
Started on mounting the Intercooler core. Will start grabbing the piping once the engine and transmission are mounted properly and in their final location.
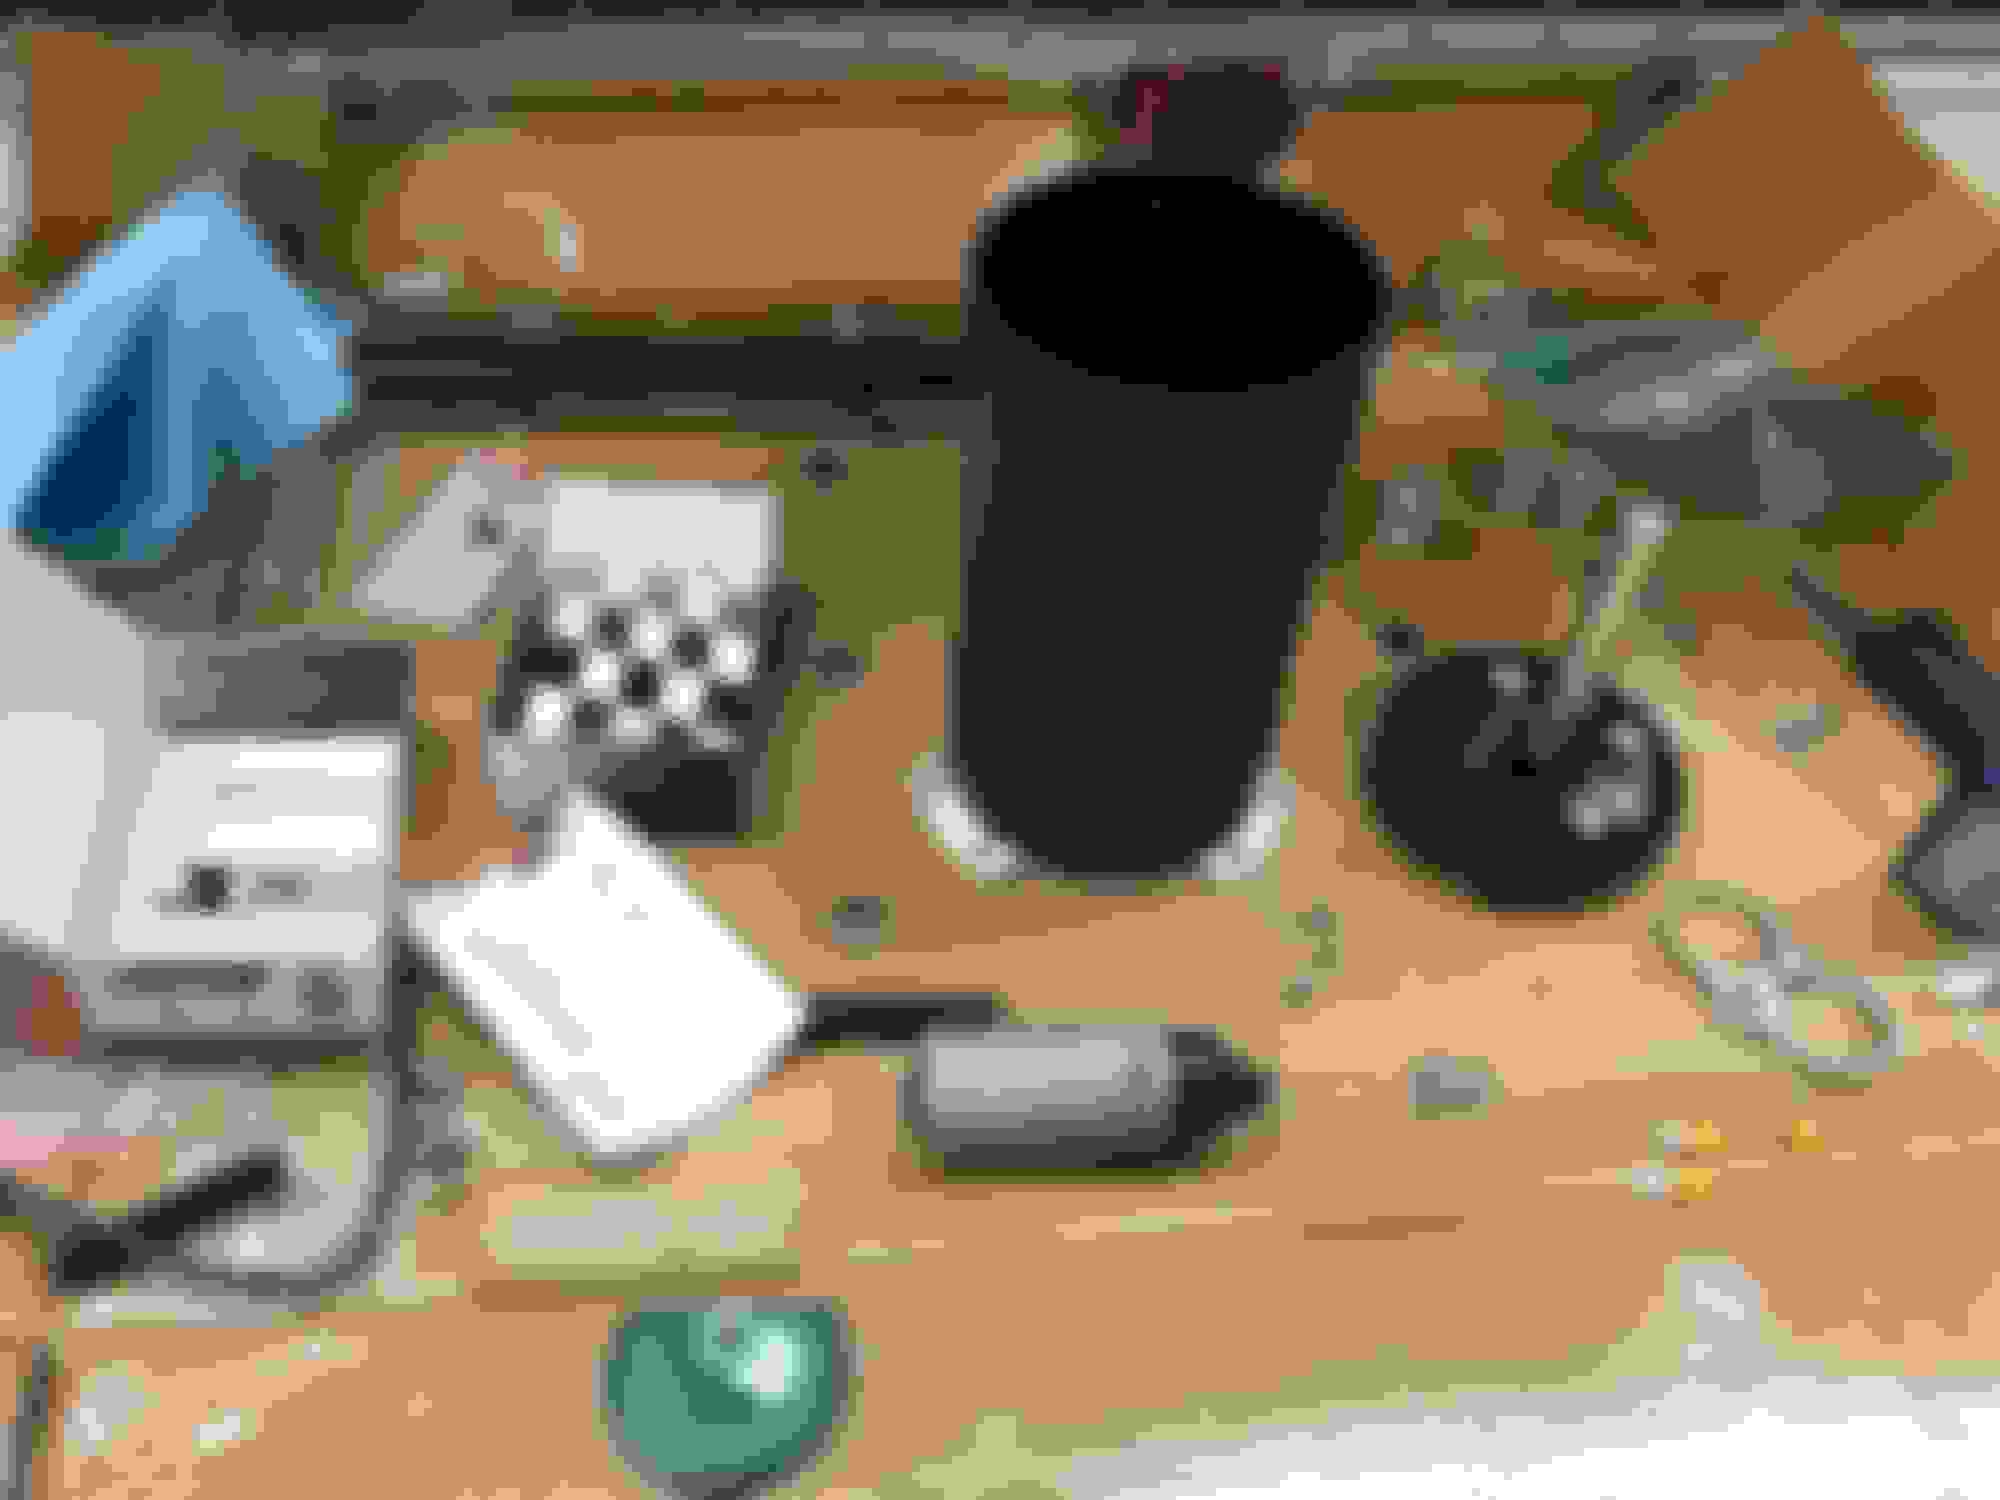
Then got got a couple packages in the mail. Received my steering wheel to replace the stock one. Should clean up the interior more, don’t need the shift buttons or anything since I went with the manual swap. Also got the climate controls so I can remove the navigation unit and put in a new head unit.
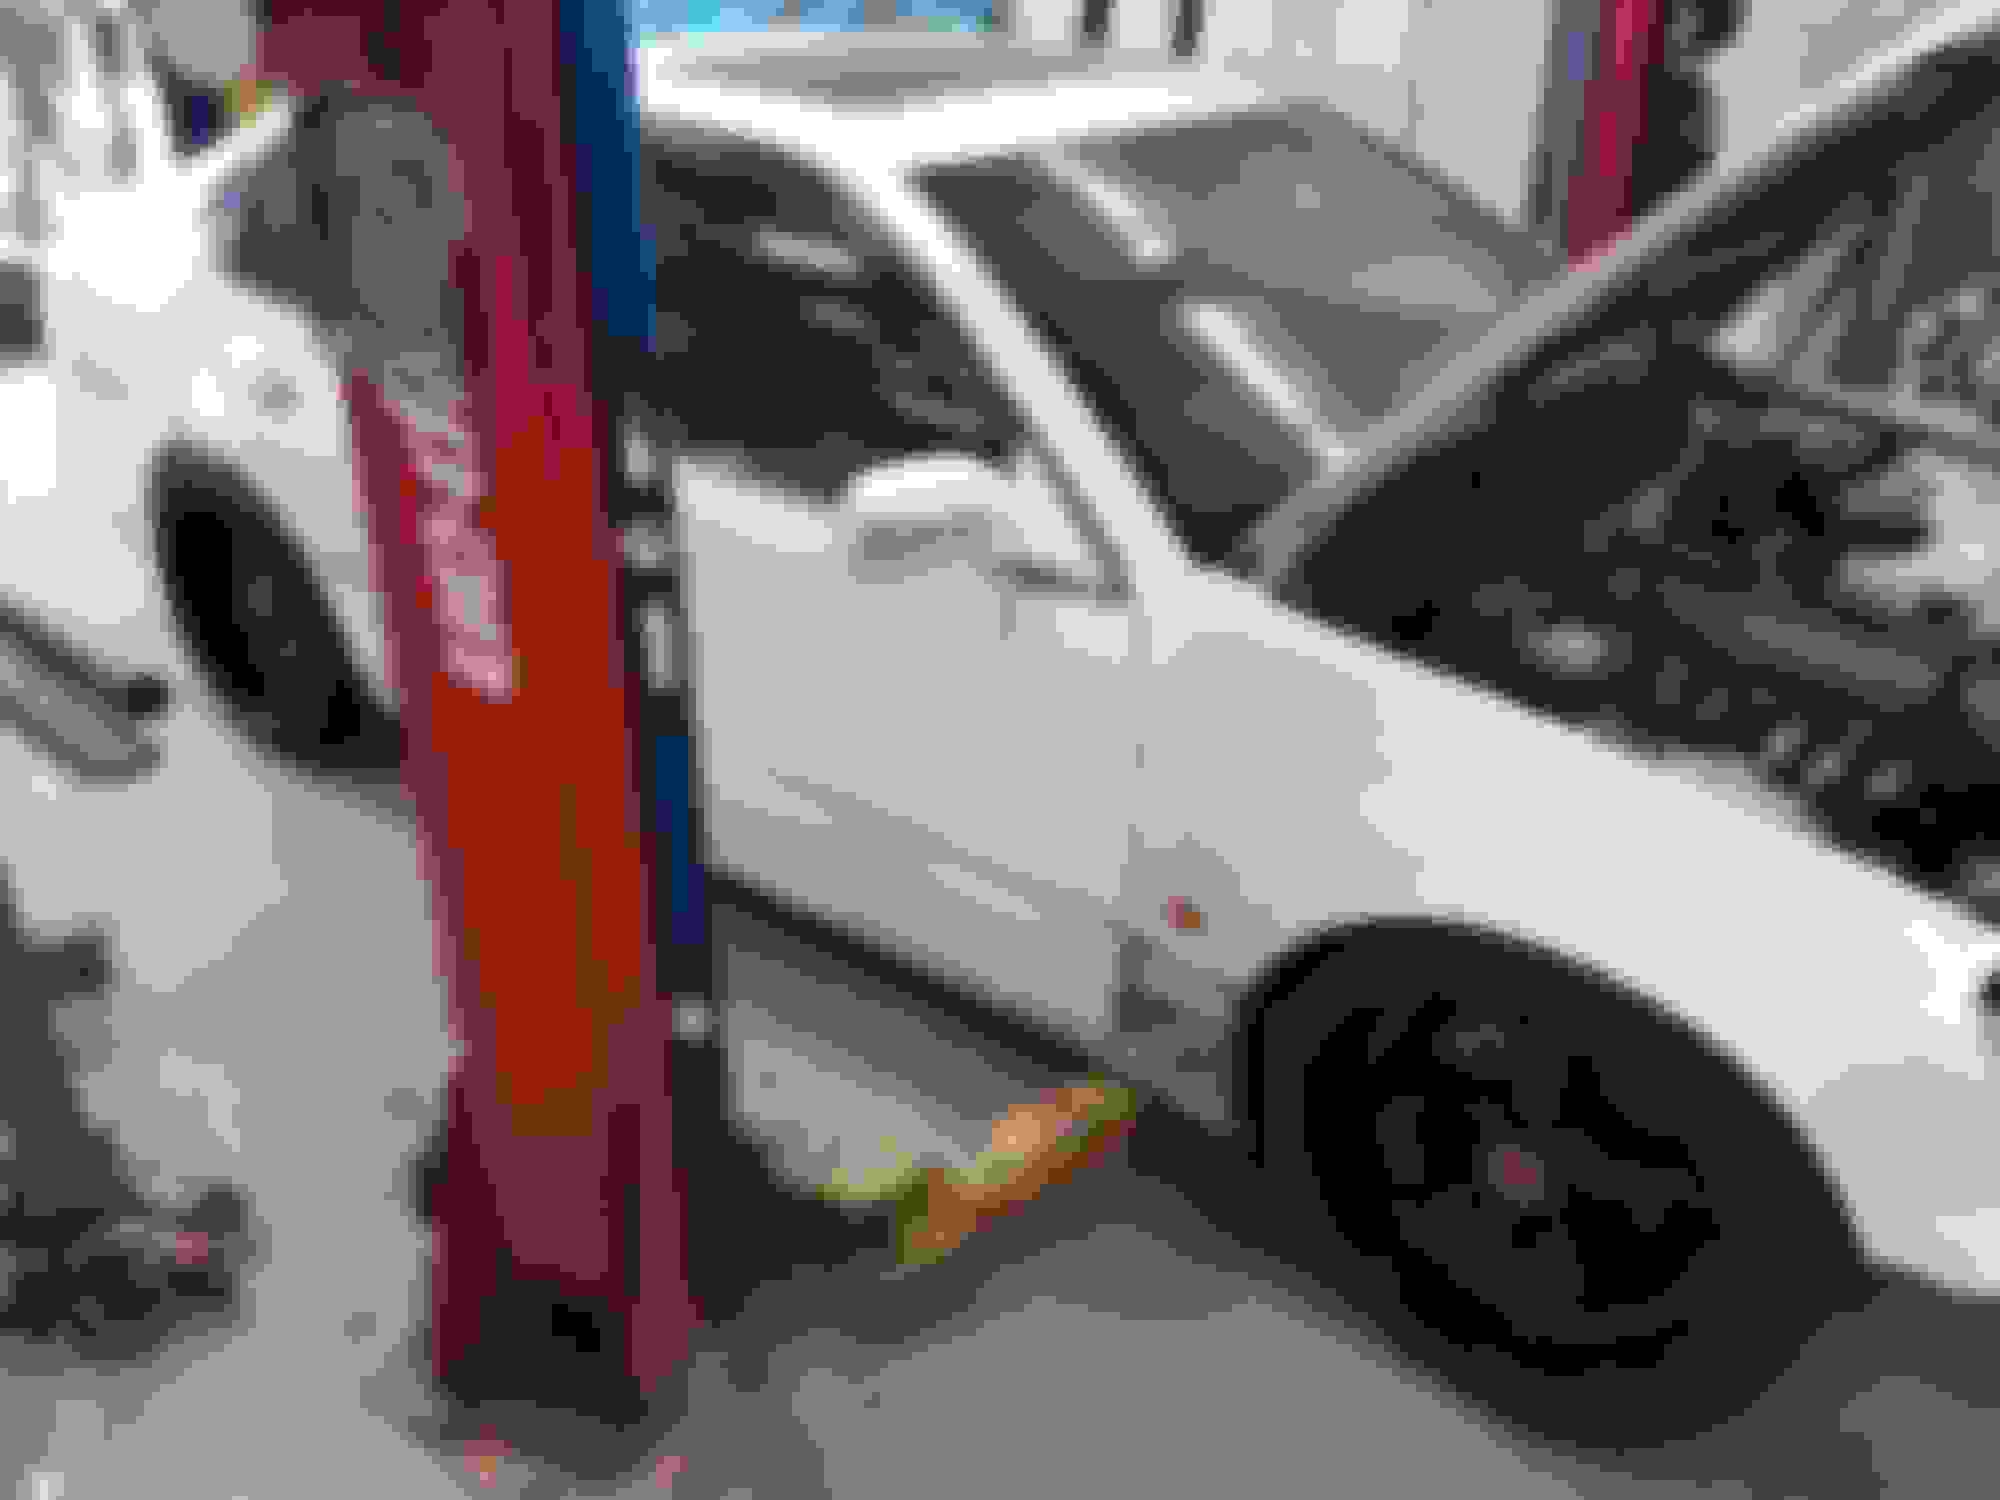
Then last but not least I finally picked up my wheels and tires. Went to the shop and test fit the wheels. Will need to raise the car for when the rubber is put on. For the tires I went with a Nitto setup, NT05s in the front and NT05Rs in the rear. Getting those mounted tomorrow then I’ll go back to the shop and do some suspension adjustments. For reference this is about -2 to -2.5 camber.
Freshly unboxed Equip 05s...
The blocks were a little high so we were reading 3 degrees of camber so I’d estimate between 2 and 2.5 degrees of the car was sitting level.
I will have to raise and readjust the camber once the NT05Rs are mounted.
My transmission crossmember is supposed to arrive tomorrow as well so the fab work can get started on the downpipe, exhaust and intercooler piping. Going to be a busy couple weeks trying to get this thing buttoned up.
My tire guy wasn’t feeling good and fell ill unfortunately after only being able to mount one tire, reached out and was sent to Russ at Kelowna Lexus. He took care of me right away and I had all my wheels mounted yesterday. Big shout out to him for sure, they just got a new setup for wheels and tires and did it for a wicked price as well. Expected to pay way more than I did.
I had to raise the car to make up for the rim width and tire sidewall height difference. Got the ride height all dialed in for now. Ran out of time and after a couple shop beers motivation haha to finish the adjustment of the camber. Will be pulling the wheels back off for safe keeping while the engine gets finished.
Got the new transmission crossmember yesterday as well and it was the wrong one again, received another one for a Supra. So the proper one got sent out and is scheduled to arrive today then we can continue to make progress.
Here’s some shots of the Equips mounted up.
Will try and get some more photogs on the other things we’ve had on the go on the car.
The correct transmission crossmember arrived so this happened. Which is huge, we got the transmission installed with only a little extra massaging of the tranny tunnel. Shawn got the rest of it all assembled and bolted up for a test fit of the shifter location. Happy with the quality of the SerialNine kit.
While that was happening, I assembled the Nuke Performance Fuel Surge kit. It’s a 3L tank with 2 DW400 fuel pumps. Super slick kit. Love the high quality of it.
Induction Performance wasted no time getting the new coils shipped and the shop mocked them up. Looks pretty much full racecar with the setup on. No complaints here, love the look.
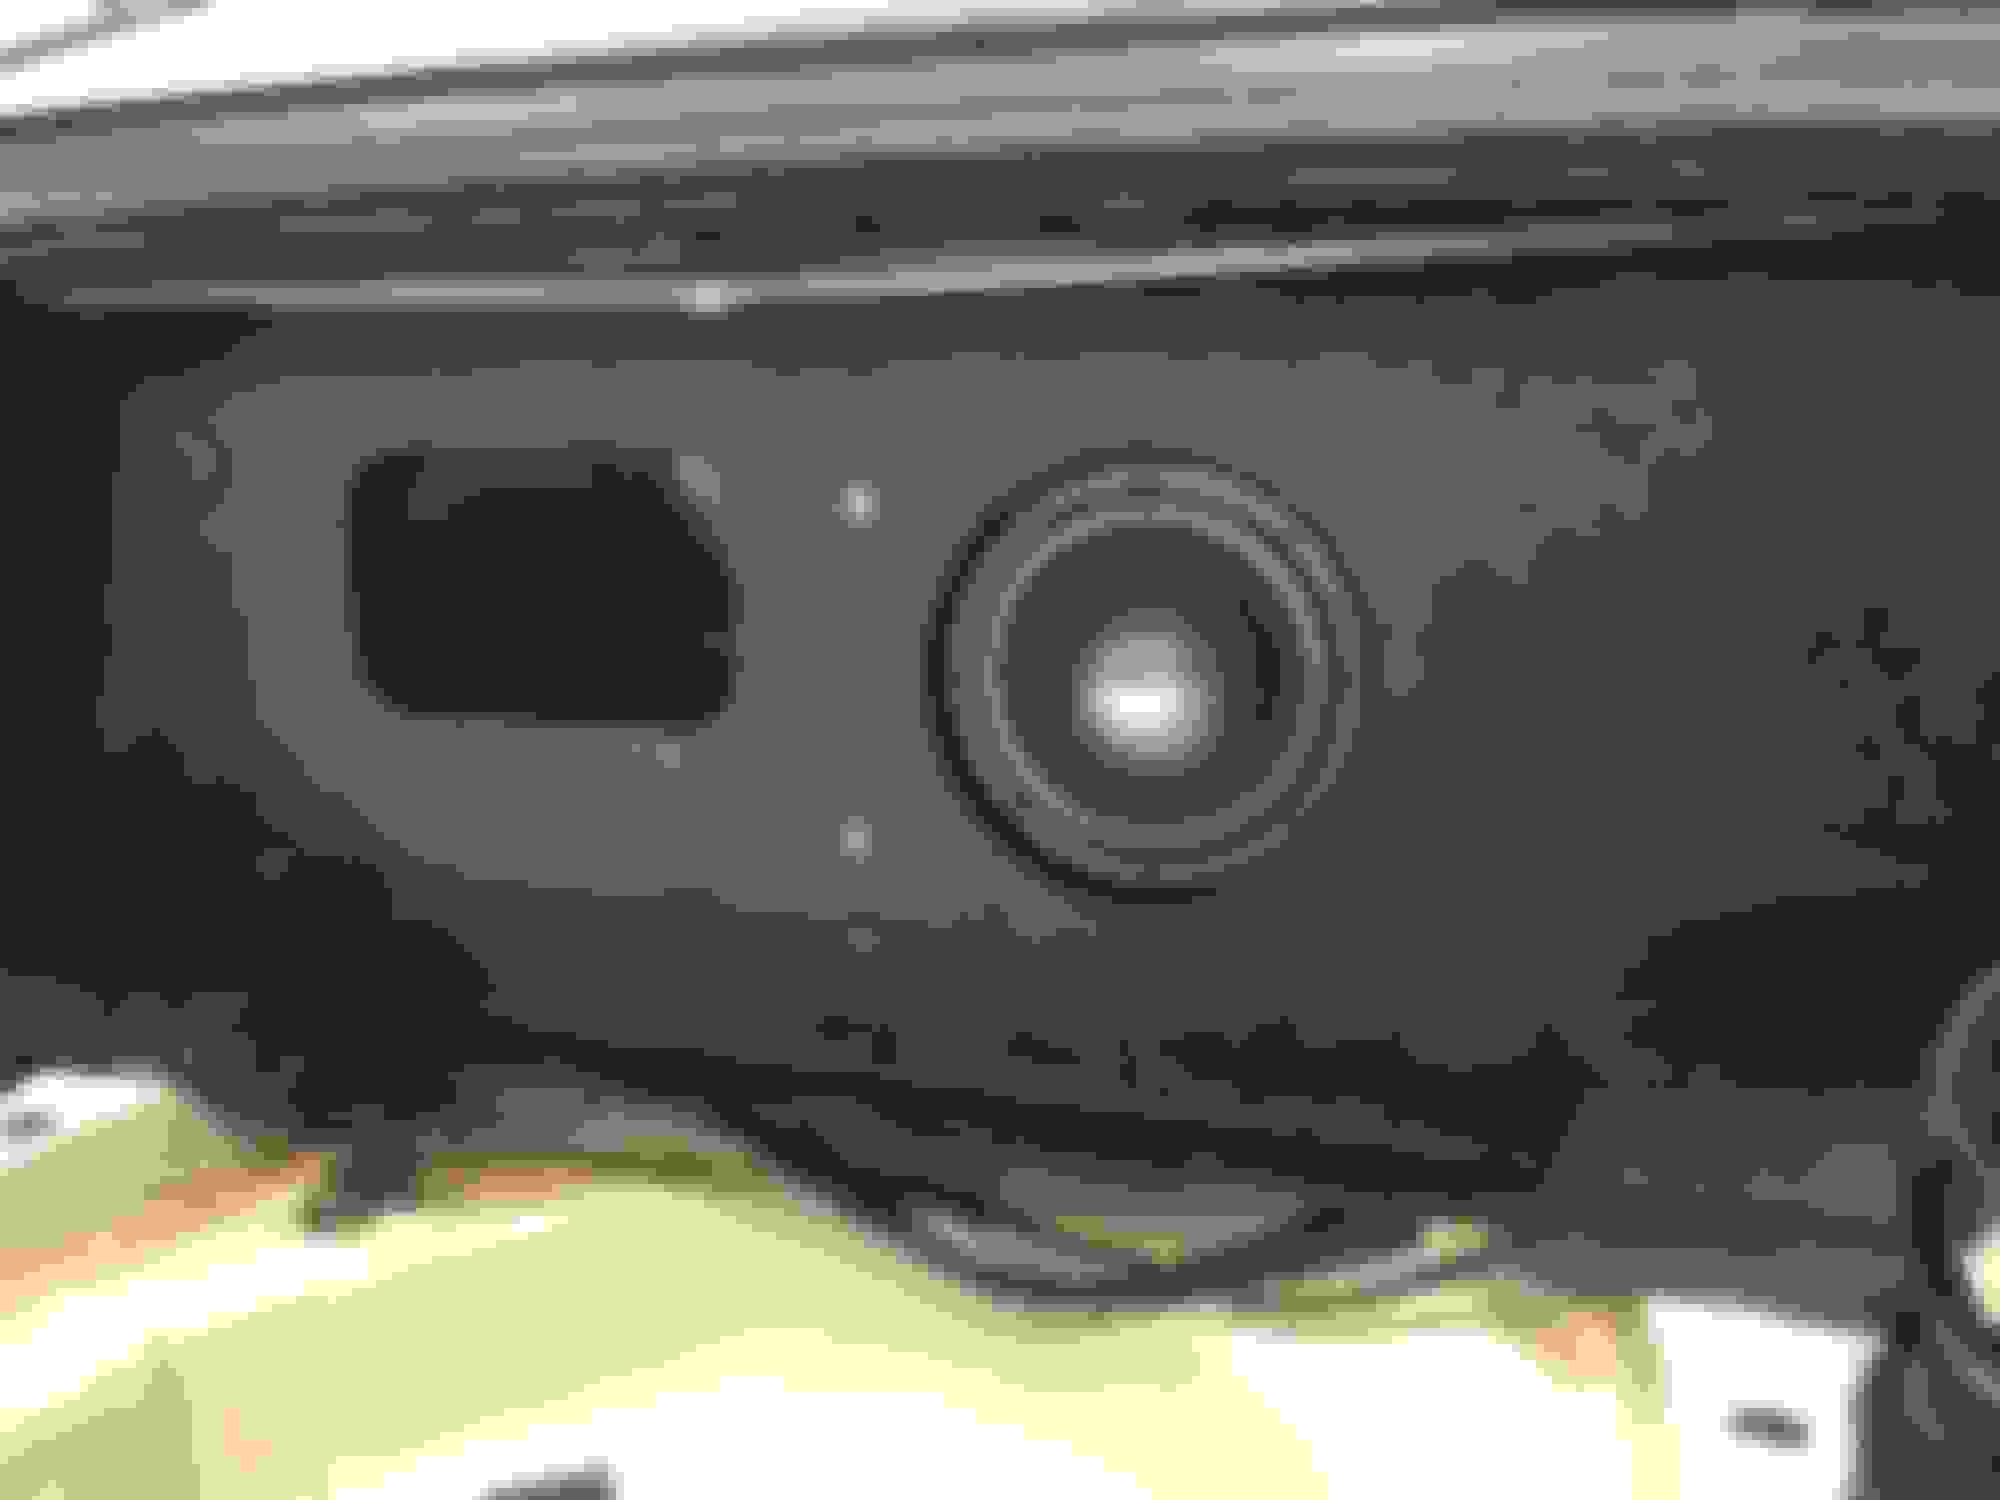
Took a photo of the trunk setup Custom Car made for me. This is sans floor mat but you can picture the carpet in the trunk makes it a clean install. The amp, air management and tank are in the window on the left of the sub.
Next update should include most of the fab work and install of the surge kit and water/meth in the trunk if everything goes smooth.
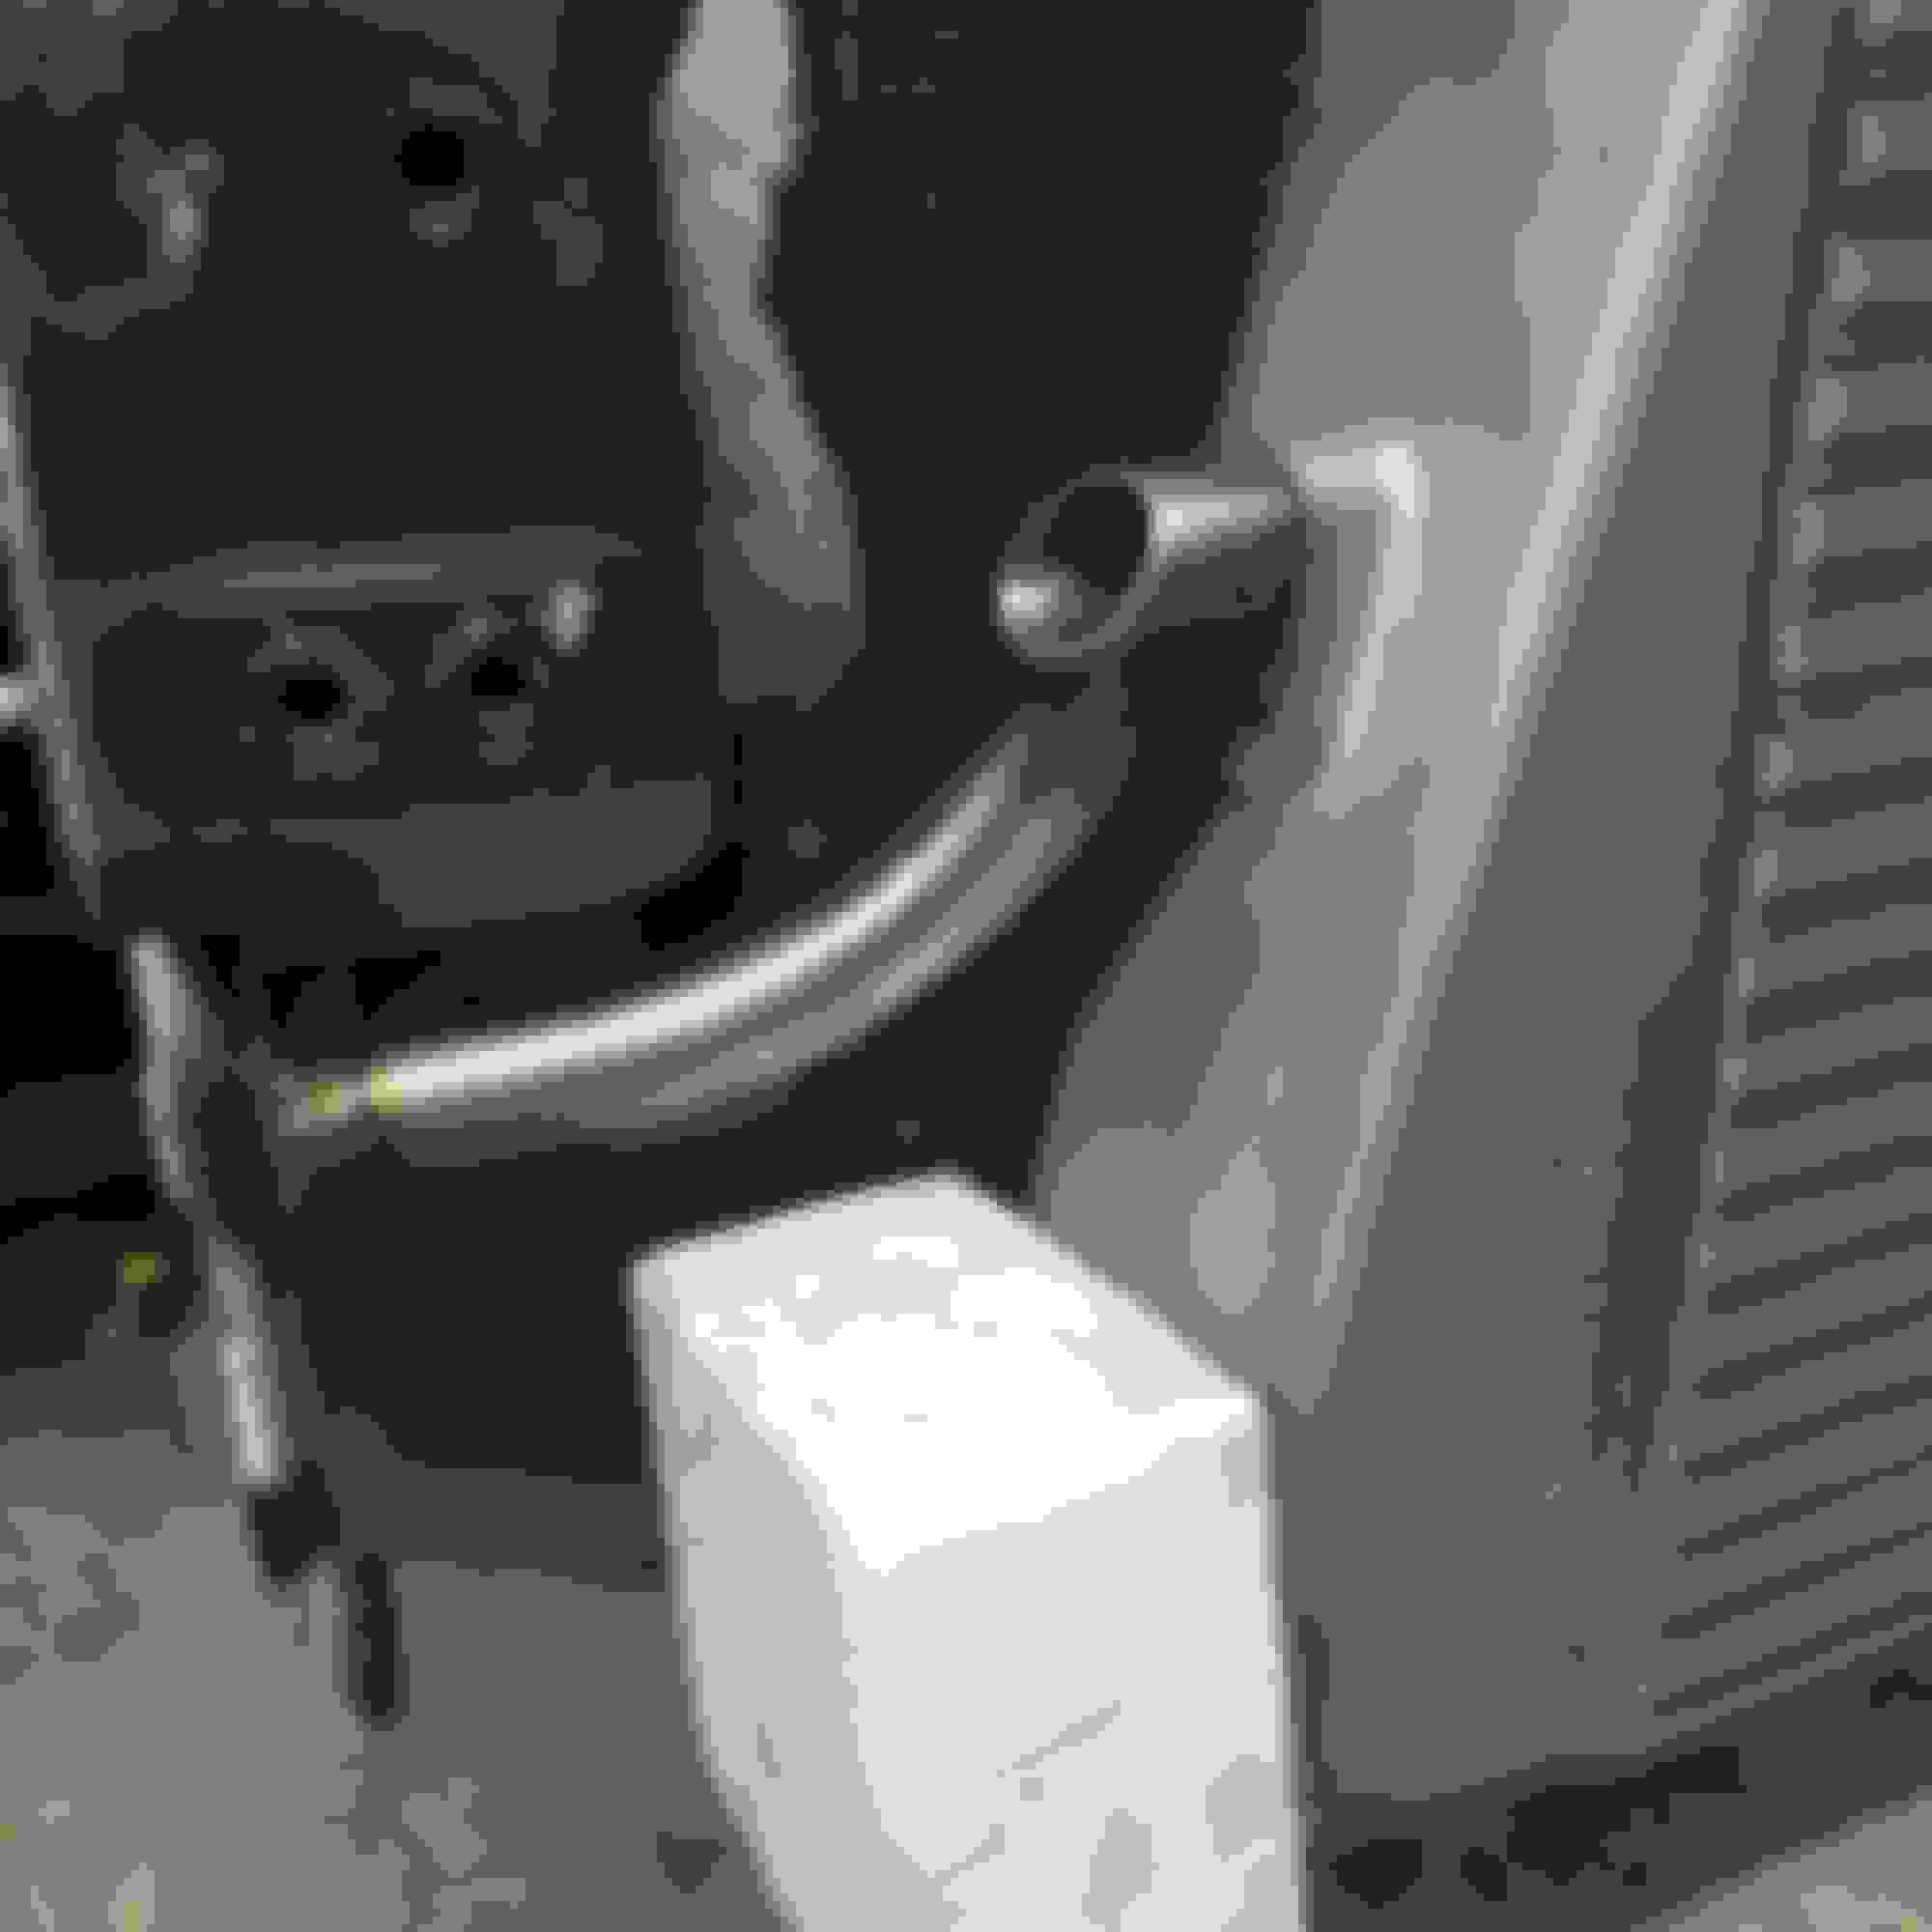
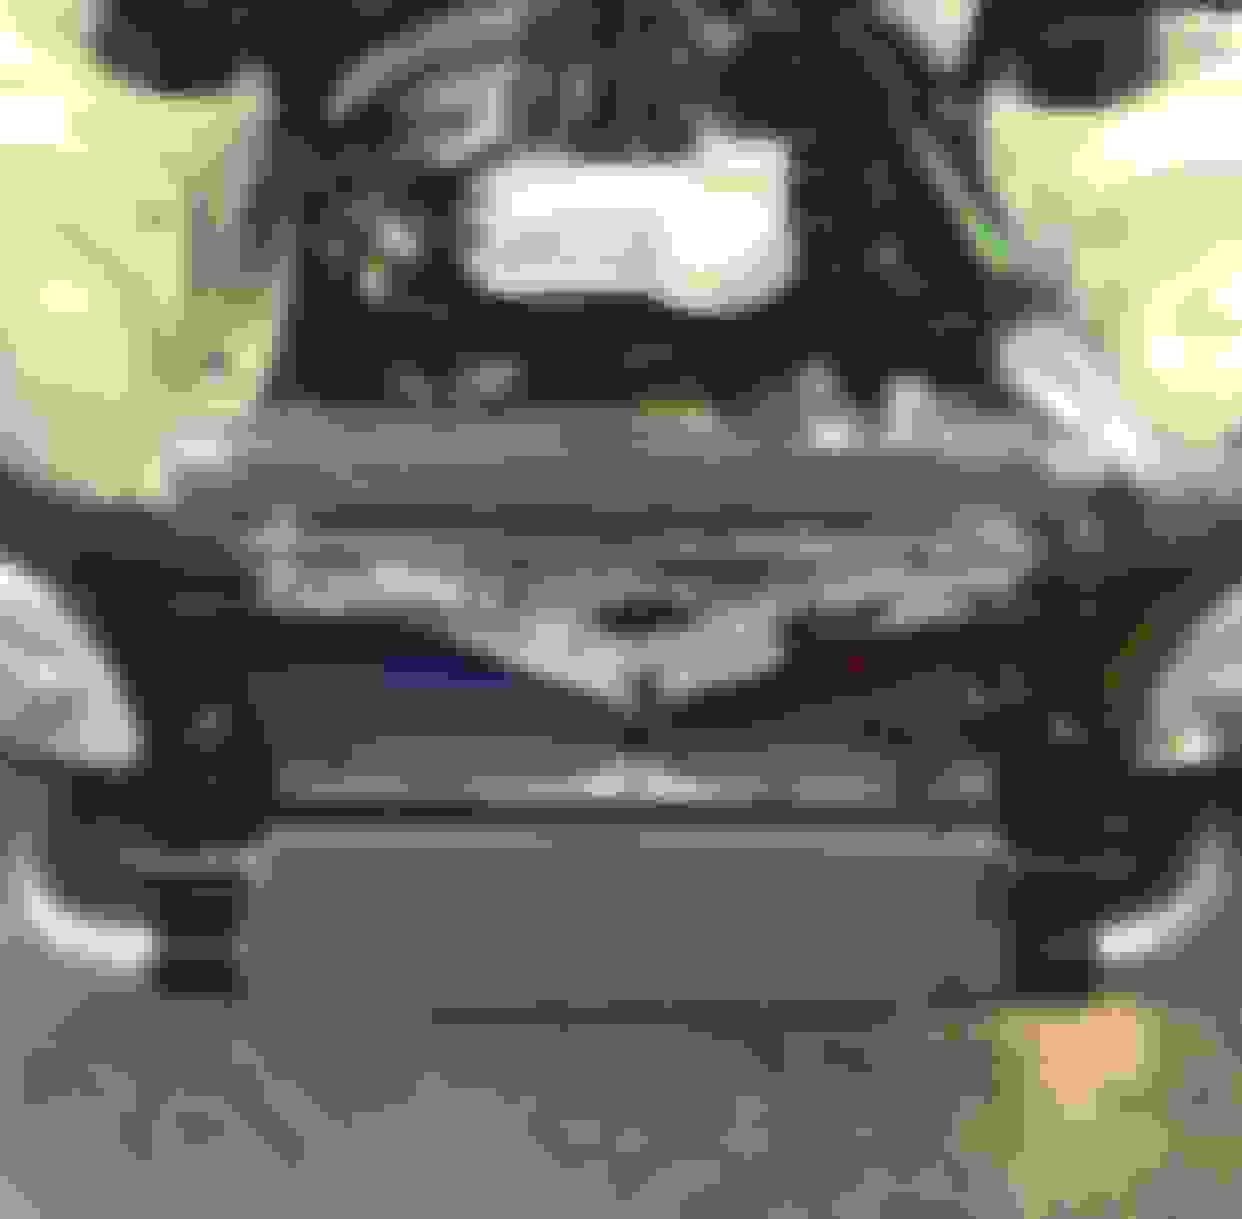
Been away for work but have gotten a few small updates from the shop. Retrofitted a jza80 Koyo radiator to work for the Aristo. Got it installed and fitted nicely then worked on the intercooler piping, they said they had some fun with the 3.5” cold side because of keeping the A/C. Then Shawn finished the catch can/battery mount. Also a small update on the trunk setup (Fuel Surge and Water/Meth). Waiting on more fittings and the new turbo spacer so we can do the exhaust. Having to shim the turbo quite a bit about 1.5” for clearance issues. Contacted Hypertune about the ‘guaranteed’ fit and they apologized, not much we can do now but cut it up and shim the turbo to make everything fit nice. Some photogs.
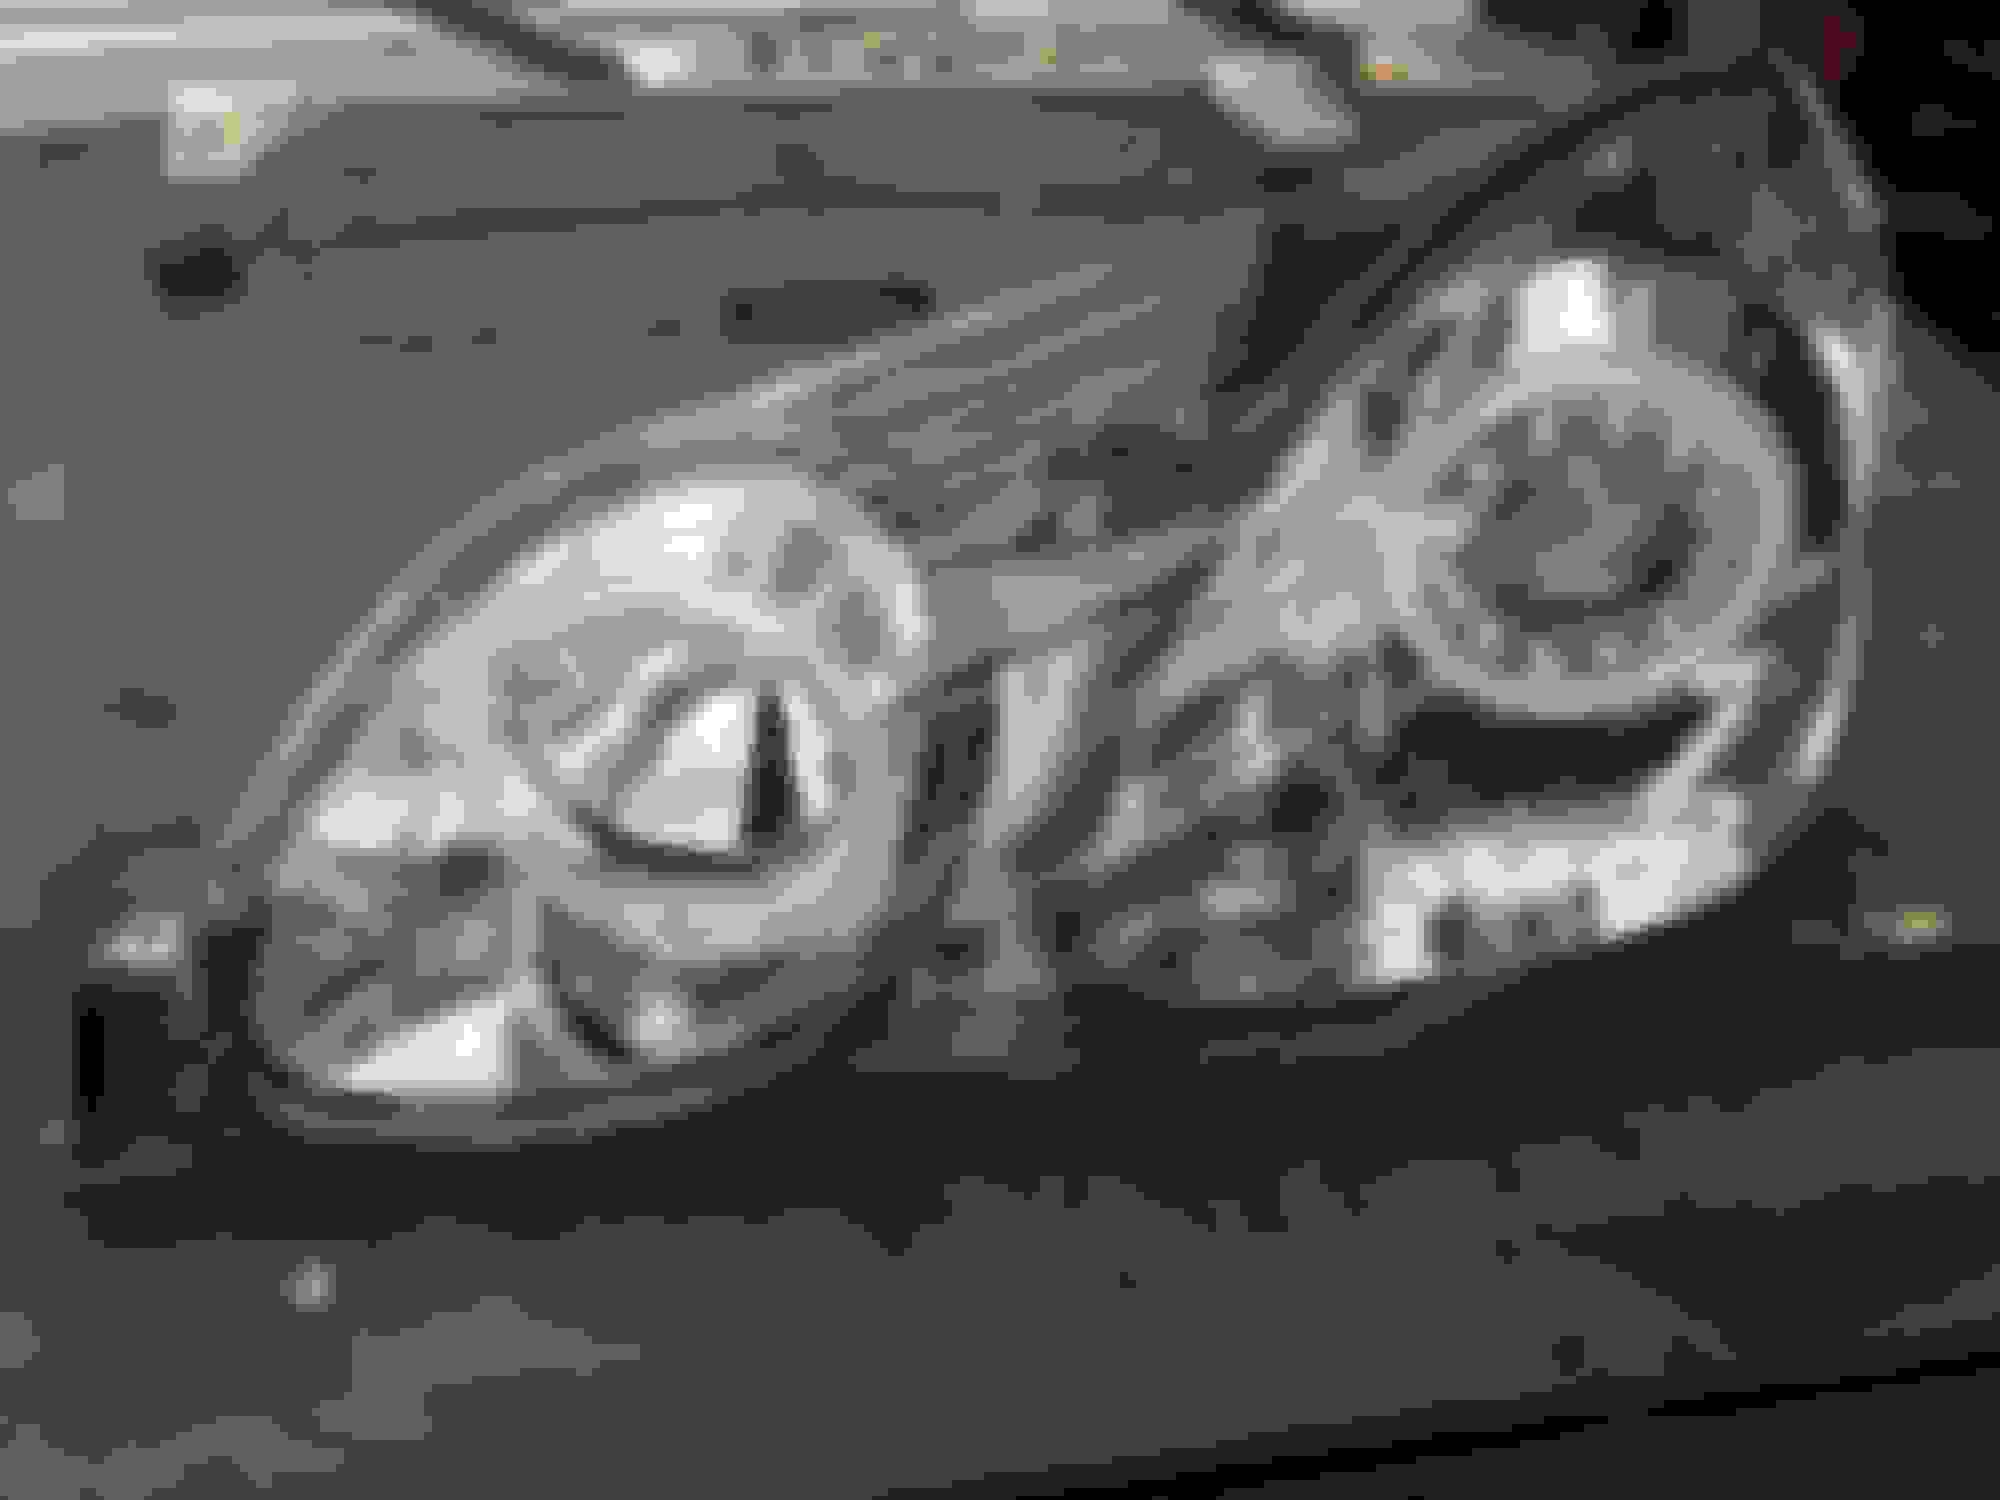
Also grabbed some eBay headlights for now instead of having to keep restoring the originals. Plus the original Equip center caps arrived as well.
 04-24-18, 08:31 PM