When you click on links to various merchants on this site and make a purchase, this can result in this site earning a commission. Affiliate programs and affiliations include, but are not limited to, the eBay Partner Network.
maybe do the reverse of what we do from this thread https://www.clublexus.com/forums/gs-...e-big-pic.html and drill a hole a little bit further back instead of forward so it provides less pressure and sits more flush
Thanks for the link, definitely will be taking a look at doing this. I think you’re right that with the lighter trunk a little less spring tension may also help it sit more flush as well. Appreciate the suggestion.
Been a while since an update, been working and enjoying summer.
Everything is back from powder coating and paint so final assembly started.
Clutch installed, got the third pedal working now. I went with a single disc clutch because I want to have a bit more mellow of a clutch to start. We will see how much power it will hold before it starts slipping. Right now my brother has this same clutch in his 546whp single turbo IS300.
Intercooler and intake back from powder coating.
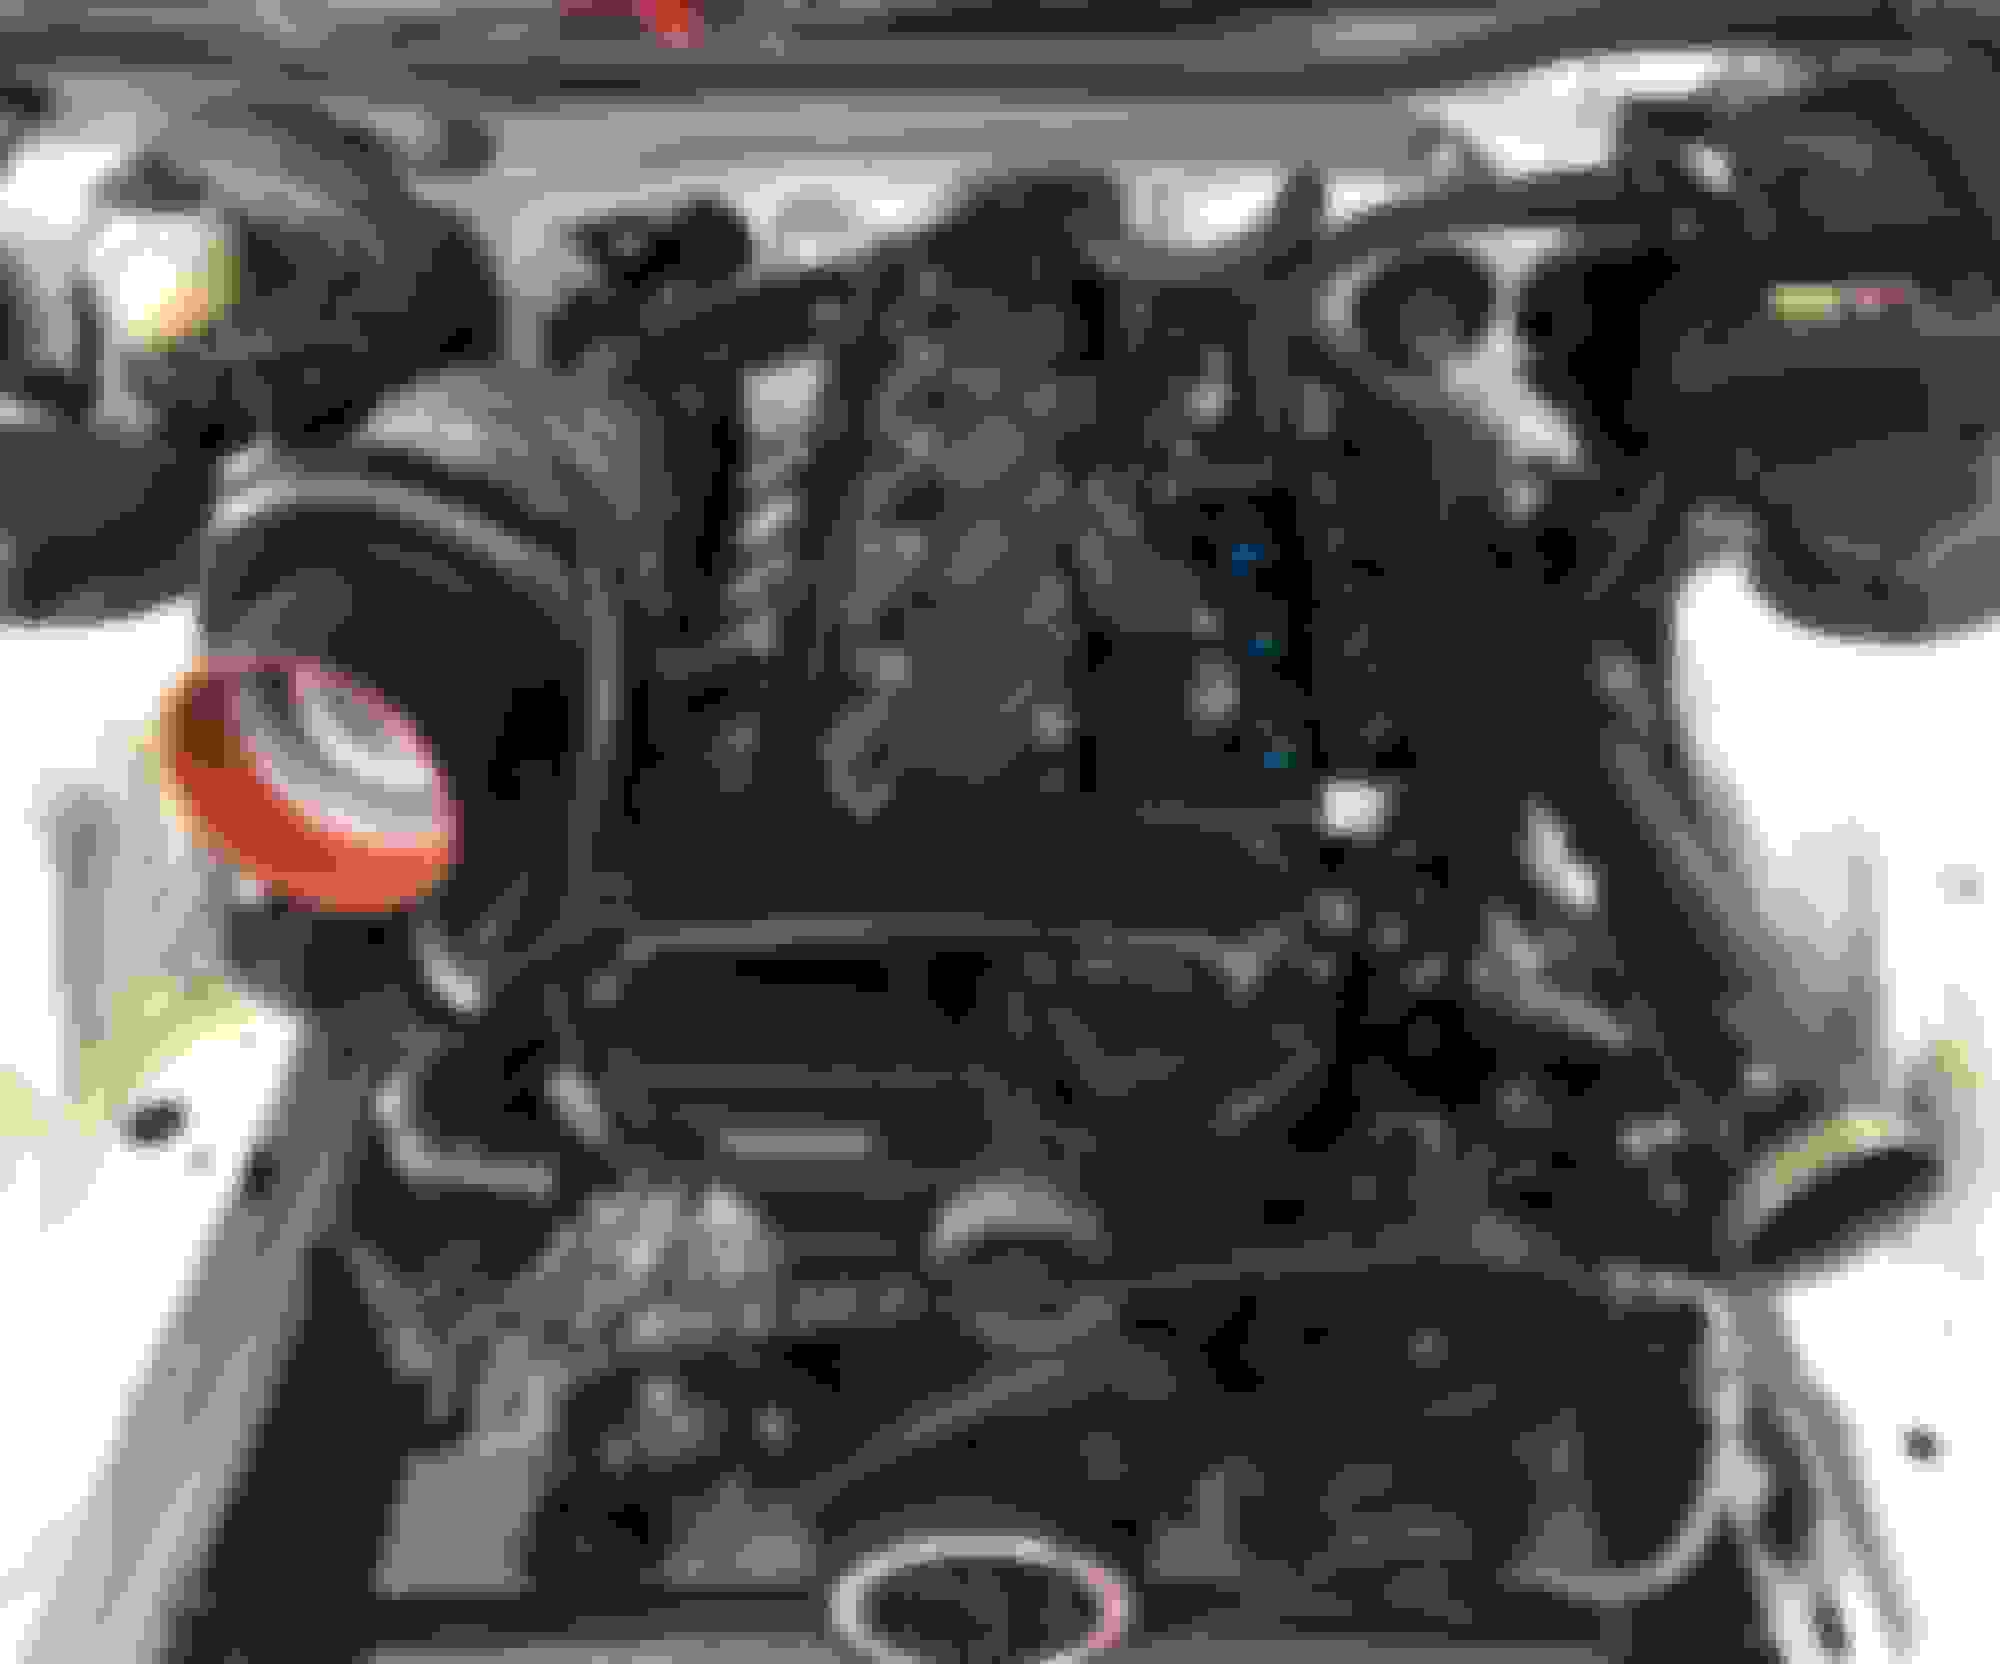
Engine in and coming together.
Today we finally got some fluids into the car. Power steering fluid in the dual reservoir catch can. Engine oil is in! Transmission fluid is in!
So where we sit now is I pulled the fuel pumps from the surge tank today, we found out the pumps didn’t have check valves in them so we hit up Deatschwerks and they’re sending us two pumps right away to swap out free of charge and we’re returning the original ones. Great deal with them. Once the pumps arrive and we install them we can try and start this thing. Getting close, need to clean up a few things and sort out some small stuff and she’ll be road worthy.
Last edited by SlowSedan; 08-03-18 at 09:36 PM.
Reason: Grammar
Been a busy past couple days. Thursday we got the fuel pumps from Deatschwerks. Shawn was taunting that his basetune had already been loaded and that we could theoretically start the car with a little bit of work lol. So I tore into the reassembly of the fuel system. Rechecked all the wiring in the surge tank, installed the pumps, and then flushed and air blowed all the associated fuel lines. I filled the cooling system and Shawn finished up some wiring and when that was done we started prepping for the first start.
We left the surge tank fuel pumps disconnected from power and used the in tank fuel pump to flood the surge tank system, then pressurized the lines by power probing the pumps individually to confirm the surge tank circuits were good. Set the fuel pressure regulator. Things were getting serious.
Shawn hadn’t finished wiring up the ignition circuit yet (Neutral Safety hadn’t been jumpered, and still had to remove the old security alarm immobilizer) but we could still probe the starter to get the oil through the engine and ready for a start.
Pulled the oil line from the turbo and started turning the car over to get the oil primed. As we were doing that the engine almost kicked over and started with the standing fuel pressure in the system. So we decided to wire up the pumps and go for a start. Added a little oil once the turbo oil line was primed and reconnected, we were ready for a crack at starting it.
Felt so good to have it turn over and hear it start even if it was for only like 8 seconds. We were waiting for one part back from powder coating and then we could assemble the front end and reinstall the intercooler and piping.
Friday was about buttoning up the electrical, Shawn was going for a key turn start. I took on the brakes and swapping in some new rotors and pads, and painting the calipers. And we got enough back from powder coating to assemble the front end. Prior to installing everything Shawn finished the electrical up and he started the car for the first time with the key. It idled for a couple minutes and definitely sounds pretty choppy when it runs rich. Haven’t started the car with the turbo connected yet, but we are now at a point where we can finish assembling the front end after a little bit of wire management. And then drive the car if we wanted?! Seems crazy to think.
The to do list is getting short. We have to install the CAN gauge, confirm all the gauges in the cluster are functioning, install and wire up the water/meth pump, confirm air conditioning is functioning with the new climate controller (it was functioning with the Navi). Might be a couple other little things along the way, but we are close to a functioning car again.
Firelizard is right. The rotors just came with a black zinc coating. Kind of nice not having to paint the hubs black. The actual surface that the pads will touch will turn to regular steel after the first drive.
Last edited by SlowSedan; 08-13-18 at 05:26 PM.
Reason: Words
Been a productive couple days. We got the front end assembled and started testing the lights. Everything is working great. Shawn played with the base tune a little, we had the tune setup for our original injector sizing we were going to run before we upsized when we went full flex fuel capable. Once he had that uploaded he made a few part throttle map adjustments and after a small wire tuck and a few well placed cable ties. It was time to setup and test the clutch and brakes. This was the first time testing the brake setup after deleting the electronic ABS. We had to adjust the clutch pedal because it wasn’t fully disengaging. Then after a couple slow movements back and forth making sure the brakes were working. It happened! We backed the car out of the shop under its own power. Then a few laps making sure the brakes felt good and the clutch was working. Another milestone in the build, it runs and drives.
After some discussion we are going to replace the clutch master cylinder with one with a little larger bore. Finding that the pedal is using all of the possible throw to disengage.
We got the last piece back from powder coating finally so we were able to fully install the front end of the car. I finished tucking the last of the wires on the passenger side after we installed the fender and headlight. Last thing to install is the bumper and it will look like a car again.
Build exhaust
Build Radiator overflow tank
Water/Meth Pump install
Build Windshield washed fluid reservoir
Install boost controller setup
Swap out clutch master cylinder
Final interior work - gauge, climate control and cluster
Install wheels and adjust alignment
Wrap vehicle
Finish stereo install and trunk setup
Leather shift boot
Off the top of my head that’s where we stand. When that’s all done we break in the clutch and then dyno tune her. See what this girl is made of.
Last edited by SlowSedan; 08-15-18 at 11:23 PM.
Reason: More info
I also adjusted the trunk lid for a better fit. Ended up adjusting the springs and slotted the holes on the latch for a little more play. Might be able to see in one of the videos the trunk no longer sits crazy high when closed.
this thing is going to be a beast, what color wrap are you going to do?
Thanks, yeah definitely curious to see what we are going to put down on pump gas and meth. Stayed true to the goal of 800whp on pump gas and A/C lol. See if we can hit that. The wrap isn't going to be anything fancy just keeping it clean. Staying white, I wish that matching the tri coat pearl was easier so I could keep the current paint job but oh well. Simple gloss white body with a gloss black roof. Keeping all the chrome, and going black where the faded carbon fiber stick on pieces were on the pillars. Really just want an understated clean bodied Aristo. Nothing fancy. Wheels are classic Equip 05s which i feel goes well with the clean body.
Originally Posted by tmf2004
what a great build.
Thanks man, appreciate it. Been a journey to this point and the boys at Four Function Autosport have killed it. Almost all of the build credit goes to Shawn ( @DriftUnion ). He's done an amazing job with the fab work, and Justin ( @wakkagir ) helping out along the way as well. Highly recommend them.

 07-14-18, 09:51 AM