When you click on links to various merchants on this site and make a purchase, this can result in this site earning a commission. Affiliate programs and affiliations include, but are not limited to, the eBay Partner Network.
Decided to try wet sanding a fog light real quick. Hit it with 1000, 1500, 2000, and 2500 and then V36, and M-Sealant to finish. It would be much easier to remove the fog lights from the bumper, though I'm still happy with how they turned out even though the pictures don't really do it justice. Before the surface was almost abrasive and now it is super smooth. You can see quite a few cracks in the plastic which I assume is from the heat of the bulb. Since no one is ever going to get up close to examine them, this will do. Will put more effort into the headlights when I get to them.
wow! That�s quite a difference. I�ll have to try wet sanding my fogs. Used PlastX on my headlights and it worked great, but didn�t help my fogs much. They were pretty stubborn.
Found that the driver's side parking light was out, so I bought some new bulbs and used a how-to from this forum to replace it. I went ahead and jacked the car up and pulled the wheel off to give myself some more room and to do an overall inspection. When I pulled the first trim piece off, it was covered in dirt and road grime... that won't do.
You can see the left section is perfect, the right section is gross. No one will ever see it, but now it's perfect... just because.
Started wiping things down. Still looks dirty, but a bit better. I wiped down the rest of the sway bar, both sides of the fender liner and the white pieces of trim. There is a black piece of plastic by the LCA bushing that was hanging down, so I reattached that as well.
I'm rambling now. The torque for the wheels is 76 ft lbs per the manual. Whoever did the wheels last must have had them at double that. It was a real chore to break the lugs loose... used a breaker bar and a cheater bar. Was NOT happy. Will redo the other three corners this week. Also detailed the wheel inside and out... no pics of that.
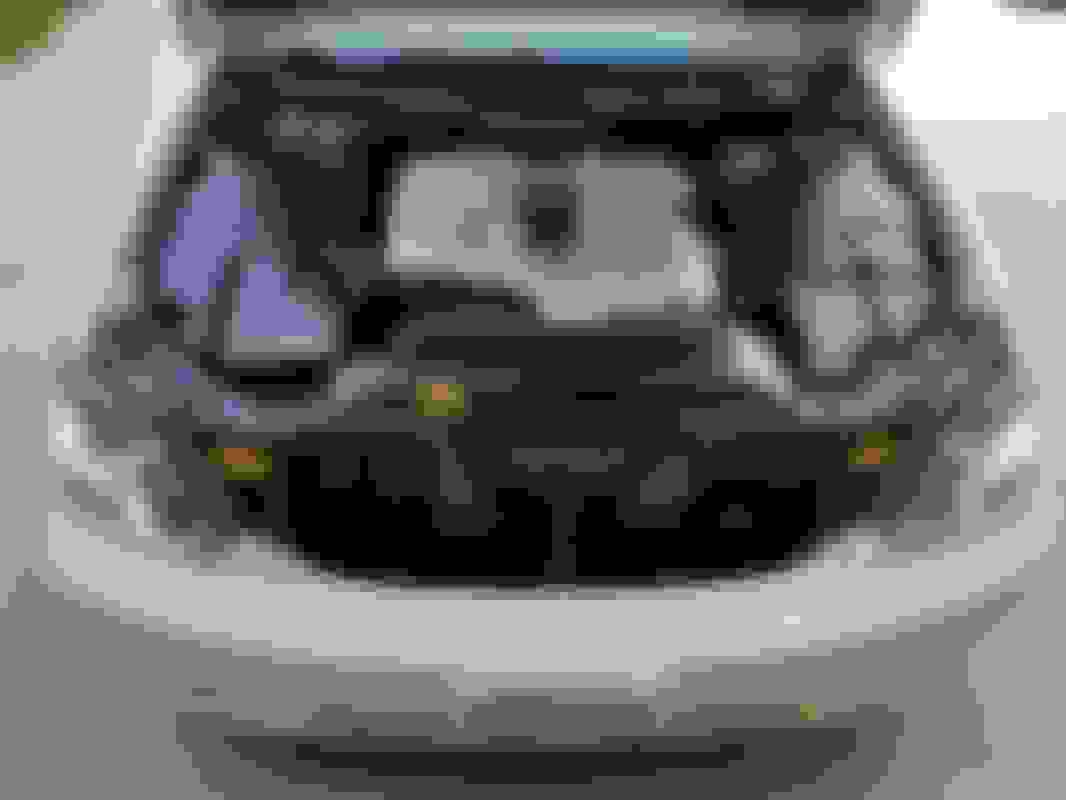
Waiting for an answer from the main forum as to what this assembly is. Any ideas?
While jacking the car up, I noticed chrome trim strip on the bumper was looking pretty flat.
A touch of polish did the trick.
Did the driver's side headlight today and still not satisfied with it. It is totally smooth now, but it's just not as clear as I would like it to be. Will play around with some more polish and see if I can really bring the clarity out. Before I tucked the car back in the garage, I used a healthy dose of 303 on the sunroof seal. Still need to clean up the area where the sunroof is but that will have to wait till later.
Went to town on the driver's side headlight. 1000, 1500, 2000, 2500.
I then buffed it out with a PC DA buffer, an orange pad, and V36. It was good, but not great... clarity wise. I wasn't sure what else to do, though I figured it had to just be more polish. Well, I hit it with a yellow pad and V34 and that seemed to do the trick. Incredible clarity!
That reflection!!!
Gave the motor a wipe down. I also hit the seals on the headlights and the seal that goes up the fenders and along the top of the firewall with 303. Clean and protected now.
I wanted to do the grill, so out it came. The area on the hood where the grill is was pretty gross. No one will ever see it, but you don't chase perfection by being lazy, so I cleaned it up. I used some polish on a MF towel and did it by hand.
Forgot to get an after shot. Well, it's pretty much perfect now. I then broke down the grill for paint and polish. I hit the exterior portion with Mother's Metal Polish and got it looking pretty good.
The grill came apart super easy, which was great. I just switched out the grill on my GX460 for the F-Sport grill and that was a huge pain in the butt. Tons of brittle plastic clips. The LS430 is just a few screws.
The crash bar was looking a little worse for wear, so I hit that with the Mother's, again with just a MF towel by hand. Forgot to get an after picture... looks better though.
That's all before work today. Will try and get the spray paint for the grill tonight after work and start laying down paint.
While working on the car today, the overall plan really came together as far as the direction I want to take the car in. I will let the continued updates show that plan...
Last edited by Romanova; 10-09-17 at 08:48 AM.
Reason: Forgot a pic
At the end of a 60+ hour work week, so I didn't get much done the last few days. I've got a few things I want to do that don't cost money, just time... but right now I don't really have either. I did manage to repaint the front grill and get it back on the car. I went with satin black and I think it looks great... much better than the silver it was before which was faded. I did numerous light coats and let it dry for 24 hours before reassembly.
Still need to polish the passenger side fog lamp... maybe tomorrow. Don't worry about the dealer plate frame and plate... waiting for the real plates to get here at which time I will replace the dealer plate with something else. Going to try and wake up early tomorrow and go get tires and will be going back to Clear Choice next Friday for a rear diff fluid change. The previous owner did the transmission fluid, brake fluid, power steering fluid, and coolant at 30k and again at 60k. Probably a little overkill, but I'm not complaining. During all this maintenance, he never did the rear diff, so it is due to be changed.
Still need to drive the car also. Drove it from the dealer to the house. Then from the house to the dealer for the inspection, then back home. Then from the house to Clear Choice and back... that's been it. About 200 miles in two weeks. Was hesitant to drive it until the TB was done, and now I'm hesitant because the tires are showing some age, but as stated, that should be rectified tomorrow.
Amazon is bringing a bunch of stuff on Saturday, including a Chemical Guys clay kit, more detail brushes, some tire dressing, and some V38 polish. The finish of the car is smooth for the most part, but I'm still going to clay the whole car and then do a two stage polish and sealant.
Had a few minutes before heading into work, so I thought I would address the sunroof really quick. First of all, I love my sunroof and use it every time I go any where. The other day, I noticed how nasty the seal was as well as the exposed portion of the roof then the sunroof is retracted all the way. This won't do.
I used 303 on the seal and you can tell what it did to my applicator.
I simply used Meguiar's quick detailer on the exposed portions. The lip of the roof was really bad too, towards the back. Not any more though.
Need to finish it off by polishing the glass. It has some pretty nasty water spots that glass cleaner won't touch. I used some fine steel wool and it did ok... will try something else later on.
Wow nice! I love that you clean all the areas nobody ever thinks of. You are OCD about your LS like I am about my house, and now I'm inspired. May have to check out my sunroof this weekend
Gave the car it's first bath during my ownership. Car was already clean from the dealer prep, but it wasn't perfect. Hit it with Chemical Guys Mr. Pink, a Chemical Guys MF wash mitt, and used the two bucket method. Car beaded great which means its got some wax on it already. When I dried it off, I found several spots where the wax wasn't removed properly, so I took car of that. The inner fender portions around all of the wheels were pretty bad, did those with a pad and some V34 by hand. Did the wheels and new tires with Chemical Guys wheel cleaner and a Meguiar's wheel brush.
While wiping off the muffler tips, I saw some heavy dirt around the cutouts in the bumper. This won't do. That led to all of the dirt on the bottom of the bumper lip, so I got all that also. Then I got to looking at the mufflers themselves... dirty. I wonder if they will clean up?
Just a quick pass by hand of V34 and then a wipedown with a MF towel. Not bad for something that only my mechanic will ever see. Also did the sunroof glass with some V36 and that seemed to do the trick on the hard water spots.
The car only has two small dents in it that I eventually want to get fixed. Will try my body shop in a few paychecks and see if they can PDR them, along with getting a quote to pop the trunk emblems, weld the holes shut, and then paint it.
Oh, took a moment to examine the stock rear sway bar... "It's so small!!!!" (that's what she said). Wow, the UR bar just moved up several places in my "to do --- urgent list".
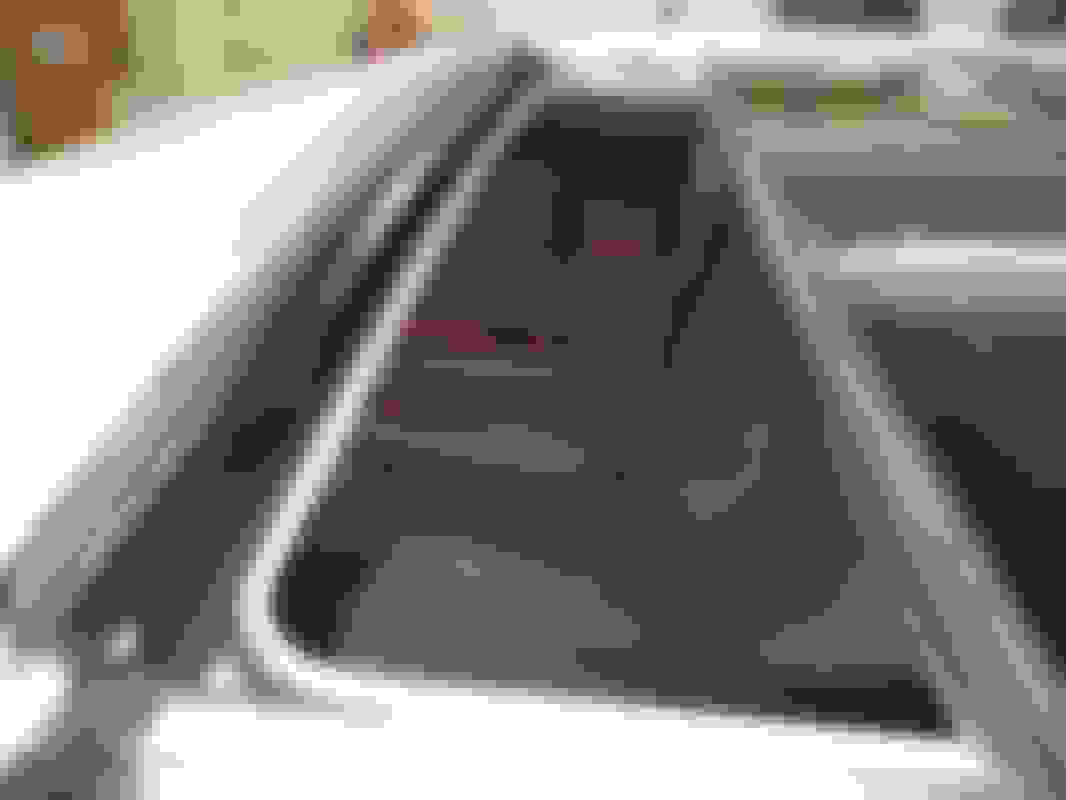
My drip rails are peeling slightly and it is driving me nuts... it looks so bad. I've got no interest in spending $300 for new ones, so I'm going to have a friend who owns a vinyl shop refit them with new vinyl. I popped the passenger side one off to see what is what... wow. I'm sure most of you have gathered that I'm pretty meticulous about the care and condition of this car. I couldn't believe my eyes when I pulled the trim off. DISGUSTING! Dead bugs, tree stuff... just gross. Thankfully none of the clips broke and I'll have it looking immaculate here soon enough.
Going to go with gloss black for the drip rails, which I think will look pretty sharp. Will report back after it's cleaned up and good to go.
For those who are removing the drip rails, use a plastic pry tool on the inside edge, start at the back with even, gentle pressure and out it comes. Just work you way down to the front... piece of cake.
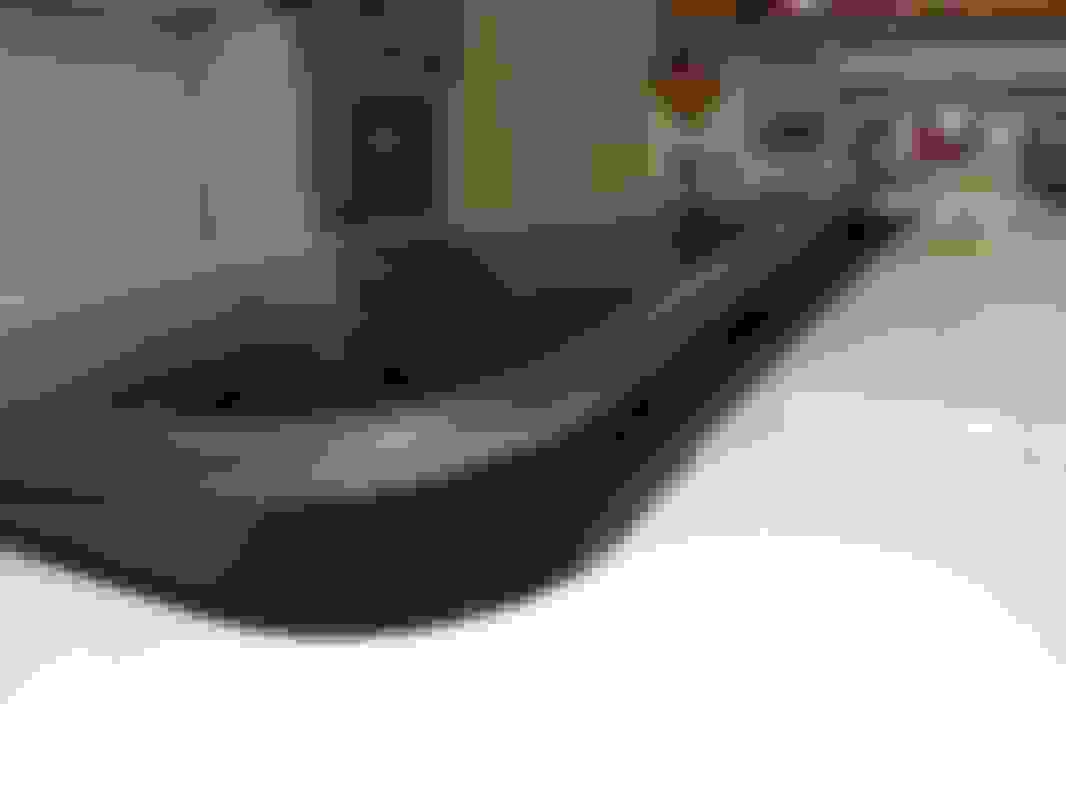
Cleaned up the drip rails while waiting for the trim pieces to be redone. This dirt was really caked on. I hit it with compressed air first, then soaked it in degreaser, then agitated it with a brush, then rinsed it off and wiped it down. It's about 95% perfect... a little around the clips that I couldn't get.
Hopefully the trim will be ready tomorrow so I can pop them back in.
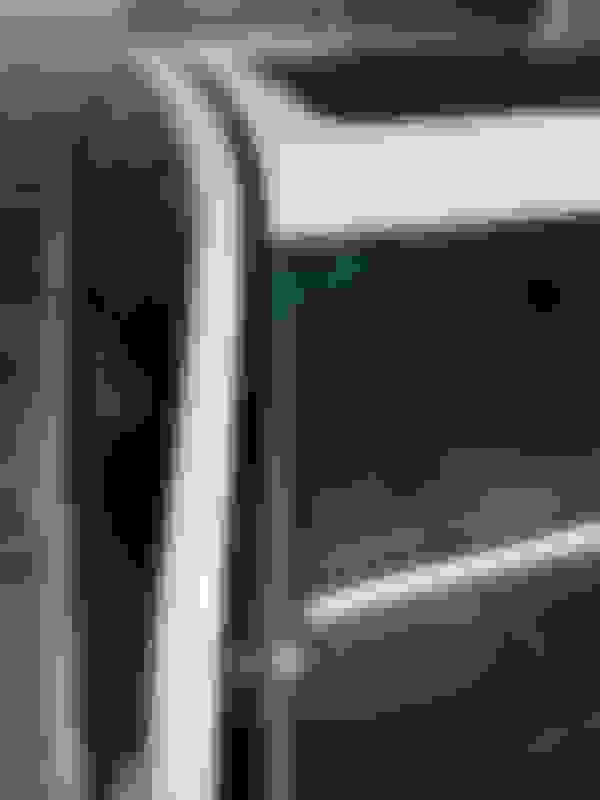
Got the drip rails back. Turned out great, really happy with the black color instead of white. I think it looks sharp and is the contrast that the roof needed. Total cost was $115 which is better than $300 from Lexus. Should last a long time now.
Replaced the locking lug nuts with OEM regular lug nuts. Honestly, no one is out there stealing OEM Lexus wheels and it's a pain in the butt to deal with them when trying to remove the wheel. Haven't done anything else the last few days... waiting for pay day at which time I think I am going to paint the calipers. Trying to decide between black or silver...

 10-07-17, 09:09 AM