When you click on links to various merchants on this site and make a purchase, this can result in this site earning a commission. Affiliate programs and affiliations include, but are not limited to, the eBay Partner Network.
Smaller update than I'd like but I have a few items that are starting to trickle in. I ordered pretty much every bolt for this motor from ARP and they started drop shipping. Most are here but the picture shows a little sample. Everything they offer for this motor has been bought for redundancy. The only bolts I didn't buy were rod bolts and what not because the rods I'm interested in - Callies COMPSTARs - already come with them. I'll probably end up making another order once everything is here and evaluate what I'm missing. I also ordered a TICK PERFORMANCE milled Melling LS6 oil pump. I stuck with standard volume because I have read some horror stories where the high volumes would suck the pans dry which I obviously don't want to happen. I may delve into sump systems if I think it warrants it. I also ordered new Cometic gaskets for everything minus the heads. I'm waiting on those until I decide on compression.
Thus starts the tear down to get the motor out. Ignore the dirt on the ground - it was soaking up fluids. I finally got the car completely on stands and the front end pretty much removed. I was hoping to sell the motor before I started pulling it apart so the buyer can see it run but I'm growing impatient and I want the thing out so I can make some more progress and start game planning the engine bay. This was all triggered when a buddy of mine asked if he could have the front OEM strut assemblies. I don't have any use for most of the OEM stuff so he's going to do me the favor and take it all minus stuff I can sell or utilize. While pulling all the panels off and wiring, I realized how over engineered this car is from the door and hood hinges to every panel having some sort of venting. Pretty insane.
The goal for this weekend is to get the nose completely stripped and the engine ready to be cherry picked. Then I'll start on the interior. The reason I won't pull the motor immediately because the fact the car's nose is sitting close to the front wall. This means I'll either have to drop the tranny or put the car down on dolly's and move it backwards, re-lift it then yank the motor. I think I may pull the full interior, strip the sound deadening and get the wiring out so I can get that taken care of. I'm also in the process of thinking what type of ECU situation I'm going to run and to add to the disaster that is my plan sheet, I was just about talked into boosting it right off the rip versus enjoying it NA for a season or so. We'll see.
Expect some more updates this weekend and hopefully something more significant. Finding free time is tough but this thing will rip when it's done. Pretty excited.
The tear down begins. I got a good 4 hours in at the shop. The main goal was organizing what I pulled as some locals needed some OEM parts that I have zero intention of using. That essentially triggered my OCD to organize everything on the shelves in the loft in case I'm asked again, I can just send them upstairs and let them pick what they want. I did, however, get a little time tearing part the front end of the car down. I started getting measurements for the tubular front hopefully a buddy of mine is going to help with. The plan is to cut the front end with all the brackets so it can be mimicked. Also, I had an epiphany about the front suspension/angle kit too.
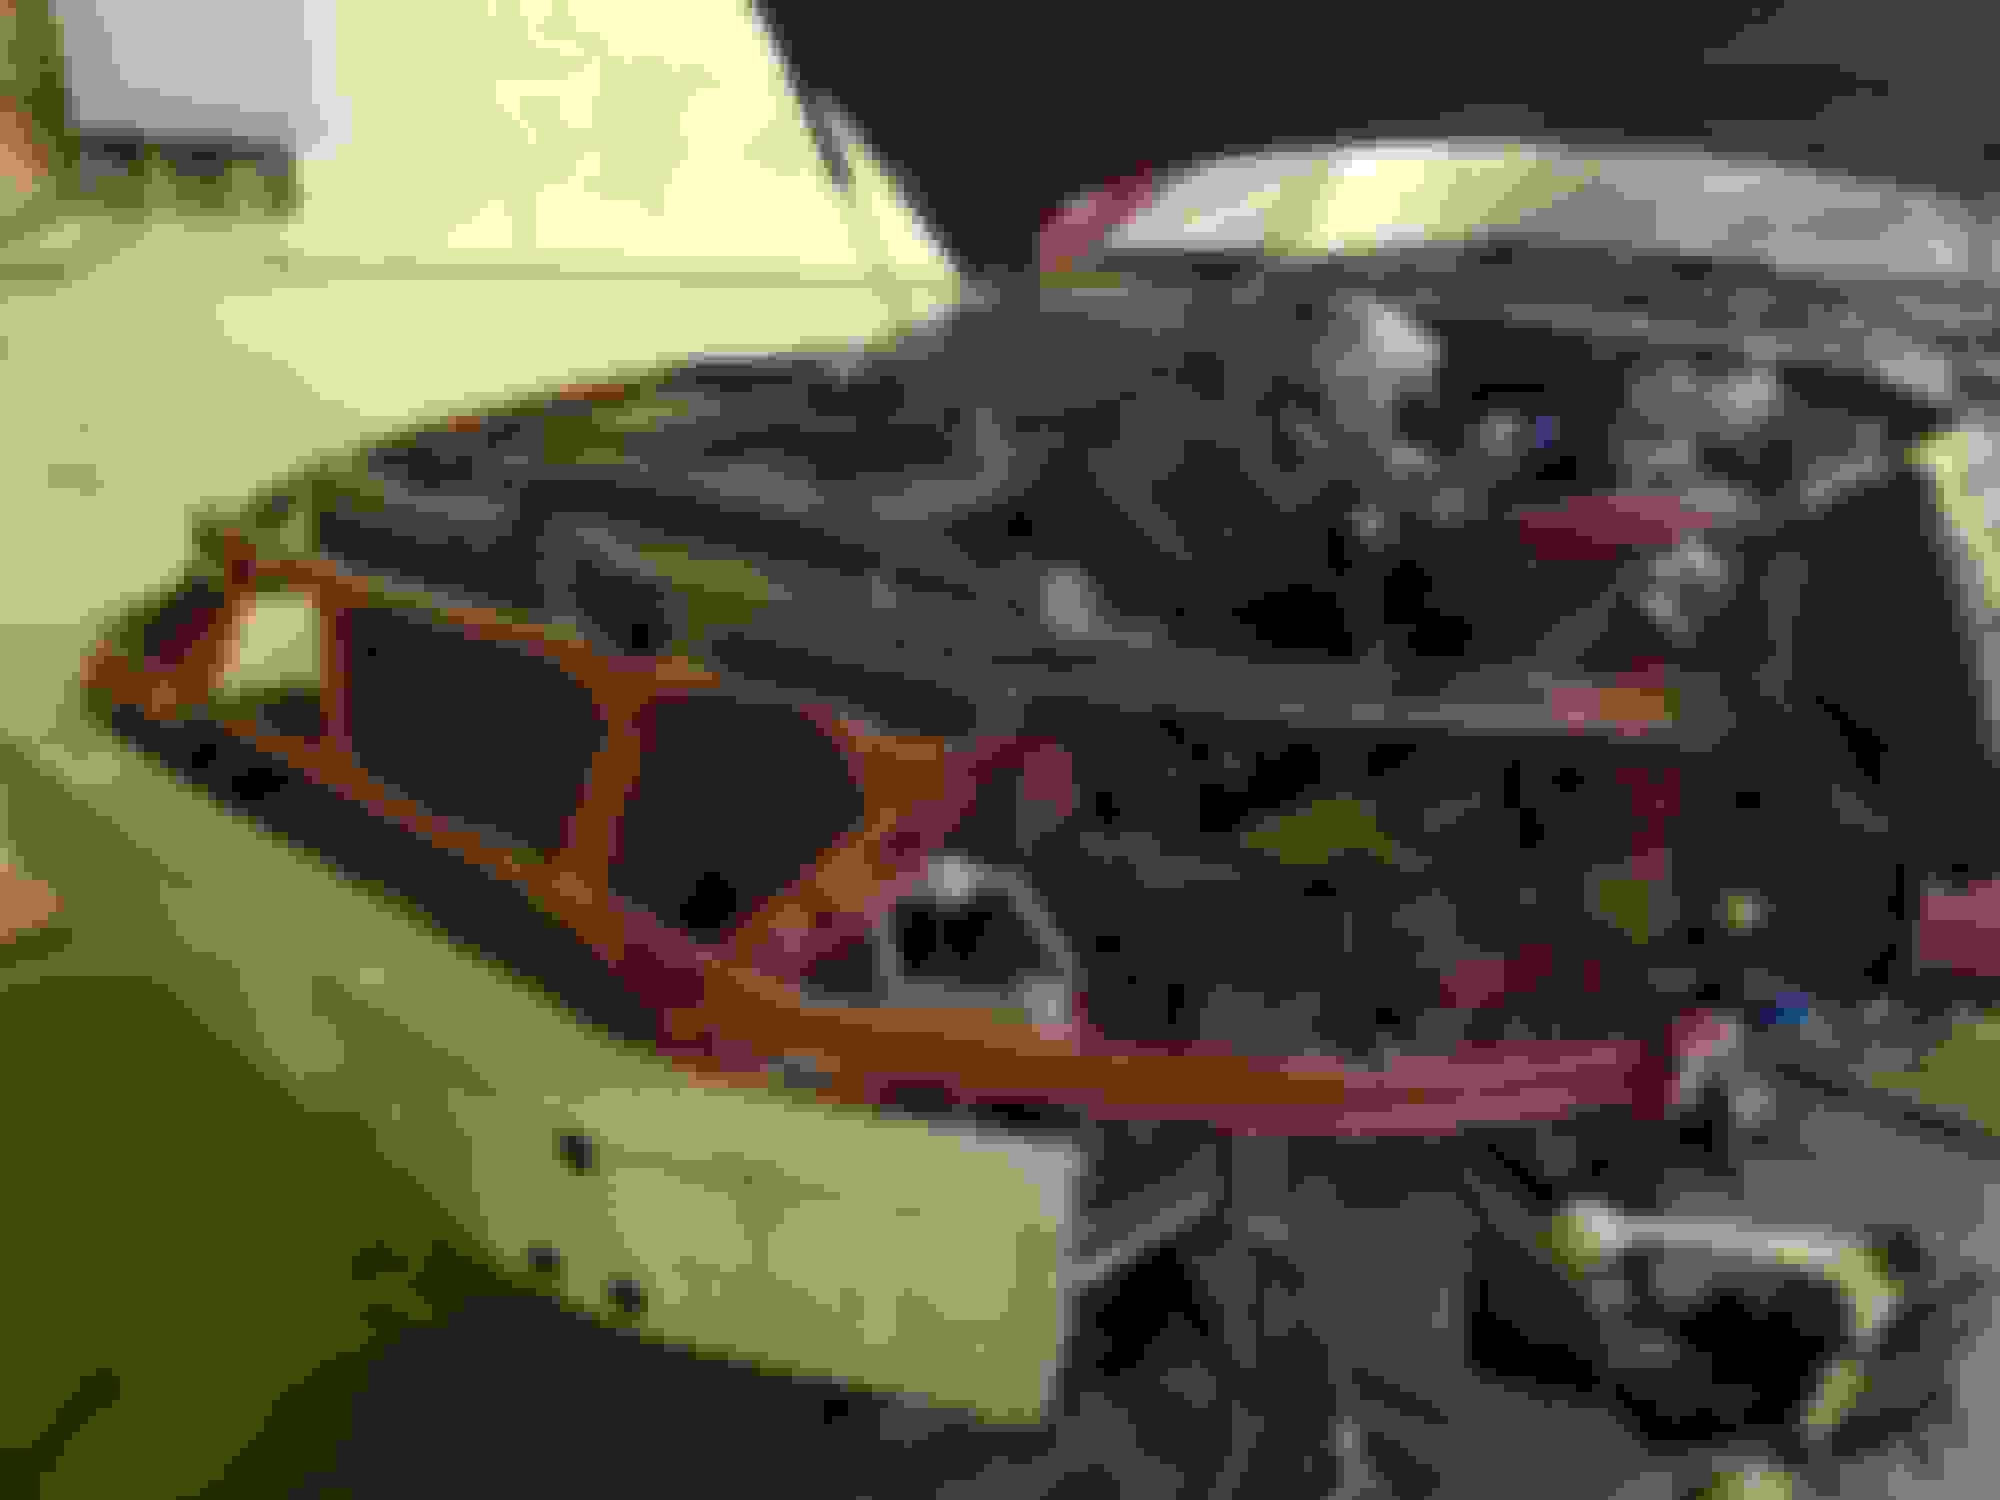
The fenders and front skins were all removed so I had some more space to work and plan out the routing of where the wires will eventually pass. I have a solid plan right now but I have to essentially see what the tubular front looks like before I put the plan into motion. Regardless, I have rough lengths for the wiring and a general idea. I probably won't be tucking much of the LSx harness unless I pull the trigger on going turbo off the bat. That's something I'll worry about afterwards, though. The main concern is getting the fluids drained and the motor literally ready to be picked. As you can see, the whole car is about 2 feet off the wall. I'm almost certain now that I need to separate the transmission and then pick the motor itself up so I can come in from the side and not have to move the chassis. I'm not too worried about scraping or scratching because eventually I'll be cutting it off but if I can minimize any damage, I'm going to.
After removing about 10 plastic 'vent panels' that act as a weird drip pan/skid plate/venting panel assembly underneath the whole entire front end. I wish I took a picture but as you can tell, the lighting isn't exactly ideal tucked away in the corner of the shop. I'm considering getting a decent camera to start documenting but for now, I'll with what I got. I disconnected some oil coolers, most of the A/C components and any electrical connections on both sides of the motor. All that's left is what is on the bottom end which I'll get to next time around. While removing random brackets, panels and components, I now understand why this car is so damned heavy. Can't wait to strip the front end down, cut it off and get the tubular section welded on so I can clean it up and paint it.
The fenders and front skins were all removed so I had some more space to work and plan out the routing of where the wires will eventually pass. I have a solid plan right now but I have to essentially see what the tubular front looks like before I put the plan into motion. Regardless, I have rough lengths for the wiring and a general idea. I probably won't be tucking much of the LSx harness unless I pull the trigger on going turbo off the bat. That's something I'll worry about afterwards, though. You can see where the factor harness is run tucked inside the structure of the fender walls and follows inside the fender well. I'll utilize the current rabbit hole style the factory uses to run the wiring back into the cab but definitely won't be running anything inside the well. That's a recipe for disaster. Like I said earlier, I also came up with another great idea - WISEFAB. I wasn't originally going to go this route but after seeing the condition of everything [I promise, it's worse than it looks], it makes sense. I'm talking to a buddy who has the setup in his SC and he's giving me his run down. It'll be much, much easier starting off with all brand new stuff like I'm doing out back than trying to re-use crappy condition OEM stuff. I already was looking into an angle kit and this pretty much sealed the deal.
Motors are multiplying! So, now there is another motor in the shop. There is a 5.3L and a 6.0L. The original plan was to build up the 5.3L which has now been ditched in favor of it's larger brother. The 5.3L will eventually be utilized for another car after it's cleaned for a different chassis [that I already have in mind] but for now, it'll be put aside. The plan is the same for the 6.0L but I can expect more power. The 6.0L looks like it was taken care of more meticulously as well which is always a plus granted I'm not using most of it. I may save some items to swap over to the other motor, though. Not 100% sure on how involved I'll get with that. The plan is still rods, pistons, new hardware throughout the whole motor, new accessories and bearings in addition to a FAST 102 LSXR, big throttle body and nice cam. Forced induction is still on the table. With this new motor, I got even more excited for this swap. This weekend, I'll get it on the stand and start tearing off all the items I don't need or won't use and put them in a box and set them aside.
I had a friend of mine over at Hinson recommend the JPP true dual timing chain setup so I figured I'd give it a shot. The quality looks great, it has a slew of great reviews and it's supposedly supposed to defend against chain stretch. It's also supposed to be better than the LS2 upgrade that people have been switching over to.
While waiting for my buddy to show up with the 6.0L last night, I was looking at the car, looking at the overfenders then back at the car. I decided to make the first cut. I left about 3" around the body to give me good area to mount the overs without the metal flexing all over the place. I know some of the angles look weird but with another car a few feet from mine, it was tough getting a straight shot. I'll end up trimming some of the actual wheel well too the wheel well will be straight in instead of arched over like the factory setup. This will let me run big width wheels without having any worries of it getting shredded on any edges. I'll also weld plates on any openings to keep the tire smoke out of the cab.
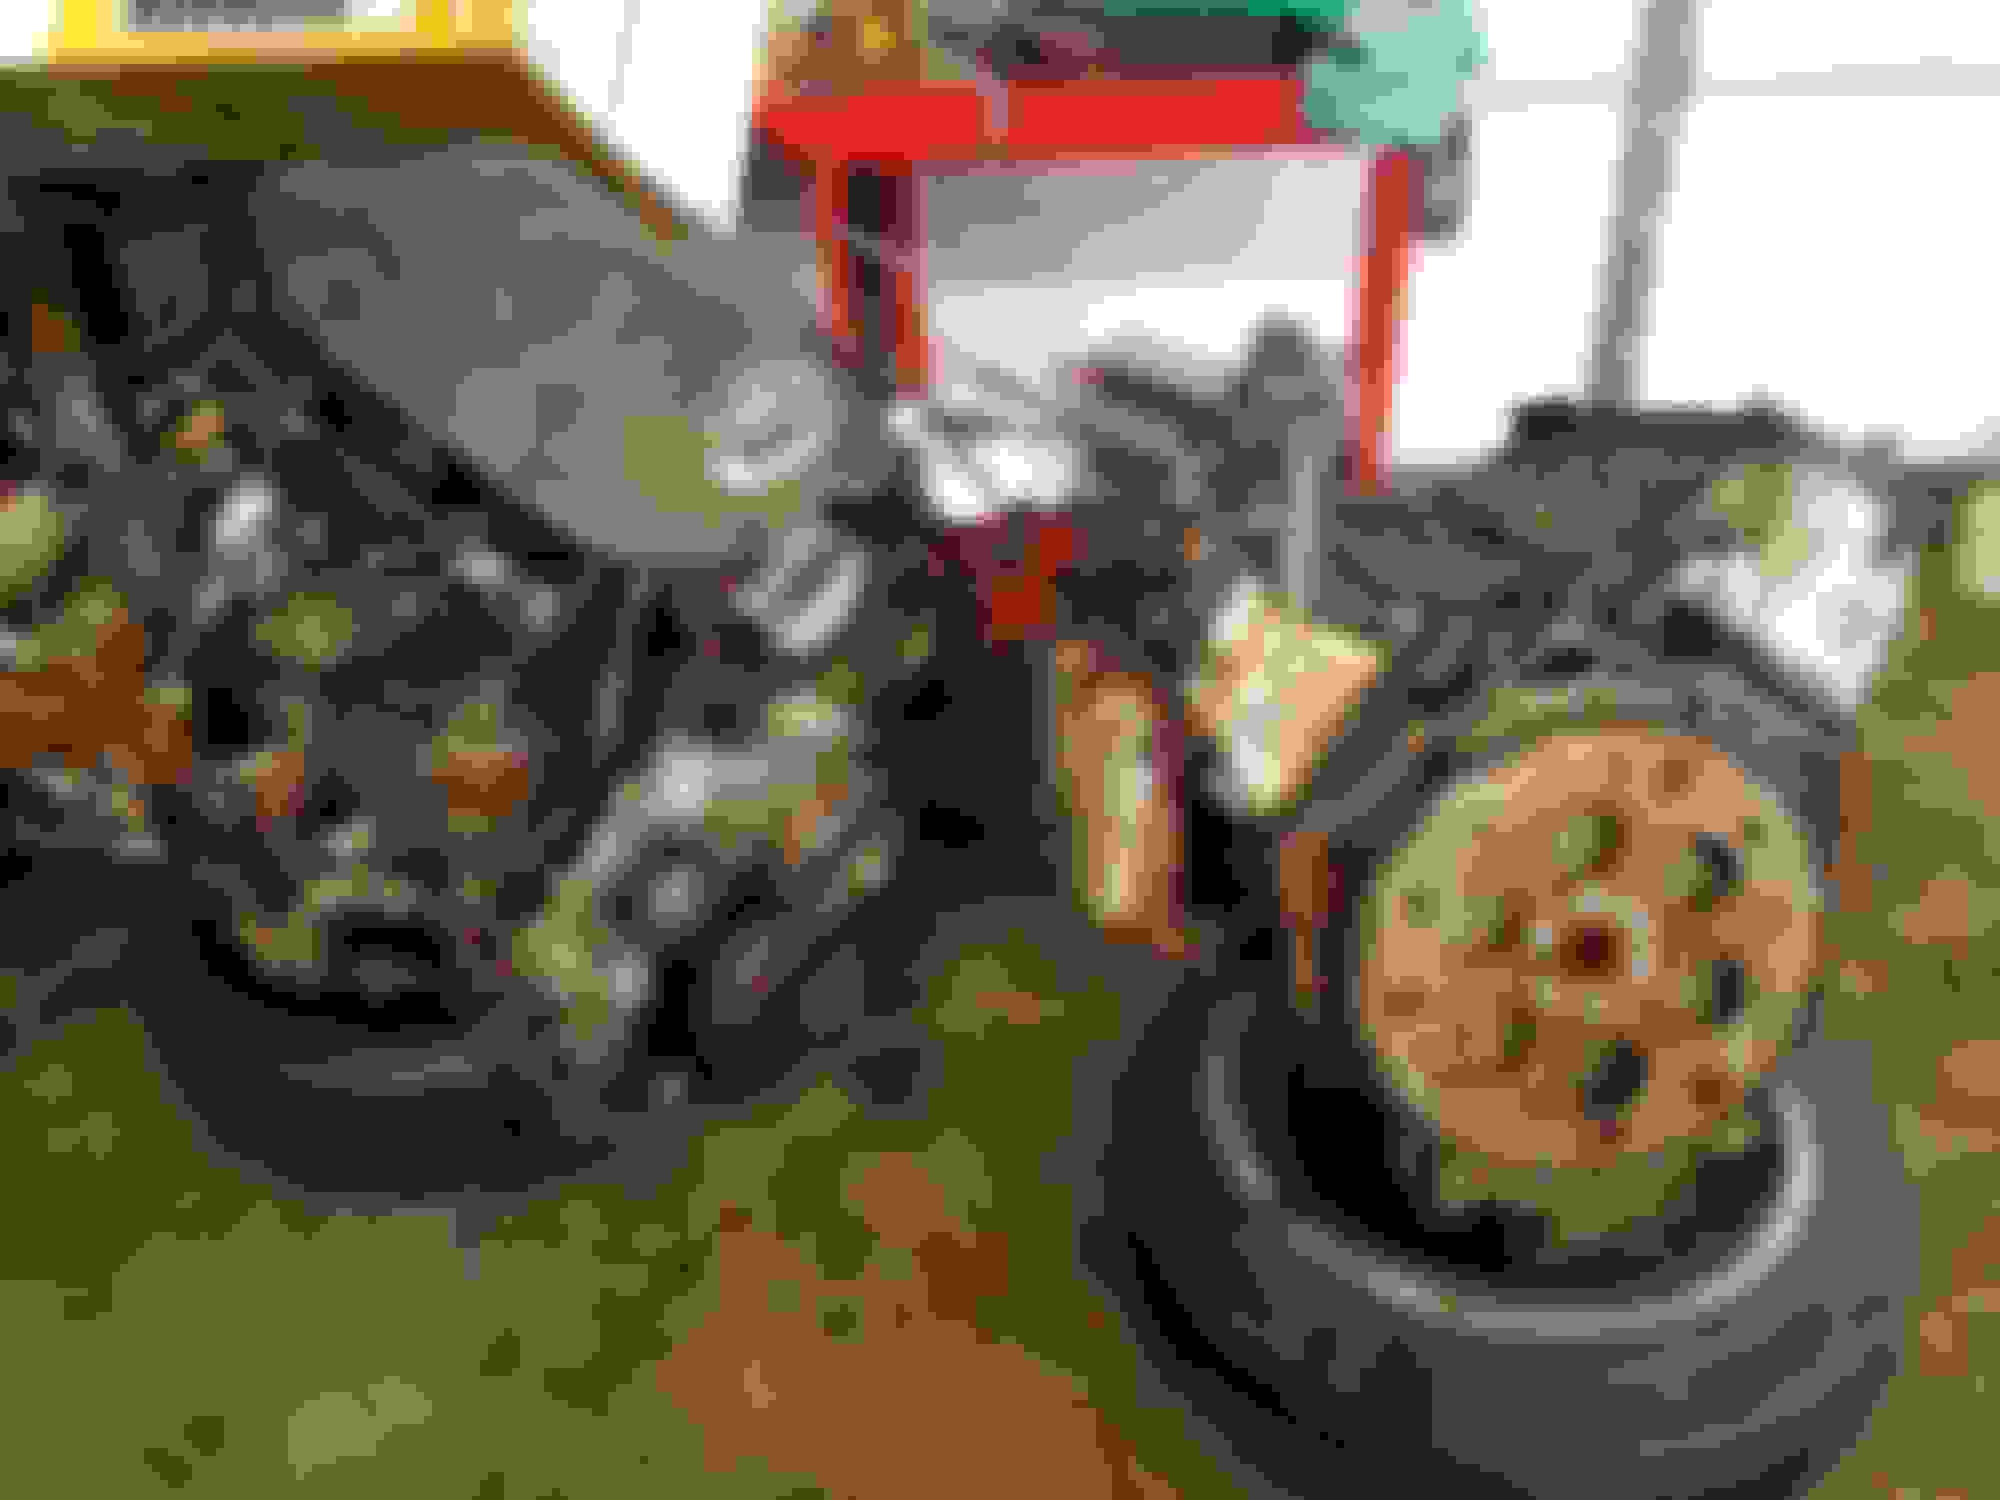
I cleaned the lines up a little big on the rear arches and cut them so that the wheel wells are straight across. This should help the wheels fit a little nicer and allow me to fit the wheels I've built. I've also taken the wheels apart and sent the faces out to be done so I can send those out to be refinished. My sandblasting connect has failed me - again - so I am probably going to end up getting a small portable setup to just do it myself. I got a few spare hours for the first time in weeks to start getting the engine bay stripped and most of the stuff out of the way. That way I can pull the transmission from down low, pull the engine up and out and then the real progress gets made as time allots itself. Pretty much anything in front of the crank pulley is gone and pulled. Most of the ABS system is pulled and out. The block in the back corner will need to be pulled after the motor comes out as it's just easier that way. Some of the parts I'm saving to sell off mainly because I don't need them but it also gives me some pocket change for some other stuff throughout the build.
The AC/heat lines will be removed once the motor is pulled for the same reason - it's just easier that way. Luckily, everything down low looks mint. I'll end up cutting out some of the rails for a unboltable tubular front but I may save the pieces as a template to make some spares later on.
I had my cousin over and saw him on his phone looking at stupid YouTube videos so I had him start tearing out the interior until we left. I'm not really sure on the direction of the interior just yet other than the cage and probably a dash. Not sure if I'll do anything else but we'll see. Everything is subject to change.
With that being said, work is finally getting done again. I'm still not there much but I do as much as I can with the time I have. House hunting definitely swallows a lot of my time while I'm not working. Hopefully soon, we'll find something and I can really tear into the thing. Stay tuned.
 04-21-17, 05:06 AM