When you click on links to various merchants on this site and make a purchase, this can result in this site earning a commission. Affiliate programs and affiliations include, but are not limited to, the eBay Partner Network.
Thanks Jim!! There are still plenty of photos to catch up on to be up to the present. Will try to get through some more soon.
I've been really impressed and taken aback by the clean attention to detail you've put into your blue devil! Sometime I hope I'll have my car to that point This engine is what has gotten most of my attention lately.
Your dedication to this thread is on another level!
I don't think I've ever even seen pics of the actual car, but a million engine pics!
How excited are you for the swap and driving it again? GTE with stock twins is a completely different animal than a stock SC300/400. You're gonna love it man.
It's partly to put into a thread all the little details that are often skipped over (which I myself only learned as I went along!) and partly to remind myself later exactly what I did to get there!
If you look back on page 1 of this thread you'll find a couple of pictures from 2010-2012 from when I first got the car in stock condition and just before I installed the Torsen LSD. Visually what has changed is some more cosmetic restoration and the addition of a 92-96 style factory winged trunk. It's mostly clean and mostly cosmetically addressed especially in the interior but the paint is original and while it looks good it's not perfect show car quality like yours and several others' SC's. But even so I am long overdue to take new pictures. It deserves some new memories. I never get out to car meets, really. I need to make some time when the car has been cleaned again. It's a pretty stock looking SC except for the minor differences we owners will catch
This engine build is so specific with certain parts I figure I can always get a full repaint down the road.
Am I excited? You bet I am excited! But I have learned to be extremely patient. I'm no longer within my original budget for the GTE engine and so I am now getting the last parts I'll need at a slow trickle. What you're seeing in the current updates all happened a couple of months ago. The engine is 95% assembled now with the exception of some minor parts which I have already bought and also with the exception of the 6-speed wiring harness that still has to be worked on and then fitted to the engine. Then I have to get the car to the new engine... or the new engine to the car
What may happen at the onset of the swap though is leaving in the current 4.27 Torsen rear end and driving it with that (and cross country) until such time as I can get around to having the rear diff rebuilt back with its original 3.76 ring and pinion. Well... actually it will have to be running the 3.76 to nearly match the factory RPM ranges of a V160 w/1.133:1 ratio if I complete the swap before my next smog test.
As for driving it, I never stopped! Even as-is it's a joy to do anything with from fun driving to reserved errands. I love the car. On mountain roads, at any higher elevation or any non-flat ground I absolutely cannot wait to feel GTE stock twin turbos. But in practice as I am currently set up the car is still a lot of fun to drive and it's got plenty of power, handling and braking to do fun things. Highway driving is actually very good. It's just not fast by any means. The aggressive rear gearing makes it feel as if an FR-S became a big luxury GT muscle car.
When the new engine finally goes in I will be happy to finally move away from a very aggressively geared NA powerband
Last edited by KahnBB6; 04-11-22 at 10:11 PM.
Reason: Shortened, grammatical fixes
On Supra MKIV NA's and TT's there is an "Ambient Temp Sensor" aka "Thermistor" (88625-14110) that goes somewhere near the front of the bumper of the car. I have this vague impression that it is just A/C function related and not actually required for engine operations with a USDM 2JZGTE but I am stumped on this since it's listed as an essential sensor on Pro Street Online's little guide of all the major sensors and VSVs for this engine.
"Intake Air Temperature Signal Circuit – Toyota Part number 88625-14110, Air Intake Temperature Sensor
The Air Intake Temperature Sensor detects the air intake temp, which is input as a control signal to the terminal of the ECU. Labeled THA on the 2JZGTE ECU Harness, this signal is electronically transmitted to the ECU and transmission control unit if your 2JZ is equipped with an automatic transmission."
Based on this, would I be correct in assuming that since I have a USDM 6-speed M/T wiring harness for a manual transmission SC swap car I actually DO NOT need to use this ambient air temp sensor to complete my manual 2JZGTE swap?
I know what the text above says but I want to confirm from someone here that this sensor isn't... or is necessary. The MKIV owners in that thread above don't make any mention of it being a TT Automatic only sensor.
Or is this perhaps a sensor only used on JDM 2JZGTE's which are MAP-sensor based (whereas the USDM setup I'm building is AFM/MAF + MAP sensor based)?
They are 2 different sensors, the ecu needs the intake air temp sensor which is in the maf on usdm cars otherwise the air fuel will be off.
So on cars with maf's (usdm models or JDM 2JZ vvti), THA is built into the maf sensor, so plug in the maf and you are good.
On the map sensor only based ecu's (JDM 2jz non-vvti etc..) there is a separate air temp sensor (I think on the intake manifold).
The ambient air temp sensor is in the front bumper, and doesn't go to the ecu.. I think its for the climate control and also displaying outside temp inside the car.
This should already be wired on your car, changing the engine doesn't make a difference as it is part of the chassis harness.
here is what it looks like on the USDM, you can see its part of the maf.
Basically any toyota model that has a maf has the intake air temp built into it. when there is no maf then there is a need for a separate sensor.
I had a hunch when I finally made that last post but I wasn't sure. The parts diagram I was going off of seemed to suggest a sensor all the way in the front bumper of an MKIV... which in retrospect is probably A/C and climate control related. Although the part number lined right up with the JDM setup's MAP-only system. I may have been looking at a parts diagram for a JDM market car that time and not one for export markets (US/CAN/UK/Europe/etc) by mistake.
Anyway, now that unnecessary (for me) sensor is off my list
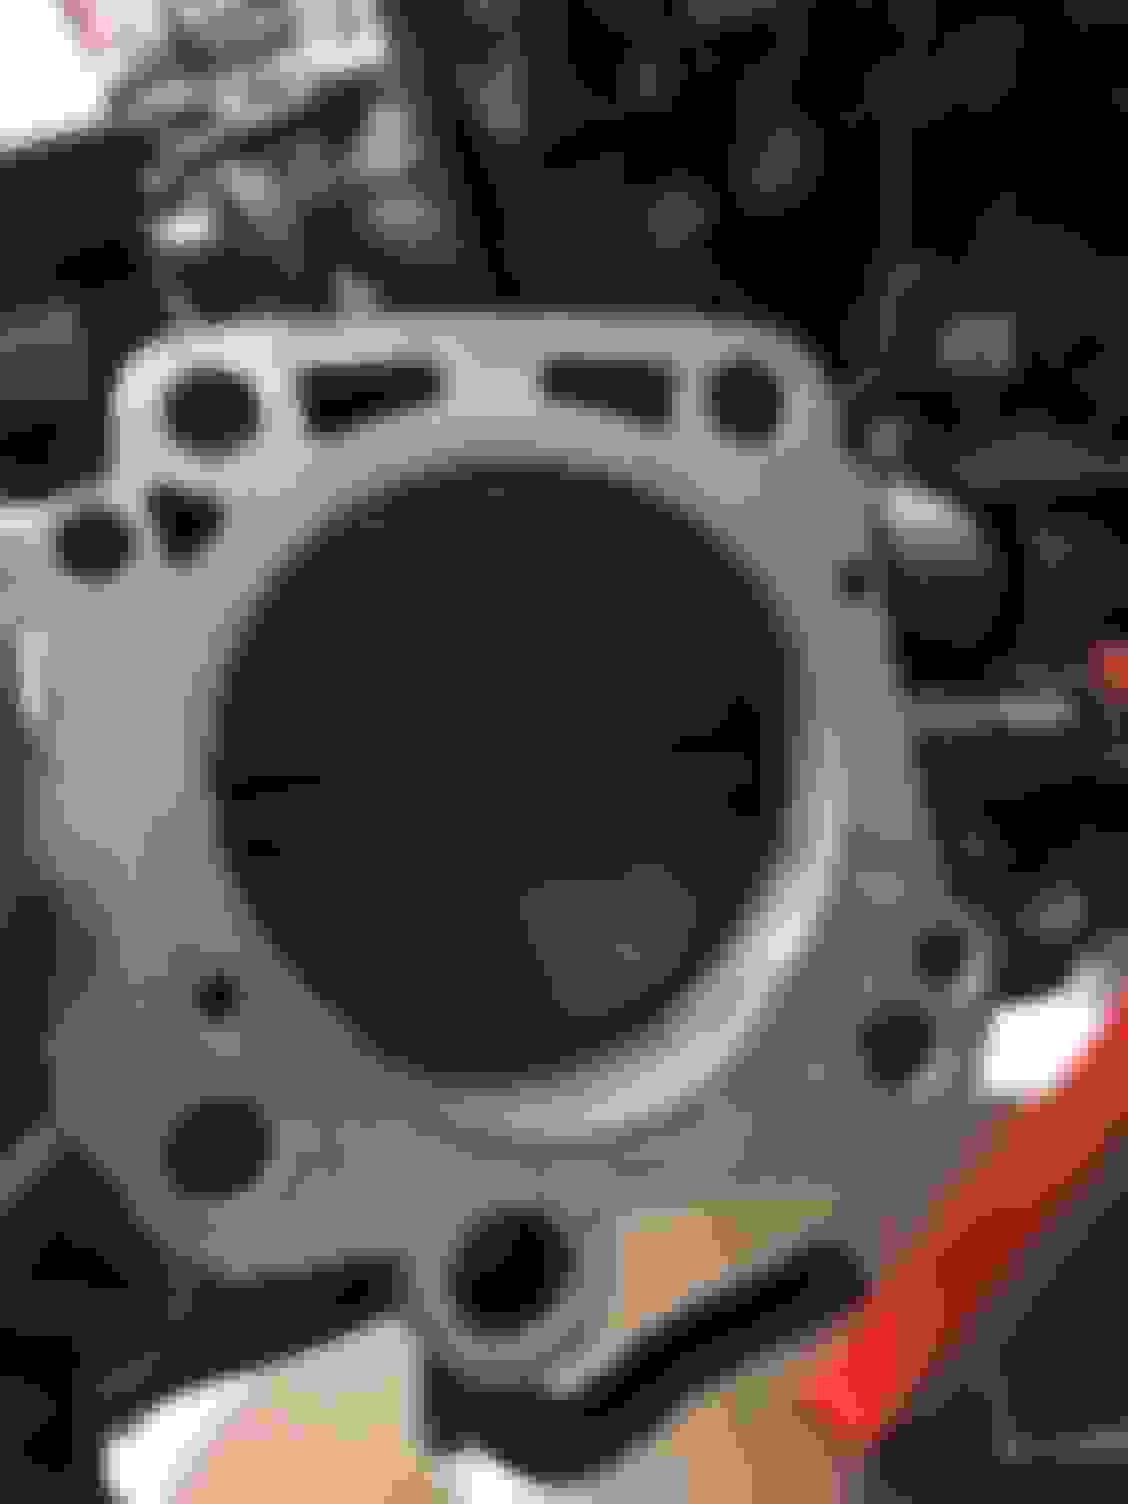
Another dead simple part. Like the lower timing cover, this middle part (11303-46011) is exactly the same for 2JZ-GE and 2JZ-GTE engines.
I think they are the same bolts (91511-B0620) as before. There should be three (3) of them. Torque is... I think... 69 inch-lbs per bolt as with the lower cover.
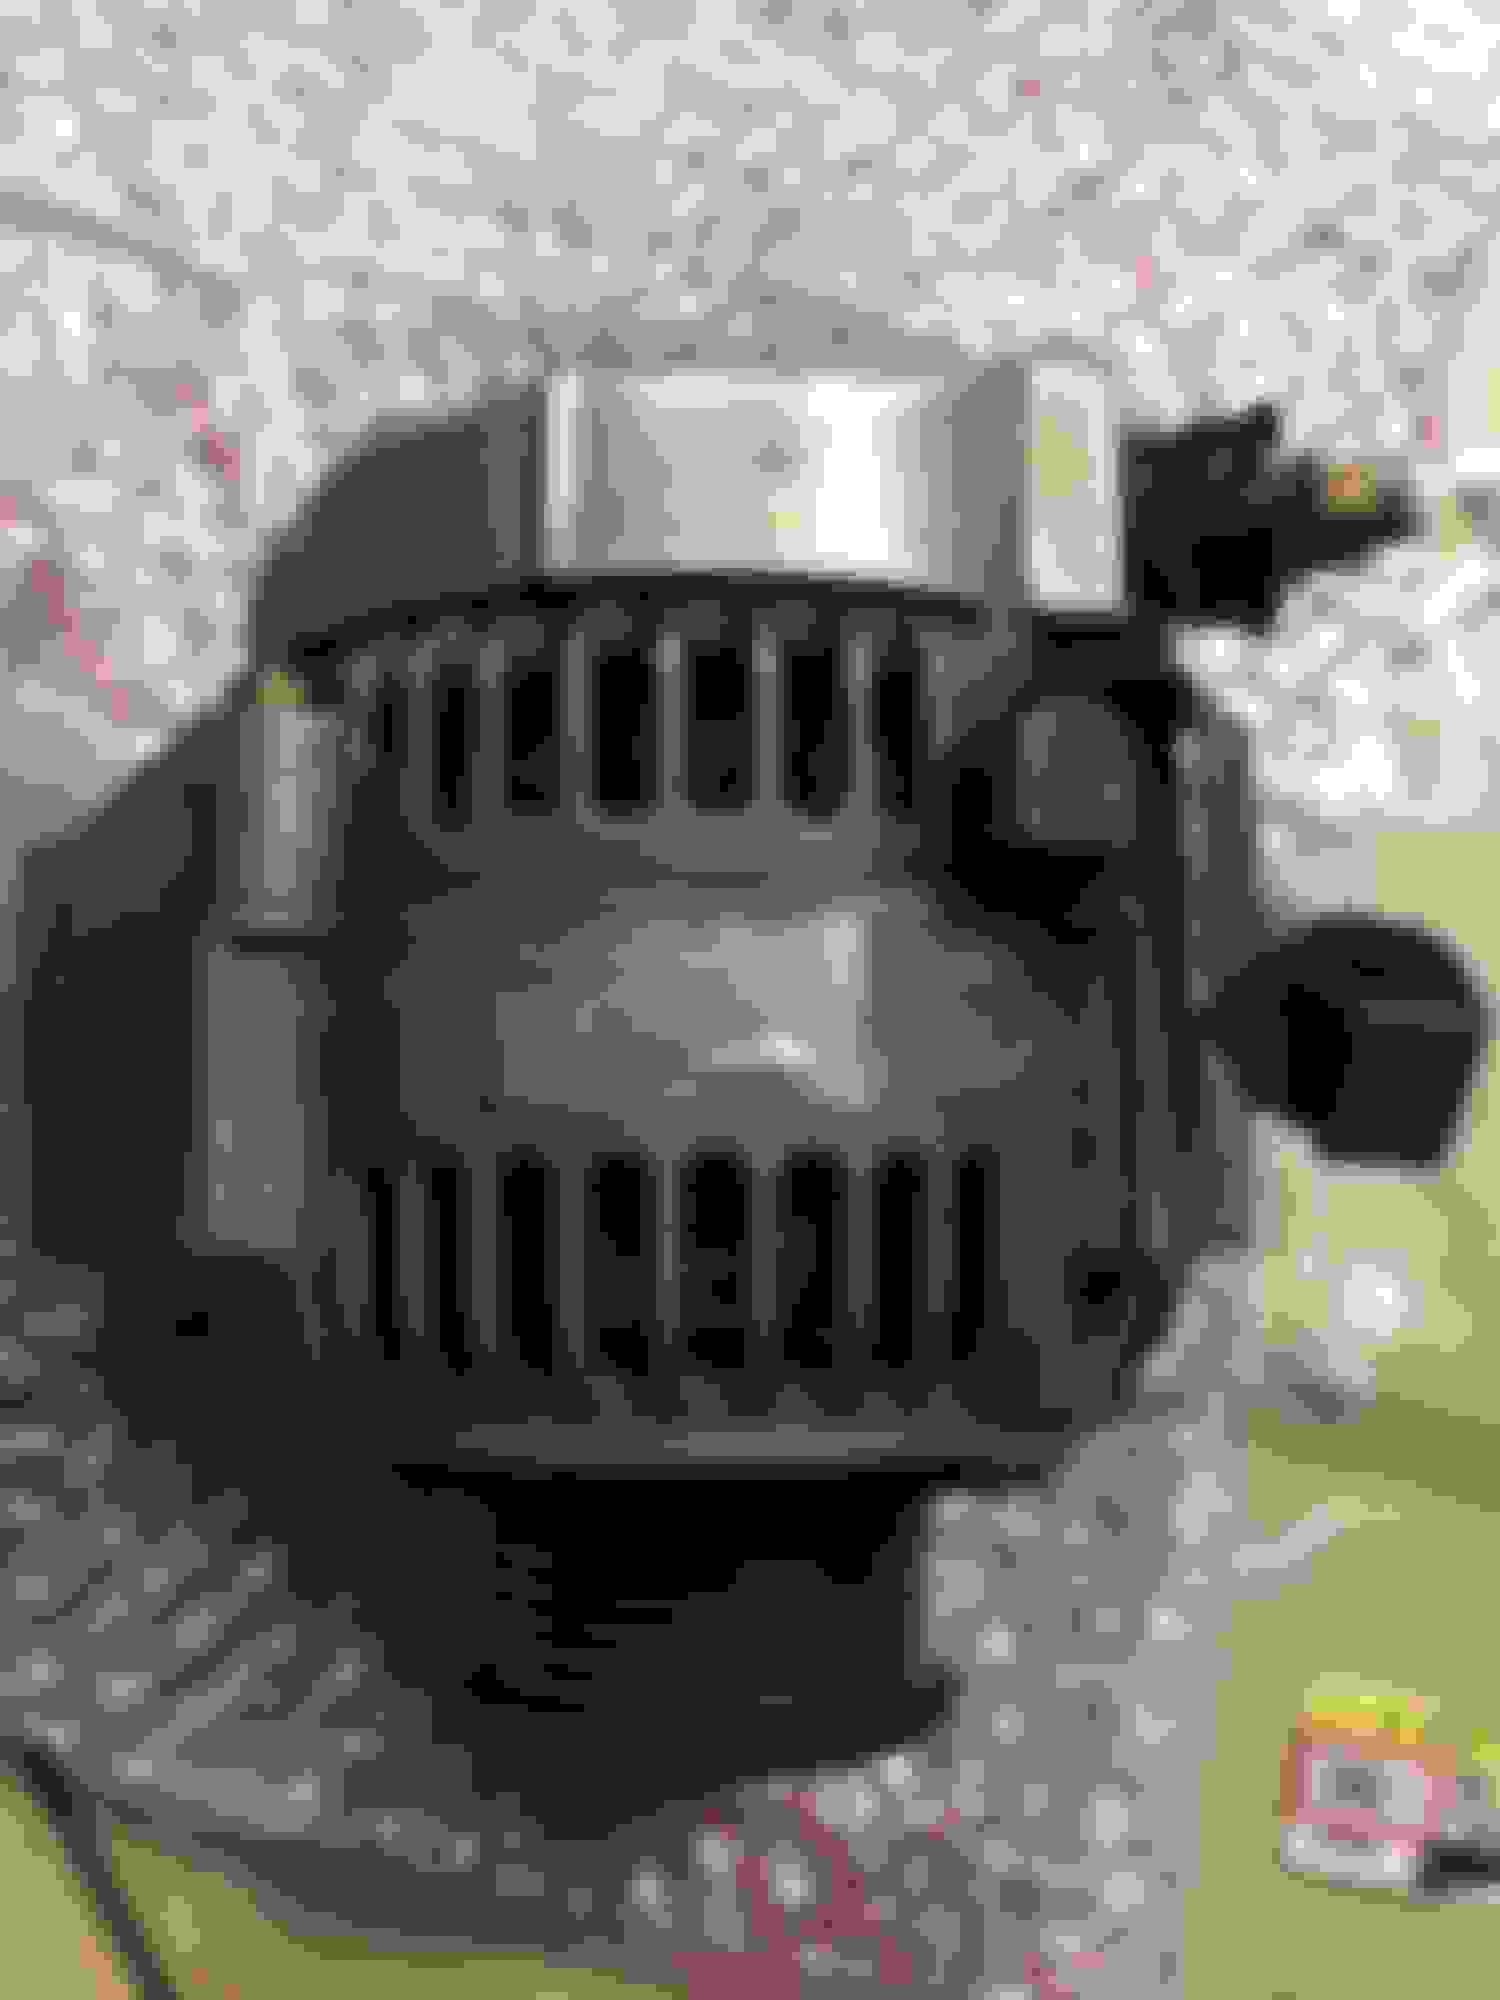
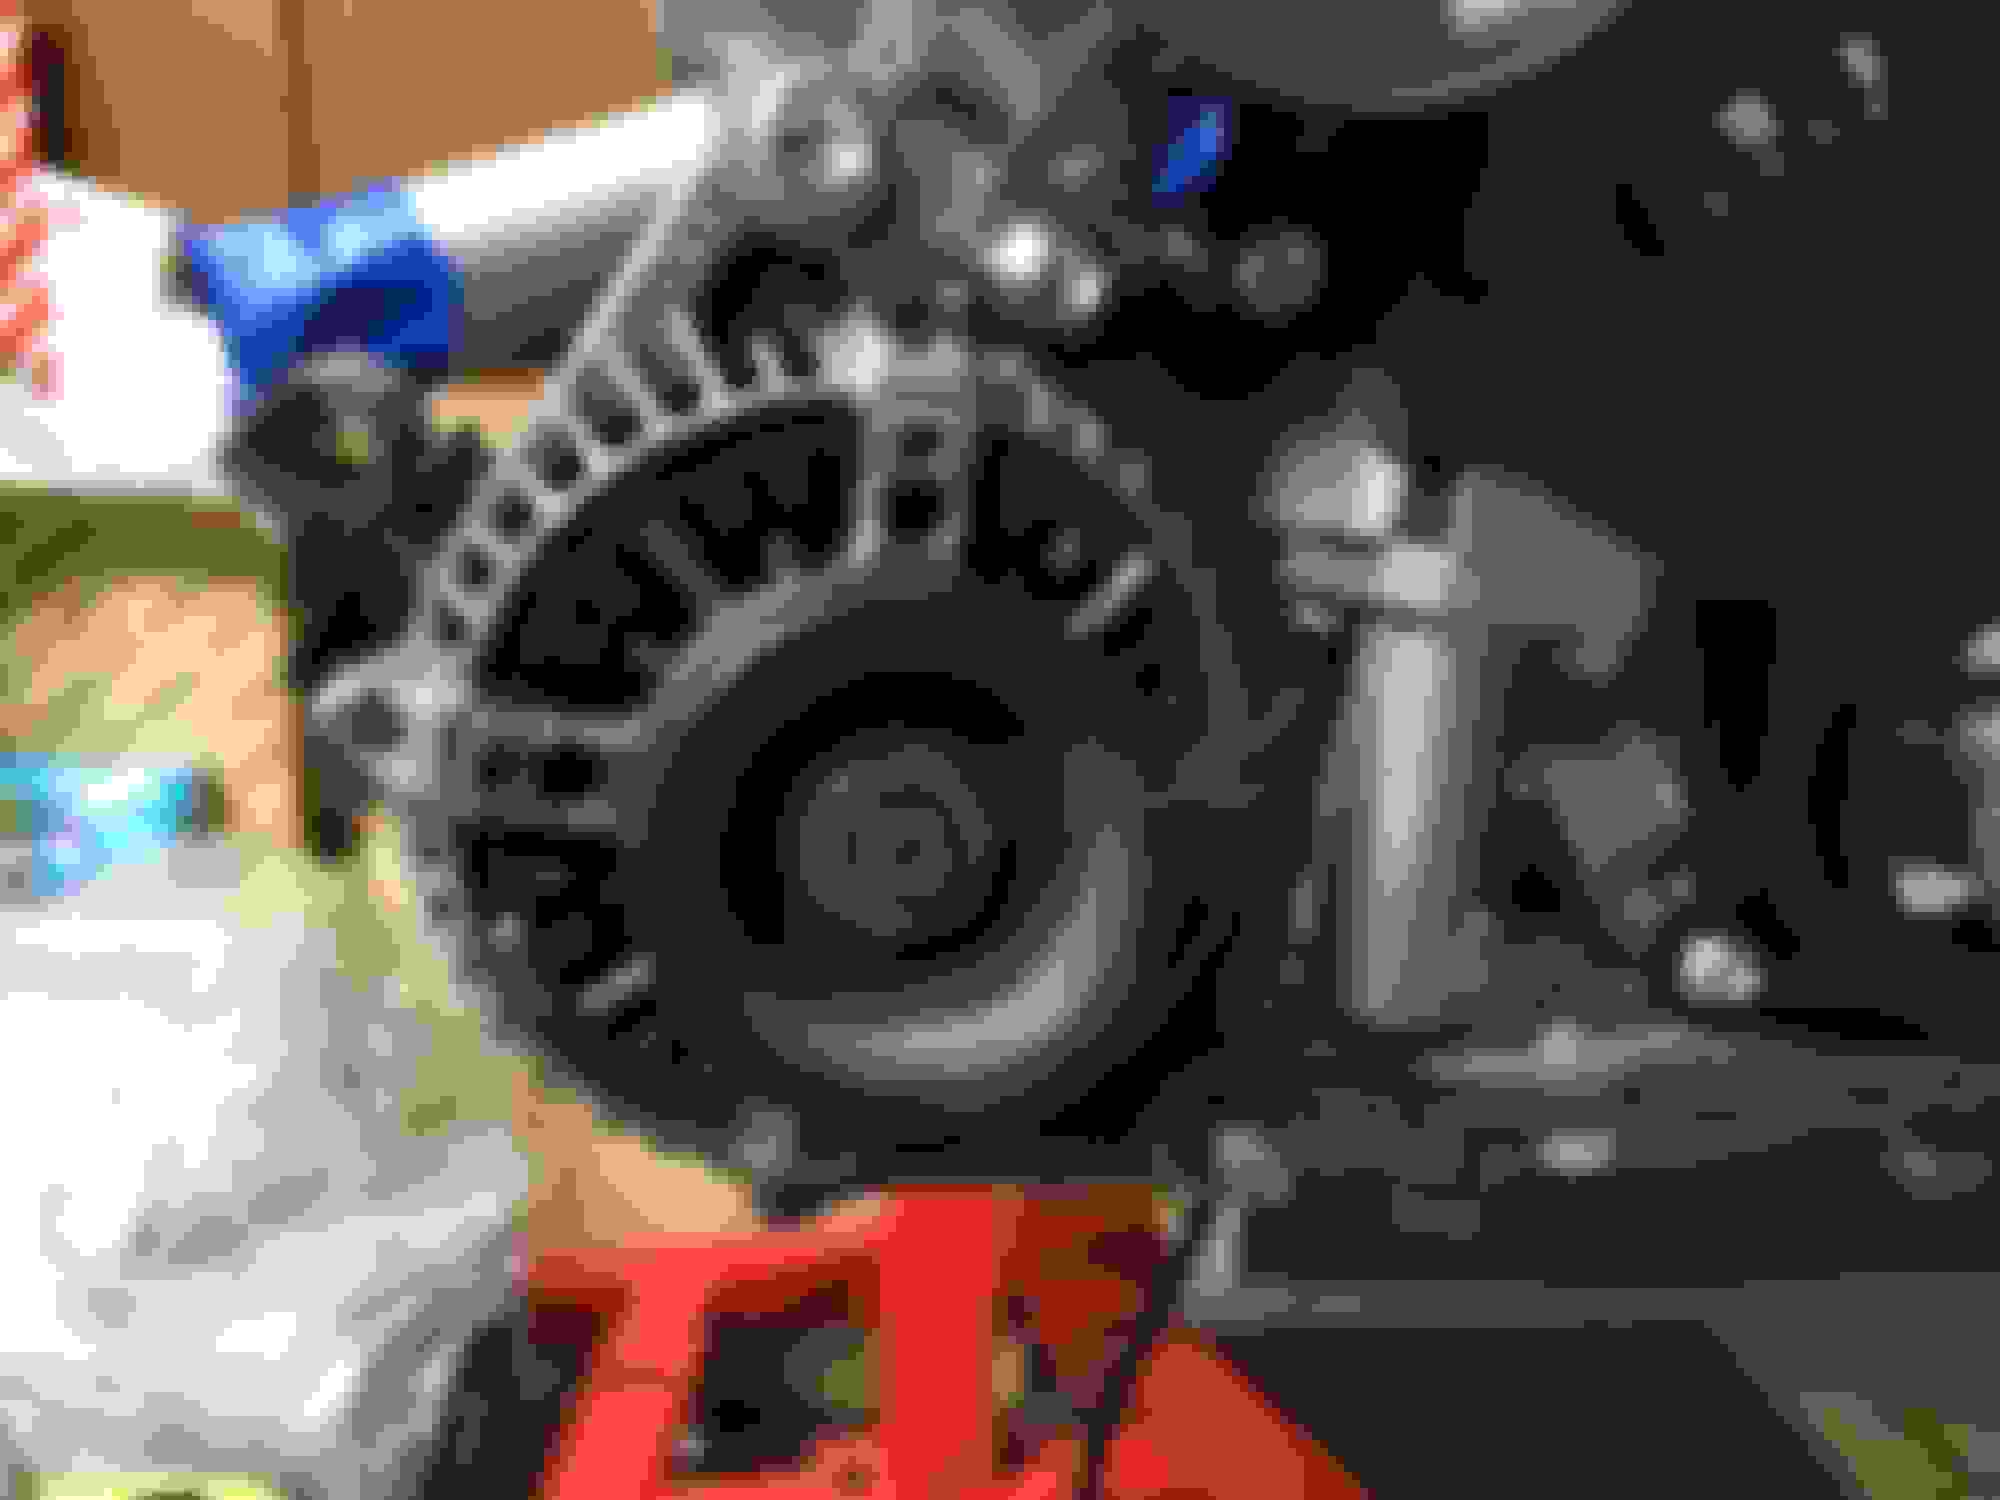
GTE alternator installation
A while back I picked up a used original 2JZ-GTE 6-speed alternator (the 90-amp version, TT Auto alternators are 100 amps) with 67k miles on it. It doesn't look new but hopefully it will be fine once the engine fires up. I considered getting a new reman alternator but this one showed up for a very good price that I couldn't pass up at the time. Also, I've read a lot about how original Toyota alternators, even those from the 90's, seem to last a very long time. Even my 2JZ-GE is still running on its original alternator.
I have also considered another option in a certain model year span Toyota Tundra 150 amp alternator which generates that amperage starting at lower rpms but this would have required a bit more work and a bit more cost. Maybe later on.
There was a thread on SupraForums a while back detailing a 2005-ish factory 1JZ-GTE 130-amp alternator that owners were trying to get their hands on to use but it turned out the cost of getting a new one into the USA was completely ridiculous and not worth the trouble over other options.
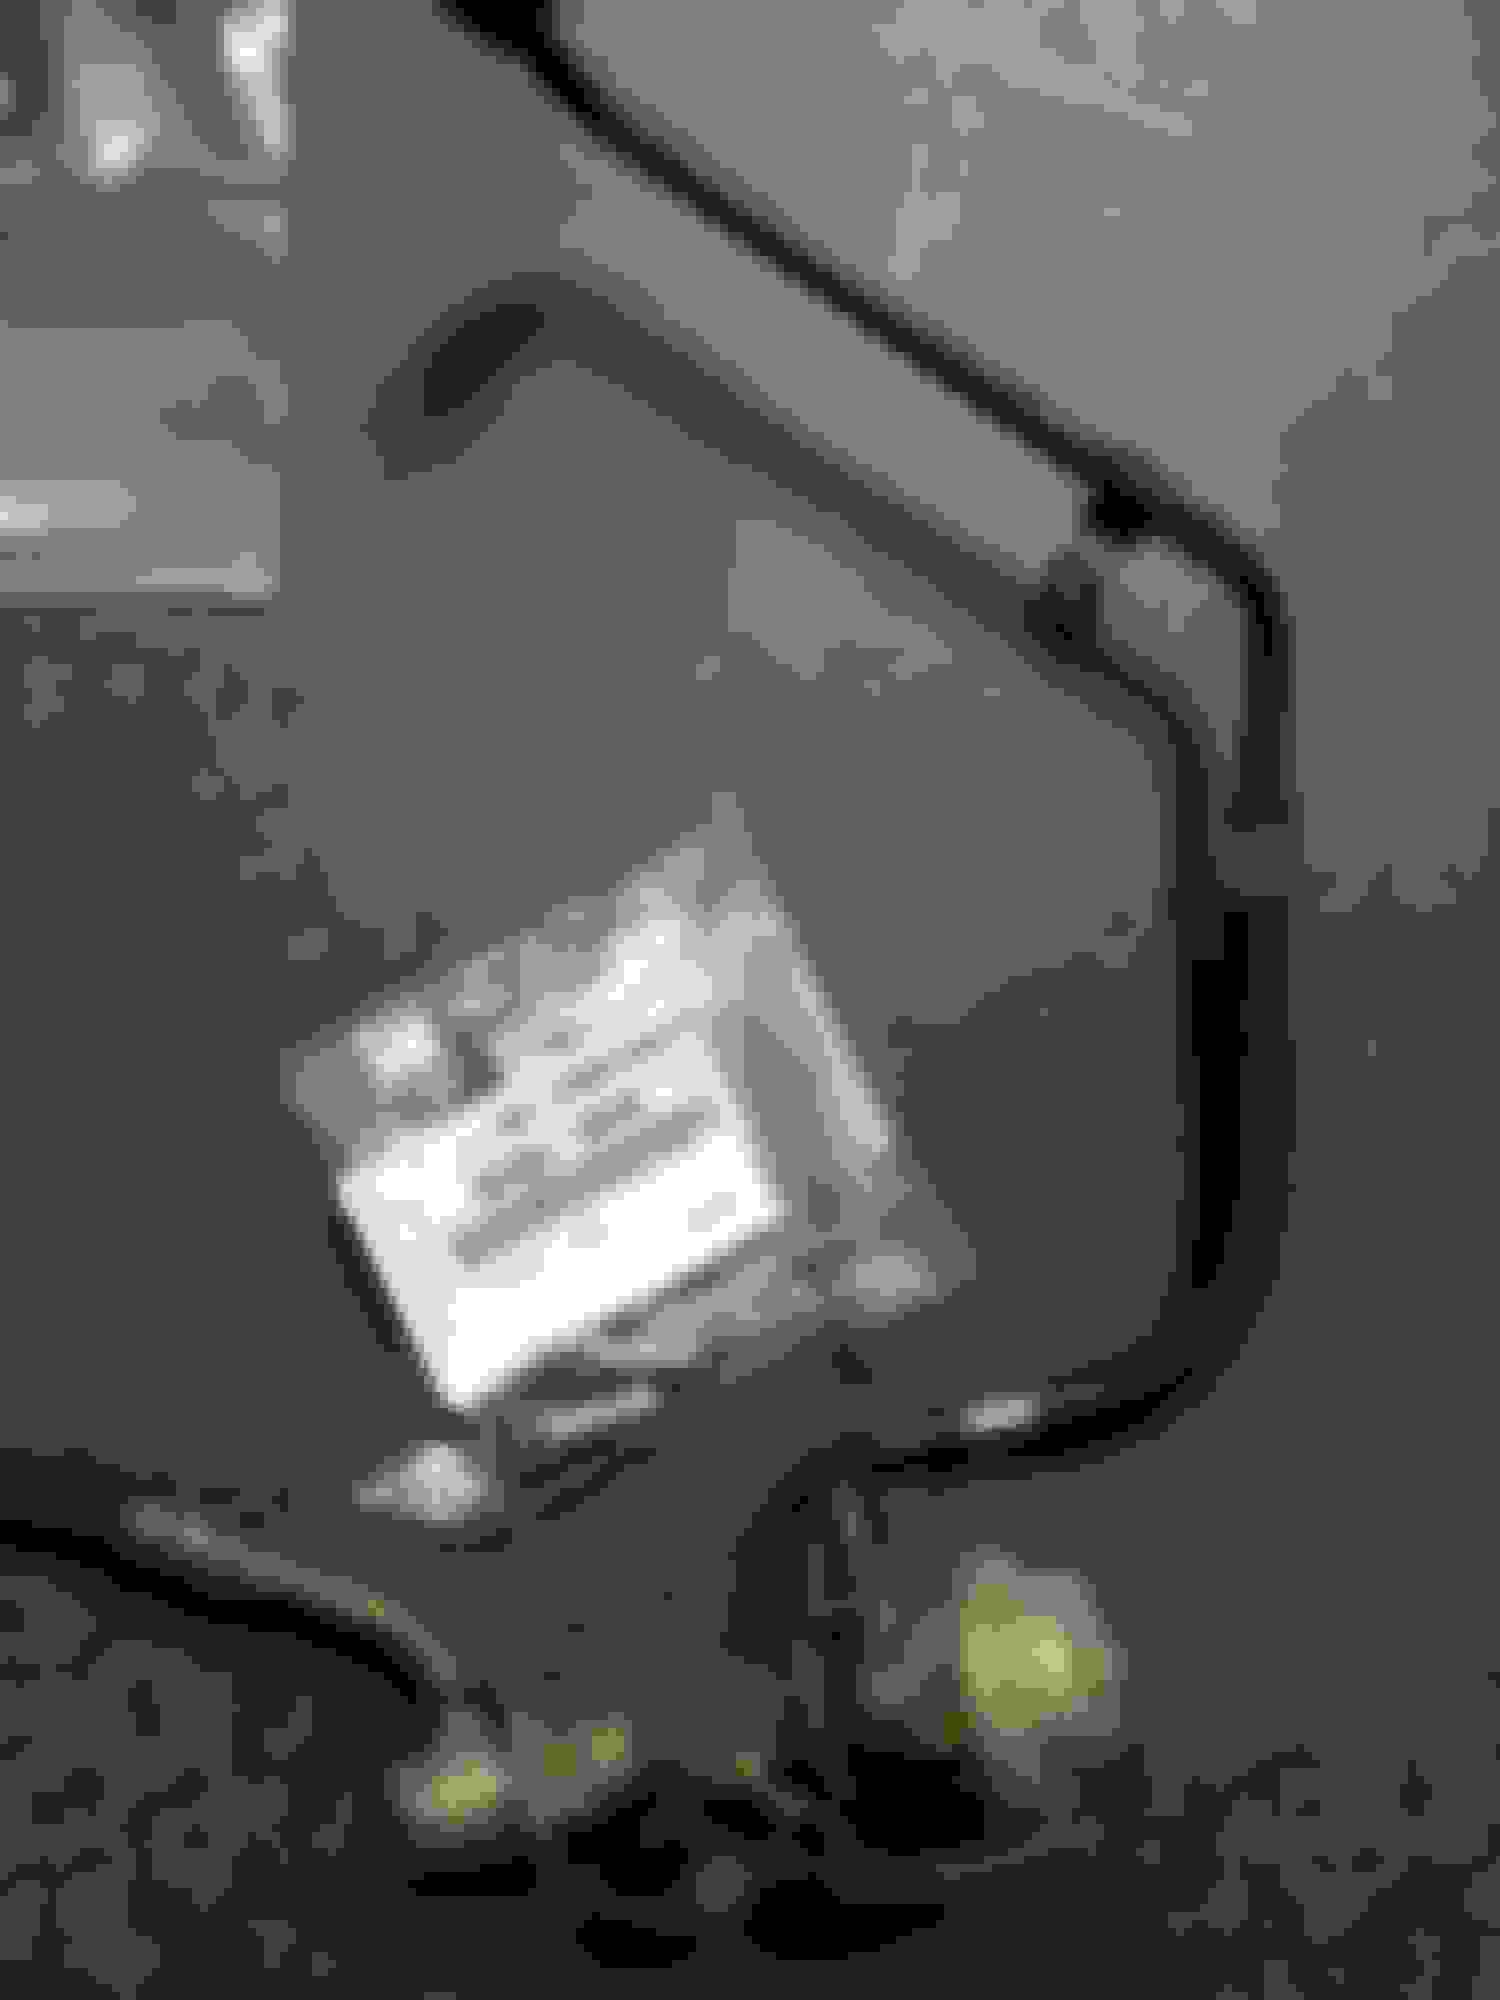
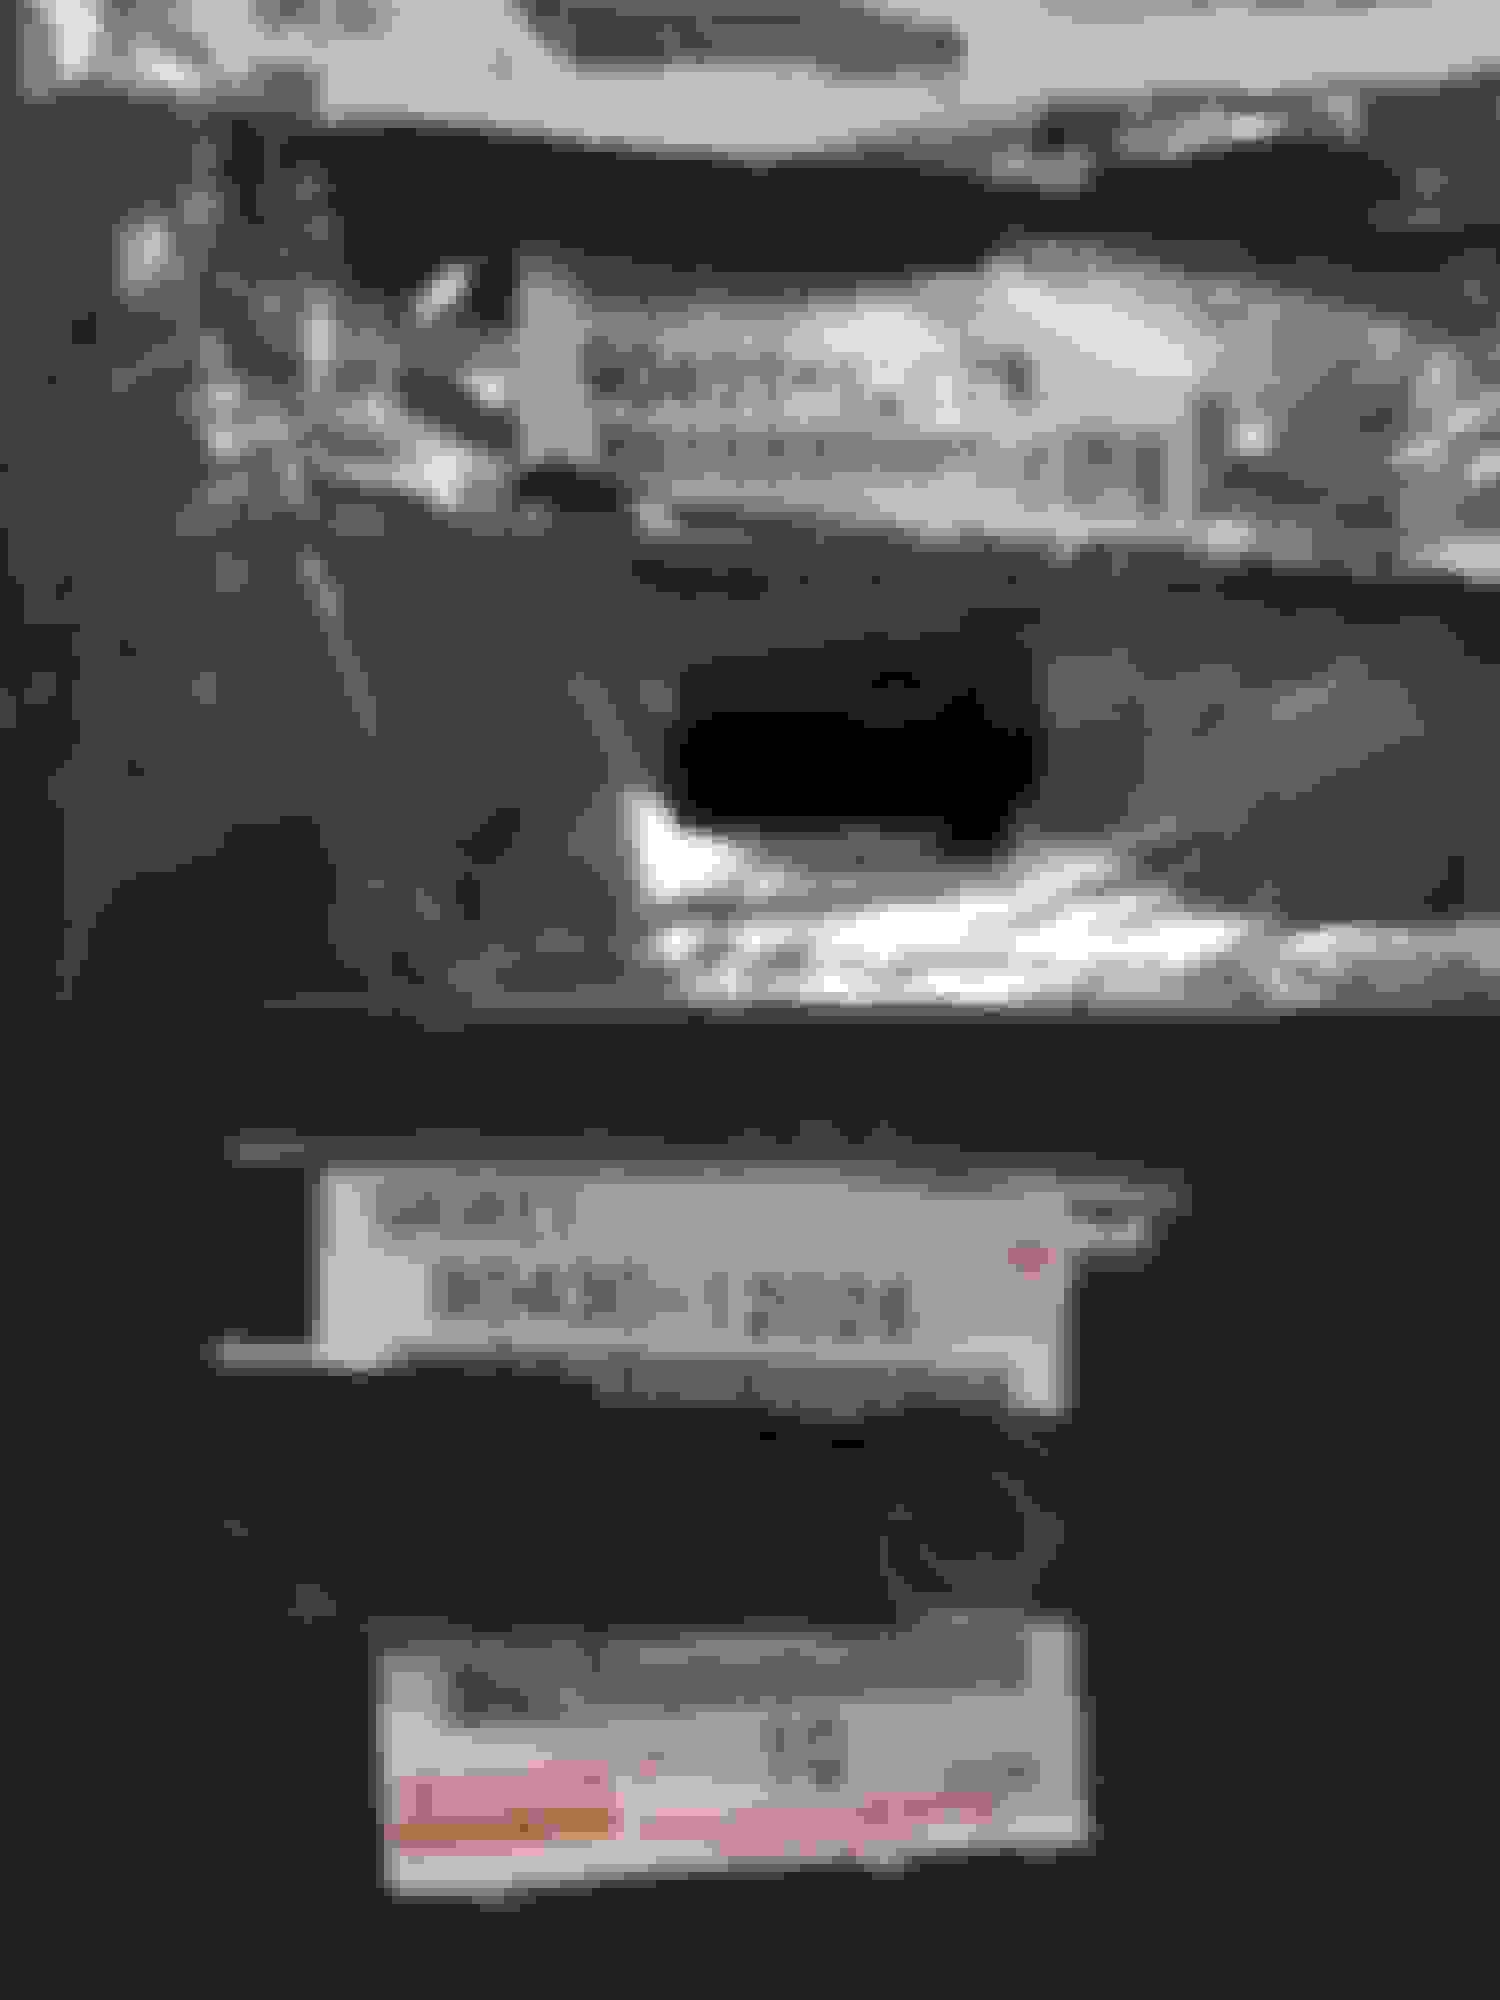
To install the alternator there is an upper long bolt (90080-10299) that gets 27 ft-lbs of torque. Then a lower stud (90116-10170) and lower nut (90179-10132) which also gets 27 ft-lbs of torque. The nut gets that torque, not the stud itself.
And the torque for the alternator pulley if you need it (81 ft-lbs):
The Supra MKIV TSRM section CH-8 "CHARGING SYSTEM" (using the search term "generator") shows the removal procedure. Installation is in the reverse order.
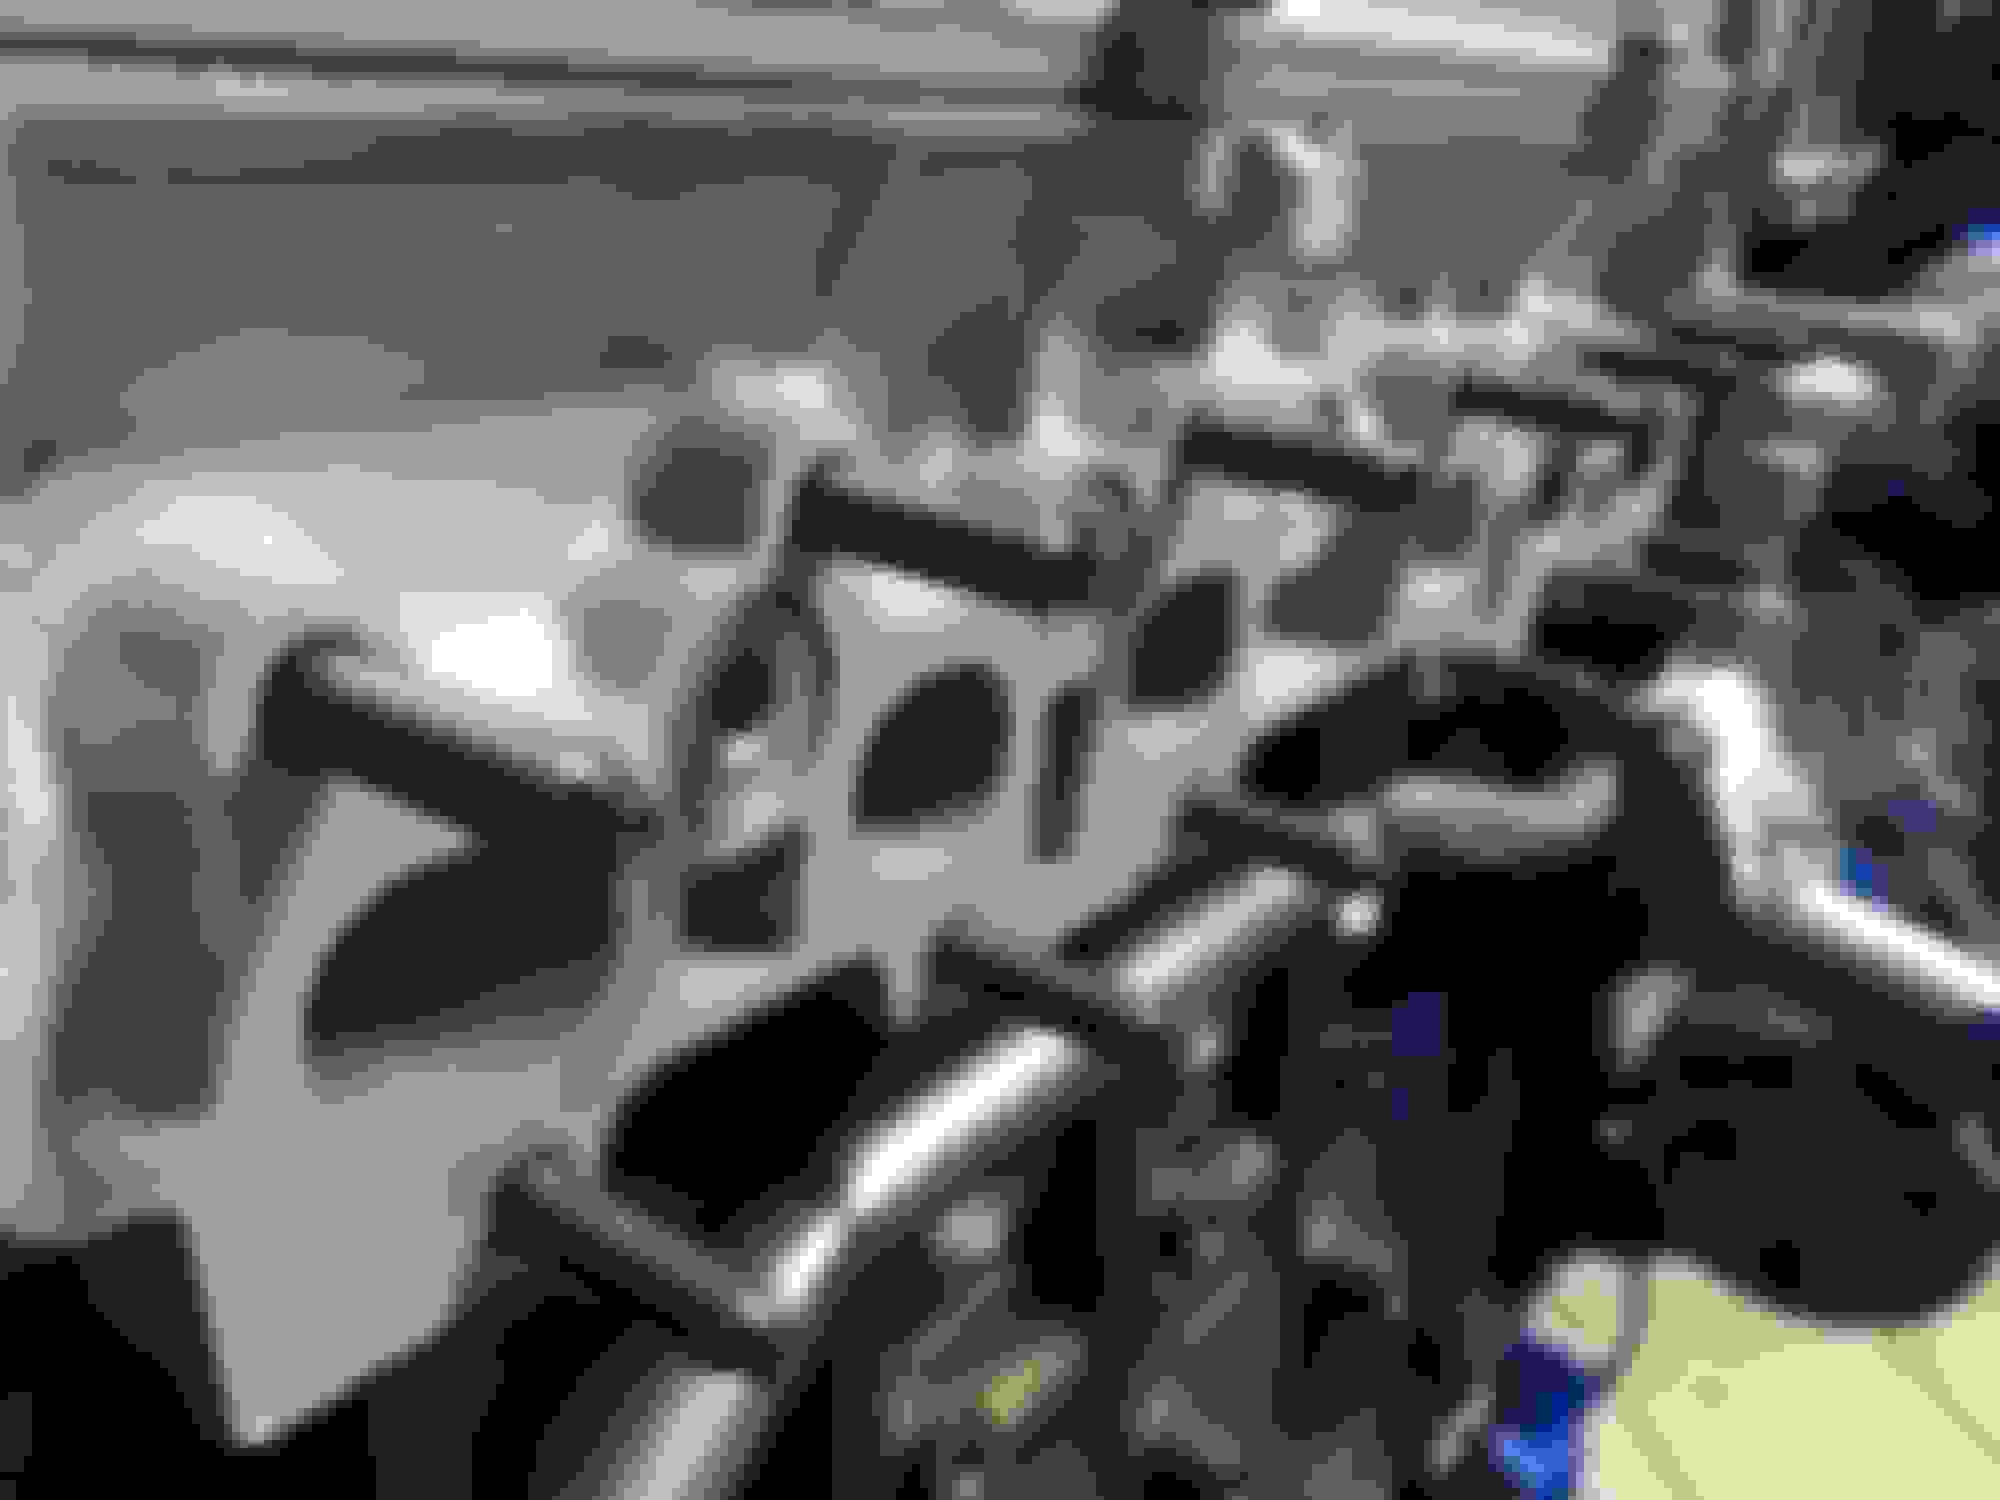
At this point I wasn't quite sure how to identify a number of similar looking used fuel delivery hard lines so i just found the one that seemed to fit the engine's dimensions correctly.
Since I didn't have one, I needed a new union bolt (90401-12023) and two new metal crush gaskets (which HAVE to be replaced for safety any time this fuel connection is removed!!!). 2x crush gasket P/N: 90430-12026.
Torque for the union bolt and crush gaskets is 30 ft-lbs.
Additionally, to affix the heavy mushroom part of this assembly to the engine block you need two bolts (90105-10416) which each get 21 ft lbs of torque.
There is also a small common manifold bolt that goes on the inside of the intake to secure the top part of the fuel rail. I don't remember the part number or torque value for this but being a small bolt it is not that many ft-lbs.
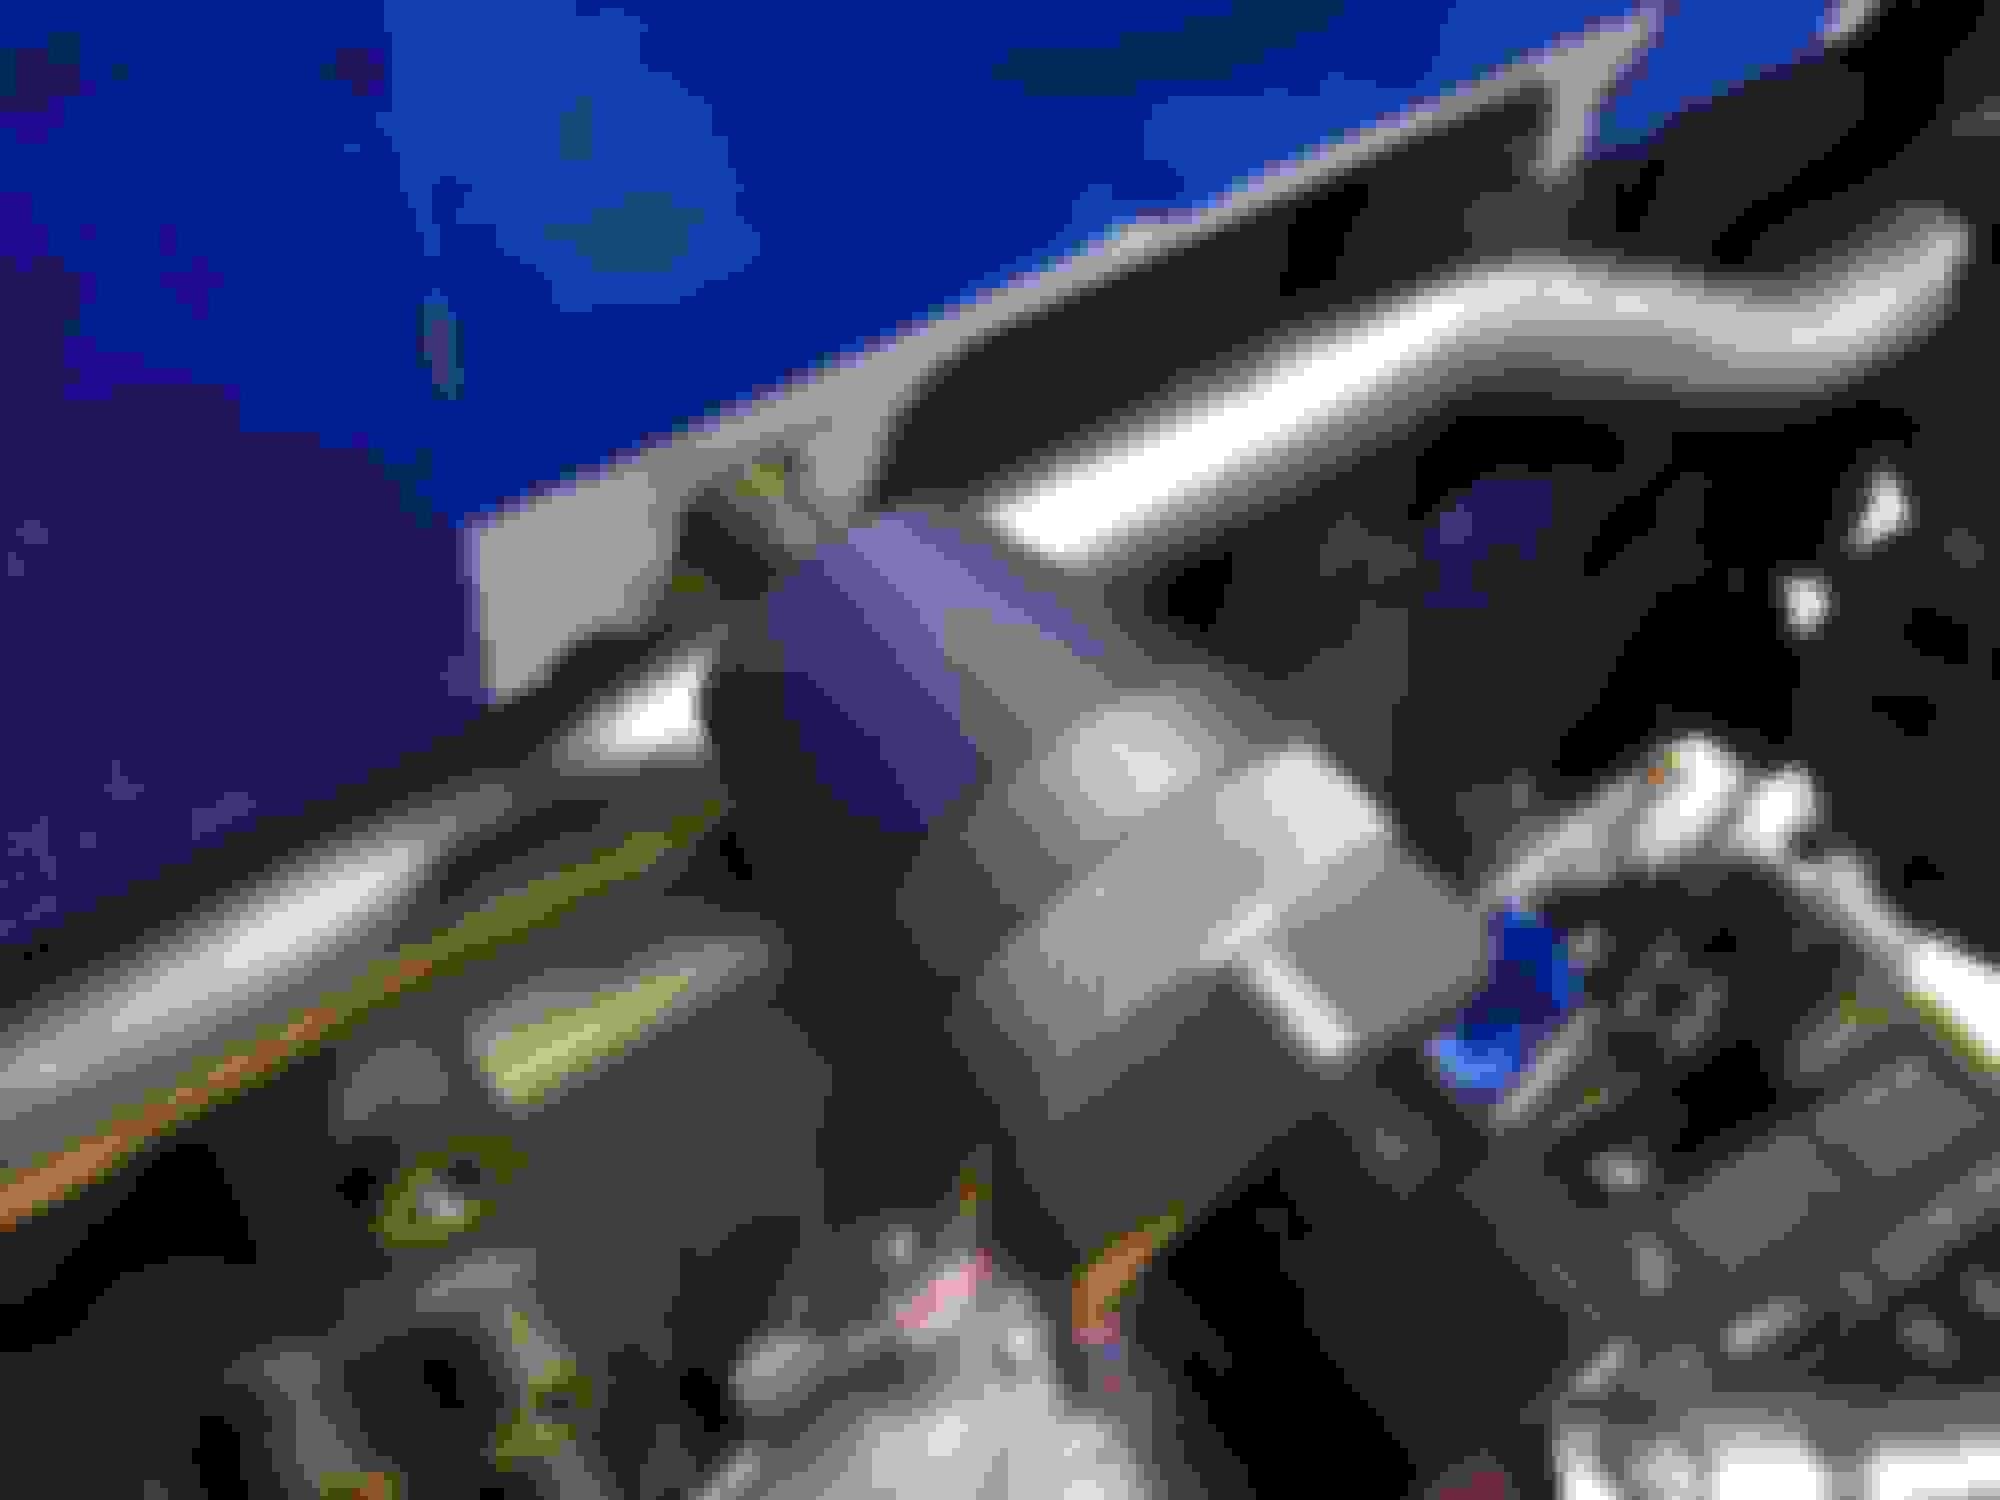
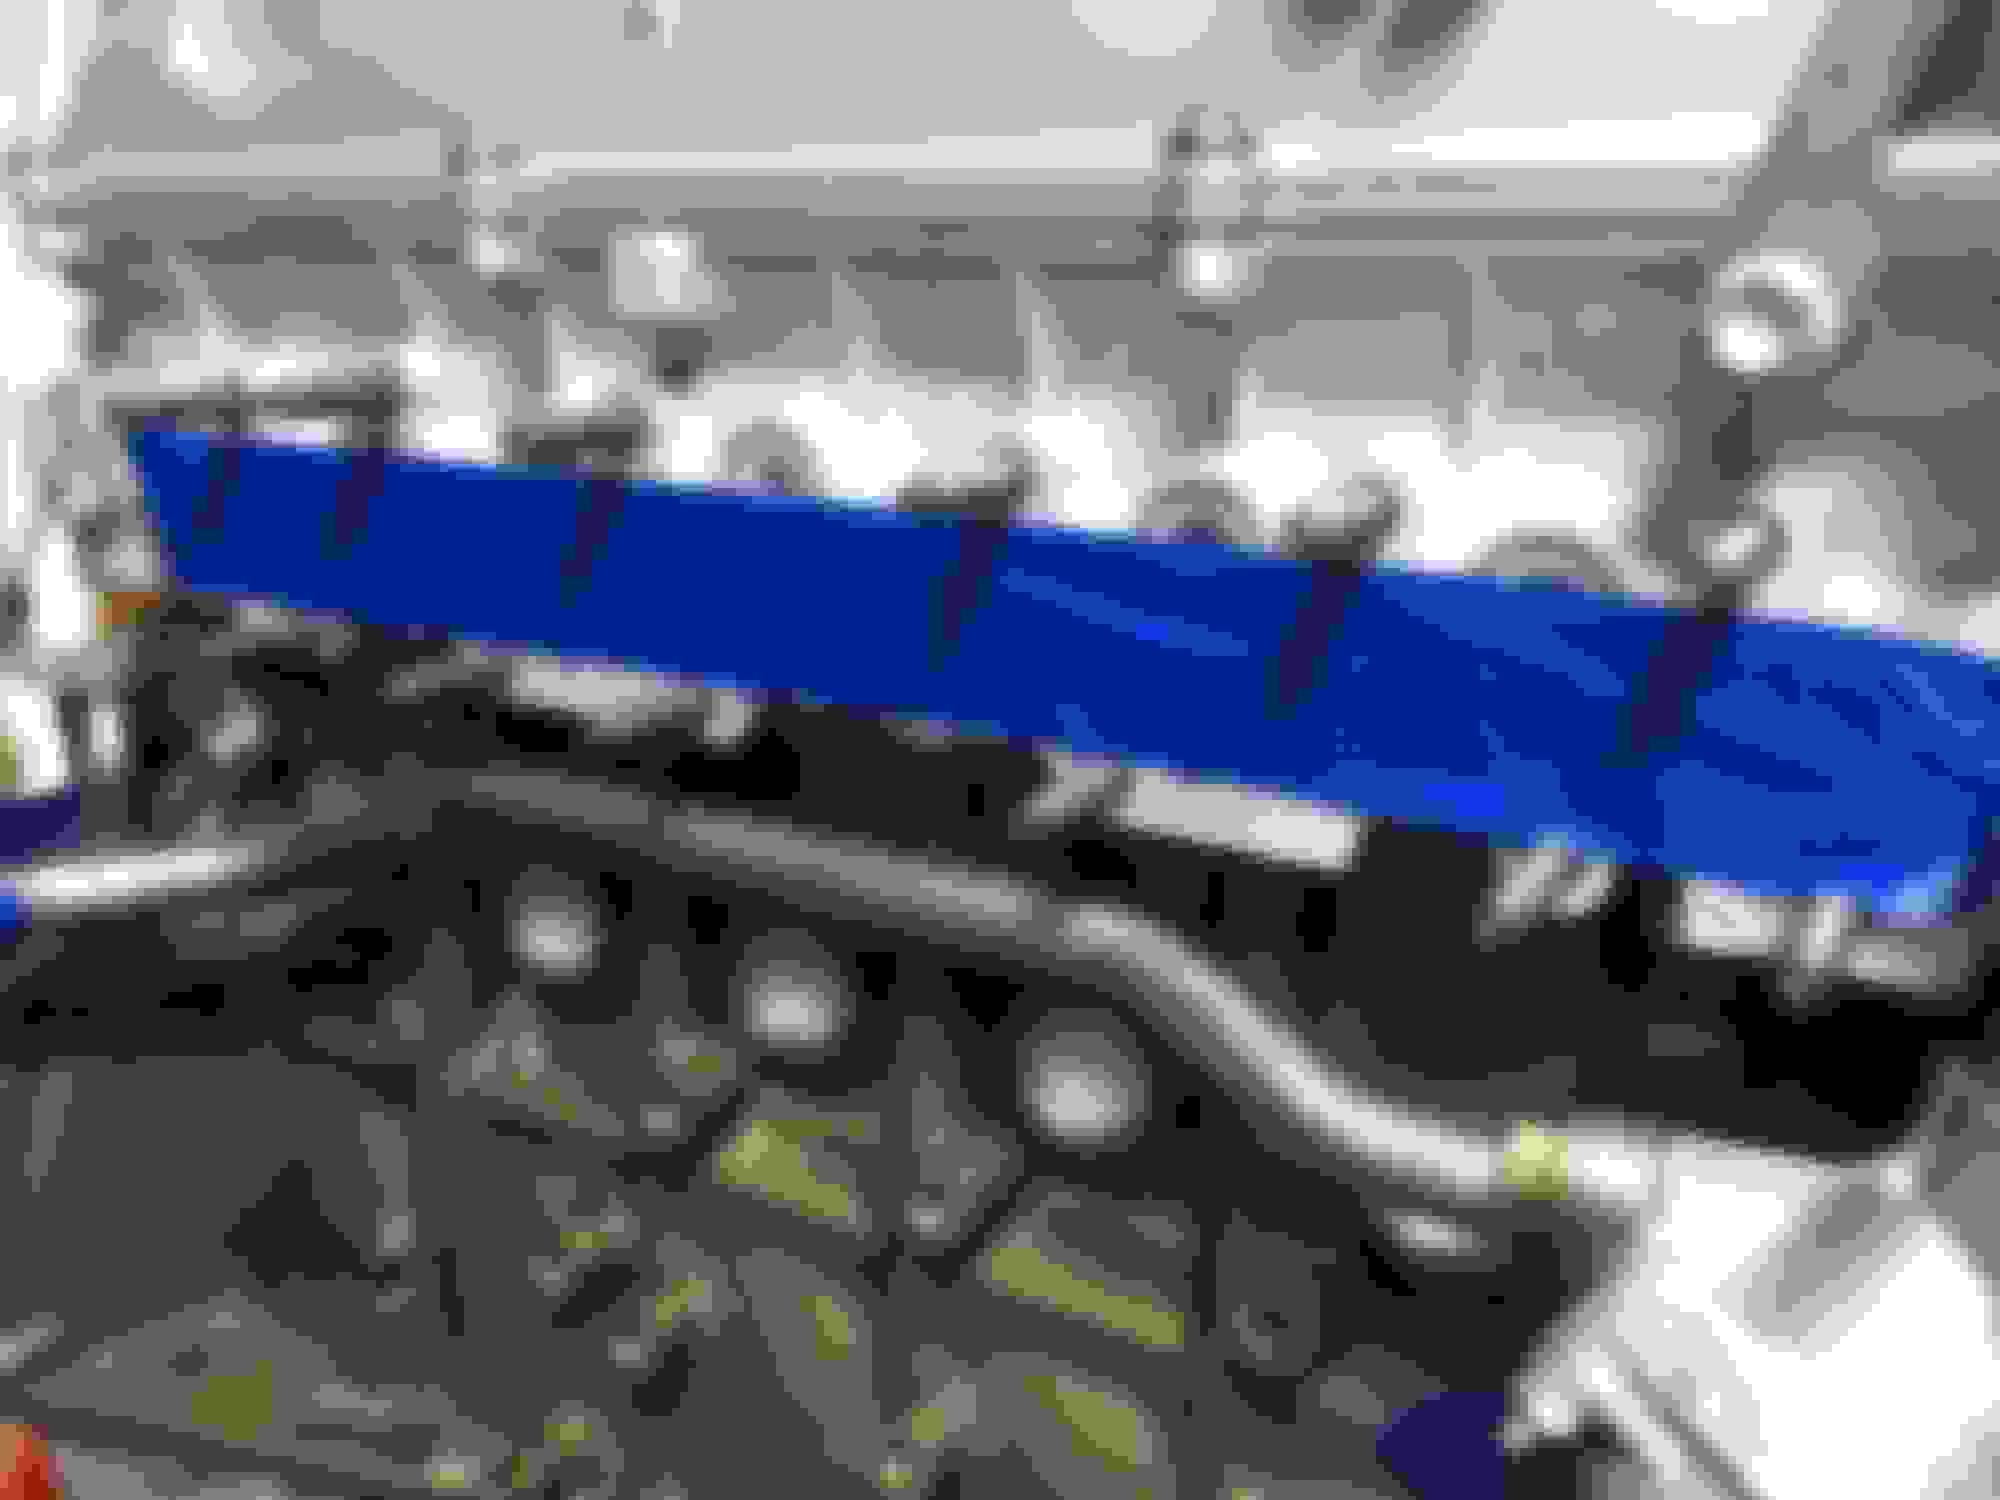
It's important to note that Supra MKIV's have their fuel filters in the engine bay. SC's have their fuel filters near the rear of the car. For this reason I had to disconnect the fuel filter section from the MKIV fuel inlet pipe.
It's my hope that the stock SC's fuel delivery line connects up to this disconnected area... which I will find out the answer to later on.
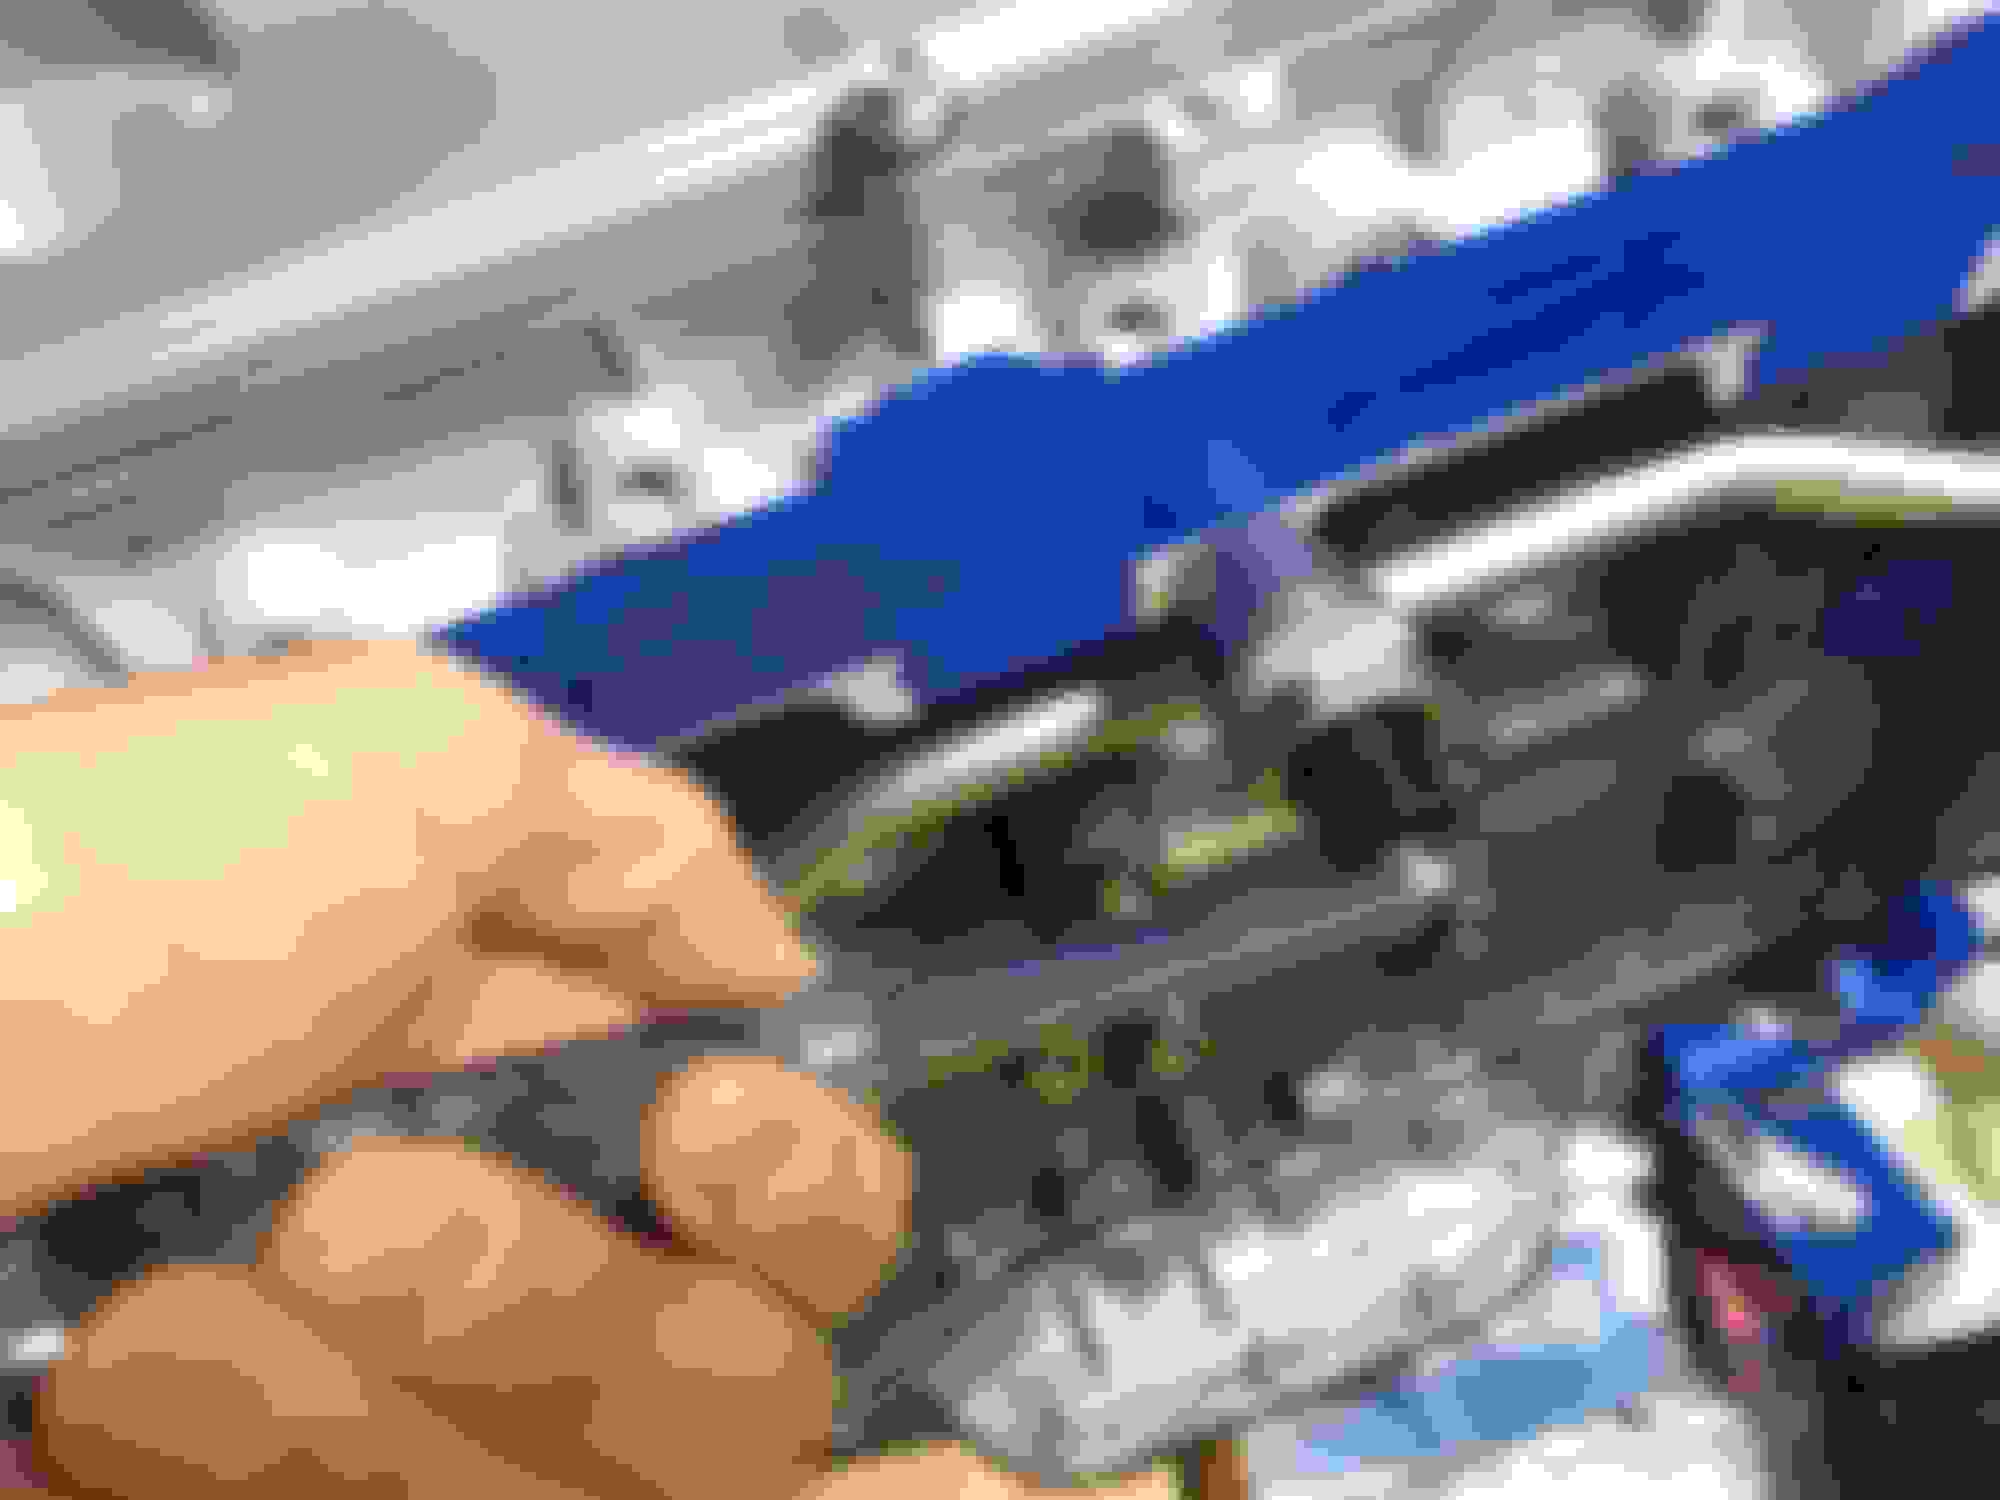
This lower section of fuel pressure hose going to the factory MKIV fuel filter was removed. It required my having those two silver block bolts pictured above torqued in place at 21 ft-lbs each. The lower union bolt on this gold colored assembly before the MKIV fuel filter being 22 ft-lbs required some solid stability before it could be broken free.
If you can imagine this shot with the rubber high pressure line removed, this is where (I hope) the SC's factory fuel line goes on in a factory fashion. Fingers crossed.
2JZGTE Throttle body Part 2 (well... an observation)
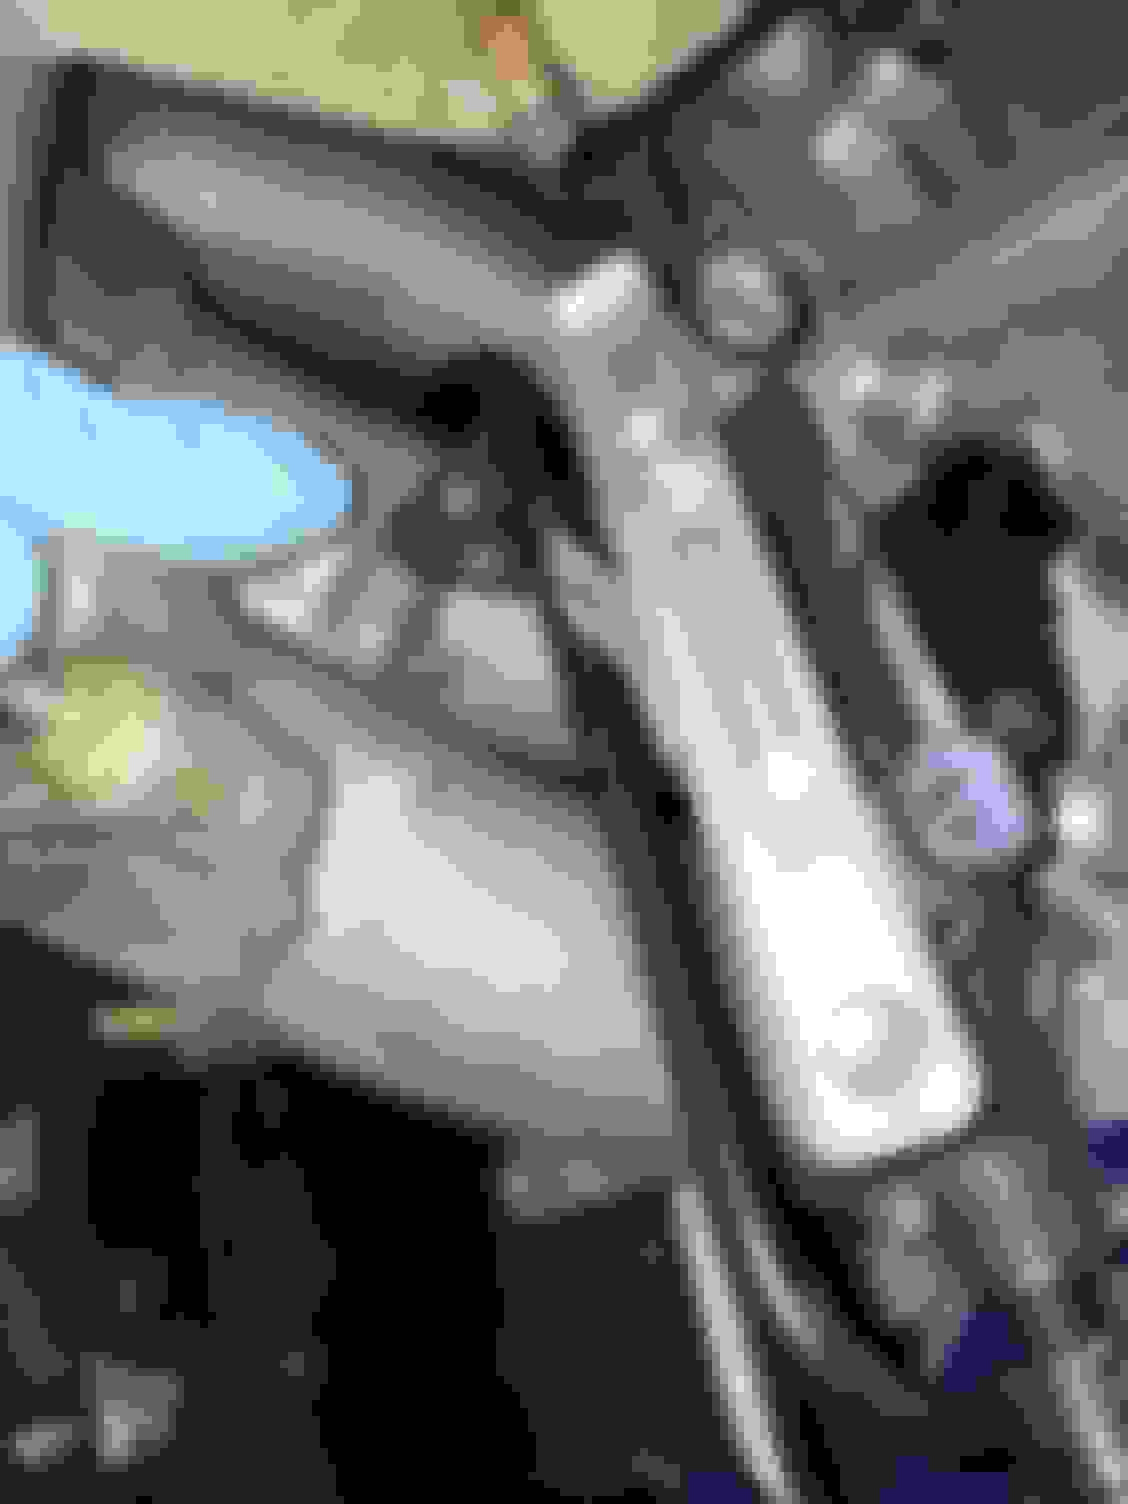
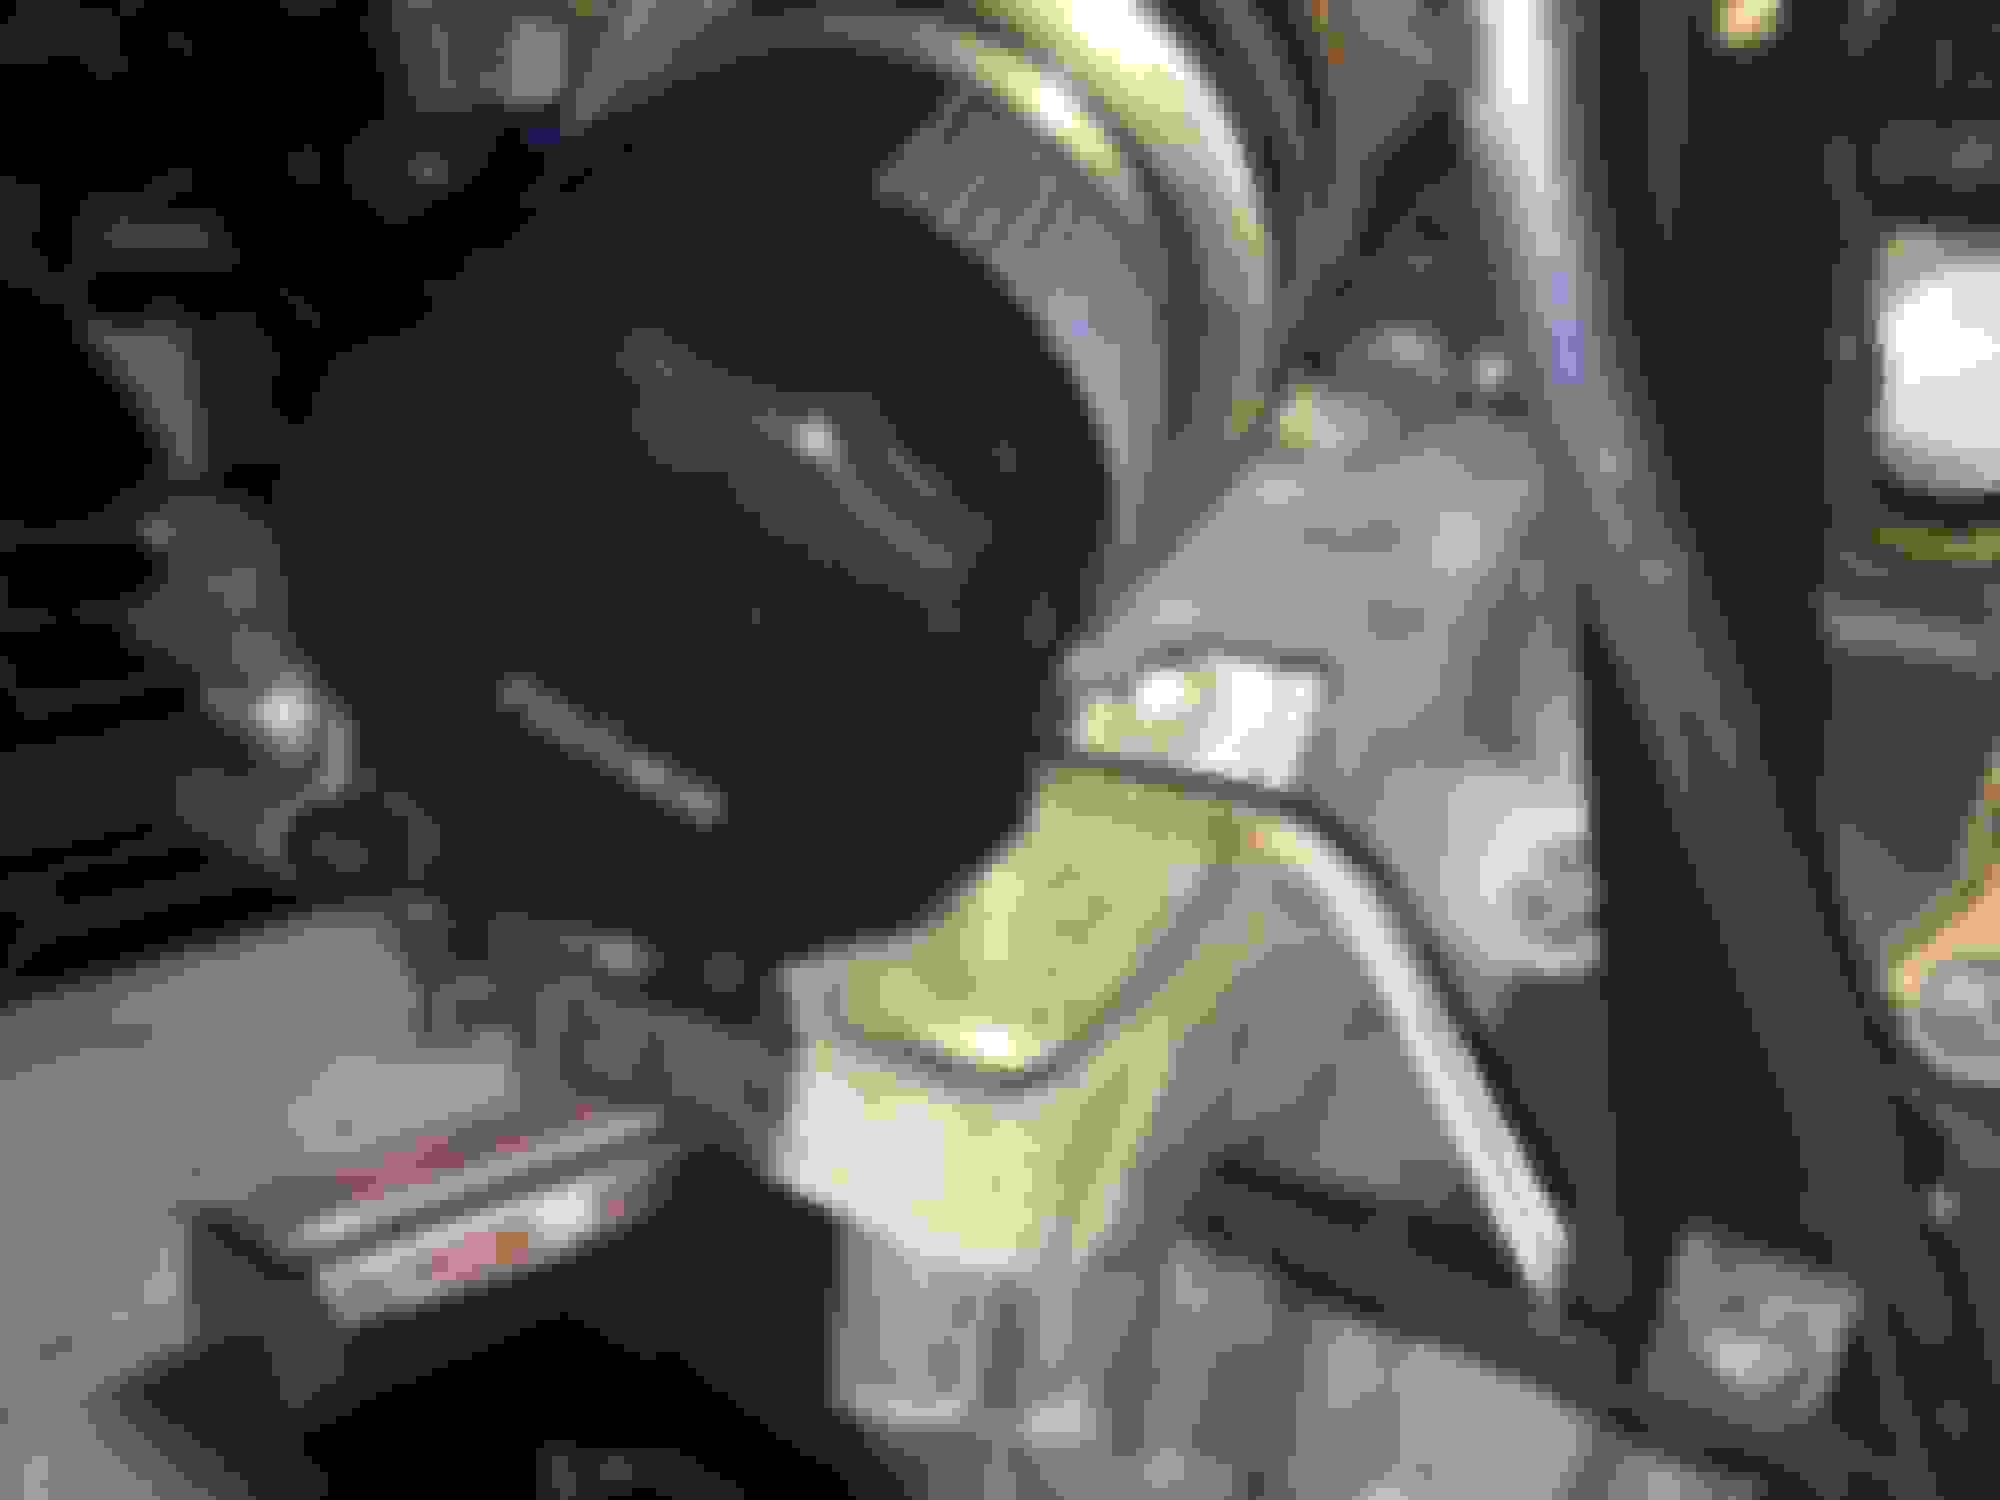
I noticed this when I began the TRAC delete installation. I bought the USDM 2JZGTE upper intake manifold and USDM throttle body a few years back. It never occurred to me that this lower connection which goes to a coolant(?) port on the cylinder head.... doesn't.... um.... have... anywhere to go on the intake manifold. It fully CONNECTS to something below the throttle body but the rear mating area of this port is a mystery to me unless it is supposed to remain exposed like this as a relief valve of some kind.
It has been a couple of months since I installed this and all the hoses I had for it so I can't recall if this lower bypass section is actually coolant or vacuum related. I assumed it was coolant related though.
Is it possible I got the wrong year USDM GTE intake upper or throttle body?
Supra MKIV 2JZGTE dipstick & large manifold "stay" installation
To get the dipstick installed you also need a "manifold stay" to brace it to. There are always some fun surprises along the way of a journey
The large 2JZGTE intake manifold side "stay" is 17118-46050. Two bolts affix it (90105-10416) with 29 lb-ft of torque each.
The oil dipstick (96721-19010) has a small o-ring that goes onto it (------) and it just pushes into the port on the oil pan and aligns in place so that two bolts (90080-11216) can bolt it down.
This torque number of 14 ft-lbs is *probably* the correct one for these affixing bolts but I don't remember 100% if they are:
I have a spare one of these but at the time I needed to install it I didn't have a vacuum tester handy to verify it holds pressure within spec. I'm holding onto the used tank so I decided to install this new one
2JZGTE pressure tank (25709-46010). The nuts to bolt it in place are 90080-17242 (x2). I think they's supposed to have.... 14 ft-lbs of torque??
The factory vacuum hoses for this are cut-to-length type 90999-92002.
On top of the tank goes the EVAP VSV. But more on that later.
For the USDM 2JZ-GTE at least the block oil pressure switch is 83530-0E010. It has a tapered thread and goes on with just 11 ft-lbs of torque. I also used a little Permatex thread sealer on the threads.
2JZGTE exhaust studs & how to remove a snapped/seized stud
Installing the exhaust studs is easy! I got a kit from Driftmotion which even has the threads of each stud tipped already with some Loctite style coating.
In my case, though, I had a seized and broken stud still left in the cylinder head. I did want to get this out before Driftmotion rebuilt it for me but... that never happened.
So after doing some reading on the best way to remove a seized bolt from an engine part I bought one of these
A Mayhew #29895 stud extractor. This clamps down on your broken stud end at 360 degrees and gets tighter on the stud the more you turn it counter clockwise with a breaker bar. I love this tool! It came in handy with a later project, too.
With a little spray of some PB Blaster on the first ring of the stud threads in the cylinder head and a couple of minutes to let that sink in it was easy to get the stud out with the Mayhew tool.
With that out of the way, the Driftmotion exhaust studs went in. Easy.
If you're familiar with 2JZ swaps into SC's you know that there are a few differences between the mounts used for any of these engines into the SC/Soarer, MKIV, GS/Aristo, and (I think?) IS300/Altezza.
MKIV Supras used their own type of mount brackets and mounts from 1993-1996. Then they switched to SC style mounts from 97-98. The great thing about this has always been the ability to use MKIV Supra engine mounts on SC style brackets.
Once again thanks to Gerry(!) I got a spare set of SC engine mount brackets to bolt onto the engine black before a lot of other hardware has to go into place on top of them. While I could have re-used my original engine's brackets I needed this second set of them to have everything completely assembled come time for the swap.
As far as I know these brackets are now discontinued from Toyota so you have to find a set to use or re-use your originals but for the sake of organization the part numbers should be:
12315-46040 — SC300 BRACKET, ENGINE MOUNTING, FRONT NO.1 LH
12311-46040 — SC300 BRACKET, ENGINE MOUNTING, FRONT NO.1 RH
Then there are some bolts and nuts.
90105-10417 — x6 bolts for 2JZ engine mount upper brackets (x3 each side)
90109-08210 — x2 bolt/studs for long hole SC300 2JZ upper engine mount brackets
90179-12153 — x2 SC300 Upper engine mount nuts
90179-14055 — x2 SC300 lower engine mount nuts
The bracket bolts and couple of stud nuts each get 43 ft-lbs.
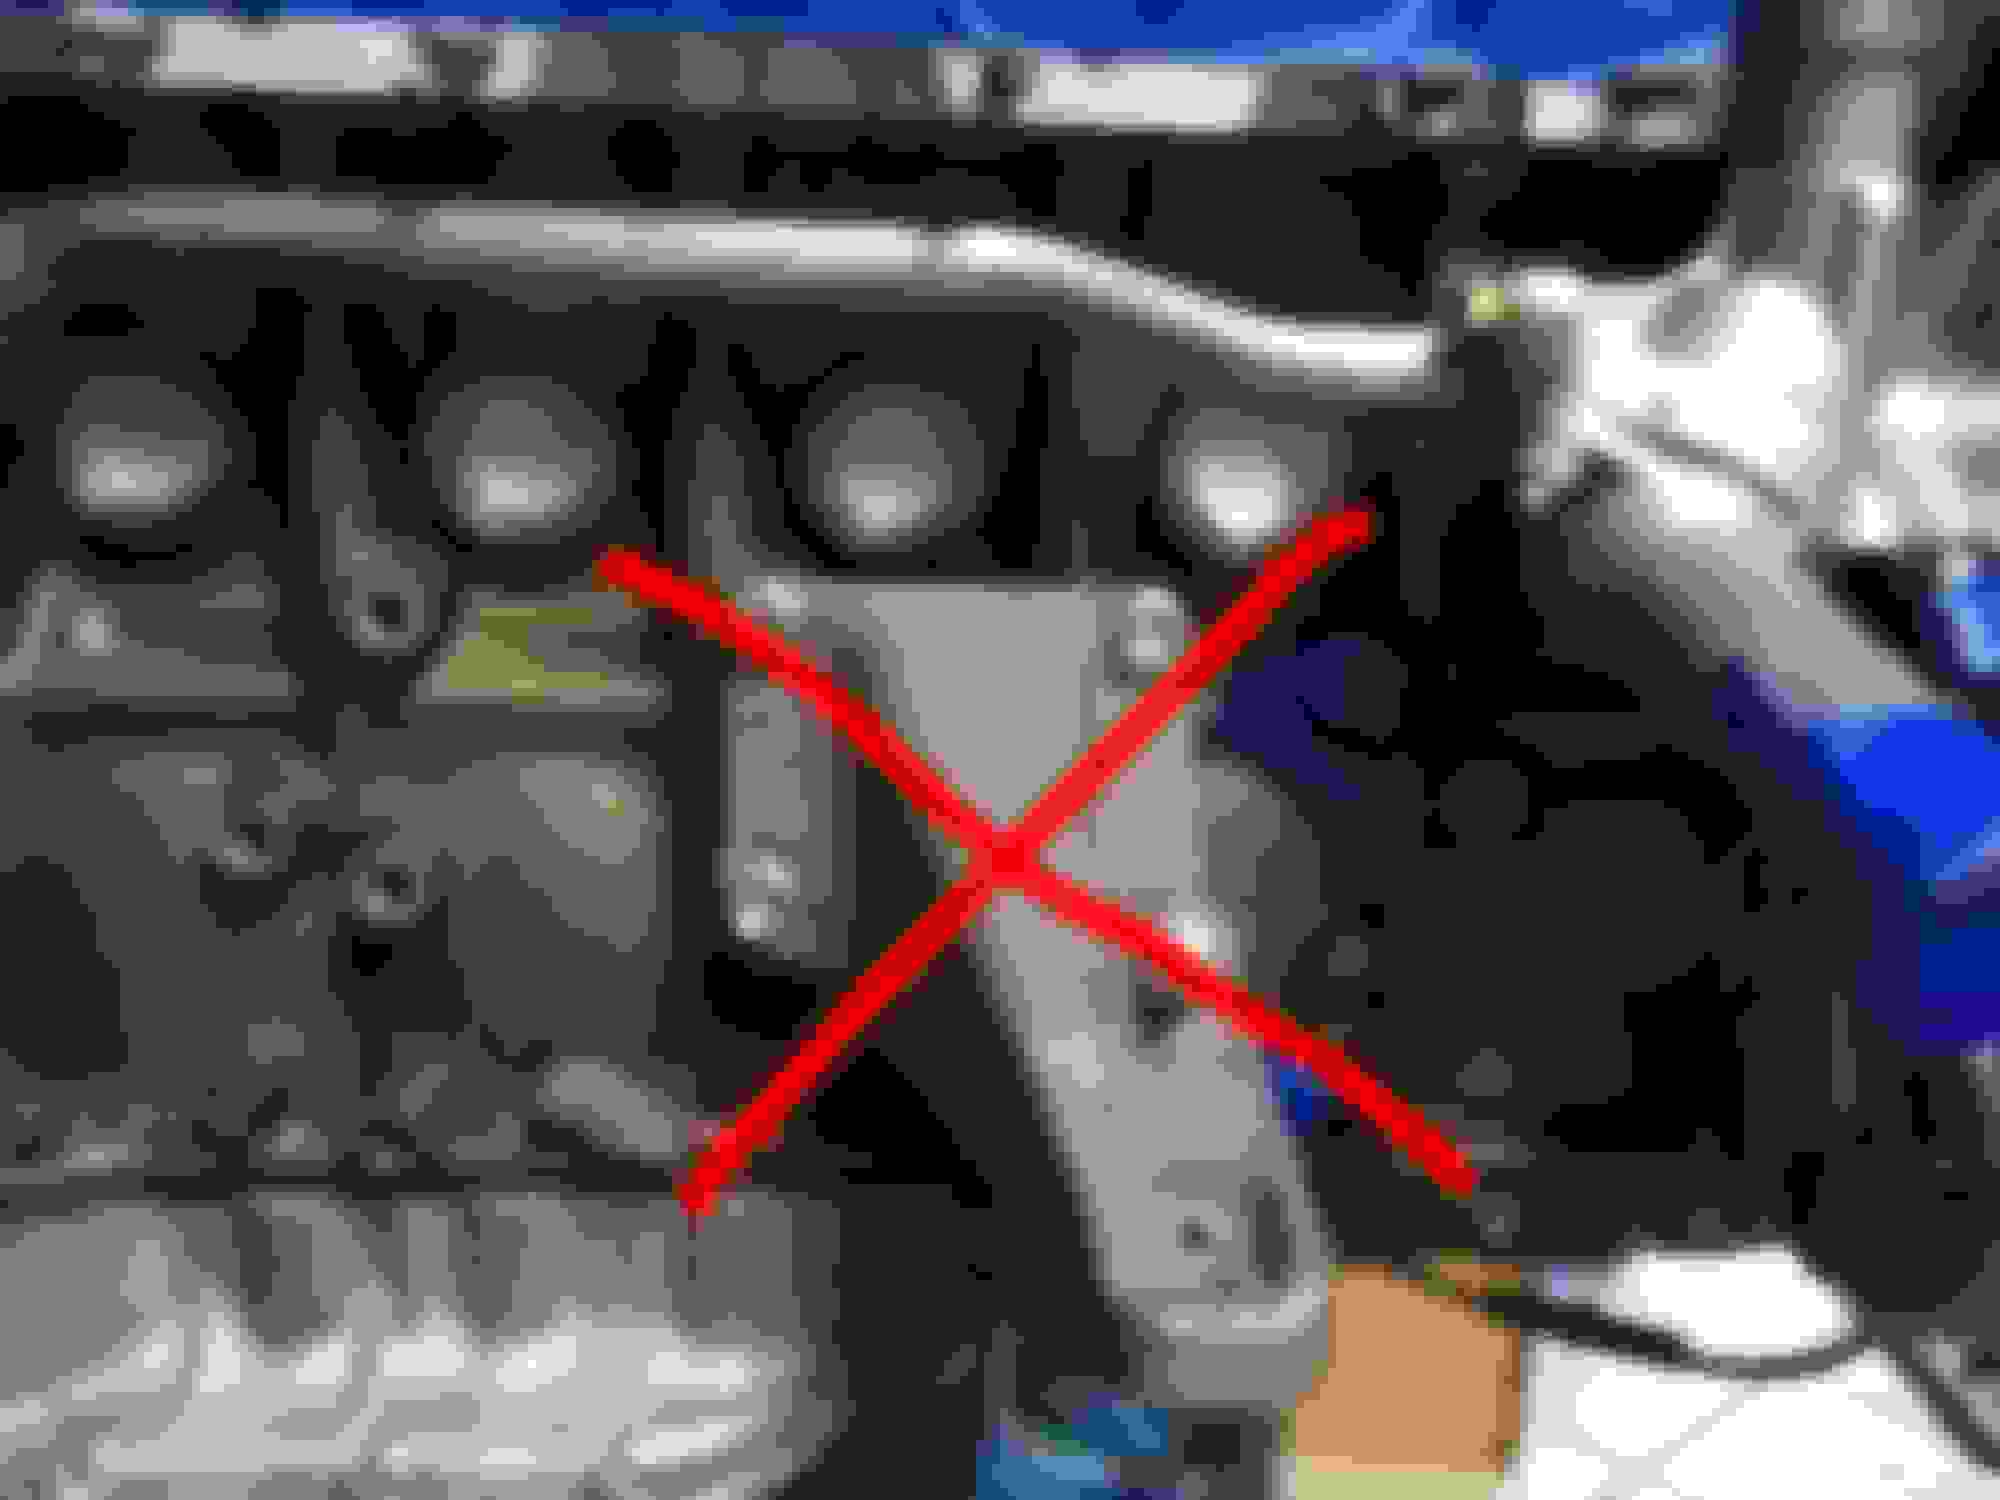
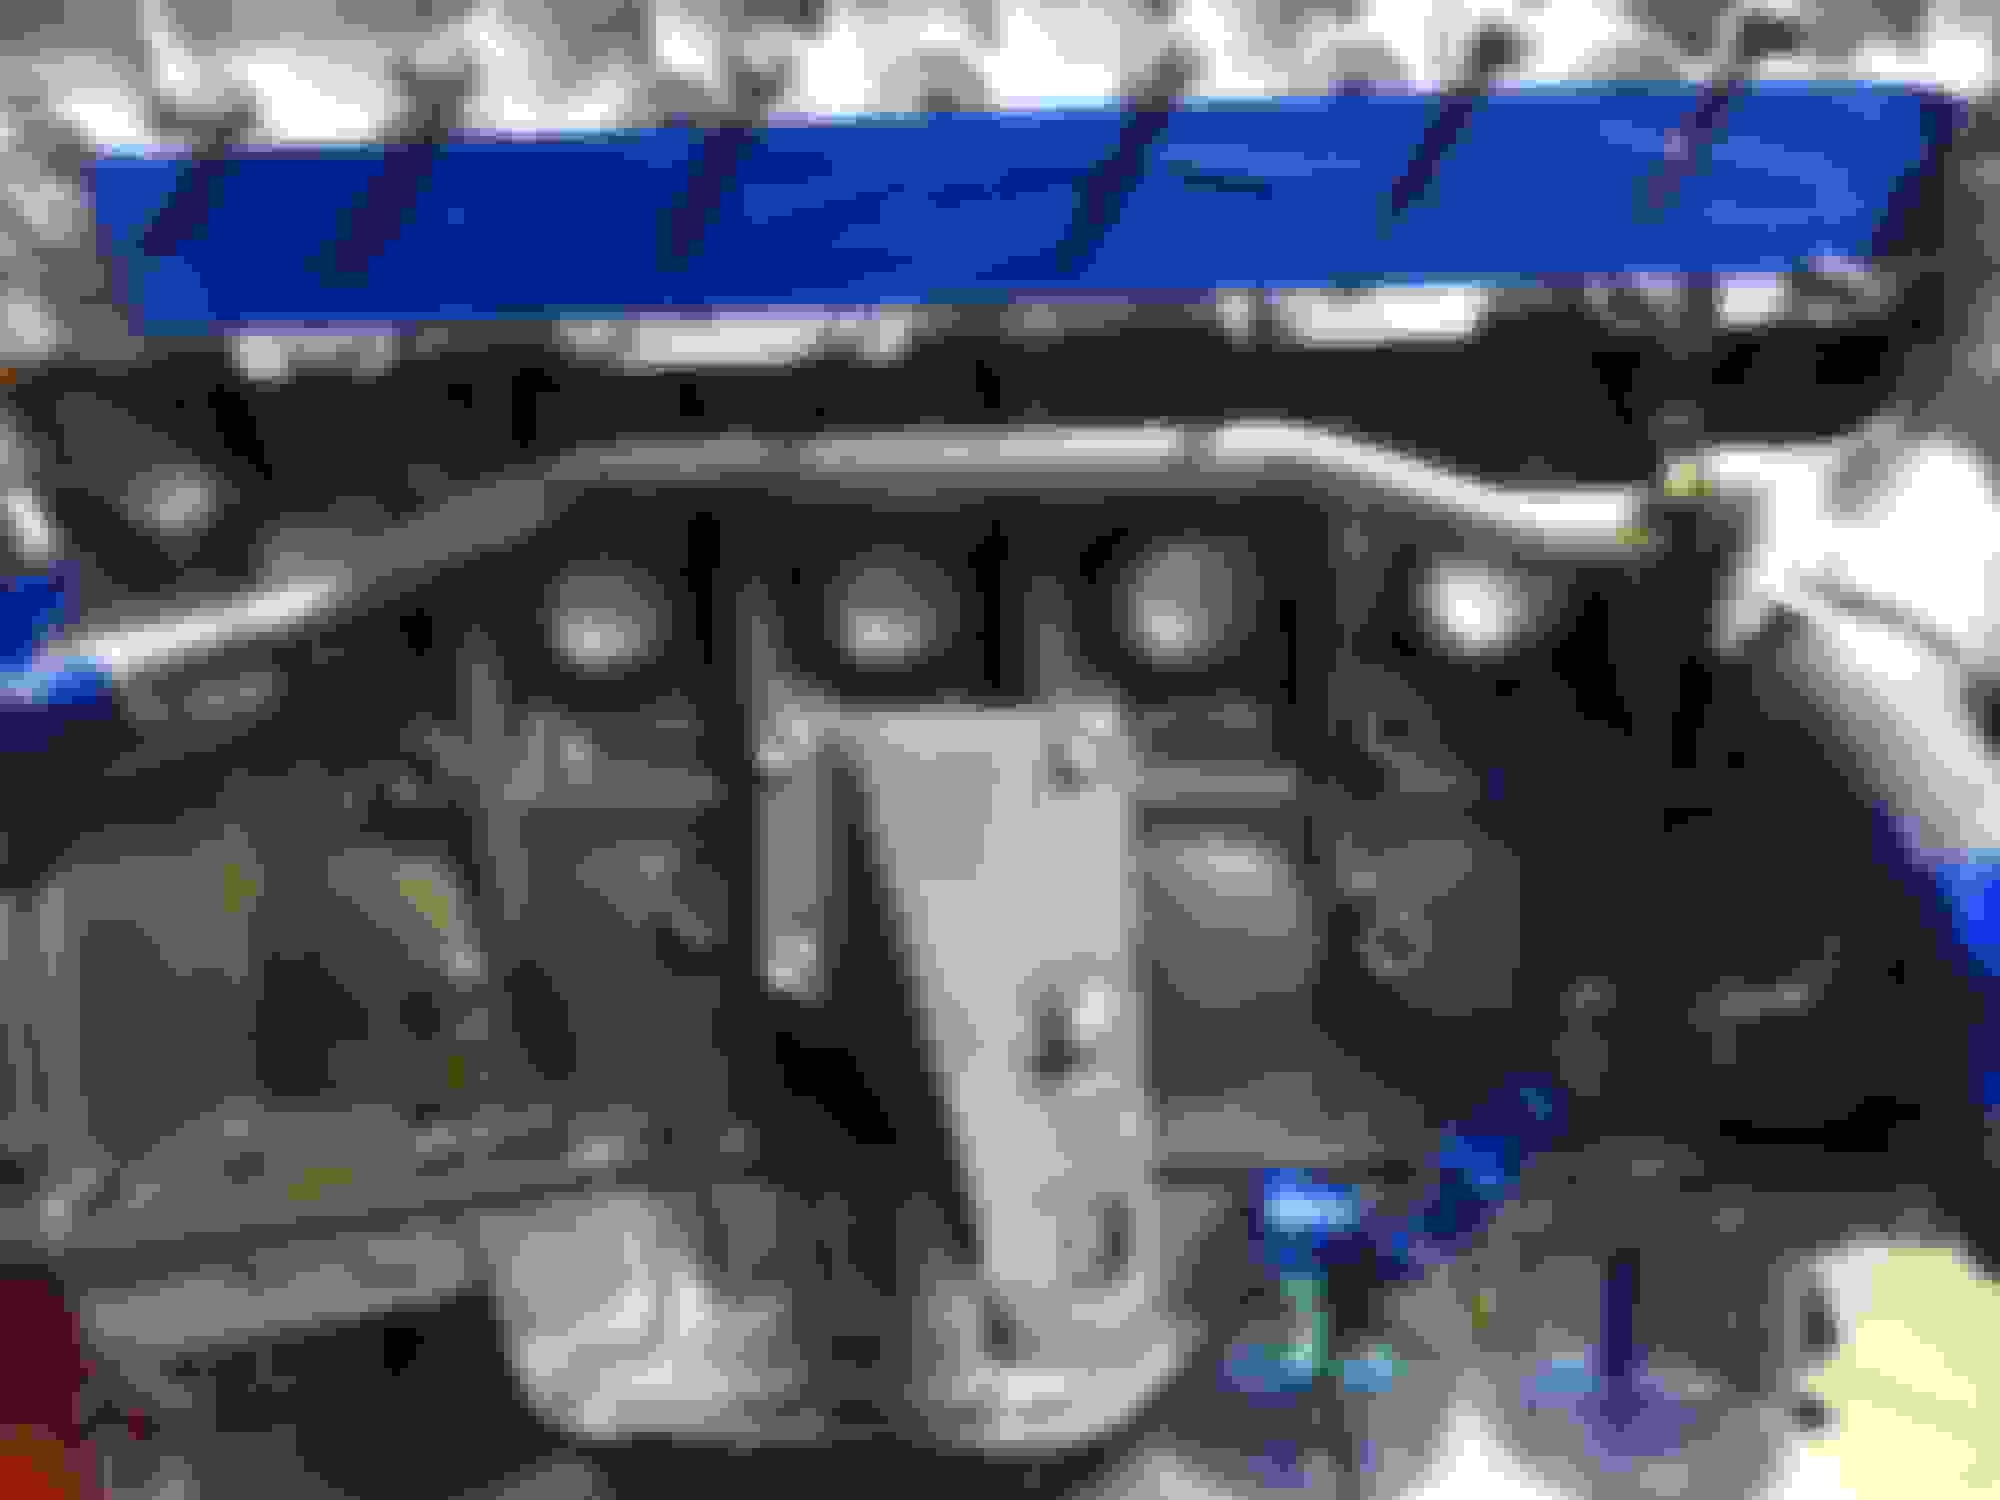
The slightly annoying part was figuring out exactly where the turbo side bracket mounted to and having to temporarily undo the oil filter cooler to fit the intake side bracket.
The biggest reason for installing these now rather than later is that with the stock twin turbos in the way it is impossible to get the exhaust side bracket on.
2018 EDIT/UPDATE: It is, in fact, not impossible to put the exhaust side bracket with the turbos mounted. The lower exhaust collector just has to be unbolted and re-mounted.
PLEASE NOTE: In these pictures I actually had the wrong engine mount brackets for a 2JZ in an SC chassis with the 12360-46111 Supra engine mounts. I had to change these out for the original brackets from my 2JZ-GE engine later in this build. I had not realized this at the time.
 09-23-17, 06:40 PM
 This engine is what has gotten most of my attention lately.