When you click on links to various merchants on this site and make a purchase, this can result in this site earning a commission. Affiliate programs and affiliations include, but are not limited to, the eBay Partner Network.
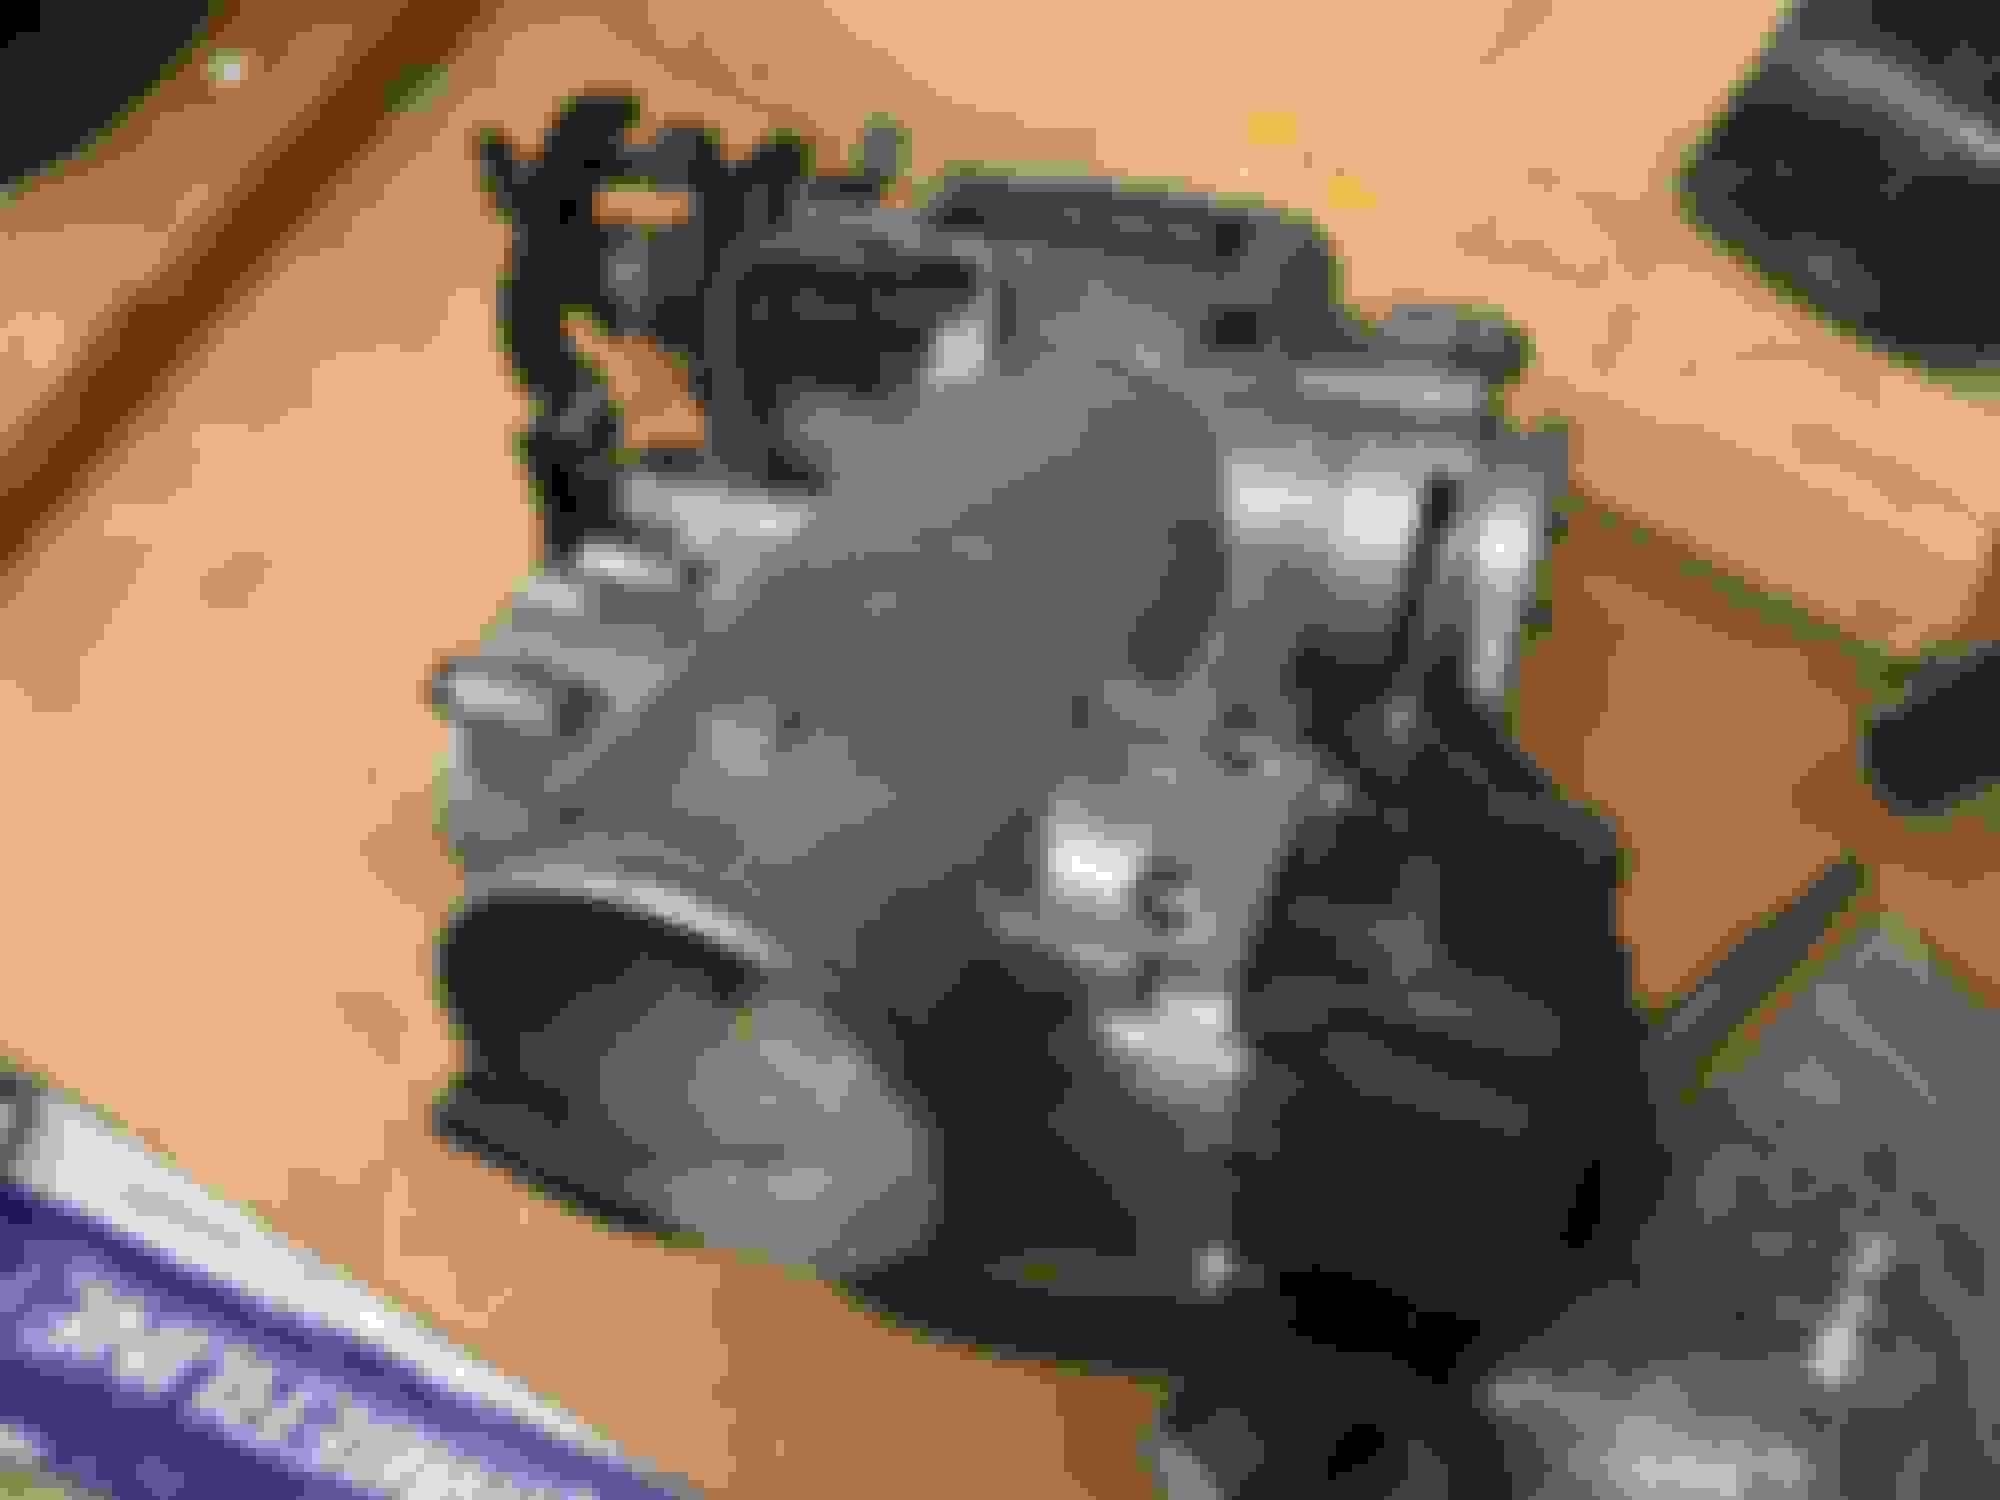
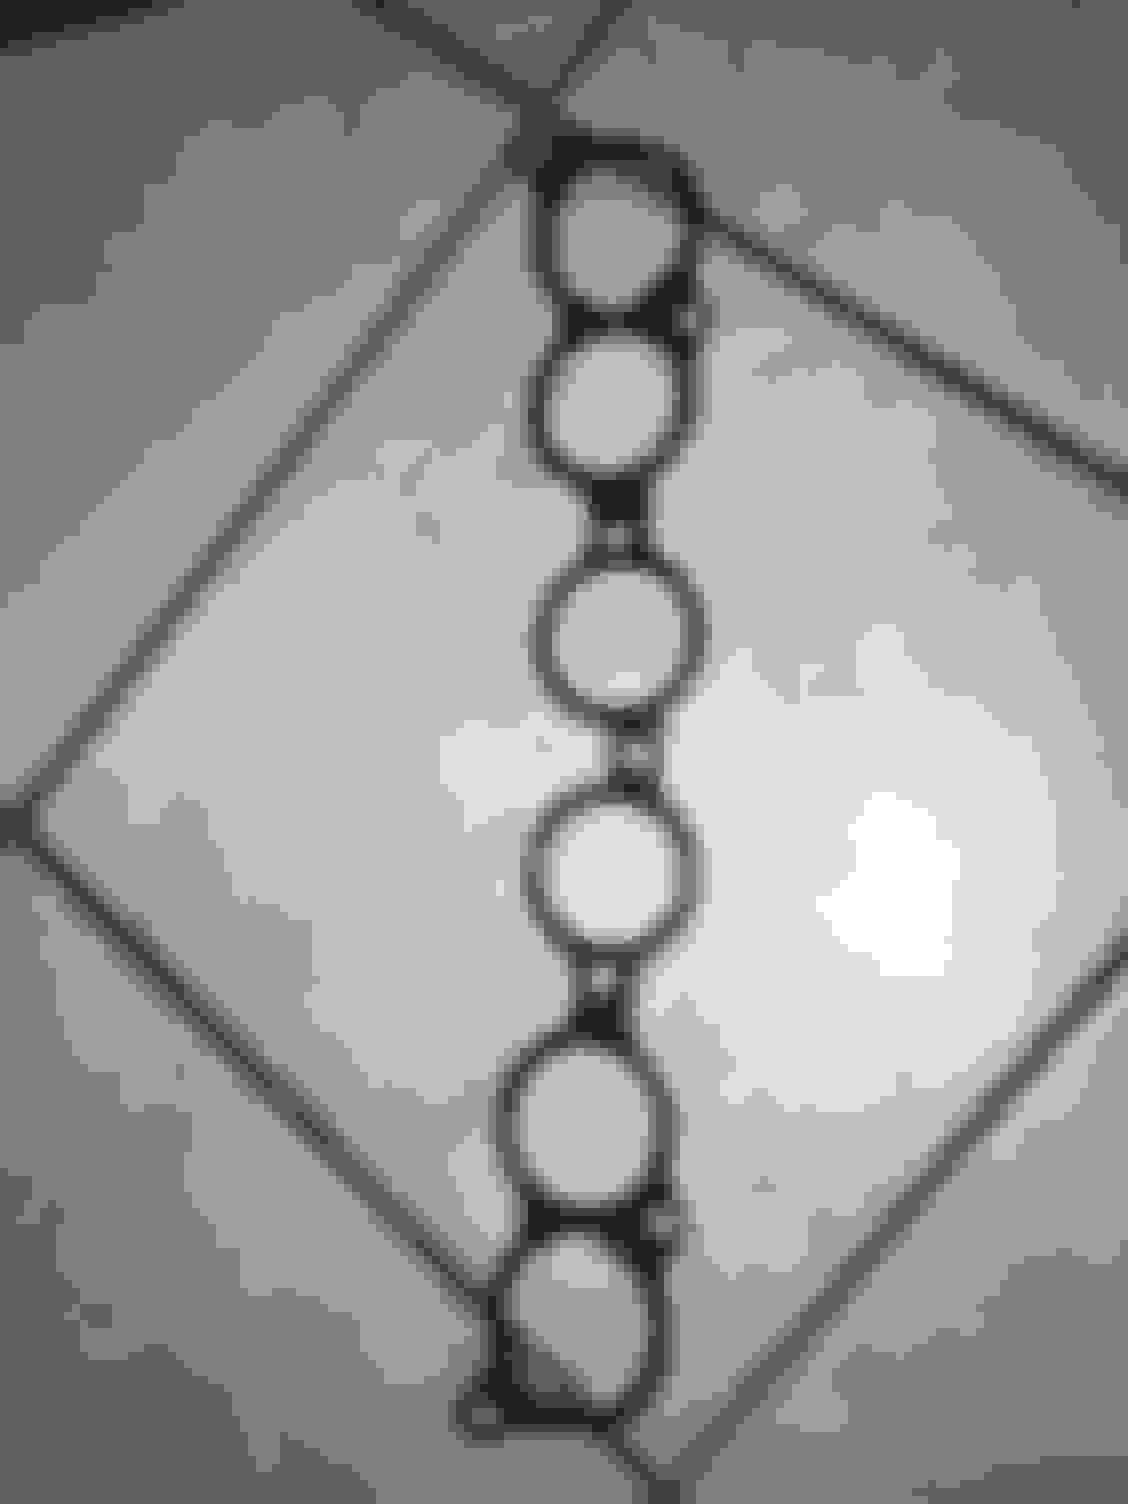
The lower timing cover 11302-46031 goes on with (5) five bolts 91511-B0620. If you get a new cover a gasket already comes with it but if you're replacing the gasket on an old cover that will be 11328-46041.
FYI, 2JZ-GE and 2JZ-GTE lower and middle timing covers are exactly the same parts.
I believe the torque spec for those hex bolts is 69 inch-lbs.
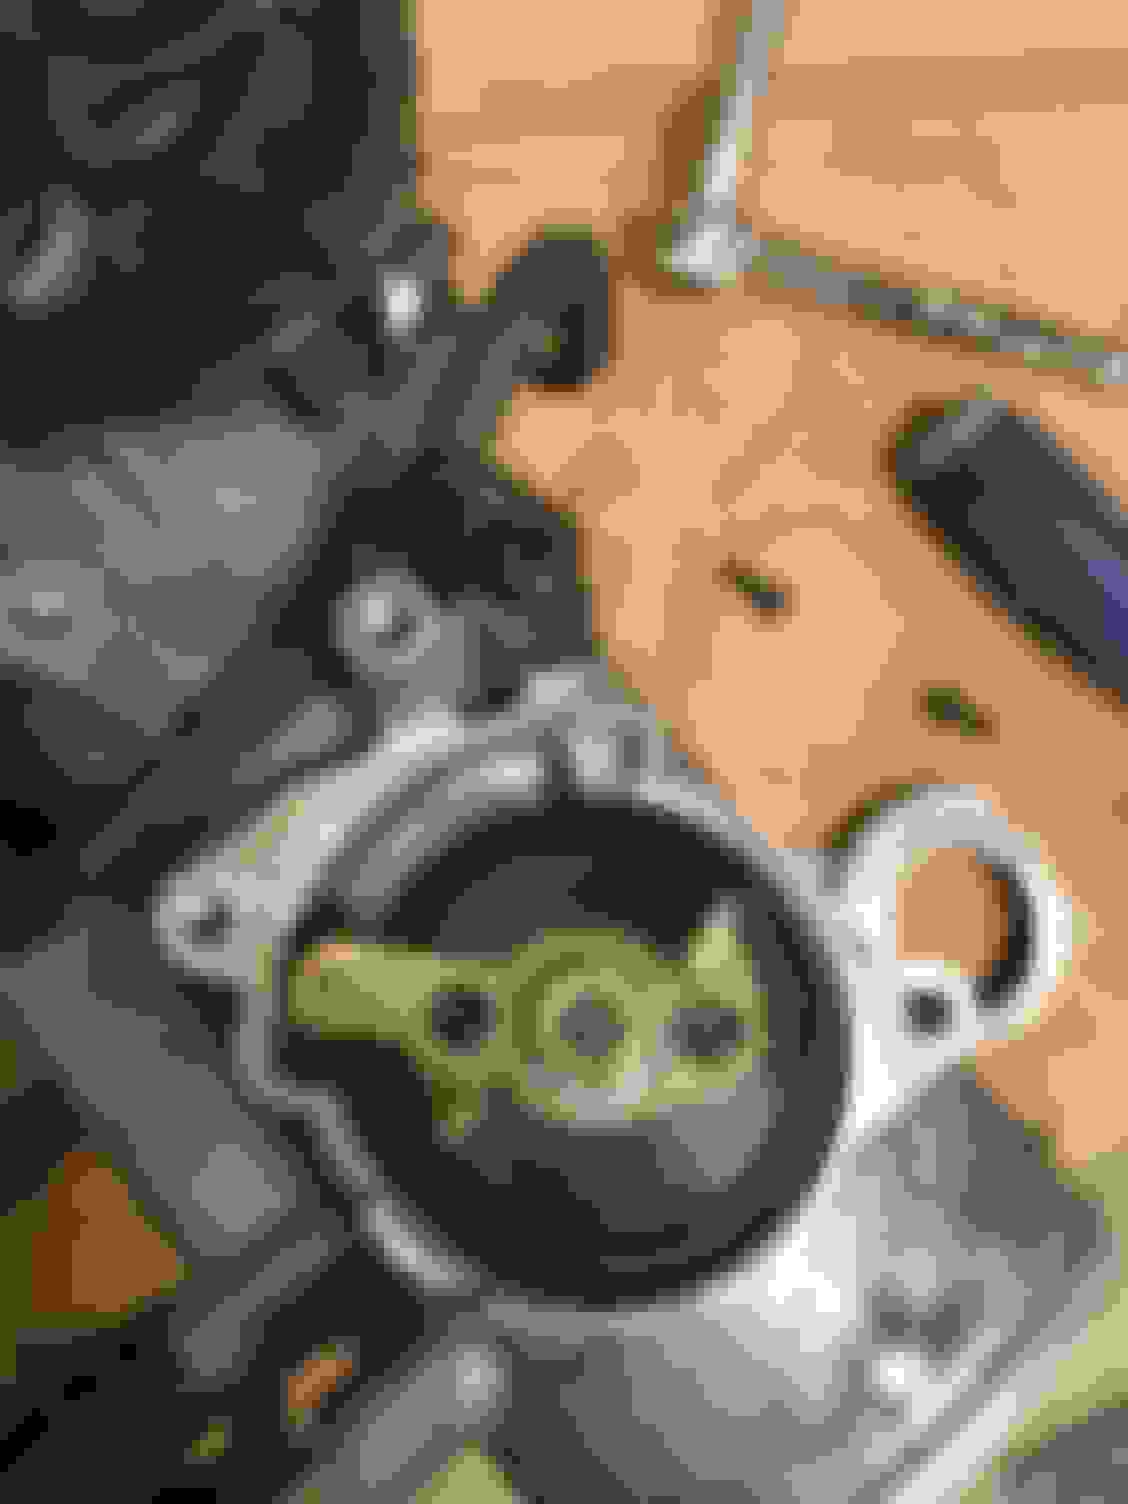
Also, remember you need to put the timing belt guide (the brass-looking saucer with holes in it) over the crank timing gear and timing belt before you install the cover (see below). That is 13566-46010. This was already installed in the last few pictures.
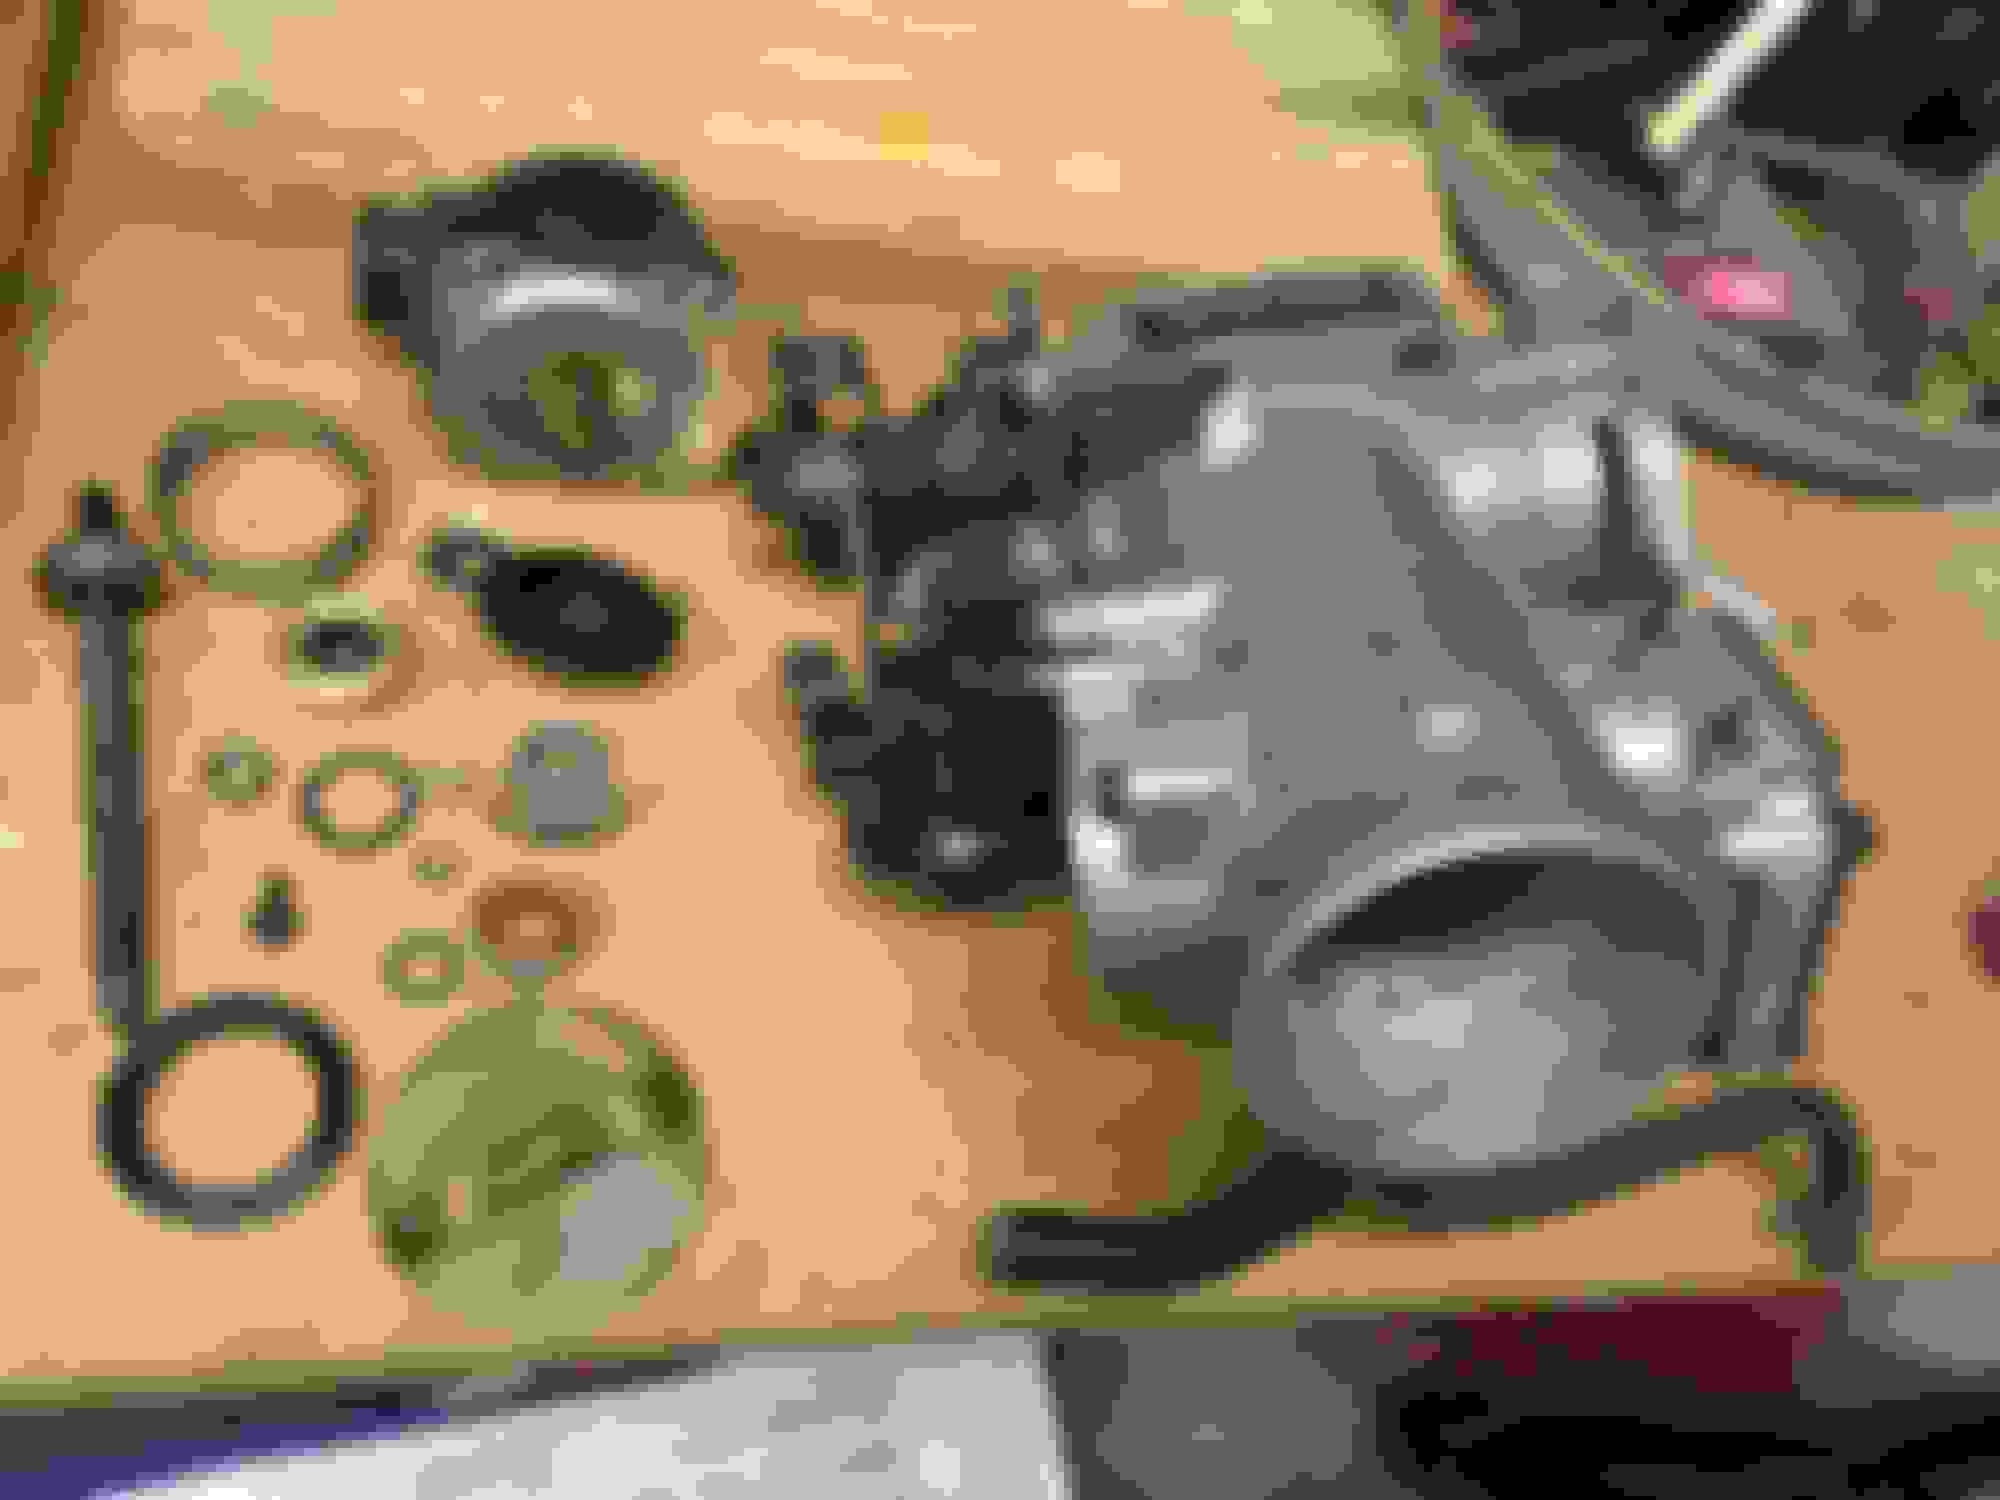
Some of these parts I bought quite a few years ago and I did not keep the part numbers for them. The upper intake gasket, I lost the OEM part number for.
The bolts needed for this step are 90080-11493. The nuts required are 90080-17242. There two studs for the two nuts but I have lost that part number.
They go on with 20 lb-ft of torque. No order is required but I preferred to make my own criss-cross torque pattern.
Note in the TSRM diagram (EG-67 "ENGINE MECHANICAL") the image is flopped by mistake. This isn't a Nissan RB engine
Last edited by KahnBB6; 09-17-17 at 06:21 PM.
Reason: Minor corrections
Simply goes on with three (3) bolts (90179-08153, superseded to 90080-17242). I feel like I had the TSRM torque spec handy but it can't be more than 12-15 lb-ft for each of them.
The lower bolt is loose because that's where a small metal "stay" plate goes. In the photo below I did not have one yet.
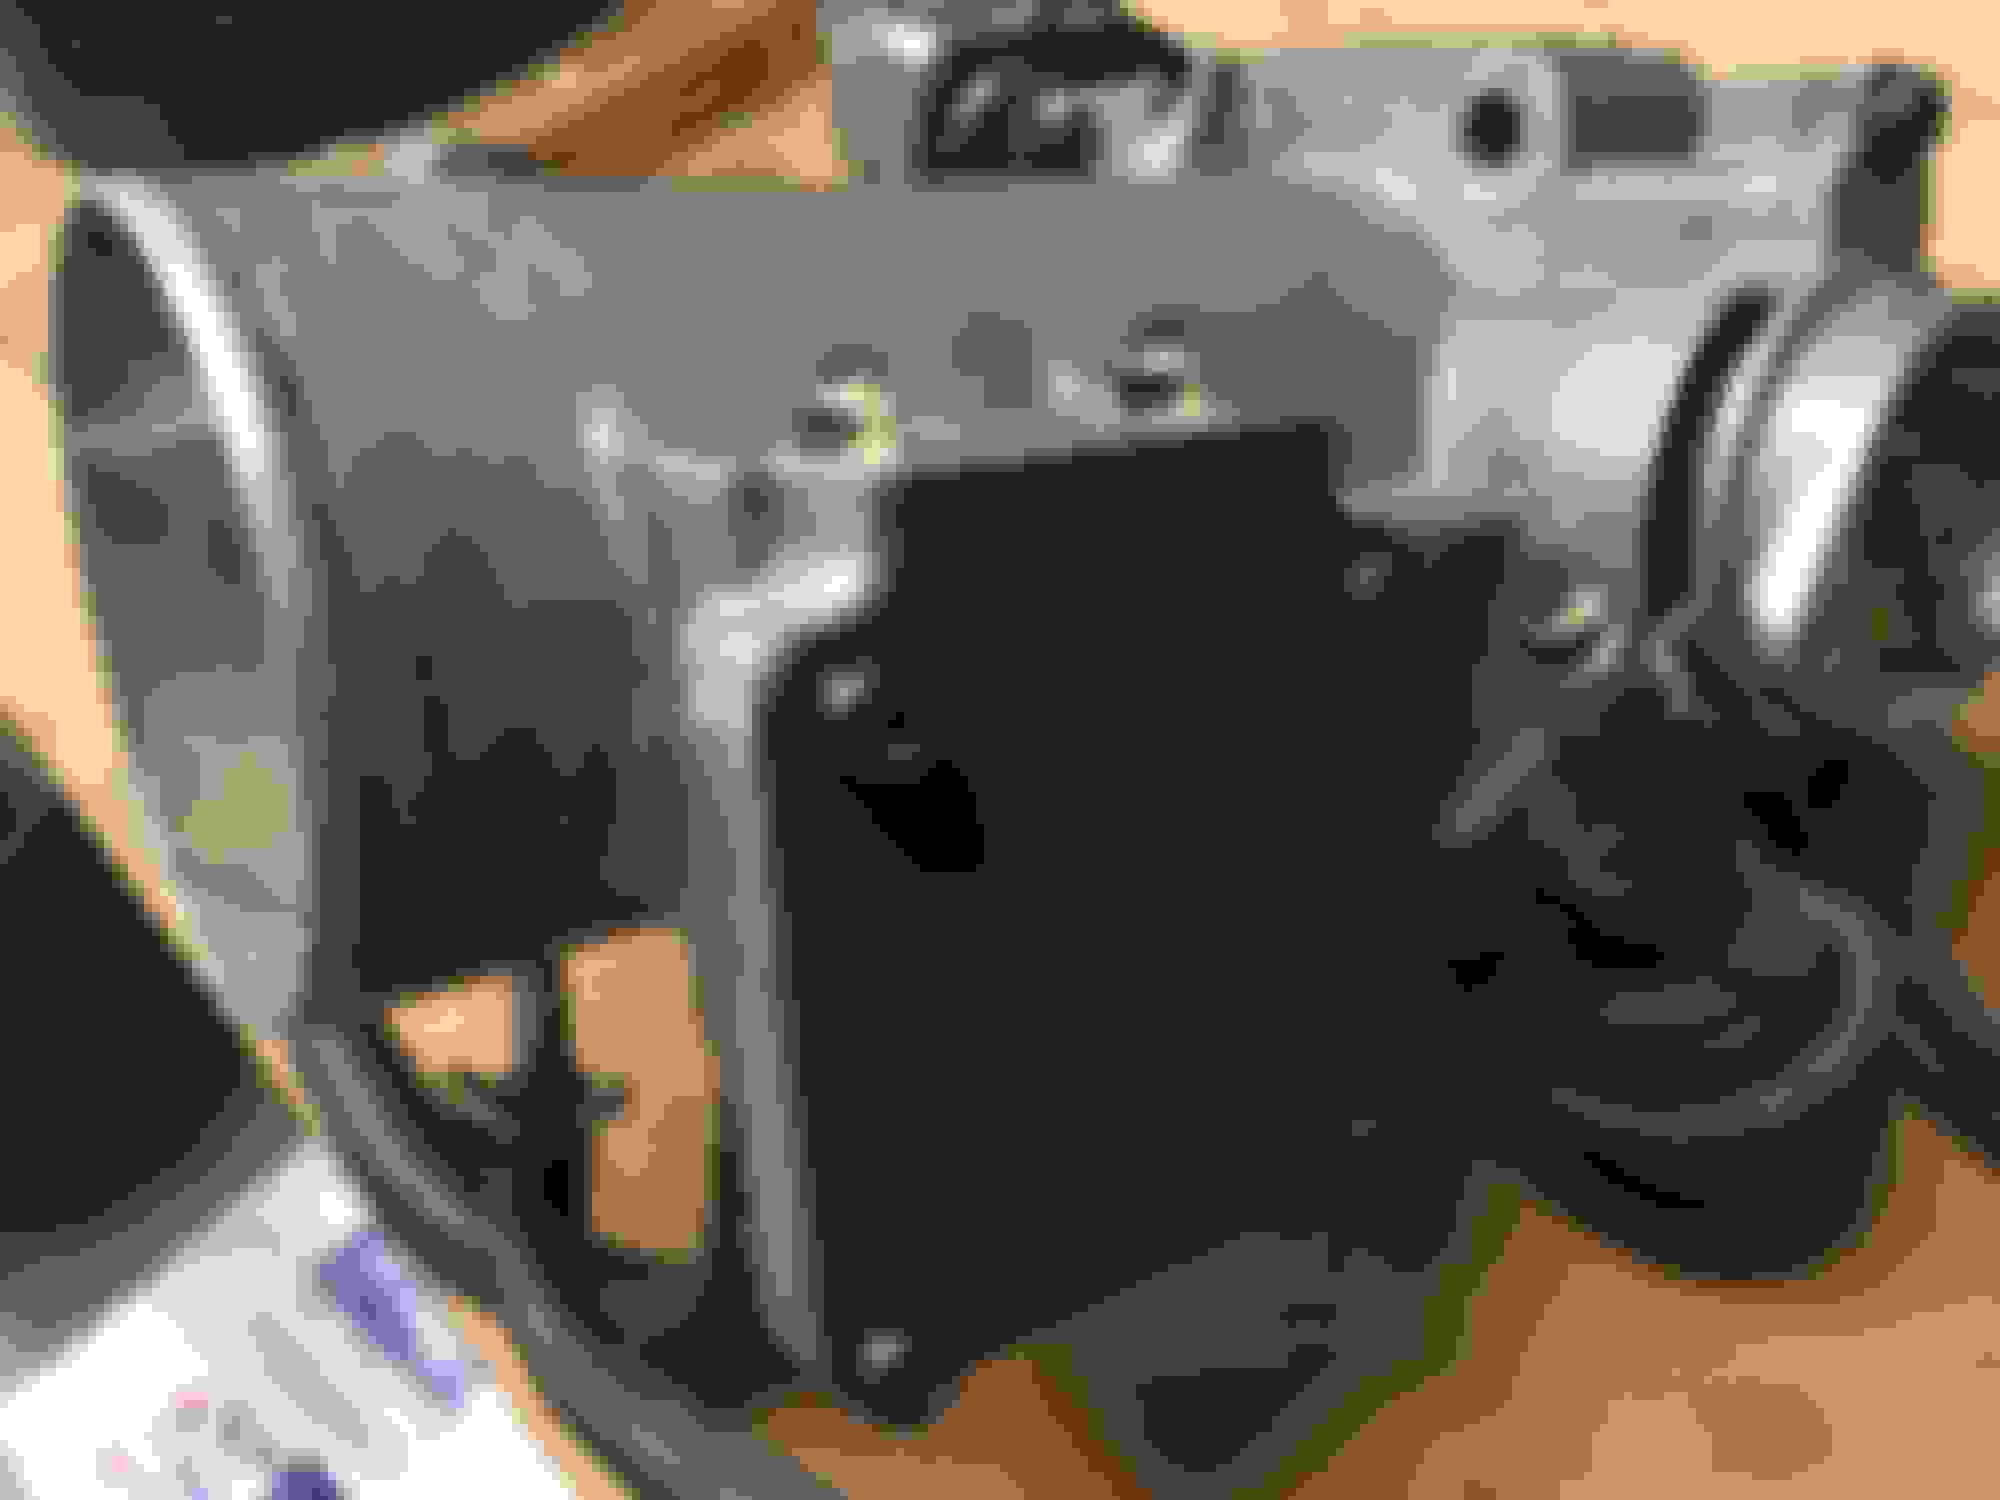
Vacuum Booster Bung on top of GTE intake manifold
I also reinstalled this brake booster vacuum bung back onto the intake manifold. It does use two crush washers but I could not identify what part numbers they should be(edit: these two (2) crush washers are P/N 90430-12005). I reused mine but I may try out various spare crush washers I have with part numbers that seem to be the same diameter and thickness just to get something fresh on there.
Edit: still trying to find the torque spec for this union bolt. The Torque Spec, Mechanical or SFI System TSRMs for the MKIV 2JZGTE should list it as something like "union to air intake chamber" but I know that isn't exactly correct.
This one came with my used intake manifold and since I saw nothing wrong with it I just threw it back on there. Note: I was concerned that the threads in the intake had been damaged or that this part wasn't correct since it didn't go in all the way but apparently these are tapered threads and it is not meant to go fully snug to the manifold.
I also picked up a three-port type model (90917-11027) that fits in exactly the same way. That won't work for me with my requirement to keep the engine 100% stock for inspections but this other unit can support any additional vacuum connections needed for anything that takes a boost reading. Handy to have for the future.
Also, that intake manifold port for the PCV connection does have some annoying surface rust in the picture below. I later took some fine grit sandpaper rolled up tightly and gave it some cleaning both inside and out to get the metal nice and clean (results in later pictures).
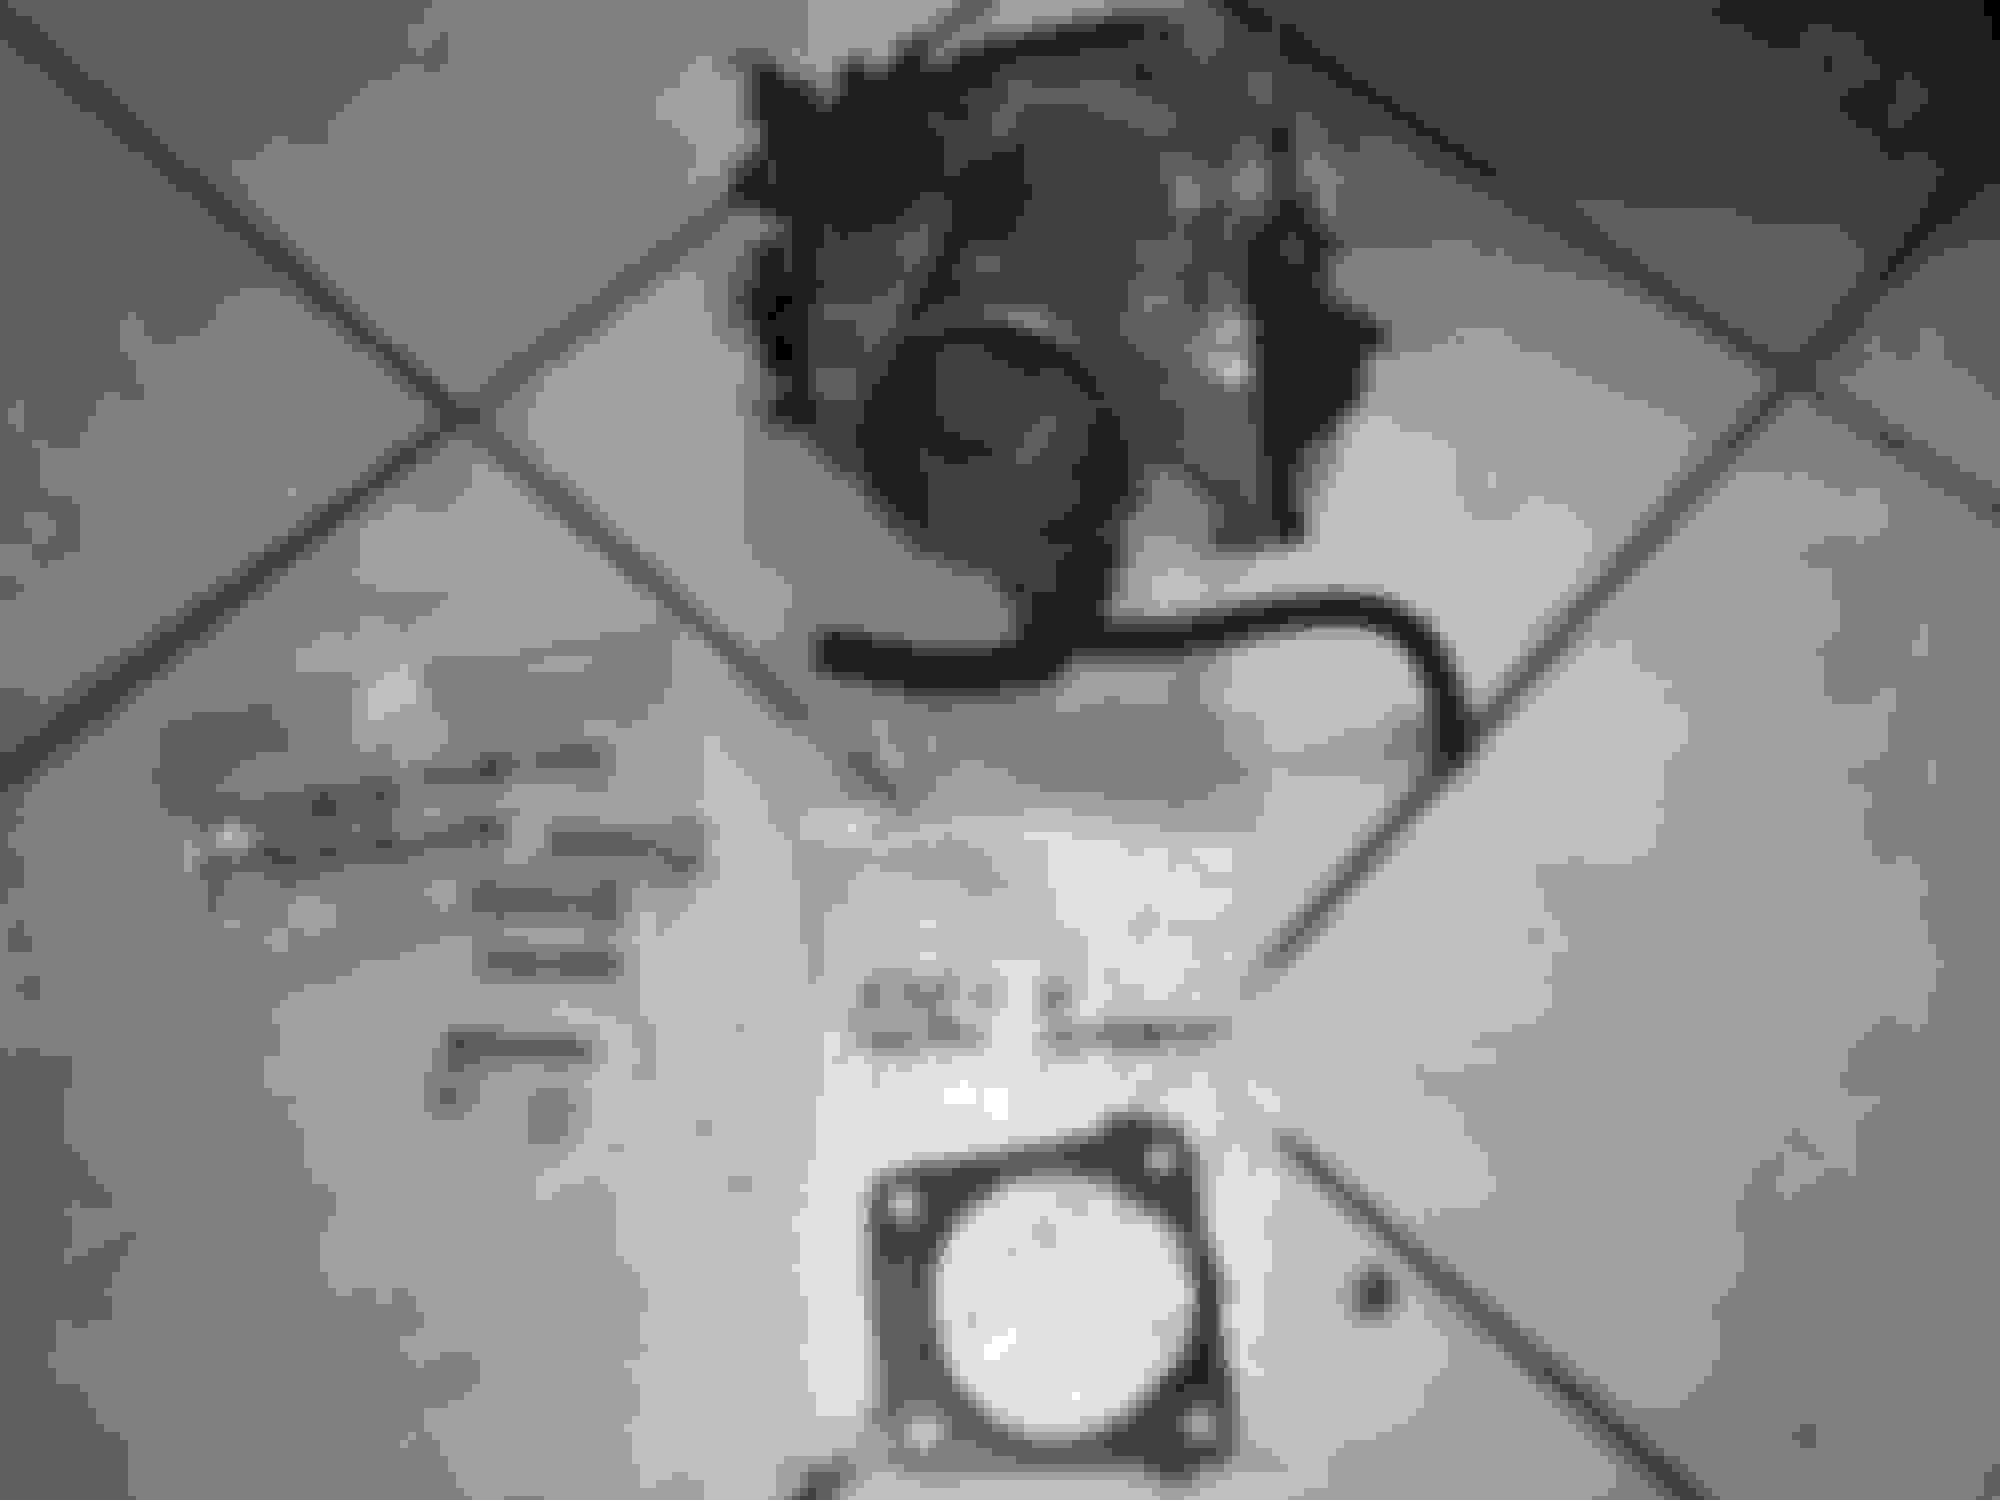
Not much to this either. I picked one of these 2JZ-GTE IACV's (22270-46060) up used from an SF member a couple of years back. I believe it was new to him but had little more than 20k of use on it. Or maybe it was new. I honestly can't remember since I bought it back in 2013. I used a new OEM gasket (22278-46010) and two bolts (90105-08183) and set it on with 15 ft-lbs.
Don't mind the part number on the bag in this photo. That's not a part number relevant to the USDM IAC-V assembly.
FYI, the replacement check valve (the hourglass part) for the IACV is 25748-88400 and the little rubber seal that goes onto it is 90210-25001.
This part was a bit of a deviation from the 100% stock goal, however after speaking to vigman and a BAR technician at a nearby socal field office, not having a functioning TRAC system won't ding me when it comes time for registration because it does not in any way affect emissions. That's a good thing because I never planned to install the rest of the rare, outdated and expensive hardware anyway Most GTE swaps do not attempt to retain the old TRAC system's function and some SF owners even feel their cars are better off without it (compared to modern aftermarket traction control capable ECUs). Also, since my car is an original 5-speed manual it never came with any of the TRAC wiring or equipment in the first place which would make for a lot of very tedious installation and tracking down of parts. When I saw these kits for sale a couple of years back I figured... why not?
Later on if I absolutely have to have the TRAC sensor hooked up I'll probably have to find another GTE throttle body because once you install this kit there is NO going back
These are/were sold by SF member AristoA under a thread called "TRAC Butterfly Valve Delete Kit". I have no idea if he still makes them.
What this involves is removing each part of the TRAC butterfly motor and sensor components from each side of the throttle body and then removing the butterfly plate and rotating rod itself from inside the throttle body. Since the butterfly plate is rather permanently bolted or welded in you have to drill out the two bolts that hold it in place. Then you have to tap out the rod and a couple of other pieces. This is why you can't reverse this procedure once you've done it.
As you can see, once completed the throttle intake tract is completely smooth and sealed where the rod holes used to be so there is absolutely no chance of vacuum leaks due to the rubber seals on each plug. Everything will function normally, just minus the dead weight TRAC hardware that would never have been energized in the first place in my Non-TRAC 5-speed manual SC300. Very clean looking too.
AristoA mentioned in his SF thread that HKS used to sell a similar TRAC butterfly delete kit many years ago.
Your build is so meticulous, I love it. Thanks for taking the time to document it and posting all the part numbers for every single bolt and part. It's going to help a lot of people in the future (assuming they take the time to read).
Thanks, blkexcoupe! At this point I feel like it has become too meticulous even for me! I can only keep up with my updates a little bit at a time. Right now the engine is 95% built minus the adapting the wiring harness that is still on standby. There are a fair amount of pictures still left to go through to catch up to the present.
Yes, my aim has been to help anyone doing any 2JZGTE build who is looking for specific steps, correct small misc parts and torque values that are often not addressed. However this thread is already such a dense read I question whether or not it is really of that much value when most of this can be found by going through the TSRM anyway.
Believe me, now I am mindful of keeping my posts as concise and to the point as I can
looking really nice!! oh and that picture of the 2jz intake in the TSRM isn't flipped, they used a 2jzge image... they seem to do that randomly using a ge instead of gte and vice versa
Talking a lot to Craig on the side , the guy has OCD when it comes to working on cars. He is a perfectionist.
^^ Hahaha! Thanks Gerry! All I can say is I just try to get things done right... whatever that even means ;D
Personally I feel like yours and many other SC's on this forum have way more attention to detail and clean finish than my car gets. When I am past this journey of focusing only on swapping the engine I will get there just the same
Originally Posted by Ali SC3
looking really nice!! oh and that picture of the 2jz intake in the TSRM isn't flipped, they used a 2jzge image... they seem to do that randomly using a ge instead of gte and vice versa
Thanks Ali! I'll be caught up soon so you can see the rest of where things are at. Currently the engine is bagged and the rest of the spare parts are binned. Storage is in A/C. I will need one more round of work on it before it can be swapped into the SC (the majority of that being the wiring).
Since I've never swapped an engine out of a car and replaced it with another before it will be an interesting first time experience for me I do have many notes and a general plan from seeing what others have done but it'll be something after all of this.
So that's what was going on with the image! I've seen GE pictures used in the wrong places before but I missed this one! Thank you!
This is another super simple one. The USDM MAP sensor just bolts onto the manifold with two common 10mm Toyota bolts (I forgot which part number they are, sorry but they *are* very common). No good picture of this just after installing it but it will be in subsequent pictures.
I picked this one up used. I can't recall the mileage on it offhand so I hope I won't need to source another one later.
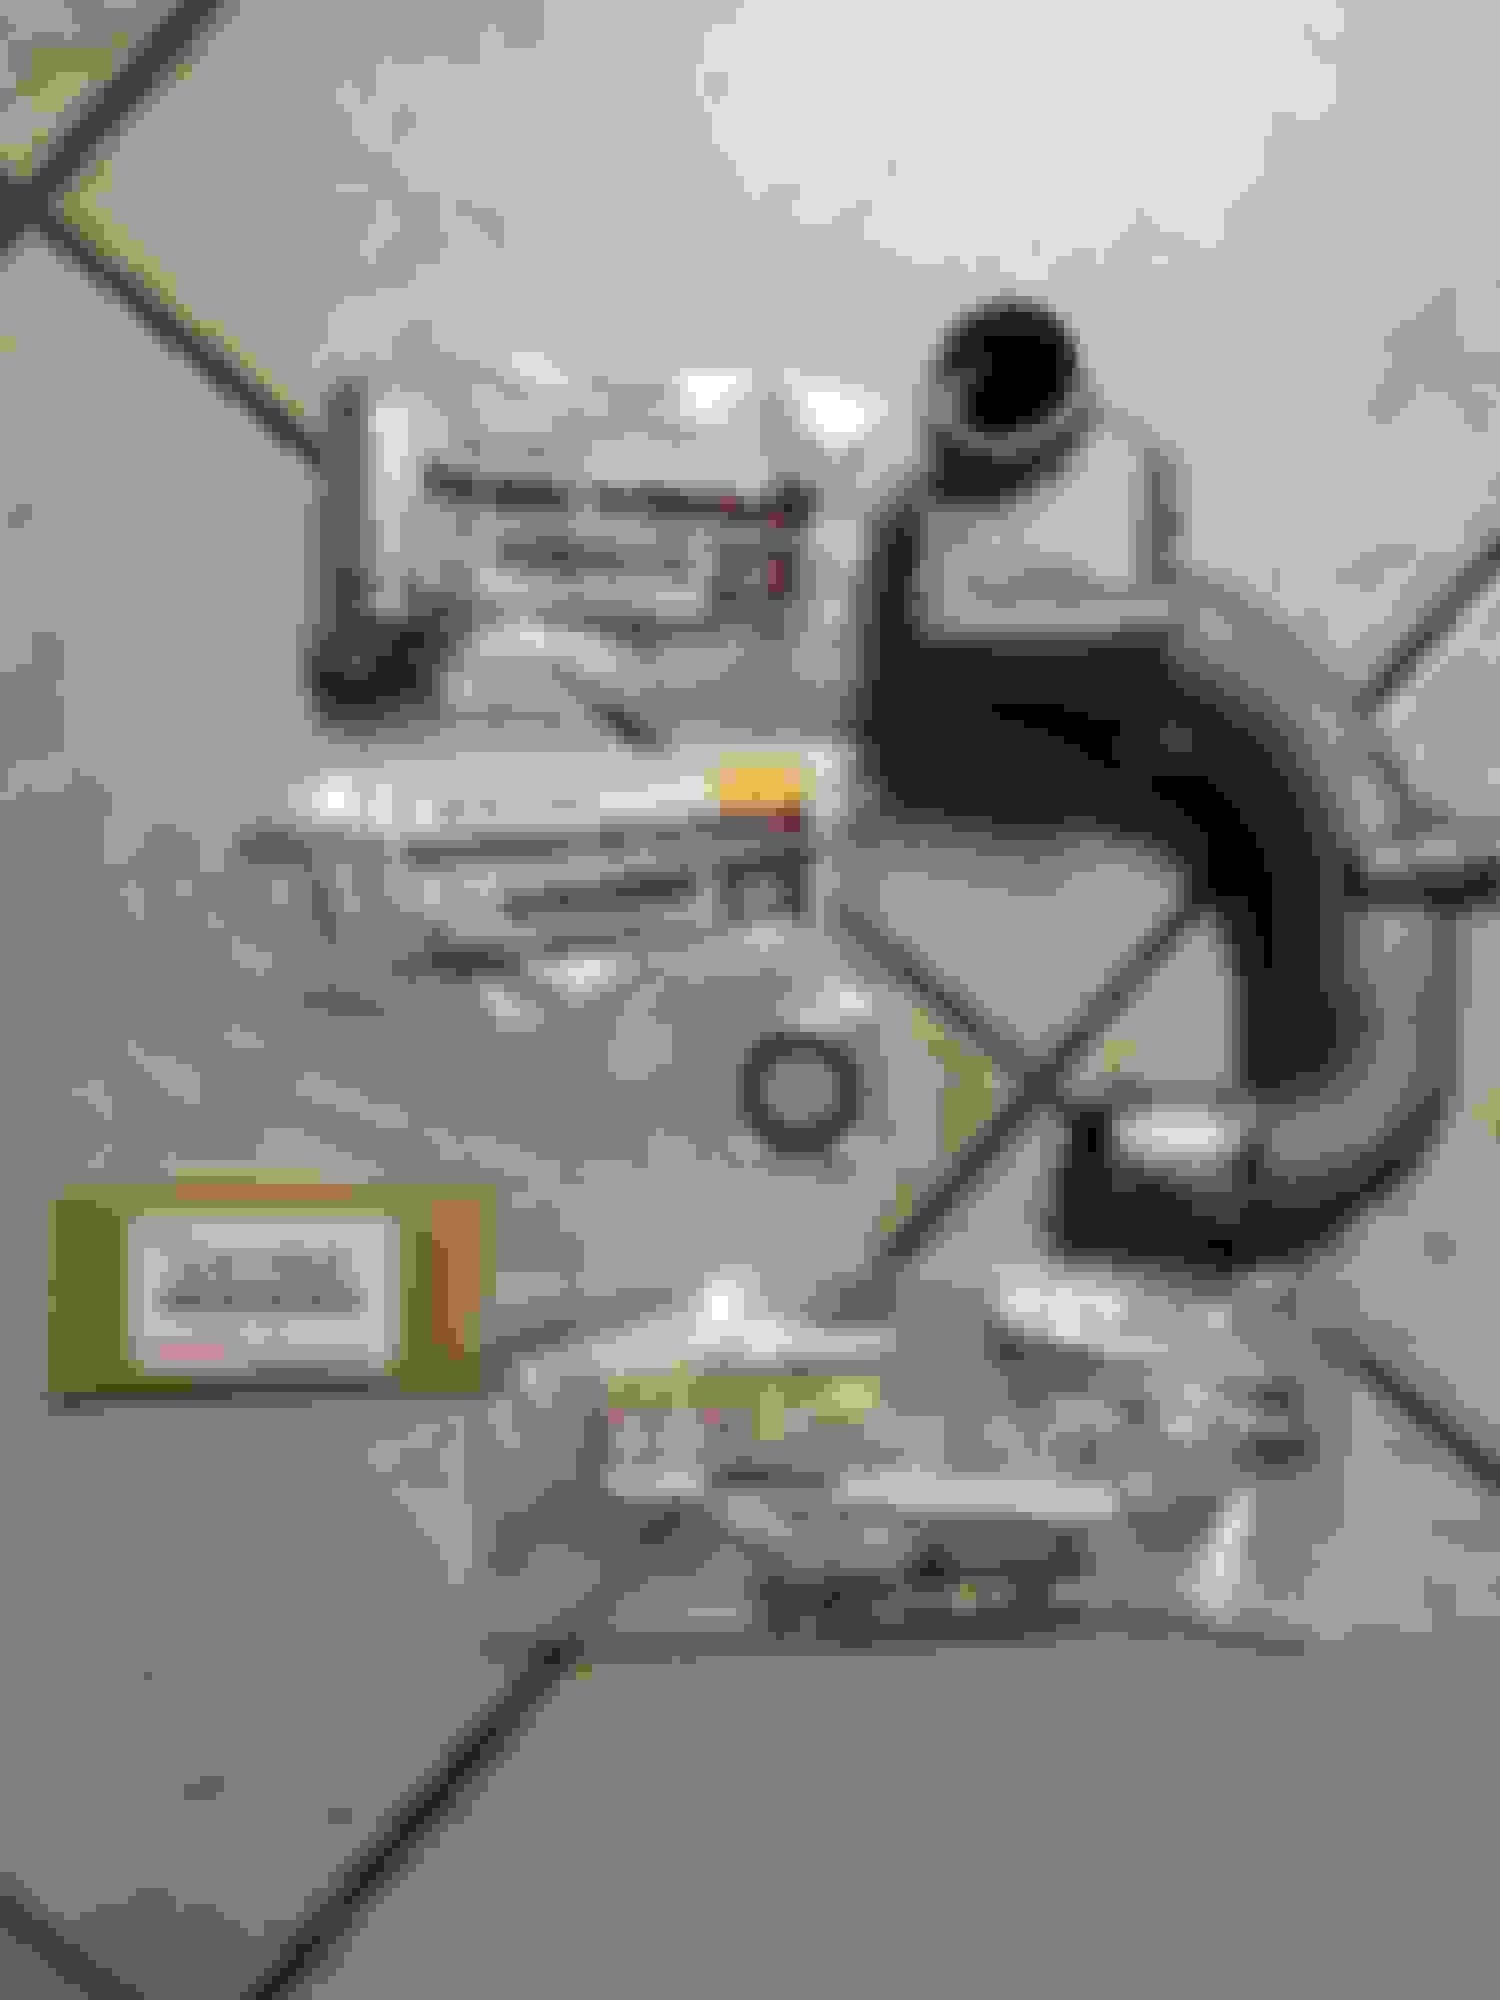
USDM 2JZGTE Fuel Pressure Regulator and fuel return metal tube installation
Another used part. I will get another new one of these from Toyota or Denso later. Since I had a functioning one in my parts pile I just decided to install it to have more of the engine complete.
Two (2) bolts (90119-06610) hold the FPR in place on the rail with 78 inch-lbs of torque.
One (1) O-ring gasket (90301-07001) goes on the end of the FPR that goes into the fuel rail. Use a little gasoline to coat the rubber o-ring gasket prior to installation. Two (2) metal crush gaskets (90430-10012) go on either side of the fuel return pipe and bolt that tighten onto the FPR.
The FPR union bolt and metal crush gaskets go on with 20 ft-lbs of torque.
If you don't have one, the union bolt to the FPR and return pipe is (90401-10038) and the fuel return pipe itself is (23802-46050).
The pipe is held in place onto the intake manifold with a single common bolt (90116-06127).
TSRM Instructions in section EG-272 "ENGINE SFI SYSTEM (2JZ-GTE)"
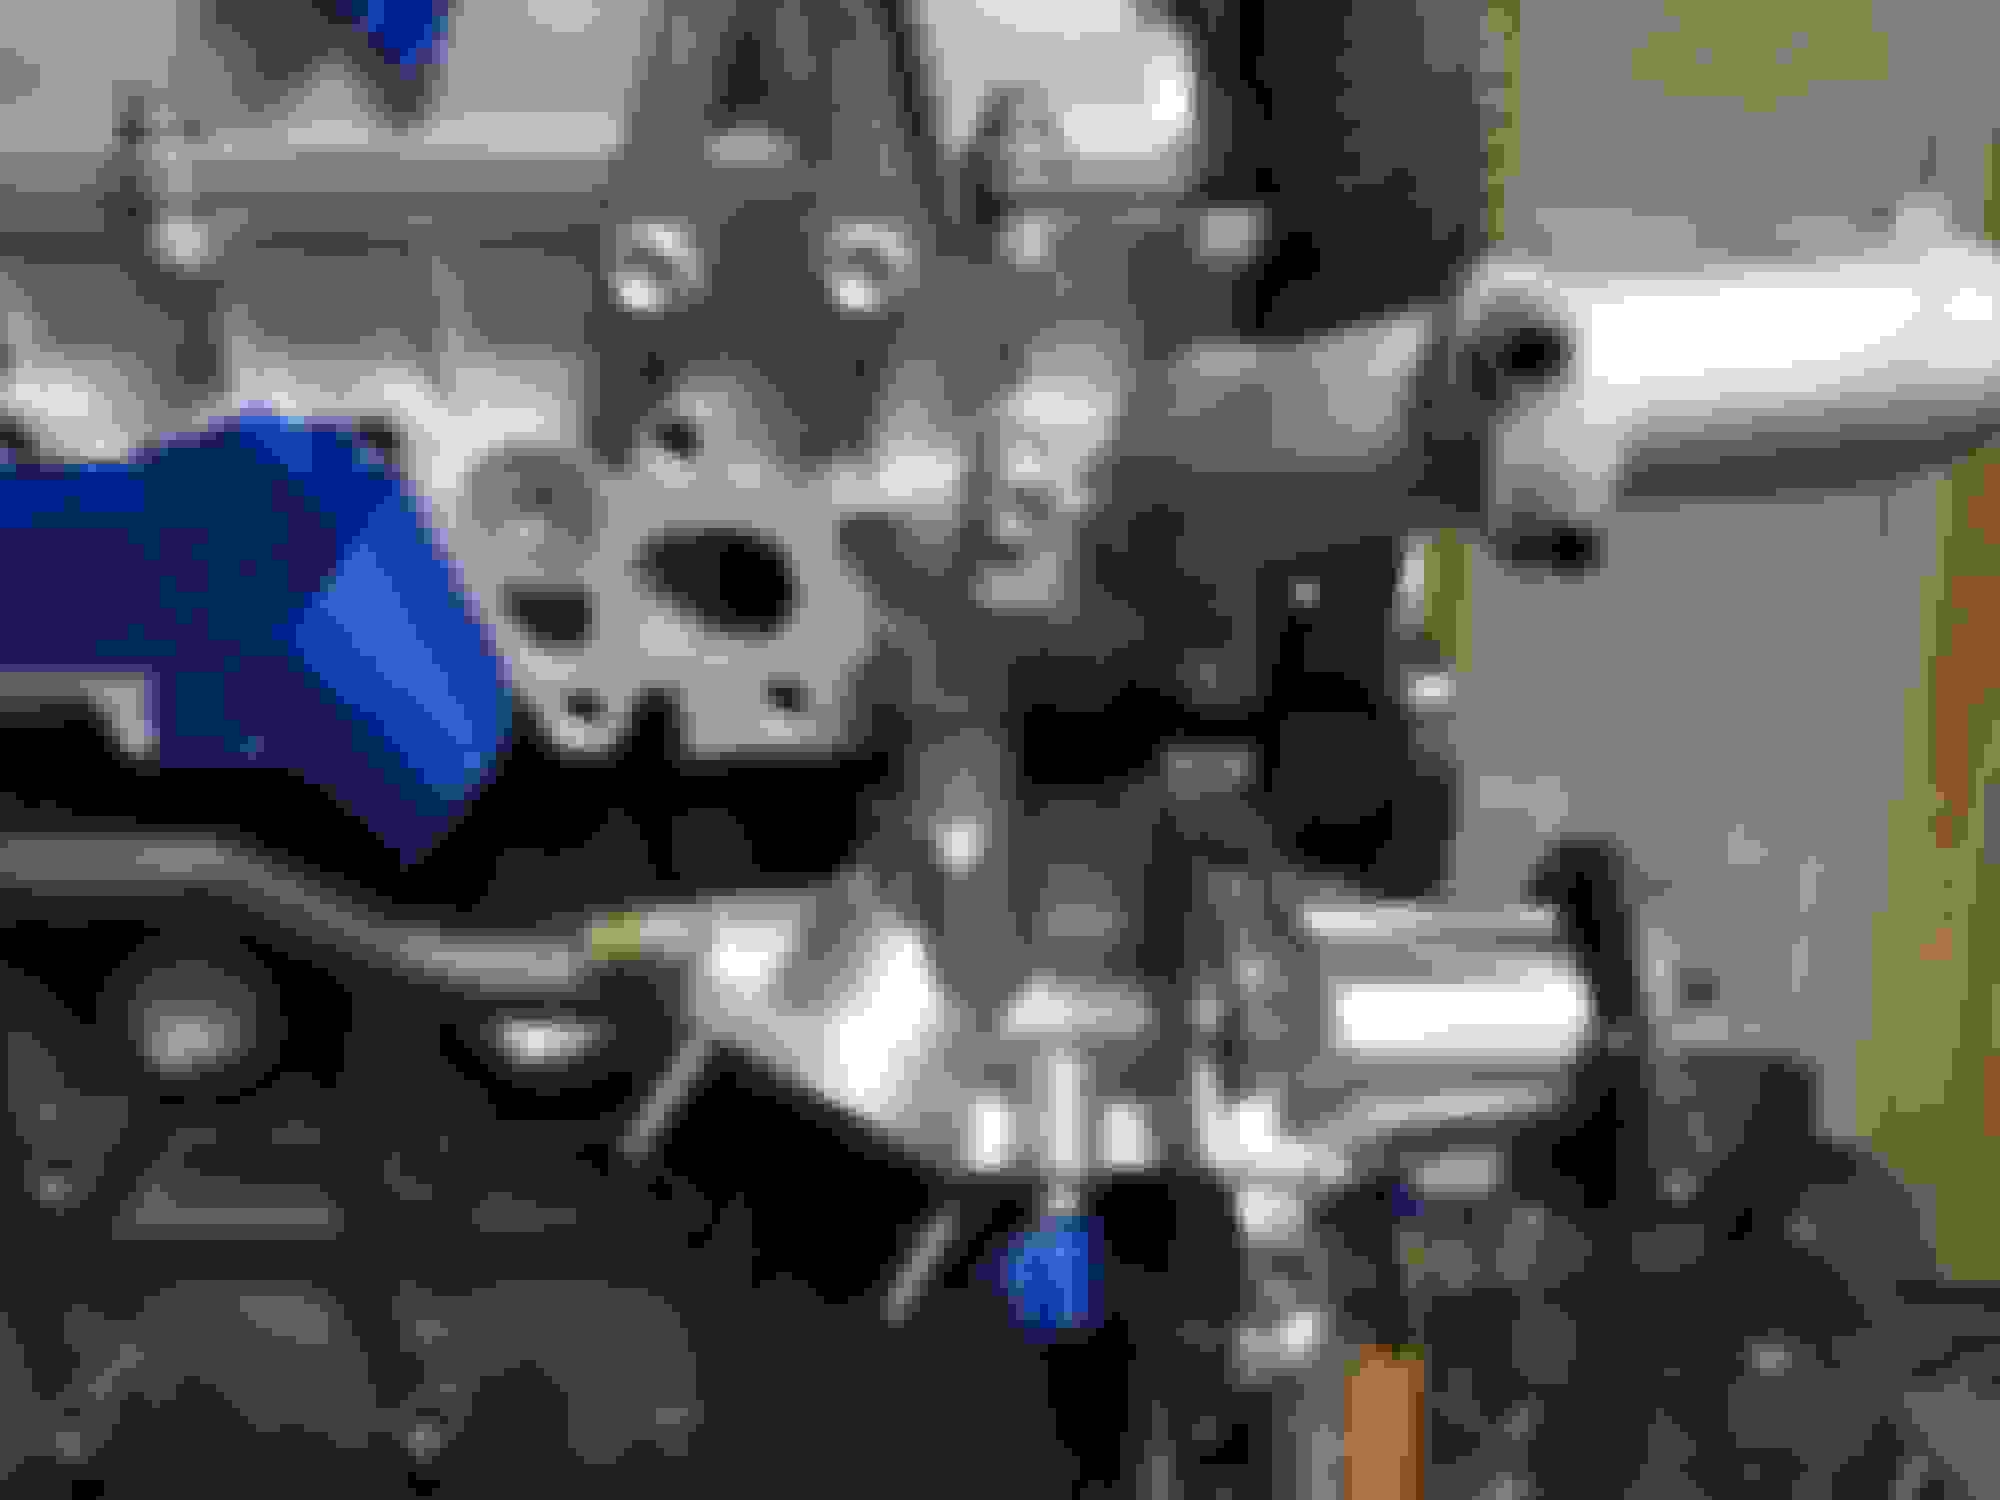
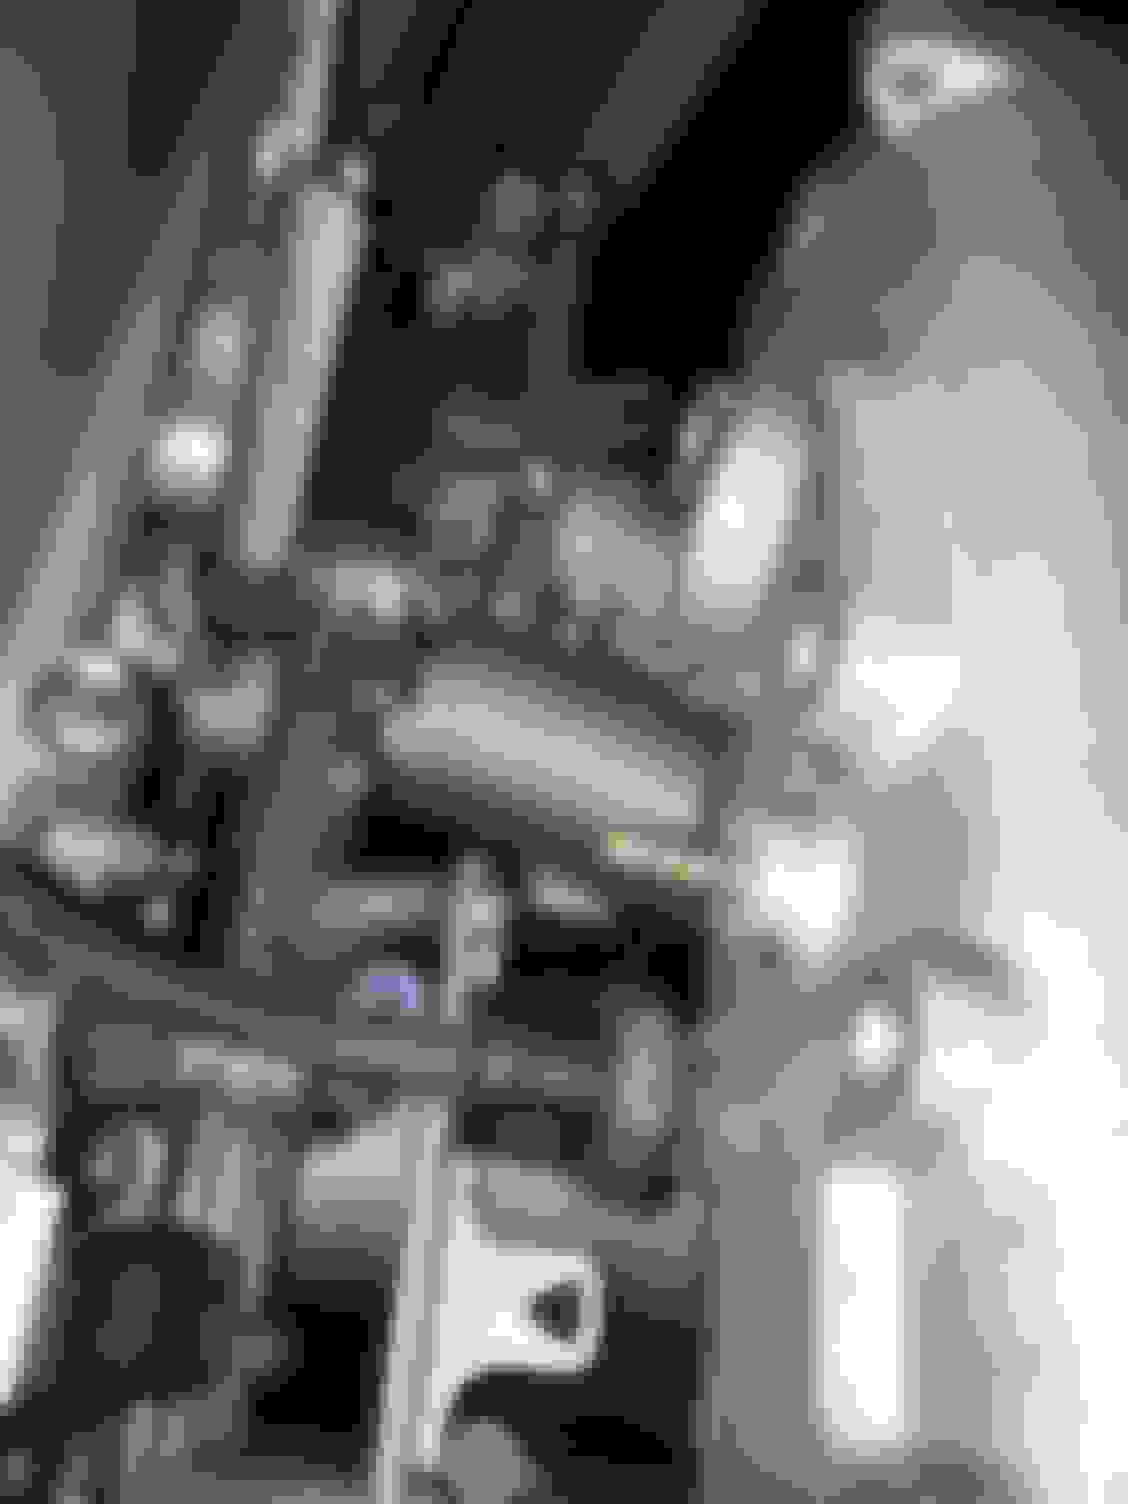
2JZGTE water pump/cylinder head upper bypass neck/pipe installation
This part is different from what is found on 2JZ-GE engines. Here, the water pump exits coolant into a little vertical pipe which goes to a cast aluminum "elbow" pipe which flows water directly into the GTE cylinder head. Additionally, this is the place where your digital ECU temperature sensor and analog coolant temperature dash gauge sender go.
The TSRM recommends getting some mild soapy water onto the vertical bypass pipe and its O-ring gaskets before installation so I did just that.
The OEM gasket that goes between the bypass elbow and the cylinder head has a green side and a dark black side. I couldn't tell if there was a specific way it went on and the TSRM did not say one way or the other, so I guessed at this and put the green side against the cast elbow and the dark side against the GTE cylinder head.
Instructions in EG-338 "ENGINE COOLING SYSTEM (2JZ-GTE)"
2JZGTE thermostat and water pump inlet elbow installation
The 2JZGTE uses the same OEM thermostat and O-ring as the 2JZ-GE. In this case I had a spare new thermostat O-ring that came as part of a kit.
Two studs go onto the 2JZGTE water pump if they are not already included.
The two (2) nuts are 90080-17242. There is no gasket in between the water pump housing and elbow, just the thermostat and gasket. Make sure you orient the thermostat correctly!
For the 2JZ-GTE the nuts go on with 15 ft-lbs of torque.
Now that I'm looking at these pictures in retrospect, maybe I should pull out this new OEM thermostat and file away that surface rust I'm seeing. I didn't notice that during the installation. I'd hate for it to cause any premature issue. Kind of surprising to see that on a brand new Toyota OEM part.
After the previous installation of the OEM PCV valve and grommet onto the intake side valve cover gasket, this completes the connection for PCV emissions.
As mentioned, I went back with some very fine grit sandpaper and carefully removed the outside and inside surface rust from the embedded metal pipe PCV connection on the intake manifold.
The OEM PCV hose is (12261-46031). Two (2) tension clamps are (90767-14037).
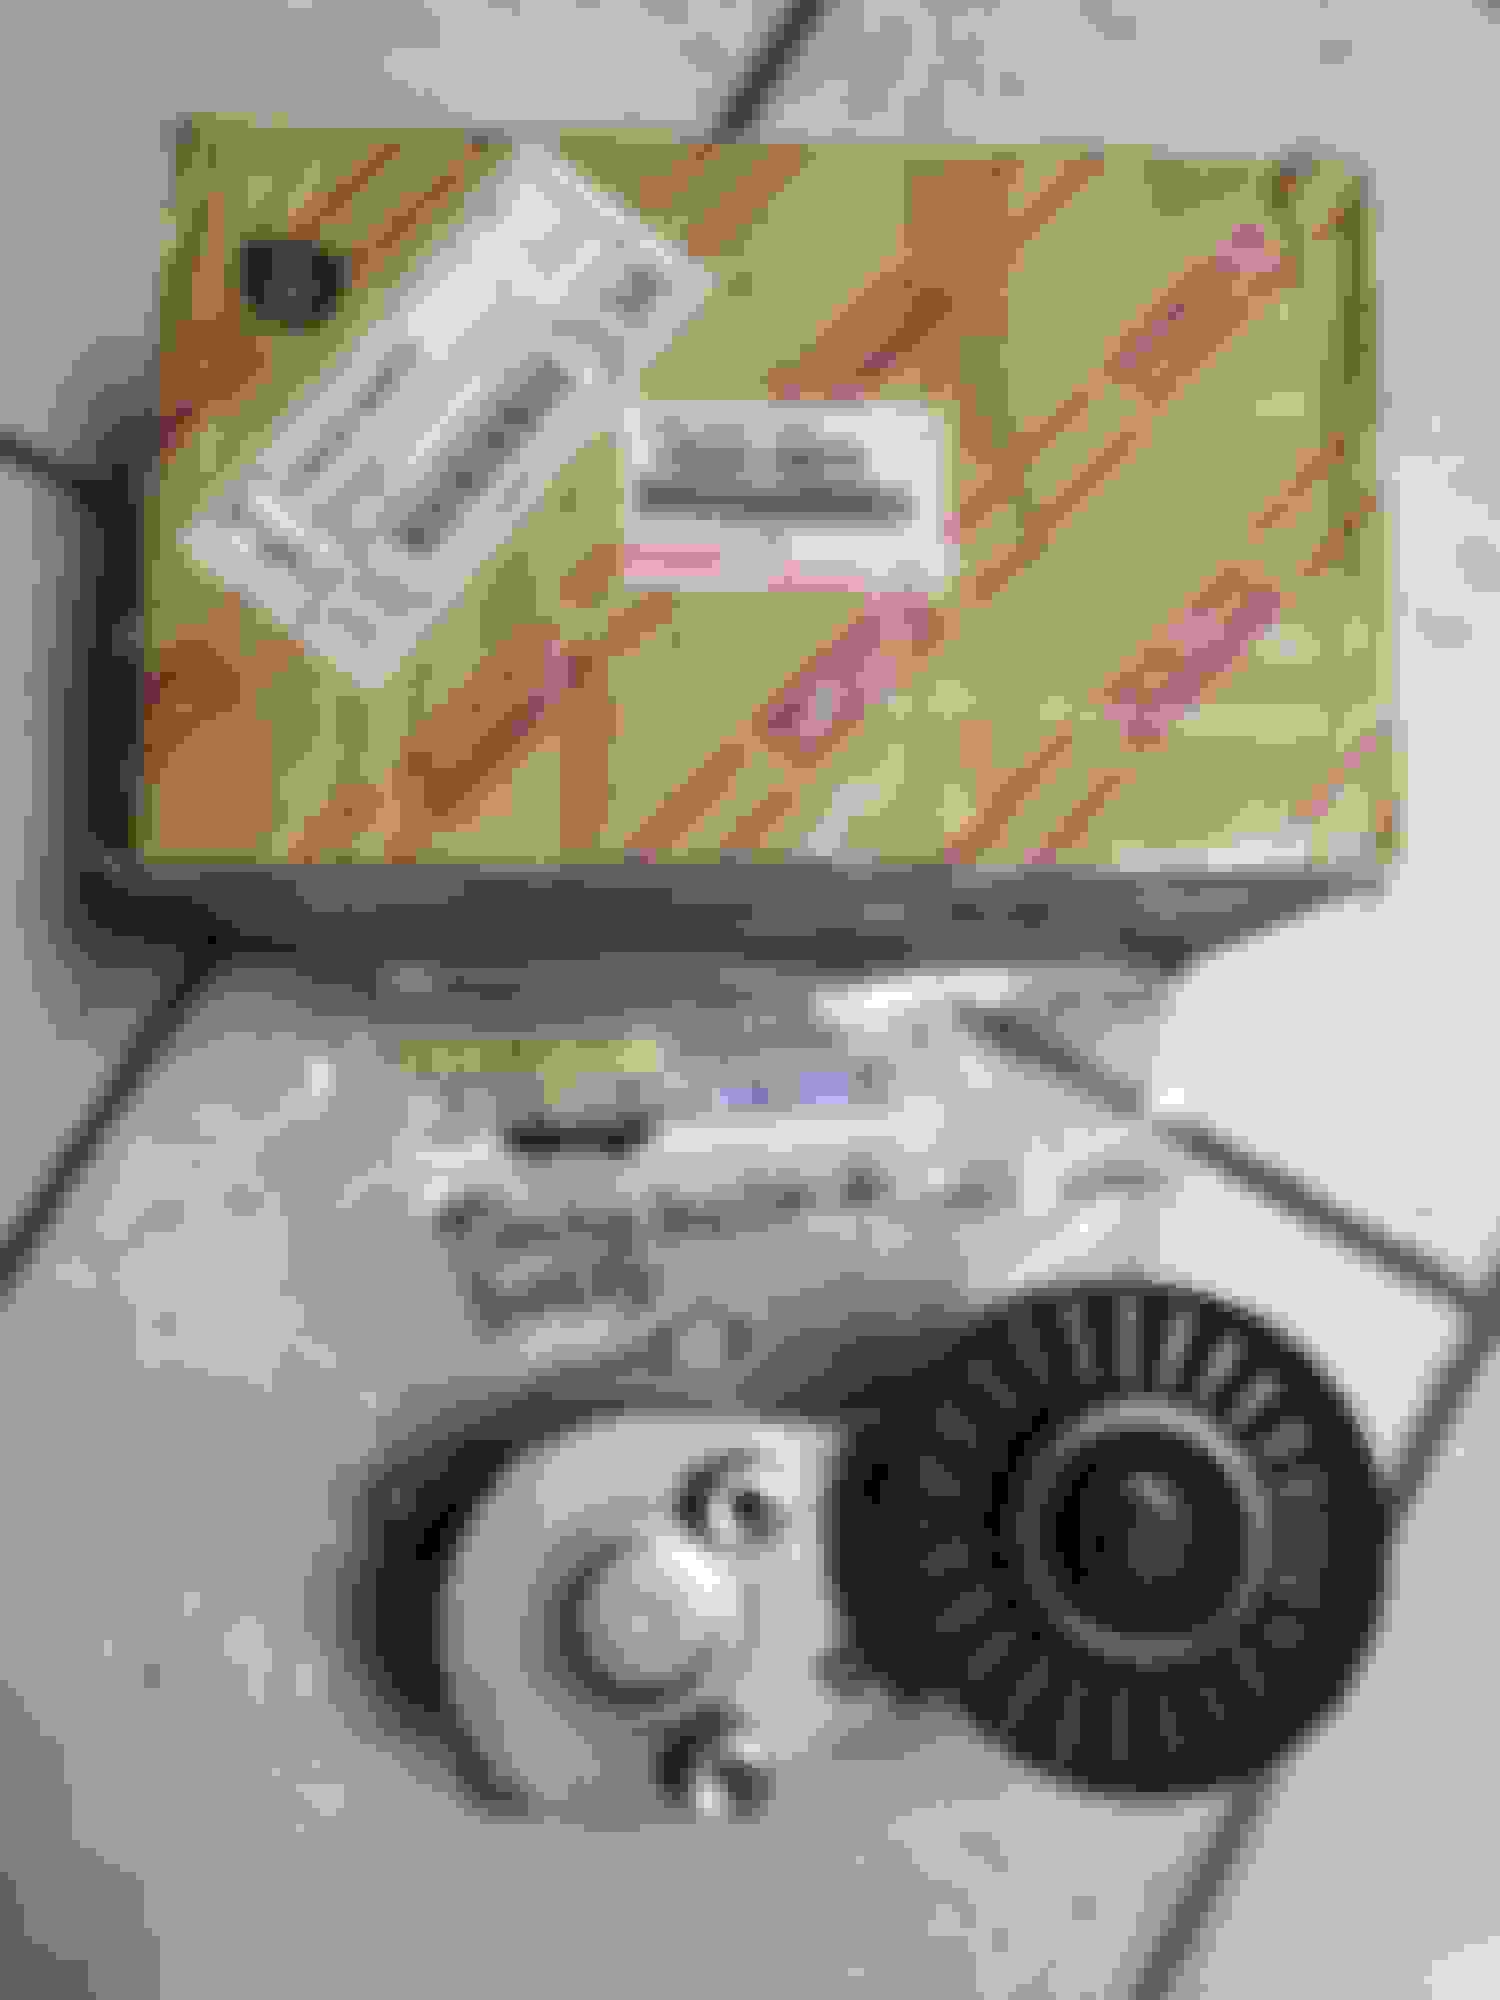
2JZGTE M/T (Supra 6-speed M/T and IS300 5-speed M/T) damper style accessory belt tensioner install
Not complicated and the section below this shows why this part is significant over the non-damper style tensioner.
Please note that you don't need this system over the non-damper accessory tensioner setup in order to put a manual transmission behind your GTE or NA-T engine but it is nice peace of mind to have. This is over-engineering on the part of Toyota for the most extreme scenarios they could imagine, so they included it on all 6-speed manual 2JZGTE Supra MKIVs. Interestingly, they later included this same system with the same parts on all 2002-2005 Lexus IS300 5-speed M/T's, presumably just for refinement and NVH because it cost them zero additional R&D at that point.
The system is designed to absorb harsh shock loading to the accessory belt system during very aggressive and hard shifting of a manual transmission.
Very detailed instructions are located on this page at MKIV.com:
For my installation at this point I held off on setting on the shock absorber since at the time I had no harmonic balancer (crank pulley), water pump pulley, A/C compressor, power steering pump, GE/GTE A/C compressor mounting bracket or PS pump w/pulley to finish the entire job.
Since most of those parts can be re-used from my 2JZ-GE engine I've held off on buying most of them because every dollar spent absolutely has to go to the critical parts I don't already have. Later on I can decide whether or not I will re-use all or just some of my GE accessory drive parts.
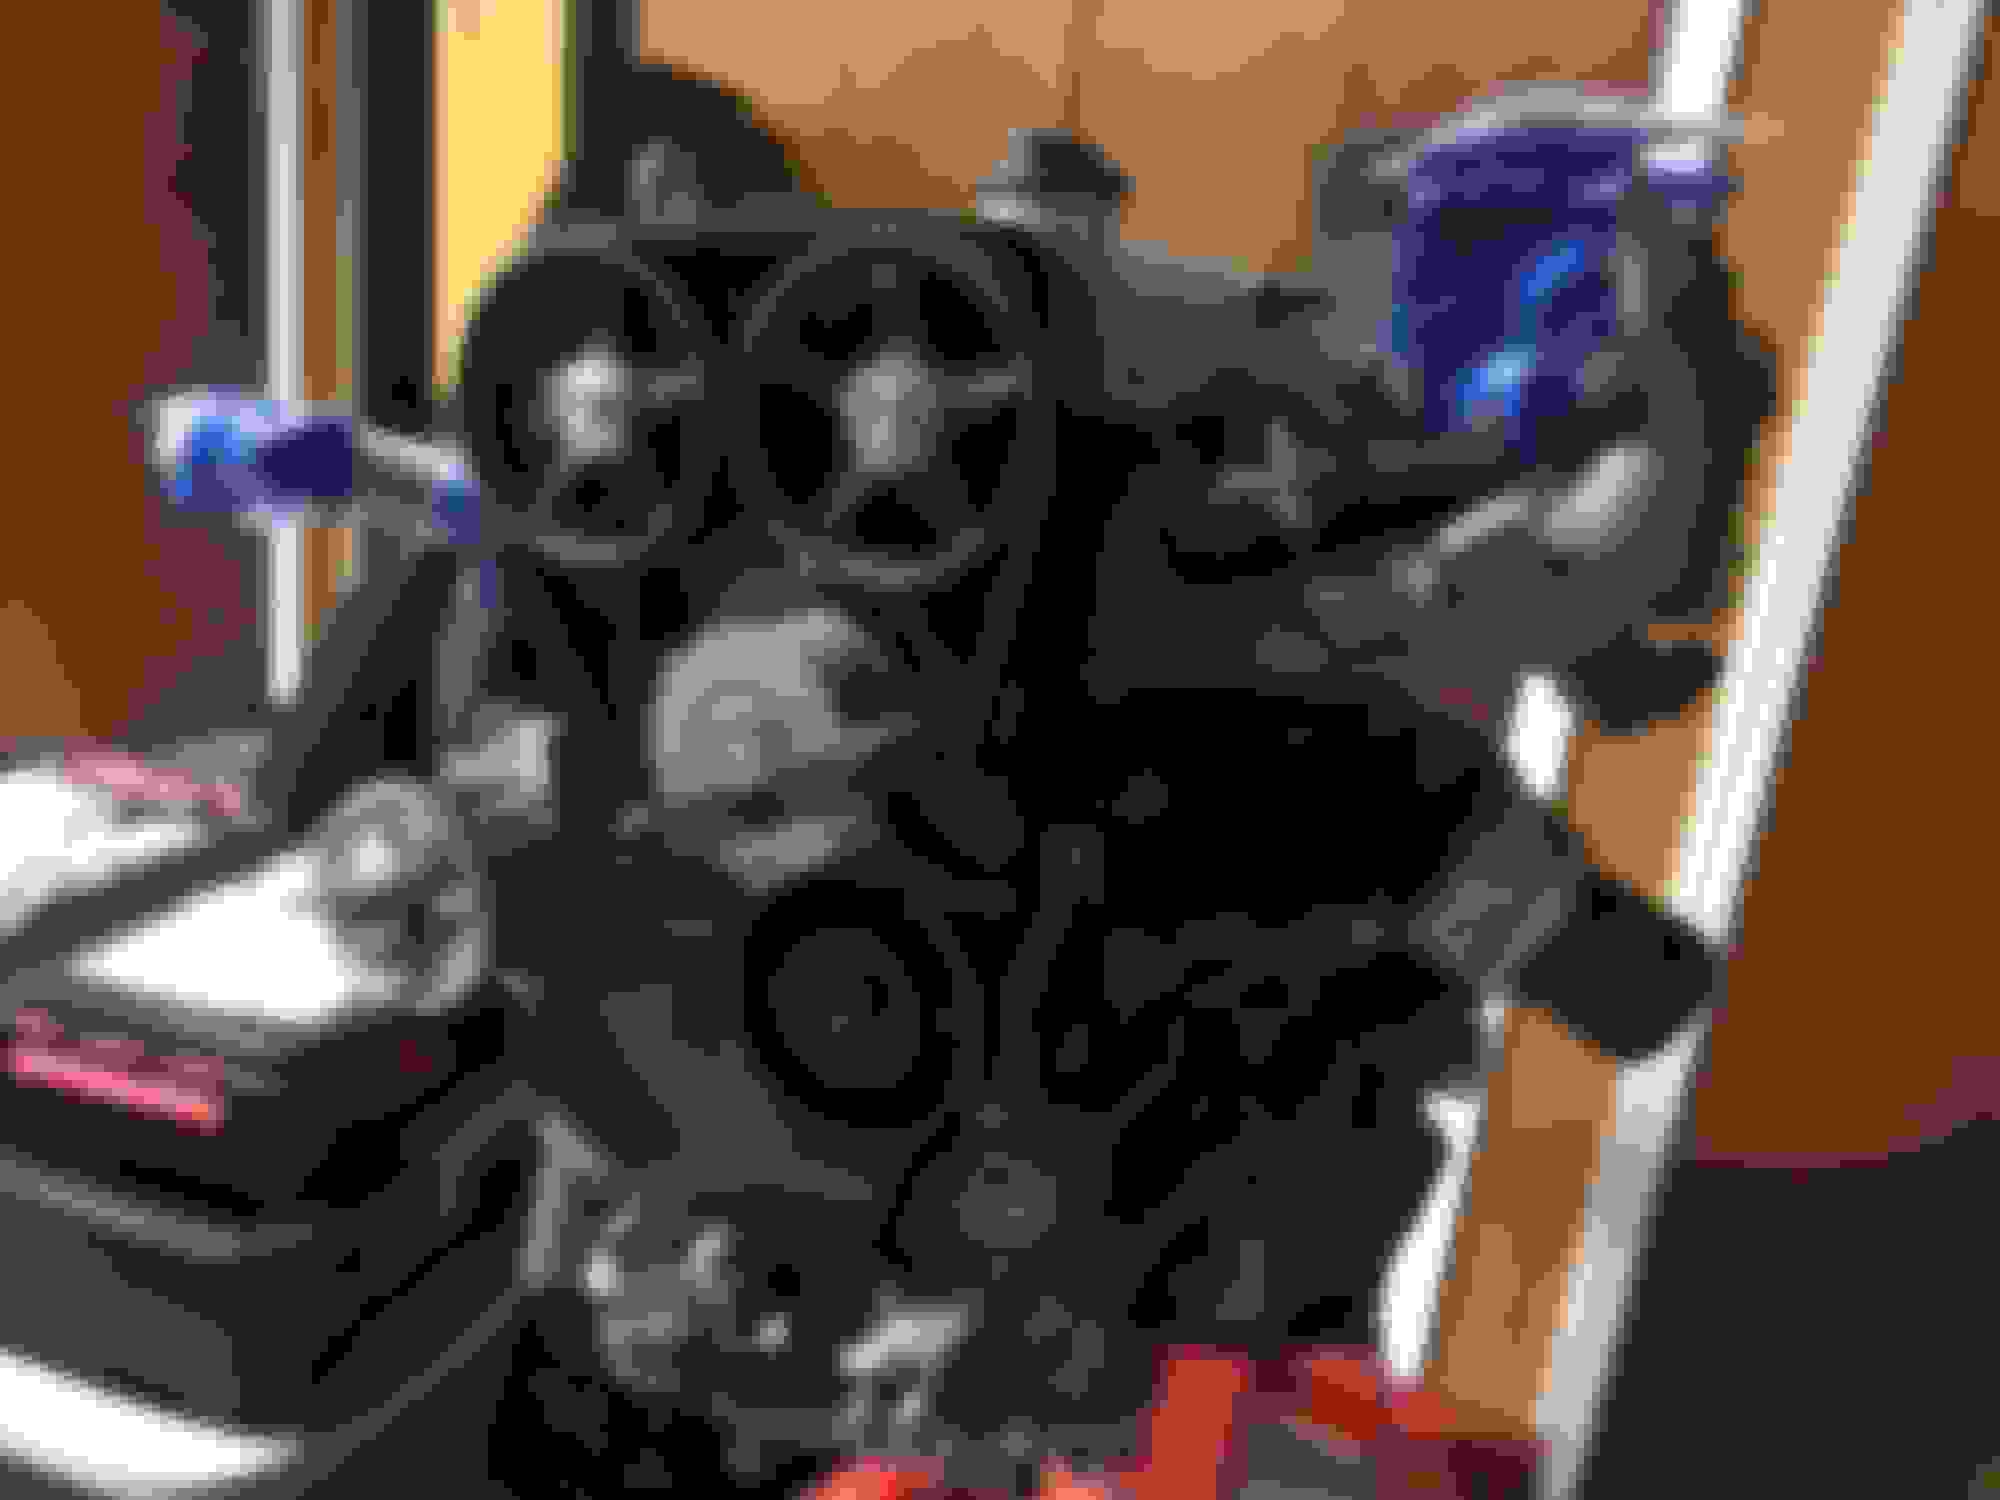
The three (3) bolts (should be 90080-10155) for the accessory drive belt tensioner go on with 15 ft-lbs of torque each.
TSRM page EG-33 "ENGINE MECHANICAL"
The torque values for the optional damper to the drive belt tensioner arm assembly (14 ft-bls of torque):
Torque values for bracket mounting to the GTE oil pump (and also 2JZ-GE VVT-i oil pumps) @ 20 ft-lbs:
 09-16-17, 11:06 PM


 Most GTE swaps do not attempt to retain the old TRAC system's function and some SF owners even feel their cars are better off without it (compared to modern aftermarket traction control capable ECUs). Also, since my car is an original 5-speed manual it never came with any of the TRAC wiring or equipment in the first place which would make for a lot of very tedious installation and tracking down of parts. When I saw these kits for sale a couple of years back I figured... why not?