When you click on links to various merchants on this site and make a purchase, this can result in this site earning a commission. Affiliate programs and affiliations include, but are not limited to, the eBay Partner Network.
I will make you proud ... your short block will make quite some power on a vvti head . I actually have already forged pistons and aftermarket rods capable of +1krwhp but that will depend on what I see when you bring it... that is if the internals need to be replaced.
I will make you proud ... your short block will make quite some power on a vvti head . I actually have already forged pistons and aftermarket rods capable of +1krwhp but that will depend on what I see when you bring it... that is if the internals need to be replaced.
Oh, I know you will I'm very much looking forward to that build. The places that engine has taken me... and now it will live on as a monster, lol!
Hopefully the internals (of my old 2JZ-GE block that is no longer in my car just to make sure no one reading this thread is confused-- this post does not refer to my new 2JZ-GTE engine) are still in good shape. I went very overkill with 800 mile oil changes to keep whatever coolant contamination was there as low as possible. Blackstone analysis over many of those changes showed that there were no big spikes in wear metals. Still, maybe a rebuild is in order anyway but from what I could tell based on their lab results the issue was probably kept under control by constantly throwing fresh oil into the engine.
The cylinder head unfortunately had plenty of sludge oil but this also could have been recent based on when good compression was finally lost. Hopefully the bottom end fared much better.
Kahn, the tps can most definitely affect the idle characteristics on the stock ecu. If it is in the right position, you will hear the engine change sounds when you put in the jumper to check the engine light codes (ecu drops to base timing when reading codes only when tps reads that engine is idling and you can hear it, otherwise it will not drop the extra advance but you can still pull codes). This affects the idle because if it is not reading the "idl" position, it won't idle healthy as it thinks you are slightly on the throttle. A long shot but figured I would mention it since you said rough idle that was consistent and not setting the tps. Also USDM gte's tend to have a pop here and there at idle with a big exhaust which is more or less normal.
Kahn, the tps can most definitely affect the idle characteristics on the stock ecu. If it is in the right position, you will hear the engine change sounds when you put in the jumper to check the engine light codes (ecu drops to base timing when reading codes only when tps reads that engine is idling and you can hear it, otherwise it will not drop the extra advance but you can still pull codes). This affects the idle because if it is not reading the "idl" position, it won't idle healthy as it thinks you are slightly on the throttle. A long shot but figured I would mention it since you said rough idle that was consistent and not setting the tps. Also USDM gte's tend to have a pop here and there at idle with a big exhaust which is more or less normal.
Thank you Ali! That does give me something else to go on. What's weird is that this was not an issue at all while the engine was being ring-seated, during several times the engine was run to get other functions sorted out, then the Toyota master tech fixed the clutch and checked that the car was running normally and for 25 miles of normal driving. Now it just comes up all of a sudden and stays like that.
I'll post the "bad idle" section of the MKIV TT troubleshooting TSRM page to show what I'm going to look into later if anyone is interested. It's pretty extensive and ordered in terms of what Toyota wants someone to check to figure out the culprit. But Since I never calibrated my TPS at all then that has to be included for sure
Do you think this might have anything to do with the ECU having entered Open Loop Mode after enough miles driven after initially being in Closed Loop Mode from the last time the battery was reconnected?
The second item on the list to check according to the TSRM is the idle air control valve and its circuit.
It'll have to wait until I get back from my trip to diagnose though.
Tonight I jacked up the car, got underneath and did verify that the Toyota tech did not plug my YellowBox PnP harness back into the Marlin Crawler VSS speedo drive unit and the stock VSS cable on the engine harness. He just plugged it in directly which made it work and which is fine but... that explains why the speedo was reading off and why the YellowBox unit wasn't lighting up at all.
I put some fix-it electrical tape on some of the wires that had some exposure from worn insulation (I'll have to address that properly at a later time) and got the PnP harness routed back in there. Speedo inaccuracy is corrected now just the way it was before.
I switched back to the stock A/C control panel to keep the dash setup simpler. I may go back to the LXCC unit later but for now I am thinking I may not even need to use the extra gauge functions in there. I'll decide on that later once the car is running right and closer to being fully broken in.
I pulled the Weather-Pak pull-apart connector that was previously hooked up to the MKIV harness's A/C Mag Clutch wire up through the center console and got it set up to be connected to a 30A switch. I'll wire that later when I can work on the car again. That will serve as my aux electric fan controller manual override to ON and I'll hide that switch under the center arm rest once I find something to mount it to. The aux electric fan won't come on with the A/C clutch automatically but I'll be able to turn it on whenever I need to if it gets very hot out.
Although if there is a better way to get the A/C Mag Clutch to serve as a +12V relay trigger I'd love to do that instead.
For now I'm happy to have this swap VERY close to being done. For now I hate leaving a big question mark issue like the rough idle and rough revving but I'll get to it soon
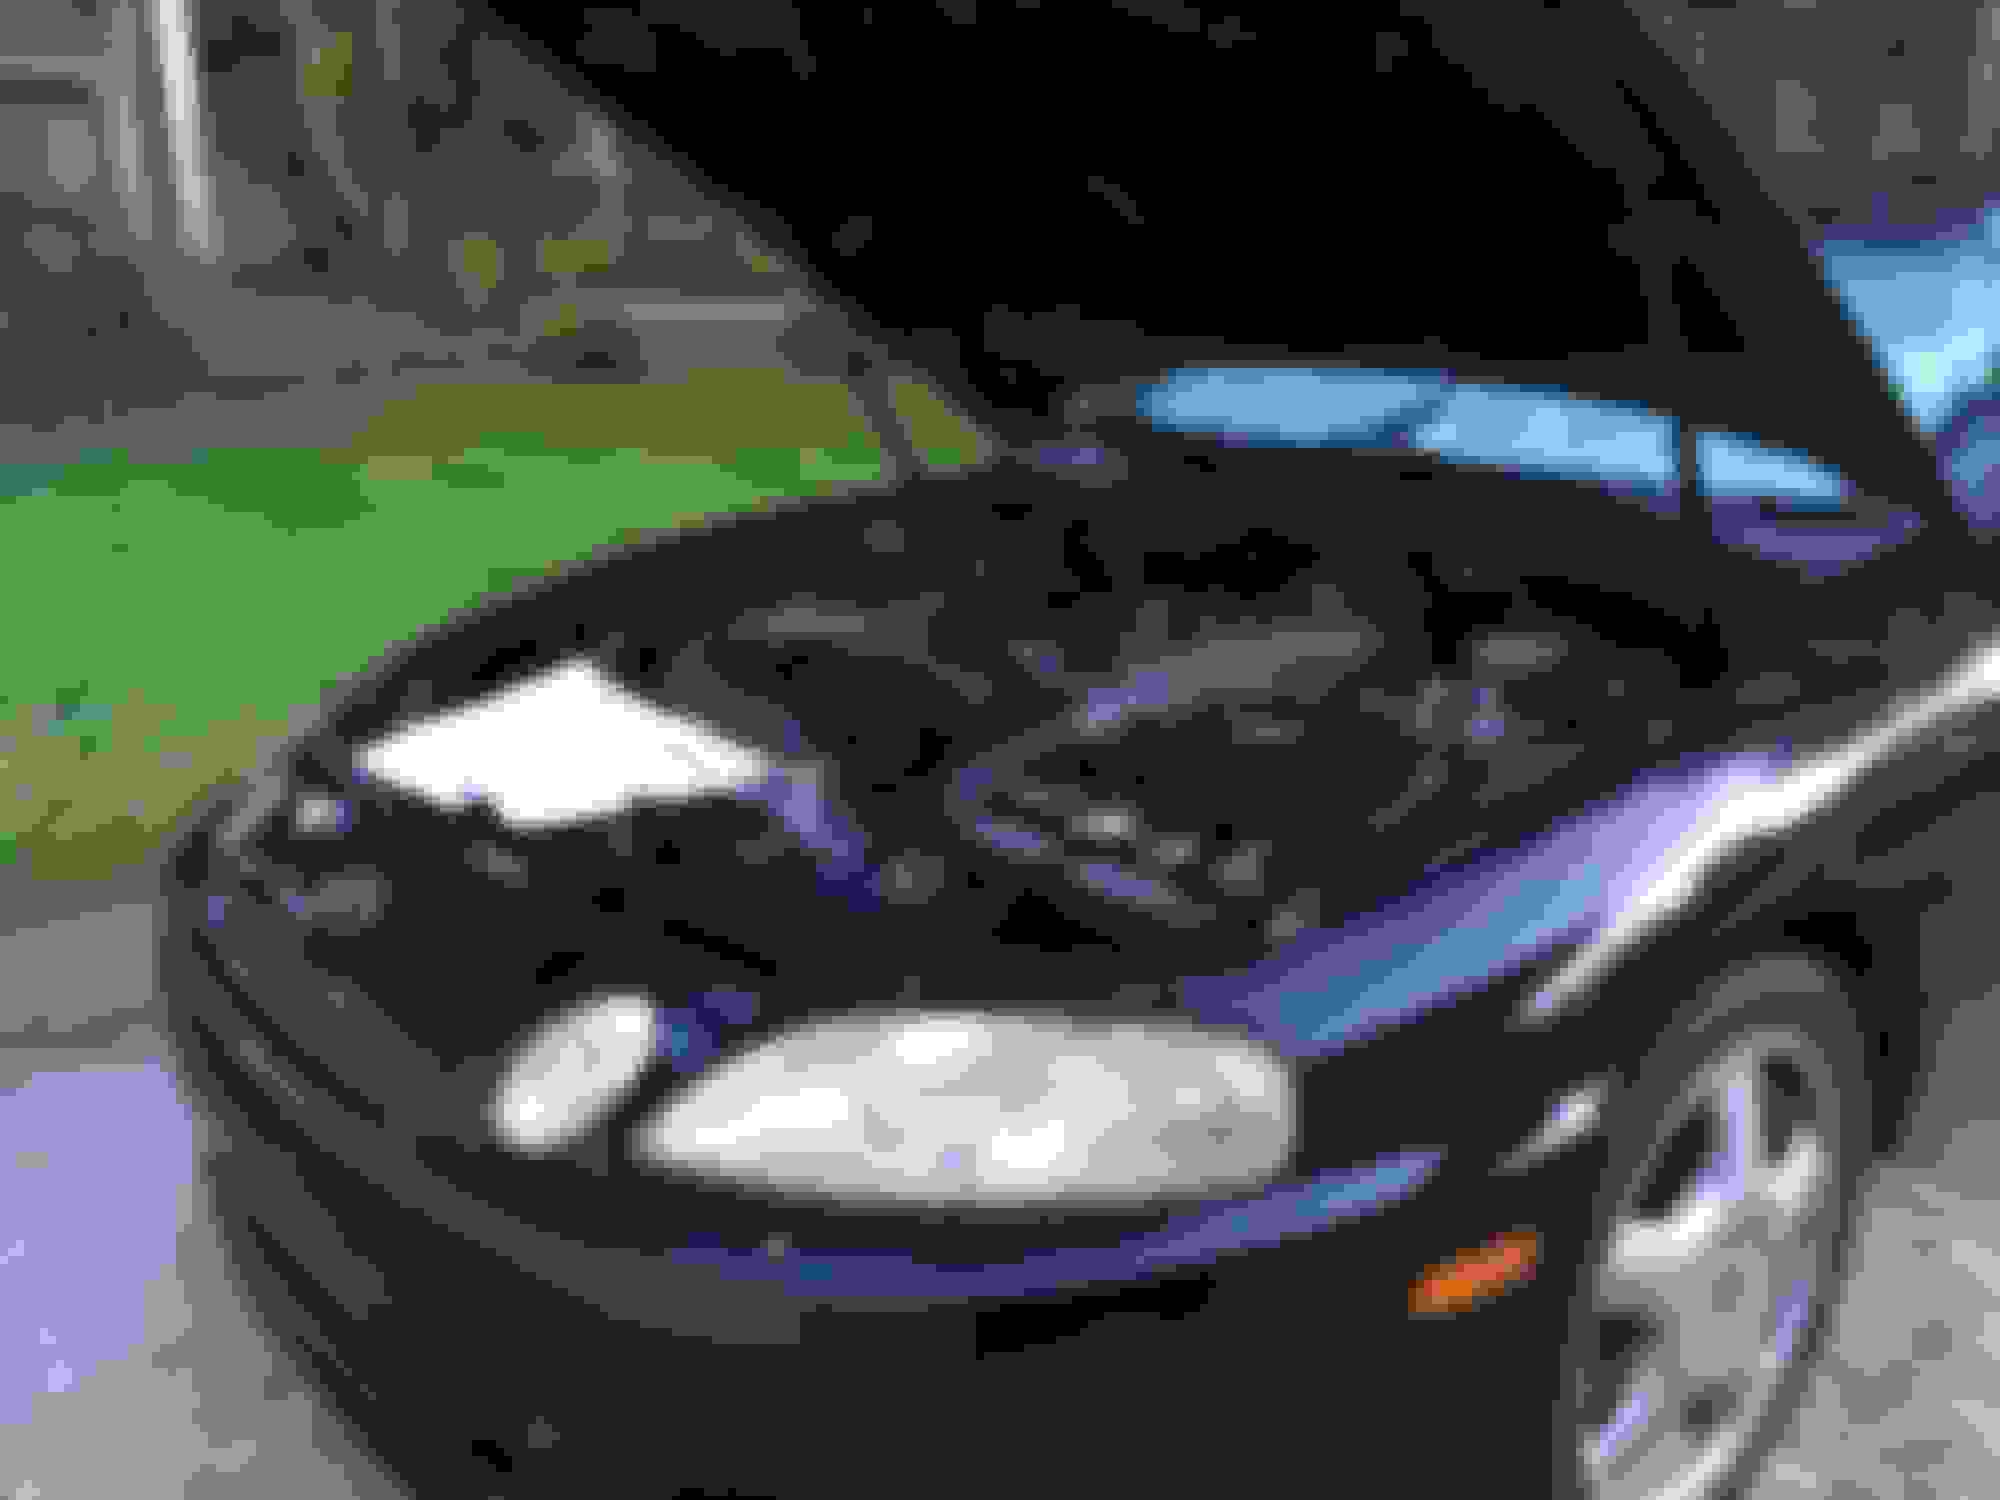
Had a nice hiatus and trip back to L.A. last week. Good time to reconnect with many folks there since I've been in Florida. My rental was a an underwhelming 2018 Corolla sedan with a CVT and hard-as-rocks Michelin Primacy MX tires that definitely do NOT love corners but for the trip and a drive up the PCH it was more than up to the task.
However the on-road fun came in the form of a friend's newly acquired 2003 Mercedes C32 AMG sedan. That car has a 3.2L V6 with a roots supercharger on top (and a charge cooler, I think?) making 350hp/350tq. Even with the stock open diff that car stuck to Mulholland Drive like glue. Lots of fun in that thing
Anyway, picking up where I left off with the SC:
(The condition of my original driver's side floor mat is so bad. I really need to get a replacement soon)
Between my last entry and now I've got the following issues fixed:
--YellowBox VSS and harness reconnected; speedo now working accurately
--The MKIV TT Harness' "A/C Mag Clutch" wire (Supra II1-10) has been disconnected since it doesn't actually seem to be a simple +12V trigger for the OEM TT aux fan circuit.
--Wired a 3-prong (Power/Load/Ground) toggle switch with integrated LED into the arm rest console to manually override-activate the auxiliary A/C cooling fan. I'll have to fabricate a mount for that to fit into.
10/24/2018 Edit: I ended up reconnecting the Supra II1-10 A/C Magnetic clutch wire to my Mishimoto fan controller relay's override wire and I removed this temporary switch. The Supra II1-10 wire actually originates from the A/C compressor connector's Pin 4 and EB1-1 which goes right to the A/C magnetic clutch relay which itself is activated by the GTE ECU's A/C request signal. This works flawlessly and is nearly identical to how Toyota designed it to operate from the factory. The reason it didn't work before was due to my A/C wiring not being totally correct which prevented the activation of the A/C mag clutch in the first place.
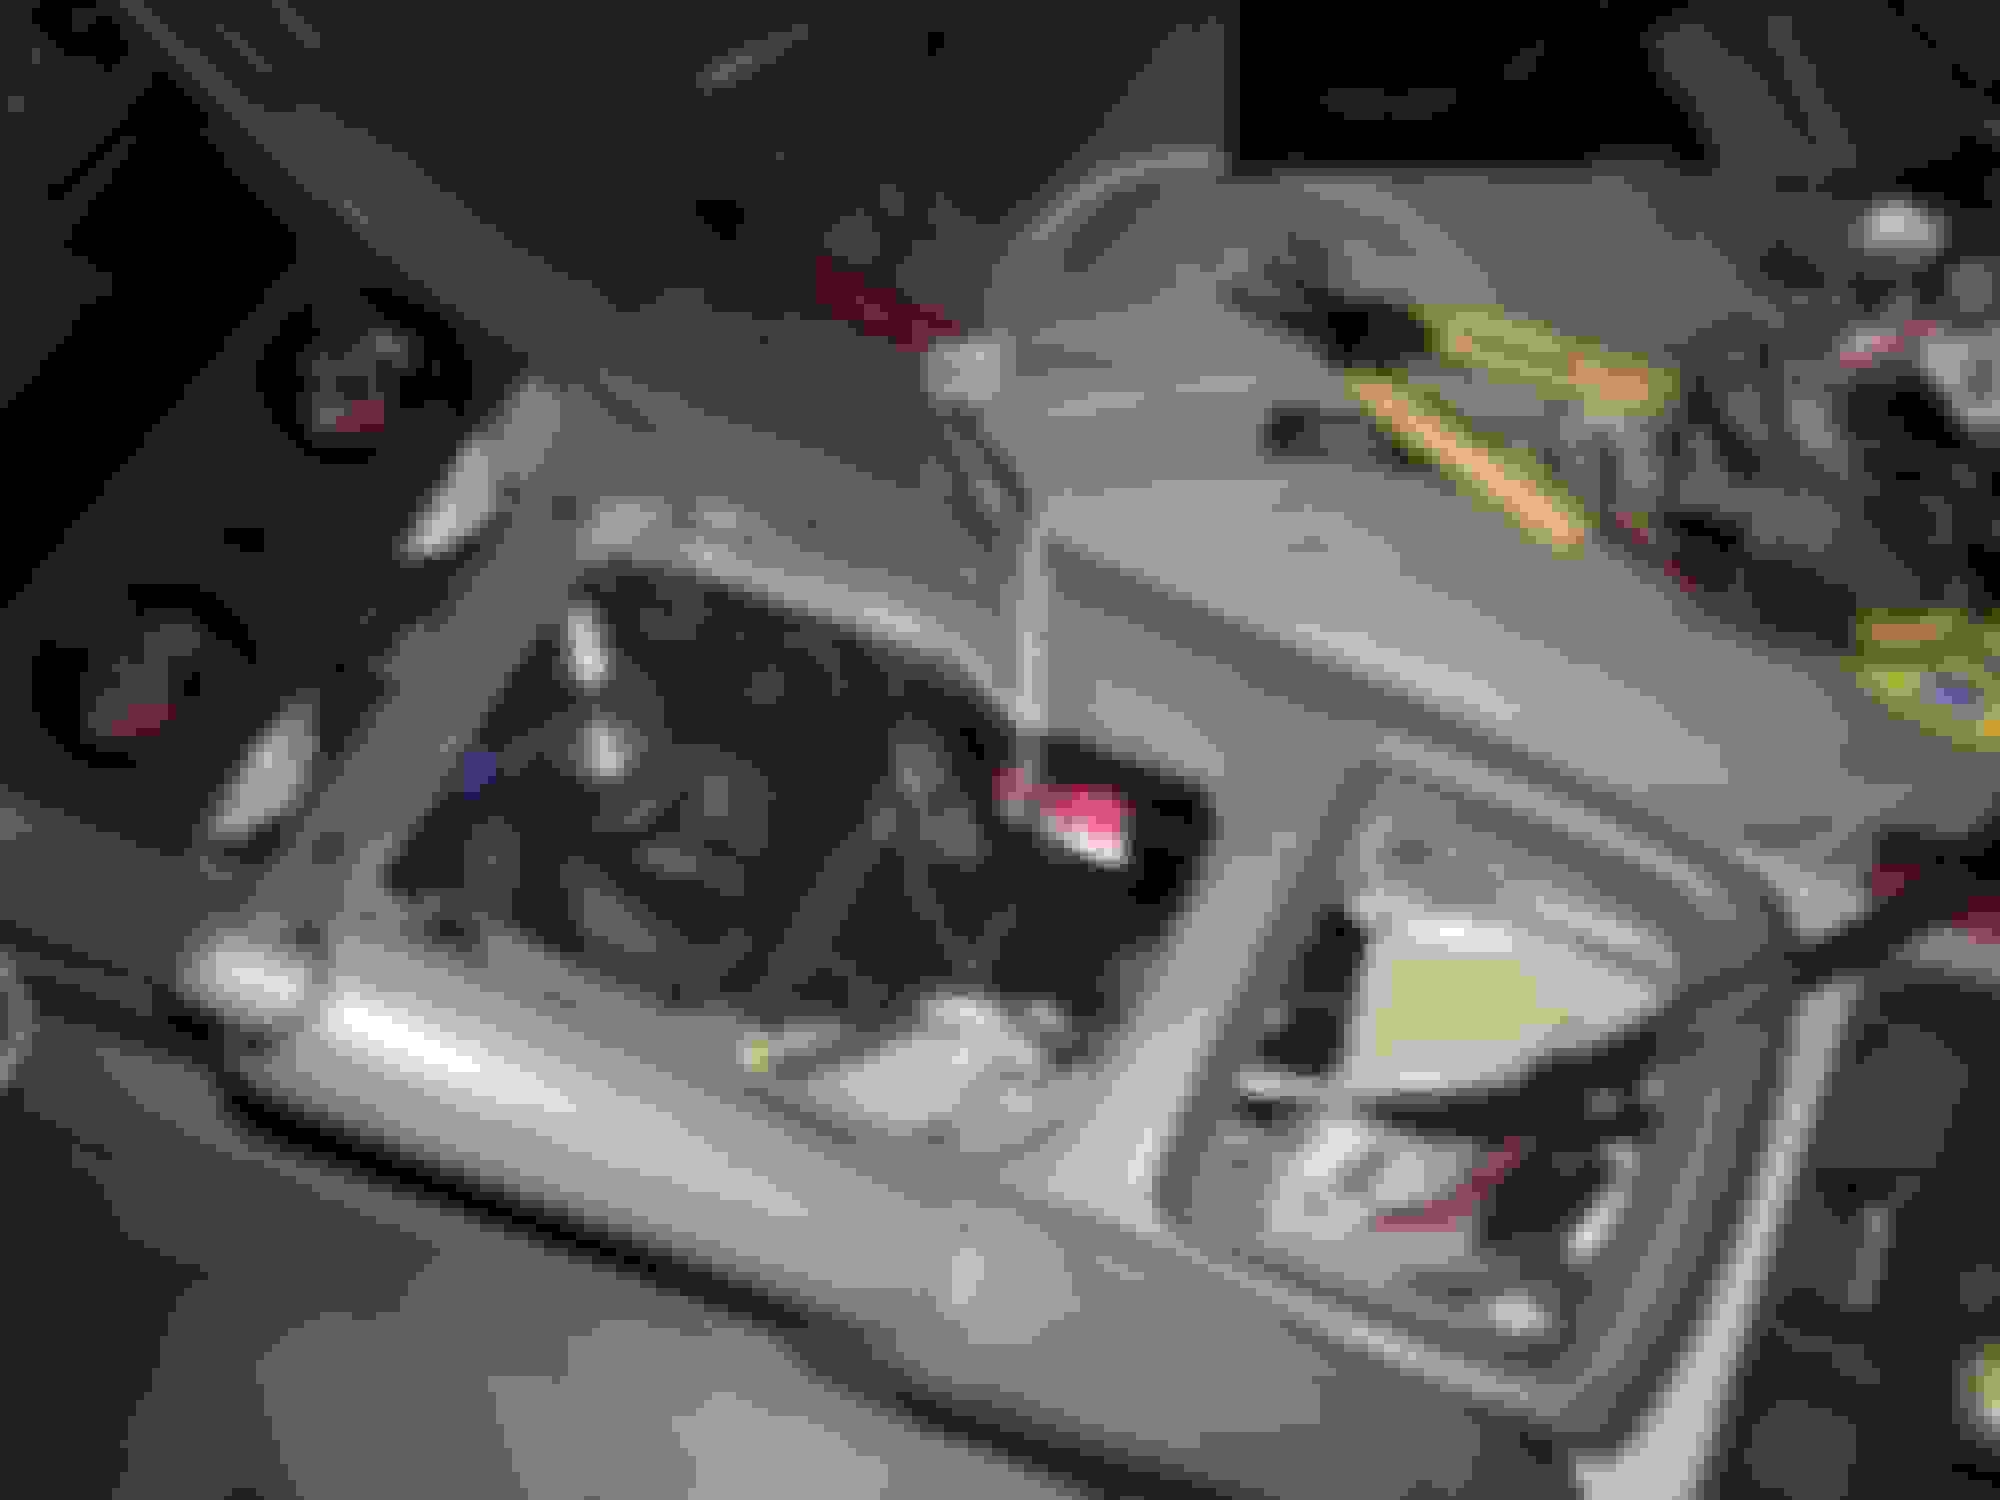
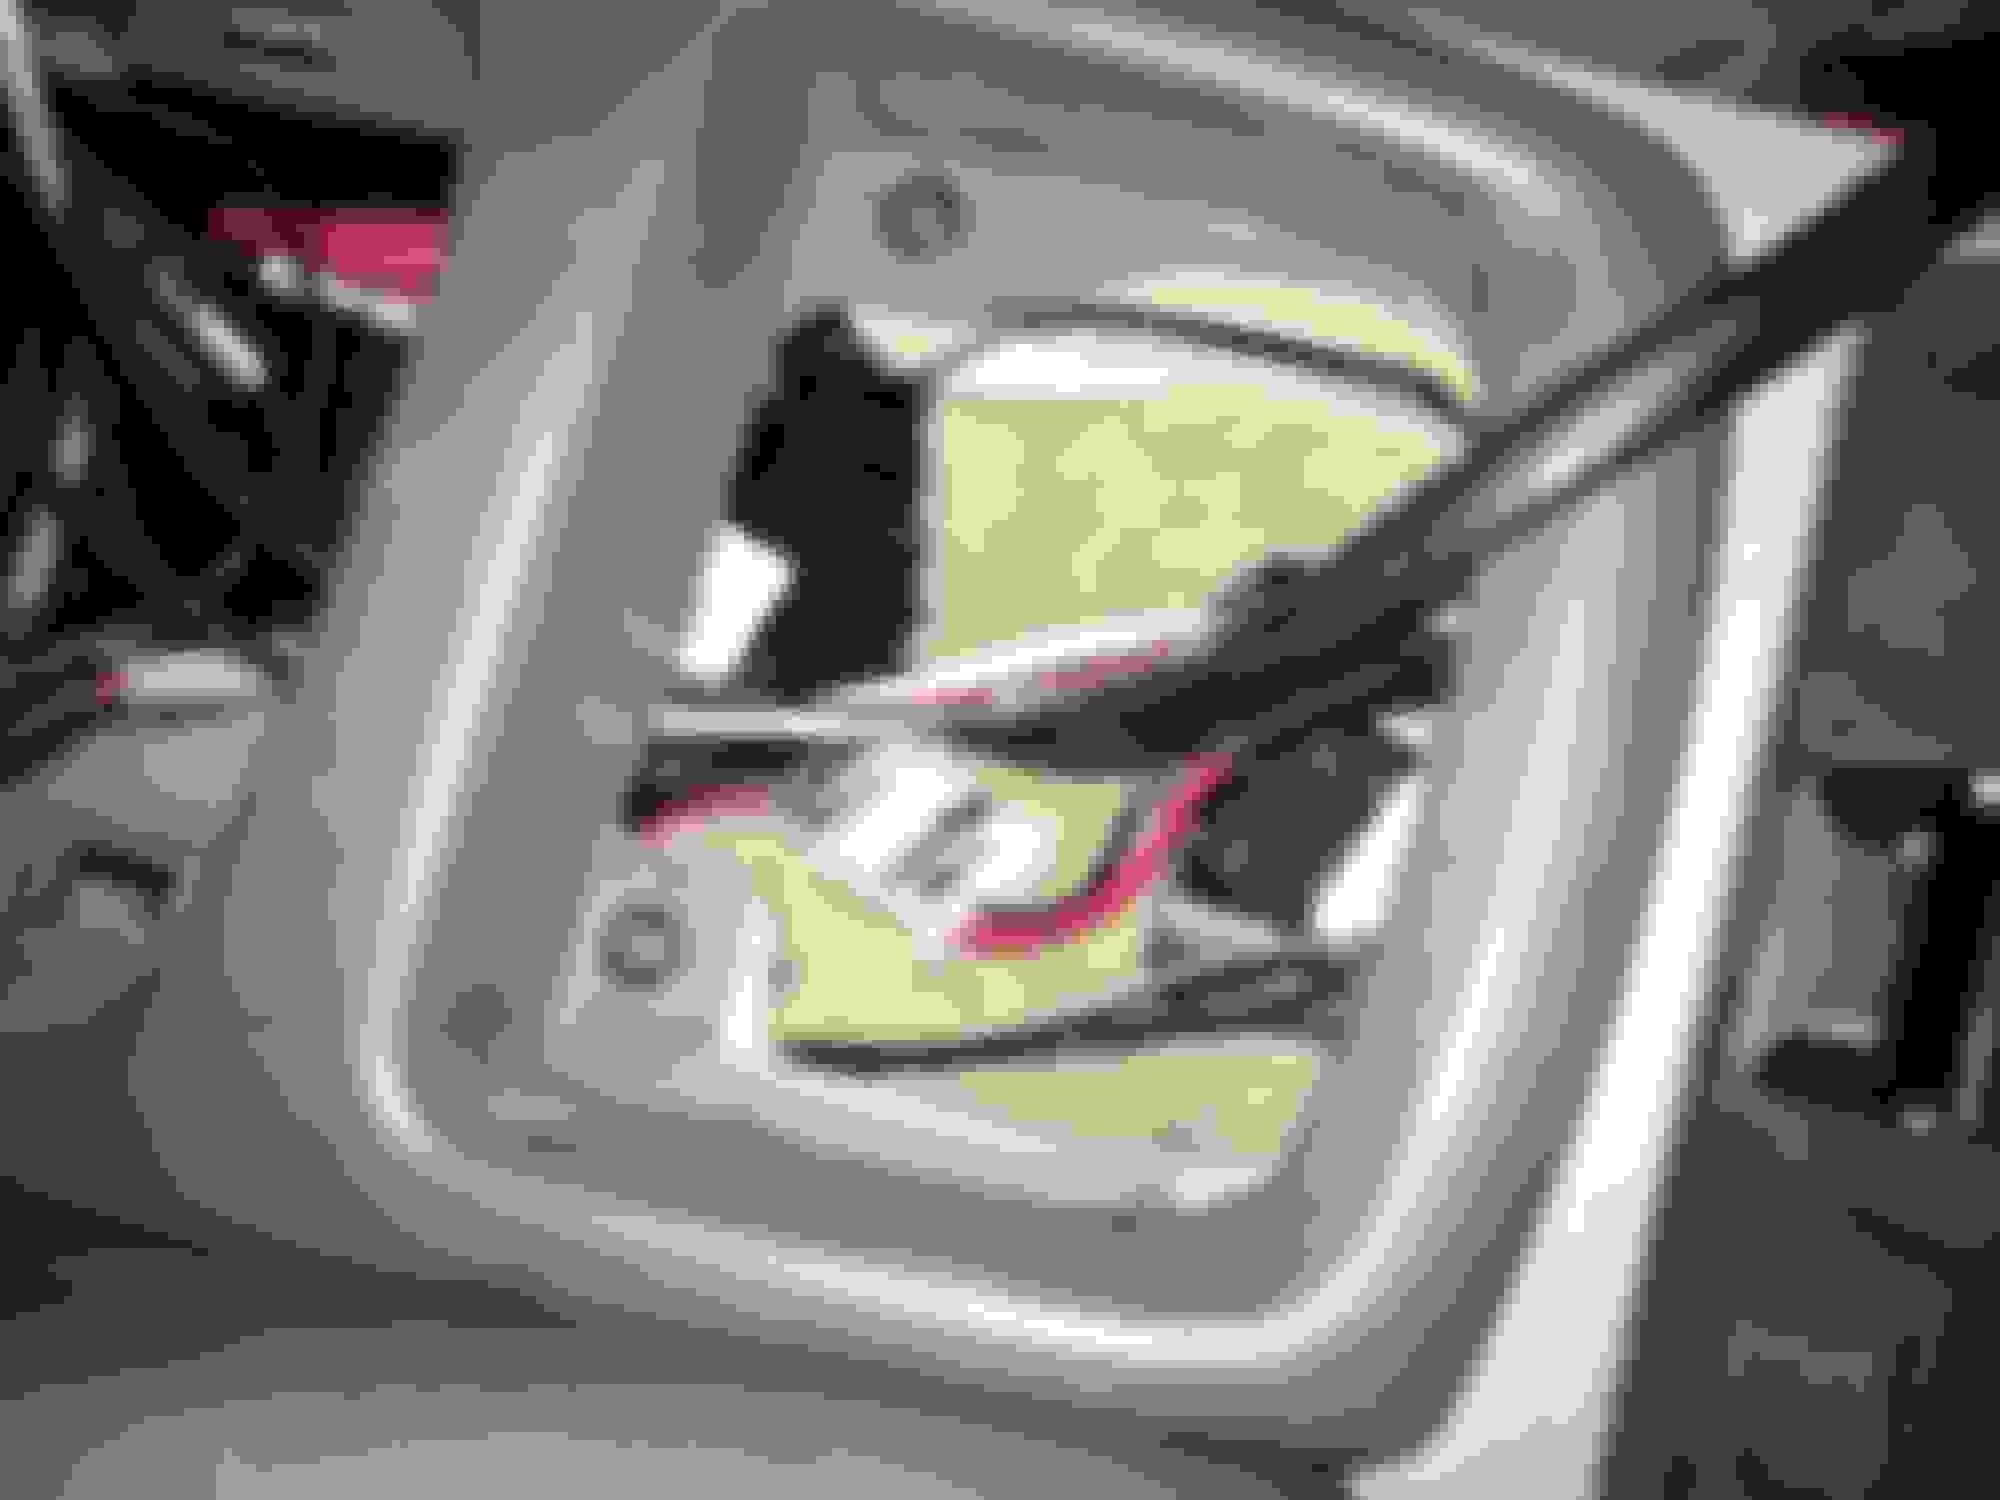
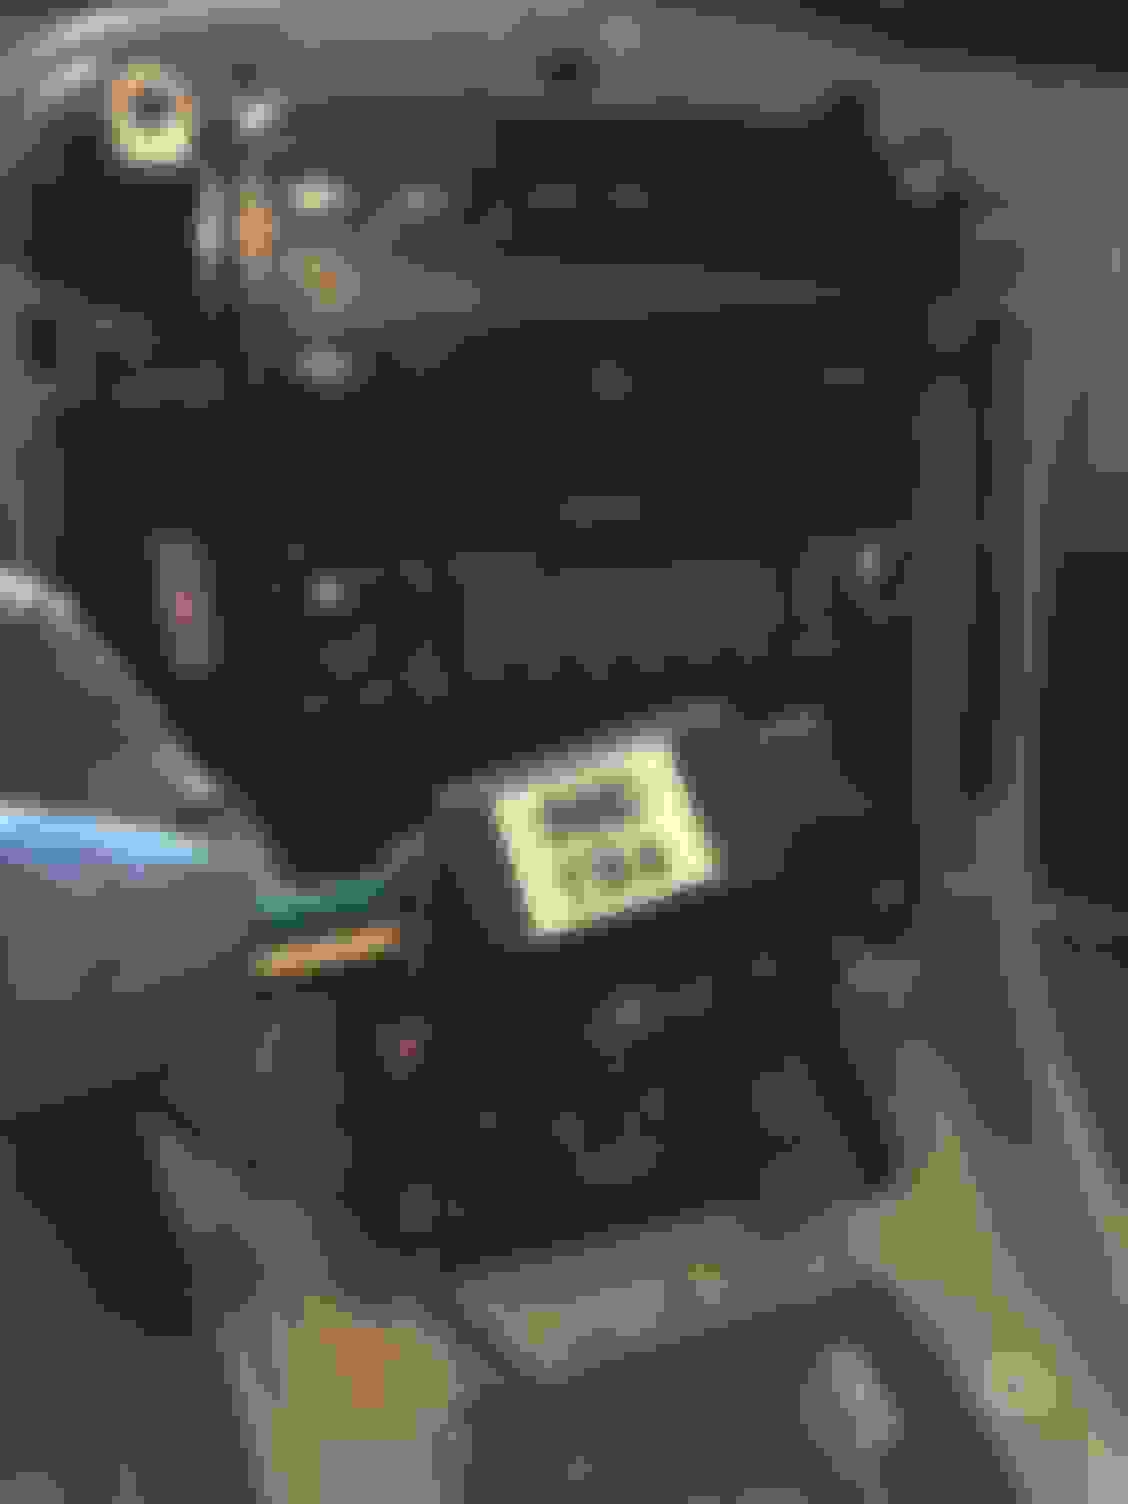
--Found a good additional source for +12V Switched and Ground from a connector that originally went to the optional OEM Lexus Phone handset unit. Turned that into a secondary DC plug power source.
The wires were a bit messy when I took this picture but they're getting tidied up soon. I had to re-use a spare set of matching Toyota connectors I had that fit the large spades of these pins built into the chassis electrical harness just below the center arm rest. From there I spliced to Molex connectors.
-- I also discovered that the main/stock DC power plug and anything I had tied into that circuit was not getting +12V. (Perhaps this had something to do with the MSD Tach Adatper's issue which I detail later in this post since it was getting +12V Switched from this circuit).
Sure enough upon checking the 15A Cig Lighter fuse in the driver's side kick panel I had blown right though it. Got that replaced.
--For the new stereo I installed a PAC TR-4 low voltage delay (ie: "pop remover") for aftermarket car stereos that don't have an Amplifier Power On wire built in. The new Continental stereo head unit now powers on and off without any abrupt pops
Then I also removed the MSD Tach Adapter #8920. I am not sure if the nature of the device being an imperfect signal amplifier/convertor was the trouble or if the ground or +12V Switched connection I had it wired into was perhaps not clean enough or maybe having had it wired backwards affected it internally (Tach In and Tach Out accidentally were connected backwards for a brief time before the initial piston ring seating) but I decided the issue of the Tach Adapter not giving a consistent tach signal and thus affecting the A/C and possibly anything else was unacceptable.
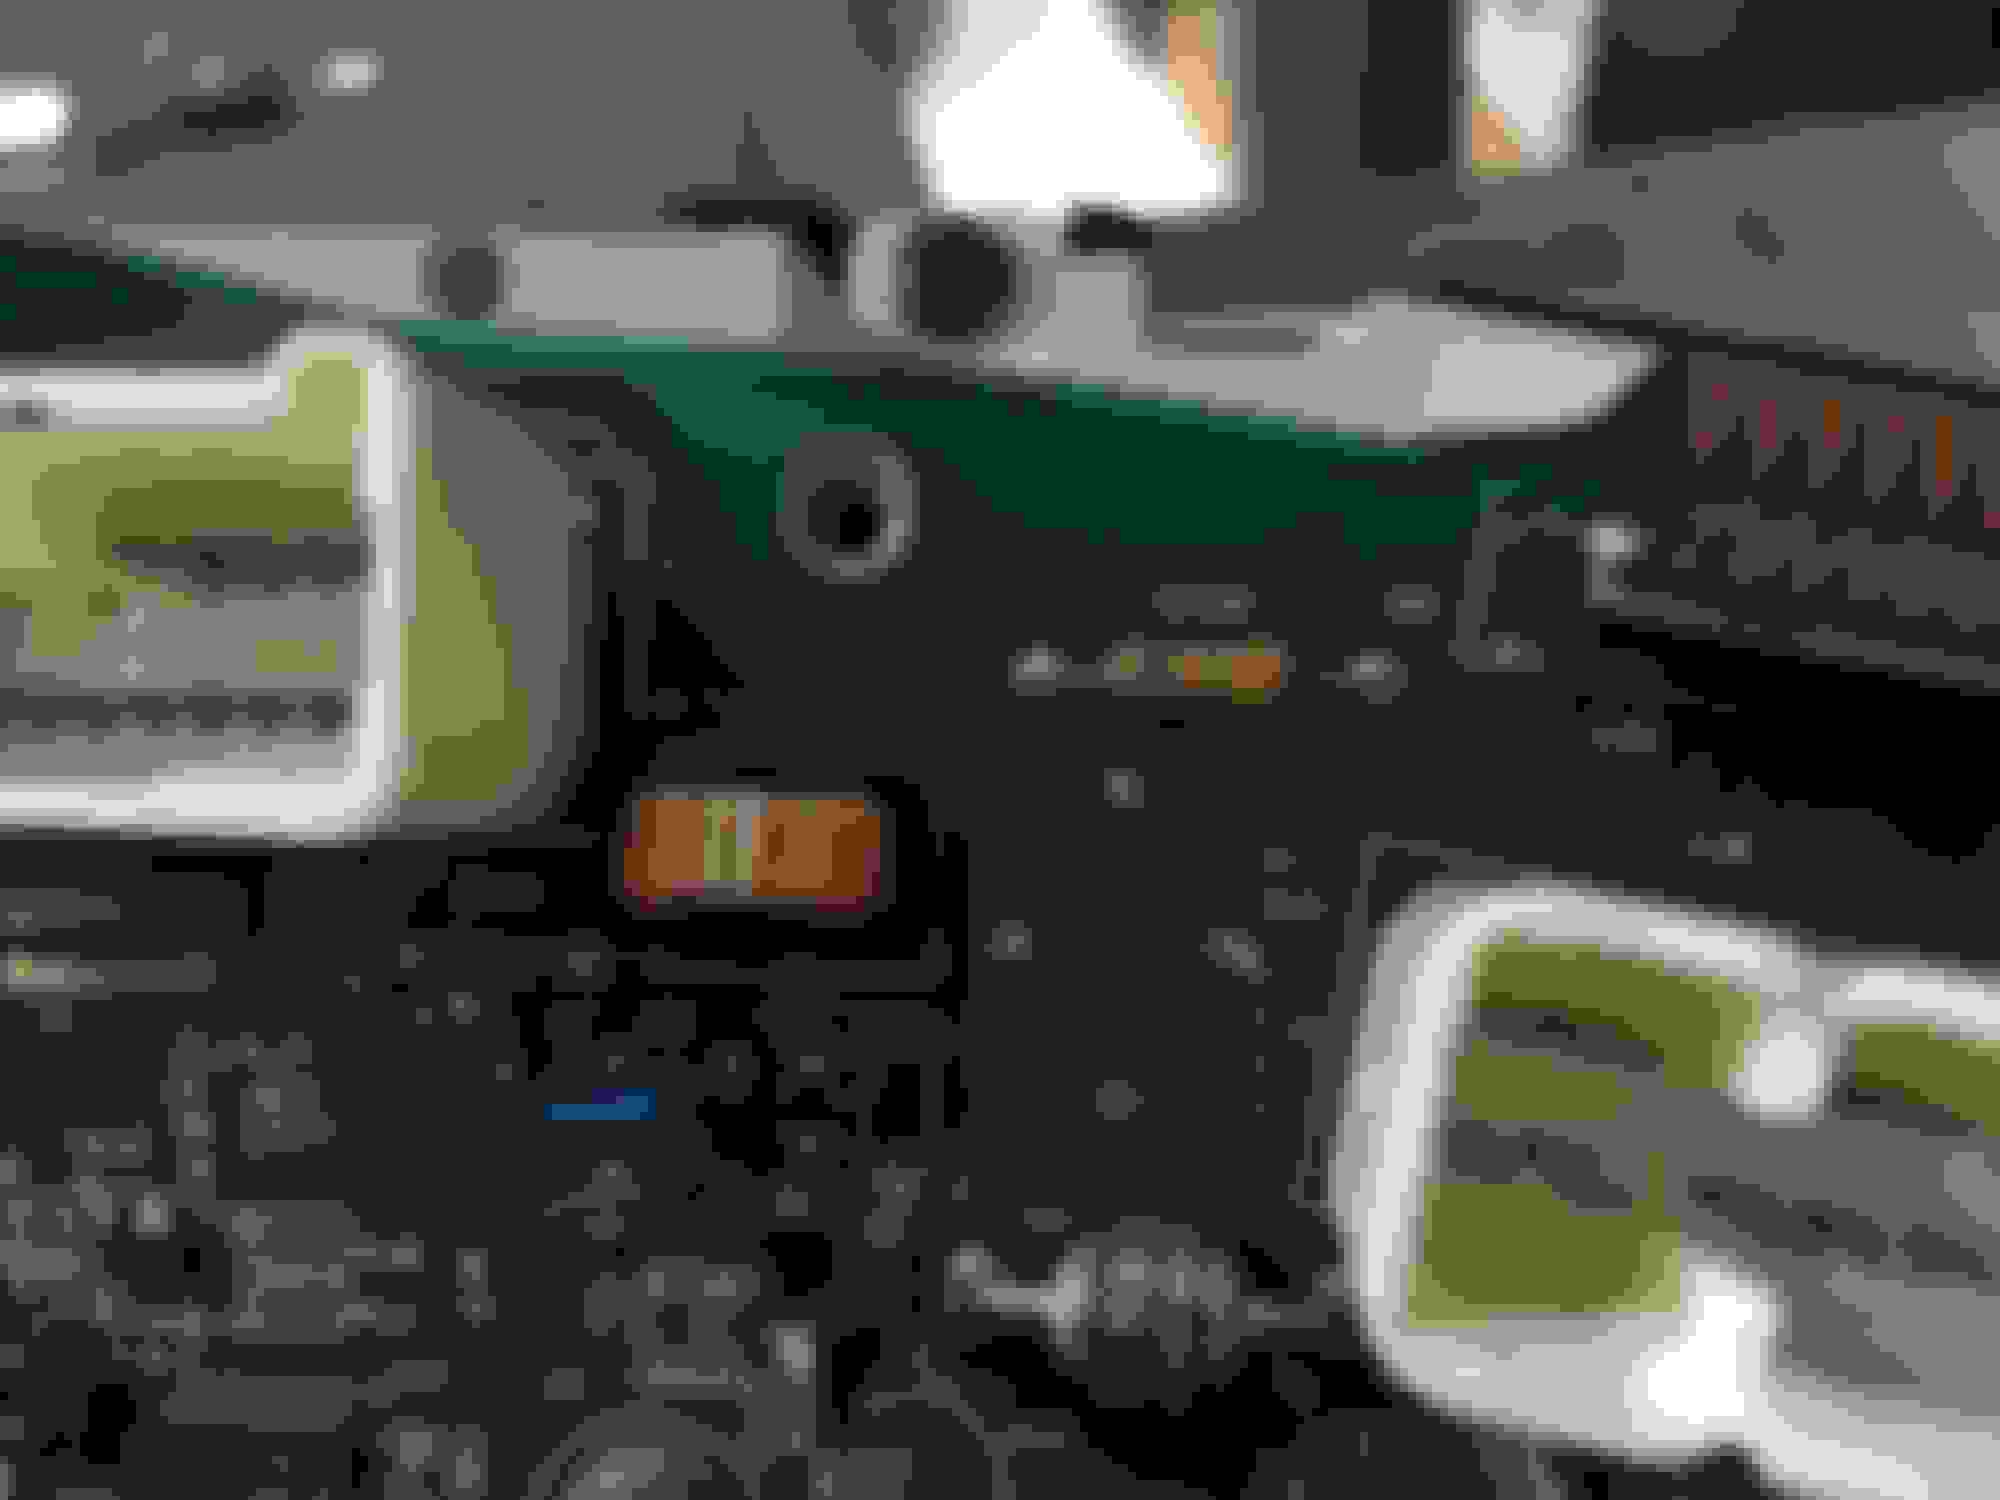
With that unit removed I went and did the instrument cluster resistor mod that I should have done to begin with Taking a small section of 14ga reclaimed Toyota electrical wire I soldered it to the ends of resistor R109 to allow for the Supra's II1-29 tach signal to get to the SC's tach correctly. I was careful with the cluster while working but it was a very quick and easy procedure.
Note that resistor R109 only applies to 1992-1994 and maybe some 1995 SC's. Later models use a different cluster tach resistor that requires the same jumper wire trick for GTE swaps. The 1995 and later clusters should have a resistor added instead to both ends of the resistor marked "R73".
Until I have need to really work in depth on the engine harness again to properly route the wires I simply made a looped wire on my Molex plug that the MSD Tach Adapter used to connect into to connect the Supra II1-29 and SC dash tach wires together.
...
Next, I followed the TSRM procedure to calibrate the main TPS sensor for the first time. This didn't seem to make much difference when the engine was on again but having done it now I'll have more peace of mind.
....
The final gremlin appears to be that my "rough idle" condition has actually been a cylinder that hasn't been firing for the last few miles. I wasn't even comfortable taking the car up the road and back the other day after fixing everything else.
I would guess that since this only showed up after maybe 20-25 miles (my VSS speedo signal wasn't corrected at the time) and the car has 38 miles now I haven't been driving with it in this condition for that long.
The only other symptom is a slight squeak from the accessory area as I rev but which is mild. And after the car sat while I was away it required a top off of ATF fluid for the power steering and some cranking of the wheel to get more air out of the system. Now the power steering is fine again.
So... now to determine which cylinder hasn't been firing and what caused this issue suddenly after the car was running perfectly. Previously, once I had picked up the car after getting the clutch disc installed correctly it was acting perfect other than the intermittent tach issue.
...
Everything else is working fine now apart from the misfiring. It's weird because after having gone through all of the coil pack wiring and injector wiring and repairing anything that looked remotely worn or poorly spliced by the previous user of this engine harness and verifying that all of those circuits are getting the correct +12V and Ground to the proper pins I am perplexed as to why the engine would suddenly start misfiring again.
Maybe one of my cleaned and calibrated used 550cc injectors has failed?
Whatever it is I'm going to start investigating that tomorrow.
I'm not happy that this new engine has had such rocky break-in period so far but all in all I'm betting that the ring seating session, gentle driving below 3krpm and attention to not letting it idle too much will all make these fits and starts a wash over the long haul.
...
I also picked up a new LH door hinge since mine on the driver’s side has been clicking/popping for some time now. I figured I should have one of these ready to go in when I can address this issue later. My RH door hinge, if it ever becomes an issue, will have to be a rebuild from a used spare that I'll source at some point in the future.
...
Oh yeah... and I only just noticed yesterday that my steering column telescoping function appears to not be working any longer. I fixed the tilting function a few years ago which is the most common column issue but the telescoping operation going out I think may be a little more involved to repair? Have to research that one soon.
Why use a switch for an auxiliary fan ? You happen to forget turning that thing on and you have an overheated and broken engine if ever .
If you don't have the necessary wiring with the AC on/off . Why don't you just add a coolant temperature switch at the bottom of your radiator which turns on the fan at 185-195F coolant temp depending on which temp switch you get. It is less than $5 . That assures you that at, let's say 195F coolant temp ...aux fan helps cools down your condenser and radiator , No human intervention.
When I am back up North , I will text you the part number of coolant temp sensor that will fit your koyorad radiator that I am using .
Not to worry! I already have that potential issue covered, Gerry This override switch is actually part of a Mishimoto electric fan relay circuit that I installed a while back. I was trying to recreate the stock Toyota twin relay system with the temperature switch sensor in the radiator... but it was complicated enough to implement that once I discovered the Mishimoto fan controller I decided that was best instead
It has:
�capacity for any combination of fans up to 25A total
�An adjustable turn-on and turn-off threshold which should currently be set at 195F to cut on.
�Its own NPT coolant temp sensor which I have installed on the bottom of the MKIV radiator in the stock location with an Earls metric to NPT adapter
�An additional +12V override trigger wire that can be wired to activate any time the A/C clutch is on or just to a manual switch
When I performed the initial piston ring seating procedure this Mishimoto circuit did its job already by kicking on partway through to keep the engine cool
I just could not figure out what wire on the A/C clutch circuit would allow me to connect my Mishimoto fan controller trigger wire so as to have it always kick on with the A/C operation. I installed this switch for the time being just in case I needed the system to be manually activated during hot days of A/C use.
But this system definitely has a temp sensor driven failsafe to come on when engine temps are very hot. No overheating will occur
I am also considering upgrading to the late model MKIV TT shroud and twin fan setup if the parts are still available.
Now... that coolant temp sensor that you are using... I would definitely like to know what that is and what connector and wire ends might match it Having a good replacement sensor on standby to keep this cooling system healthy is very important!
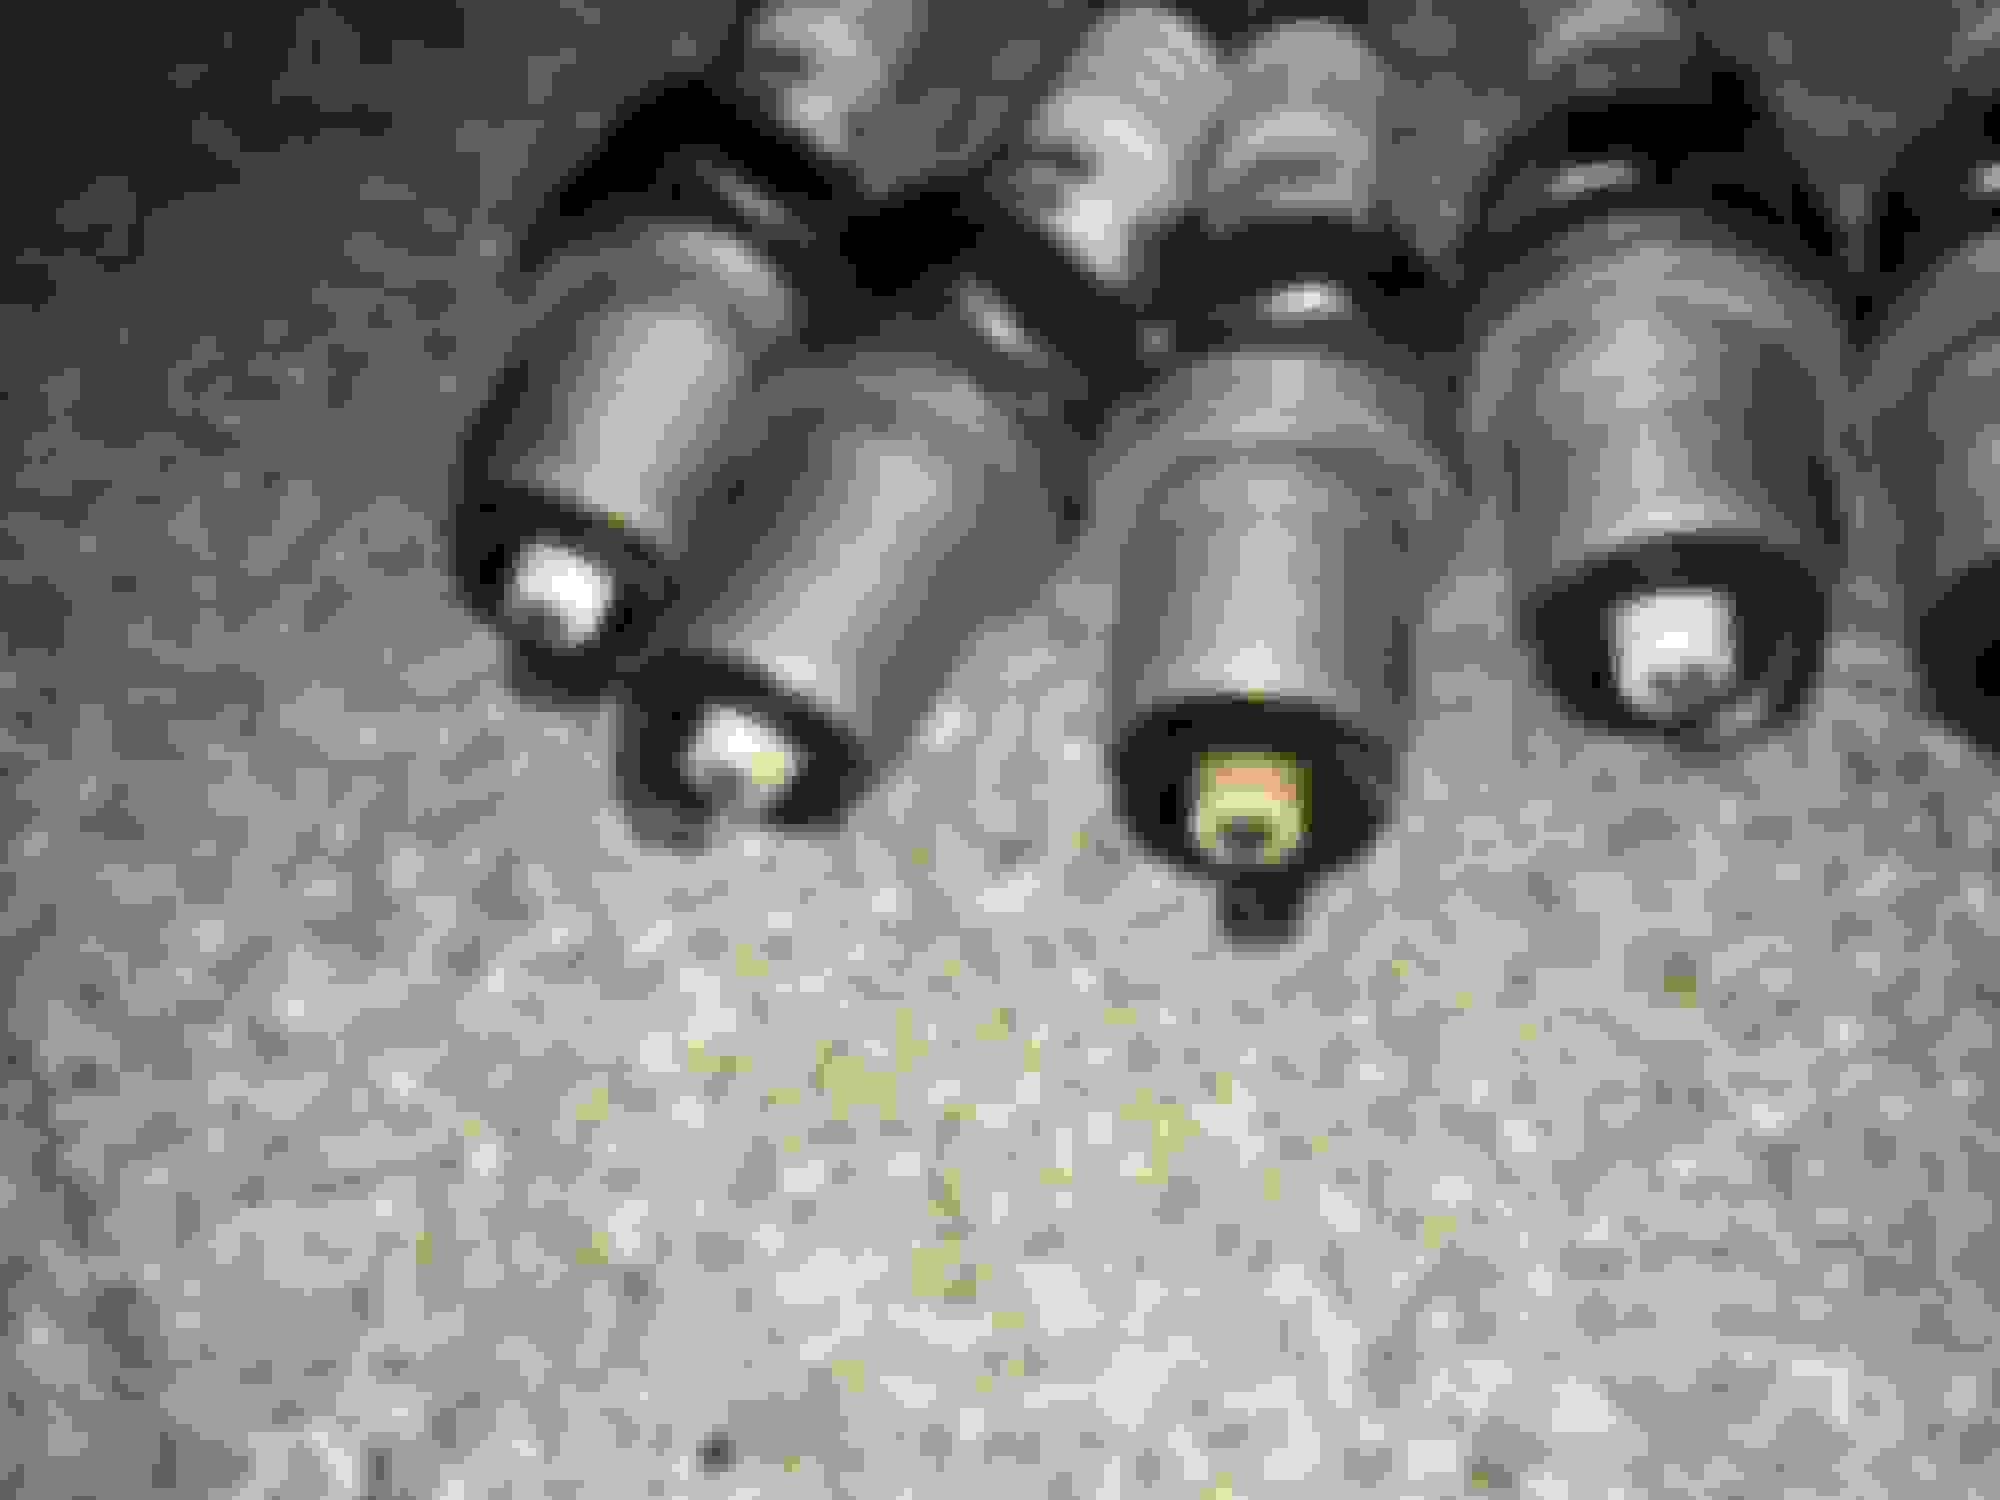
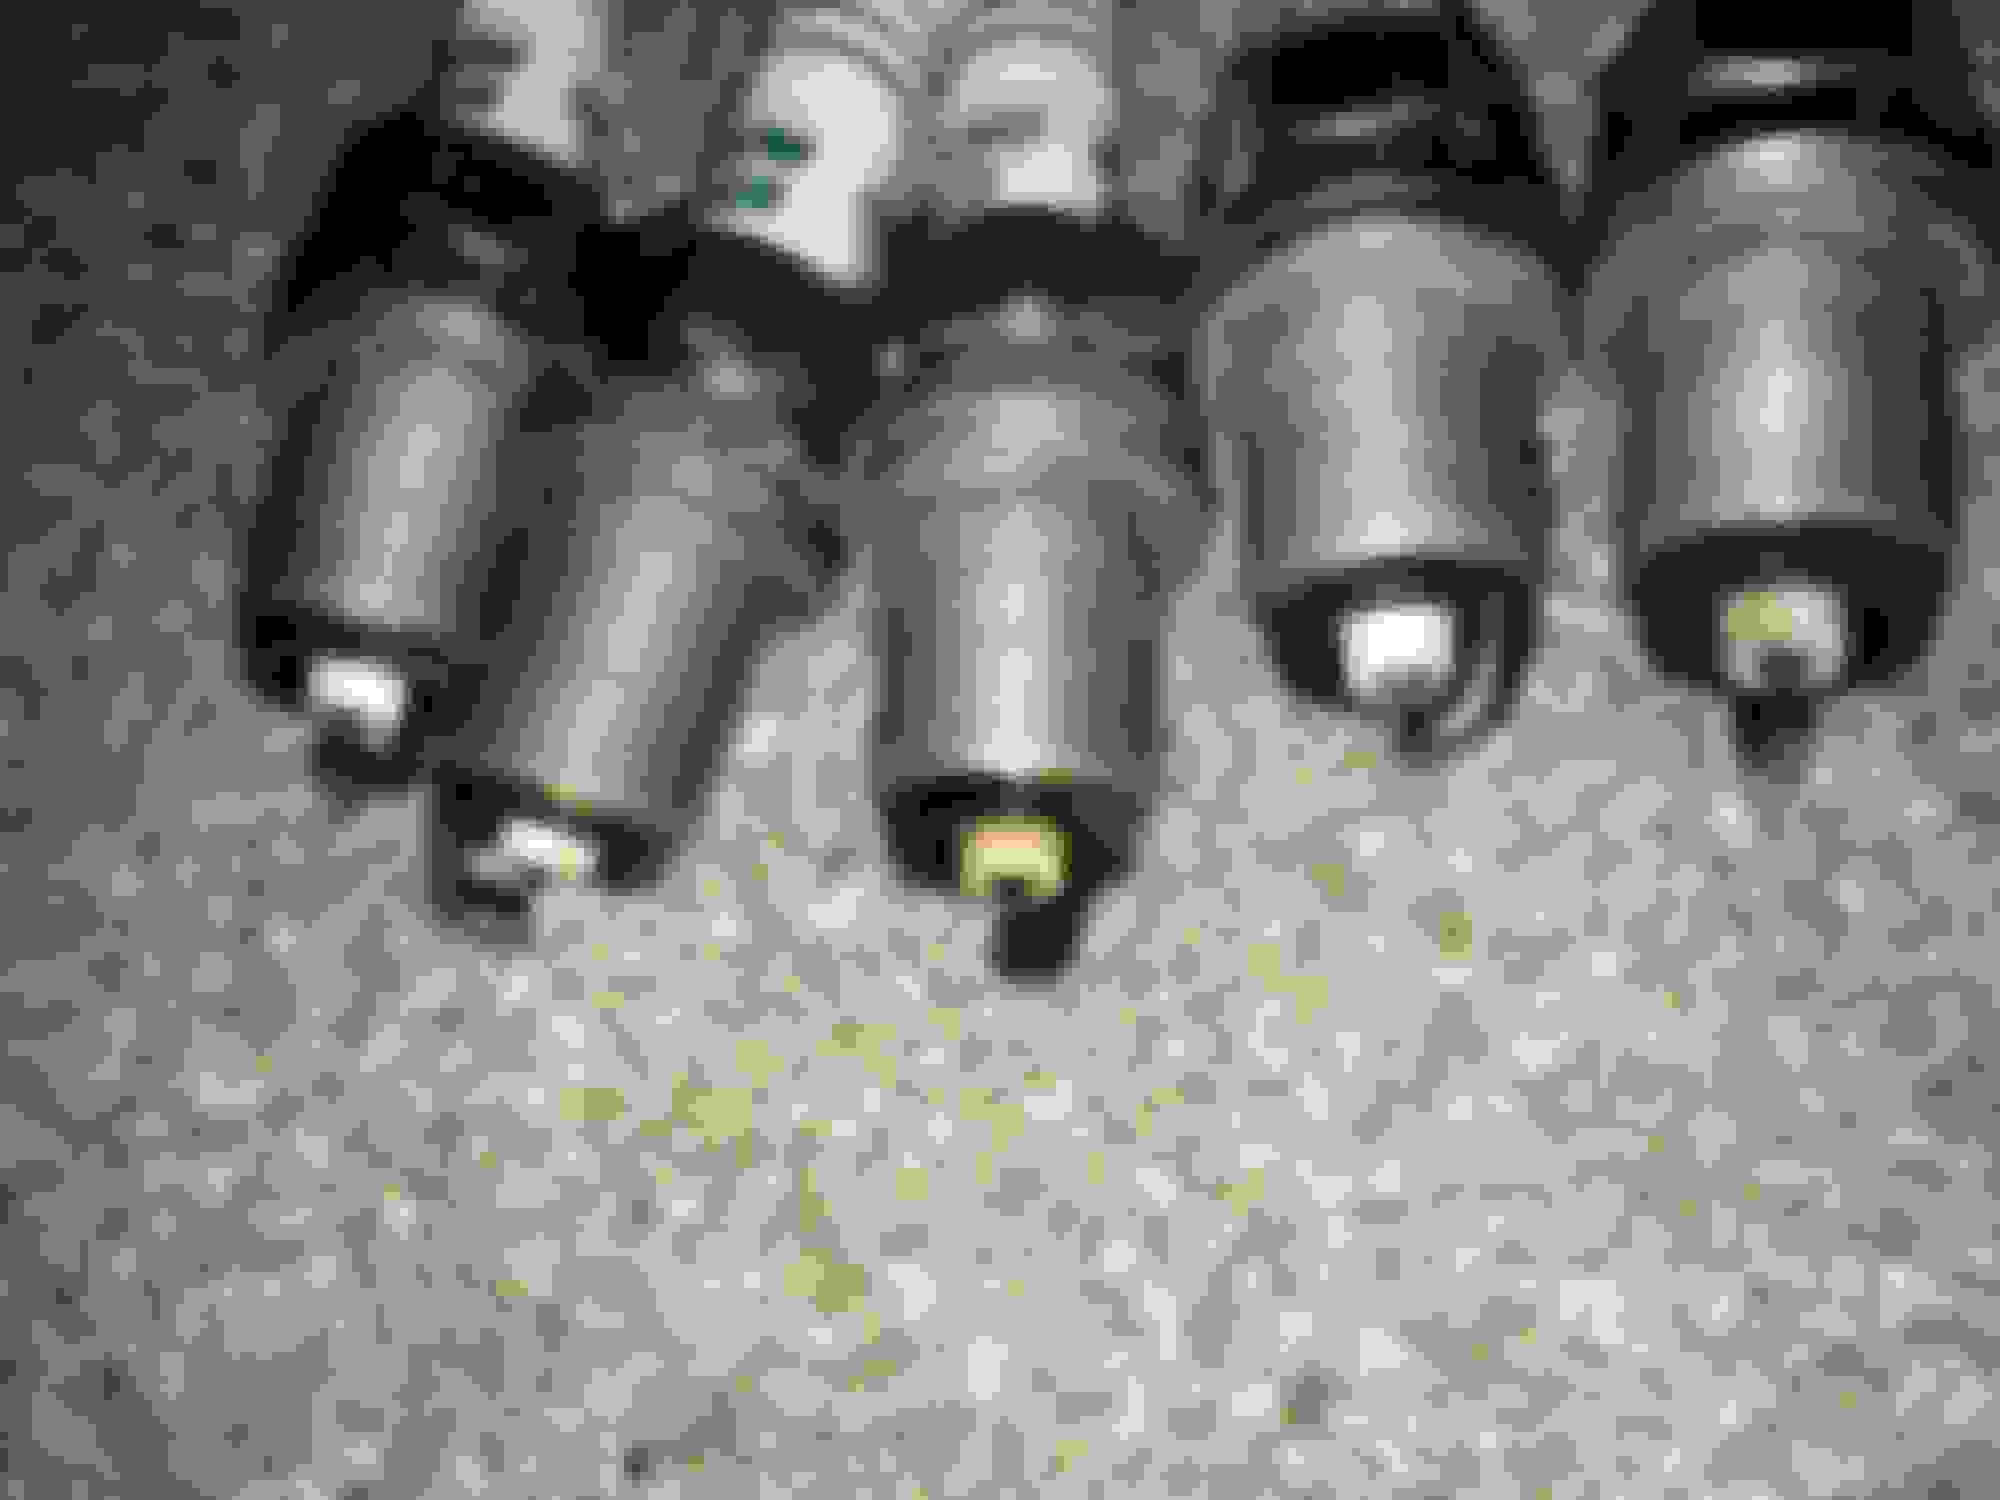
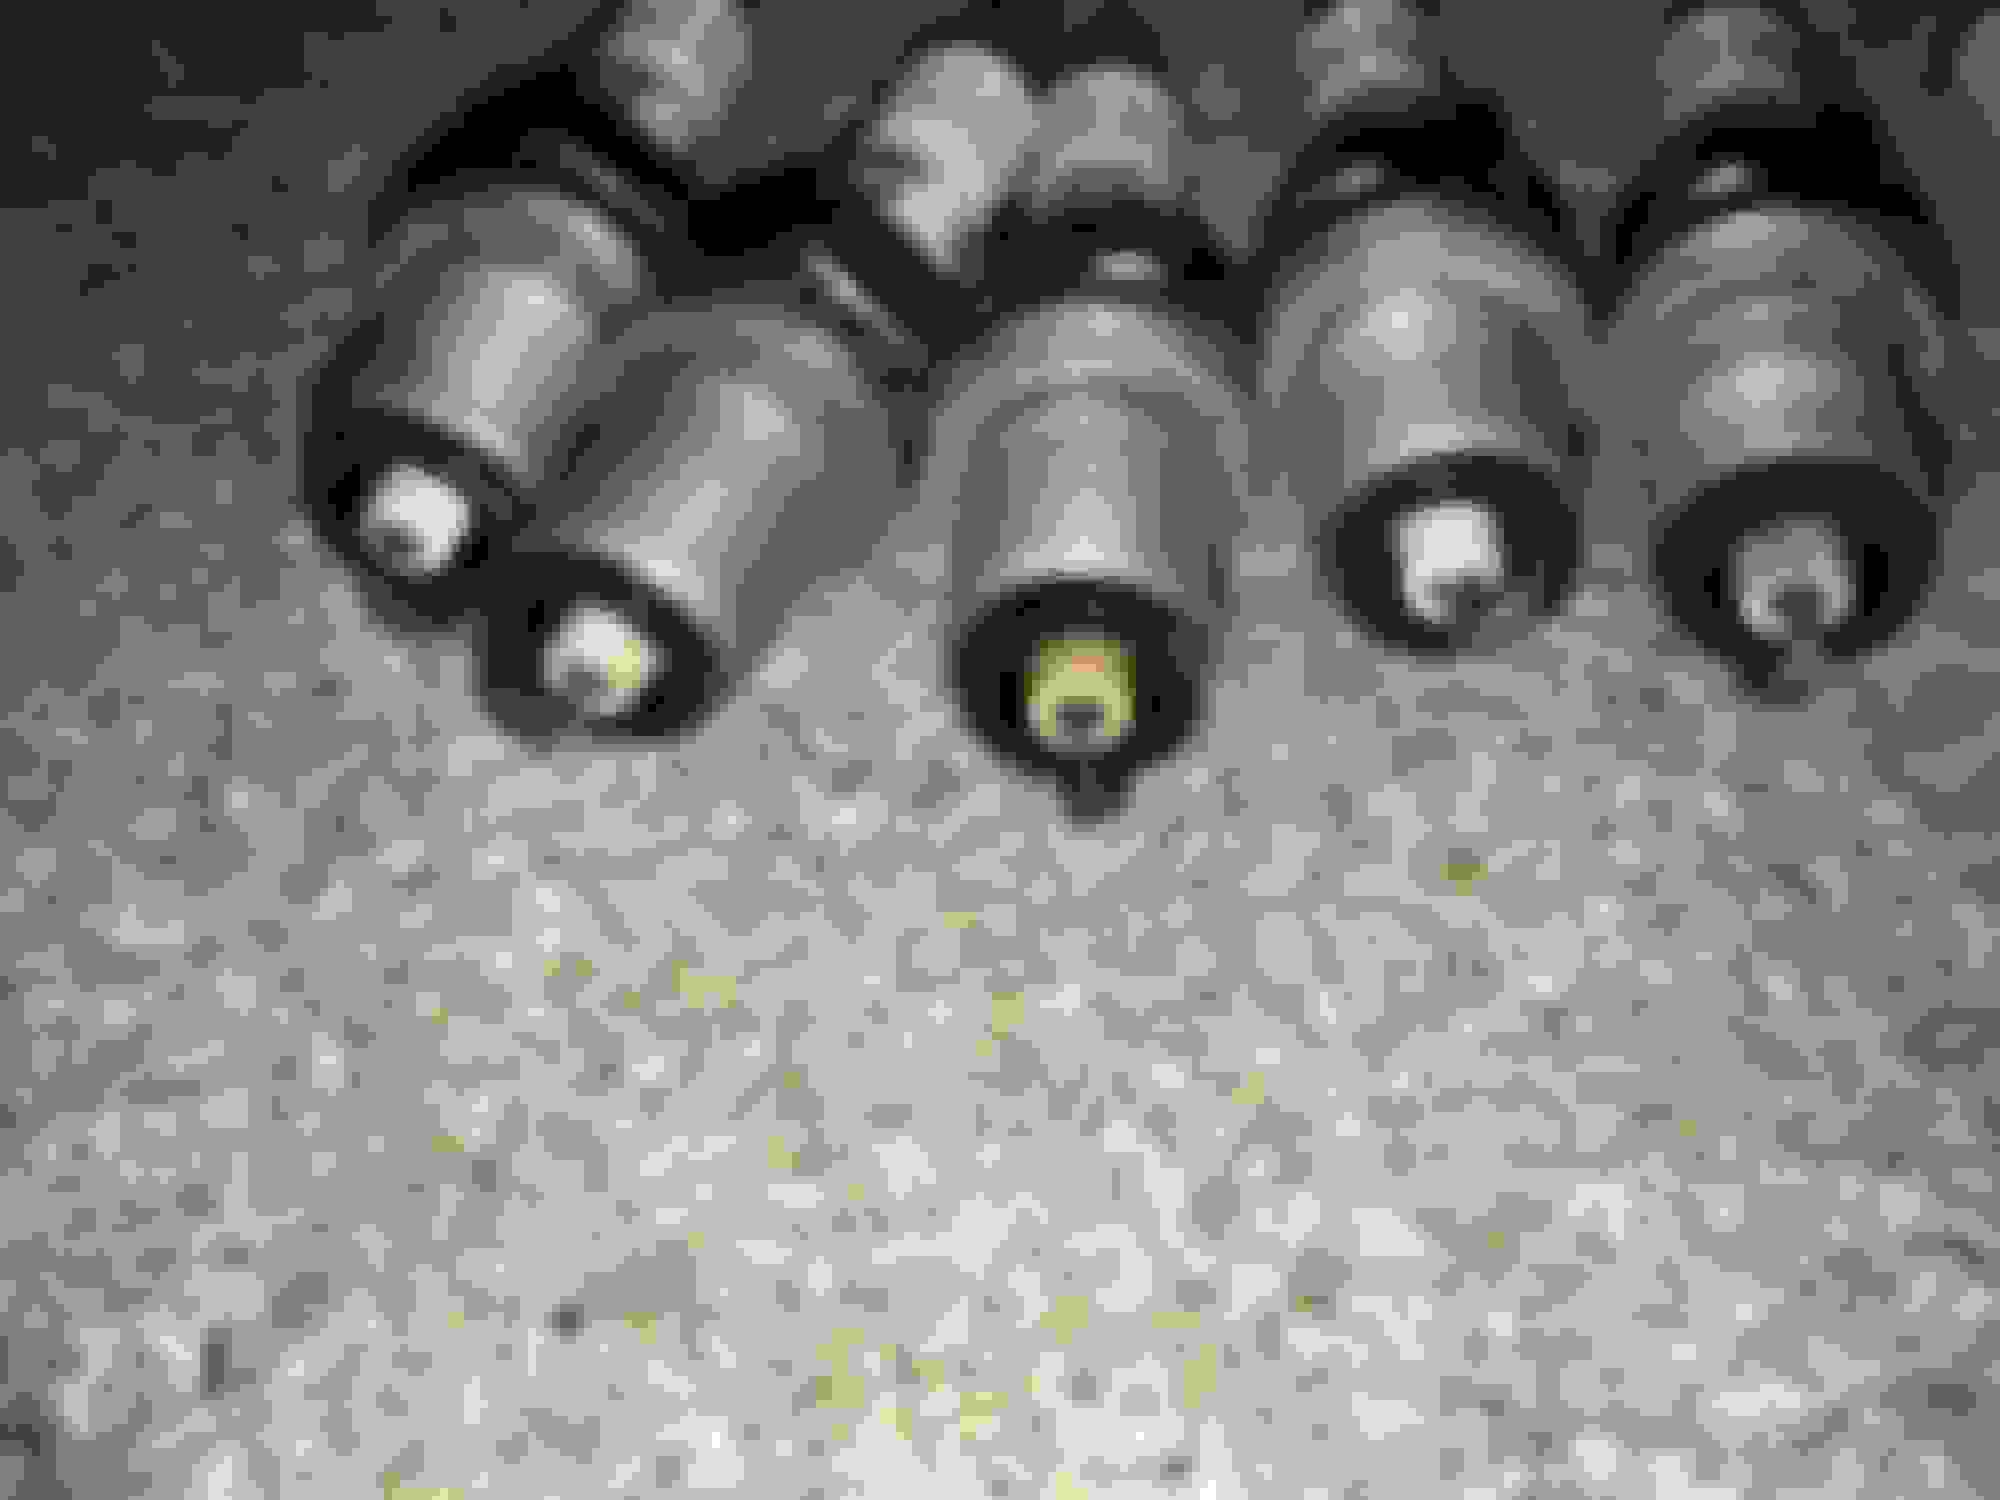
Well... I went to work again last night (this morning). I picked up an Actron CP7876 Infrared (laser) thermometer gun to check all six cylinders on the exhaust side for any single variance in heat reading. Unfortunately this did not turn out to be quite a perfect idea since the stock twin GTE header is so buried under all the turbo piping and the heat shield. But I was able to sort of determine I may have a cylinder in the middle that isn't happy.
However using a stethoscope I was able to confirm that all six injectors were clicking. Odd, but... onward...
So with that hunch, I removed the valve cover, took out all the coil packs (set aside in order) and removed all the Denso IK20 spark plugs. Arranged in order (#6 on the far left and #2 on the far right and #1 on the farthest right out of the picture's frame) I didn't notice much that seemed off... except for the cylinder #4 plug. That one seemed to have a hint of wetness on it but I didn't smell any excess of fuel on it either. Maybe my sense of smell is poor.
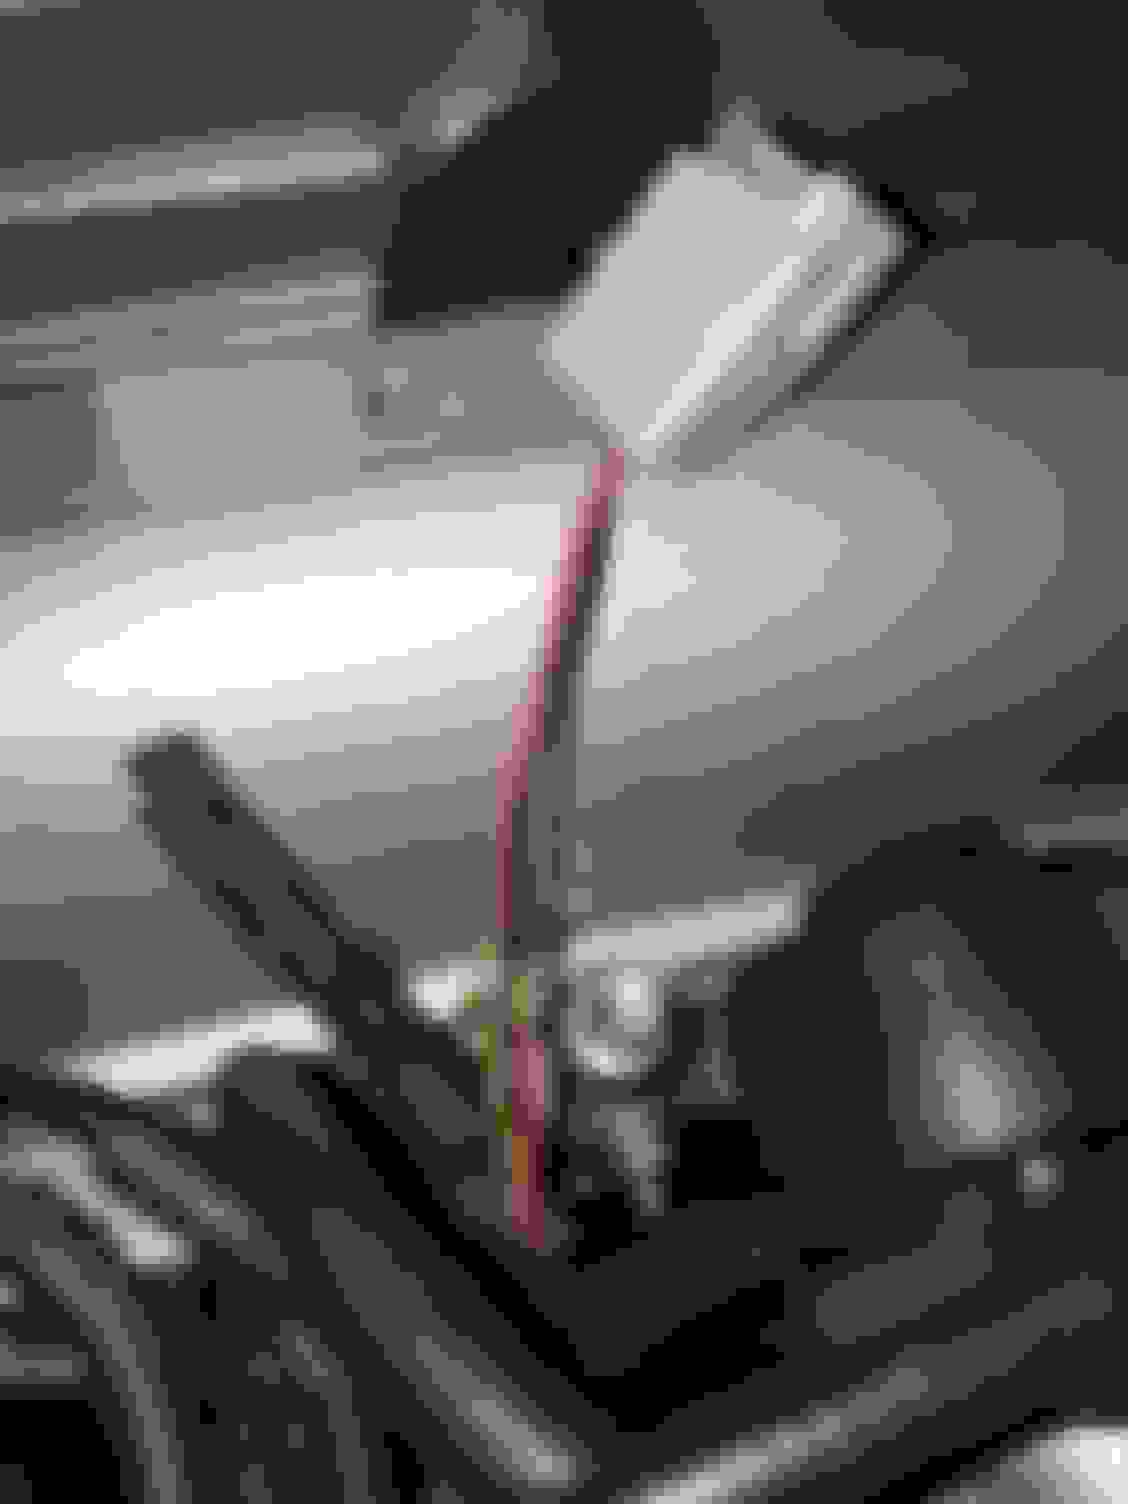
Next I partially unwrapped the coil pack plug wiring for cylinder #4 and checked all the bare and spliced wires I had repaired weeks ago. No burns or signs of electrical fault anywhere. My wiring repairs looked as solid as they were before.
So next I put that all back together with new electrical tape wrapping and moved onto the #4 injector plug connector.
Lo and behold... I apparently hadn't checked this one yet. I had with all the other injector plugs but this one had yet another set of extremely poor wiring splices by the previous user of the harness. Maybe this explained a few things?
There was poorly sized shrink wrap on each connection which I had cut away prior to taking these pictures. But those solder joints are just terrible. I had previously corrected several of these for both the injector connector wires and all the coil pack plugs before I did the piston ring seating run-in but it seems I still missed this one.
Luckily I happened to have one more replacement 550cc injector connector with two new terminal wires. I cut the old one off just before the bad solders and soldered fresh and clean terminal wires to each. This connection is now very clean like the rest.
....
After buttoning all that up I started the SC again and... holy cow... it purred smoothly again! I treated the car to a test drive for a few miles. It was smooth at first... but... then the engine started having rough idle and semi-rough acceleration again. This time it was breaking up slightly depending on the throttle application.
(Also, I noticed that with the air conditioning on my A/C light was flashing and that I wasn't really getting cold air through the vents. Seems something is still off with that despite the tach signal now working perfectly)
I got it home after about 7 miles of driving and checked the injector firing again with a stethoscope. All six injectors were firing well. I called it a night (morning).
Right now with that injector #4 connector and wire splices having been corrected I can't think of any other electrical areas that I've overlooked that the previous user may have fouled up so my current guess is the poor injector #4 circuit connection contributed to some premature and uneven wear on the spark plugs. I'm going to order a new set of Denso IK20's to install. Hopefully that will remedy the problem because for a few minutes as I first drove around after fixing the injector #4 plug I *was* getting a smooth idle and smooth drive until the engine got rough again and had some hesitation.
Or... maybe I did not adjust the TPS sensor correctly after all. Maybe it's both?
The squeaking on the accessory drive was present when I first turned on the engine and for the first few minutes of driving but it seemed to not be very noticeable when I got home. I did, however, notice a lot of PS fluid on my under-engine tray. My steering rack's slight leak may have started getting worse. Might be time to have to replace it soon.
...
My only other observation is that it's definitely not easy to keep the engine under 3k rpms with the 4.272:1 rear end gearing. I really need to plan to get the rear diff rebuilt with the 3.769:1 gears as soon as I can or at least after the initial 500 mile break in is over with.
....
This is a good outcome though. Since I was able to get the engine running smooth after the electrical fixes the issue has been spark and fuel related all along. With my fingers crossed, yet another new set of Denso IK20 spark plugs should cure this for good. And maybe I need to do another pass at adjusting the TPS.
That will leave to solve:
--New spark plugs (I think?)
--Double-check TPS adjustment
--Figure out why the A/C light is flashing again and not allowing the mag clutch to activate
--very likely I'll need a new/reman PS rack
--rule out whatever is squeaking on the accessory drive (unless this is still the PS pump due to the rack leaking)
--repair steering column telescopic in/out function (the tilt up/down works and was repaired a few years back)
--prepare to get the rear end rebuilt for my 3.769 TT Auto gears.
--And new front floor mats. Because my driver's side is just terrible looking
This should put my actual engine break-in miles to date (all below 3k rpm) up to 41 out of 500 once I correct out my initial speedo error having thrown off the mileage for the first couple of drives.
Going through and repairing the #4 fuel injector wires and replacing that connector must have helped something but even after a new set of gap-adjusted Denso IK20TT Iridium plugs the problem didn't go away.
It turned out to be the #5 fuel injector connector again. Replacing that and the electrode ends a second time cured the issue. Many weeks back, this was the same connector that was replaced due to the strange condition of getting +9V onto the negative ECU ground pin whenever the terminal end was inserted. At the time I fixed it with a spare injector connector from my cannibalized 1997 SC300 Auto harness. This time a brand new connector and terminals were used and that did it!
The GTE is purring happily again with no breakup or issues
However my power steering rack seems to be leaking really badly now and I need to check and top off the PS fluid before any drive to keep the pump from grinding and whining. That will be the next big thing to fix with a new rack, new bushings and new inner tie rod ends. I'm going to order an A-1 Cardone rack which includes those and the "EVO" (Electronic Variable Orifice) component.
One thing that concerns me, although this has been par for the course for years, is that Daizen's steering rack bushing kit #S1-2030 doesn't seem to be in stock on Amazon right now. My Daizen steering rack poly bushings are from 2011 so maybe since they are poly and not rubber I can just reuse them but I probably should replace them while I'm in there.
Following that, I need to check into my A/C to get it working. I want to be sure the R134a pressure and 5-6 year old compressor are good but I also have a hunch that I may need to double check all of the wiring connections I made between the SC chassis and the GTE harness for A/C operation.
Happy day though! The SC is finally getting close to where it wants to be
All right... I went and ordered a new set of steering rack bushings from Figs Engineering (Daizen and TM Engineering seem to be out of stock again for now) and a new A-1 Cardone SC steering rack from Rockauto. I'd already been informed a while back that my PS rack was leaking so I did get away with ignoring the issue for a long time before it got this bad.
While I wait for the new steering rack to arrive I'm going to see about getting the A/C working.
I'll get the R134a pressure checked the compressor looked at but I think I need to double check my A/C wiring just to be sure I made no mistakes.
...
Gerry, I've been reading this page on your big harness thread, specifically the post where you're joking with one fellow who has a JDM 2JZGTE Supra ECU in his swap: https://www.clublexus.com/forums/per...ml#post8364665
I know that I can ignore the notes that have to do with swaps using Aristo 2JZGTE ECUs since those require an extra relay for A/C function and all Supra 2JZGTE ECUs do not.
In your thread you focus heavily on the 40-Pin ECU connector ("A" connector) pin 34 (A/C request signal) and pin 23 (A/C magnetic clutch relay) as being the two most important connections.
In the Supra wiring diagram the 40-Pin ECU connector pin 23 seems to connect to... Supra EA1-2 if I have read correctly?
So assuming that the mag clutch relay in my SC is working (I should check this), do these wiring notes sound correct to you for my USDM 2JZGTE ECU?
I wired:
Supra II1-10 "A/C Mag Clutch" to... nothing (this was labeled as not being needed in the long pinout I used; Supra wiring TSRM says this goes to connector "A4", Pin 4 presumably on the compressor itself? This is what I had tried to use as a trigger for my aux electric fan controller before disconnecting the wire and capping it off) Edit: I did end up successfully using this as a relay override trigger to make the auxiliary electric fan turn on and off with the A/C compressor. See the link below:
Supra II1-20 "A/C Lock Sensor" to Lexus SC II1-1
Supra II1-26 "A/C Lock Mag Clutch" to Lexus SC II1-4
Supra II1-31 "A/C Amp" (A/C Amplifier?) to Lexus SC II1-5 (in the Supra wiring diagram the Supra II1-31 connects to the 40-Pin ECU connector Pin 34)
And... Lexus SC IJ1-2 "Ignition Power to A/C ECU"... I connected this into Lexus SC II1-2. I hope that was right :/
I am going to check the HVAC panel's diagnostic mode tomorrow and see what codes it gives me. If I did all my wiring correctly then maybe it's just low freon or that my compressor or mag clutch have just gone bad. Or maybe it's the mag clutch relay in the engine bay. Will see.
In my opinion, what had been confusing you in all these wiring harness endeavor is : Because you started with a Toyota Supra MKIV wiring harness , you were trying to ask yourself where does this and that body connector pin of the Supra go into the Lexus body connector pin.That makes you think that every pin from your Supra has to go somewhere on the Lexus. Even if engines are same now , their electronics control are not exactly the same...e.g. HVAC controllers of both cars work differently .
It has to be the other way round , your starting point should be the Lexus SC300 wiring diagrams and connectors because that is your car ..e.g. Here is my Lexus connector .. where should this connector pin go , is there an equivalence from the Supra harness , if yes .. pick it up and connect . If not then where should I connect it. So anything that existed in the Supra not needed on the Lexus should be taken out after having gone through every connector of the Lexus.
I will make it easier for you :
AC Connector :
Pin 1 goes to II-1 & EB1-7
Pin 2 goes to Ground Intake Manifold & II-4
Pin 3 is Empty
Pin 4 goes to EB1-1
All right... I went and ordered a new set of steering rack bushings from Figs Engineering (Daizen and TM Engineering seem to be out of stock again for now) and a new A-1 Cardone SC steering rack from Rockauto. I'd already been informed a while back that my PS rack was leaking so I did get away with ignoring the issue for a long time before it got this bad.
While I wait for the new steering rack to arrive I'm going to see about getting the A/C working.
I would recommend ordering the steering shaft pinch bolts and low pressure side crush gaskets (M17). They're both unique parts and incredibly hard to find locally. The high pressure side you could order oem or use any generic M16 washer since it's easy to find.
- High pressure M16 PS gasket: Toyota 44327-30040 (qty:2)
- Low pressure M17 PS gasket: Toyota 90430-17007 (qty: 2)
- Pinch bolt on the steering shaft: Toyota 90080-11555 (qty: 2 in engine bay)
In my opinion, what had been confusing you in all these wiring harness endeavor is : Because you started with a Toyota Supra MKIV wiring harness , you were trying to ask yourself where does this and that body connector pin of the Supra go into the Lexus body connector pin.That makes you think that every pin from your Supra has to go somewhere on the Lexus. Even if engines are same now , their electronics control are not exactly the same...e.g. HVAC controllers of both cars work differently .
It has to be the other way round , your starting point should be the Lexus SC300 wiring diagrams and connectors because that is your car ..e.g. Here is my Lexus connector .. where should this connector pin go , is there an equivalence from the Supra harness , if yes .. pick it up and connect . If not then where should I connect it. So anything that existed in the Supra not needed on the Lexus should be taken out after having gone through every connector of the Lexus.
I will make it easier for you :
AC Connector :
Pin 1 goes to II-1 & EB1-7
Pin 2 goes to Ground Intake Manifold & II-4
Pin 3 is Empty
Pin 4 goes to EB1-1
Sorry for the delay in reply, Gerry. Had to help with a follow-up doctor's appointment for my father yesterday (he's fine) and with a local friend who's been very sick and add to that, the three month old BBB / Vision-OE reman power steering rack just blew out on our '99 LS400 (never buying any reman part from that company again). That's now been getting fixed with a Lexus reman power steering rack. I don't trust anything but Lexus new or re-manufactured power steering racks any longer. Or one that I'd attempt to rebuild myself.
The SC is getting the same rack replacement service sometime next week. I was able to cancel my A-1 Cardone reman rack order just in time to reverse the charge and then buy one from a dealer. I'm kicking myself now but I actually had no idea until the other day that Toyota/Lexus offered their own remanufactured PS racks for much less than spending $1400-$2000 on a new one
...
What you have said (and many times to me... I know)... I 100% agree with. And it took this experience to fully understand this wisdom (and not that I wasn't listening all this time! I was! But... even as I did I was not fully understanding even how to think about it and visualize it the other way around and then still figure out where MKIV wires should then go. Fast forward from last year to the present.... and NOW I really get and understand how to think about these wires the opposite from how I first began doing it).
This has been a crash course lesson for me in how to do a wiring harness conversion with some customization probably backwards from how it should have been done from the start. If were to do it all over again I would have unwrapped all of it at once, would have used zip ties to retain shapes (I was afraid of that but... in hindsight now... zip ties would have been the solution while working on it before finalizing everything), would have tested more connectors to corresponding pins and this way I would have found ALL of the poor wiring fixes that had been done before me.
And it would have made most of the OBD2 to OBD1 wiring much easier to do.
My original thinking was to "change only what is needed on this stock GTE harness" where it should have been "how can I best make a fully sorted harness that appears to be stock for a GTE but which is everything the Lexus SC needs?"
I made several mistakes and initial omissions along the way by doing it all basically backwards. Maybe, in a very poor way, this was something of a good learning experience for me: to learn how something needs to be done right by first doing it wrong or at least backwards :/
I do not disagree with you one bit, Gerry, looking back on how I did it versus how it could have probably been done better. I have been learning a great deal about just how many of these circuits work though. Some things I am still learning about but while an engine harness began as a daunting mystery for me is now no longer something that I fear.
But even though I feel that there has been some good learning for me from this I will say again that I 100% agree with you.
Next post I will lay out what I went over from the SC300 and MKIV schematics (with the SC schematic notes as the starting point) to verify all my A/C wires. Since you replied I have gone back to look through what each wire is supposed to do on the SC. The only confusing part for me is that it's more than just the three wires on the A/C connector that had to be connected somewhere from the MKIV harness to the SC body plugs... or as would be more accurate: what parts of the SC body plugs that govern A/C function have any equivalent at all on the MKIV harness from the A/C compressor connector, any A/C related sensors that are wired through the engine harness and MKIV GTE ECU pins.
I'm still confused a bit at how one car's A/C control and sensor system is different from the other but I have a better handle on it that I did.
However I think I now may have pinpointed the possible electrical culprit that is hindering A/C function and it again seems to be due to something that I did wrong.
 09-11-18, 02:18 PM

 I will make you proud ... your short block will make quite some power on a vvti head
  . I actually have already forged pistons and aftermarket rods capable of +1krwhp but that will depend on what I see when you bring it... that is if the internals need to be replaced.


 Taking a small section of 14ga reclaimed Toyota electrical wire I soldered it to the ends of resistor R109 to allow for the Supra's II1-29 tach signal to get to the SC's tach correctly. I was careful with the cluster while working but it was a very quick and easy procedure.
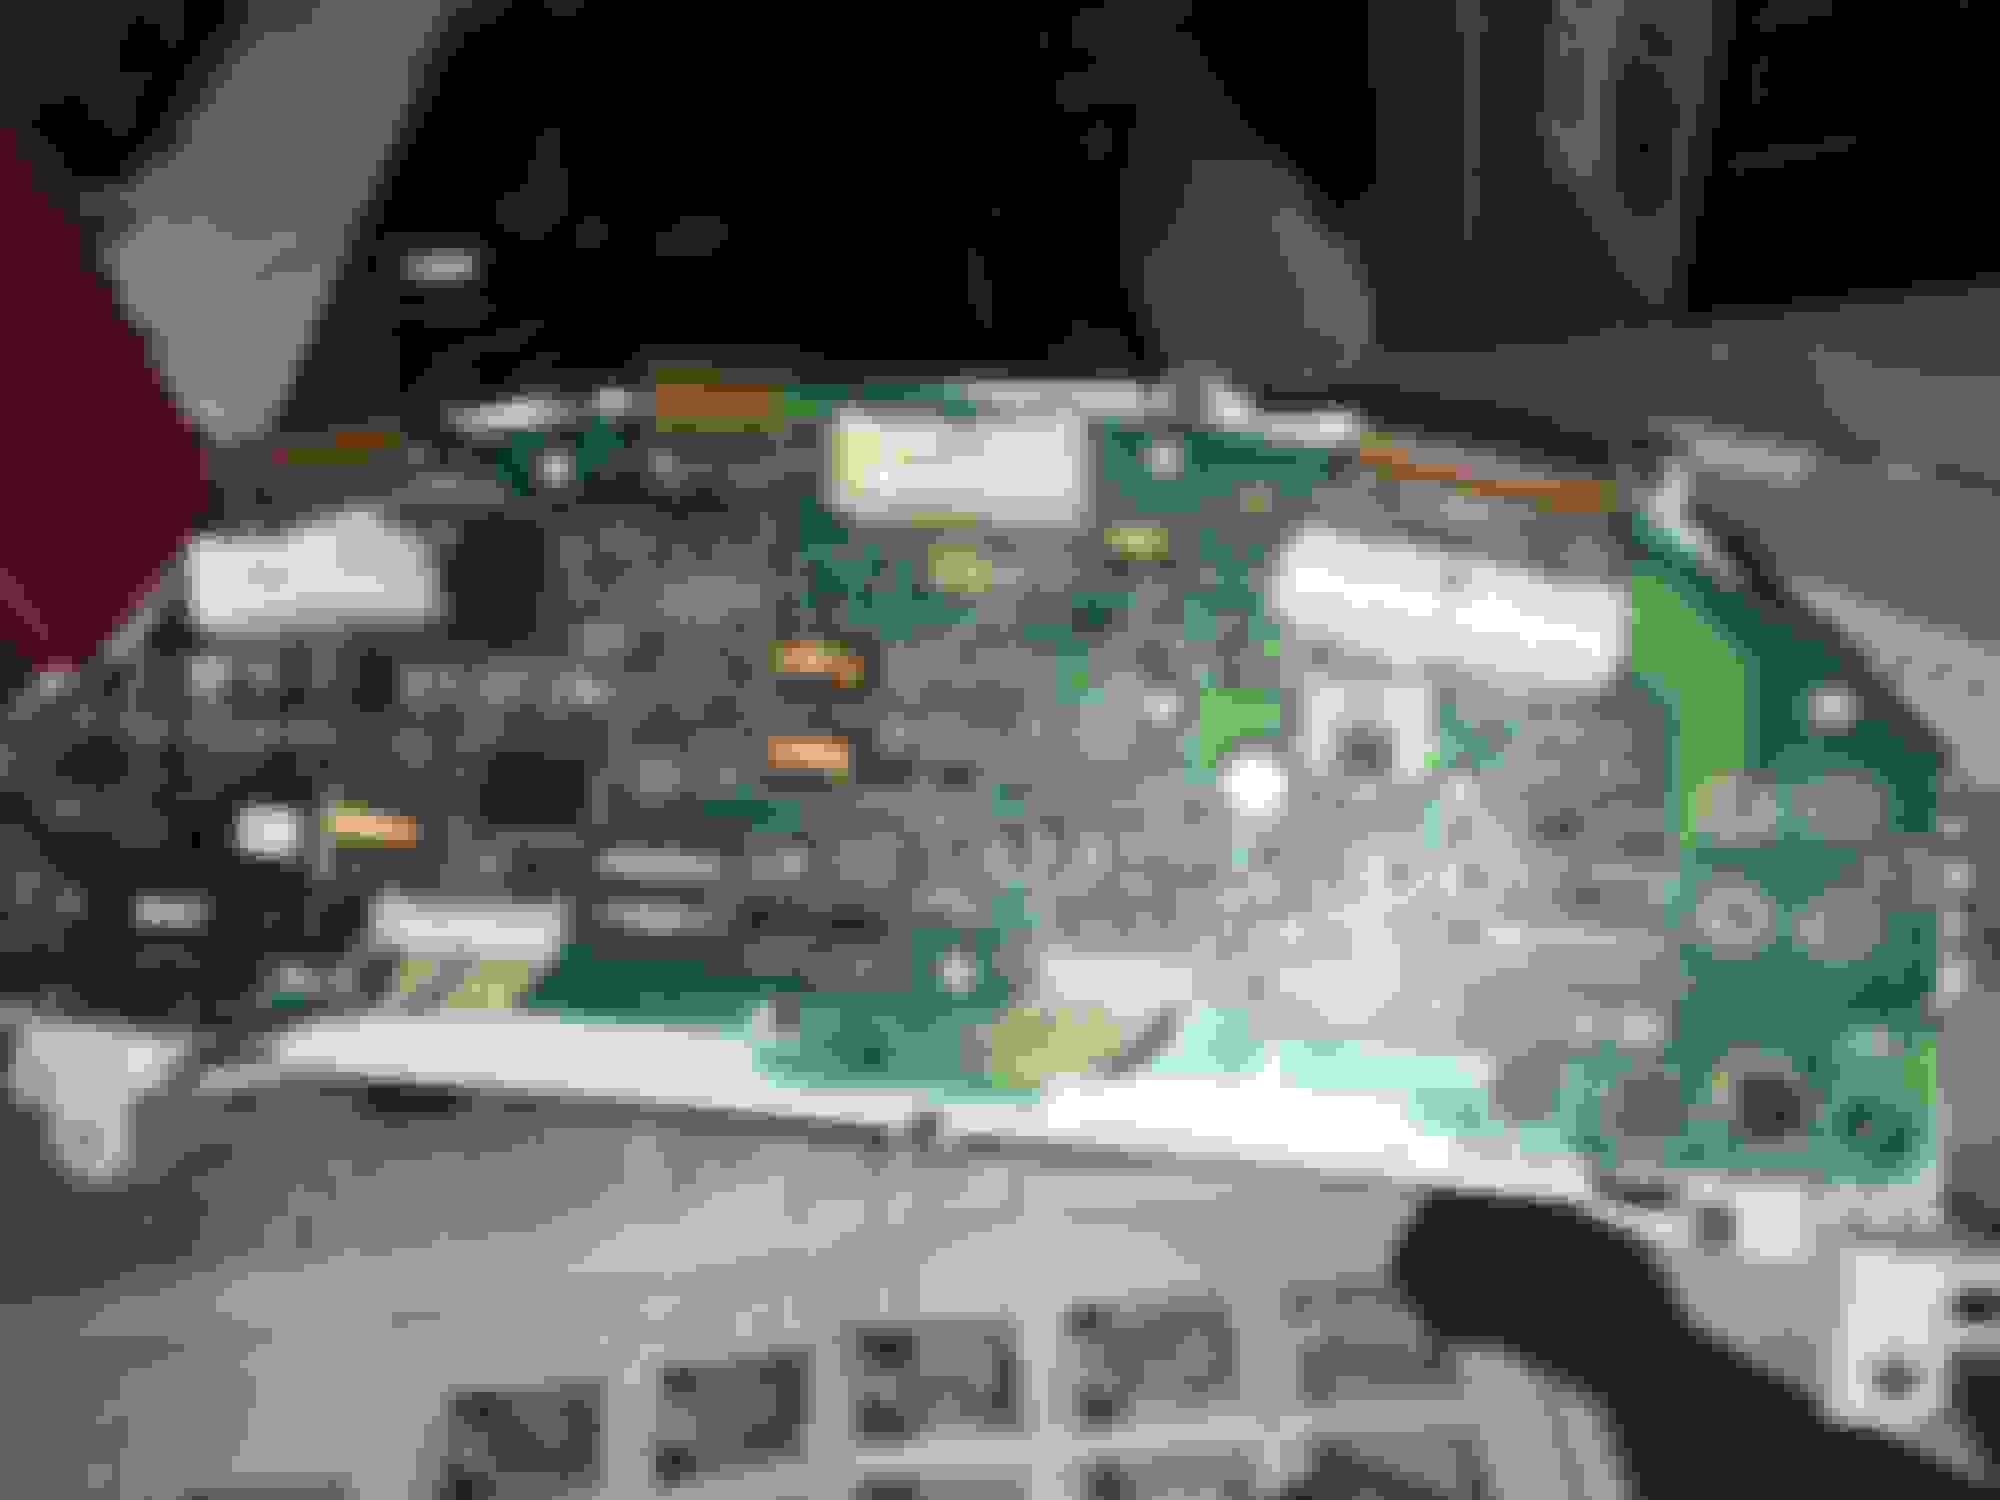


 if ever .