When you click on links to various merchants on this site and make a purchase, this can result in this site earning a commission. Affiliate programs and affiliations include, but are not limited to, the eBay Partner Network.
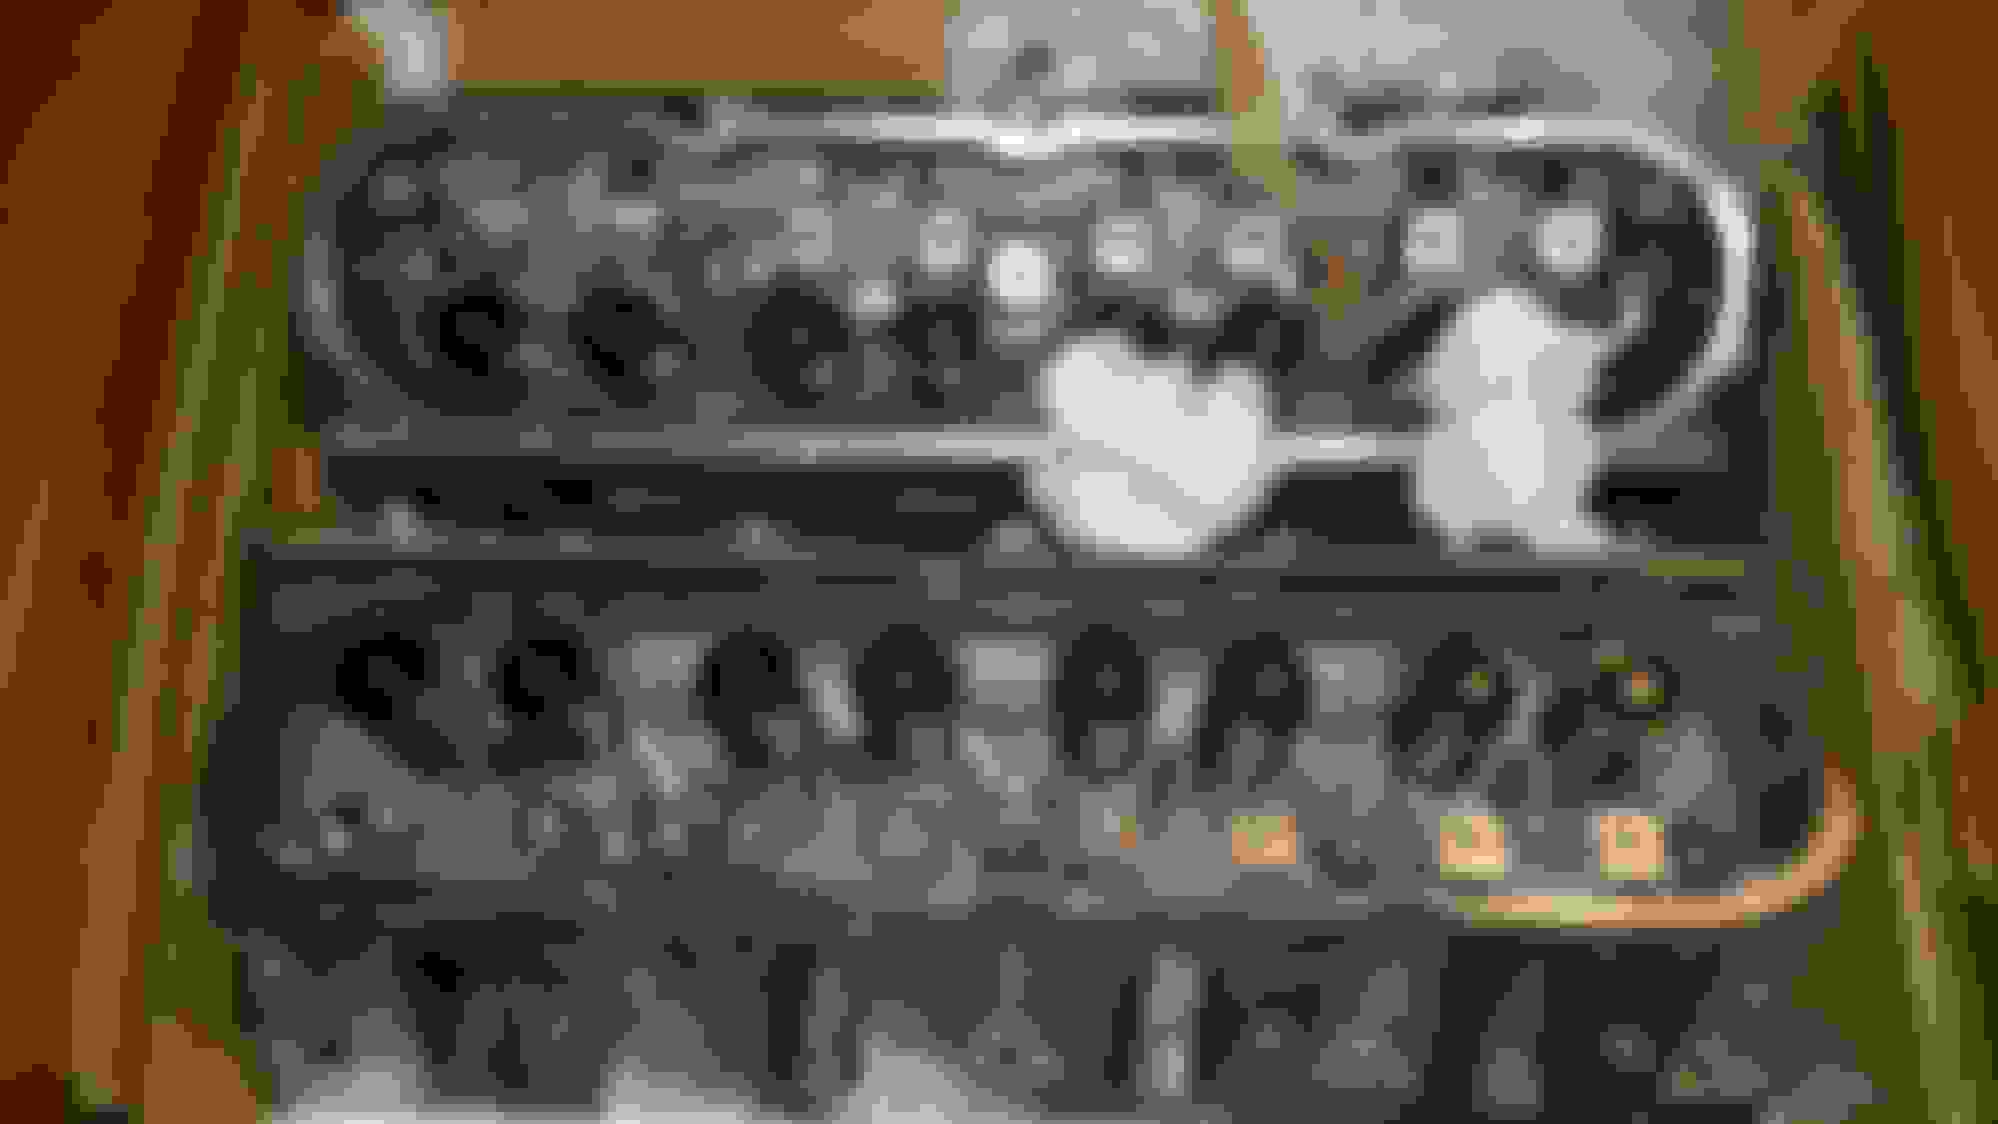
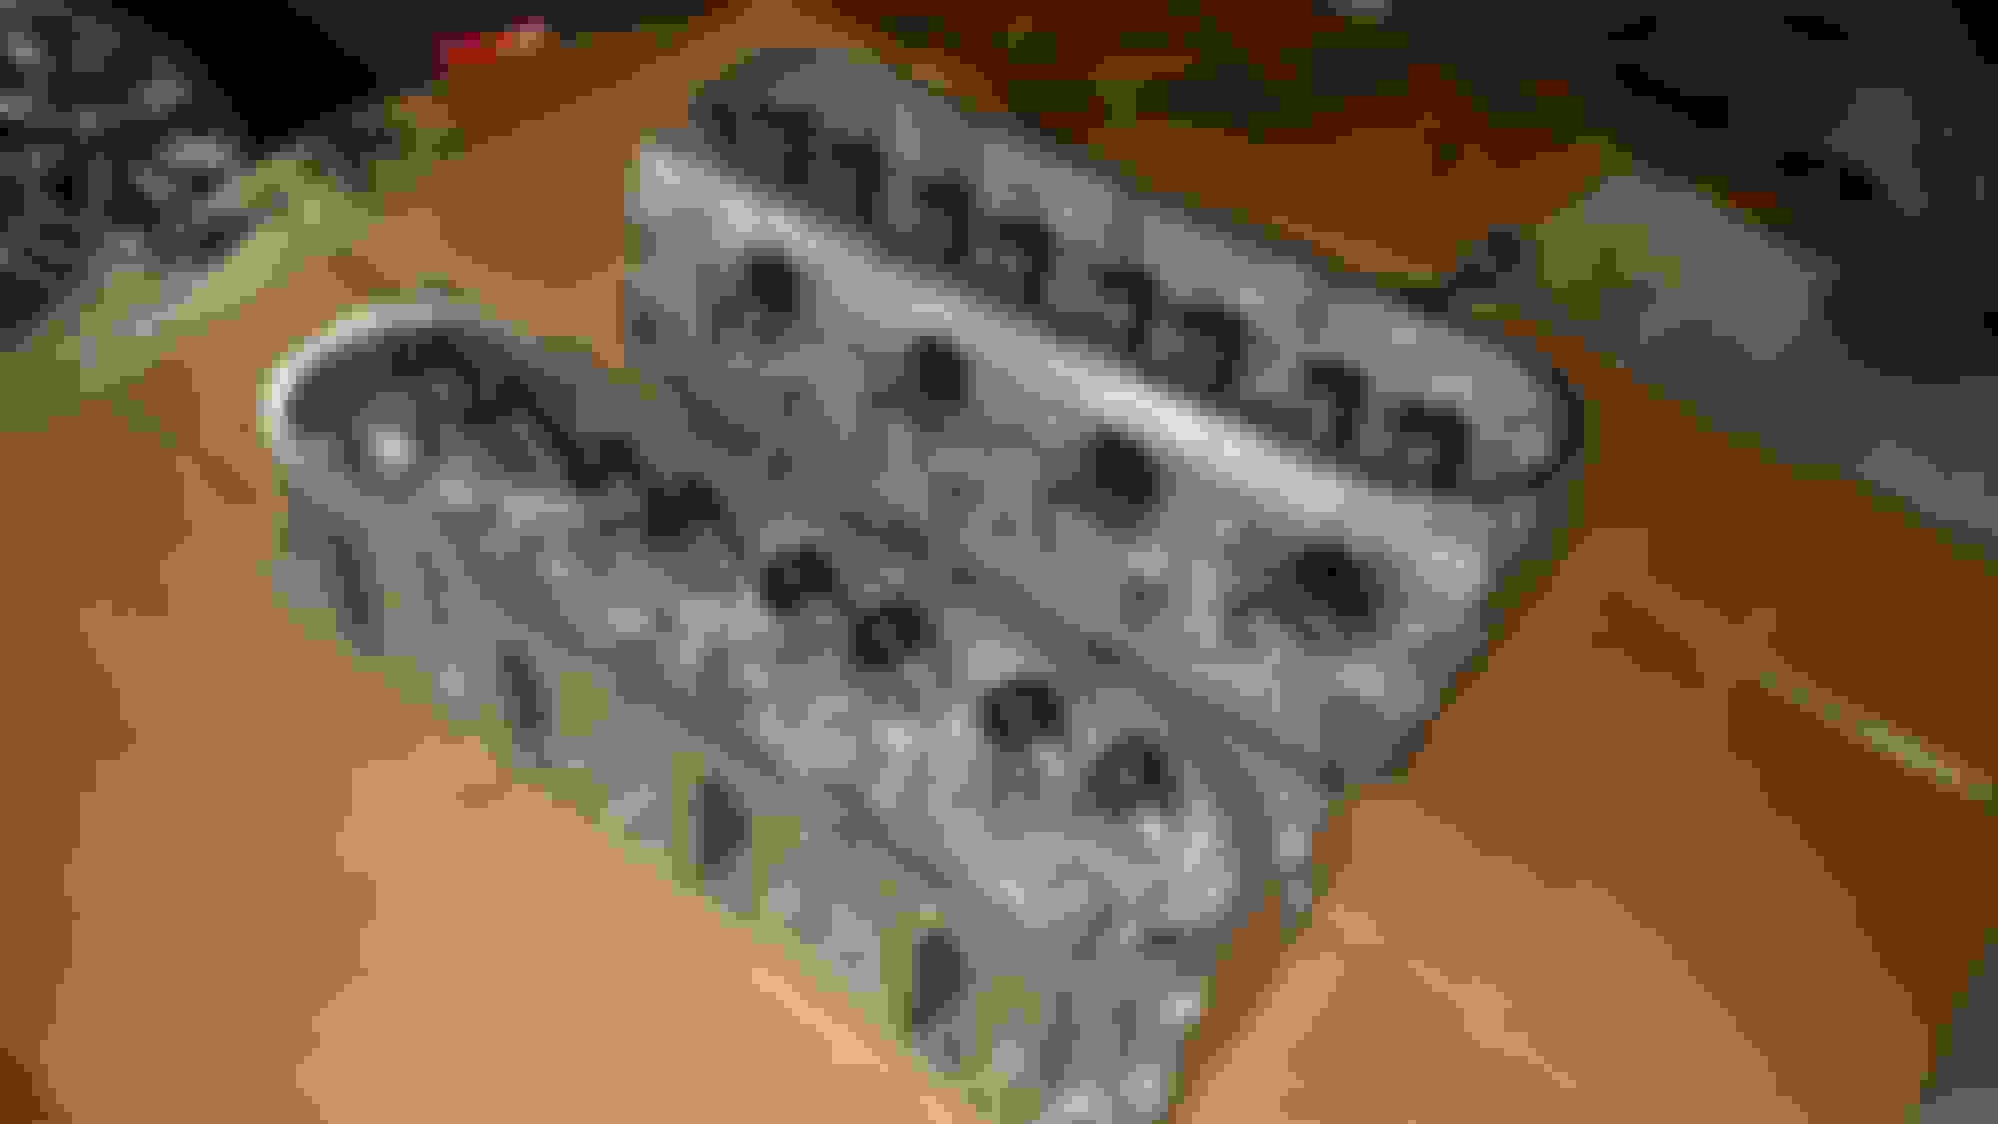
I originally said I would just run the stock LS1 for now, but after pulling the valve covers and finding the gunky grossness and learning that I couldn't use an MLS head gasket with these heads, I decided to grab some freshly cleaned and valve-job'd 243 heads, BTR .660" springs, and hardened chromoly push rods. Annddd since I was already putting an oil pump in it, I went ahead and decided to grab a cam (which I haven't decided on a specific one yet) and possibly do rob bolts.
So I pulled the engine back out. And I thought - "I might as well paint the engine bay while I'm at it." So I prepped and painted it a dark silver color which turned out pretty cool.
Cleaned my steering rack and subframe. Also notched more out of the rear part of the front subframe to make it even on both sides for the oil pan and painted it. Along with front lower arms and calipers. Then installed new prothane arm bushings and Battleversion endlinks.
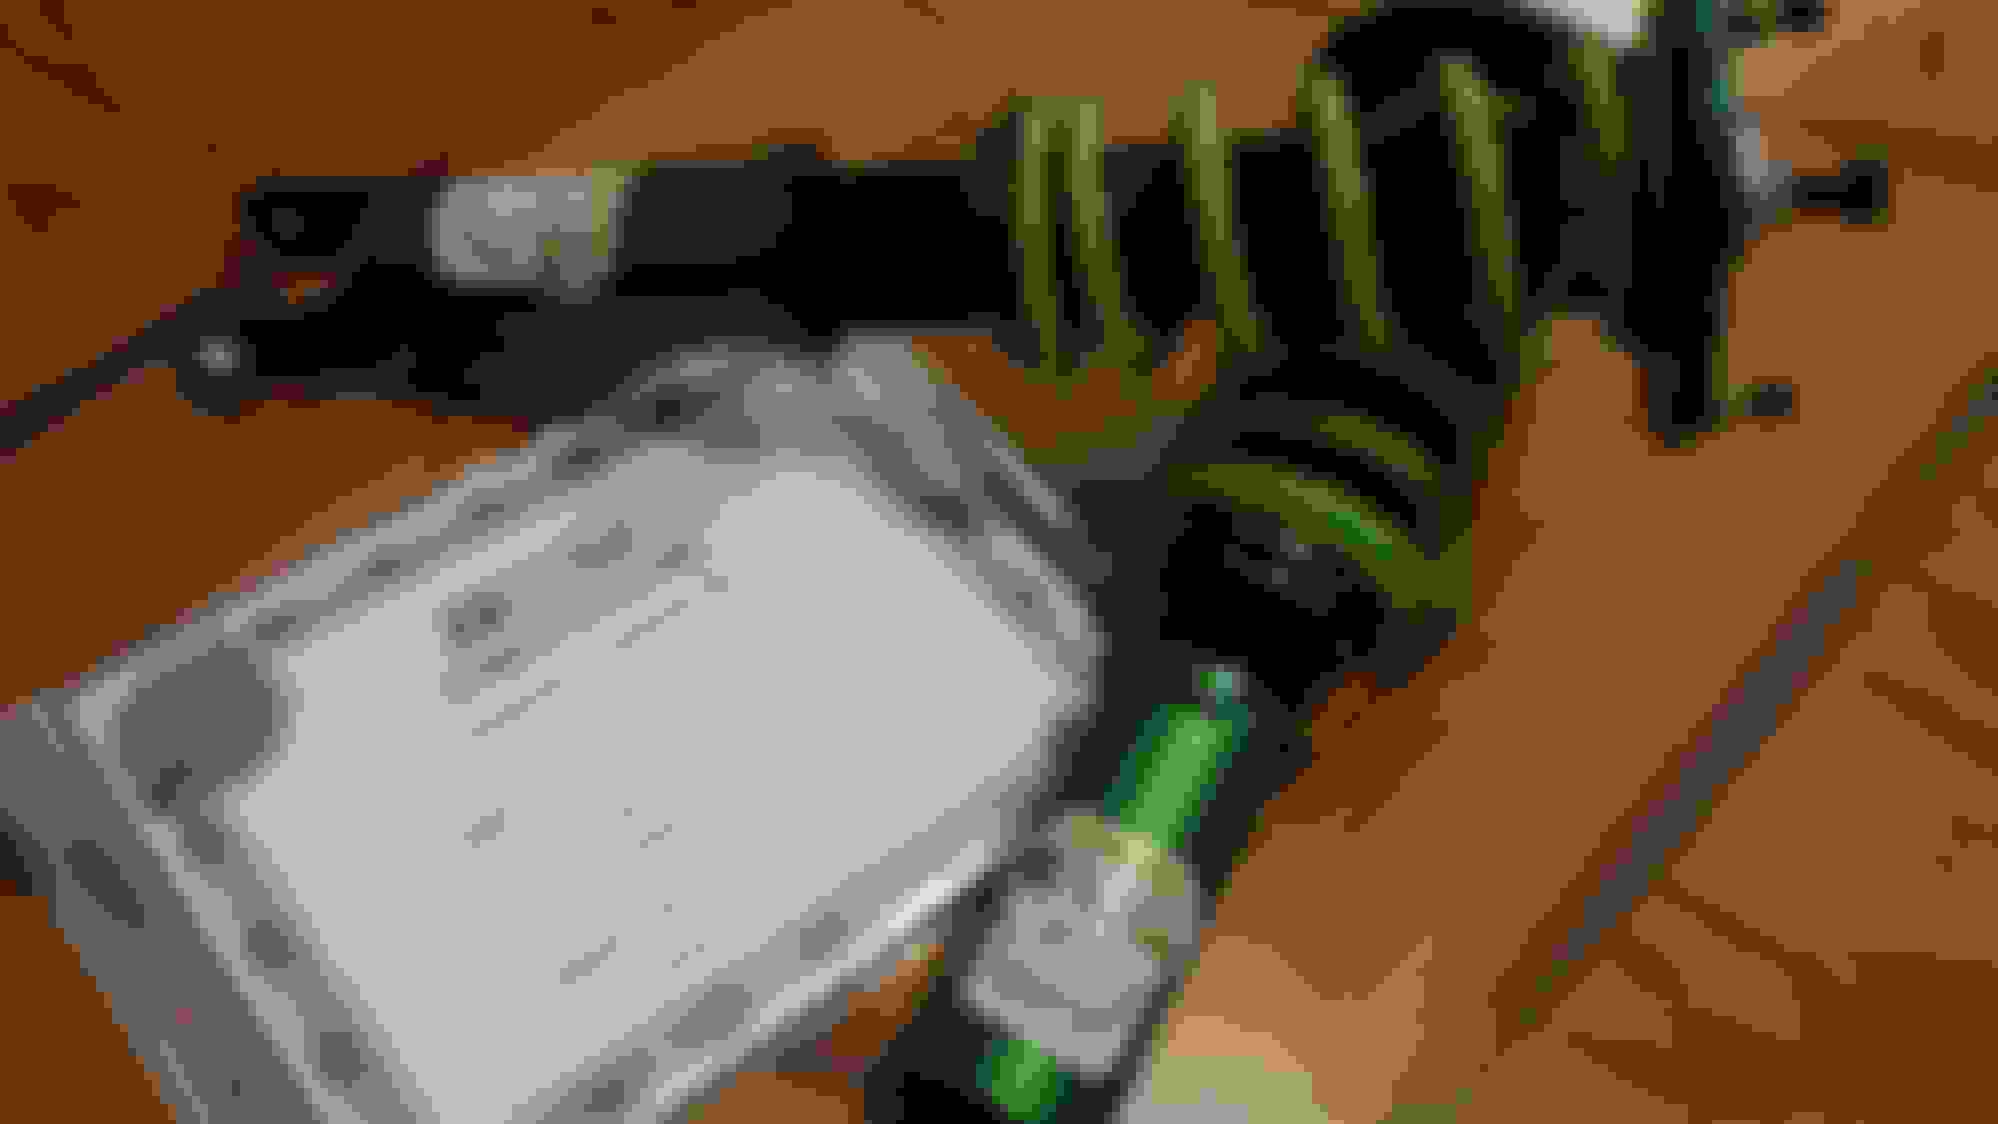
Then my Fortune Auto Coilovers came in on April fools day! These look so good.
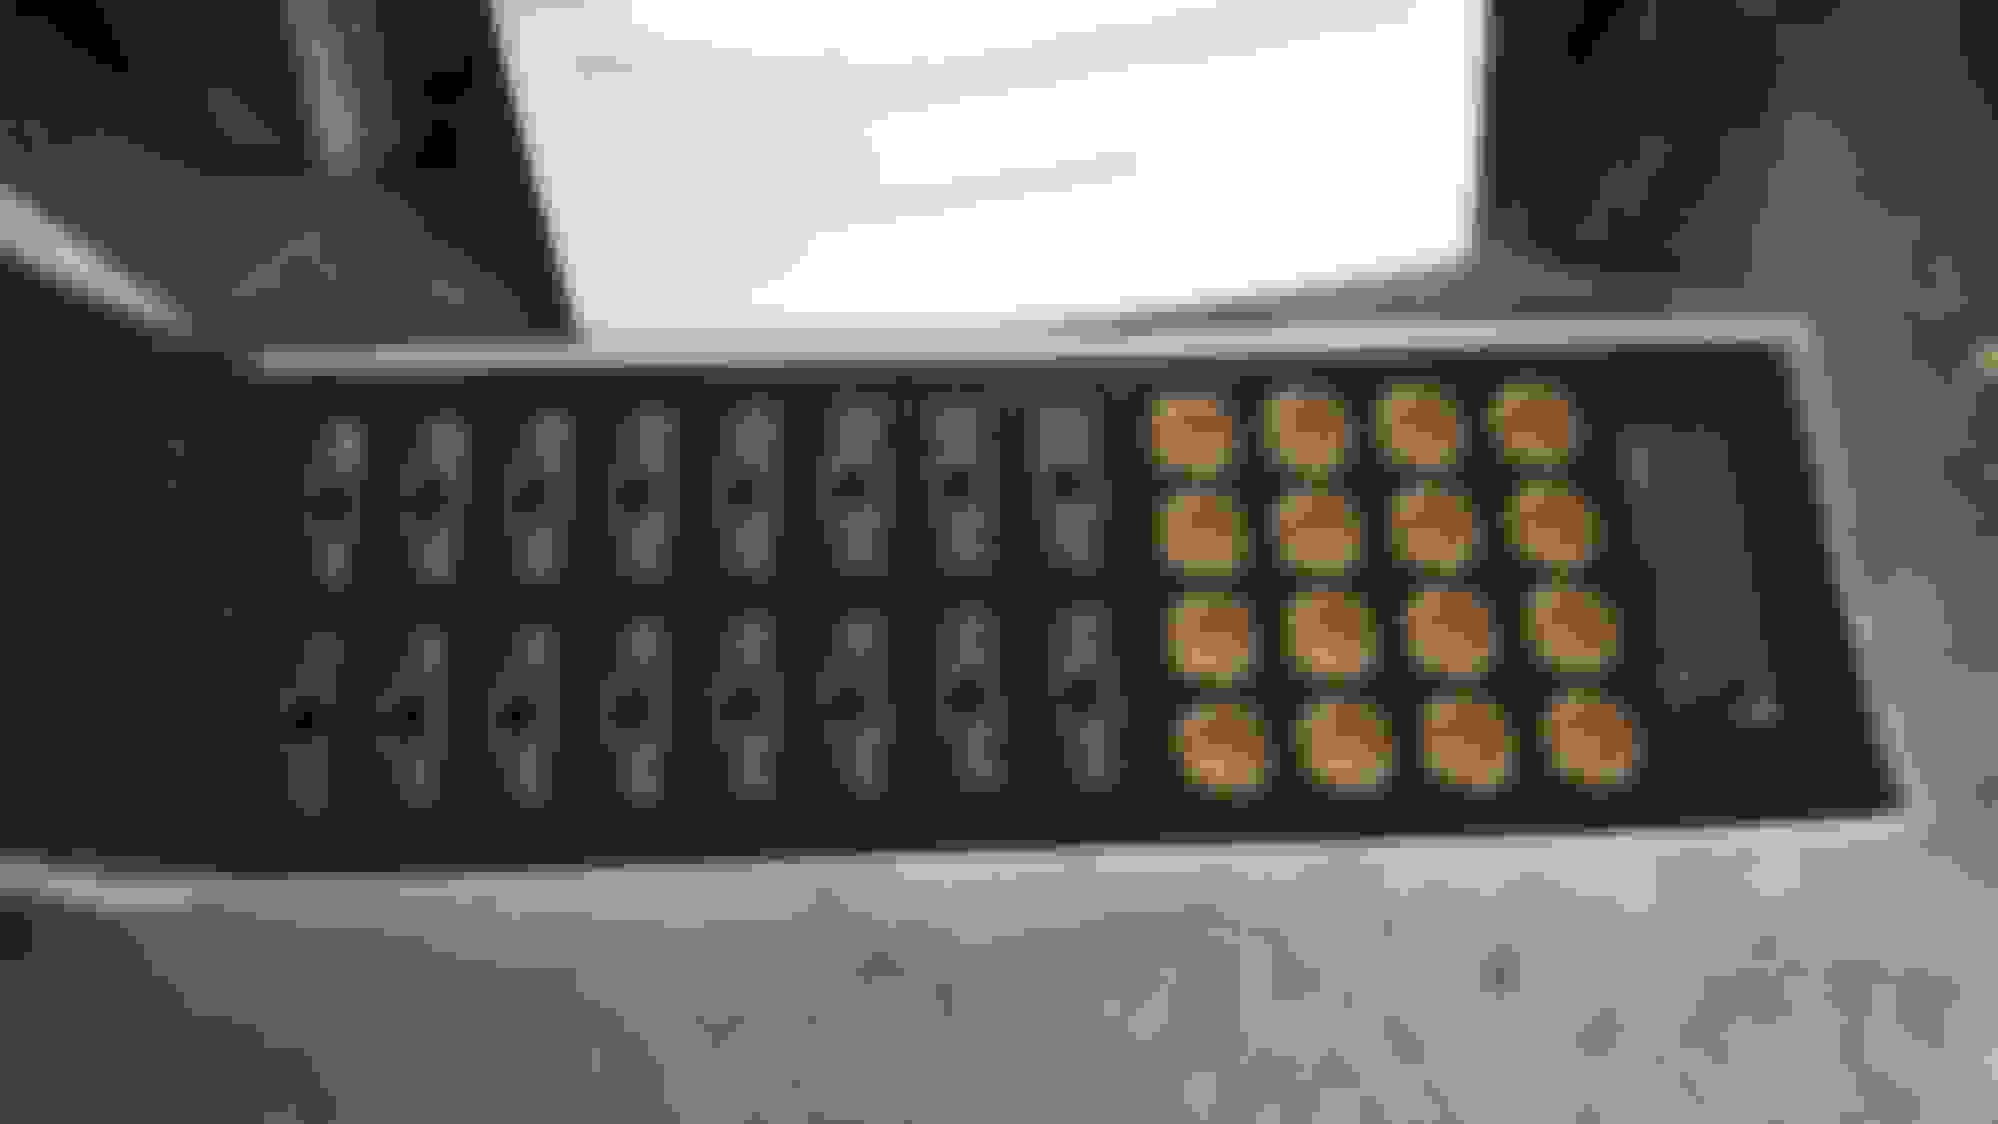
Grabbed some LS7 lifters and LS2 lifter trays
And hauled my car down to IA Atlanta with my buddy and his 1J SC and drifted for 2 days straight. It was an awesome time.
Last edited by Oochi; 07-06-17 at 03:26 PM.
Reason: Screw Photobucket
So it's literally been over a year since I have updated this but since photobucket screwed everyone over, I couldn't leave ya'll hanging since I needed to fix my picture links anyway.
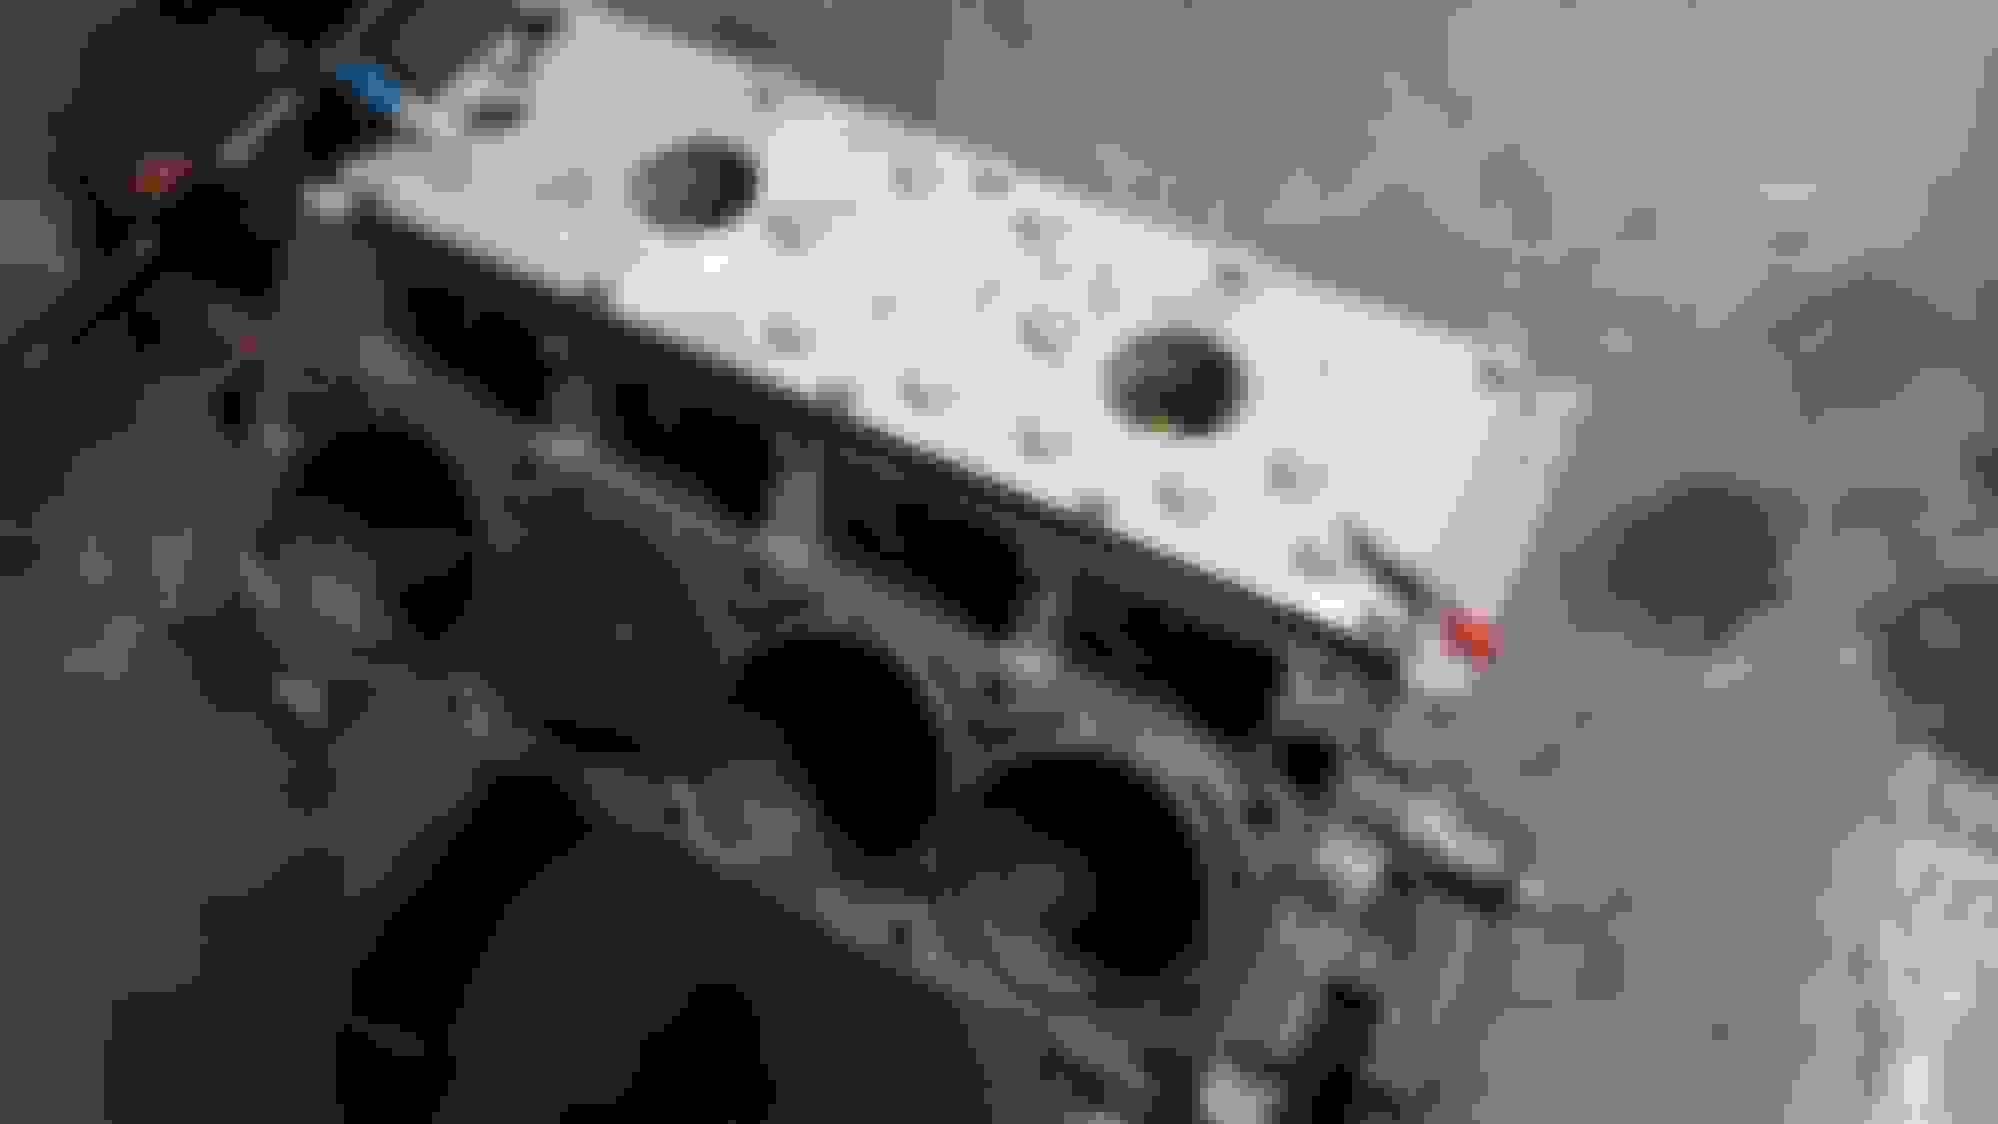
So the weakest link of the LS1 block is the rod bolts. And because of that, I decided to throw some ARP rod bolts into the motor. Which means the pistons have to come out...which means engine rebuild. So i got it torque-plate honed and hot tanked, micro polished the crank, with new cam bearings, rod bearings, main bearings, and rings.
And while I waited on that, i got the lines and fittings to delete the ABS and convert all the hard lines into -3an lines.
Cleaned up the oil pan and installed the Improved Racing baffle. this thing was disgusting
Got the dash out and pulled the massive HVAC unit. Which is bittersweet because i would have loved to have heat but at the same time it takes up way too much space and weighs a ton.
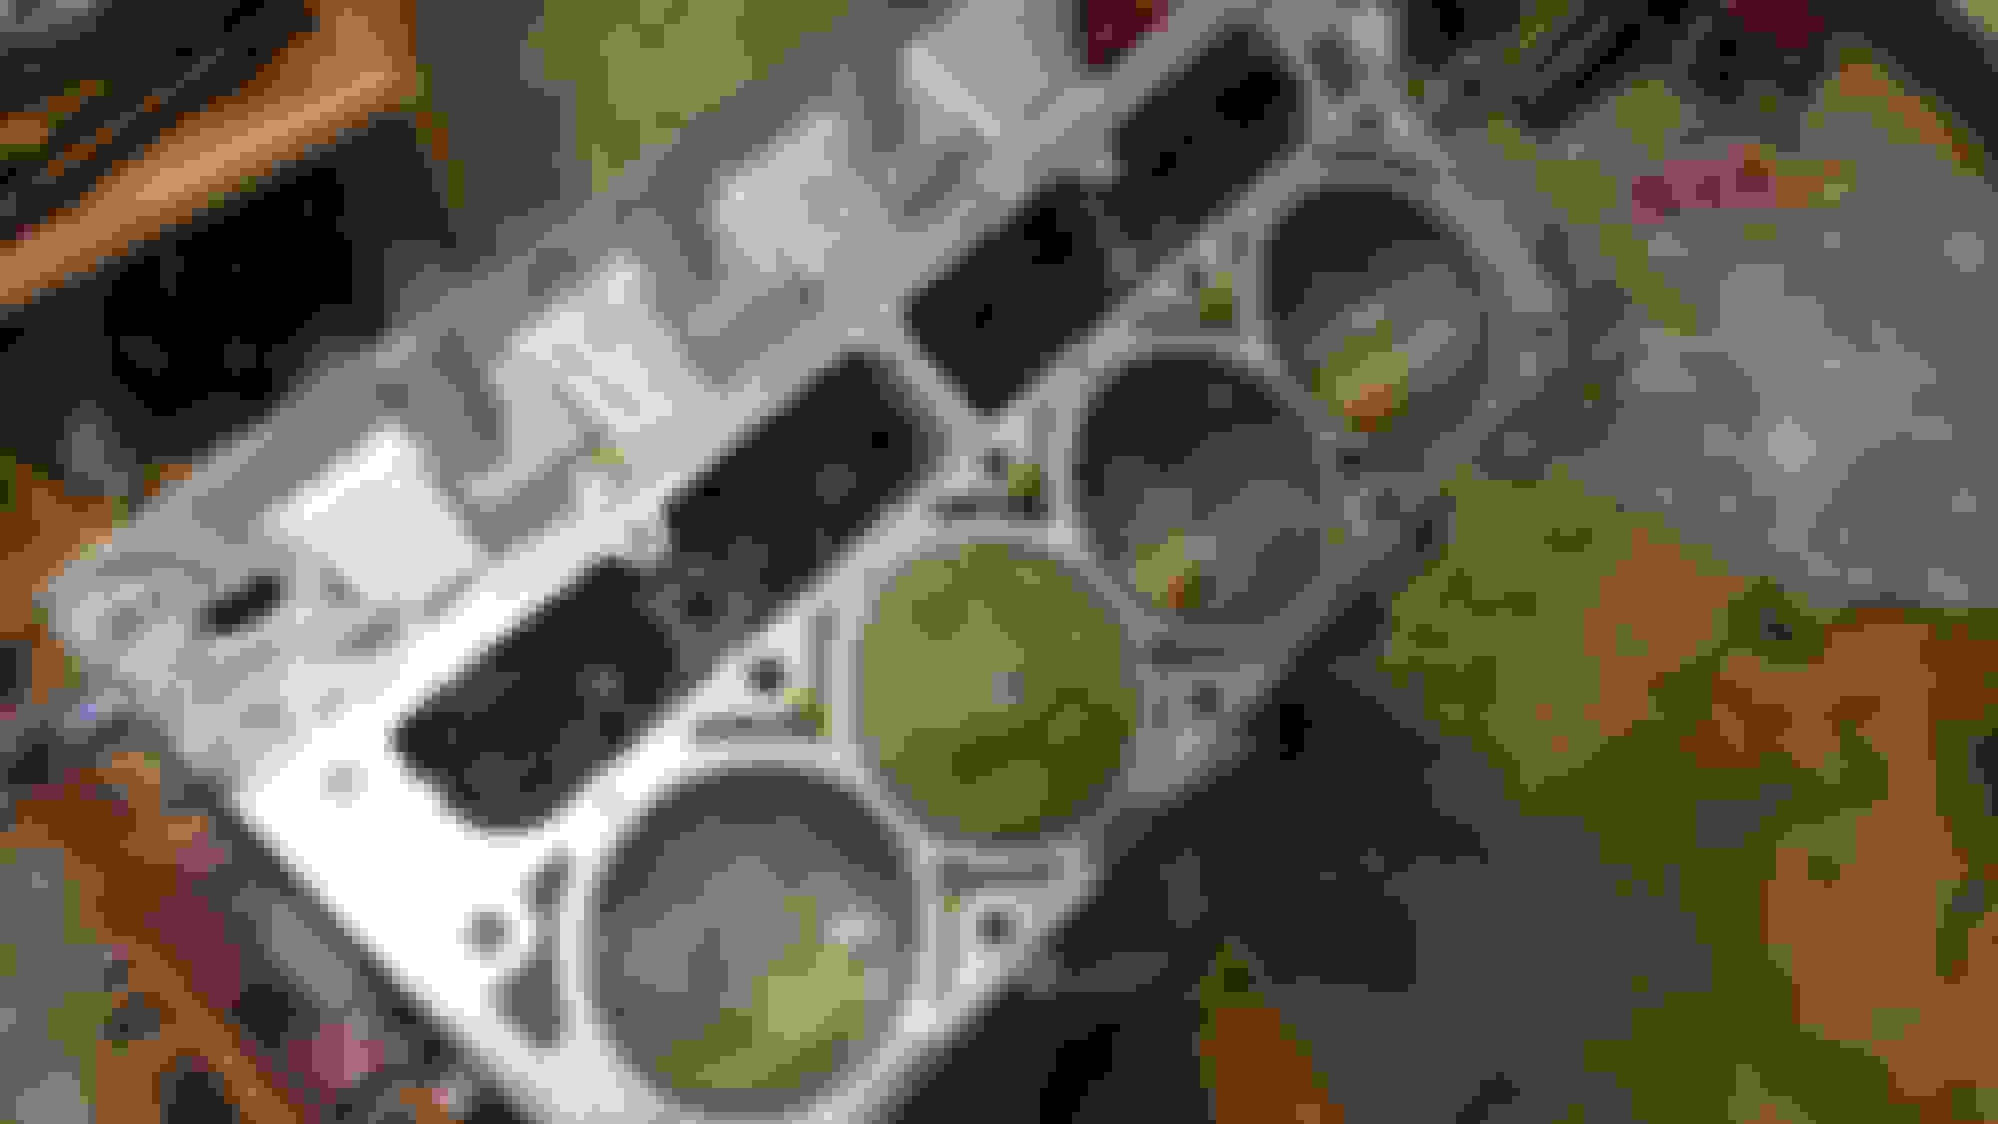
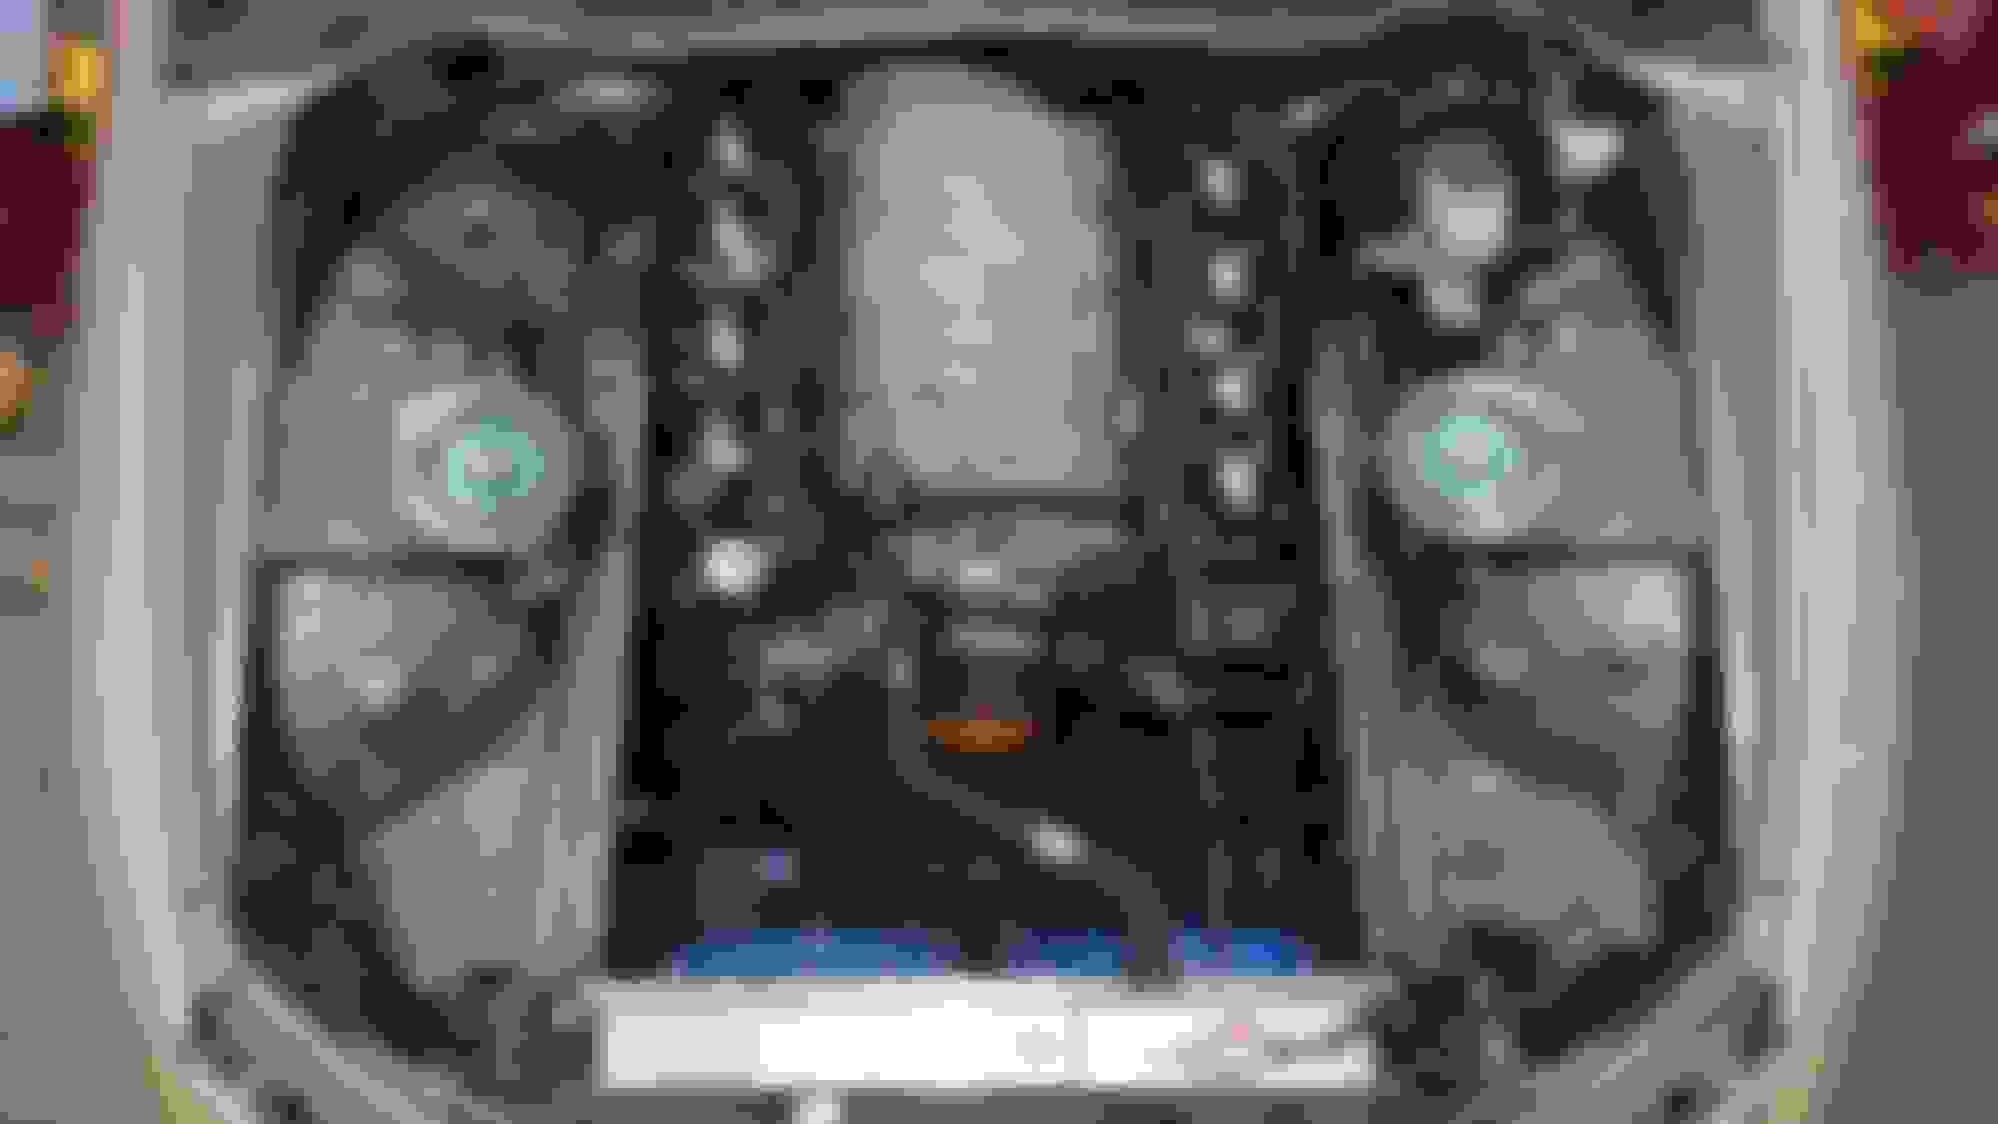
I got the motor back and picked up an LS6 valley cover which replaces the stock valve cover pcv system and cleans it up. But that means I had to cut out a portion of the block so that it would fit (should have decided to do this before I sent it off to get cleaned)
I got the crank installed, the pistons and rods installed, and the valley cover. PLUS picked up a new BTR Stage 4 cam. Plastigaging the main bearings
So installing the cam I noticed something off...it was SUPER hard to get it installed and SUPER hard to turn by hand. So I pulled it back out and noticed the brand new cam bearings had weird wear spots on them.
So after getting frustrated with that, I had to take EVERYTHING back apart to a bare block to return to the machine shop to get the correct bearings put back in.
While waiting on the block at the machine shop for the second time, I got some BTR Platinum dual valve springs and retainers for the 243 heads installed and replaced the needle bearings in the rocker arms with solid trunnion bearings.
Got my knuckles cut for the mad angle and painted them poopy purple
And last thing before getting the engine back was installing the T56 -3an adapter and clutch line
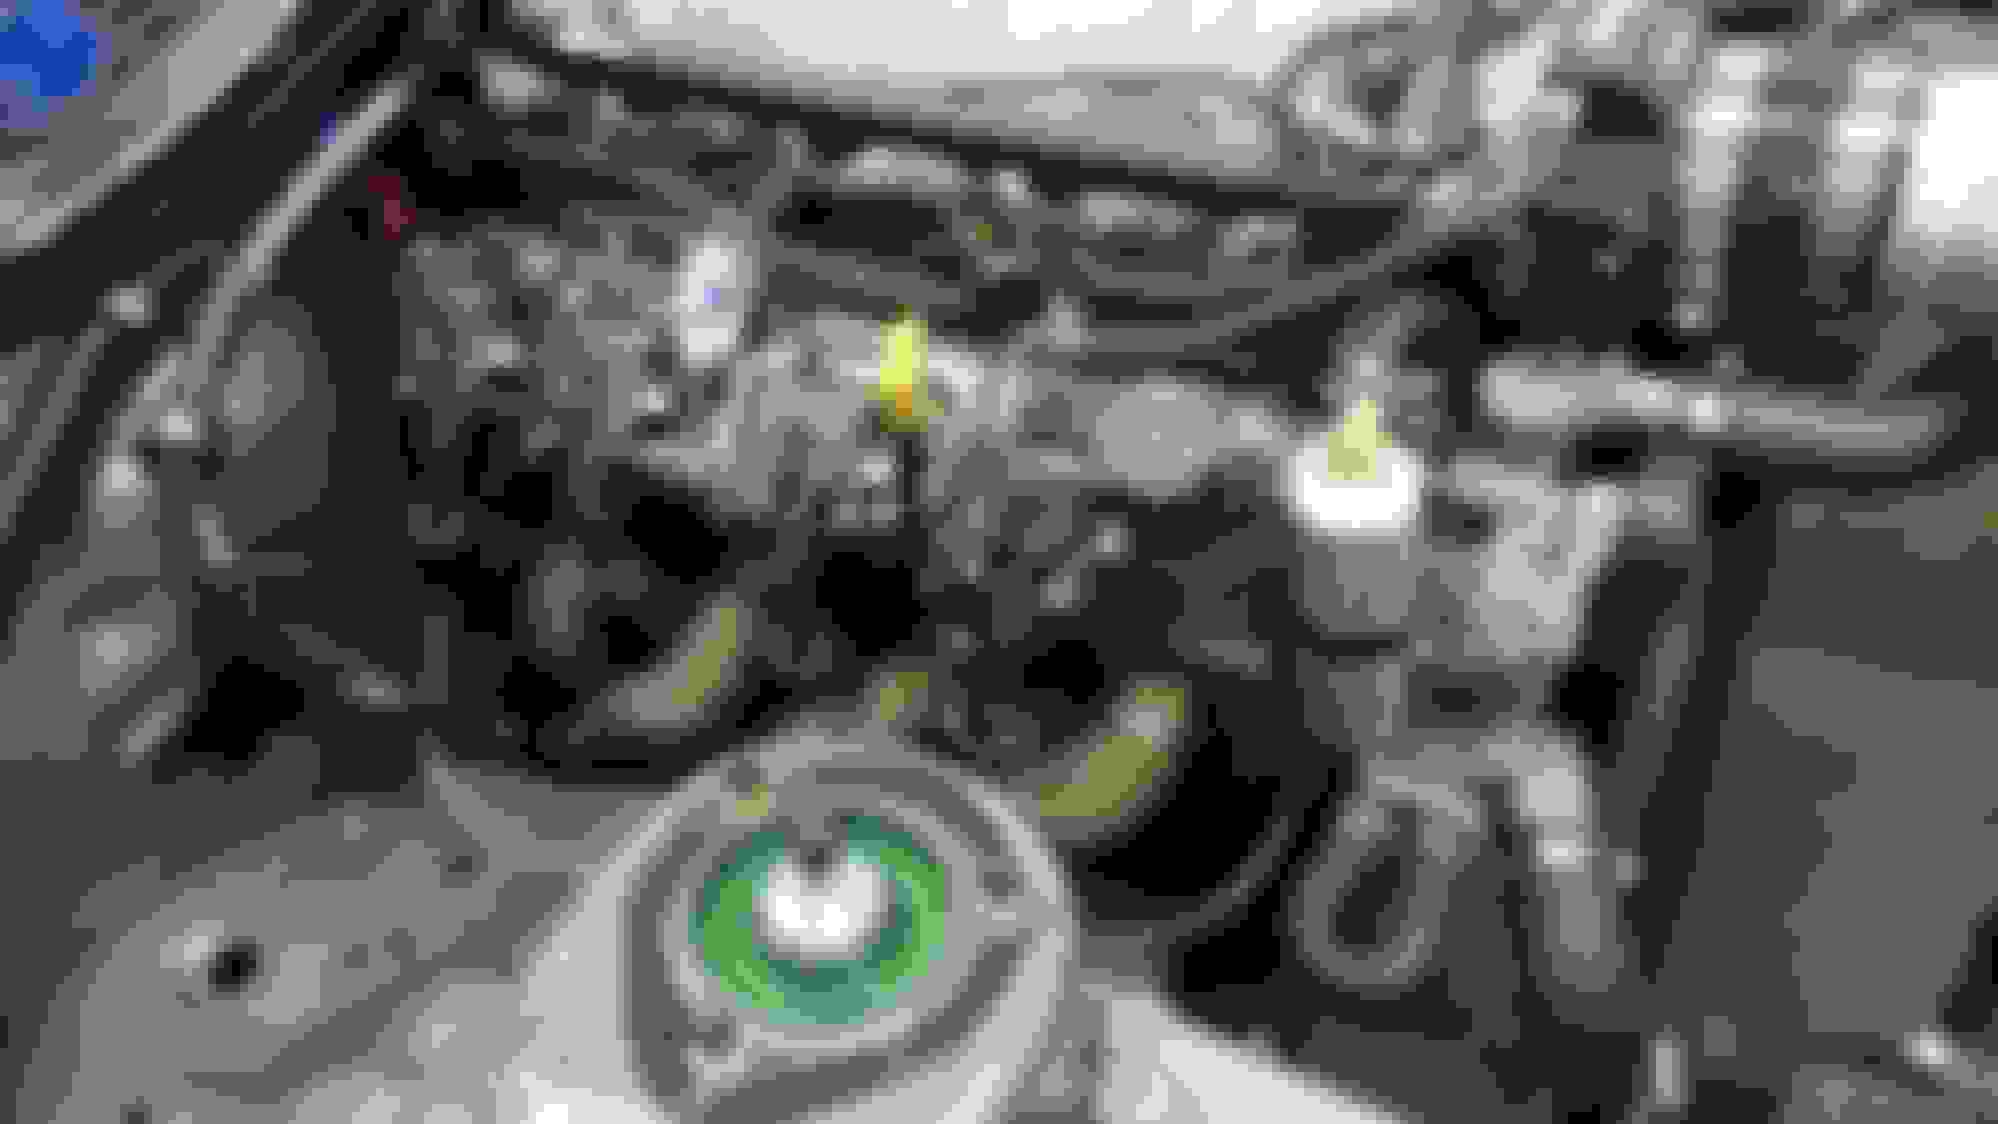
So I got the motor back, cleaned up the pistons much more than they were for the first installation. Got the cam installed (it felt much better), LS2 timing chain, Melling high pressure oil pump, improved racing oil pickup brace, painted the valve covers to match the engine bay, and torqued the heads on with some ARP head bolts. lifters installed
A buddy gave me a used ls6 clutch and flywheel but I decided to ditch the clutch and picked up a new KYclutch kit and mounted the trans on the motor. I swear I fitted and pulled the motor by myself 5 times, smashing the trans tunnel and making it fit.
Since everyone is just dying for updates, I'll throw some more out there!
Next up was fitting the clutch pedal and clutch slave. I mounted the pedal and had to weld a nut in the tire well since this car was an auto before.
Another challenge was adapting the Wilwood Clutch Master to the car since the stock master is mounted in a wonky position. I ended making an adapter plate out of some 1/4" aluminum. Shaved down the stock rod to match the wilwood rod so I could use the sc300 clutch adjuster. I ended up needing to extend the clutch rod. Counter-sunk holes. It aint pretty but it works
Since I'm using a factory fbody driveshaft, I needed to adapt it to the drifmotion adapter. I did so by using an adapter u-joint to a 1350.
Now for the trans mount, my kit did not come with one. I bought a welder so I might as well use it, right? I got some scrap steel from a local dealer and made my own bracket, saving a handful of cash.
Thanks to outlaw0209, he helped me figure out the throttle cable and the fuel setup. Check out his build here for better instructions: https://www.clublexus.com/forums/bui...re-dump-4.html Stock 2JZ cable Adapted to the Lokar cable
For the fuel setup, I pulled the tank and swapped the return and vent bungs on the tank so that the return and feed were the same in order to use -6an line throughout. I mounted the corvette fuel filter/regulator under the car and ran the lines as shown. Fuel vent line -6an parts (these summit hose ends ended up leaking on the feed. Swapped them for Red Horse fittings and problem solved) Snuck in a Walbro 255I made the high pressure power steering line and my buddy was able to come by and start making the headers. I went with a diy long tube kit from Speedway.
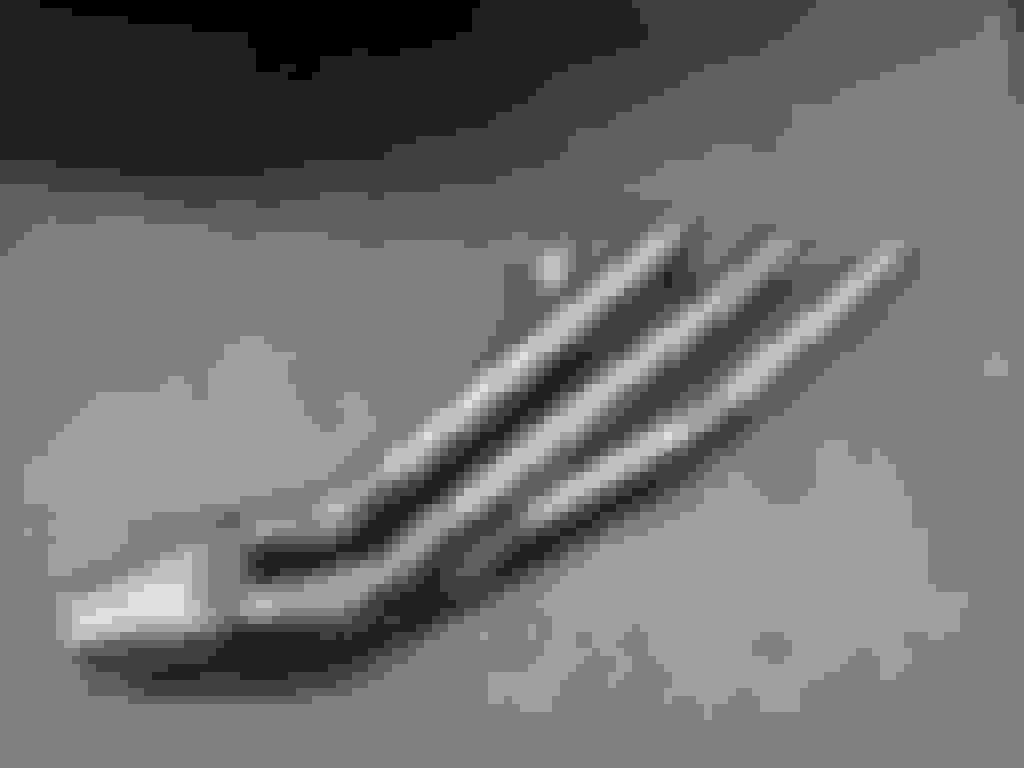
Got a few parts in the mail. Because I went with a big ol' cam, I had to upgrade the airflow. Found a used Fast 102 intake manifold and a Fast 92mm Big Mouth throttle body (4.25" inlet) Good friends from XS hooked me up with a new battery. Picked up a new LS6 front steam vent and a truck rear steam vent. steam vents installed. Replacing the the upper to lower shell gasket Discovered a crack in this overpriced piece of plastic. Glued it back together with some Right Stuff.As I was trying to figure out what I wanted to do for fuel rails, i heard that Radium had recently created some, plus they are black so I had to pick up the set. Added in some 42lb injectors while I was at it. Also installed some BTR chromoly pushrods and the rockers. Painted the coil brackets as well Also picked up a supra aluminum radiator and fans/shroud Shot of the driveshaft installed
Another fun project I took in were the gauges. I went with Speedhut gauges and I'm a fan. I got a piece of abs plastic and used the stock gauge hood to create a new cluster. I like how it came out.
I also needed to create a panel for the switches and fusebox. Ended up taking an old Dell computer case cover and cut it up to fit temporarily.
Picked up a Sparco seat
Another huge task was the wiring harnesses. I ended up rewiring the engine bay body harness and relocated the fusebox under the passenger side dash. That was a huge pain. The next huge pain was the engine harness. www.lt1swap.com is the lord and savior for this task. Uncut engine harness Mostly de-loomed The chassis harness for the headlights and such Rewired chassis harness Tucked up Completed engine harness Modified the sc ecu mount and the fbody mount to mount it in the stock location
I created a new ebrake mount/shifter hole cover which came out pretty alright.
I took it to my buddy's shop where he banged out the rest of the headers and intake pipe and we were able to fire it up for the first time. I was super pumped! Pass side Intake pipe Random under shot Ceramic painted Heat wrapped Driver's side First picture outside on it's own!Forgot to mention I picked up a set of Cosmis wheels for an absolute steal. And my mans Irving over at KBD Bodykits hooked me up with his poly 50mm overfenders and front fenders
For the 4 bolts for the driveshaft to the adapter, how many FT/LB did you torque it to?
I didn't torque to any spec. Just as tight as I could get it by hand. But these are known to come loose after some driving so I used loctite and check them often.
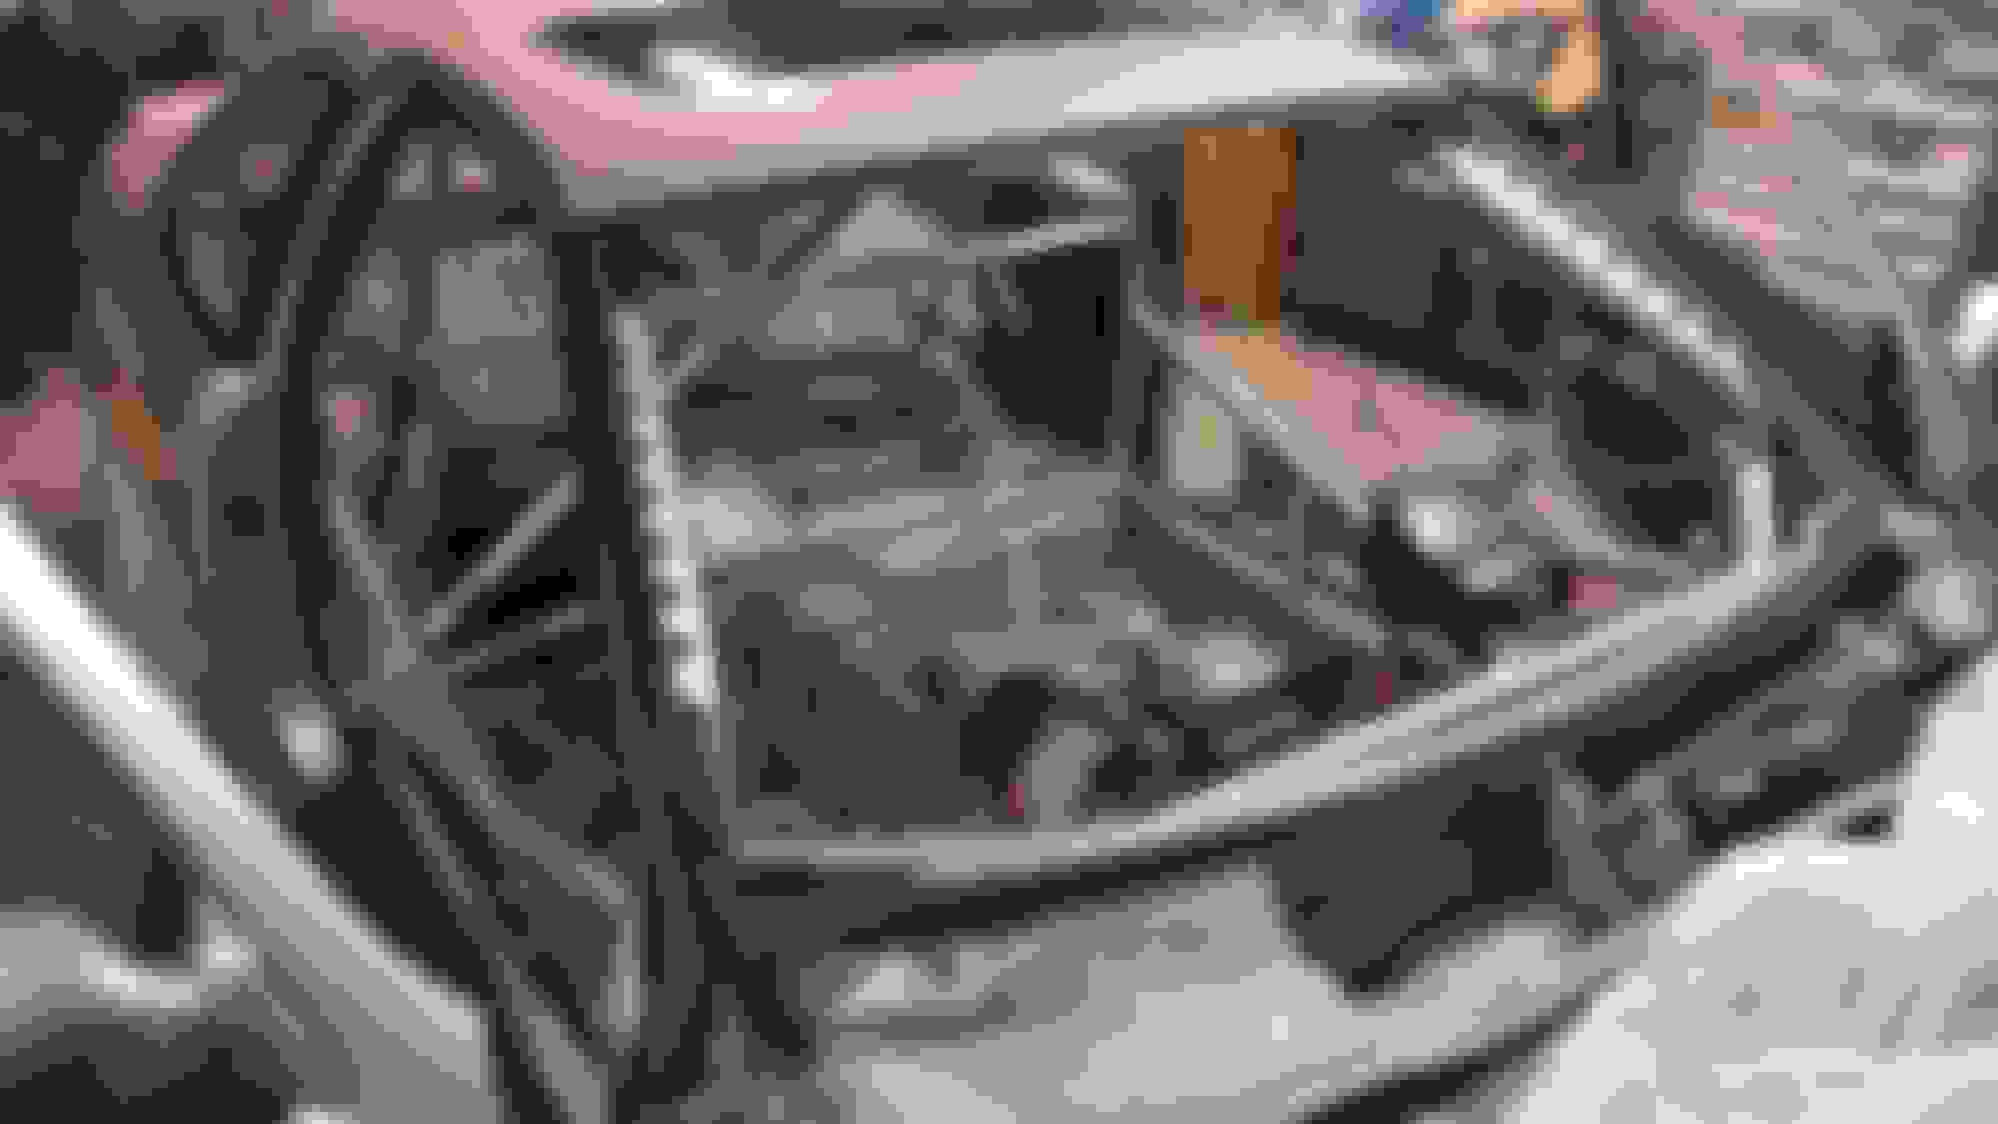
As soon as I got the car running I had to make it to an appointment with my dude, Chris Miller in Knoxville for the cage work. He did a great job with it! Plenty of head room and leg room with it being tucked up nicely. So now I can safety drive with my friends on track.
Next up was alignment and the scariest part of any build...the dyno tune. Peep the video. It made 380whp/340tq on a Dyno Dynamics dyno.

 04-03-16, 11:44 AM