99 Aristo V300 Vertex
#1
Driver School Candidate
Thread Starter
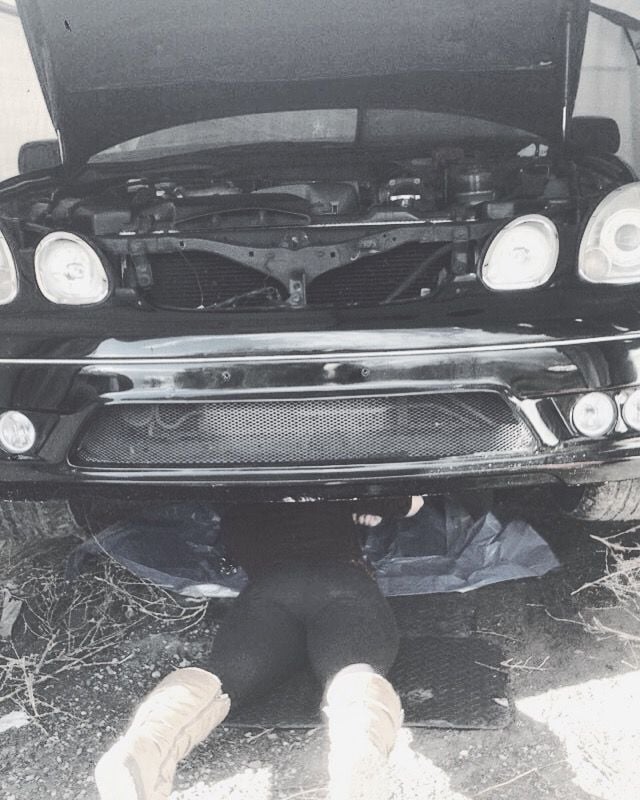
Hey guys, I'm new to the forums but I thought since I'm about to do the 5spd R154 swap into my jzs161 that I'd post up an introductory thread for my car.
Alrighty. Basically I have a 1999 Toyota Aristo.There isn’t a whole lot of info online about this swap and I wanted to have as many write ups out there for people like me who want to know what they’ll need and how to do it. So here it is.
I built a portable garage enclosure, equipped it with a propane heater, put the car on stumps and cement bricks and went at it. (However do your setup how you choose)
What you’ll need for tools:
-Ratchet and Socket set (used mostly 10,12,14 and 17) but will need 22mm for crank pulley
. -10mm wrench but whole set is recommended
- if you used arp flywheel bolts you need 13mm 12pt sockets**
-Torque wrench rated for 60-100 lbs at -least
-buckets (should keep bolts separate or labeled for ease of reassemble)
- shop towels
- good source of light
- couple of extenders to reach bellhousing bolts and starter bolts
. -Sawzall recirculating saw (optional)
-grinder
-impact gun (optional but driveshaft bolts suck)
-a drill to cut firewall for pedal setup
- blue thread locker for flywheel bolts
- patience
Parts I used for the swap:
-r154 5spd tranny from mk3 supra or soarer/chaser (preferably chaser/soarer as shifter housing assembly will be the proper length) if not will require 4.25" extension to fit
-beech short shift kit from driftmotion with boot and ****
- r154 to JZ bellhousing
-bellhousing bolts (auto ones wont work
- R154 JZ flywheel (oem)
- action stage 3 6 sprung clutch (Drift motion)
- arp flywheel bolts
- pilot bearing, throw out bearing (good to replace)
- clutch fork, clutch fork spring And hook
- is300 oem pedal assembly and clutch master (bracket, bolts, washers, retainers, pedal, springs, etc)
-slave cylinder
- clutch hose, clutch hard line, clutch connector (all oem toyota)
- slip yolk for r154 driveshaft
- custom single piece driveshaft (55 inches shortened .5 inch for play and 3.5" around 065 wall)
How to remove auto tranny:
-remove battery connection
-drain tranny fluid
-remove downpipe and exhaust and heat shields
- remove driveshaft
- undo torque converter bolts (will need a ratchet holding down the crank pulley so it doesn’t just spin)
- remove trans cooler lines
- undo crossmember
-remove starter
- remove all bellhousing bolts (this is were I used several extenders and went from the back after dropping down the tranny a bit onto a jack
- disassemble center console to remove shifter linkage
- drop tranny off remove wiring
Voila!
To put it back together:
I replaced the crank seal while I was down there just popped the old one out with a flathead and then used a same diameter piece of pvc oiled up the new seal and worked it on with even pressure.
To install flywheel:
-push in new pilot bearing in centre of Rear crank housing
-put flywheel on
- put thread locker on flywheel bolts and in a star pattern apply even force with a torque wrench torque to 36 ft. Lbs. and then a quarter turn again on each.
***in an aristo the tunnel is just big enough to get everything in there so you have to install the clutch with the transmission. Basically just fitted the pressure plate fingers onto the input shaft along with the clutch disk and then used a jack (use a transmission Jack if you have access to one) to lift the tranny into the pilot bearing/crank. Fasten it with the bellhousing bolts and then you can fit the pressure plate onto the dowel pins and then spin the crank to get each pressure plate bolt secured through the inspection covers.
Important note: depending on what r154 you have you may have to fab the tranny mount to work. I had to fab a mk3 r154 mount to a soarer mount so that it would fit both the tranny and the auto crossmember. However if you have a soarer r154 or a newer mk3 r154 the mount you got your tranny from will work with the auto crossmember.
Mount the tranny. Put back on the starter. This is where you'll need to get the driveshaft made up. Measure from the rubber seal on the backend of the r154 all the way to the mating surface of the rear half of the driveshaft. Take in the slip yolk for the r154 to a machine shop with the back half of the driveshaft to have one made up. Attach the entire driveshaft by lifting into input and then fastening to the back mating surface by the diff. From here on out its just reverse of what was done to take apart the auto.
**good thread for demonstration on interior removal**
https://www.clublexus.com/forums/att...el-removal.pdf
Working with the pedal setup. This was the tricky part. I had to take apart my entire interior including the dashboard, a pillars, steering wheel, steering column, ebrake and dash bar to get to the firewall where the oem is300 pedal would work. It's my understanding you can get special pedals made yourself or box ones that attach on the floor but if you're going for the oem look and feel this is what I've done. I had to cut my heater line (drain coolant first..) and relocate it because the hole where the heater line was running through is the perfect size for your master cylinder and the only spot to mate the pedal bracket to. Had to cut some of the plastic wire housing out and sound deadening and one of the bolt welds for the plastic housing had to be cut off but the pedal sat flat after (photos below). Assemble your pedal bracket and Mark out the holes for the master, drill 2 holes and then requires 2xm10x1.25 hat nuts to fasten. Pedal is now in and master cylinder. My master sat awfully close to my intake piping, had to shave down the metal to get the clutch hard line in. But everything fit, reattached heater hose through drilling a hole to the right of the newly placed master and re clamp.
Driveshaft was interesting cause of the little finger at the receiving end on diff side had to drop the diff a couple inches by undoing the 2 big bolts not the hex bolts on the diff and putting it all up together with the slip yolk in the tranny.
Artisan spirits kit minus the wing, with the wider front fenders.
Nothing major in the engine bay yet, tein superstreet coils.
24x12x3 autobahn88 FMIC
50mm Tial Q BOV
ARK turbo timer
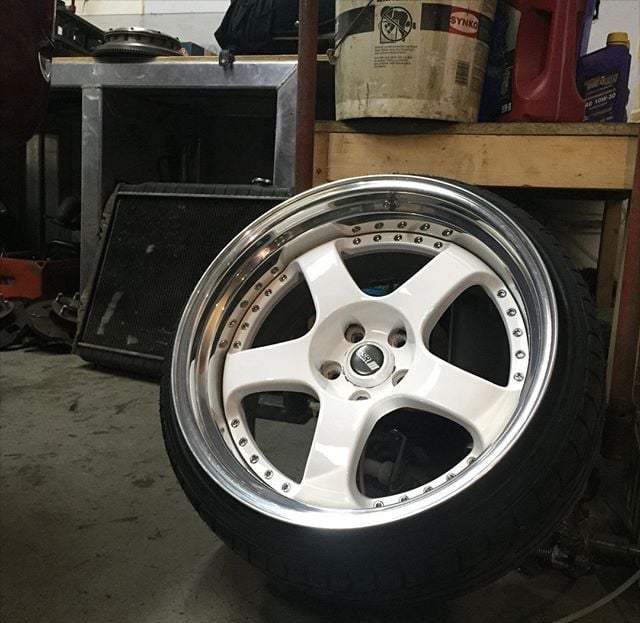
19" SSR Professor SP1's
Handmade diamond stitch leather seat covers (made by me)
Handmade leather shift boot
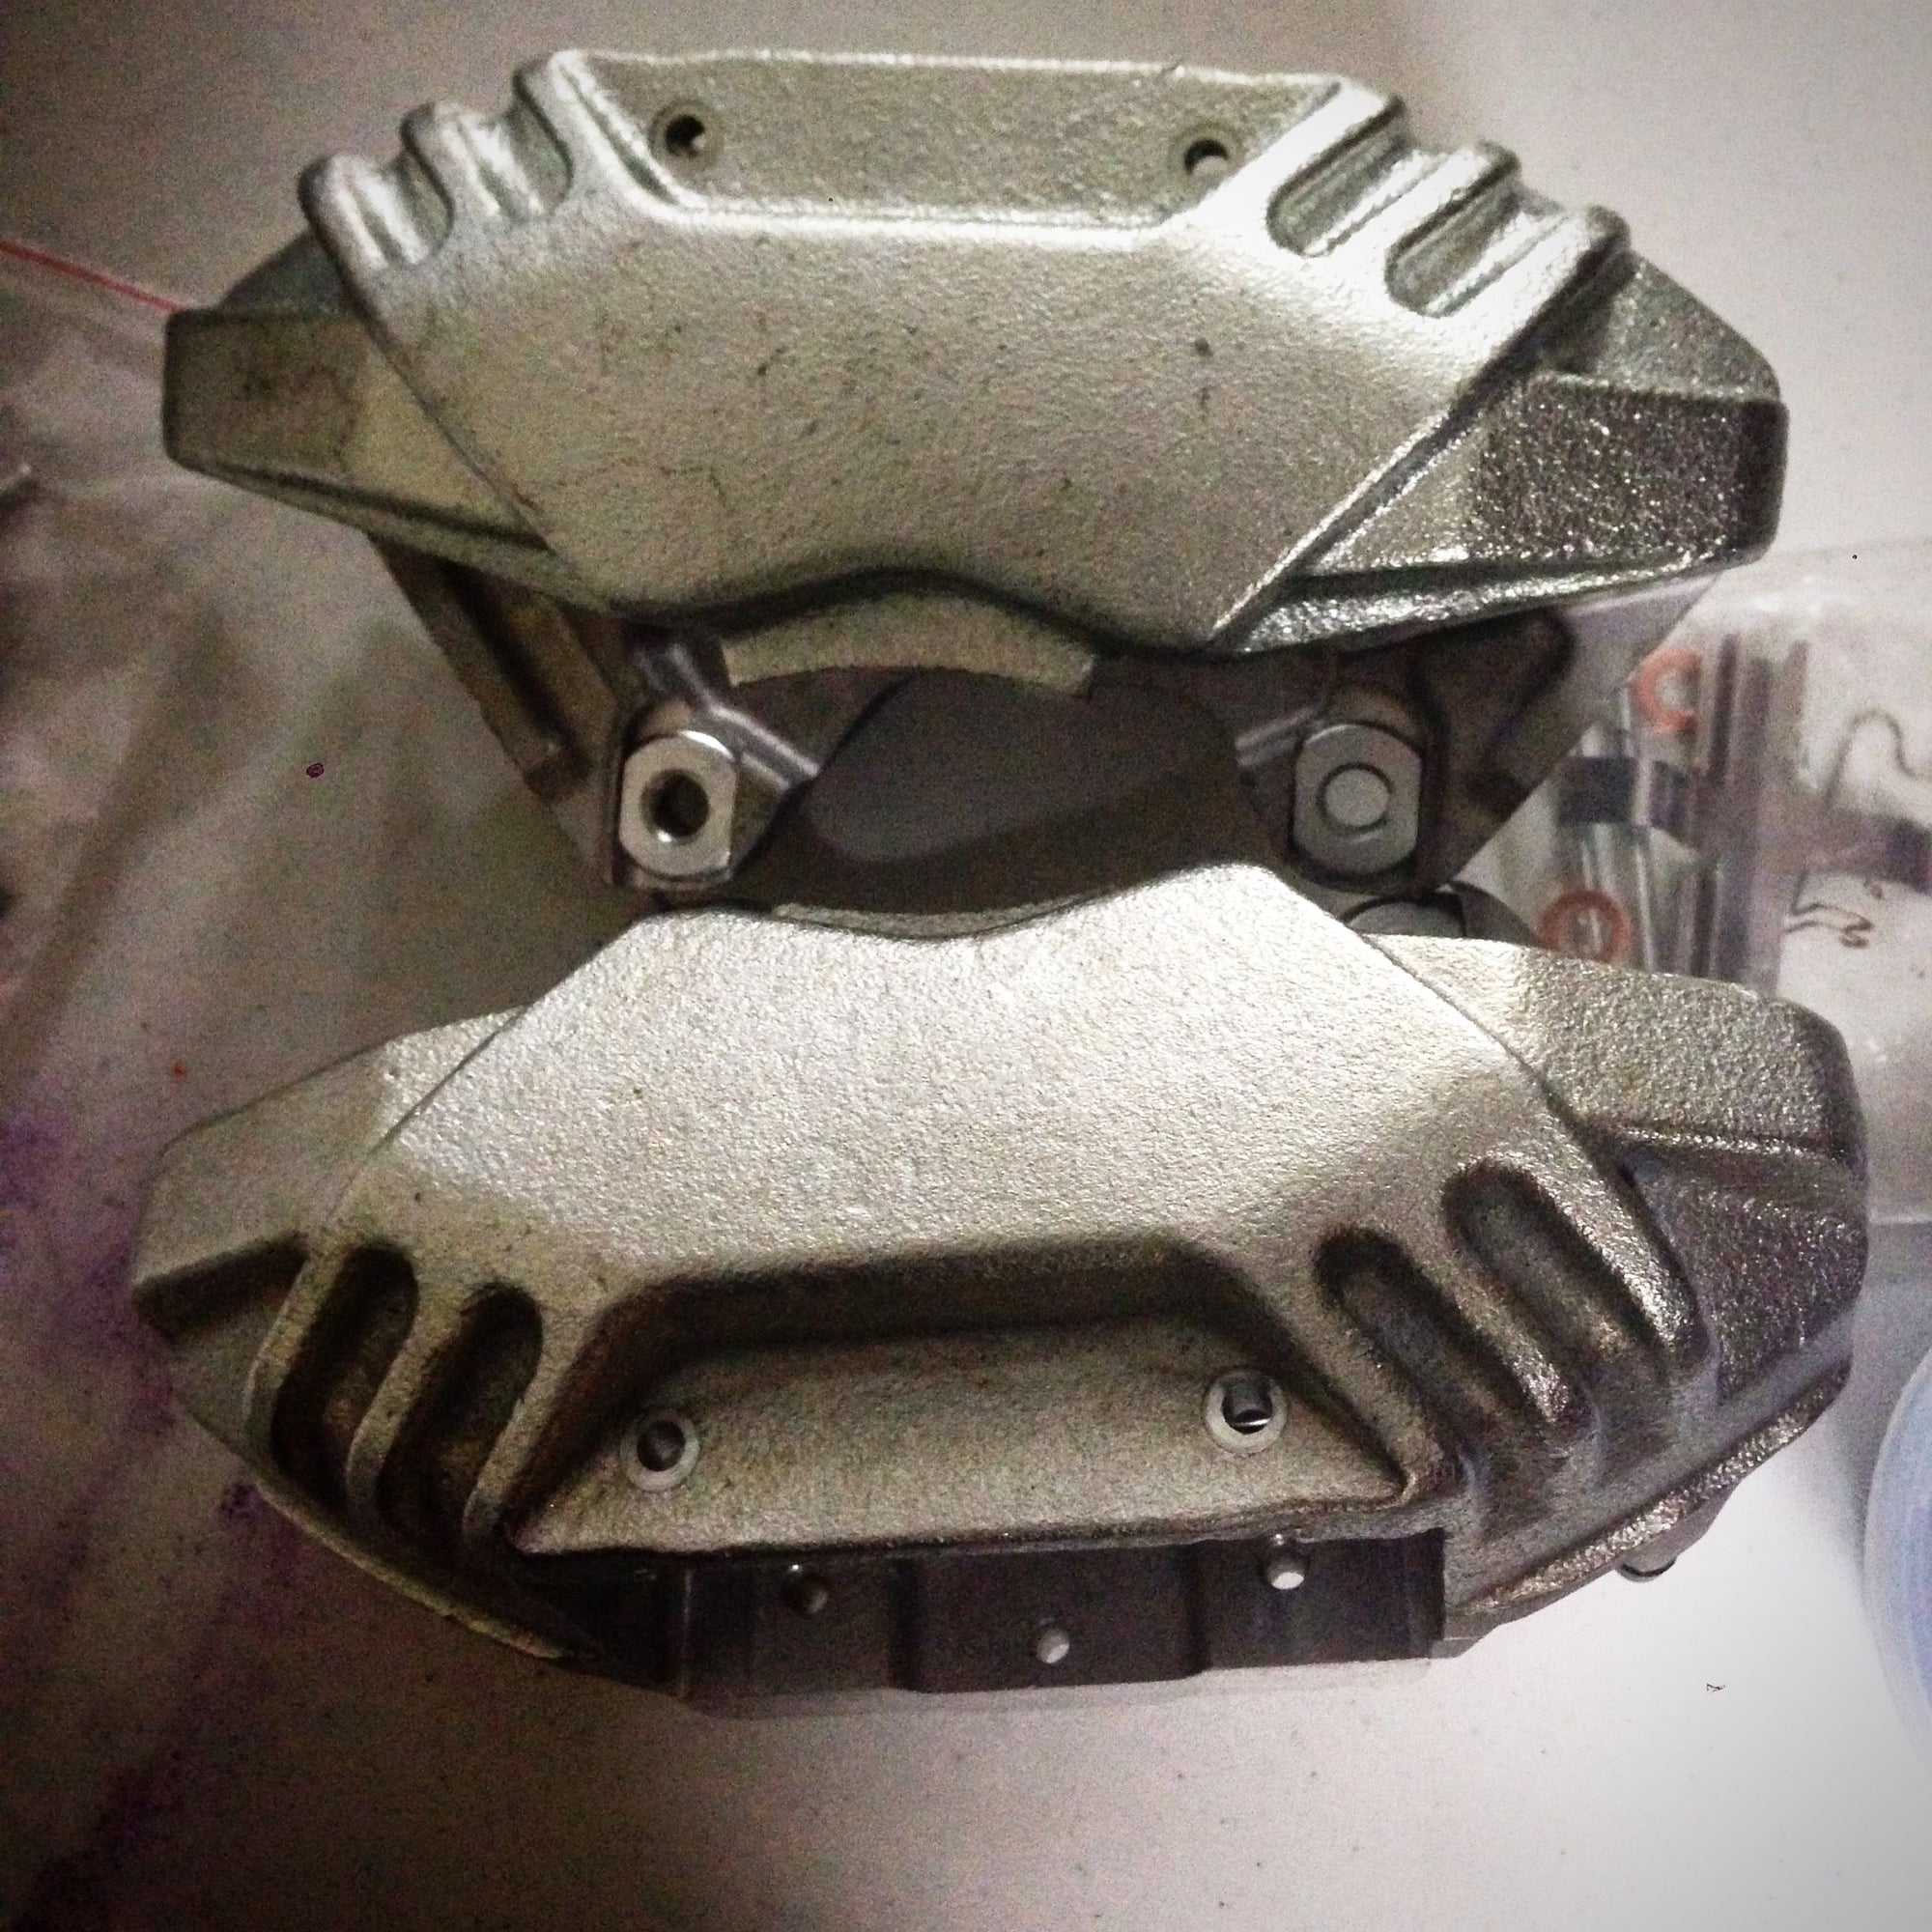
MkIV Supra TT front brakes
UPDATED******JANUARY 25
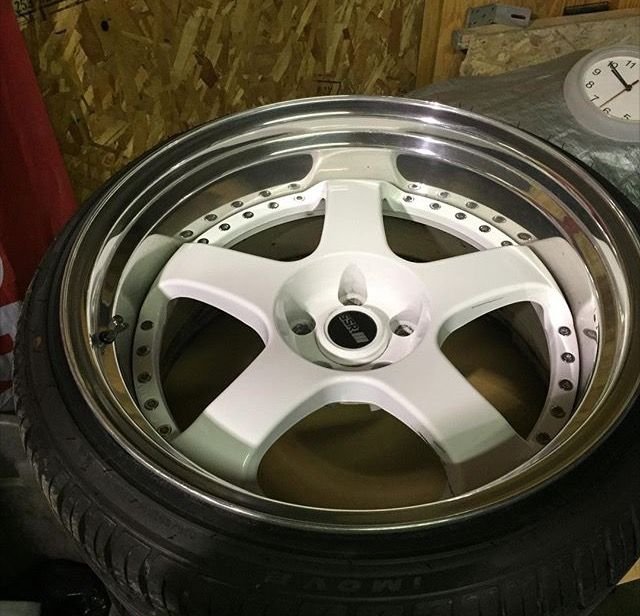
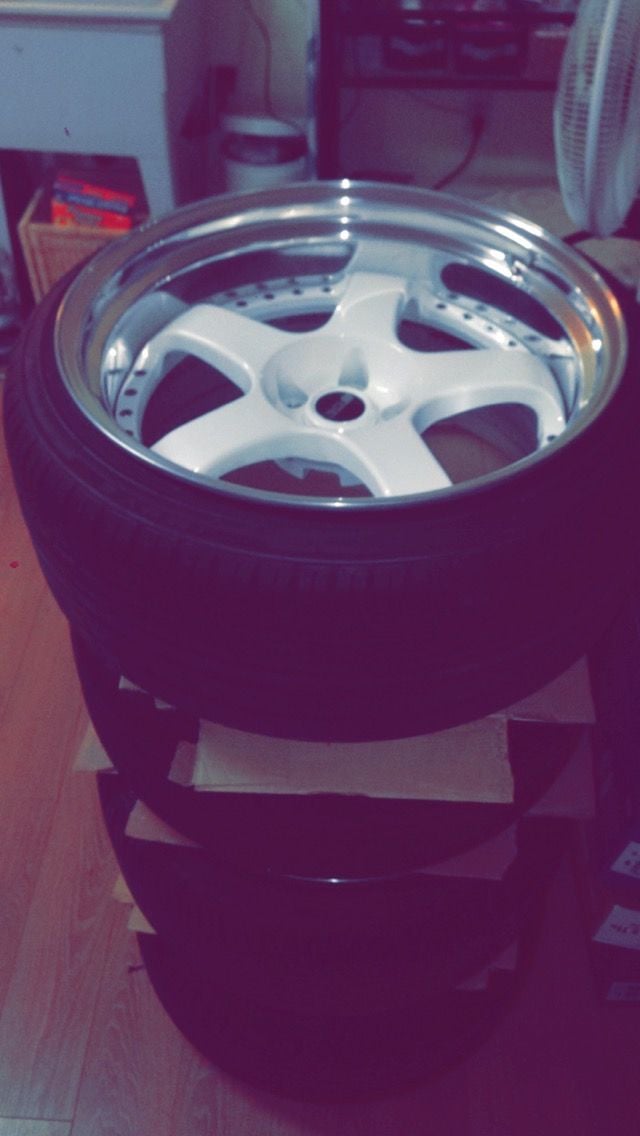
19" SSR Professor SP1's going to be powder coated dark gunmetal grey before being put on the car.
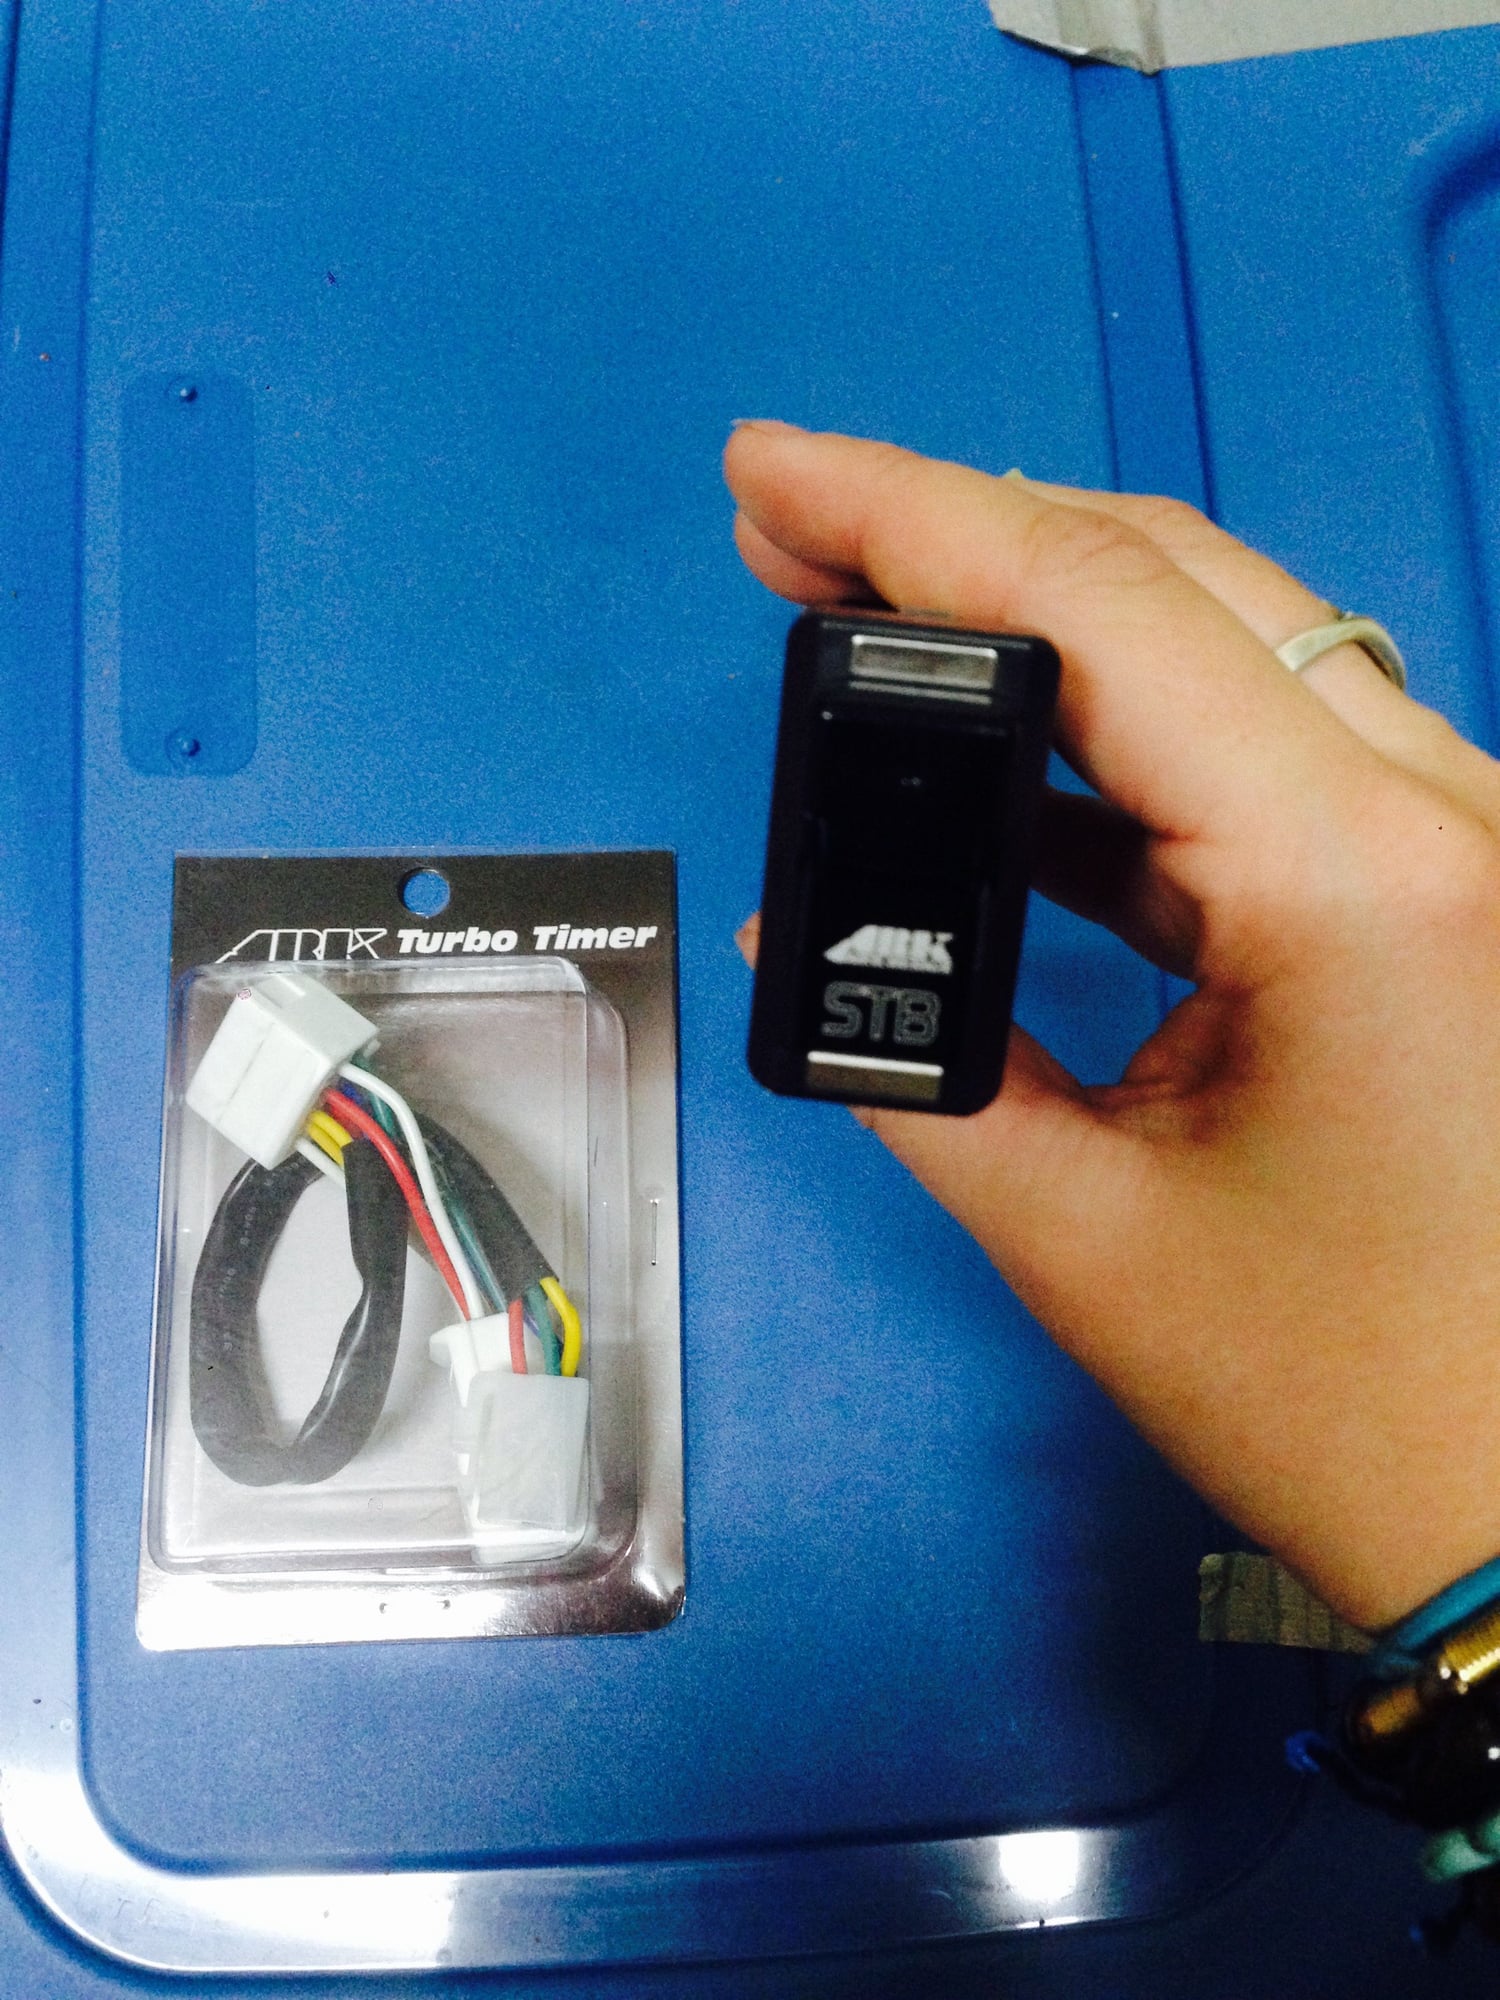
ARK Turbotimer
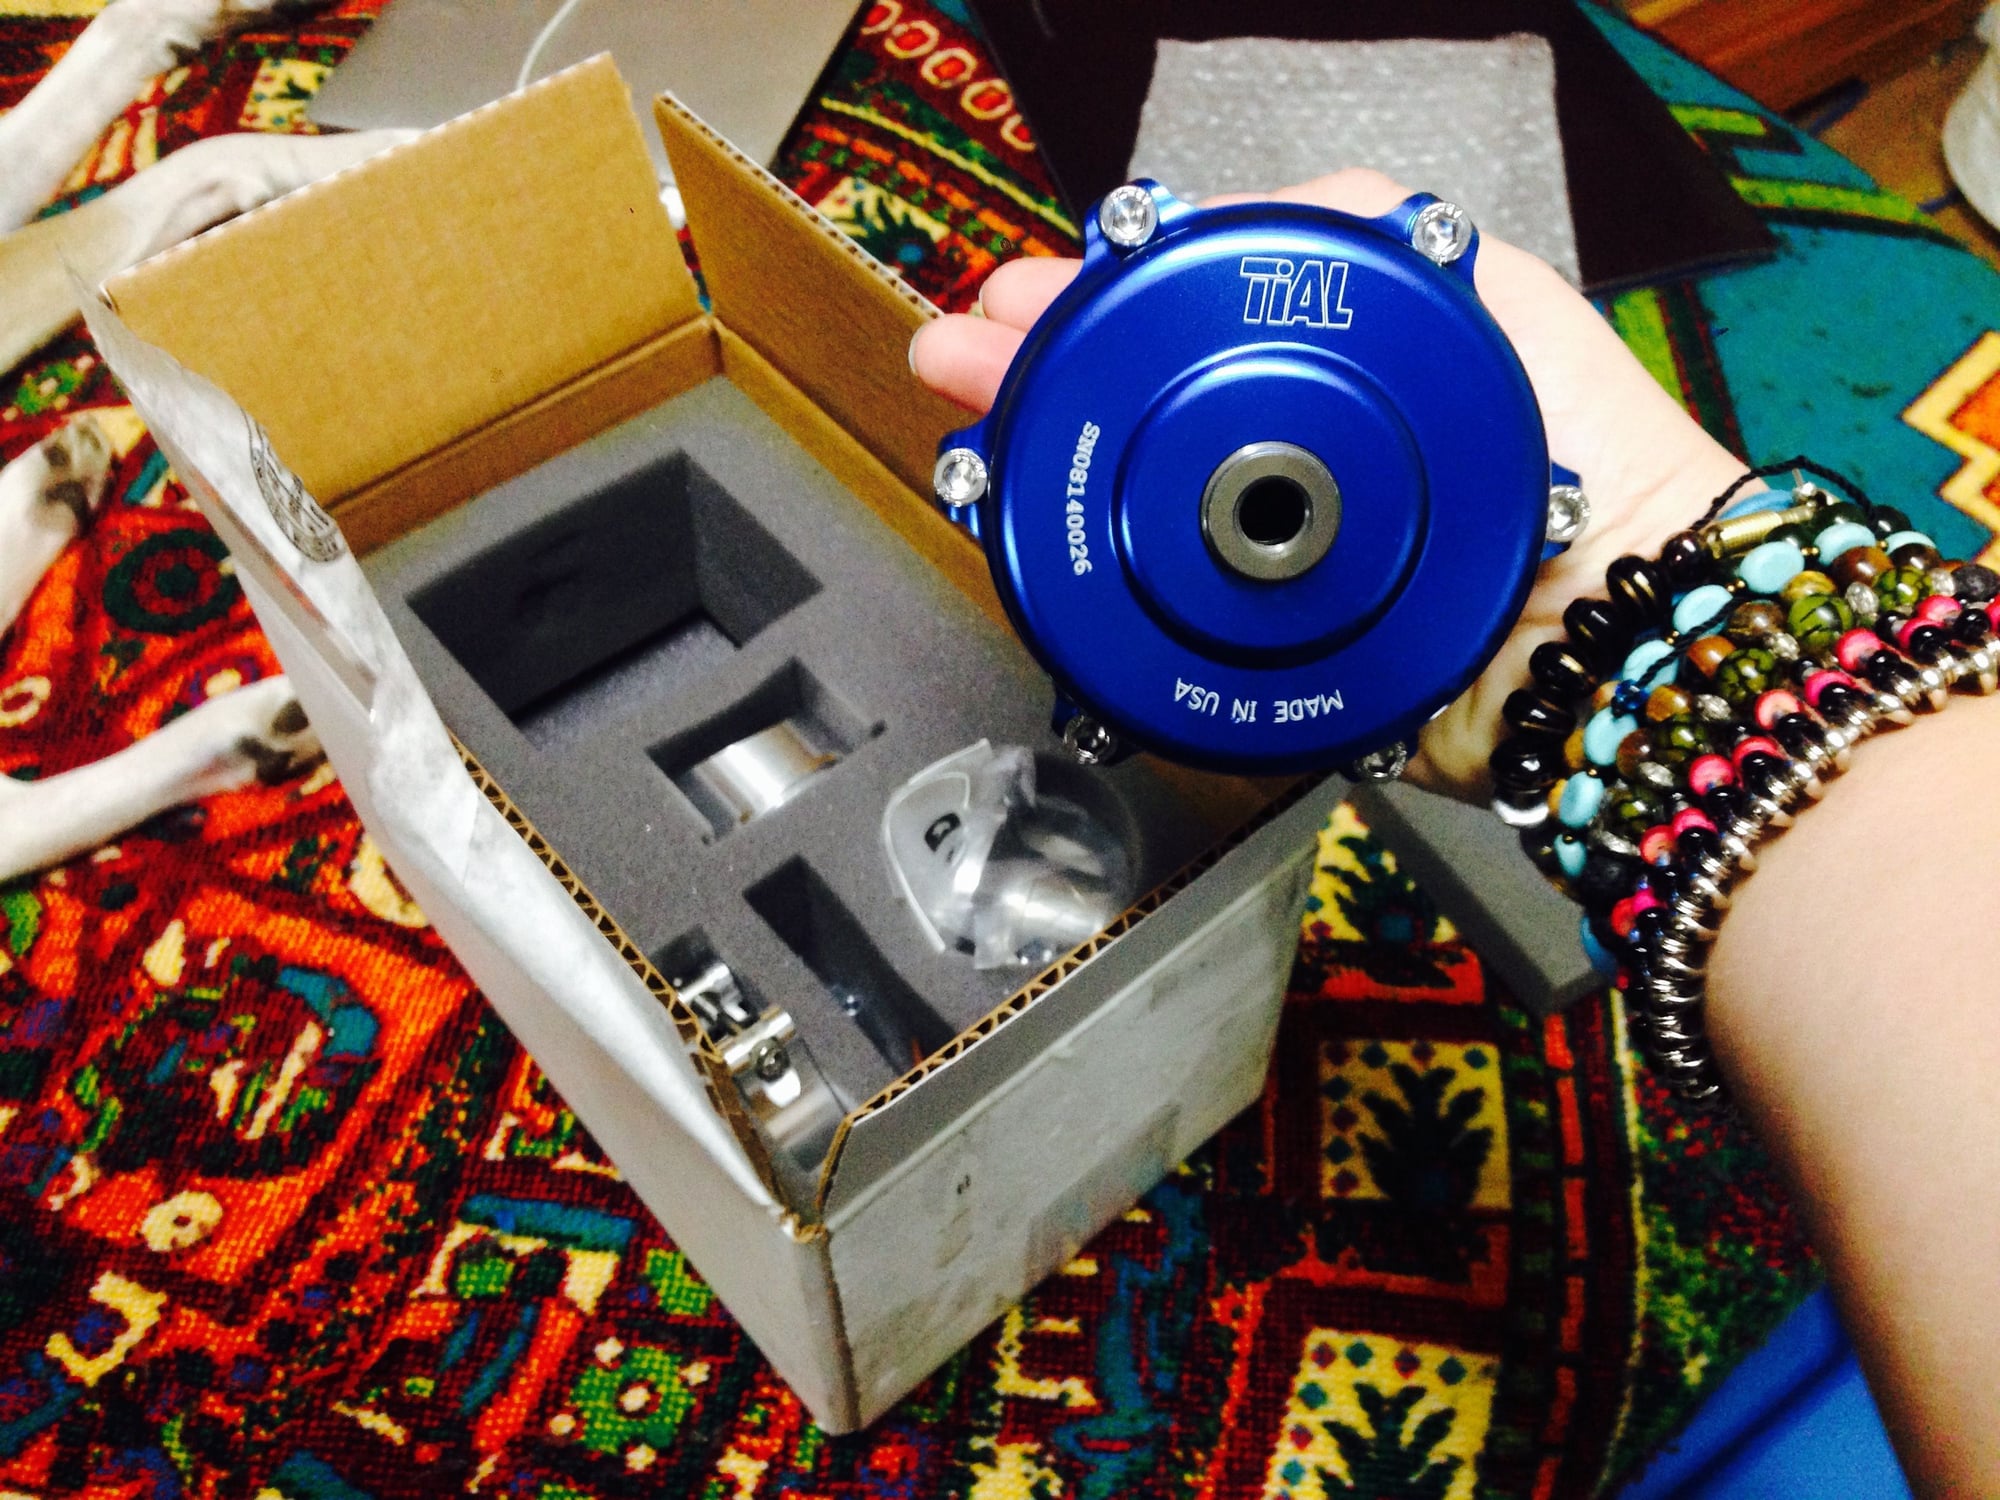
TIAL Q 50mm BOV
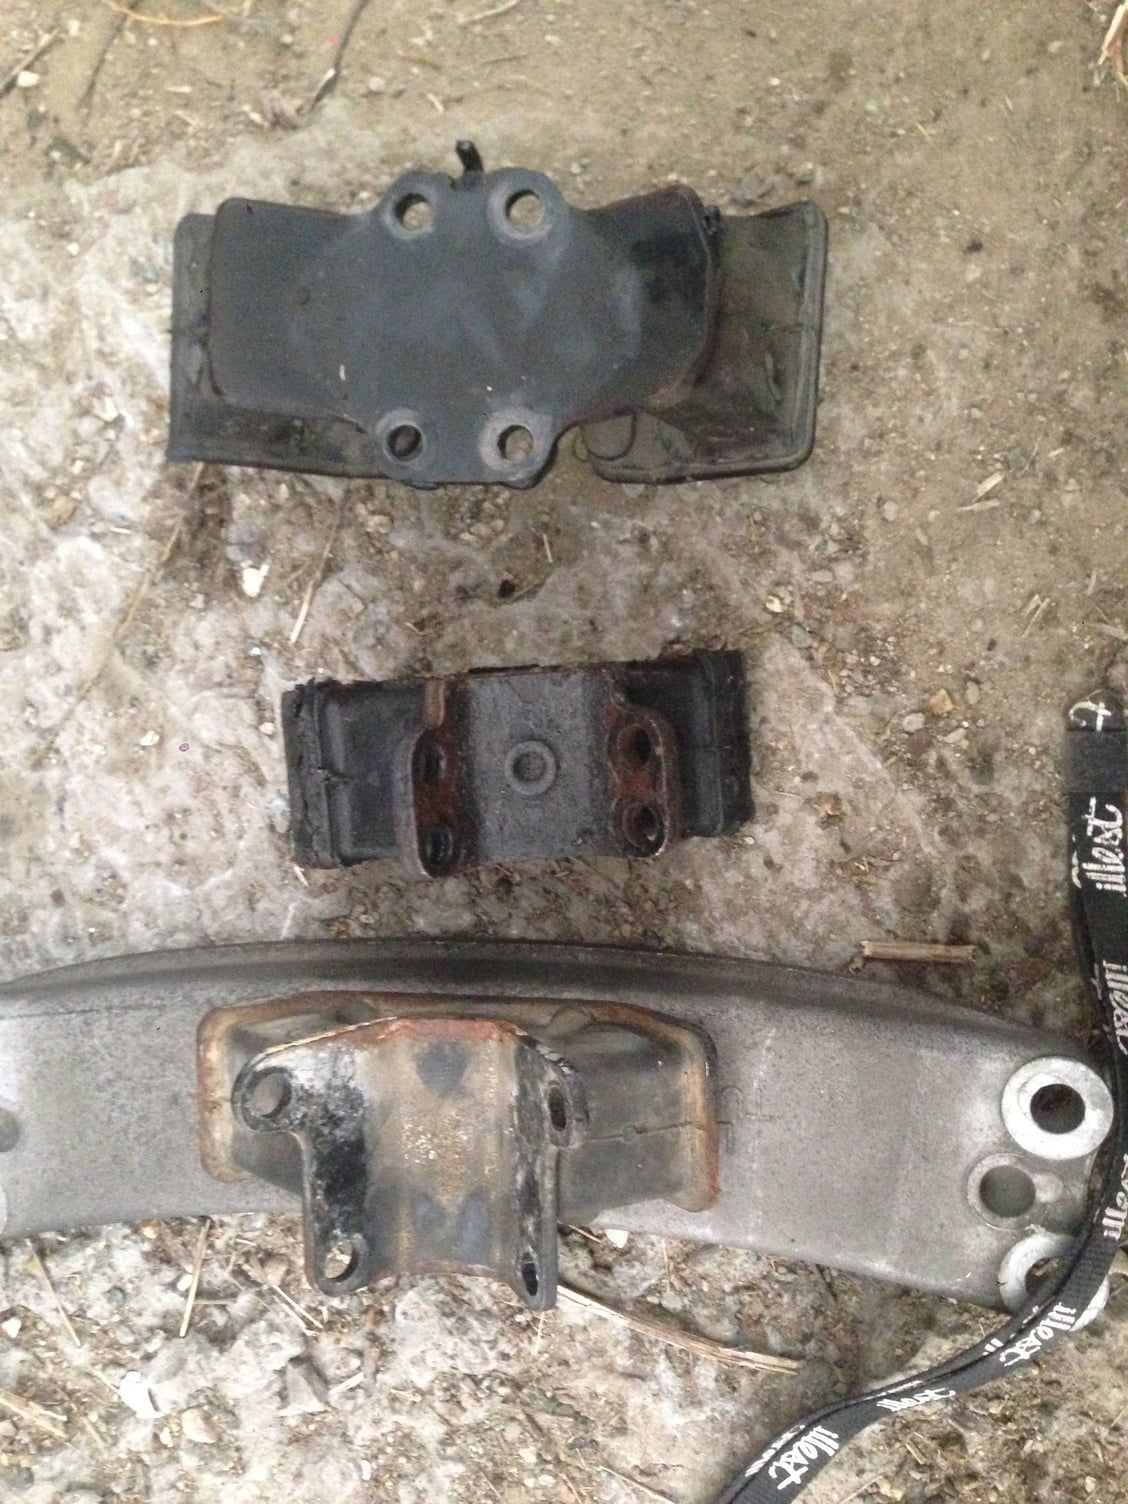
Top to bottom: auto mount, mk3 mount, and soarer mount attached to auto crossmember
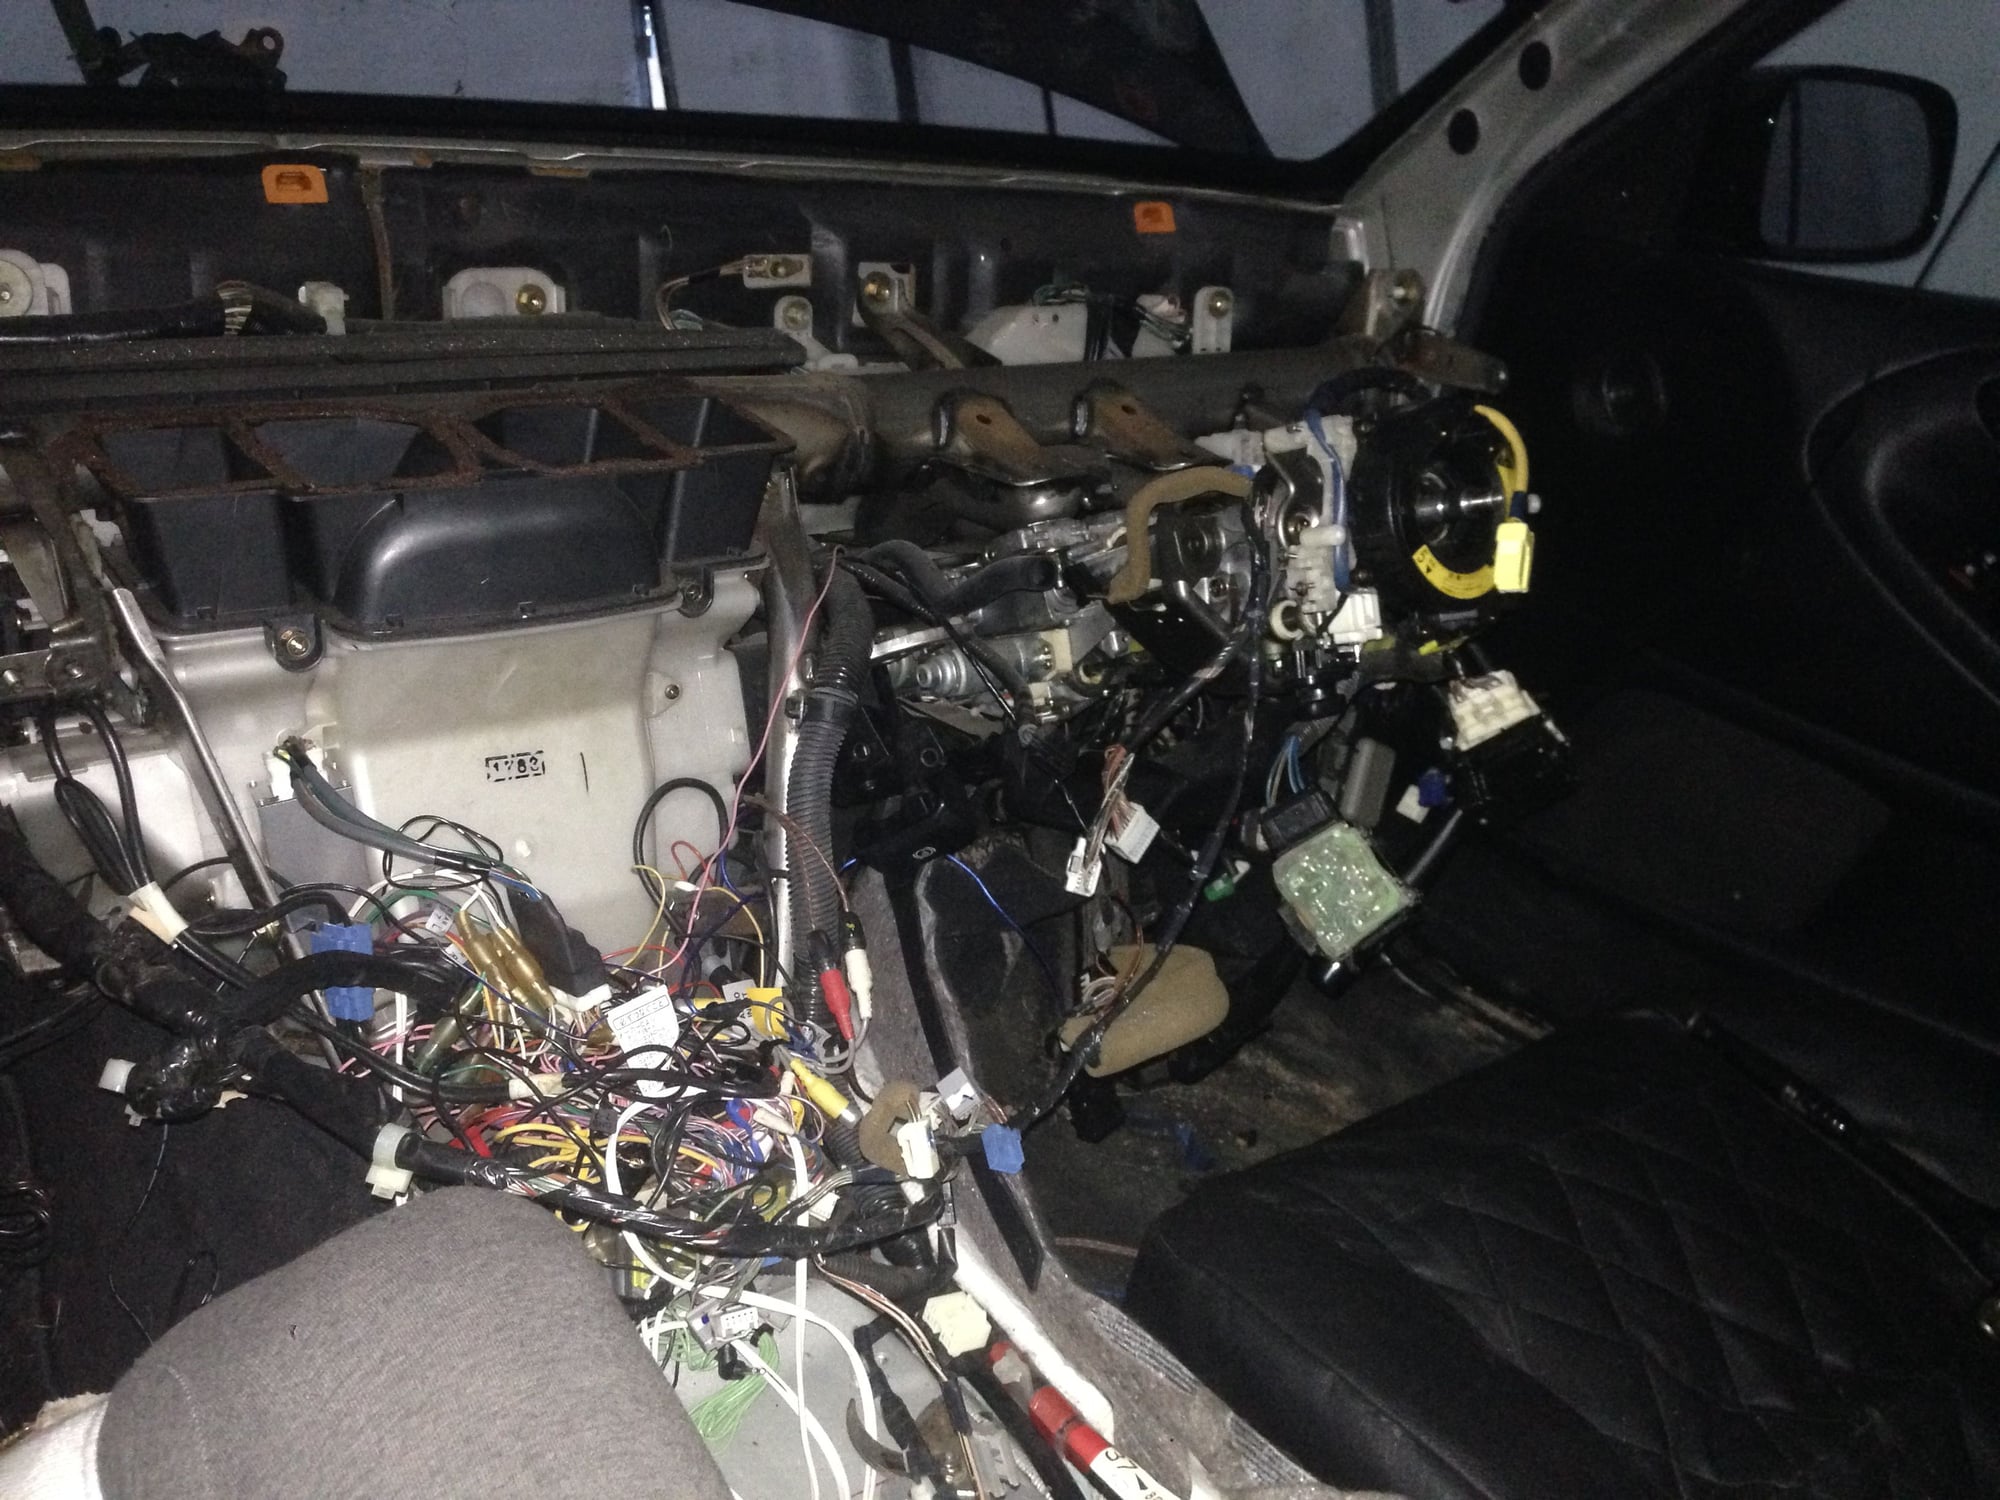
What my interior looked like after removing everything to get to firewall (before steering column however)
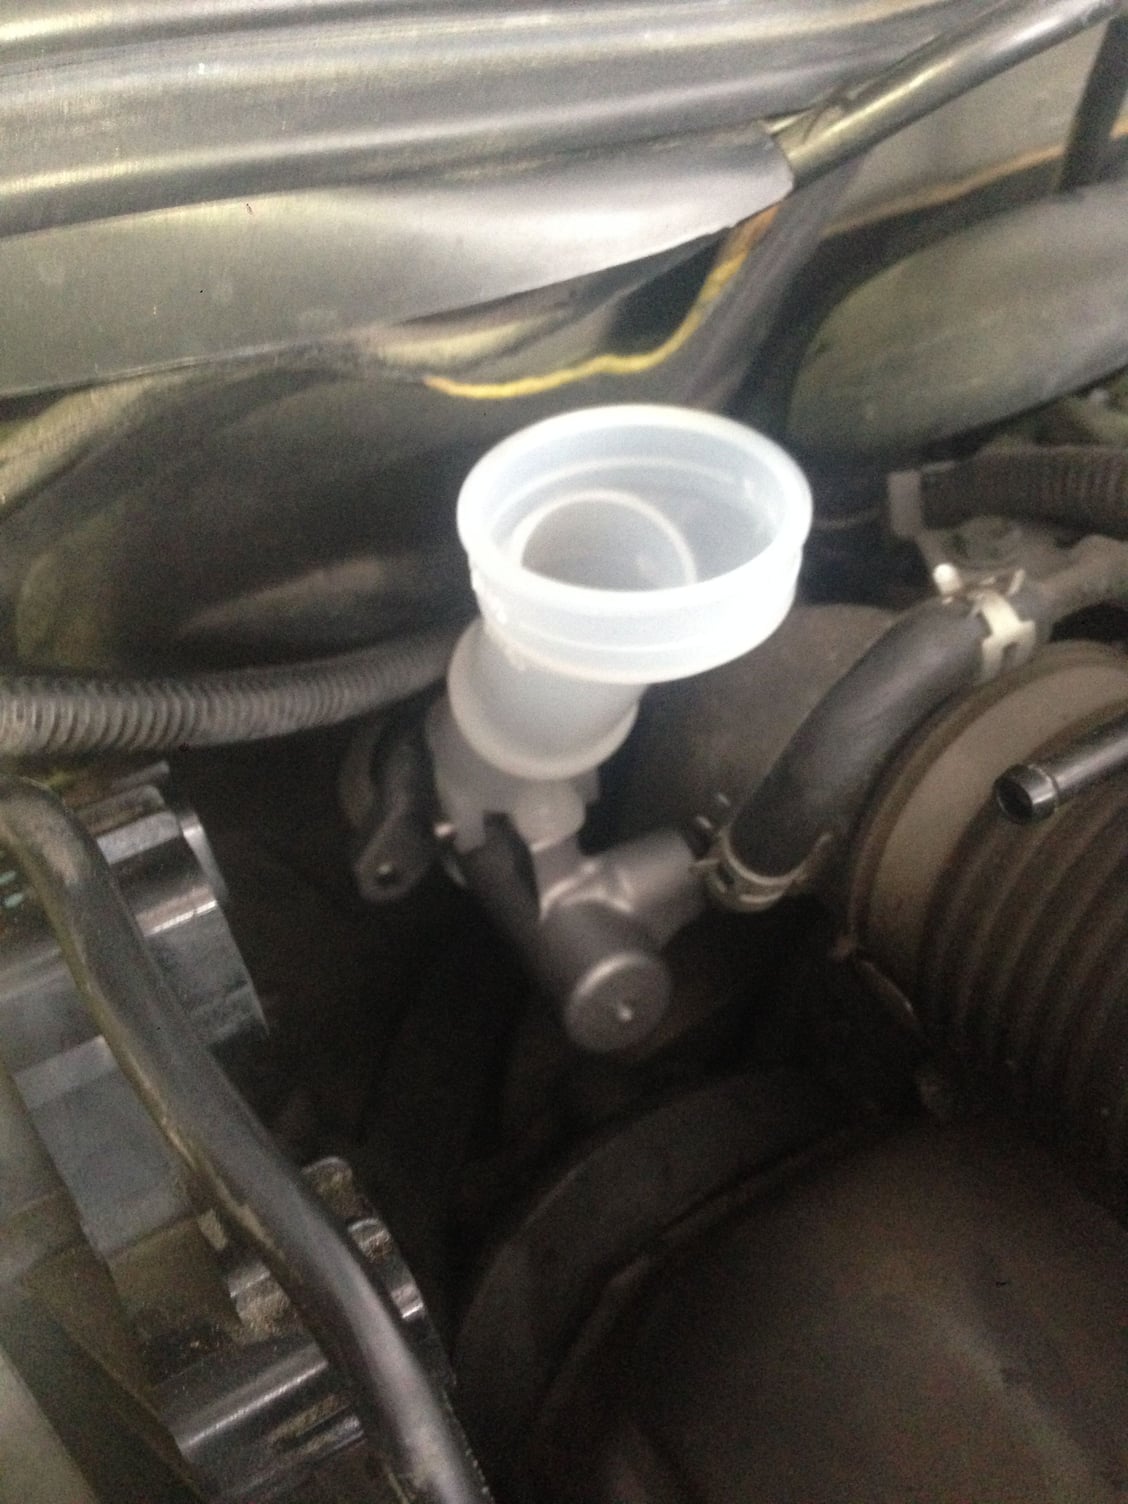
Where the master cylinder sat before shaving intake pipe to fit clutch line
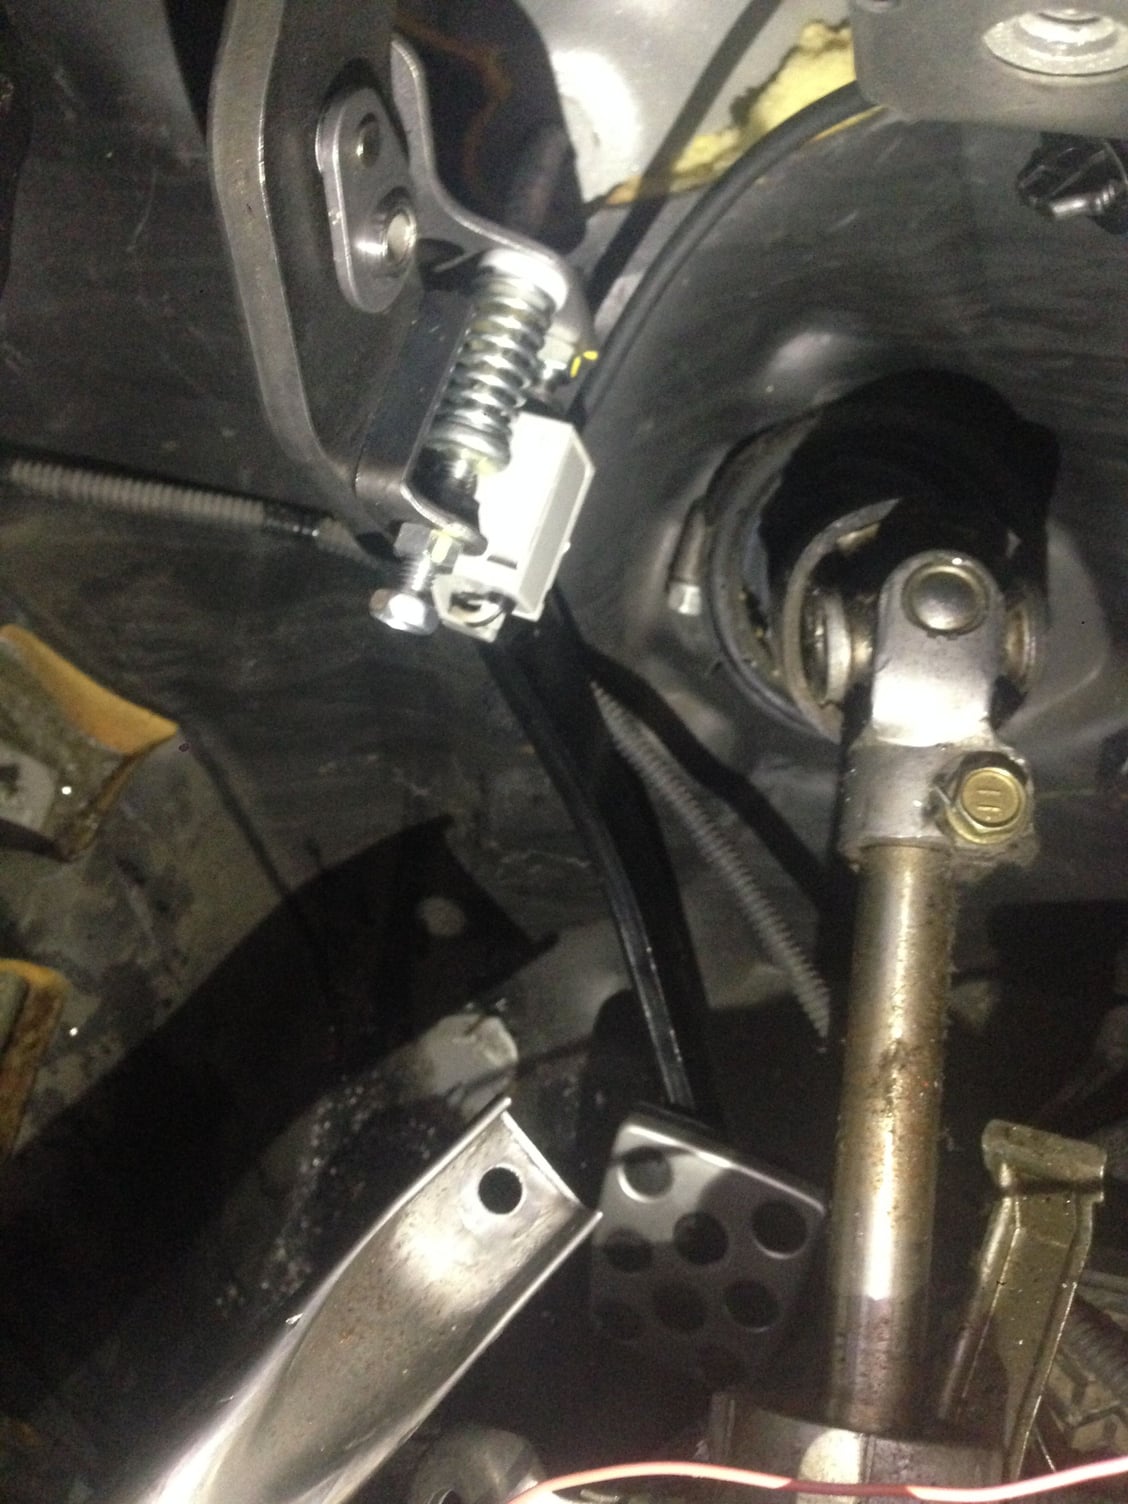
Location of pedal in relation to steering column
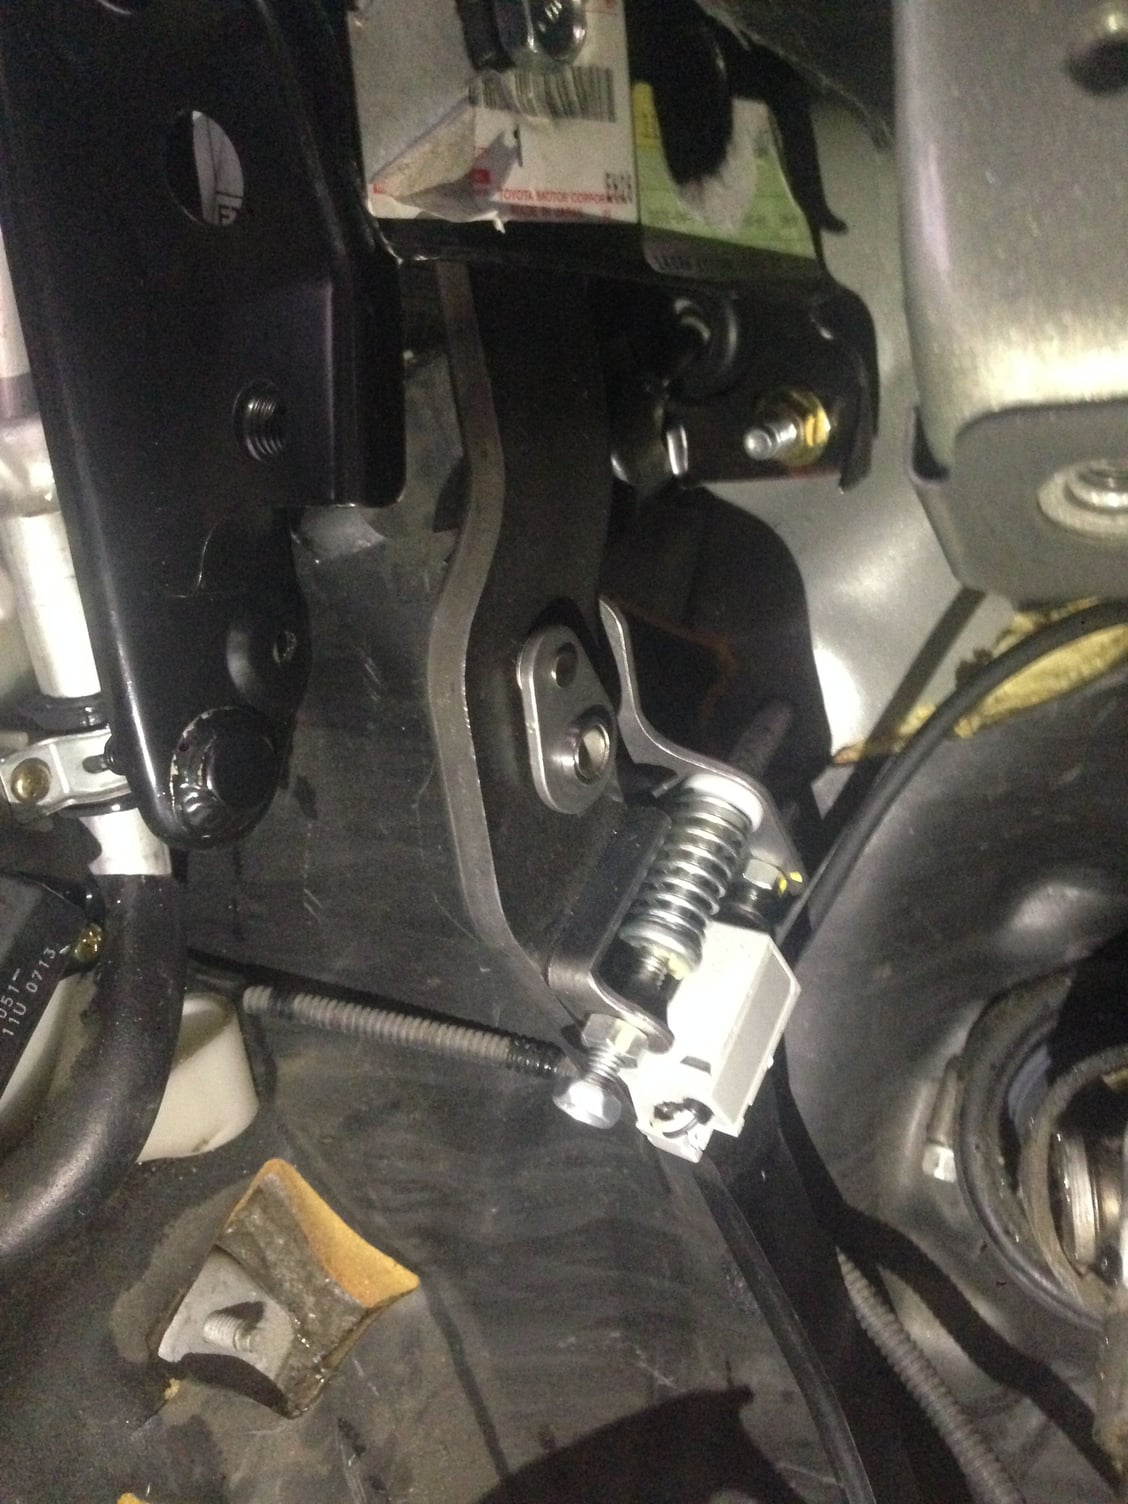


Wiring that had to be cut out of housing
New calipers!
Last edited by blondmelle; 03-21-16 at 04:00 PM. Reason: Update
#3
Driver School Candidate
Thread Starter
Yeah there's a couple decent threads, just haven't found any serious DIY's like mostly I've noticed a lot take it to shops due to the cutting/welding/fabricating aspect of it. But if you know of any that speak directly to the cutting of the firewall for the pedal setup and if stock turbos are in the way etc. point me in the right direction. I have done a ton of research.
#5
Hey guys, I'm new to the forums but I thought since I'm about to do the 5spd R154 swap into my jzs161 that I'd post up an introductory thread for my car. Hoping to go through it step by step as I notice there is no DIY on here. But I can understand why, seeing as there is a lot of custom work that goes into this swap. What I have so far is the R154 (unfortunately
Top mount, so it will have to be extended but I'm told driftmotion does this), jzx90 clutch/pressure plate/flywheel setup, all the pedals and Clutch slave whatnot from the is300. Just in search of the bellhousing and it'll be ready to go next month. But here she is right now.
Artisan spirits kit minus the wing, with the wider front fenders.
Nothing major in the engine bay yet, tein superstreet coils.
I see you said dude its actually a female
Trending Topics
#14
Driver School Candidate
Thread Starter
Yeah I mean if you have a better way to do it then by all means.. Jack stands weren't going to cut it on the uneven cement that the portable garage is setup on. I tried a few different things but realistically most people will do this kind of work in a real garage etc. so to each their own sir.
#15
Lead Lap
iTrader: (1)
Yeah I mean if you have a better way to do it then by all means.. Jack stands weren't going to cut it on the uneven cement that the portable garage is setup on. I tried a few different things but realistically most people will do this kind of work in a real garage etc. so to each their own sir.


