IS250 Dashboard/Door Panel Restoration with Custom Gauge Pod


 02-12-14, 06:31 PM
#19
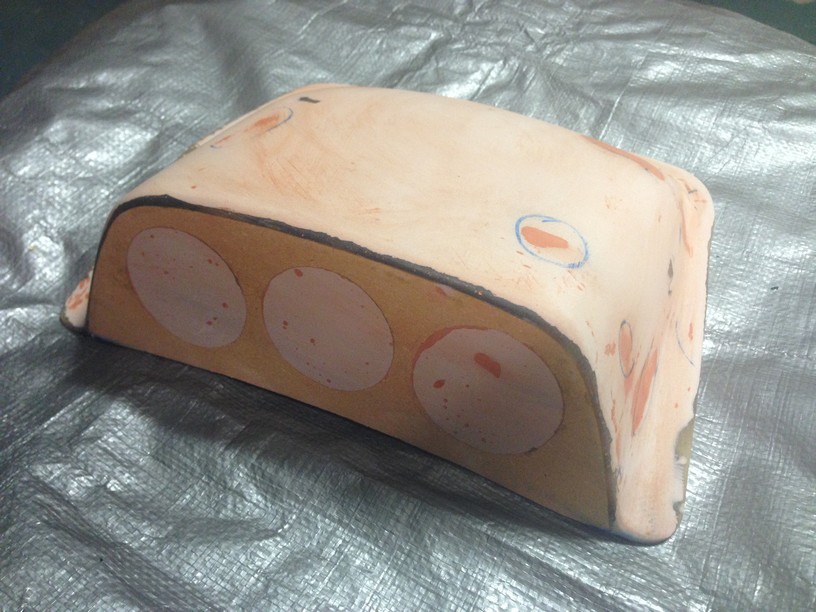
So a lot has happened since my last post. When I last left off I was planning on using the gauge pod with the wood front. Since then I decided that I want to have the option to make more of these gauge pods based off this design so I started the process of creating a mold. So here is how that went. First I needed to plug up the gauge holes so I used some backer wood and bondo. I went back over the pod several times with glazing putty sanding between each coat.
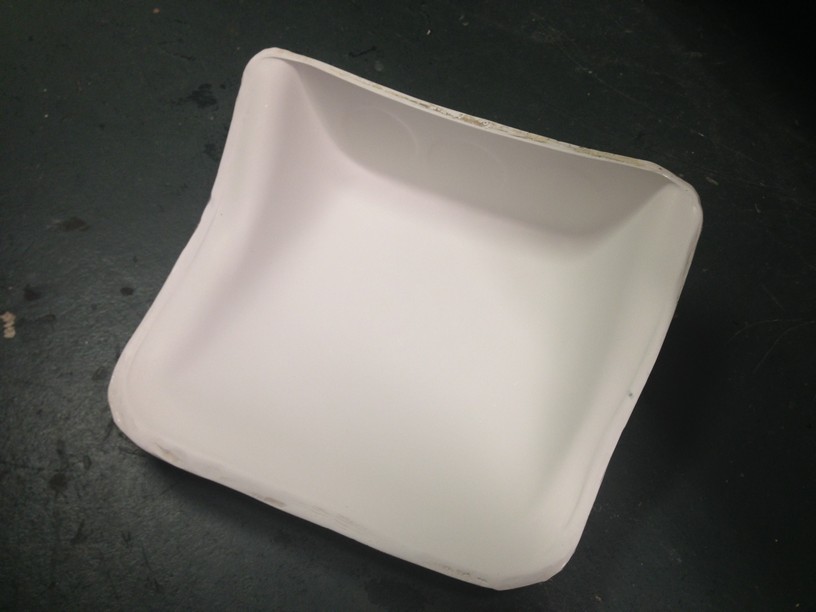
Once I was happy with the surface I sprayed the entire pod with Slick Sand which is a polyester primer. It goes on very thick but sands great. Here is a pic before sanding:
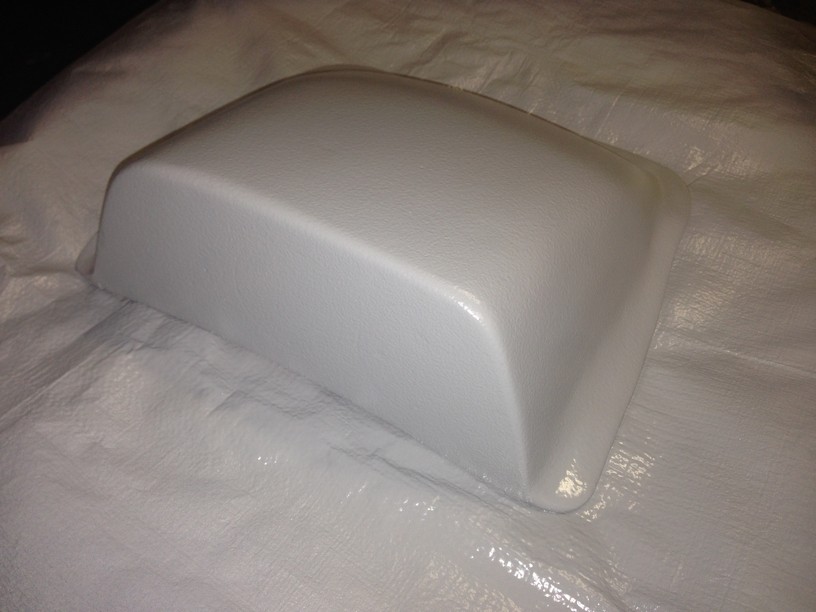
And then after wet sanding down to 2000 grit:
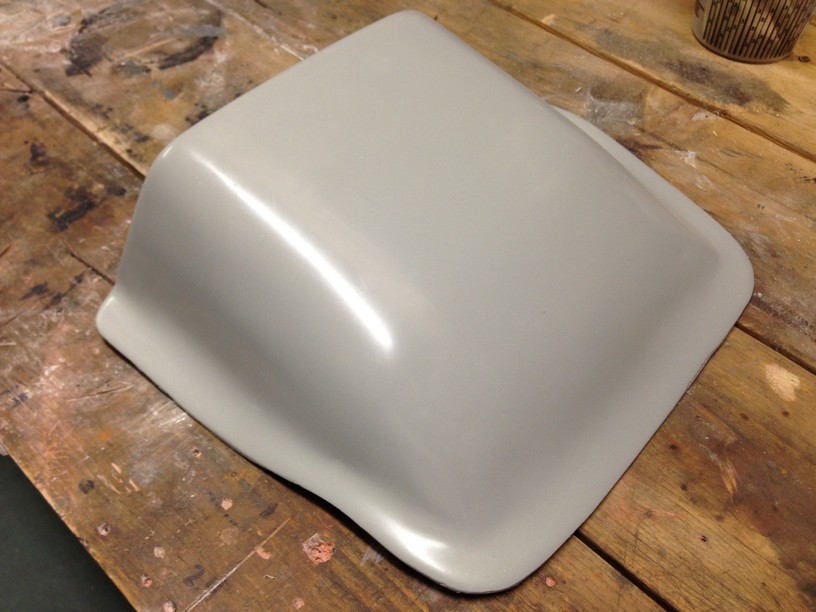
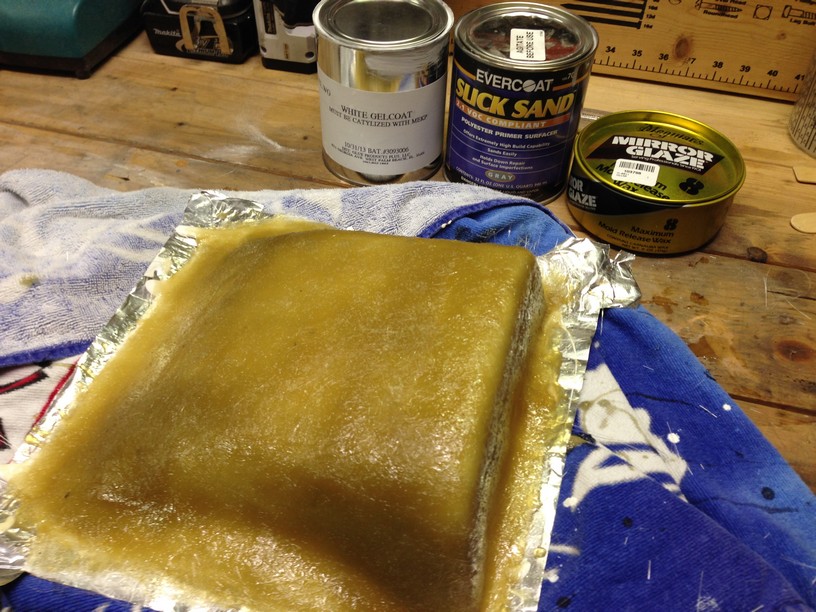
Next was a few coats of mold release wax and then a thick layer of gel coat. This will release from the grey surface and end up being the inside surface of my finished mold.
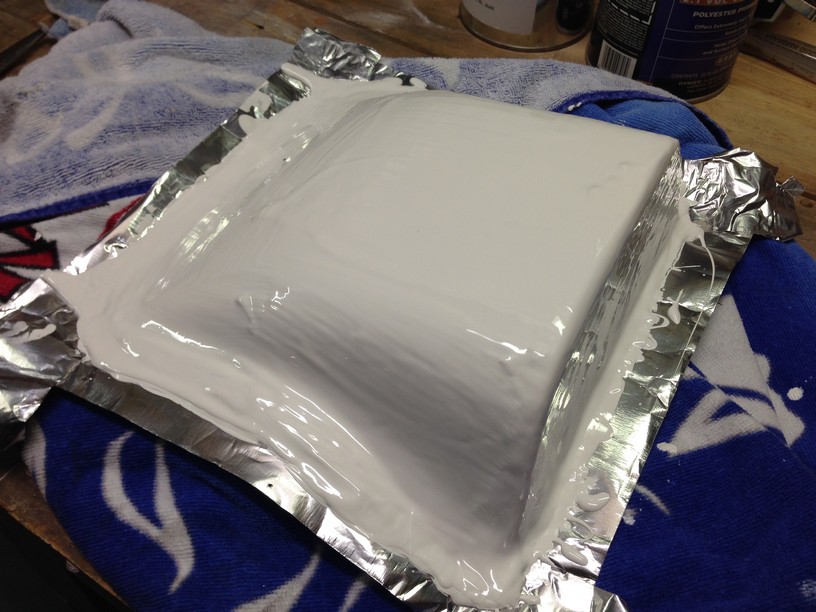
Next comes several layers of fiberglass. The more layers the better the mold. A stiff mold will last longer and will make removing parts easier. In the background you can see a few of the products I have used during this process:
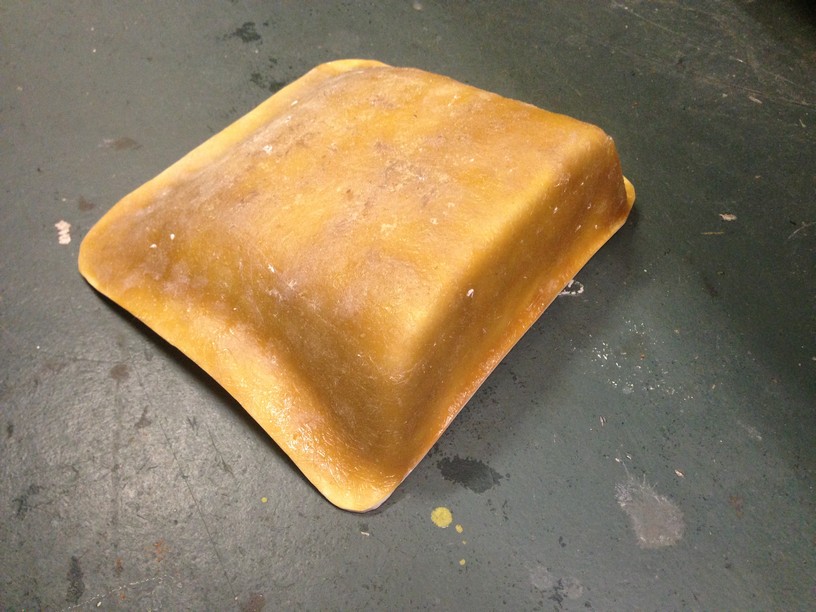
Once everything sets up you can pop off the mold. Here are a few pics of the final mold. This will also need a few coats of wax but should be good for pulling off dozens of parts out of fiberglass or carbon fiber.
Next step, apply a few layers of fiberglass to the waxed mold.
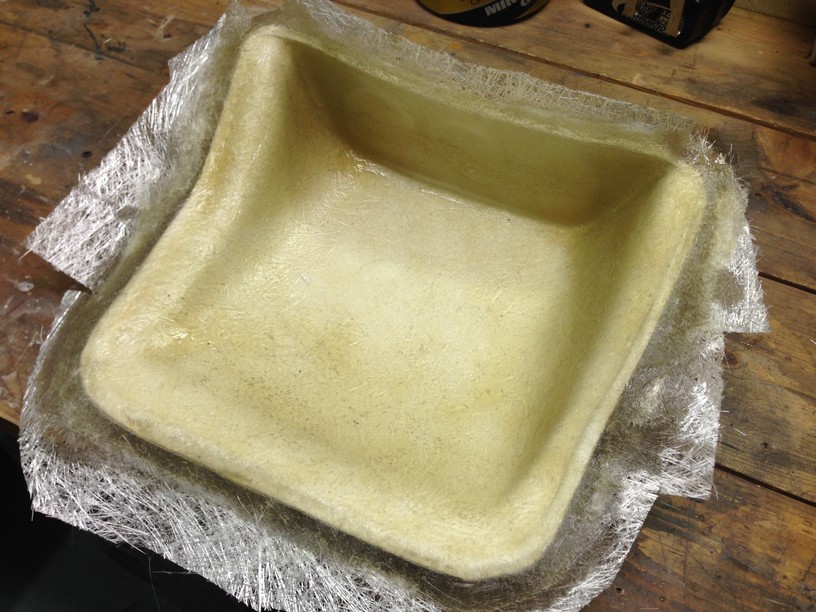
Wait a few hours and then pop the pod out of the mold. This version of the gauge pod weighs about 10% of the wood faced pod I started with.

Once I trimmed the excess fiberglass I did my first test fit. It fit pretty well but will definitely need some tweaking. I purchased a second used dash to help build the mold since I had already modified mine so much. As it turned out the second dash I bough was in much better shape than mine so I ended up using it in my car. The down side was that I have to re-strip the entire dash.
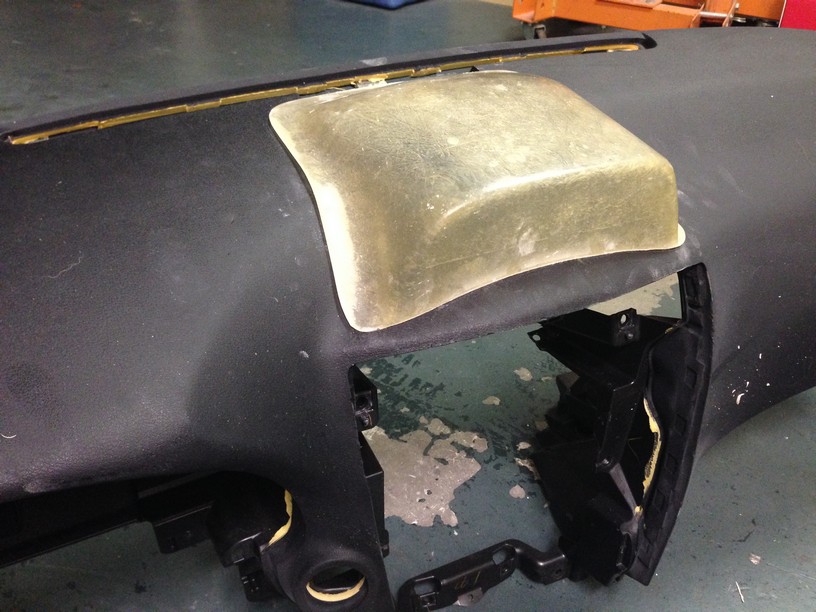
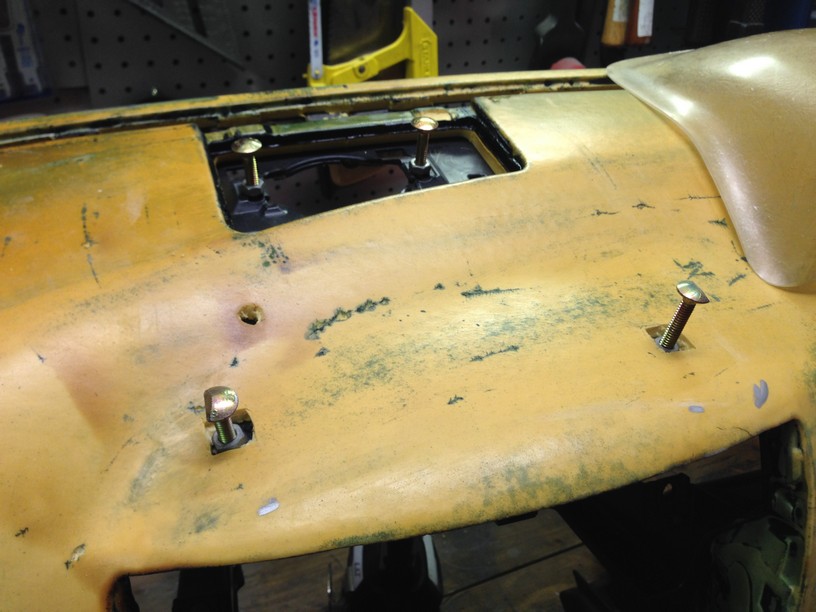
I struggled a little trying to figure out the best way to secure the pod to the dash while still keeping it removable. I decided to use a couple of carriage bolts that were set to the proper height. I then applied some epoxy to the heads of the bolt, placed on the pod, and then when they cured I wrapped all the bolts with some layers of fiberglass.
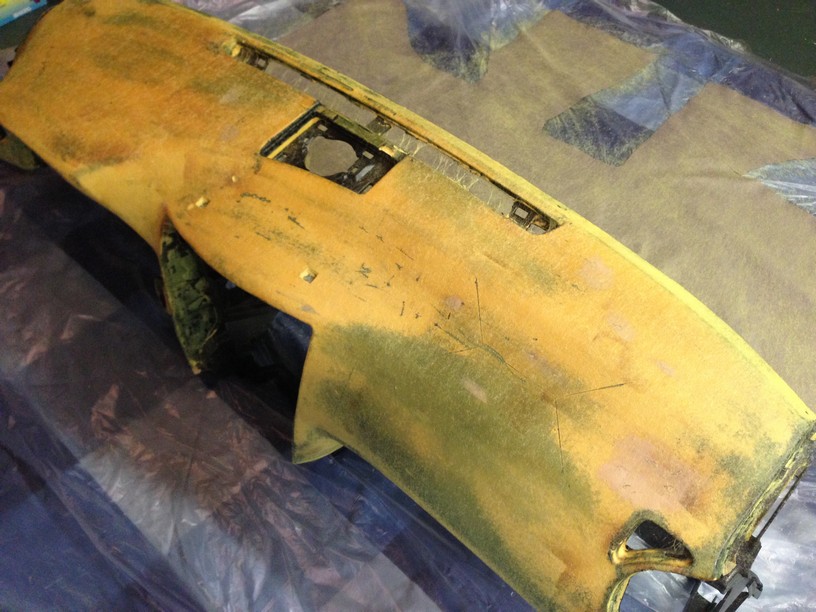
Now it was time to cover the dash. Here is the dash stripped and cleaned up and ready to cover. I used acetone to remove the remainder of the black residue. Surprisingly the acetone did not eat through the yellowish foam rubber (at least that's what it feels like) under layer of the dash.
The material I bought to recover the dash was black Texuede. It's similar to Ultra Suede and cost about $30 per yard. I used DAP Landau Top & Trim High Heat Resistant Contact Cement which I applied to both the dash and the backside of the suede with a cheapo harbor freight spray gun.
I got very involved after this step and forgot to take pictures but the wrapping went pretty well. Once both sides set up, you can gently place the suede on the dash and move it around a little. It doesn't really stick until you apply some pressure. It took 2 tries to get the left side of the dash sitting properly but ultimately it came out pretty much perfect.
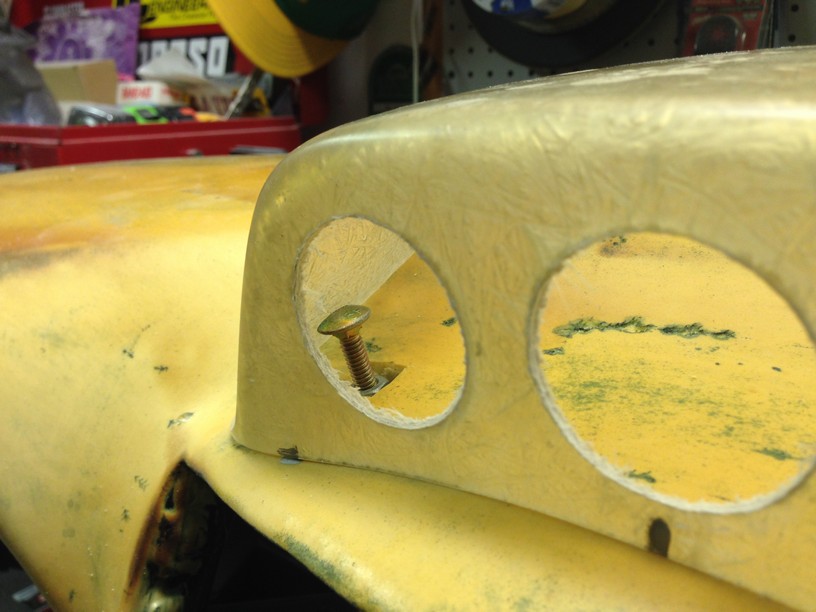
I also neglected to take pictures of the next couple steps of the gauge pod but I cut out the holes with a 2" hole saw and then covered the whole thing in 3M di-noc carbon fiber vinyl. Here are both parts ready to go back in my car:

This picture was taken last Friday night. I let the dash dry over night and then stayed up until 2am on Saturday getting the interior back together in time to take to the JM Lexus Import Bash on Sunday morning. I'll post some hi-res picture of the finished product tomorrow.
Once I was happy with the surface I sprayed the entire pod with Slick Sand which is a polyester primer. It goes on very thick but sands great. Here is a pic before sanding:
And then after wet sanding down to 2000 grit:
Next was a few coats of mold release wax and then a thick layer of gel coat. This will release from the grey surface and end up being the inside surface of my finished mold.
Next comes several layers of fiberglass. The more layers the better the mold. A stiff mold will last longer and will make removing parts easier. In the background you can see a few of the products I have used during this process:
Once everything sets up you can pop off the mold. Here are a few pics of the final mold. This will also need a few coats of wax but should be good for pulling off dozens of parts out of fiberglass or carbon fiber.
Next step, apply a few layers of fiberglass to the waxed mold.
Wait a few hours and then pop the pod out of the mold. This version of the gauge pod weighs about 10% of the wood faced pod I started with.
Once I trimmed the excess fiberglass I did my first test fit. It fit pretty well but will definitely need some tweaking. I purchased a second used dash to help build the mold since I had already modified mine so much. As it turned out the second dash I bough was in much better shape than mine so I ended up using it in my car. The down side was that I have to re-strip the entire dash.
I struggled a little trying to figure out the best way to secure the pod to the dash while still keeping it removable. I decided to use a couple of carriage bolts that were set to the proper height. I then applied some epoxy to the heads of the bolt, placed on the pod, and then when they cured I wrapped all the bolts with some layers of fiberglass.
Now it was time to cover the dash. Here is the dash stripped and cleaned up and ready to cover. I used acetone to remove the remainder of the black residue. Surprisingly the acetone did not eat through the yellowish foam rubber (at least that's what it feels like) under layer of the dash.
The material I bought to recover the dash was black Texuede. It's similar to Ultra Suede and cost about $30 per yard. I used DAP Landau Top & Trim High Heat Resistant Contact Cement which I applied to both the dash and the backside of the suede with a cheapo harbor freight spray gun.
I got very involved after this step and forgot to take pictures but the wrapping went pretty well. Once both sides set up, you can gently place the suede on the dash and move it around a little. It doesn't really stick until you apply some pressure. It took 2 tries to get the left side of the dash sitting properly but ultimately it came out pretty much perfect.
I also neglected to take pictures of the next couple steps of the gauge pod but I cut out the holes with a 2" hole saw and then covered the whole thing in 3M di-noc carbon fiber vinyl. Here are both parts ready to go back in my car:
This picture was taken last Friday night. I let the dash dry over night and then stayed up until 2am on Saturday getting the interior back together in time to take to the JM Lexus Import Bash on Sunday morning. I'll post some hi-res picture of the finished product tomorrow.
The following users liked this post:
Shushley (01-27-23)
 03-01-14, 04:20 PM
#25
dammm dude... this was a big project too! Looks great and nice details! I feel like the really nice suede material and the 3m vinyl carbon don't match so well though. Real carbon would have made it look so much classier or the same material. Do you have any other 3M carbon vinyl in the car?

 03-03-14, 04:49 PM
#28
If you are interested in buying one bare and you doing all trimming and securing I can sell you one pretty cheap and help you through the process. It would pretty much look like the one below:

You can see the the left side (as well as the right that you can't see) sit a little high on the hump in the dash so there is a gap. You can keep working it, I used a belt sander, to get it fitting pretty flat but it takes a little while.
Long story short pm me if you are interested. If you want to wait than I will contact you as soon as I work out all the kinks.
03-03-14, 04:55 PM
#29
dammm dude... this was a big project too! Looks great and nice details! I feel like the really nice suede material and the 3m vinyl carbon don't match so well though. Real carbon would have made it look so much classier or the same material. Do you have any other 3M carbon vinyl in the car?
I don't have any carbon fiber vinyl anywhere else yet but I haven't finished my center console yet. Once I modify the center console for the shifter and the hand e-brake I plan on wrapping the center console in it as well. At that point the 3M carbon fiber might clash with a real carbon fiber gauge pod.
I think I'll just take it step by step. I should be starting on the center console mods soon.
03-03-14, 04:57 PM
#30
I actually wanted to wrap it in suede but the suede is much less workable than the vinyl. I also think that the suede would require some stitching to make the tight bends. If I wasn't in such a rush at the time to get it ready for the JM Lexus show I probably would have gone that route.