When you click on links to various merchants on this site and make a purchase, this can result in this site earning a commission. Affiliate programs and affiliations include, but are not limited to, the eBay Partner Network.
This thread will track my 2010 LS460L VIP build. I've had an ES330, GS430, SC300, LS460 (non L), and then this LS460L. Originally, I bought a beat up 08 LS460 for like $6.5k last year, and then saw this single owner LS460L a few weeks later, so I ended up buying this one for around double the price and sold the beat up LS460. This car was owned by an executive's wife and they mostly serviced it at a Lexus dealership, and even spent $1,800 on the brakes right before selling it to me so it was really well taken care of. Currently, I also have a w204 C63 so I have one car when I want to go fast and one car when I want to cruise
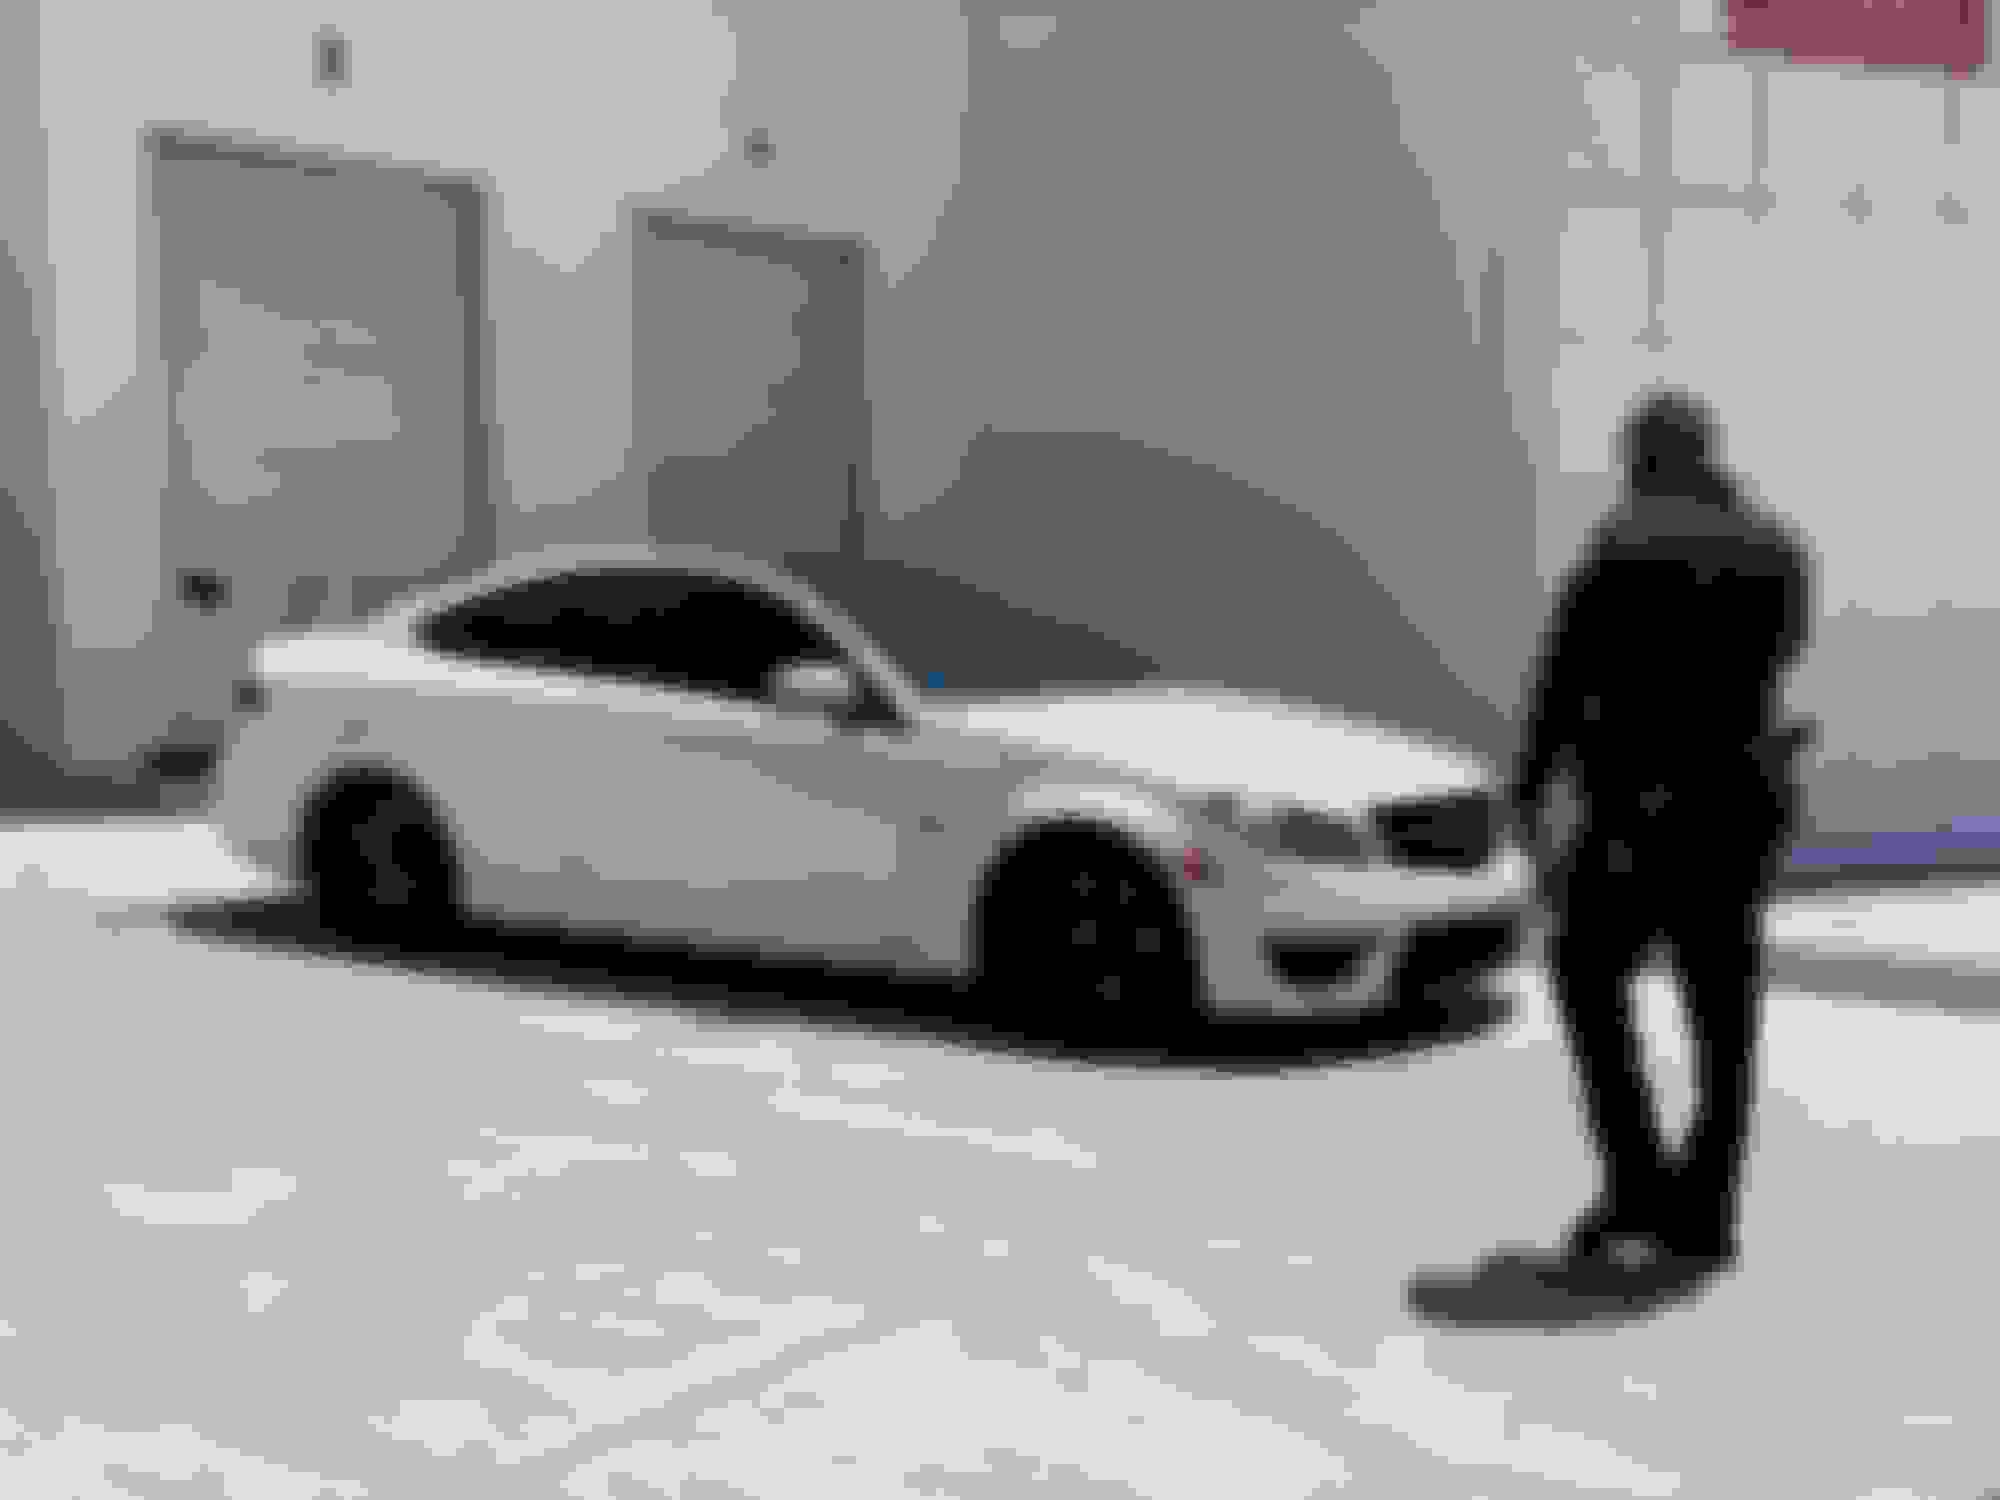
C63:
How it looked when I picked it up:
First mod:
BC Racing coilovers (bought and installed by AutoFashion USA here in San Diego)
Next:
JL 10W7 in a custom sealed box built to spec by me.
AudioControl LC2i to tap into the ML amp
Alpine PDX-M12 mono amp
Then:
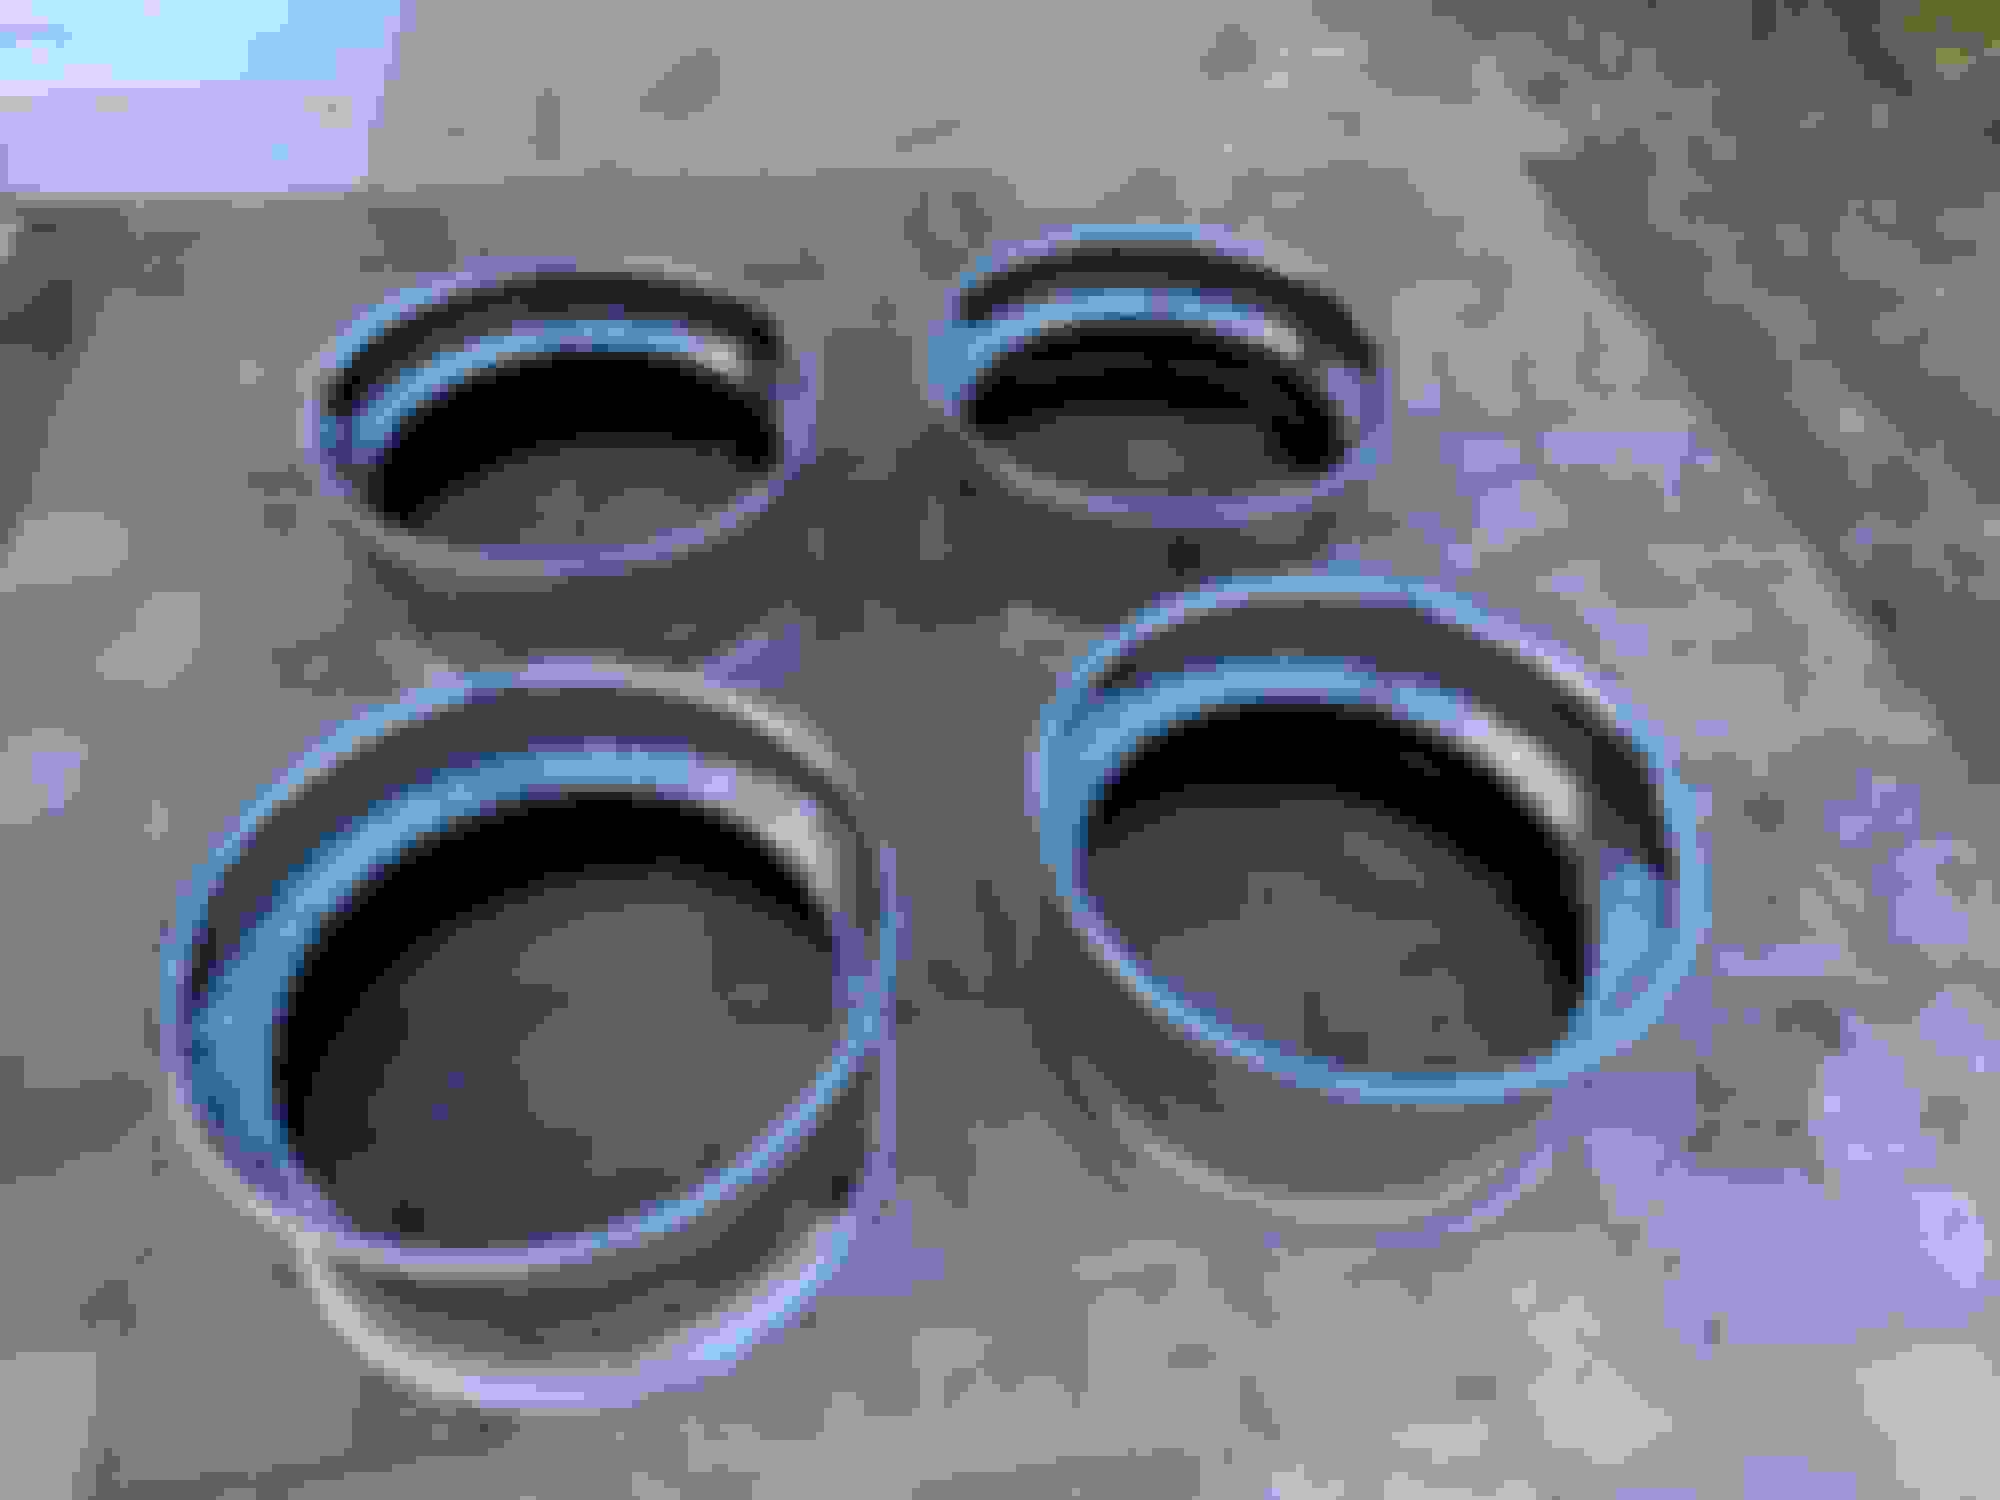
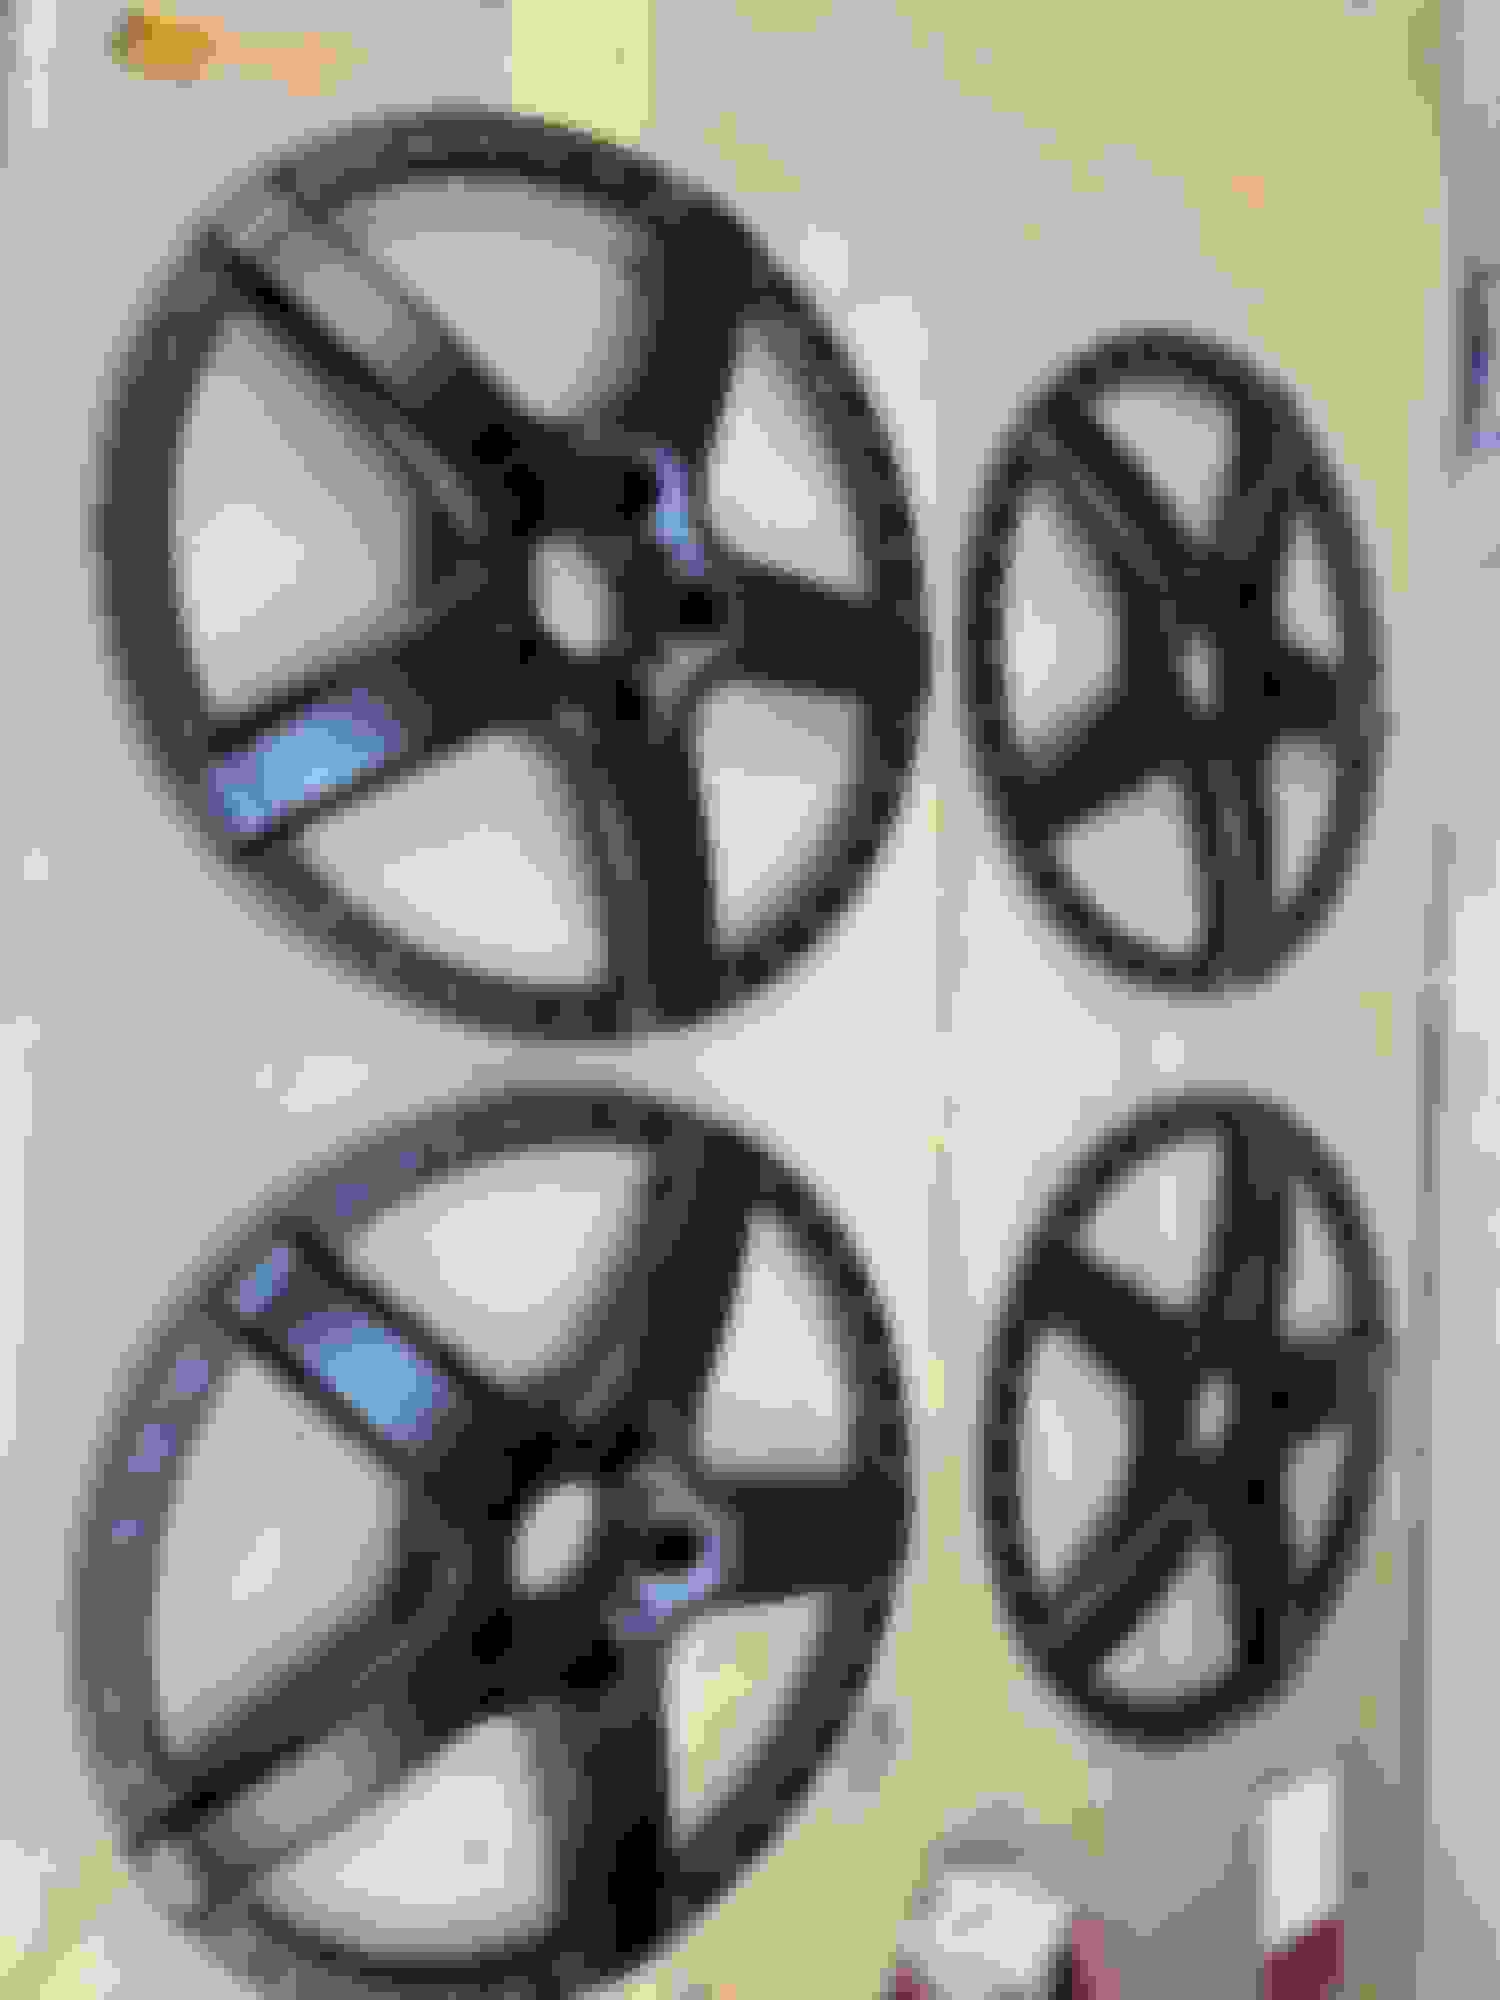
I got some VIP Modular VR08's for a pretty good deal on OfferUp. One of the front inner barrels was cracked and re-welded, and the face was a flashy teal... I priced out how much it would be to replace the front barrel and powdercoat them and thought it was reasonable. I wanted to take the wheels to a shop like VR wheels or a local wheel guy, but they're always extremely backed up so I decided to take a shot at rebuilding a 3 piece wheel. I found an inner barrel in the size I needed on eBay from a local seller and he even dropped it off and gave me some tips. I also dropped off the faces to get powdercoated Satin black at a local place for $300.
I have to say, rebuilding wheels is simple and straightforward, but it is very tedious, especially when torquing down the 30-40 wheel bolts in a star pattern. I took off all the face/barrel bolts and threw them in a tumbler to polish. I also got new valve stems and center cap o-rings from VIP Modular. For the first wheel, I was on the floor, using my left hand to hold the front of the bolt, my right hand to hold the torque wrench, and using my right leg to push the torque wrench. After I did one bolt, I Would mark it with a sharpie and go on to the next one. This painful process took over an hour just to do one wheel. Next wheel, I put painters tape on the backside and numbered them 1 to 40, and asked my girlfriend to help hold the front side while I torqued the back side. This was MUCH faster...
After I finished the wheels, I got new tires and TPMS, and mounted them on my car.
I needed a 5mm spacer to get the center caps to clear the axles. After doing this, I had to get spline wheel nuts that extended into the wheel to engage more threads on the studs.
Next, I had to trim the rear fenders to get them to fit. I tried using an angle grinder and it was too sloppy and took too long so I went to harbor freight to get an air saw. Of course the one I bought didn't work at all right off the bat so I went back to swap it and it went really easily. I took off the fender liner bolts so that the blade could go behind the fender liner. I was able to cut one side in a few minutes. After I cut it, I sanded it smooth, and sprayed some automotive primer to protect it against rust. I bought some color matched spray paint and still need to spray that to finalize the fenders.
Planned:
AIR SUSPENSION! I just paid for Airforce struts and an Airlift 3p setup directly from AirForce Suspension. I'll have AutoFashion install it in a few weeks.
Looking fresh! If you don't mind me asking, which airsaw at Hfreight did you end up using with a positive outcome? I have to do the exact same thing on my rears and my old nice airsaw is in the wind so planning on grabbing one in the next few days don't want to run into the same issue with the "not so great version".
Not sure if you put the specs, what offset are your wheels after everything is all said and done? Any more pics of the fitment looks pretty dang good from what i can see!
Looking fresh! If you don't mind me asking, which airsaw at Hfreight did you end up using with a positive outcome? I have to do the exact same thing on my rears and my old nice airsaw is in the wind so planning on grabbing one in the next few days don't want to run into the same issue with the "not so great version".
Ironically.. I bought the better one first, but it was completely broken when I got home, and that was the last one in stock, so I went back to get the cheaper one, and after I was done, I returned it and then bought the better one again... Harbor freight has really good return policy so it was a breeze. I think I bought these blades too: https://www.harborfreight.com/3-1116...-pk-69863.html . I don't think I would have gotten the coarse one, I can double check later.
Not sure if you put the specs, what offset are your wheels after everything is all said and done? Any more pics of the fitment looks pretty dang good from what i can see!
I measured my wheels when I was rebuilding them so they might be not be 100% exact, but this is what I got:
<!--td {border: 1px solid #ccc;}br {mso-data-placement:same-cell;}--> 20x9.5 et24
20x11 et40
First pic is fitment with the BC racing coils.
Update: I got my airforce suspension with airlift 3p installed a few weeks ago. I'll have a photoshoot sometime in the next few weeks to get some better pics. Feel free to pm me for anymore questions.
Oh perfect thanks for the info on the air saw I'll be picking that up tonight/tomorrow to get to trimming.
Looking good with Air setup now! How you liking the 3P unit? I have the same one, love the presets and getting my heights adjusted and especially with the Bluetooth connection to my iPhone so I can adjust it from outside the car probably my favorite feature since I run it as low as I possibly can and it's hard to do when inside the car.
One gripe for me that seems a bit off is it doesn't always go to my presets first try. I have to double tap my preset a couple times and it can "wander" to the presets at times. I don't have the level sensors though so I'm assuming it's something to do with not having that parameter and only referencing air pressure in the bag but you would think it would "know" what air pressure is preset and go right to it?
Maybe some user air (pun intended). Either way loving your ride! What's in the works next?!
I measured my wheels when I was rebuilding them so they might be not be 100% exact, but this is what I got:
<!--td {border: 1px solid #ccc;}br {mso-data-placement:same-cell;}--> 20x9.5 et24
20x11 et40
First pic is fitment with the BC racing coils.
Update: I got my airforce suspension with airlift 3p installed a few weeks ago. I'll have a photoshoot sometime in the next few weeks to get some better pics. Feel free to pm me for anymore questions.
Also I forgot to ask...
how's the clearance now on the rear quarter edge? Did you trim it just about flush and do the primer? Can you roll it with minimal pressure in the bag? I'm trying to get mine to ride just above the rim sorry for all the questions what your doing is right up my alley so I'm super interested in the world your living in right now! Haha
Ride height at my lowest height setting (still a little rub on the quarter until I get that saw to trim it up!)
I picked up my car 2 weeks ago, and only got a chance to drive it home from the shop, and to the store once, before I had to leave out of town for the holidays so can't give you an accurate review yet. So far, it is WAY better than the accuair setup I used to have back in 2014.
Next in the works in no particular order:
Reinstall my straight pipe exhaust and add more piping (hemholtz resonator) to reduce drone, or weld in a magnaflow/borla axle back and call it a day.
Redo the trunk setup and put the air components in the spare tire well with plexiglass
Might do interior / get a body kit or lip kit
I sort of want to get 21's or 22's next too to get more wheel under my fenders
What kind of wheels do you have? And also, when you trim your fenders, don't forget to sand the edges after, spray primer, and then coat it with paint and some sort of clear coat to prevent rust. Because once you cut, there is bare metal exposed. I bought some 3M metal sealant so I need to apply that next time I put my car on jack stands.
how's the clearance now on the rear quarter edge? Did you trim it just about flush and do the primer? Can you roll it with minimal pressure in the bag? I'm trying to get mine to ride just above the rim sorry for all the questions what your doing is right up my alley so I'm super interested in the world your living in right now! Haha
I trimmed it as much as I could but still left a small lip so that the inner and outer fender still meet without separating. I also stopped short of where the rear quarter panel ends on both sides. I don't know about minimal pressure in the bag yet, have driven the car only for like 10 minutes since I got it installed lol, will let you know shortly though once I have time to play around with it and get it aligned. Don't be sorry man, we're all here to help each other, and I got all my info from various threads from clublexus too.
 09-17-21, 04:44 PM