8052JZ's NA-T Build


 05-15-17, 01:49 PM
#1142
Looks good dude! One question on the CPS....why did you opt for the GTE sensor and not the 7M-GTE CPS route to replace your dizzy?
Nothing wrong with what you did, I just always like to ask folks who delete their dizzy and or 7M-GTE CPS and get their opinions on why they opt for the 2JZ-GTE CPS instead.
Nothing wrong with what you did, I just always like to ask folks who delete their dizzy and or 7M-GTE CPS and get their opinions on why they opt for the 2JZ-GTE CPS instead.
05-15-17, 02:06 PM
#1143
Looks good dude! One question on the CPS....why did you opt for the GTE sensor and not the 7M-GTE CPS route to replace your dizzy?
Nothing wrong with what you did, I just always like to ask folks who delete their dizzy and or 7M-GTE CPS and get their opinions on why they opt for the 2JZ-GTE CPS instead.
Nothing wrong with what you did, I just always like to ask folks who delete their dizzy and or 7M-GTE CPS and get their opinions on why they opt for the 2JZ-GTE CPS instead.
05-16-17, 10:54 AM
#1144
If you go back to my first setup as NA-t, I've been running the 7m CPS sense then on a stock long block making over 700hp. The only disadvantage to the CPS or distributor is not having a good selection of cams to choose from that are not regrinds. With having GTE sensor's, there are a lot of options to choose from for cams. In my case I chose to go with GSC S3 cams which are a 294 duration. This is the sole reason to go GTE cam/crank sensor and still be a "Na-t".
05-16-17, 02:18 PM
#1145
Looks good dude! One question on the CPS....why did you opt for the GTE sensor and not the 7M-GTE CPS route to replace your dizzy?
Nothing wrong with what you did, I just always like to ask folks who delete their dizzy and or 7M-GTE CPS and get their opinions on why they opt for the 2JZ-GTE CPS instead.
Nothing wrong with what you did, I just always like to ask folks who delete their dizzy and or 7M-GTE CPS and get their opinions on why they opt for the 2JZ-GTE CPS instead.
06-26-17, 10:20 AM
#1147
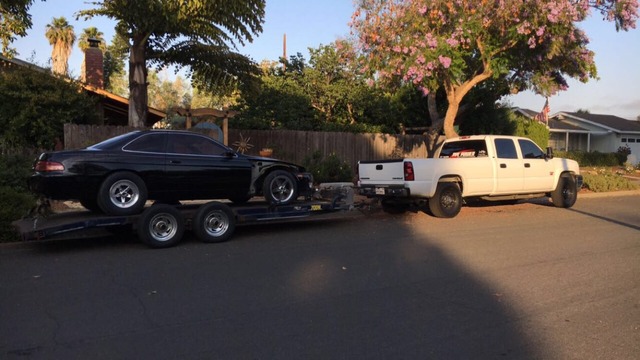
Couple pics of what I've been up too. New garage is getting setup with a few things left to do and finally got my car home. Need to find some time to finish up the car and get more done.
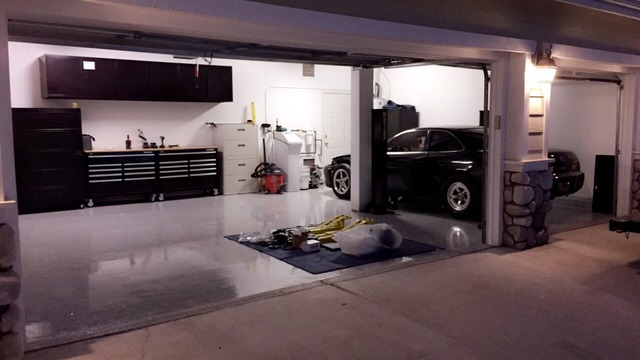
Weld wheels are on and I'm loving the mean look. Amazing what a new pair of shoes does to the appearance of the car..

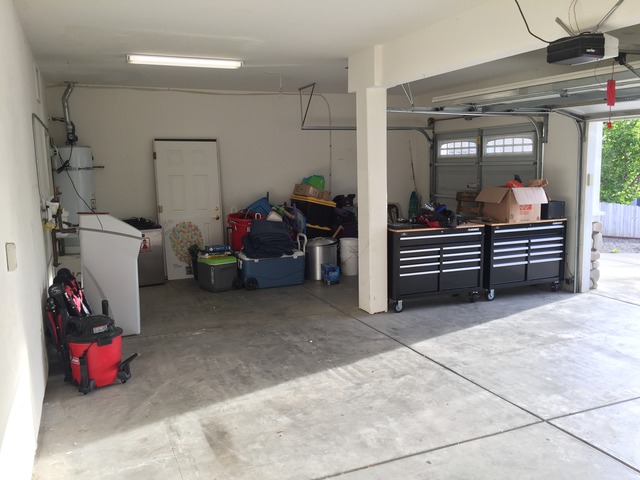
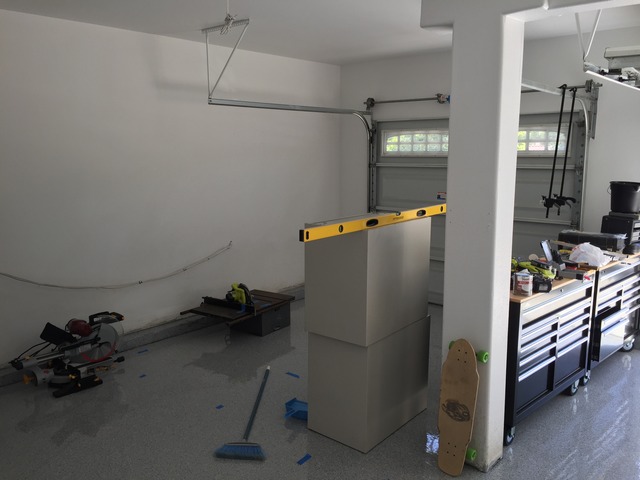
And a few pics of the work in progress on the new shop.
Started by painting the walls and putting on epoxy on the floor.
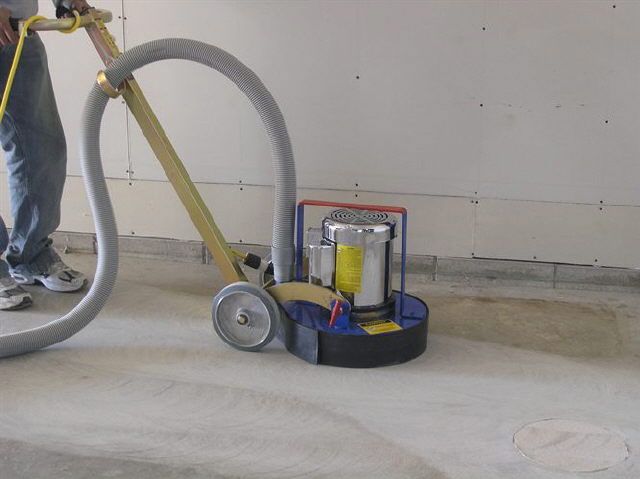
Diamond ground the entire floor that took a full weekend to do. Rented the machine and went at it. Prep is key just like everything else.
All of the cracks and expansion joints where filled in with Extreme set joint/crack filler then sanded down smooth. Then scrubbed and rinsed clean.
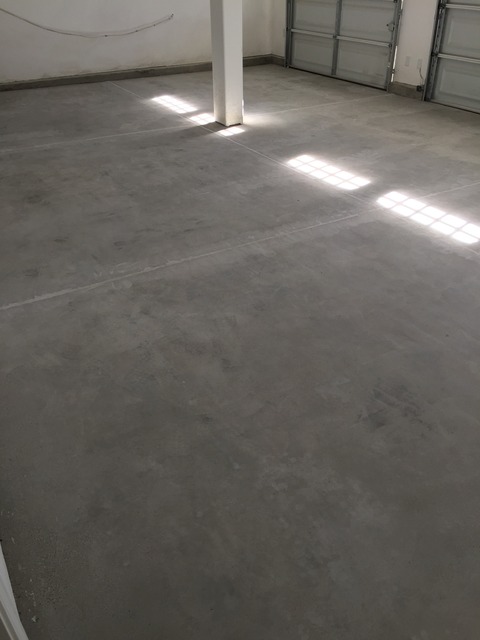
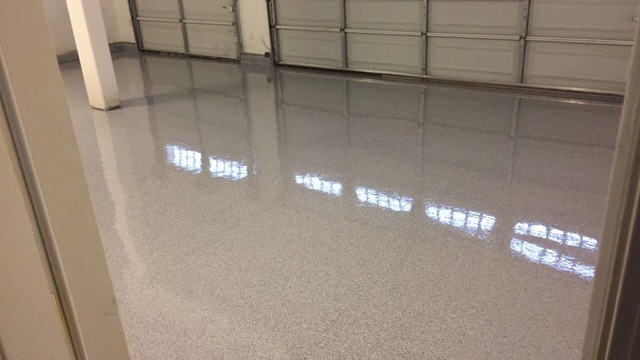
Finally, the next weekend the first coat went on. Grey with black and white chips.
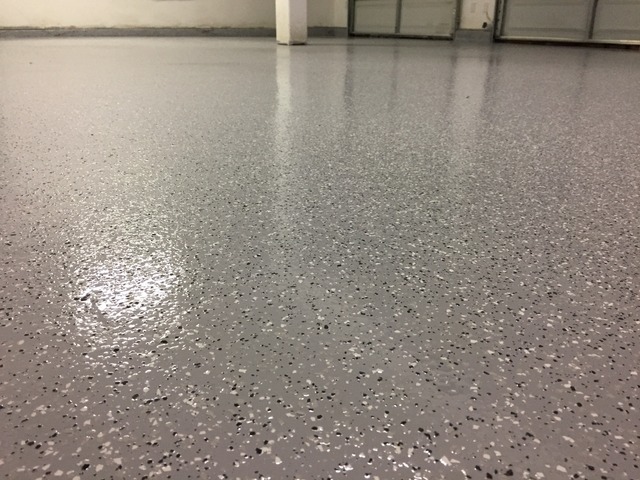
Next day was followed by the second coat which is a clear. Glad I filled in the cracks. Make the floor look extremely clean and seamless.

Then started to make shelving for the wife and kids "stuff". 14'L x 21"deep x 9' high on the high spot. I also added doors but forgot to snap a pic of them.
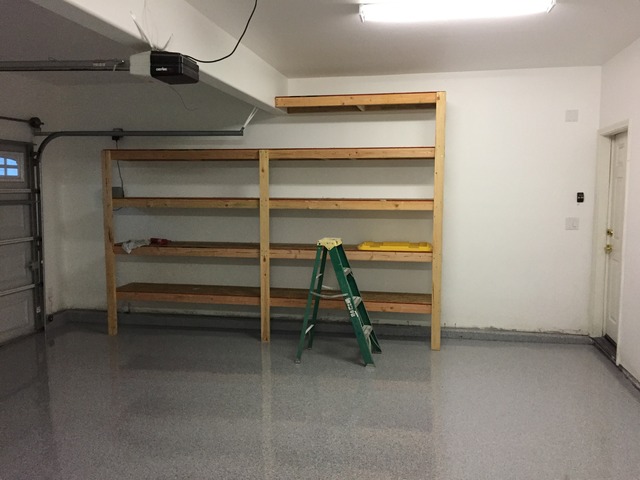
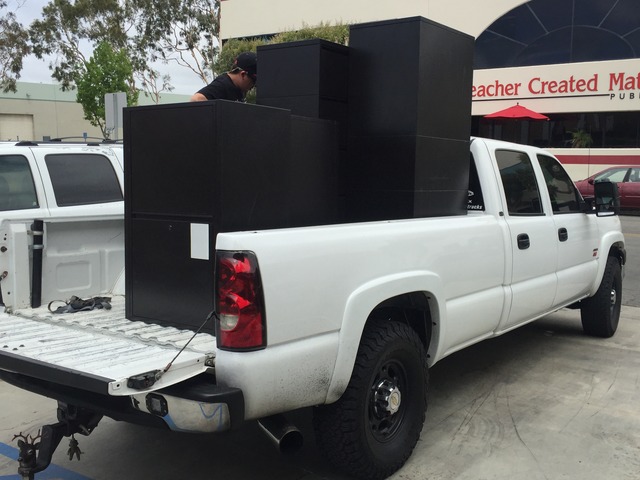
For tool storage I found a ware house that sells used office furniture. So I picked up an ayre of cabinets that can be used for tool/home item storage for dirt cheap. I added casters on the bigger units and hung the smaller ones. Still have some to hang.
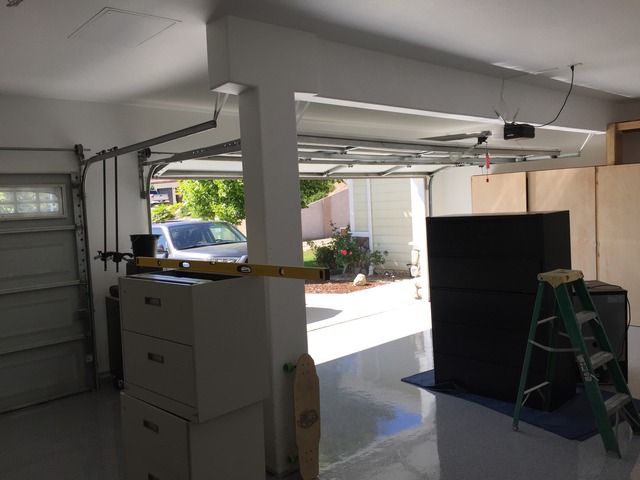
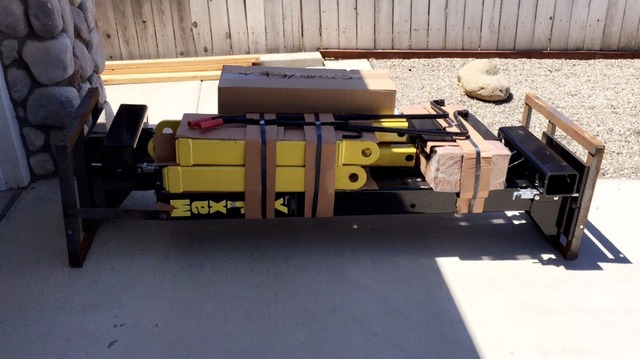
Also ordered a MaxJax car lift which I am in the process of installing. Probably the best investment I've made for the garage so far. I decided to have the lift in the single bay because there is no over head beam on that section of the garage.
Final pic of where the garage stands today. Still have a few things to do but its coming along nicely.
SnapChat of the garage for full few if your interested.

Weld wheels are on and I'm loving the mean look. Amazing what a new pair of shoes does to the appearance of the car..


And a few pics of the work in progress on the new shop.
Started by painting the walls and putting on epoxy on the floor.

Diamond ground the entire floor that took a full weekend to do. Rented the machine and went at it. Prep is key just like everything else.

All of the cracks and expansion joints where filled in with Extreme set joint/crack filler then sanded down smooth. Then scrubbed and rinsed clean.

Finally, the next weekend the first coat went on. Grey with black and white chips.

Next day was followed by the second coat which is a clear. Glad I filled in the cracks. Make the floor look extremely clean and seamless.


Then started to make shelving for the wife and kids "stuff". 14'L x 21"deep x 9' high on the high spot. I also added doors but forgot to snap a pic of them.

For tool storage I found a ware house that sells used office furniture. So I picked up an ayre of cabinets that can be used for tool/home item storage for dirt cheap. I added casters on the bigger units and hung the smaller ones. Still have some to hang.


Also ordered a MaxJax car lift which I am in the process of installing. Probably the best investment I've made for the garage so far. I decided to have the lift in the single bay because there is no over head beam on that section of the garage.

Final pic of where the garage stands today. Still have a few things to do but its coming along nicely.

SnapChat of the garage for full few if your interested.
Last edited by 8052JZ; 06-26-17 at 10:30 AM.
 06-27-17, 11:28 AM
#1152
Thanks for the kinds words.. I used Epoxy-Coat. Spent a couple weekend researching on which epoxy to go with and I ended up getting Epoxy-Coat. Any epoxy will work as intended if prep is done properly. I took my time doing the floor because I don't wont to go through the process again in 5 years.
In the mean time, I started drilling holes for the Lift and ran into rebar on the first hole, go figure. Ordered an SDS bit that should cut through the rebar to keep me moving forward with the install.
In the mean time, I started drilling holes for the Lift and ran into rebar on the first hole, go figure. Ordered an SDS bit that should cut through the rebar to keep me moving forward with the install.
Last edited by 8052JZ; 06-27-17 at 11:31 AM.
06-27-17, 03:24 PM
#1153
Thanks for the kinds words.. I used Epoxy-Coat. Spent a couple weekend researching on which epoxy to go with and I ended up getting Epoxy-Coat. Any epoxy will work as intended if prep is done properly. I took my time doing the floor because I don't wont to go through the process again in 5 years.
In the mean time, I started drilling holes for the Lift and ran into rebar on the first hole, go figure. Ordered an SDS bit that should cut through the rebar to keep me moving forward with the install.
In the mean time, I started drilling holes for the Lift and ran into rebar on the first hole, go figure. Ordered an SDS bit that should cut through the rebar to keep me moving forward with the install.
Does your lift require the cement to be a certain depth to safely anchor it?

