DoomLight's 1992 SC300 1JZ Swap & Build Thread

 05-16-12, 04:52 PM
#17
1JZ Single SC400
iTrader: (59)
Join Date: Jan 2009
Location: Alabama, Roll Tide!
Posts: 8,518
Likes: 0
Received 15 Likes
on
12 Posts
Where did the 15K come in to this?
You finally posted some up of your progress. Looks good... So what is next?
You going to keep the stock twins for now or go single? How does your R154 shift with the shifter extension? Did you cut the shifter or extend the whole housing?
You finally posted some up of your progress. Looks good... So what is next?
You going to keep the stock twins for now or go single? How does your R154 shift with the shifter extension? Did you cut the shifter or extend the whole housing?

 05-17-12, 06:20 AM
#20
Where did the 15K come in to this?
You finally posted some up of your progress. Looks good... So what is next?
You going to keep the stock twins for now or go single? How does your R154 shift with the shifter extension? Did you cut the shifter or extend the whole housing?
You finally posted some up of your progress. Looks good... So what is next?
You going to keep the stock twins for now or go single? How does your R154 shift with the shifter extension? Did you cut the shifter or extend the whole housing?
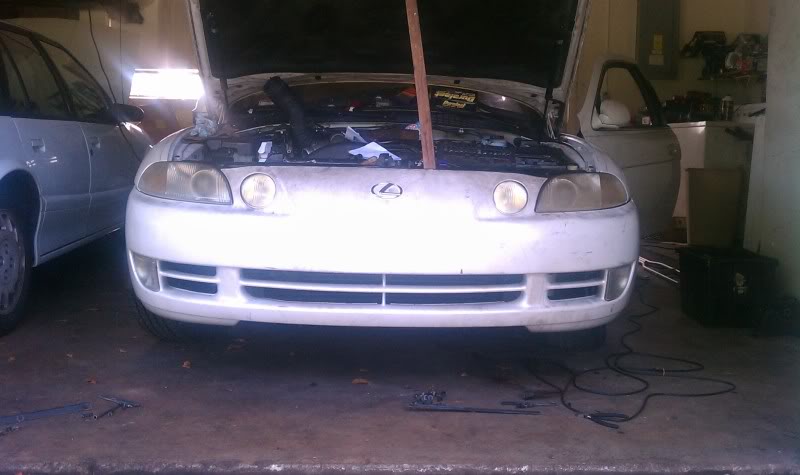
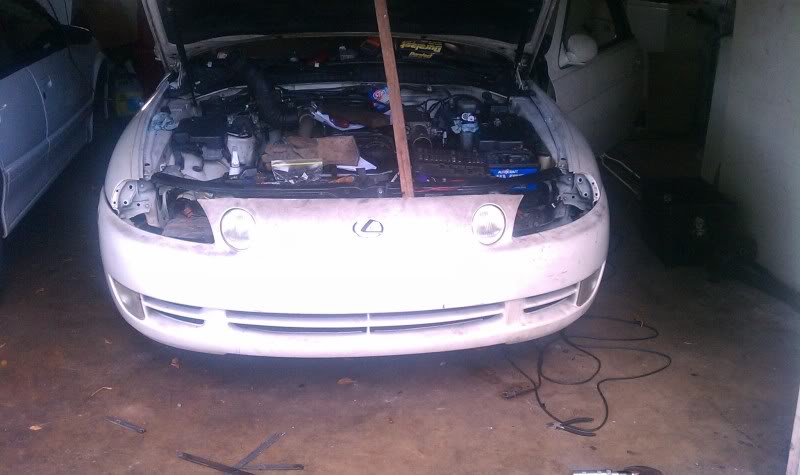
i added more pics in the reserved spots on page one.
going to do a few more posts today.
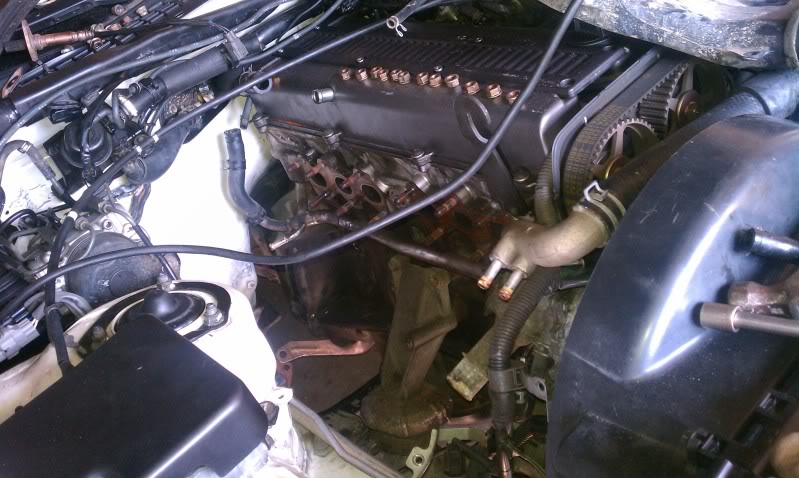
i never took pics of that process where i installed the shifter. i had to cut the hole in the trans tunnel. i could see where the hole would of been if it was a 5 speed. so i cut it right there and it lined up perfectly. i used the old Automatic rubber shifter insulator boot to keep the elements outside and sealed it with RTV. this engine looks like it came out a pre 93 Soarer, based on some of the toyota sensors. this one didn't have the shifter extention on the R154.
 05-17-12, 07:26 AM
#23
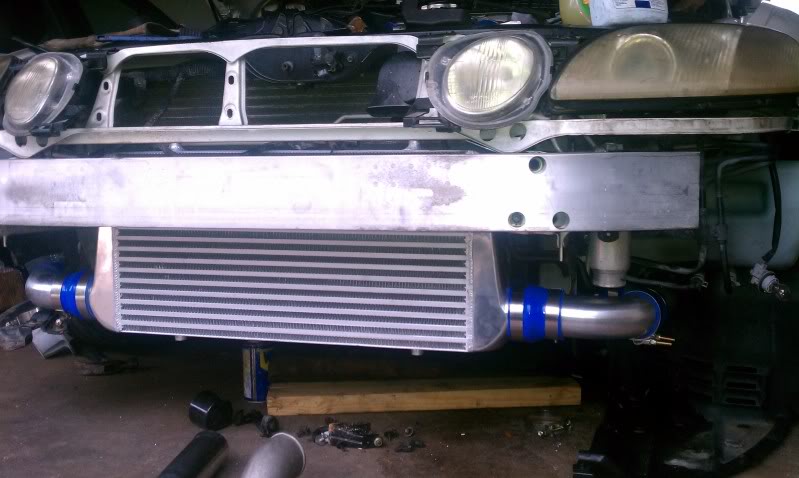
next i got the intercooler. unboxed it. yay!
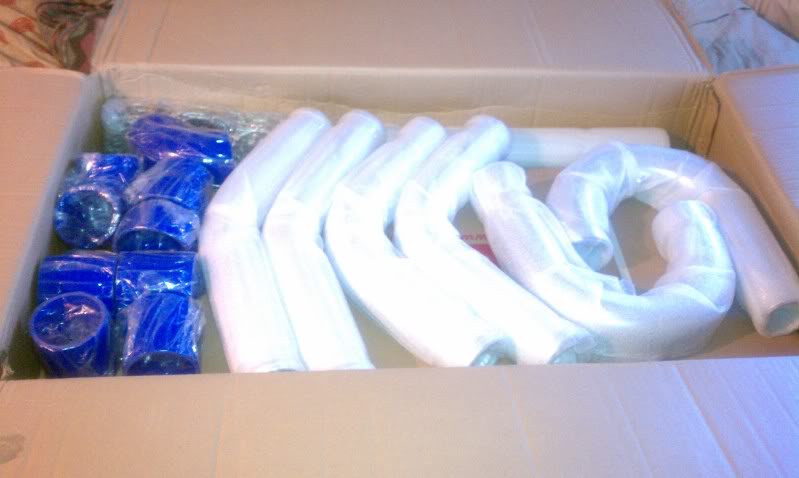
nice big 32x12x3 i think.

i also removed the stock Twins. now that is something you should do OUTSIDE the car. toyota must use some magical torque wrench to get in these tight spots. i had to double wrench a lot of these bolts to get these suckers off.
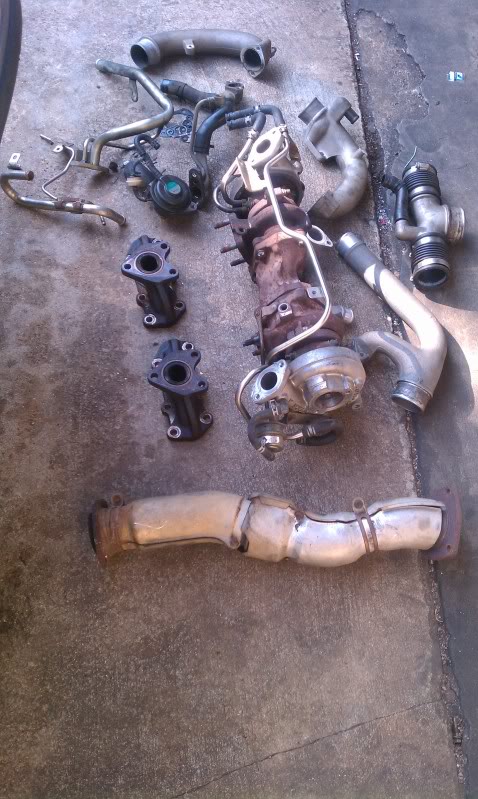
nice big 32x12x3 i think.
i also removed the stock Twins. now that is something you should do OUTSIDE the car. toyota must use some magical torque wrench to get in these tight spots. i had to double wrench a lot of these bolts to get these suckers off.
05-17-12, 07:49 AM
#25
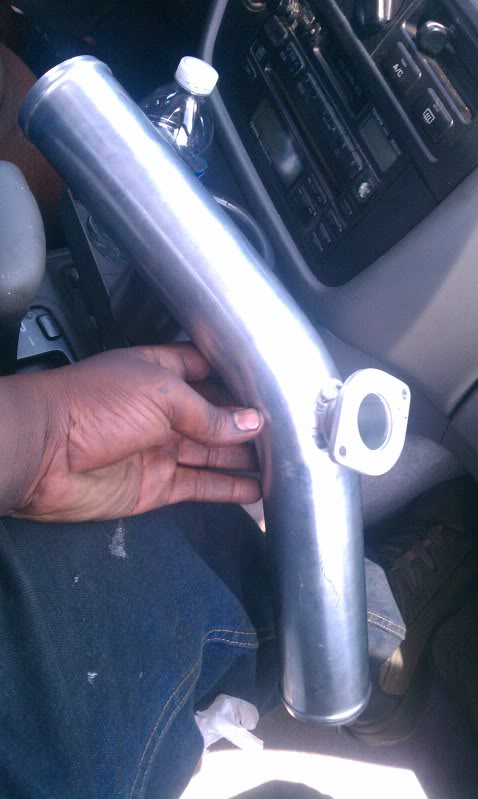
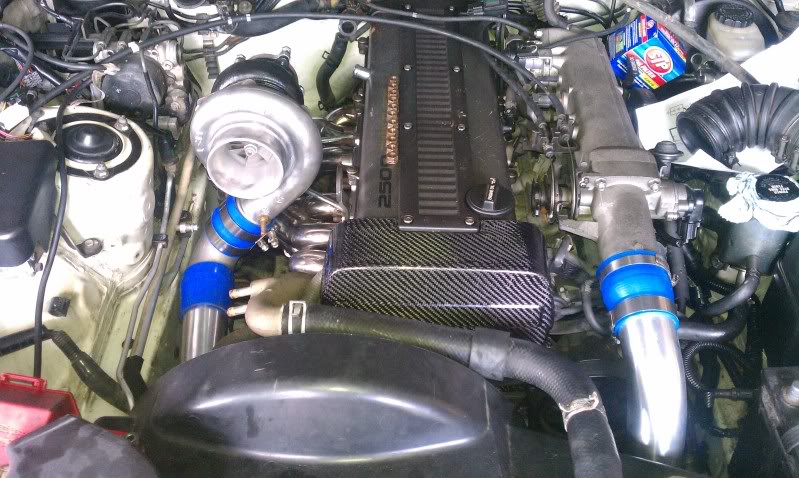
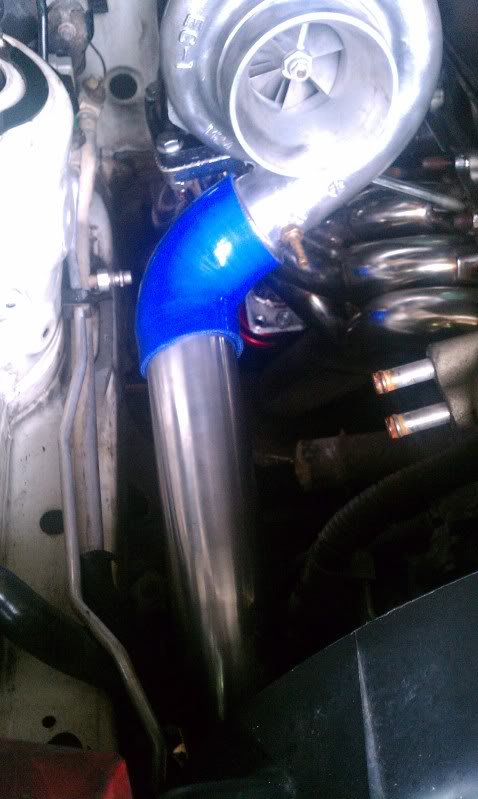
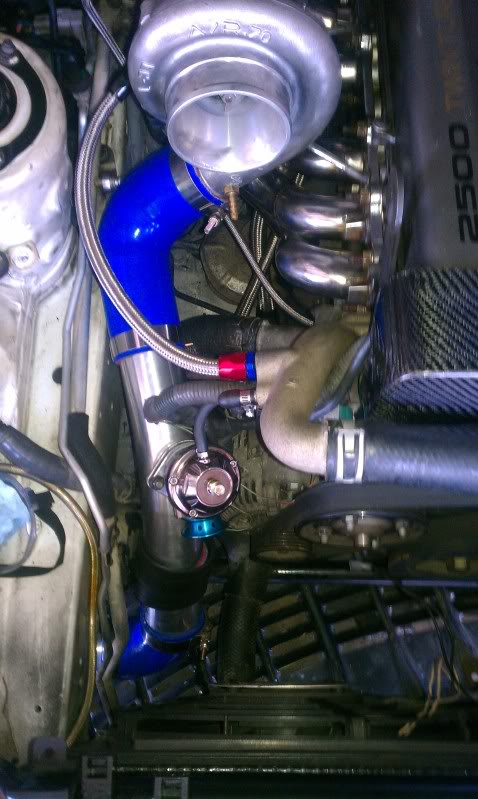
here i started to mount the intercooler. it wasn't too bad. a lot of cutting here and there. i also had to buy another pipe and have the blow off valve flange welded on. i got a big Greddy Type R BOV for free. sucker is huge! at first i had a type RS which is in some of the pics.
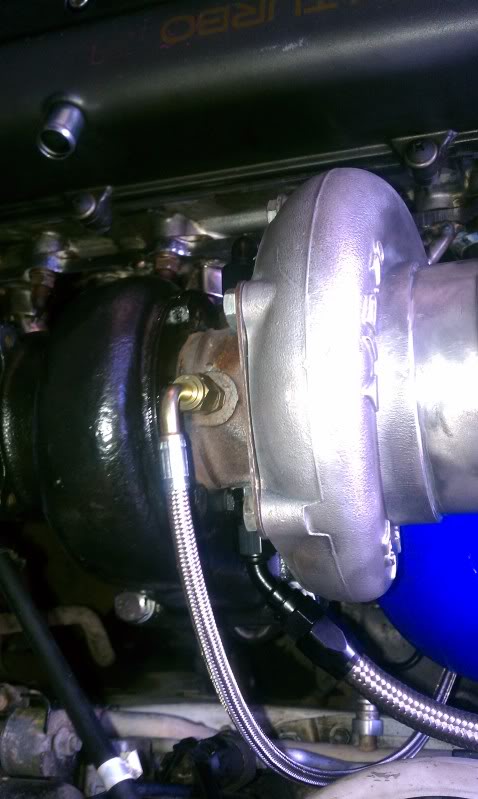
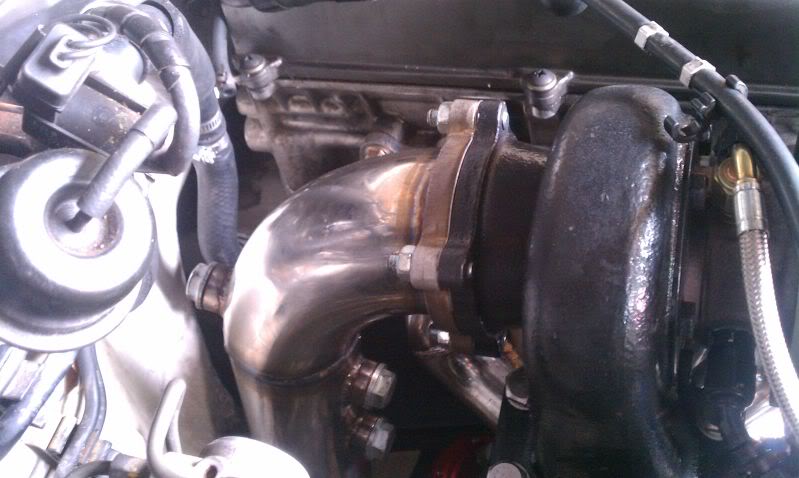
finally i was able to hang my turbo with manifold on the engine.
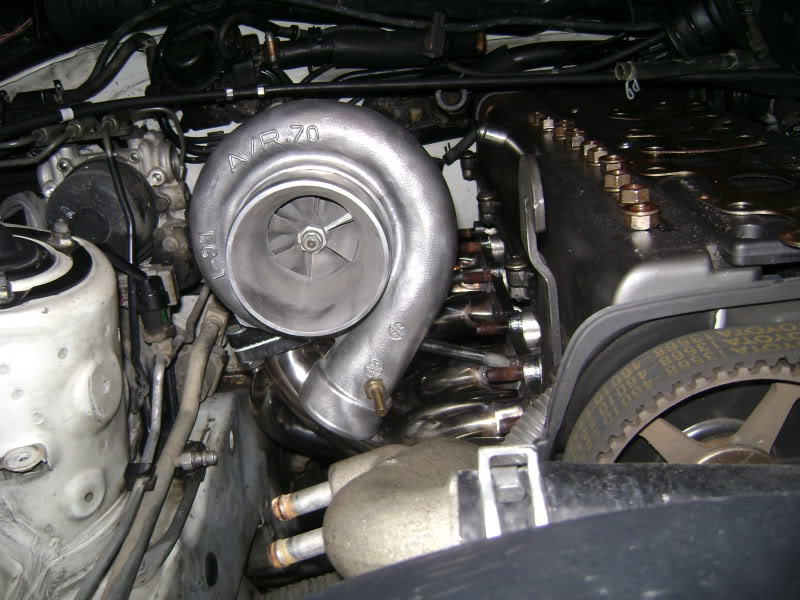
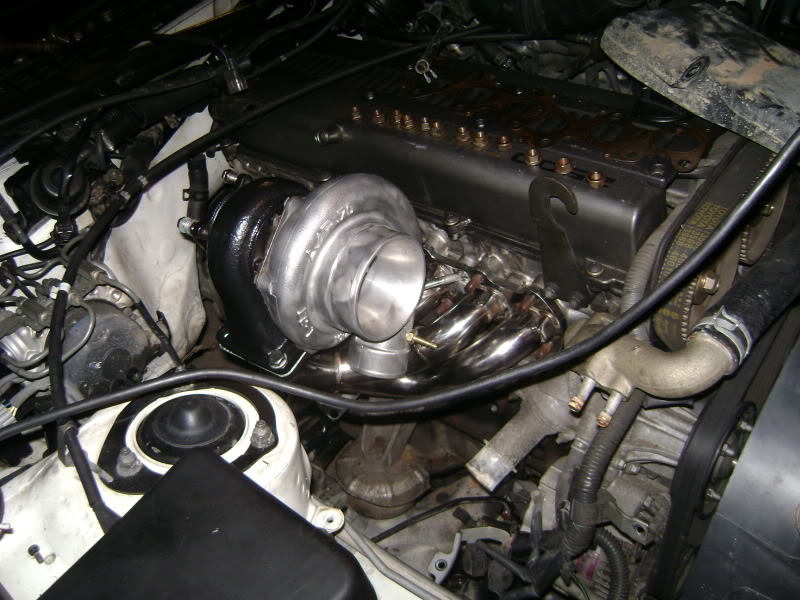

then i had the custom return lines made. since this turbo is water cooled i need those made as well. talk about expensive! damn near 300 bux in just LINES! well thats what u pay for AN fittings.
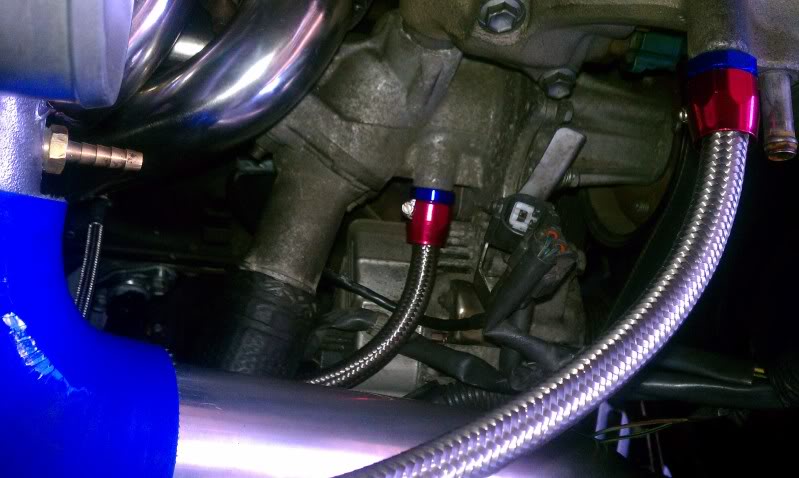
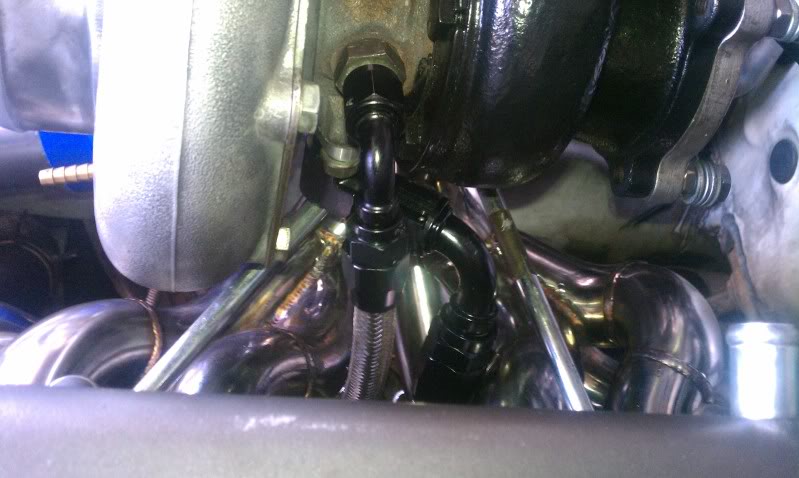
i used the Front oil feed supply to feed the turbo. and the rear was blocked off with a simple oil drain screw and copper washer
its hard to see, but because of my T3 manifold. i had to get some funky fittings joined together to drain the oil from turbo to pan. so my oil drain is between the 3 and 4 cylinder primaries. i wrapped the braided hose in heat resistant wrap to insure longevity. same with the water supply line. (wrapping may not be pictured)
finally i was able to hang my turbo with manifold on the engine.
then i had the custom return lines made. since this turbo is water cooled i need those made as well. talk about expensive! damn near 300 bux in just LINES! well thats what u pay for AN fittings.
i used the Front oil feed supply to feed the turbo. and the rear was blocked off with a simple oil drain screw and copper washer
its hard to see, but because of my T3 manifold. i had to get some funky fittings joined together to drain the oil from turbo to pan. so my oil drain is between the 3 and 4 cylinder primaries. i wrapped the braided hose in heat resistant wrap to insure longevity. same with the water supply line. (wrapping may not be pictured)
Last edited by DoomLight; 05-17-12 at 09:04 AM.
05-17-12, 08:05 AM
#27
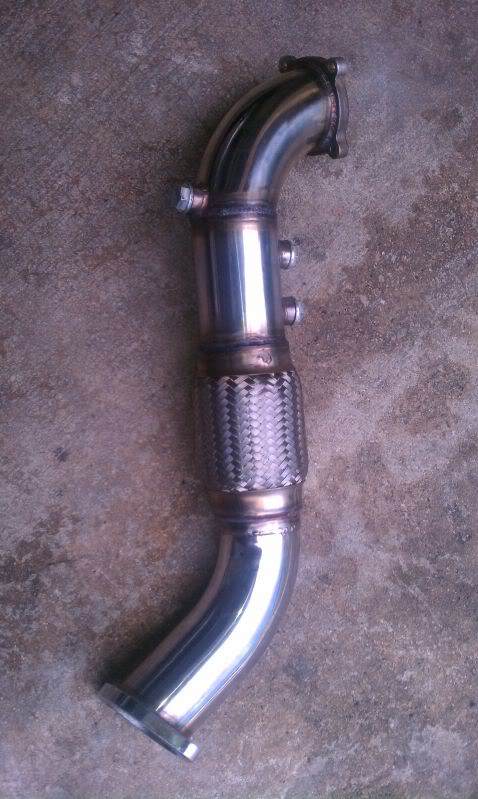
the next thing i started on was the CX racing downpipe. screamer pipe, intake combo they sell on ebay,driftmotion, amazon. where ever.
since my manifold has the turbo sit parallel with the engine. i wasn't gonna catch any brakes with a simple bolt on. this downpipe was made for manifolds that tilt the turbo away to the right. so i had to chop it up and have it welded. here are the pics.
here is how badly it fit.

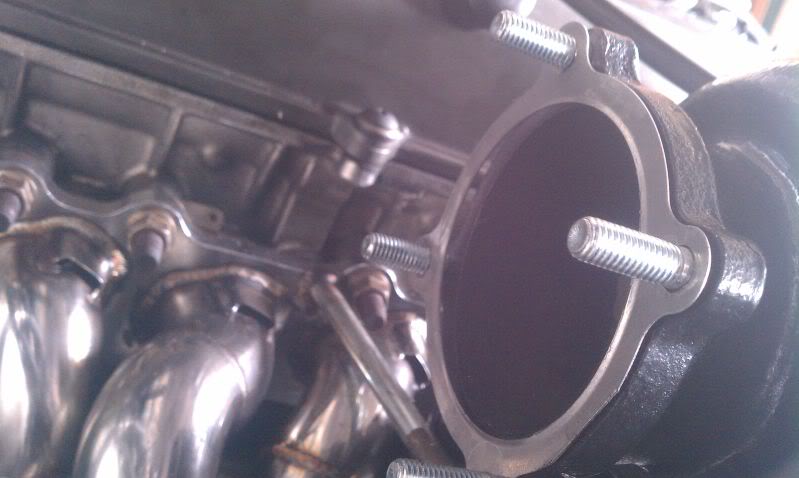
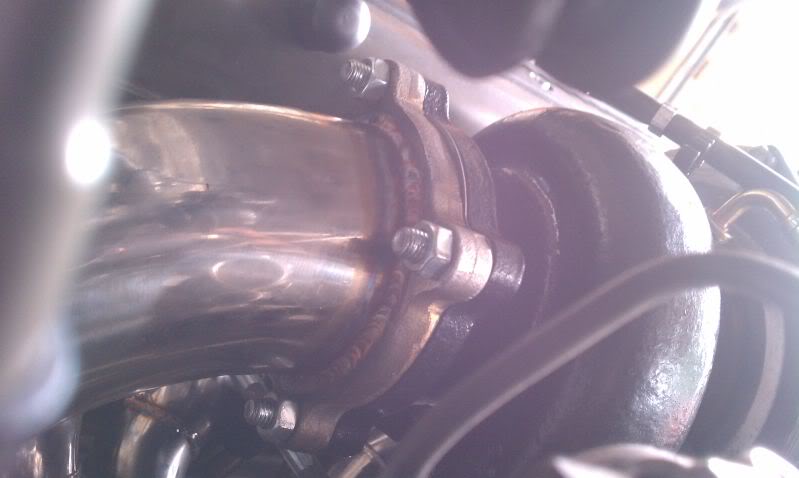
my GT3582r was the bolt on flange type so i got some studs. i didnt wanna go V-band like everyone else. just didnt have the money or time to bother with it. so i got some studs and started to get it ready for mock up.
here is the first mock up of the down pipe. it was much shorter, took out the angle so it was straight, but it hit the firewall. (by the way u ask, why didnt i have it at a shop. simple... im broke lol i had to bring it to the welder every time and have him redo it. i used a sharpie to line it all up)
it looked good, anyway. i needed it to come down a lot more. so i ordered a 6 inch 3in diameter flex section from ebay. only 25 bux! w00t!
then i had it put in, it fit a lot better! and it had flexibility.
since my manifold has the turbo sit parallel with the engine. i wasn't gonna catch any brakes with a simple bolt on. this downpipe was made for manifolds that tilt the turbo away to the right. so i had to chop it up and have it welded. here are the pics.
here is how badly it fit.
my GT3582r was the bolt on flange type so i got some studs. i didnt wanna go V-band like everyone else. just didnt have the money or time to bother with it. so i got some studs and started to get it ready for mock up.
here is the first mock up of the down pipe. it was much shorter, took out the angle so it was straight, but it hit the firewall. (by the way u ask, why didnt i have it at a shop. simple... im broke lol i had to bring it to the welder every time and have him redo it. i used a sharpie to line it all up)
it looked good, anyway. i needed it to come down a lot more. so i ordered a 6 inch 3in diameter flex section from ebay. only 25 bux! w00t!
then i had it put in, it fit a lot better! and it had flexibility.
05-17-12, 08:40 AM
#29
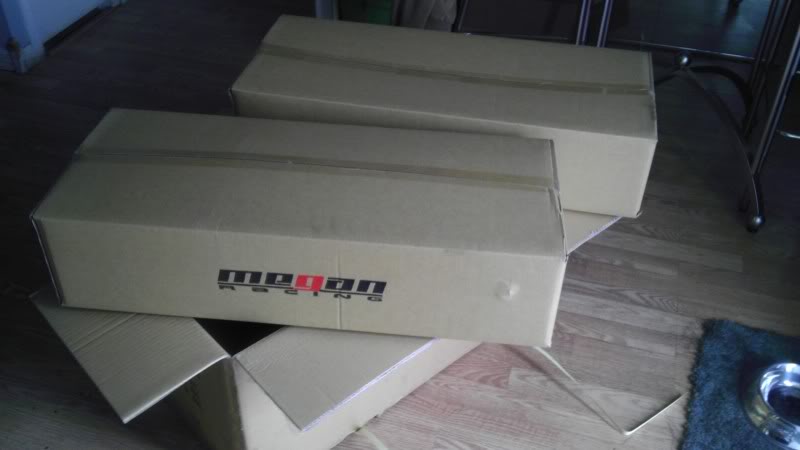
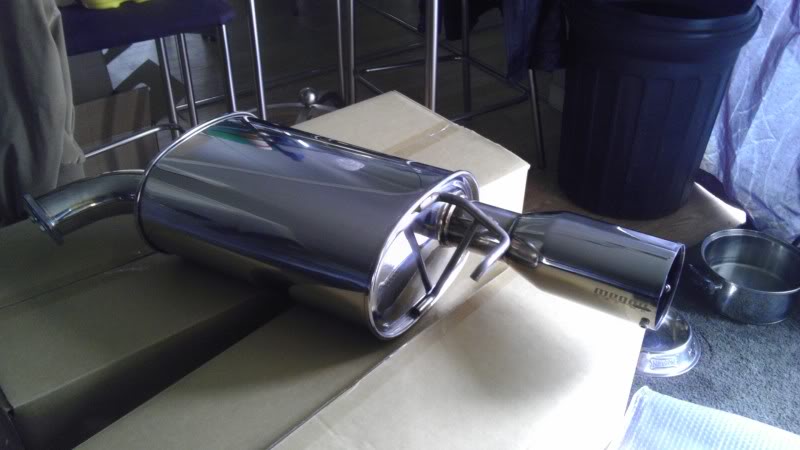
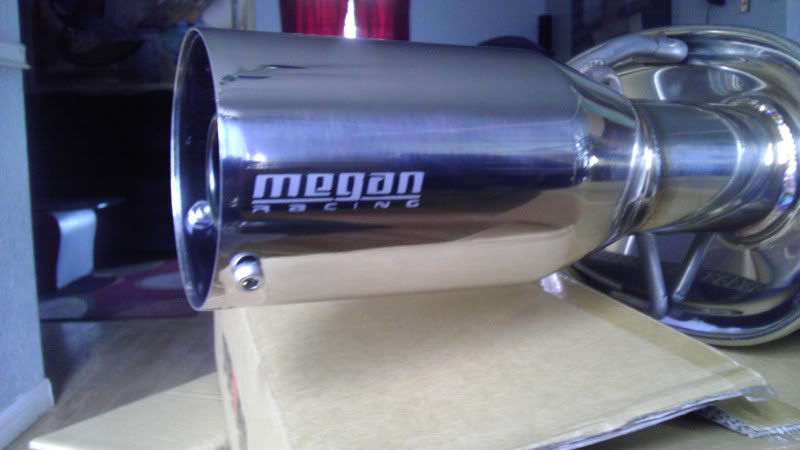
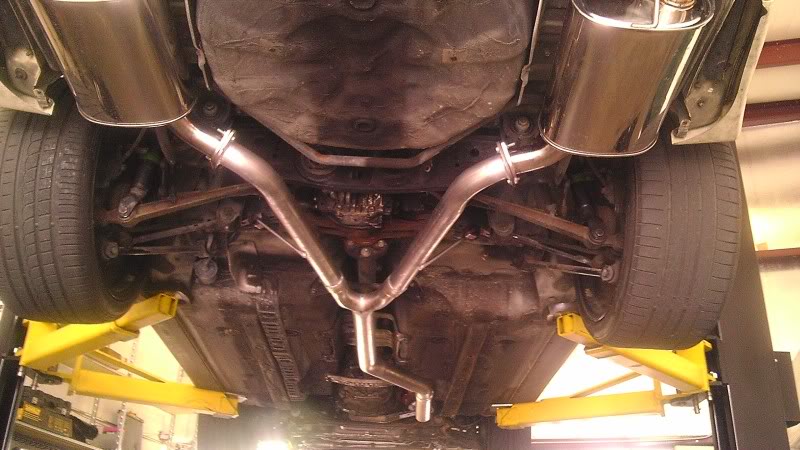
Next thing I had come in were my Mufflers. i ordered the Megan Racing 2.5 inch Axle Back Mufflers. my downpipe was 3 inches and i figured i'd keep it dual. and run these. it would be effectively 5 inch exhaust.
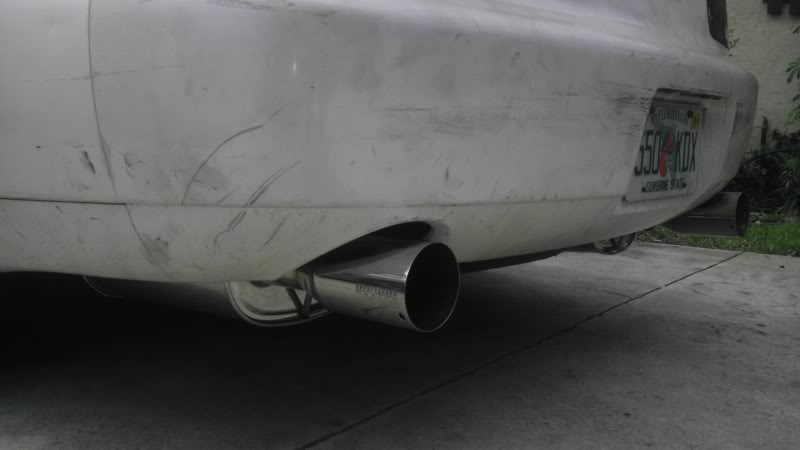
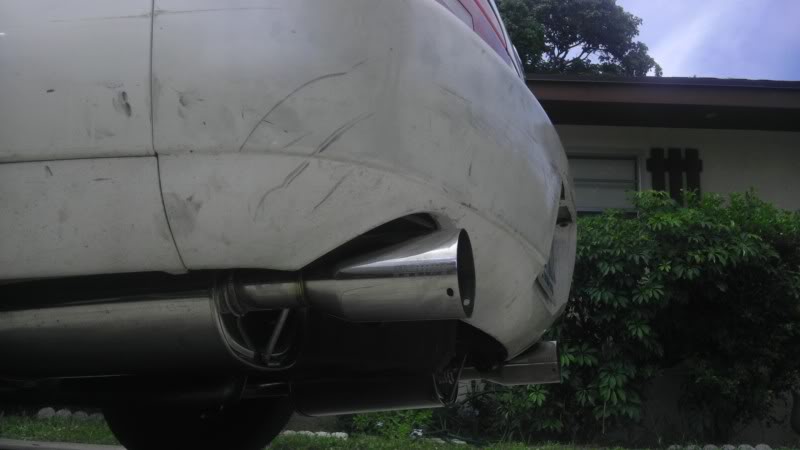
here are the mufflers.

dang i got 2 more boxes!
and here we are.
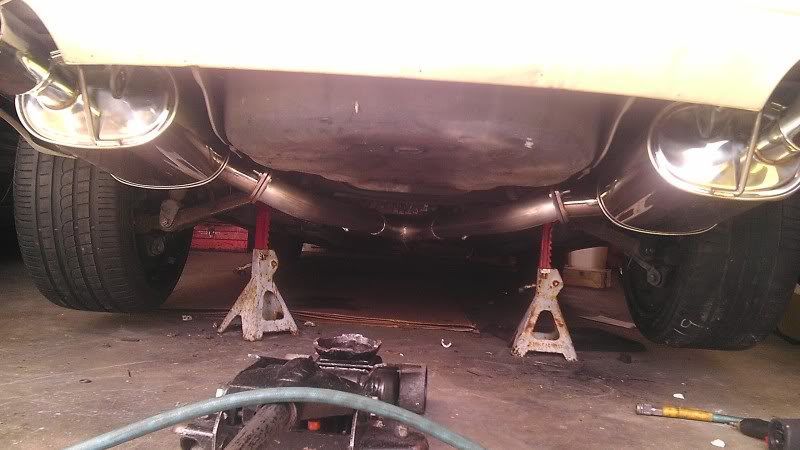
here is the custom exhaust i had made at a local muffler shop.
here are the mufflers.
dang i got 2 more boxes!
and here we are.
here is the custom exhaust i had made at a local muffler shop.
Last edited by DoomLight; 05-17-12 at 08:52 AM.
05-17-12, 08:50 AM
#30
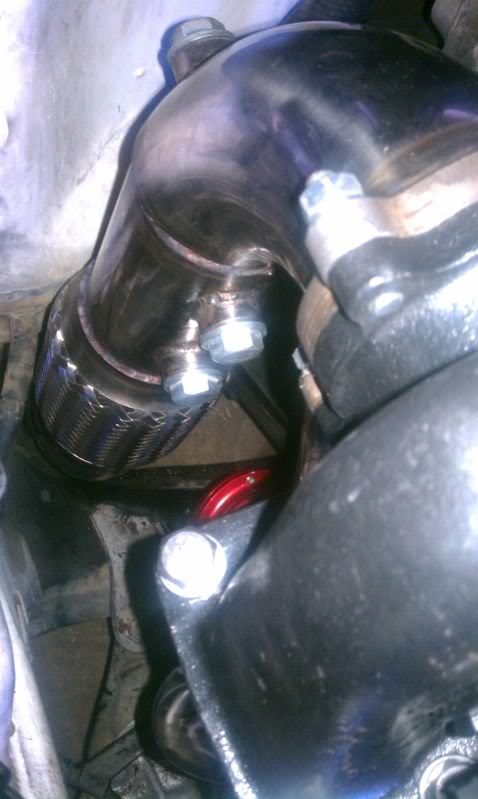
i didnt have the wastegate screamer pipe on. it didnt really fit. so i gave that away, after driving it a few times. i decided I didnt want the loud screamer sound from an open gate. so i ordered parts to recirculate it back into my downpipe. The space was really tight so i really had to becareful how I fabbed it up.
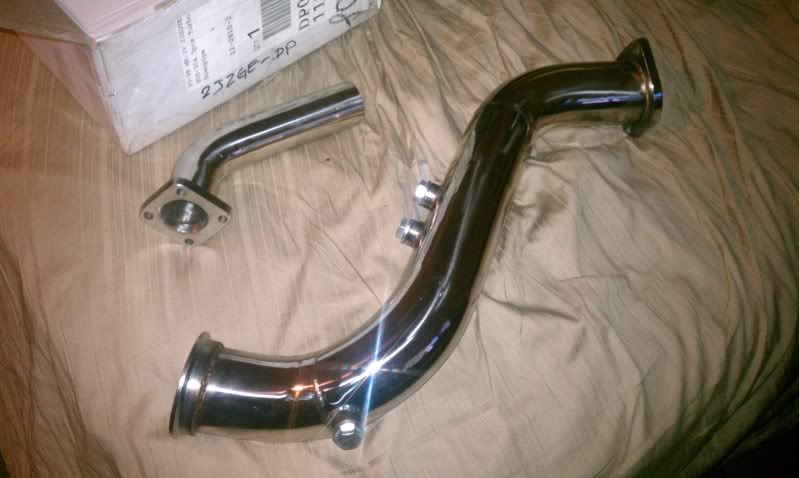
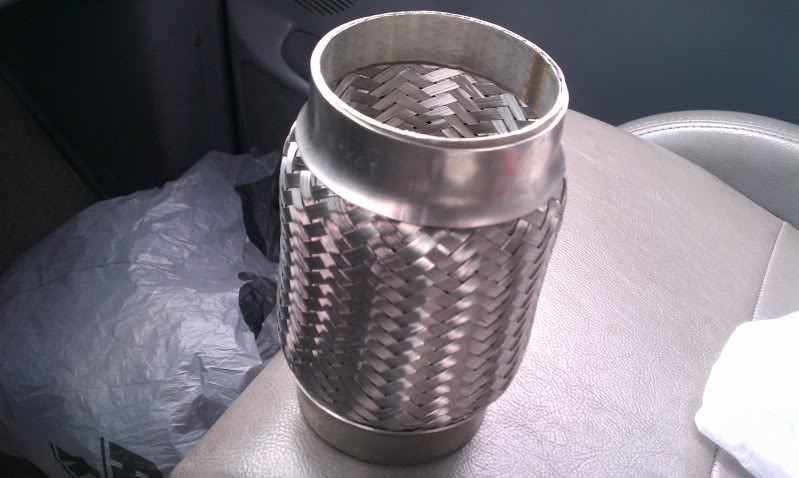
here is U-J pipe i ordered from Vibrant as well as the Flex Pipe.
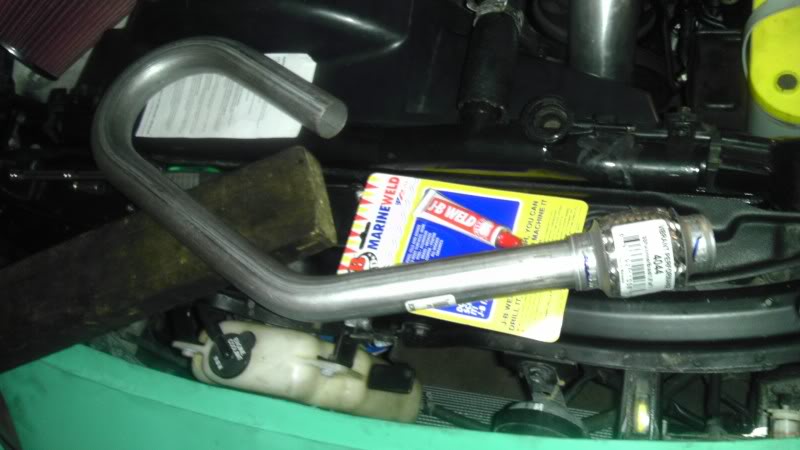
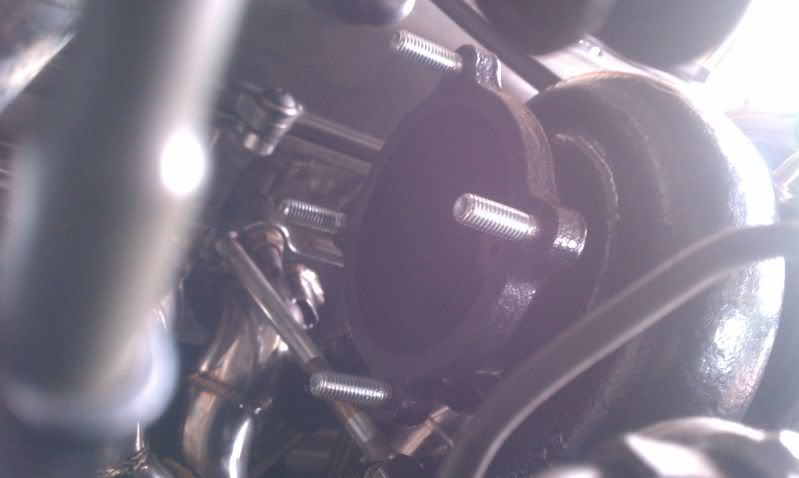
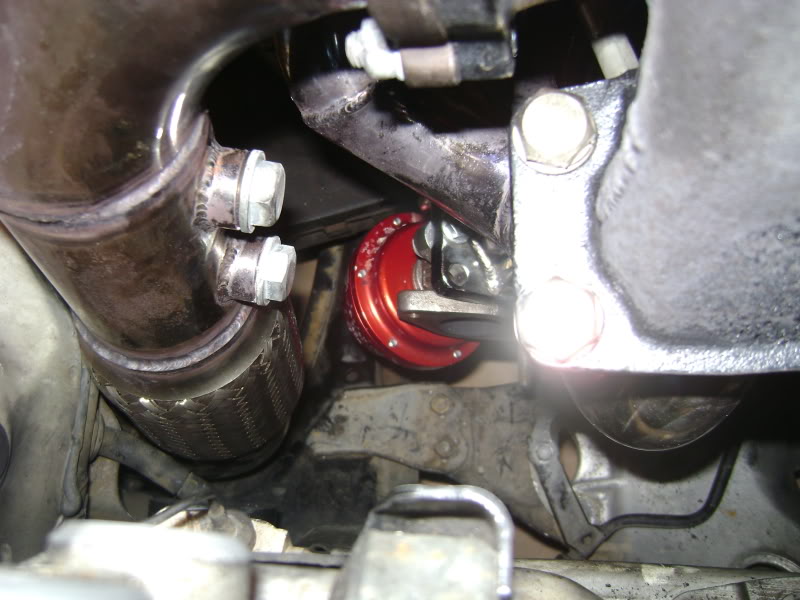
and here is the tight space i had to work with. not much room from what u can see.
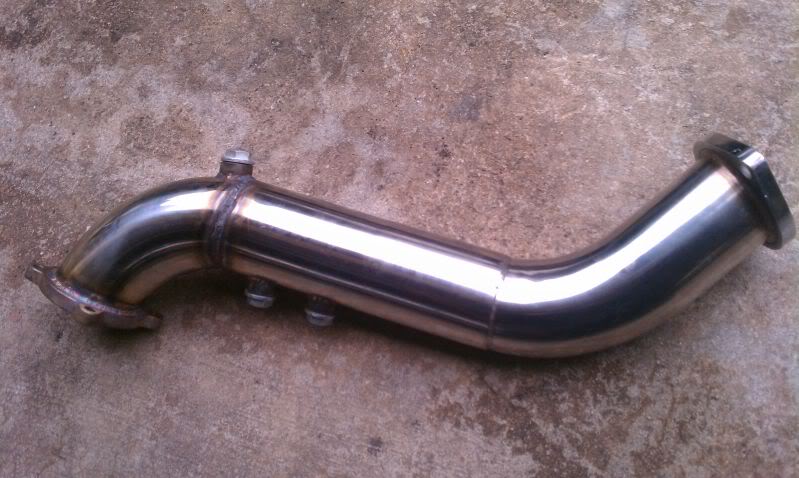
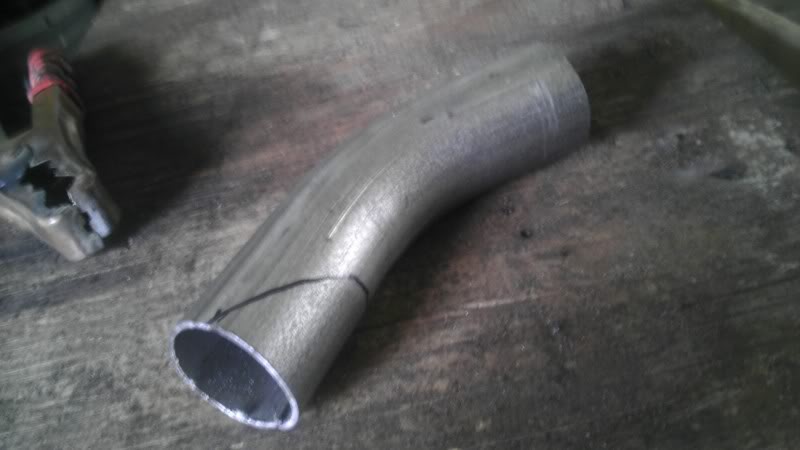
so here is the U-J pipe all chopped up after about 3 hours of cutting and checking.


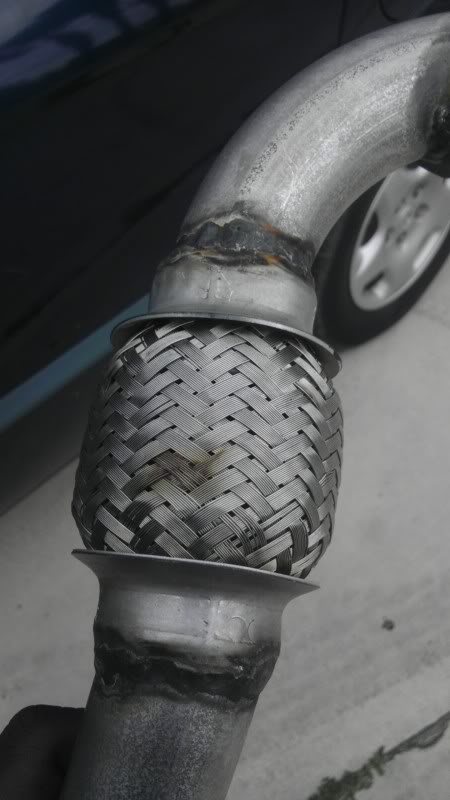
then i tacked it to the flex section
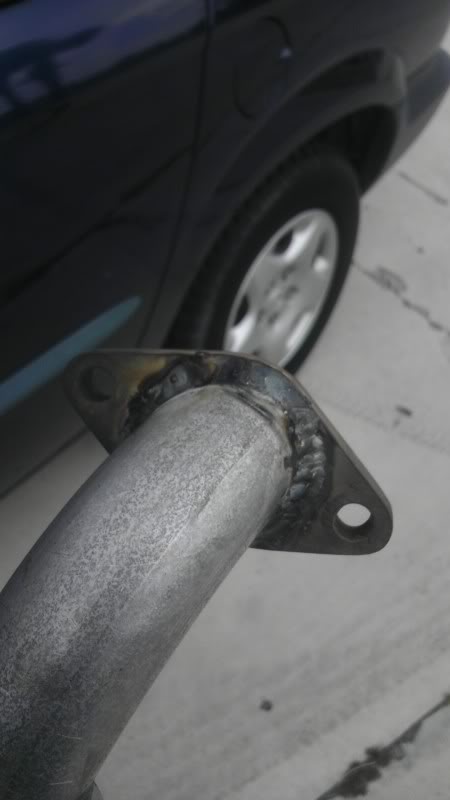
here it is before final welding at a local shop.
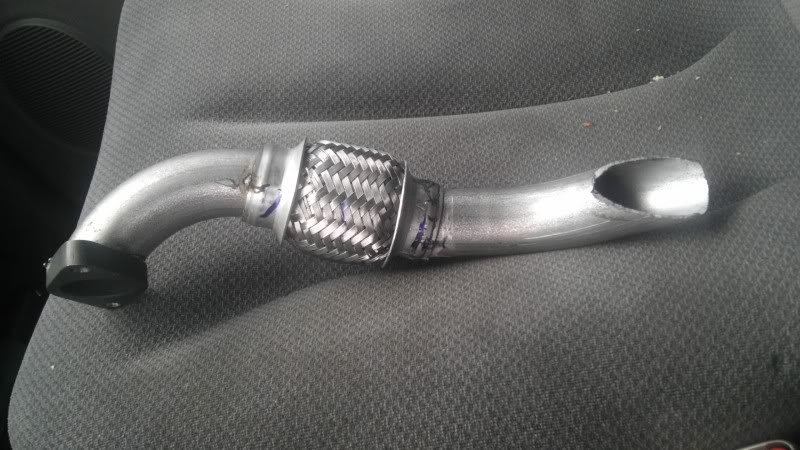
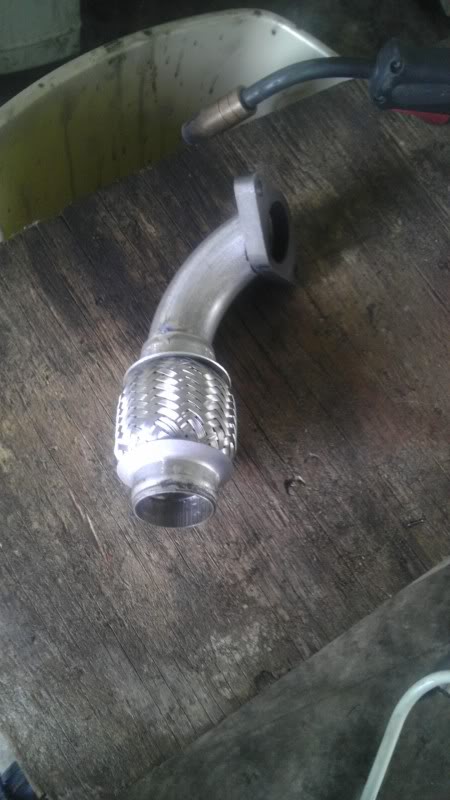
and now the completed recirc pipe.
here is U-J pipe i ordered from Vibrant as well as the Flex Pipe.
and here is the tight space i had to work with. not much room from what u can see.
so here is the U-J pipe all chopped up after about 3 hours of cutting and checking.
then i tacked it to the flex section
here it is before final welding at a local shop.
and now the completed recirc pipe.