When you click on links to various merchants on this site and make a purchase, this can result in this site earning a commission. Affiliate programs and affiliations include, but are not limited to, the eBay Partner Network.
So I am making this post to document the work I did on my former LS400. This was the first running driving car I ever owned. It was purchased for $1000 US due to a leaking rear water bypass pipe. The guy was quoted major bucks on the repair so he basically gave away the car.
I loved this car a lot but, unfortunately, have since sold it since I was going into my last year of college at the time and really needed the money. I went wayyyy overboard on buying OEM parts and doing meticulous repairs on the car, but in the end it was all worth it to me. I learned a LOT and had even more fun doing it, so why not!
I've had these pictures on my pc ever since last September, so I thought it was about time I finally upload and document the work I did. Maybe some of this will help some one out down the line.
DAY 1
Made the deal and picked up the car for 1G!!!
It's a 1994 LS 400 with black leather interior and Alpine Silver metallic outside paint code 199 (California emissions spec)
First things are first, so I had to give the car a proper wash and wax before I even do a stich of work to it, so I can see what I just bought. The car was filthy from sitting for about two months due to the major coolant leak..
Got her pulled into the garage...
DAY 2
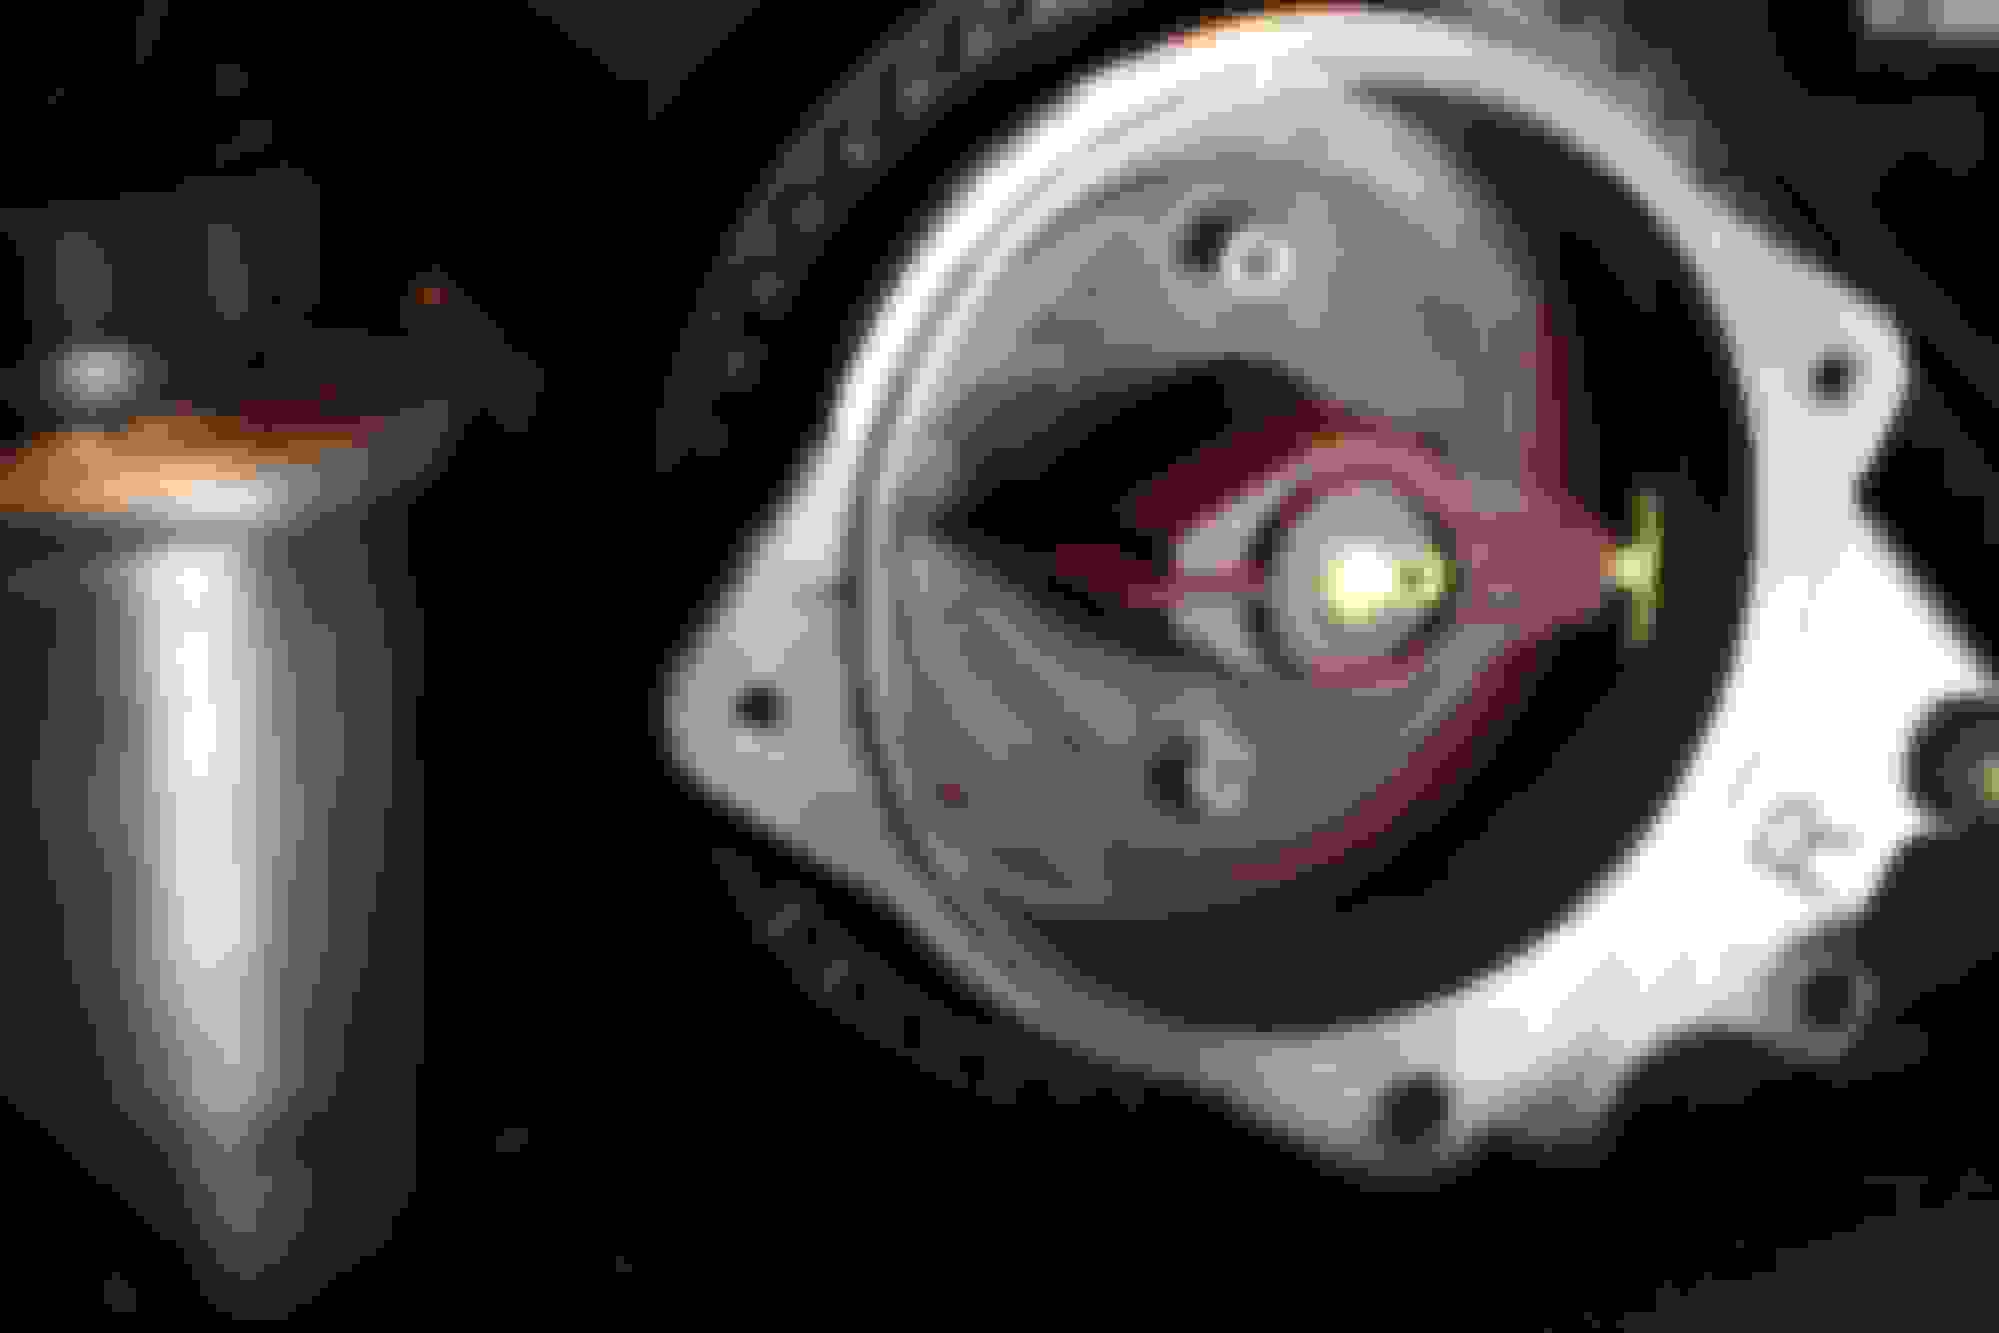
On to the tear down... It was time to tear down the top end so I could figure out exactly what was going on with that major coolant leak. Before I started the tear down, I verified where the leak was coming from with a pressure tester as the leak was not clearly visible. You'll know that your rear bypass pipe is leaking because you will see coolant leaking out of the flywheel cover plate on the bottom of the transmission on the bottom of the car. If I didn't know better I'd think the transmission had a coolant leak!
You see all those plastic blue green injector connectors?... well about 80% of them had the little retainer tabs break off, so I ended up spending hours online sourcing new ones. They are "Type F" injector connectors. Here is the link to the EXACT ones you need! Also, this niffty tool, helps out a lot! Since I had to take the fuel rail off in the process of taking the intake off so I could fix the bypass pipe, I decided to get the injectors cleaned and run through a flow bench. I did this at VAC motorsports since I live about an hour outside Philadelphia. They are one of the few shops that actually have an old fashioned flow bench that will tell your how each of your injectors are doing. All of mine passed the tests with flying colors!
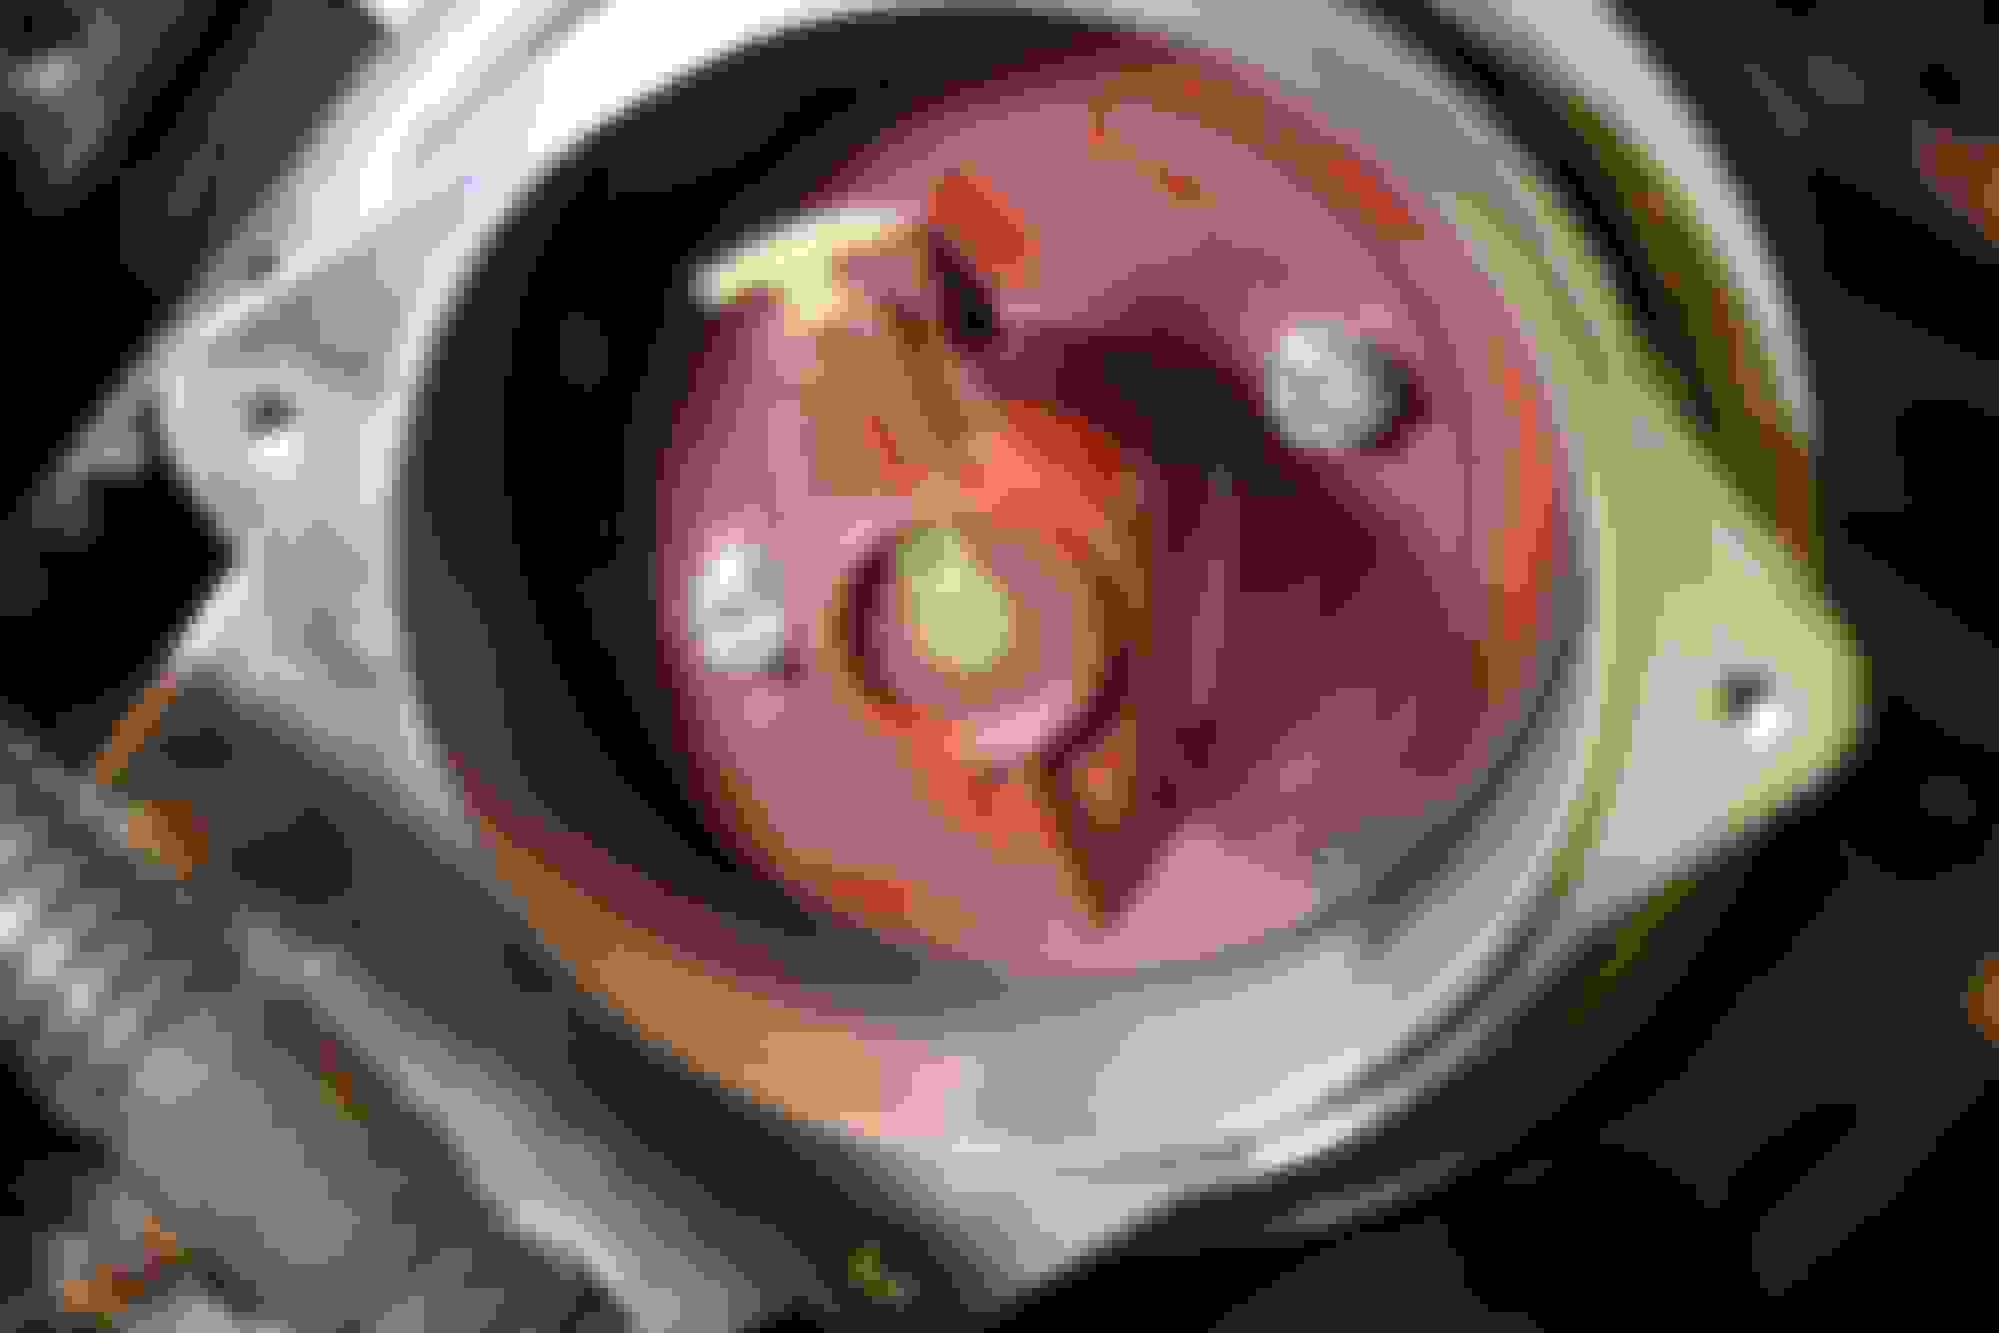
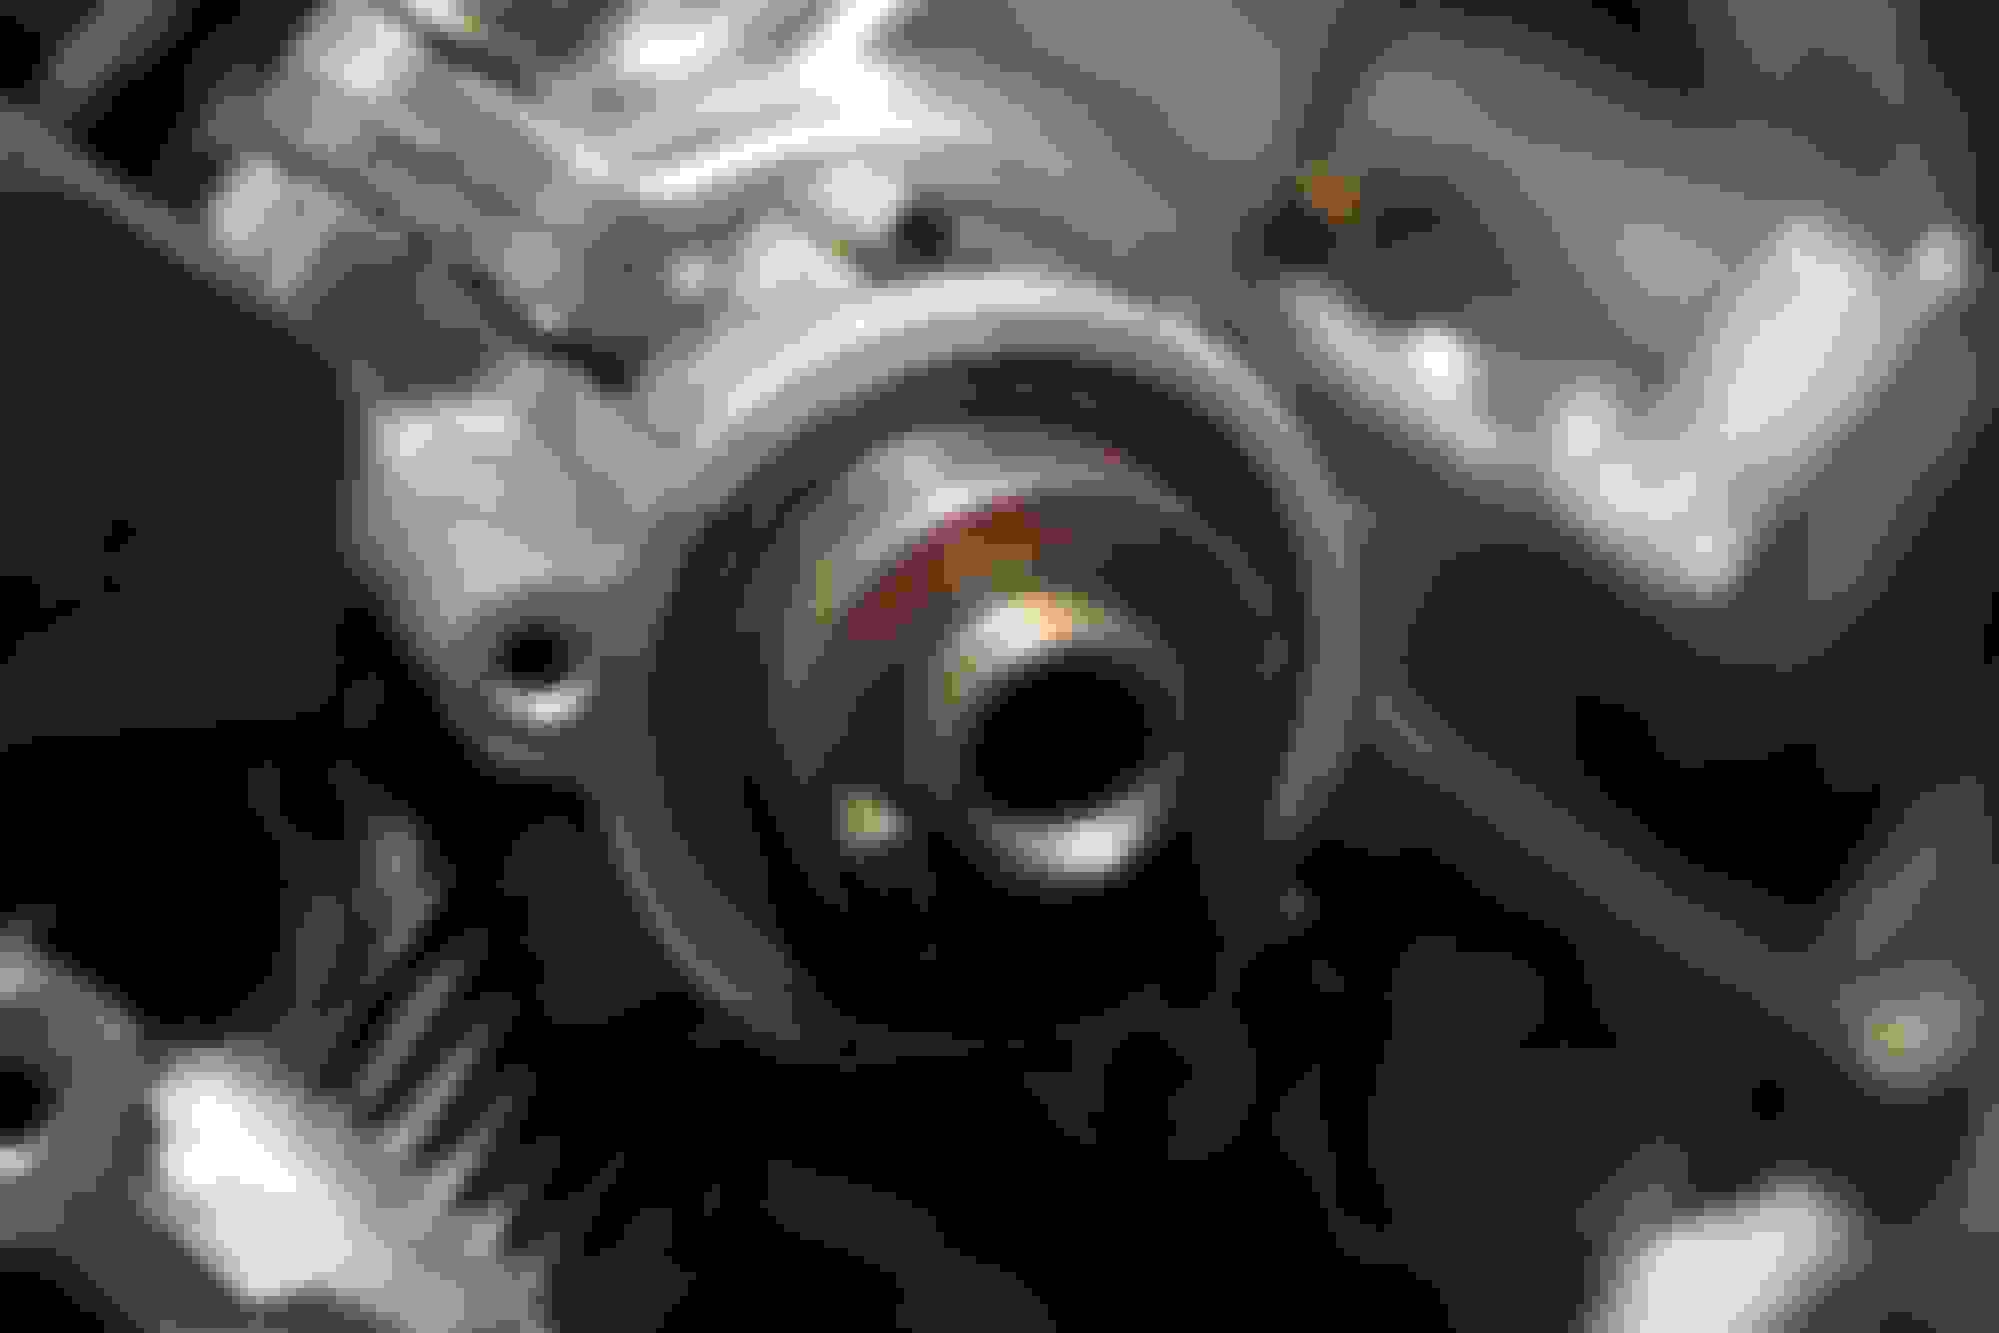
Found the leak! The blue circle is the where the bypass pipe broke. It actually broke in a strange way. The metal tube that is brazed/soldered into the aluminum bypass pipe basically fell out. Nothing actually broke, just the bond/ solder joint between the stainless steel tube and the aluminum bypass pipe it's self. I took the part off and brought it to a specialty welder who let me know that the tube was stainless and the bypass pipe was aluminum and that he it would be basically impossible for him to weld.
Also, this is a California spec car. That car has a different bypass pipe than the 49 state emissions car to make room for things like the air pump and such emission control devices. That meant that NONE of the junk yards I could get a hold of around me had the part I needed.
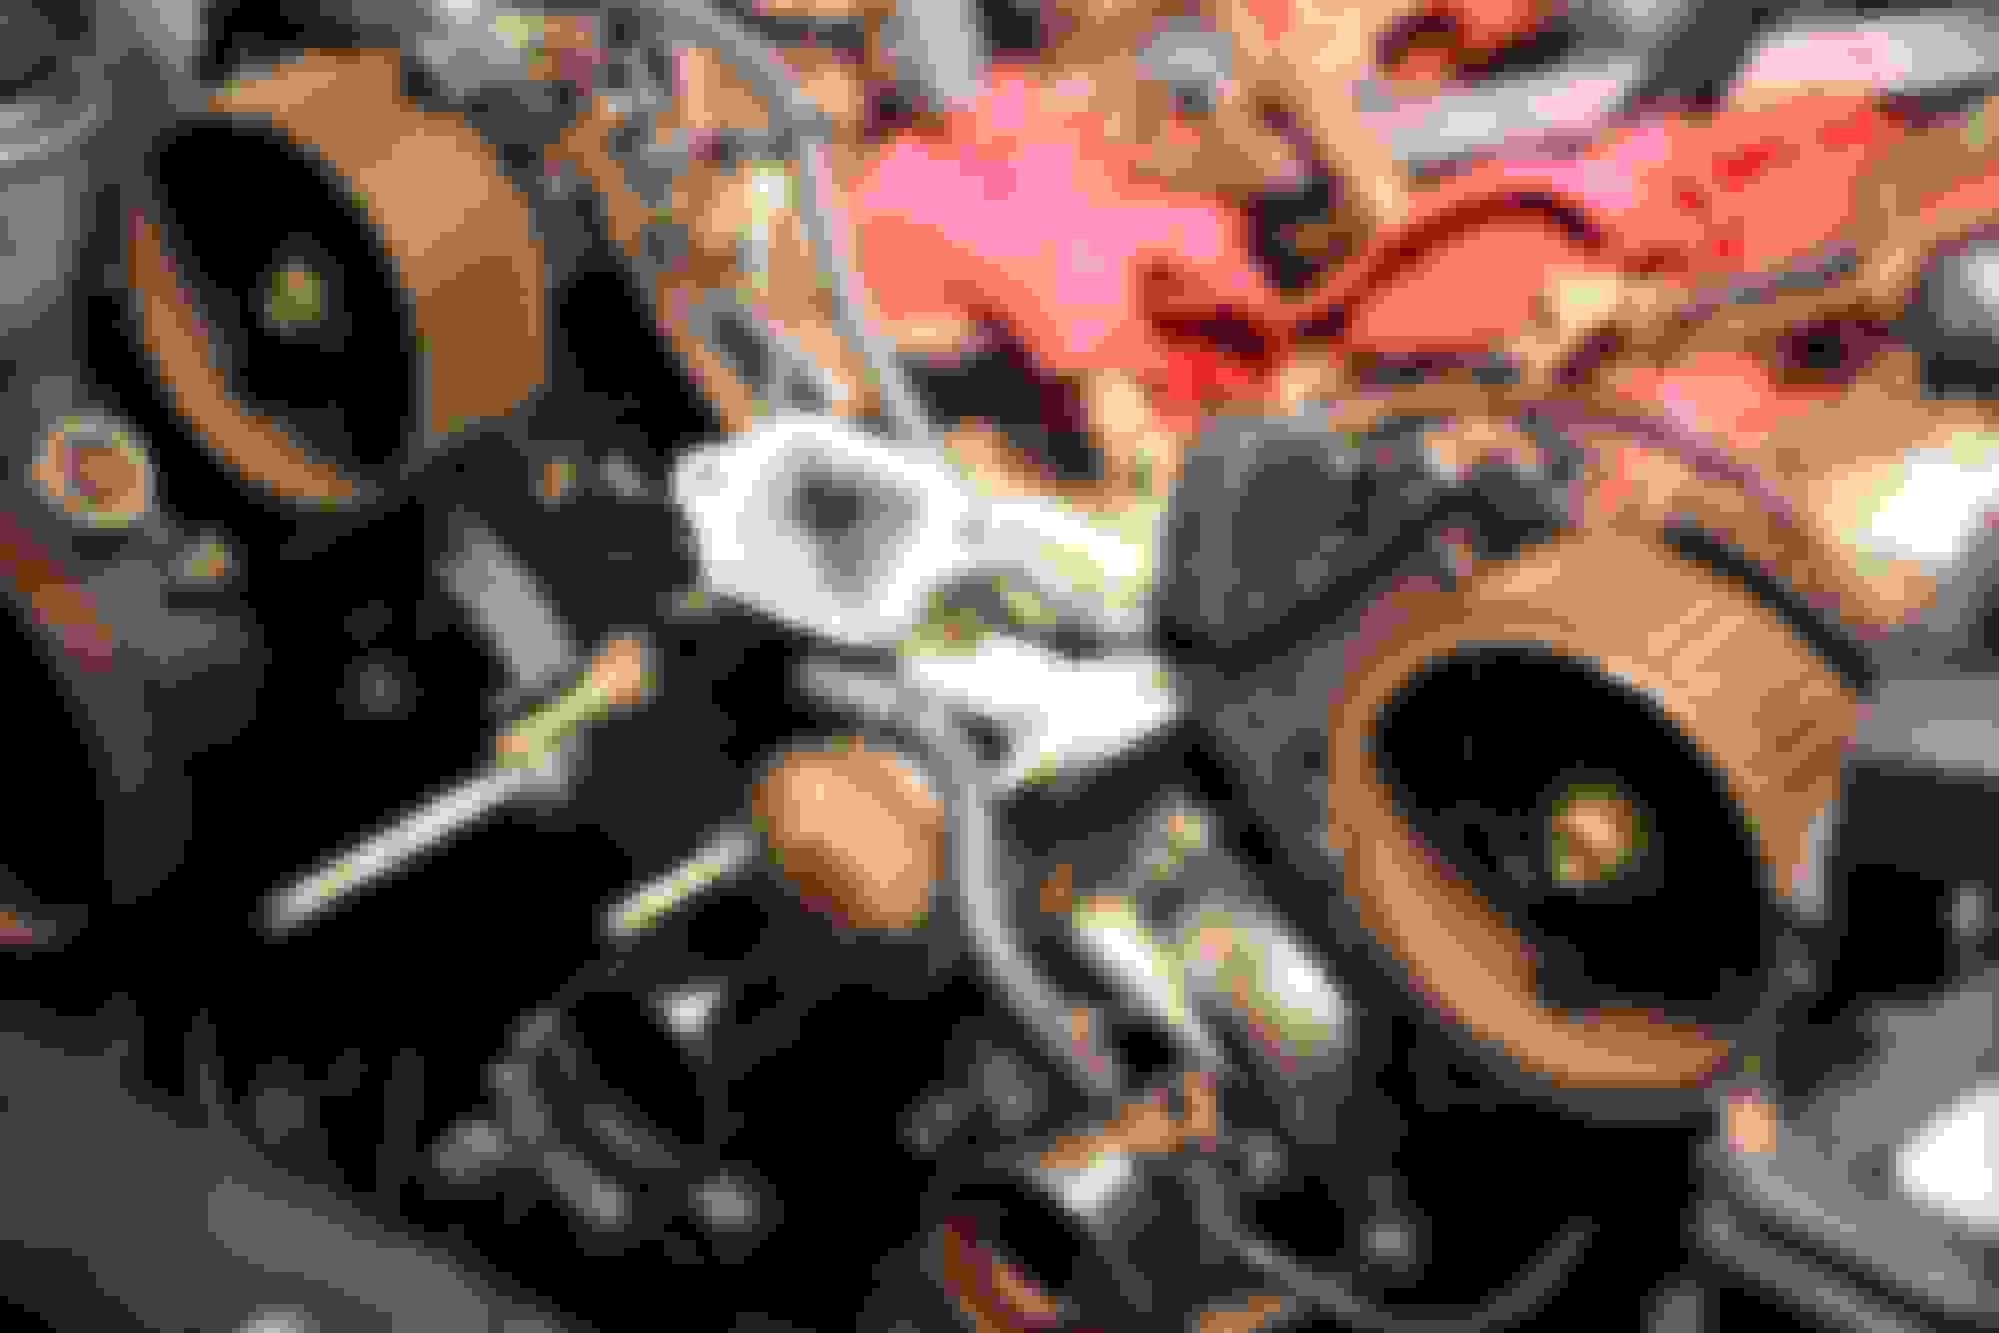
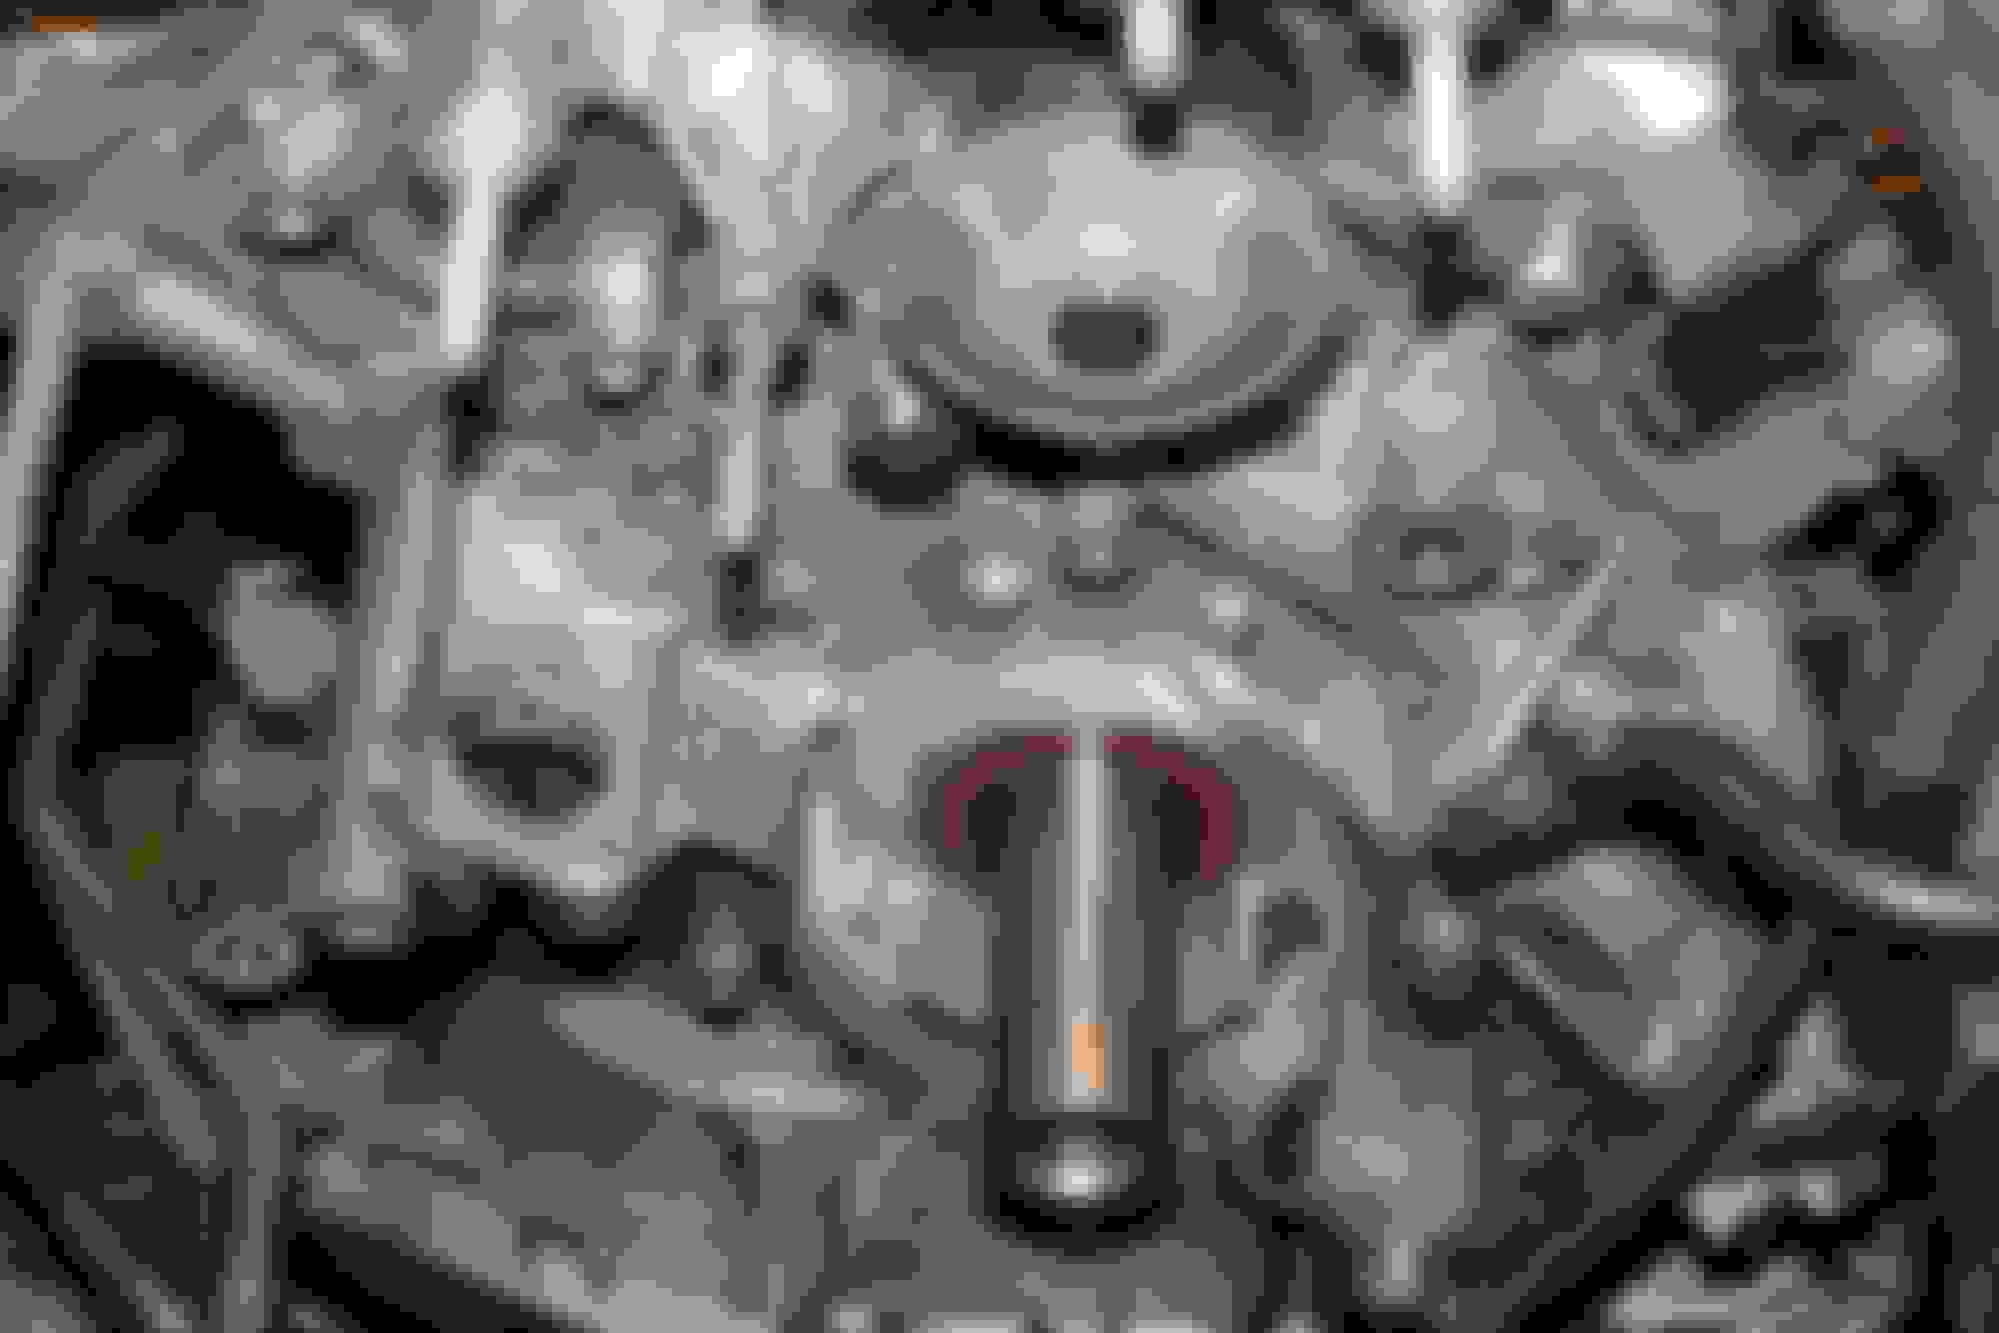
I hated doing this, but I ended up roughing the two pieces up and using JB weld type epoxy that was designed for aluminum and marine applications since I knew that coolant would be constantly running through the system. The pipe had a very snug dry fit to begin with, so I feel like the epoxy would work just fine. Ohh, and surprise surprise, the EGR pipe was cracked and needed to be replaced. Man, that was a MAJOR pain to replace since the two bolts that attach to the manifold are hard to get too. The cracked EGR pipe is in the red circle.
I'll have more posts coming soon, so stay posted!....
So after getting the water bypass pipe repaired, I decided to dig a little deeper and work on replacing the timing belt at the same time. Unfortunately, I didn't take too many pictures of the tear down at this point. As you can see here I tore into things pretty quick.
I made sure that all the timing marks were on point before I took off the crank and cam shaft pulleys. After that, the timing belt came off. Once everything was out of the way, I replaced a leaky crank shaft seal and the two cam seals.
I guess I didn't realize how much lint and fuzz my shop rag was leaving behind!! Anyway, the seals are in!
Since I was doing the timing belt, I made sure to replace the water pump. This car had somewhere around 176,000 miles at the time. Don't want to do a job like this twice! Ohh, and just look at that nasty green coolant that was being used!! One weird thing I noticed was that the cooling system aluminum parts had some pitting in them. I always wondered if this had something to do with the wrong coolant being used and or too high of a concentration??
Basically everything with a bearing got replaced, and of course, all OEM parts were used since I have OCD tenancies and, apparently, a hole in my pocket. The picture below is of the timing belt tensioner pulley.
I tried to keep things more or less surgically clean while I was working...
At this point, I already started on putting the lower intake manifold back together.
I also went ahead and replaced the leaky valve cover gaskets and spark plug tube seals as you can see below.
While I was poking around, I found the classic power steering pump leak that everyone more or less has. It was coming from that pesky power steering valve which needed to be replaced. I considered just plugging it up, but since my objective was to do a mini "restoration" on this car, I just couldn't do that.
I also did a good cleaning of the upper and lower intake manifolds and throttle body before I threw them back on.
With the intake manifolds back on, things were looking nice and shiny! OOoooooo.....! The timing belt job was also coming along quite nicely!
Now here is a little trick I came up with to torque down my crank shaft pulley bolt. The whole issue was that I did not have the proper crank pulley hold down tool so I needed to use some macgyver ingenuity!... I took the old fan belt and warped it around the pulley then tied it to the sway bar. The belt was wrapped around itself twice and tied in a way that when you turn the crank pulley in the clockwise direction, the belt clamps down on the pulley. Some people have criticized me for having the belt also wrapped around the transmission cooler lines, but actually there was NO force being placed on them. They were just there laying on the top of the sway bar....
I also did the distributor cap and rotor. The design on this car was pretty interesting. It was cool how the rotor was inside the "cap".
Slapped on a new fan belt pulley, NOT the entire tensioner assembly. The interesting part about that was that just a few hundred miles after doing this job, my fan belt tensioner went bad. It would make a distinctive creaking noise like an old door in need of serious WD40 being opened and closed in rapid succession. I was pretty bummed to have to do that again, but I did eventually replace it.
Here you can see the new distributor caps being put on. I also went ahead and replaced the spark plug wires. The old ones looked to be the 170000 mile 20 year old originals! At this point, things were really coming back together and I was getting pretty excited about going for a test drive!
excellent reference shots. I just inherited my 92 SC400 and my Dad just had 1600 worth of work on it...timing belt, tensioner kit, valve cover gaskets, front seal, cam plugs..new alternator! I scored! trying to determine what the cut hose in front under the sway bar went to. Is is some sort of A/C drip line? Its a hard line to a rubber 90 pointing straight down. Looks like its coming from the passenger side of the motor? When I read the service records, the mechanic said the timing belt split when tension was taken off of it. Man that belt was ready to go at 170K!
Just wanted to put an end to this thread once and for all... here are the rest of the pictures when the vehicle was finished before selling.
The paint was not in the best of shape in some spots, but boy was this car mechanically sound!
It's rather unfortunate that you had to let your land yacht go after all that work you put into it. Thank you for sharing your mini restoration with your fellow Club Lexus members!
 04-07-15, 05:46 PM


") The cracked EGR pipe is in the red circle.
The cracked EGR pipe is in the red circle. 


 Anyway, the seals are in!


 The picture below is of the timing belt tensioner pulley.


 The timing belt job was also coming along quite nicely!