
2006 IS250 Audio Build Log
 10-25-10, 11:39 AM
#1
Driver School Candidate
Thread Starter

Join Date: Jul 2009
Location: ca
Posts: 31
Likes: 0
Received 0 Likes
on
0 Posts
This is my second thread on CL, the first one also audio related in the GS 2nd gen subforum.
This will be a slow build thread, as I'm still trying to learn more of the ins and outs of this car and trying to gather equipment for it.
It will most likely be a simple setup using stock locations.
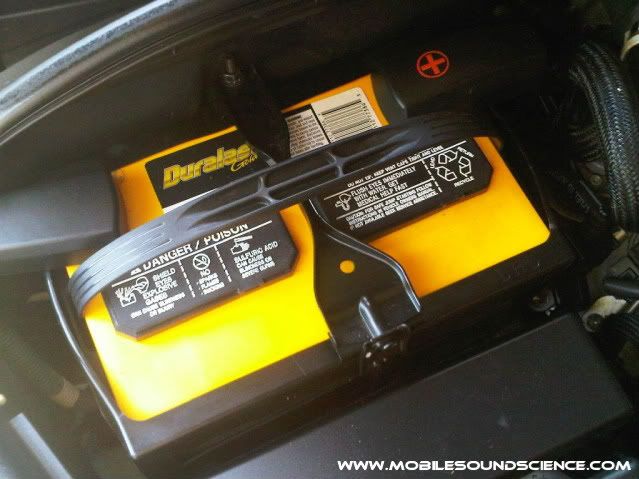
The car for now:
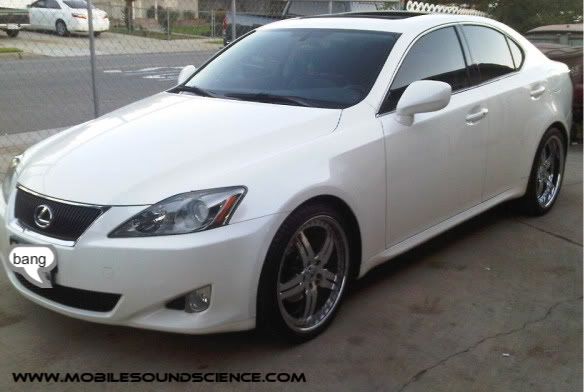
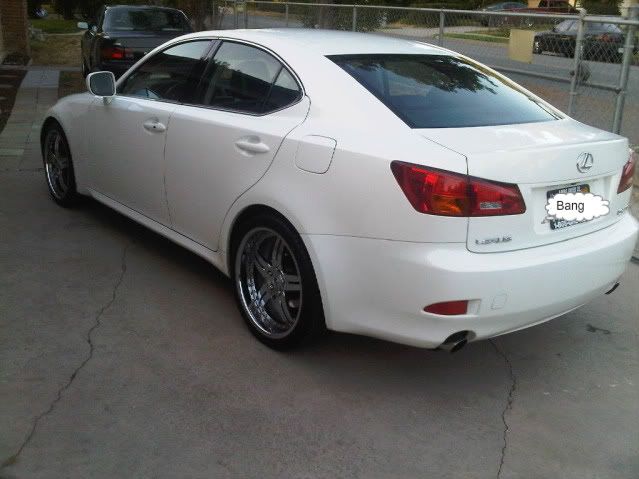

This will be a slow build thread, as I'm still trying to learn more of the ins and outs of this car and trying to gather equipment for it.
It will most likely be a simple setup using stock locations.
The car for now:

 10-25-10, 11:45 AM
#3
Driver School Candidate
Thread Starter
Join Date: Jul 2009
Location: ca
Posts: 31
Likes: 0
Received 0 Likes
on
0 Posts
I thought I had the amps I needed, BUT 2/3 were duds
I was hoping to bridge a 4 chan to the mids, small two chan for tweets, and bridge a two chan for the sub.
The left two are duds. One powers on, but no sound. One shows no sign of life.
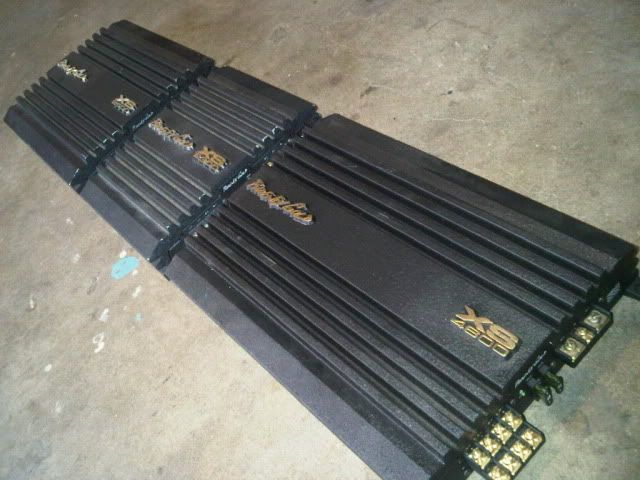
I was hoping to bridge a 4 chan to the mids, small two chan for tweets, and bridge a two chan for the sub.
The left two are duds. One powers on, but no sound. One shows no sign of life.
10-25-10, 11:46 AM
#4
Driver School Candidate
Thread Starter
Join Date: Jul 2009
Location: ca
Posts: 31
Likes: 0
Received 0 Likes
on
0 Posts
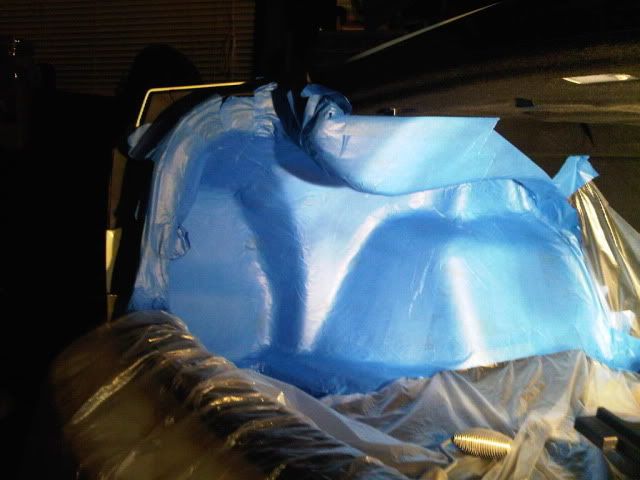
The trunk is where I worked on first. Since I didn't have all the equipment yet, I figured I work on an area which wouldn't require me to disconnect and cause to be without sound.
My first fiberglass trunk enclosure. Before this, I've only done kickpods and a-pillars.
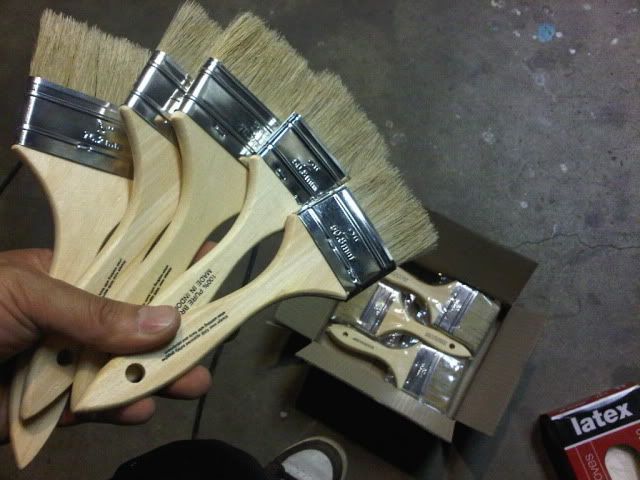
Some supplies:

Harbor freight brushes:
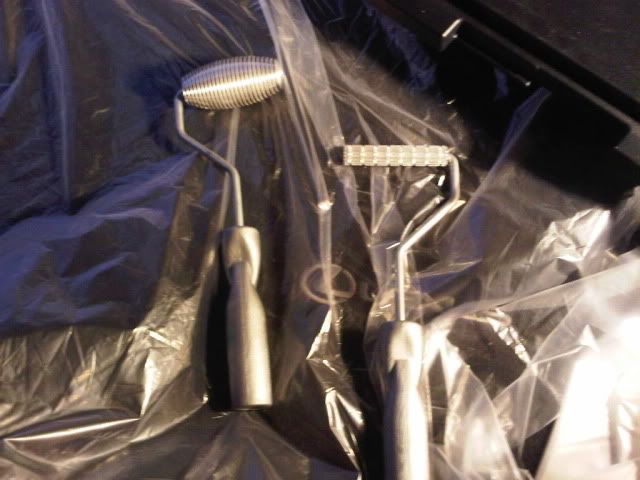
bubble buster rollers: I only used the flat one on the right. The radius roller's grooves seems to be too deep and caused more problems for me. Maybe I'm using it incorrectly.
My first fiberglass trunk enclosure. Before this, I've only done kickpods and a-pillars.
Some supplies:
Harbor freight brushes:
bubble buster rollers: I only used the flat one on the right. The radius roller's grooves seems to be too deep and caused more problems for me. Maybe I'm using it incorrectly.
10-25-10, 11:46 AM
#5
Driver School Candidate
Thread Starter
Join Date: Jul 2009
Location: ca
Posts: 31
Likes: 0
Received 0 Likes
on
0 Posts
Prep
I got ahead of myself and didn't fully think things through. I got greedy and tried to get all the airspace I could in that little corner. I tape off and glassed an area which gave me problems when trying to remove the mold (circled in red).
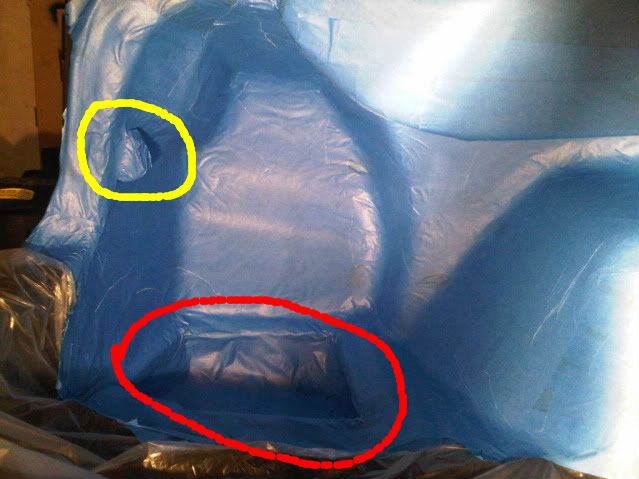
Circled in Yellow is an area that will give me a little more work. That part is the hook for the cargo net, which I would like to keep.
I got ahead of myself and didn't fully think things through. I got greedy and tried to get all the airspace I could in that little corner. I tape off and glassed an area which gave me problems when trying to remove the mold (circled in red).
Circled in Yellow is an area that will give me a little more work. That part is the hook for the cargo net, which I would like to keep.
10-25-10, 11:52 AM
#6
Driver School Candidate
Thread Starter
Join Date: Jul 2009
Location: ca
Posts: 31
Likes: 0
Received 0 Likes
on
0 Posts
Butter flavored Spray to serve as a release agent, so the mold can be pull out from taped area:
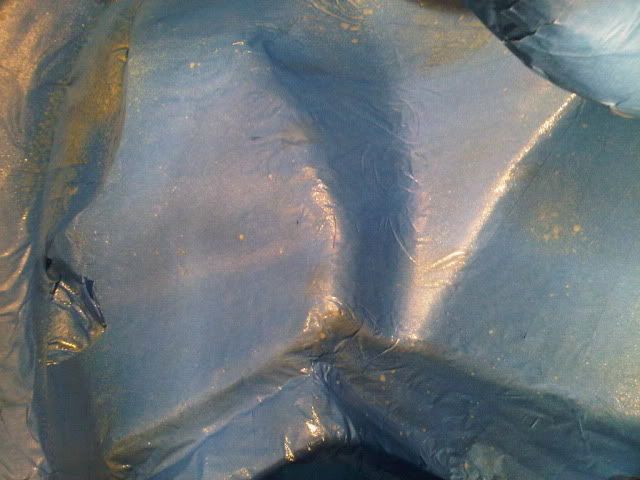
After 2-3 layers of glass cured, I tried to pull out the mold, but couldn't because of the red circled area in above post.
My solution:


After 2-3 layers of glass cured, I tried to pull out the mold, but couldn't because of the red circled area in above post.
My solution:
10-25-10, 11:55 AM
#7
Driver School Candidate
Thread Starter
Join Date: Jul 2009
Location: ca
Posts: 31
Likes: 0
Received 0 Likes
on
0 Posts
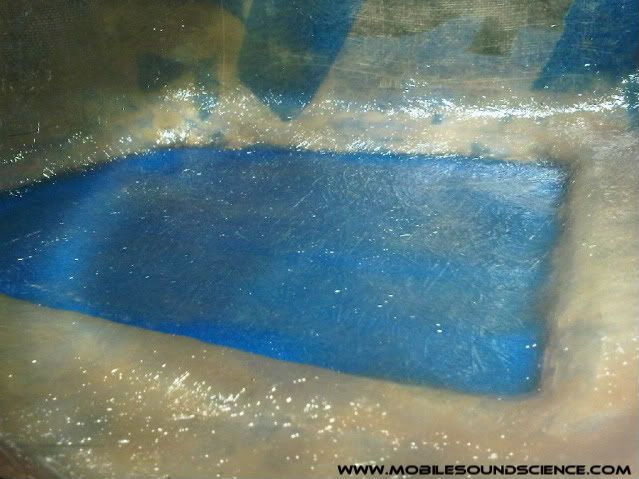
Getting lost in the zone, I forgot how many layers were applied. I did try to keep it even throughout the piece.
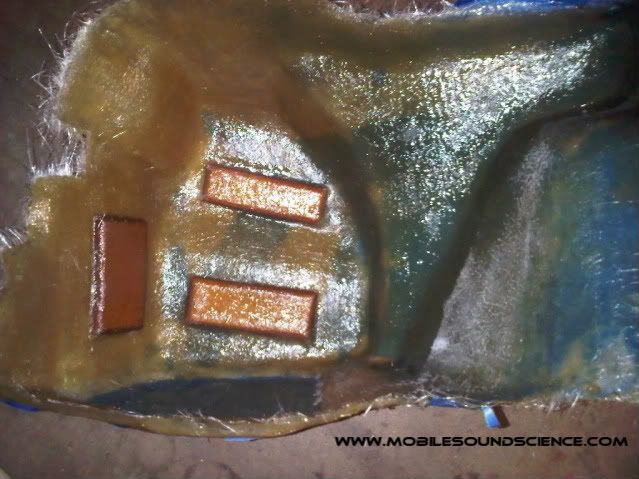
As shown in the pics, I added pieces of 3/4 mdf to flat areas to help stiffen up those areas.
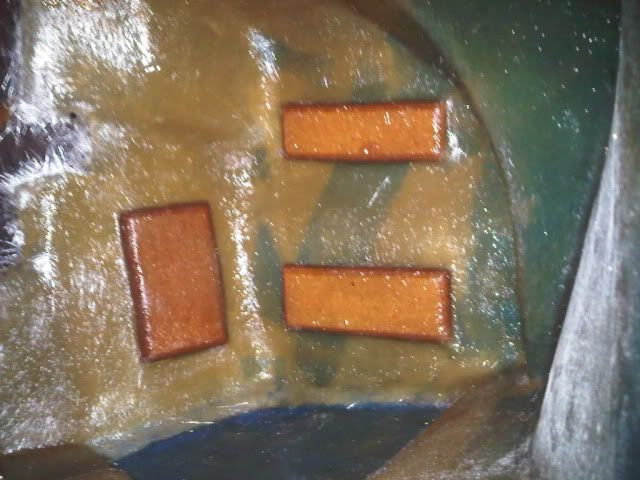
As shown in the pics, I added pieces of 3/4 mdf to flat areas to help stiffen up those areas.
Trending Topics
 10-25-10, 12:18 PM
#9
Driver School Candidate
Thread Starter
Join Date: Jul 2009
Location: ca
Posts: 31
Likes: 0
Received 0 Likes
on
0 Posts
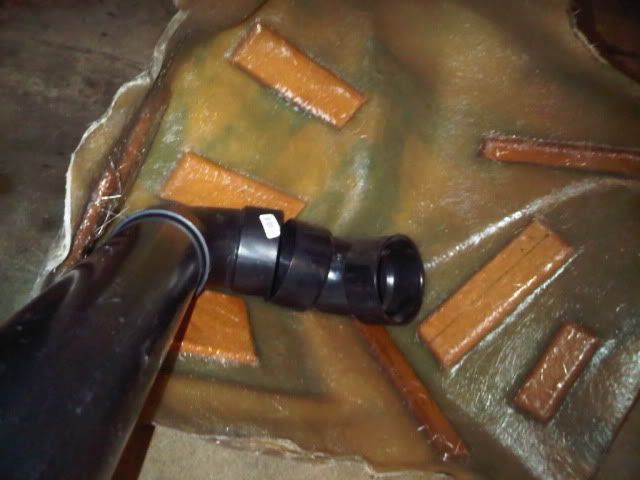
The following pics are where I am as of yesterday. I added more MDF where I could and more layers of glass. I then trimmed the edges so it can be ready to be wrapped. The wrapping will come after I figure out what to do for the baffle/port.
It is currently strong enough to where I can stand on it w/ no problems. I'm only 165lbs, though.
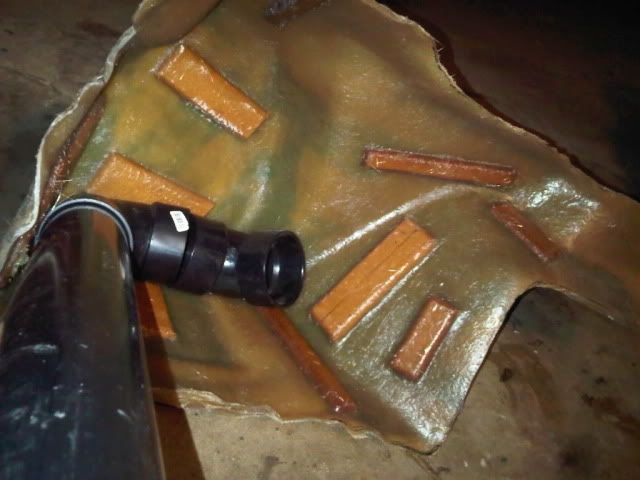
The port will be 3" diameter ABS pipes with elbows to accommodate for the required length need for tuning the enclosure.
I'm aiming for .85cuft tuned 30-32hz. Before trimming, the mold was able to easily fit 5 gallons which equates to .668 cuft. I will need about 7 gallons to net .9 cuft to accommodate for port and sub displacement. Subwoofer will be a Dayton HO 10". 10" to save space, and ported for low freq extension.
It is currently strong enough to where I can stand on it w/ no problems. I'm only 165lbs, though.
The port will be 3" diameter ABS pipes with elbows to accommodate for the required length need for tuning the enclosure.
I'm aiming for .85cuft tuned 30-32hz. Before trimming, the mold was able to easily fit 5 gallons which equates to .668 cuft. I will need about 7 gallons to net .9 cuft to accommodate for port and sub displacement. Subwoofer will be a Dayton HO 10". 10" to save space, and ported for low freq extension.

 10-25-10, 06:39 PM
#11
Advanced

Join Date: Mar 2008
Location: Illinois
Posts: 613
Likes: 0
Received 0 Likes
on
0 Posts
Congrats on the fiberglass work. I tried making some molds back in the day when I was in to car audio. Needless to say, it didn't workout all that well. That was CIRCA 1990 iirc.
11-12-10, 11:50 AM
#12
Driver School Candidate
Thread Starter
Join Date: Jul 2009
Location: ca
Posts: 31
Likes: 0
Received 0 Likes
on
0 Posts
I picked up some Peerless HDS Nomex 6.5" for damn cheap, so I shall use them for this setup.
I did some measuring to make sure they'll fit. It'll be a tight fit.
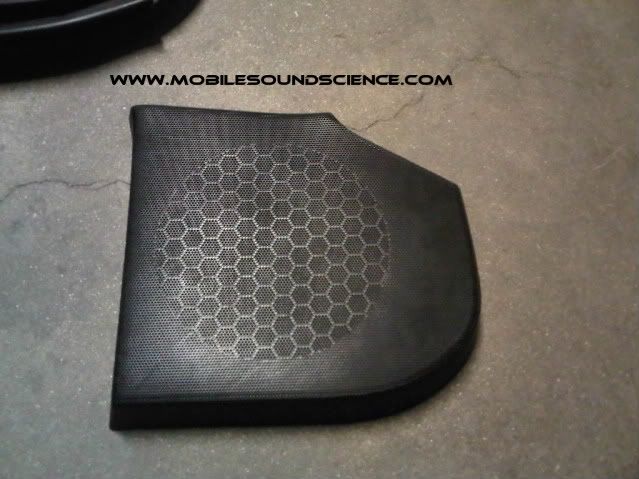
A spare door panel was purchased for some experimentation (Thanks javyLSU). I really like how they designed the grill to be removable.
Before:

After:
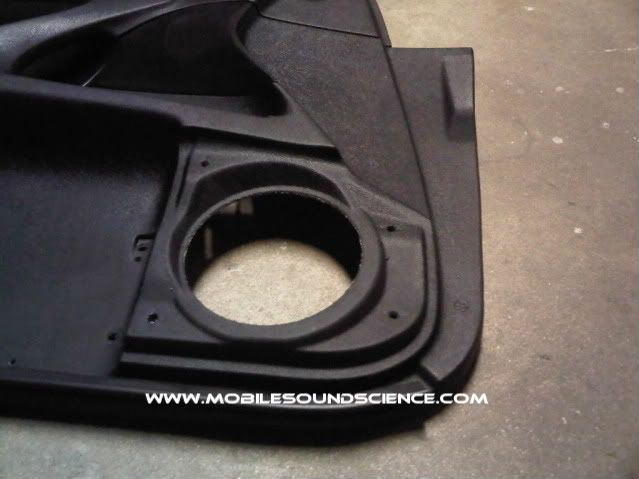
If Toyota designed the window to be about 1" higher...
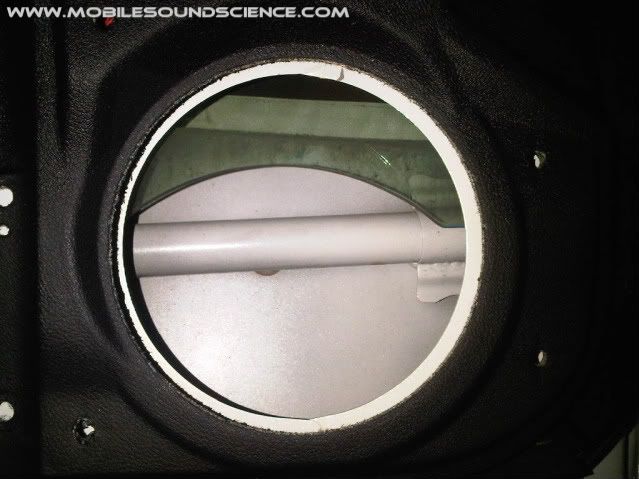
3" Mounting depth:

I did some measuring to make sure they'll fit. It'll be a tight fit.
A spare door panel was purchased for some experimentation (Thanks javyLSU). I really like how they designed the grill to be removable.
Before:
After:
If Toyota designed the window to be about 1" higher...
3" Mounting depth:
