When you click on links to various merchants on this site and make a purchase, this can result in this site earning a commission. Affiliate programs and affiliations include, but are not limited to, the eBay Partner Network.
Lake Country makes great affordable pads for polishers. They make pads ranging from being used for waxes/sealants all the way to wool pads for getting out bigger defects. Autogeekonline sells a 6 pack of them online for under 50 bucks and you can pick and choose which pads you want in your pack. Meguiars microfiber cutting pads are pretty great too. For polishes i've used chemical guys line of polishes, menzerna, and meguiars ultimate compound and ultimate polish. Honestly they all work the same for me so I usually just get a bottle of ultimate compound and ultimate polish from autozone/o'reillys. But all your hard work will quickly go to waste if you aren't washing the car properly
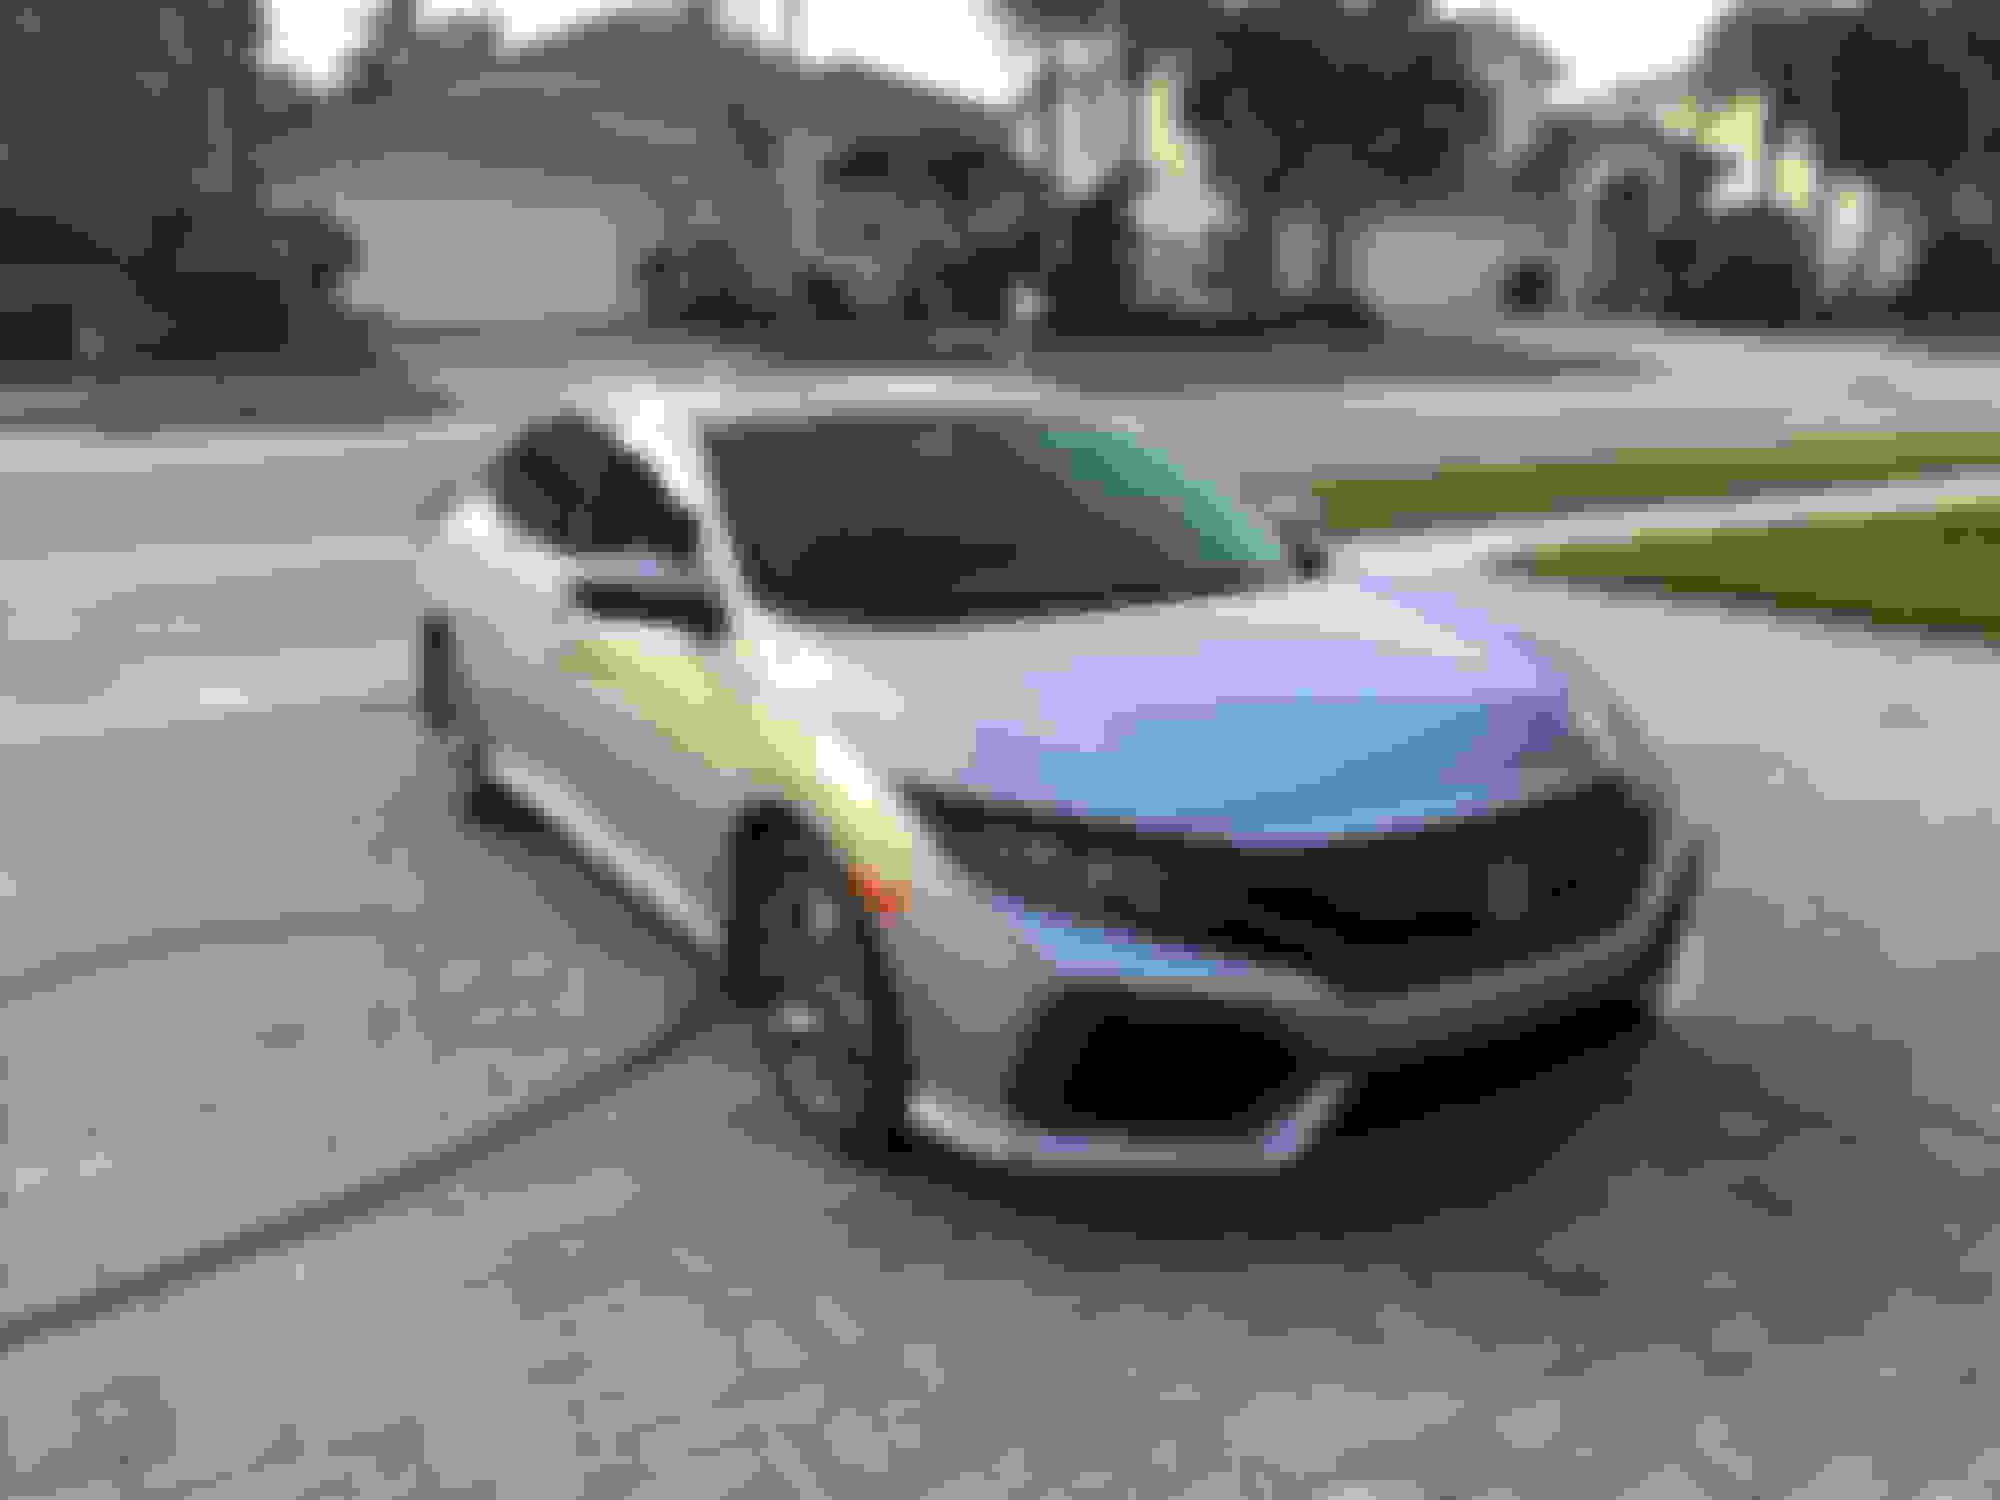
Looking to get this done myself...fist time DIY polish.
I have 14 IS350 black/obsidian and bought the car with serious swirls. I don't think they're all that deep but you can see it very well and it's everywhere. To the point the car looks less black than others...even when freshly washed.
I'm ok with minimal results for my 1st time I don't want to get myself into trouble! Confident enough to try as I think I'm pretty "handy" generally...not confident enough to go too heavy right away.
Let's see if I got this right.
Wash
Clay bar
v36on orange pads. v38 on white pads.
Wash again
Wax/seal
Do I need additional pads or anything else? I have a clay bar and wax picked out.
Never used CG products, but from the descriptions, I would start with the v36 on a test spot, about 24� square, on a panel that is more heavily swirled. After about 6-8 passes with the polisher, examine the spot and see how well the v36 worked. If it was too light, try the v34 on another test spot and evaluate if it was sufficient or if you need to step up the the v32 compound.
From your post, it seems like it�s pretty heavily swirled, so I doubt a polish will be sufficient. The v34 is described as a light compound, so that might be the way to go.
Take pics before, during and after... we love pics, especially when your hard work pays off. It will be tricky getting all the details and swirls in the pics, but it�s pretty satisfying to see the improvements.
Good luck!
Ok I'll start with 6-8 passes with the v36 and see what it looks like.
Would 6-8 passes with the v34 be accurate as well?
After the compound or light compound do I do it once over with a lighter polish? Then wax?
My concern is over doing it or not being completely even throughout. I assume common sense is sufficient but I've heard some well intended people screwing it up.
I feel a little out of my depth, being a one step kinda guy when it comes to paint correction, and you're looking at 3 steps, minimum:
1. Compound - to level the paint and remove deeper swirls and scratches.
2. Polish - to add gloss and shine, leveling the paint to a very fine degree.
3. Wax - to protect the paint. Add a sacrificial layer that will absorb the day-to-day abuse your paint gets, from simple touches, road dirt and grime, road film, and anything that comes into contact with the paint. Most waxes help maintain shine, and adds hydrophobic qualities like beading, to keep the paint looking clean by repelling dust and dirt, or helping the dust and dirt run off the surface of the paint more easily.
I think of woodworking as a parallel, heavy grit sandpaper to shape the wood (compound), small grit sandpaper to get it smooth (polish), and varnish/polyurethane as the wax to add shine and protection.
As for how many passes with your DA polisher, typically as many as it takes, but you don't want your job to take forever so I think 6-8 passes is a fair amount. Again... a bit out of my depth... my knowledge is from Youtube, Autogeek Online, and common sense. If you have some time, do some reading on the forums and watch a few videos. I started watching a young guy from Wilson Auto Detail, then Dallas Paint Correction, then moved on to other channels like Car Craft, Apex, Chemical Guys, and there are many more How-to videos out there.
Be careful, this paint correction and detailing stuff can become a little addictive. As I say constantly, I'm a One Step kind of detailer, and have just the one wax/cleaner in Balckfire One Step, but have quite a few detailing sprays, spray waxes, glass cleaners and treatments, tire cleaners, rim cleaners, tire dressing, interior and exterior cleaners, grease cleaners, rust remover... it gets addictive, and lets not start on how many microfiber towels, colors, sizes, low nap, long nap, medium nap, for dedicated drying, waxing, detailing, interior only, glass only, ... and the list goes on.
I guess I'm rambling this morning because I have a detailing weekend planned, my daughter is down for a few days from college, and I have this plan to detail her car, especially since its not seen a wax/cleaner for the last 18 months.
I guess I'm rambling this morning because I have a detailing weekend planned, my daughter is down for a few days from college, and I have this plan to detail her car, especially since its not seen a wax/cleaner for the last 18 months.
Would you mind taking photos of your work as you go, and posting them as a separate thread? I'm just getting my feet wet in the detail world and would love to see how you plan to tackle your daughter's car. I also use Blackfire One Step, but I've only applied it by hand.
Looking to get this done myself...fist time DIY polish.
I have 14 IS350 black/obsidian and bought the car with serious swirls. I don't think they're all that deep but you can see it very well and it's everywhere. To the point the car looks less black than others...even when freshly washed.
I'm ok with minimal results for my 1st time I don't want to get myself into trouble! Confident enough to try as I think I'm pretty "handy" generally...not confident enough to go too heavy right away.
Let's see if I got this right.
Wash
Clay bar
v36on orange pads. v38 on white pads.
Wash again
Wax/seal
Do I need additional pads or anything else? I have a clay bar and wax picked out.
When you wash the car, don't use any dedicated car wash soap because those have wax in them and will make the polishing step longer than it needs to be. Wash it with dish soap because that will help strip all the wax off the car. Also after you polish the car, make sure to spray the car down with an ipa solution to get the oils off the car from the polish, this will help the wax and sealant bond to the paint
Would you mind taking photos of your work as you go, and posting them as a separate thread? I'm just getting my feet wet in the detail world and would love to see how you plan to tackle your daughter's car. I also use Blackfire One Step, but I've only applied it by hand.
Ouch, I hate to disappoint, but I saw your request too late. After vacuuming and wiping down the interior this morning, I was wasted... temp in the 90s and high humidity in South Florida drained me, and that was in the morning. I knew I wouldn't have the energy for a proper exterior detail.
7pm rolls around and I decided on a quick handwash, with a simple topping of Bead Maker afterwards. 8pm and I'm done drying... what the hell, there's still daylight... I'll do the horizontal surfaces, bonnet, roof and hatchback. Broke out the Blackfire One Step and the GG6, 3 to 4 passes and it looks good enough. After buffing, went over the entire care with Sonax Brilliant Shine Detailer. Damn, it looks good!
Microfiber towels are in the washer, used about 10 towels in all. Think I'm gonna hit the sack early tonight...
Did take a couple of pics... this is right after washing and drying. You can see there's still quite a bit of shine still on the sides. Not bad for 18 months and 19K miles without a wax job. I guess the covered parking is helping a bit.
Here's a pic after the BSD on the sides, after I've cleaned up and put everything away...
I feel a little out of my depth, being a one step kinda guy when it comes to paint correction, and you're looking at 3 steps, minimum:
1. Compound - to level the paint and remove deeper swirls and scratches.
2. Polish - to add gloss and shine, leveling the paint to a very fine degree.
3. Wax - to protect the paint. Add a sacrificial layer that will absorb the day-to-day abuse your paint gets, from simple touches, road dirt and grime, road film, and anything that comes into contact with the paint. Most waxes help maintain shine, and adds hydrophobic qualities like beading, to keep the paint looking clean by repelling dust and dirt, or helping the dust and dirt run off the surface of the paint more easily.
I think of woodworking as a parallel, heavy grit sandpaper to shape the wood (compound), small grit sandpaper to get it smooth (polish), and varnish/polyurethane as the wax to add shine and protection.
As for how many passes with your DA polisher, typically as many as it takes, but you don't want your job to take forever so I think 6-8 passes is a fair amount. Again... a bit out of my depth... my knowledge is from Youtube, Autogeek Online, and common sense. If you have some time, do some reading on the forums and watch a few videos. I started watching a young guy from Wilson Auto Detail, then Dallas Paint Correction, then moved on to other channels like Car Craft, Apex, Chemical Guys, and there are many more How-to videos out there.
Be careful, this paint correction and detailing stuff can become a little addictive. As I say constantly, I'm a One Step kind of detailer, and have just the one wax/cleaner in Balckfire One Step, but have quite a few detailing sprays, spray waxes, glass cleaners and treatments, tire cleaners, rim cleaners, tire dressing, interior and exterior cleaners, grease cleaners, rust remover... it gets addictive, and lets not start on how many microfiber towels, colors, sizes, low nap, long nap, medium nap, for dedicated drying, waxing, detailing, interior only, glass only, ... and the list goes on.
I guess I'm rambling this morning because I have a detailing weekend planned, my daughter is down for a few days from college, and I have this plan to detail her car, especially since its not seen a wax/cleaner for the last 18 months.
Once again, good luck!
Originally Posted by Grey2010
When you wash the car, don't use any dedicated car wash soap because those have wax in them and will make the polishing step longer than it needs to be. Wash it with dish soap because that will help strip all the wax off the car. Also after you polish the car, make sure to spray the car down with an ipa solution to get the oils off the car from the polish, this will help the wax and sealant bond to the paint
Thank you both for the thorough input. I'll be spending hours watching videos but starting here so I can watch somewhat informed already.
I'll be sure to so the dish soap and ipa solution rinse.
Do you guys use the DA polisher to better apply wax as well? Softest pad of course.
Oh and iike the idea of one stepping the process ha. I've neglected the car a bit in this sense and if I'm happy with the results I'll be looking forward to.just more regular maintenance and wax.
Thank you both for the thorough input. I'll be spending hours watching videos but starting here so I can watch somewhat informed already.
I'll be sure to so the dish soap and ipa solution rinse.
Do you guys use the DA polisher to better apply wax as well? Softest pad of course.
Polishing is trail and error, you have to just do it and see what works and what doesn't. First time I polished my car I did not press down, just let mainly the weight of the polisher do the polishing and after I was done the finish looked pretty much the same as I started, had to research and research and figure out you have to press down on it to get it to work, work slower, and go over it more times. Night and Day difference when I did that.
I don't use the polisher to apply wax, just do it by hand, PC is kind of heavy to use it to apply wax and you are not getting any benefits using it for applying wax, many waxes and sealants recommend straight up and down motions to apply their product, not circular.
Forget about a traditional wax don't spend all that time, money and effort and not protect the paint properly. Seal with a ceramic coating if you are not comfortable doing it yourself take it to a shop.
Polishing is trail and error, you have to just do it and see what works and what doesn't. First time I polished my car I did not press down, just let mainly the weight of the polisher do the polishing and after I was done the finish looked pretty much the same as I started, had to research and research and figure out you have to press down on it to get it to work, work slower, and go over it more times. Night and Day difference when I did that.
I don't use the polisher to apply wax, just do it by hand, PC is kind of heavy to use it to apply wax and you are not getting any benefits using it for applying wax, many waxes and sealants recommend straight up and down motions to apply their product, not circular.
I kinda imagined that's how it'd go for me the first time. No problem with the trial and error process. Thanks for sharing
Originally Posted by Lexus2000
Forget about a traditional wax don't spend all that time, money and effort and not protect the paint properly. Seal with a ceramic coating if you are not comfortable doing it yourself take it to a shop.
I'll be doing it myself....DIY anything else auto related my whole life just haven't done anything beyond wash/wax And interior when it comes to detailing. I may go ceramic however I have a heavy duty wax in mind. Haven't purchased yet as I still have hours to spend in research.
Hoping to clear my Saturday next week to do this. Will follow up. I'll get as many before picture as I can so you all can see how swirled it is. Car looks great as long as your not within 15 ft of it
 07-05-19, 06:34 PM