When you click on links to various merchants on this site and make a purchase, this can result in this site earning a commission. Affiliate programs and affiliations include, but are not limited to, the eBay Partner Network.
I saw a DIY for painting a new emblem but wanted to post something for reusing the current emblems.
First I washed the current emblems on the care then let them dry.
Then I used fishing line to break up the adhesive from the body of the car.
Next was the part that takes the most time, cleaning up the old adhesive with goo-gone and prepping the old emblems for paint.
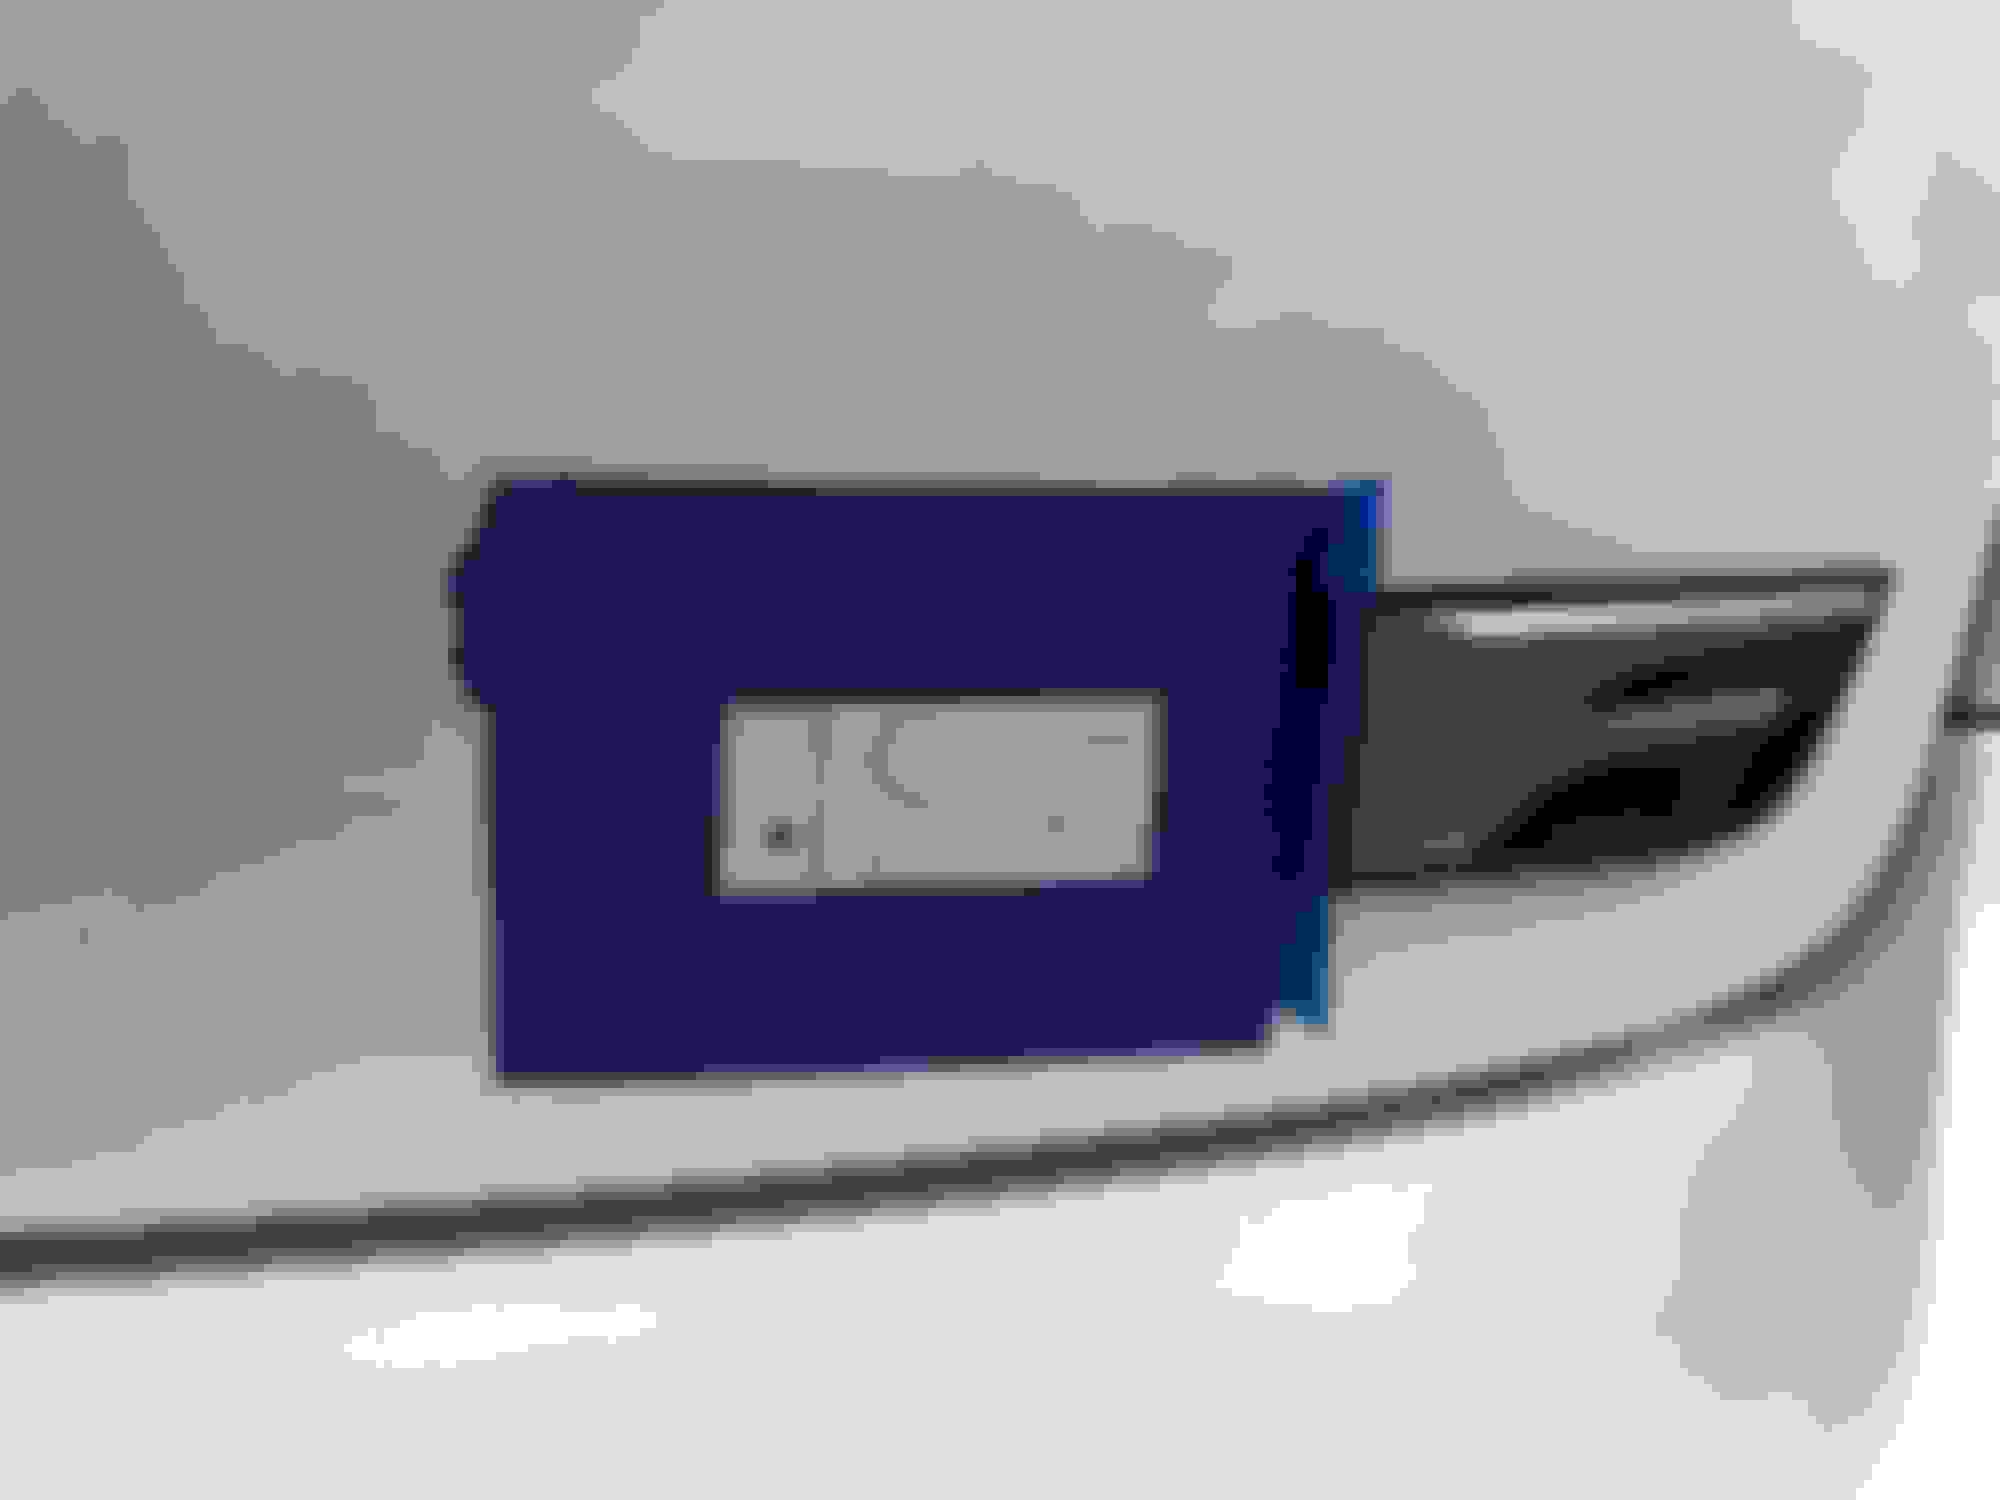
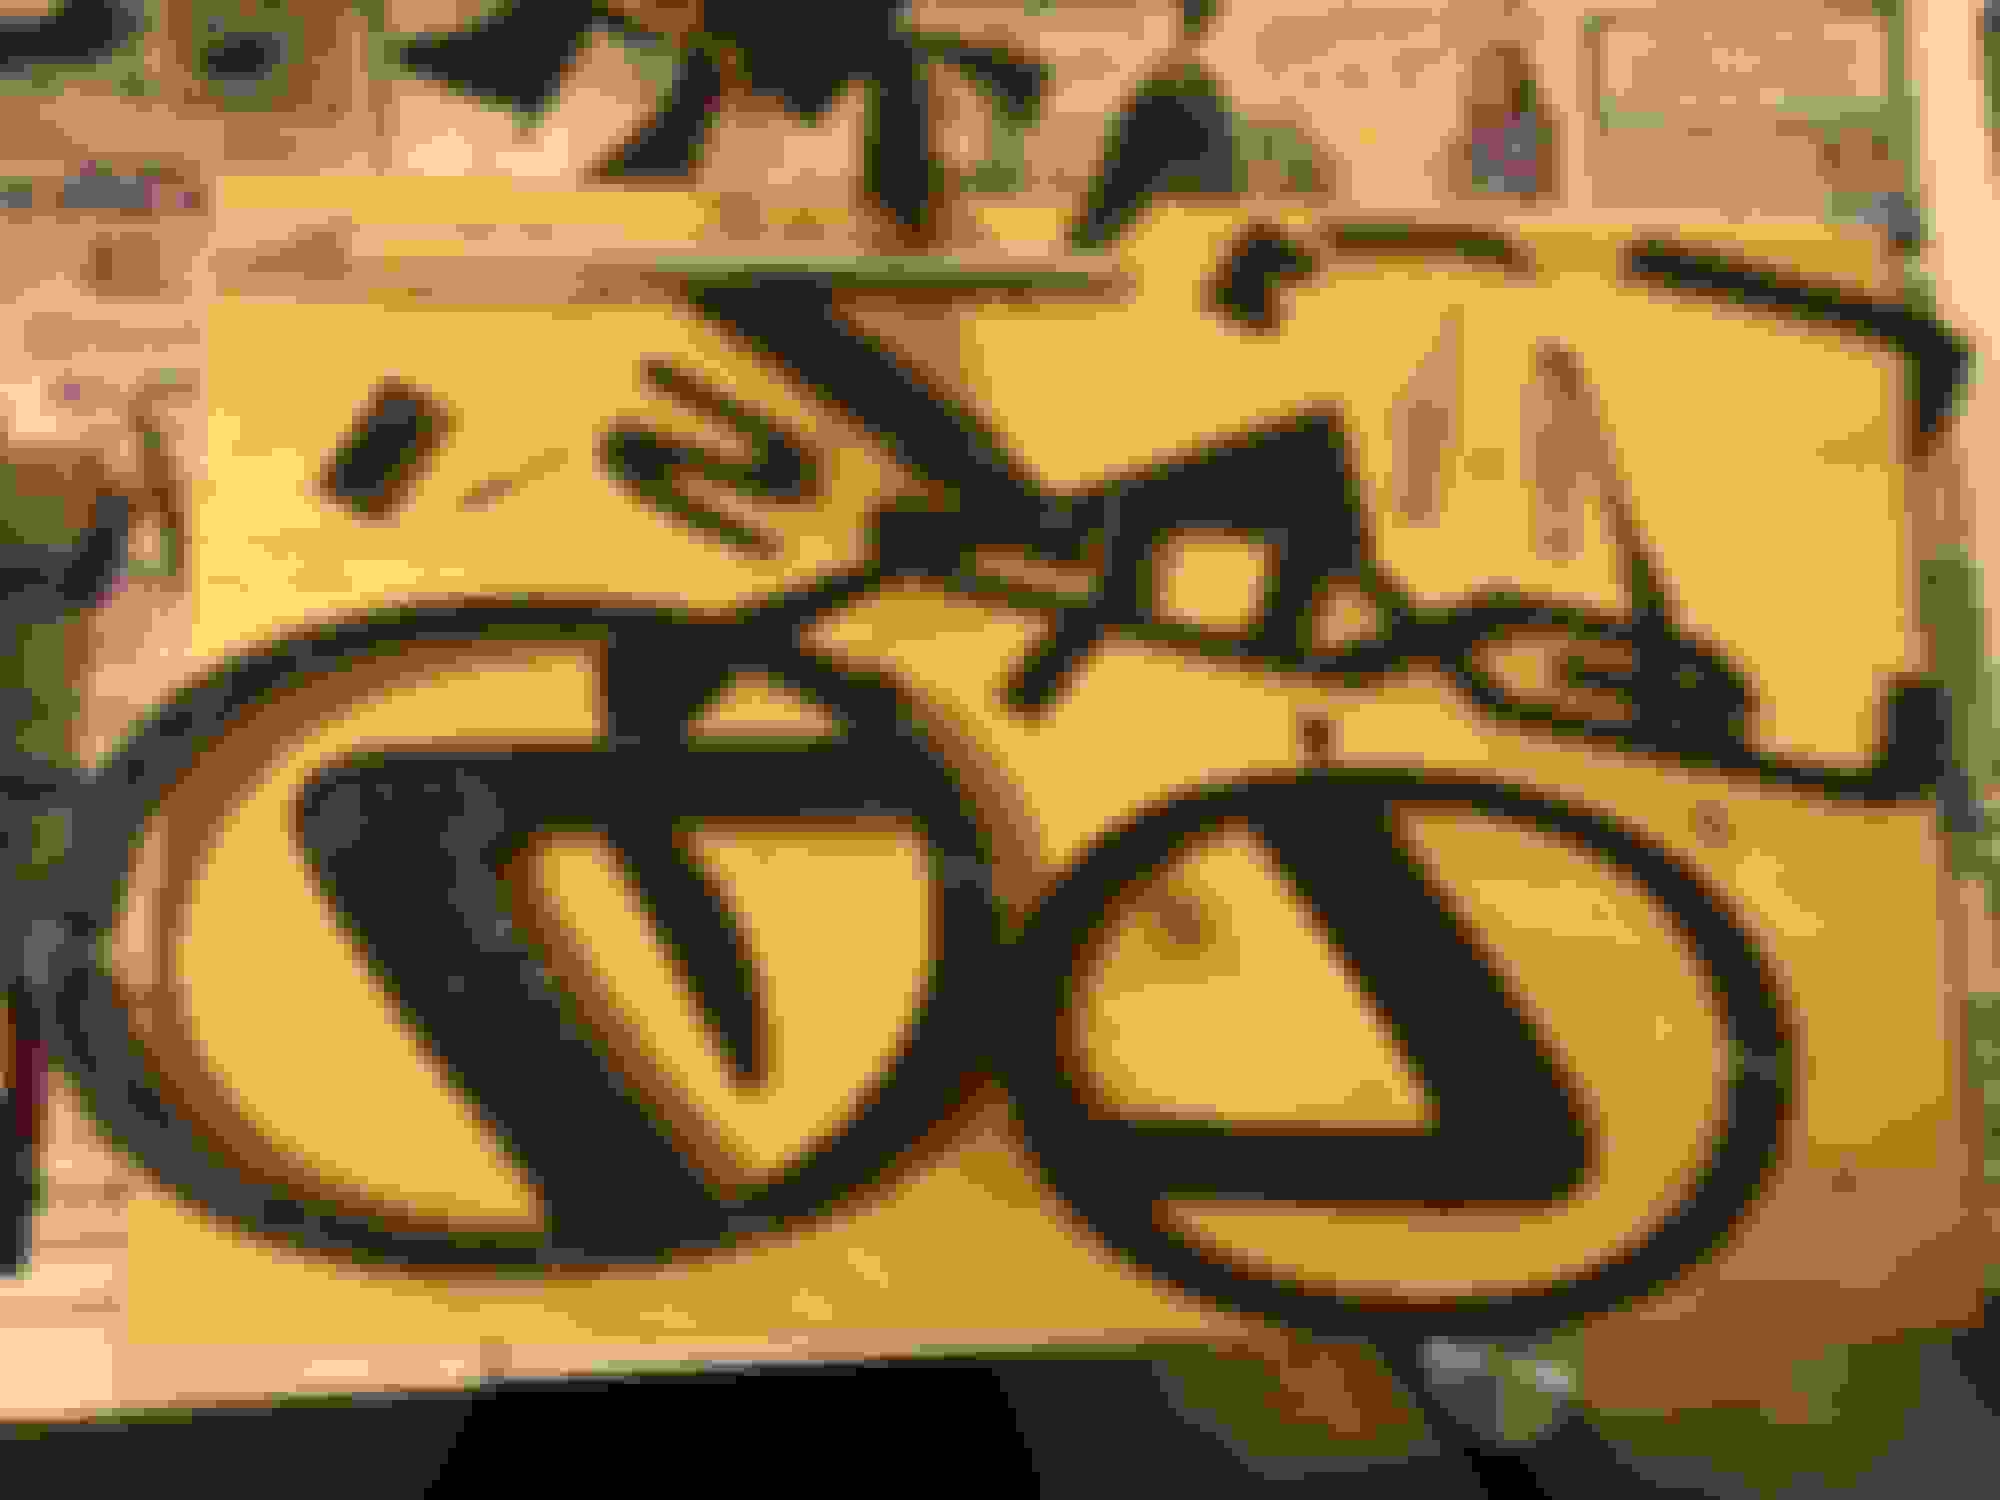
First I sanded the emblems with 3M #2 wet or dry auto sand paper and put on the gorilla mounting tape on each emblem. Next I used an xacto z series hobby knife and ended up going through 3 blades. So I would recommend when you do this project to pick up extra blades because it will make the job a lot easier.
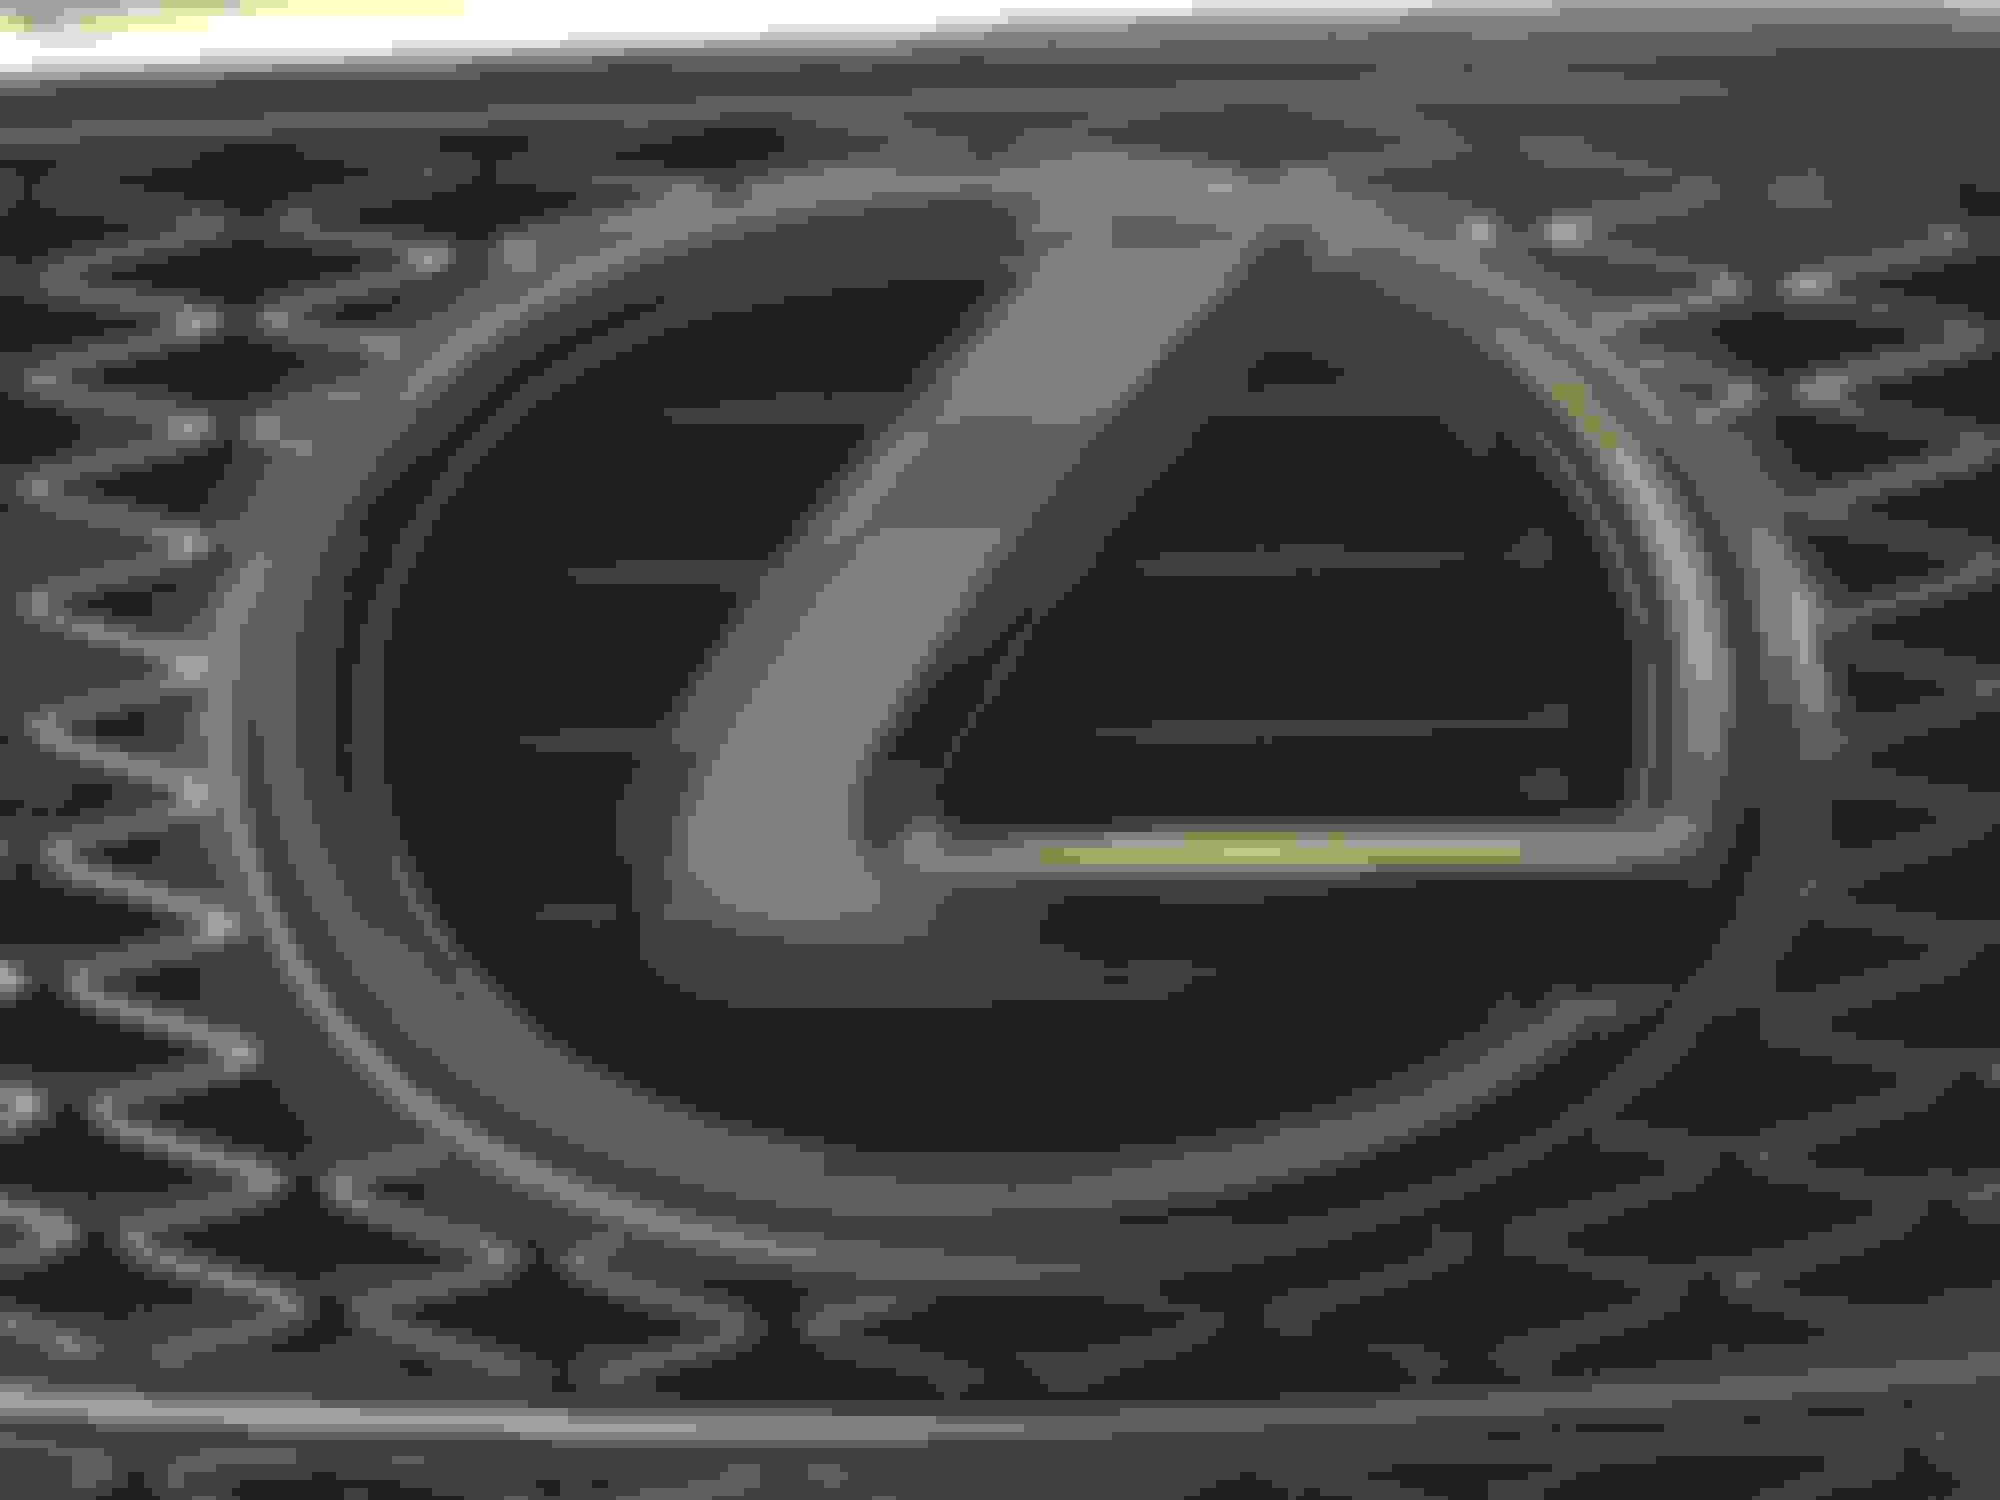
After all the emblems were trimmed, I set them up on blocks of wood under newspaper and sprayed the emblems with the Tamiya paint waiting 5 minutes in between coats.
Once the emblems were dark enough, I finished them off with Dupicolor clear coat.
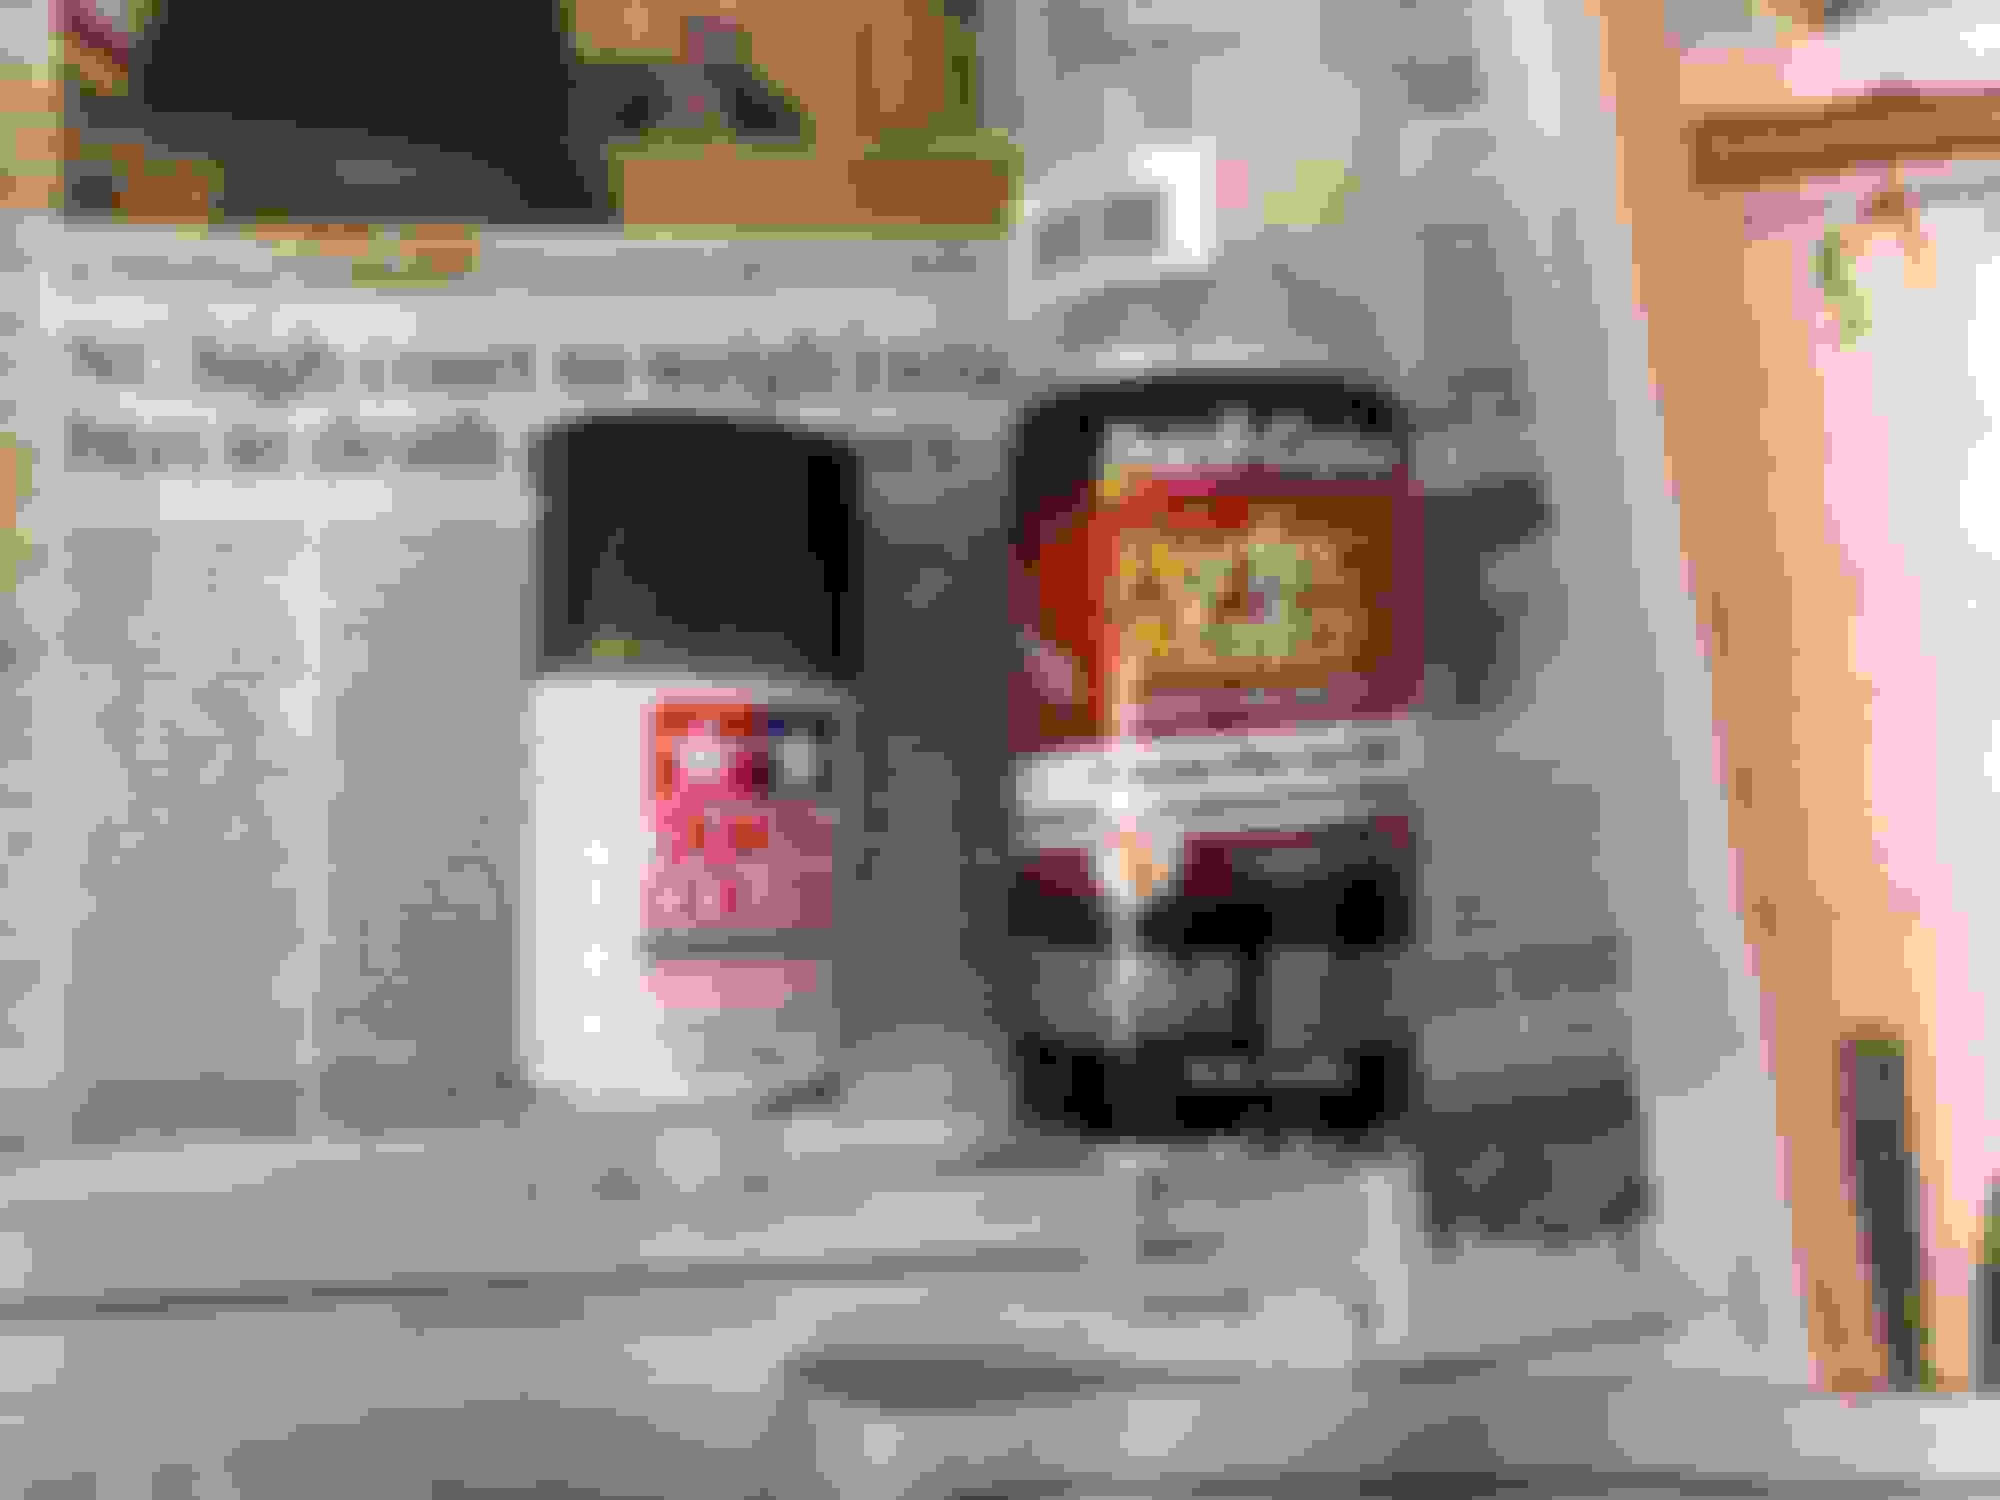
Before placing them back on the car, I put adhesive promoter on each spot where the emblems would be seated.
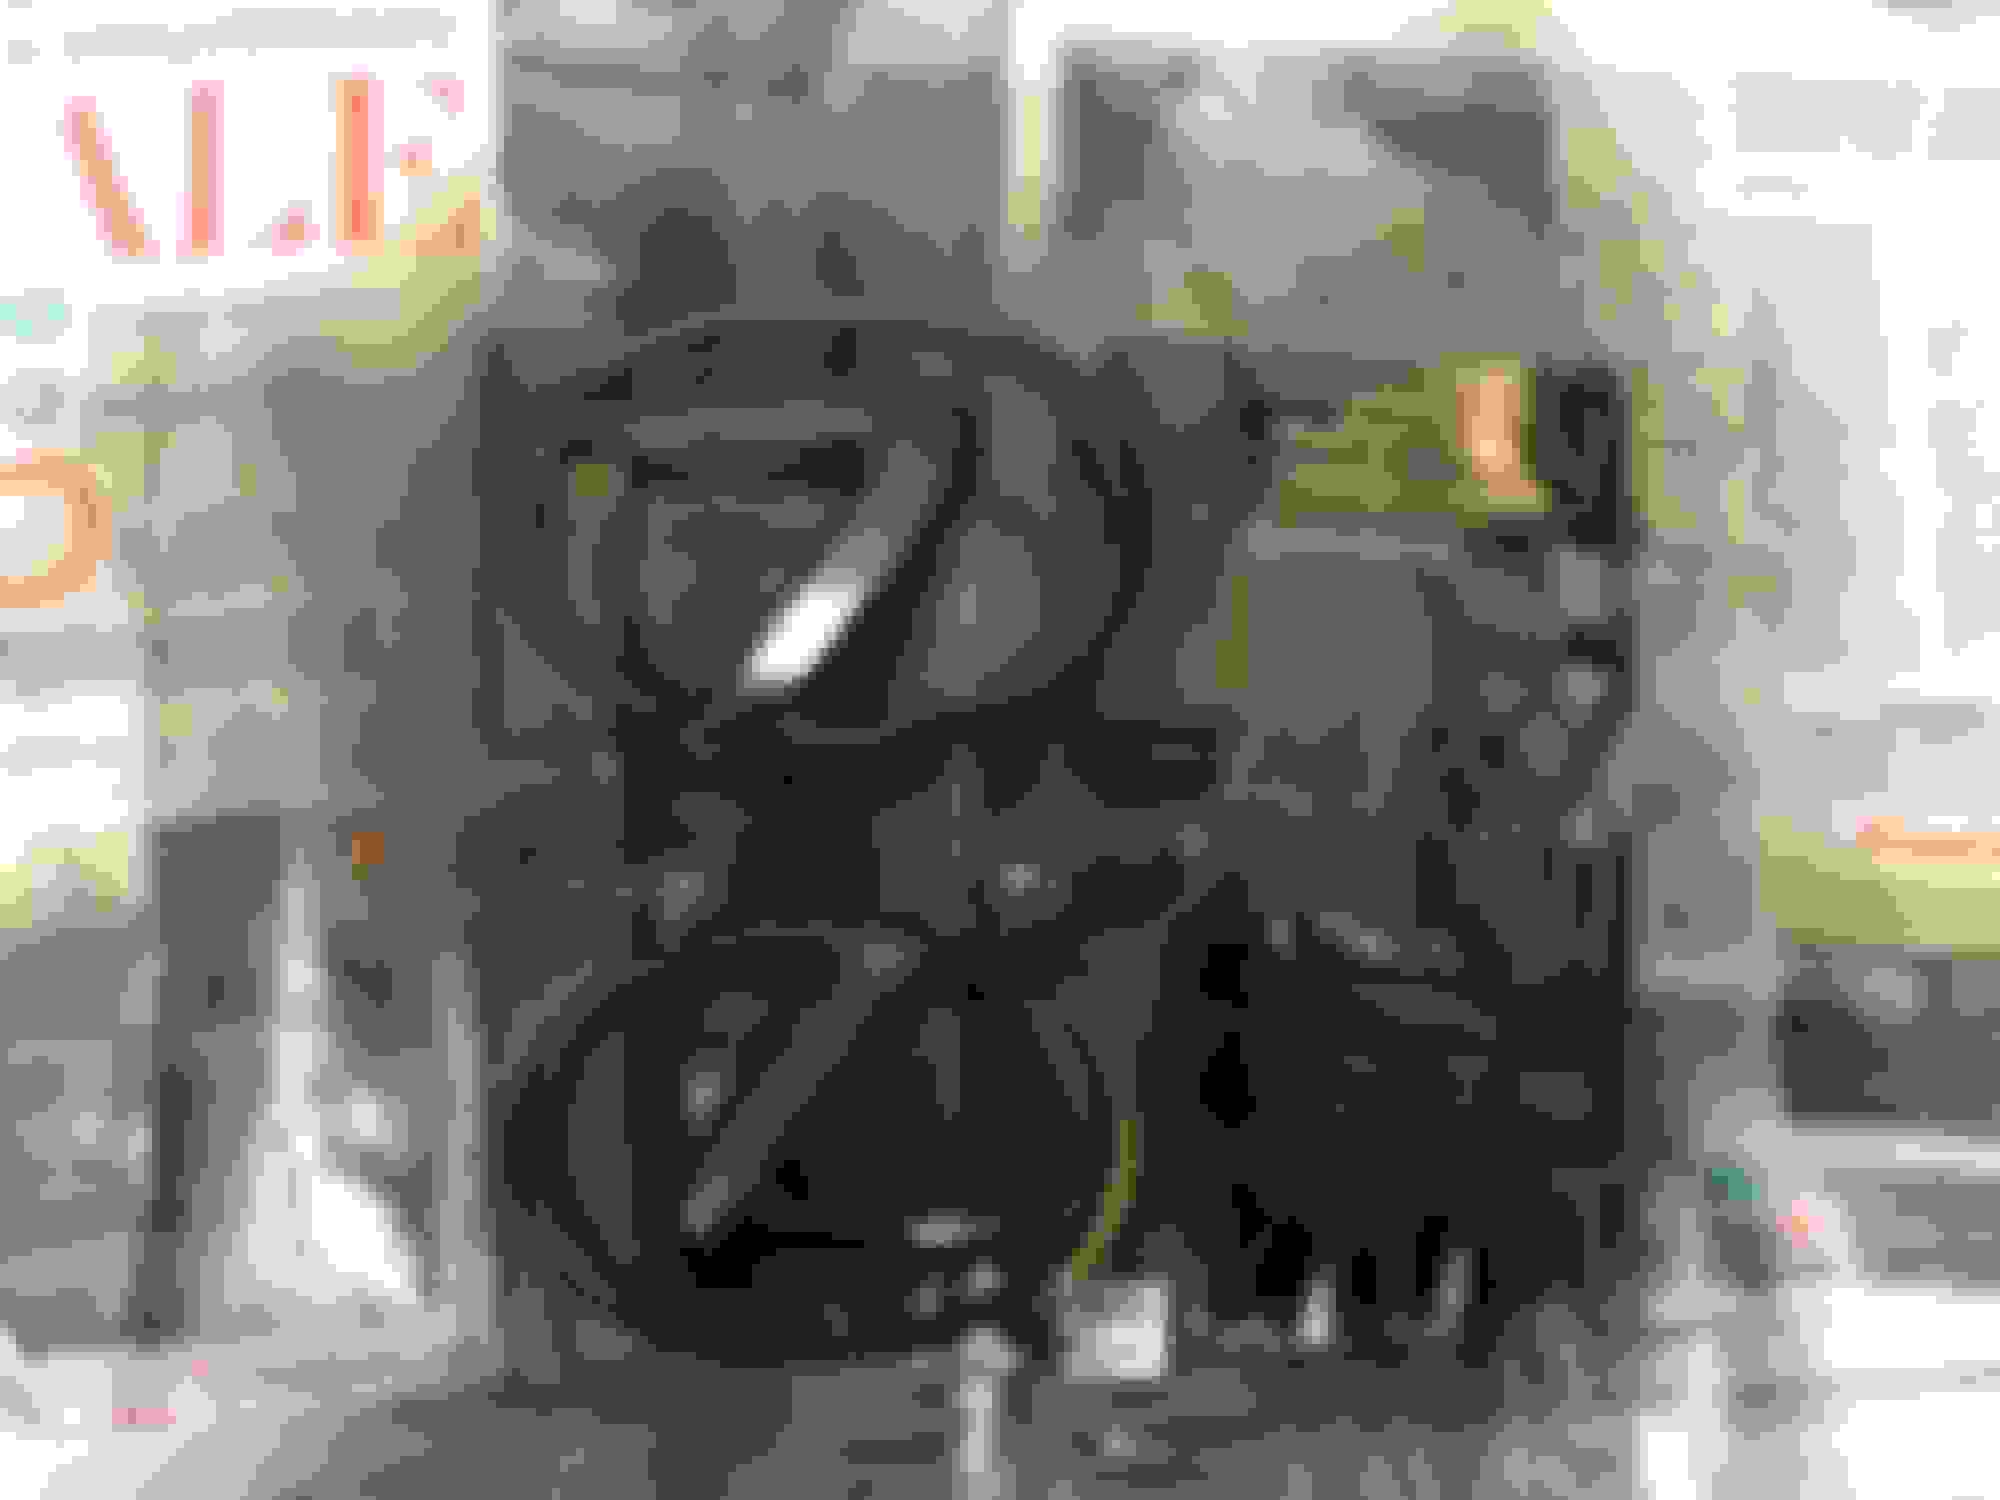
Looks good. One word of advice when you do this again in the future is to never cut the tape right on the edge. If you look at the after photos, I can see a bunch of areas where the tape is visible from under the emblems. You always want to cut it thinner than the actual emblem....trust me it's not going anywhere if you use slightly less tape.
Another tip, and I am not knocking your work, it looks great we all need to learn, I learned the hard way. When using a clear especially for the outside , make sure (that 1 you used may be I am not sure) it is "non yellowing" and or "UV protective" that way your work won't be discolored or faded by the elements over time and you will end up doing it again. Looks great
Looks good. One word of advice when you do this again in the future is to never cut the tape right on the edge. If you look at the after photos, I can see a bunch of areas where the tape is visible from under the emblems. You always want to cut it thinner than the actual emblem....trust me it's not going anywhere if you use slightly less tape.
Thanks for the feedback. With the way these emblems are I placed the full width of tape on the emblem then with the emblem face up, I trimmed the excess tape to contour to the shape of the emblem.
After I posted the pics I used my window squeegee which has a nice pointy rubber edge to agitate any of the spots that had slightly more excess tape showing than desired and it cleaned up the emblems nicely.
Another tip, and I am not knocking your work, it looks great we all need to learn, I learned the hard way. When using a clear especially for the outside , make sure (that 1 you used may be I am not sure) it is "non yellowing" and or "UV protective" that way your work won't be discolored or faded by the elements over time and you will end up doing it again. Looks great
Thanks for the feedback and good point to be made for anyone considering this DIY, make sure your clear coat is UV rated.
With this being an automotive clear coat it is UV rated.
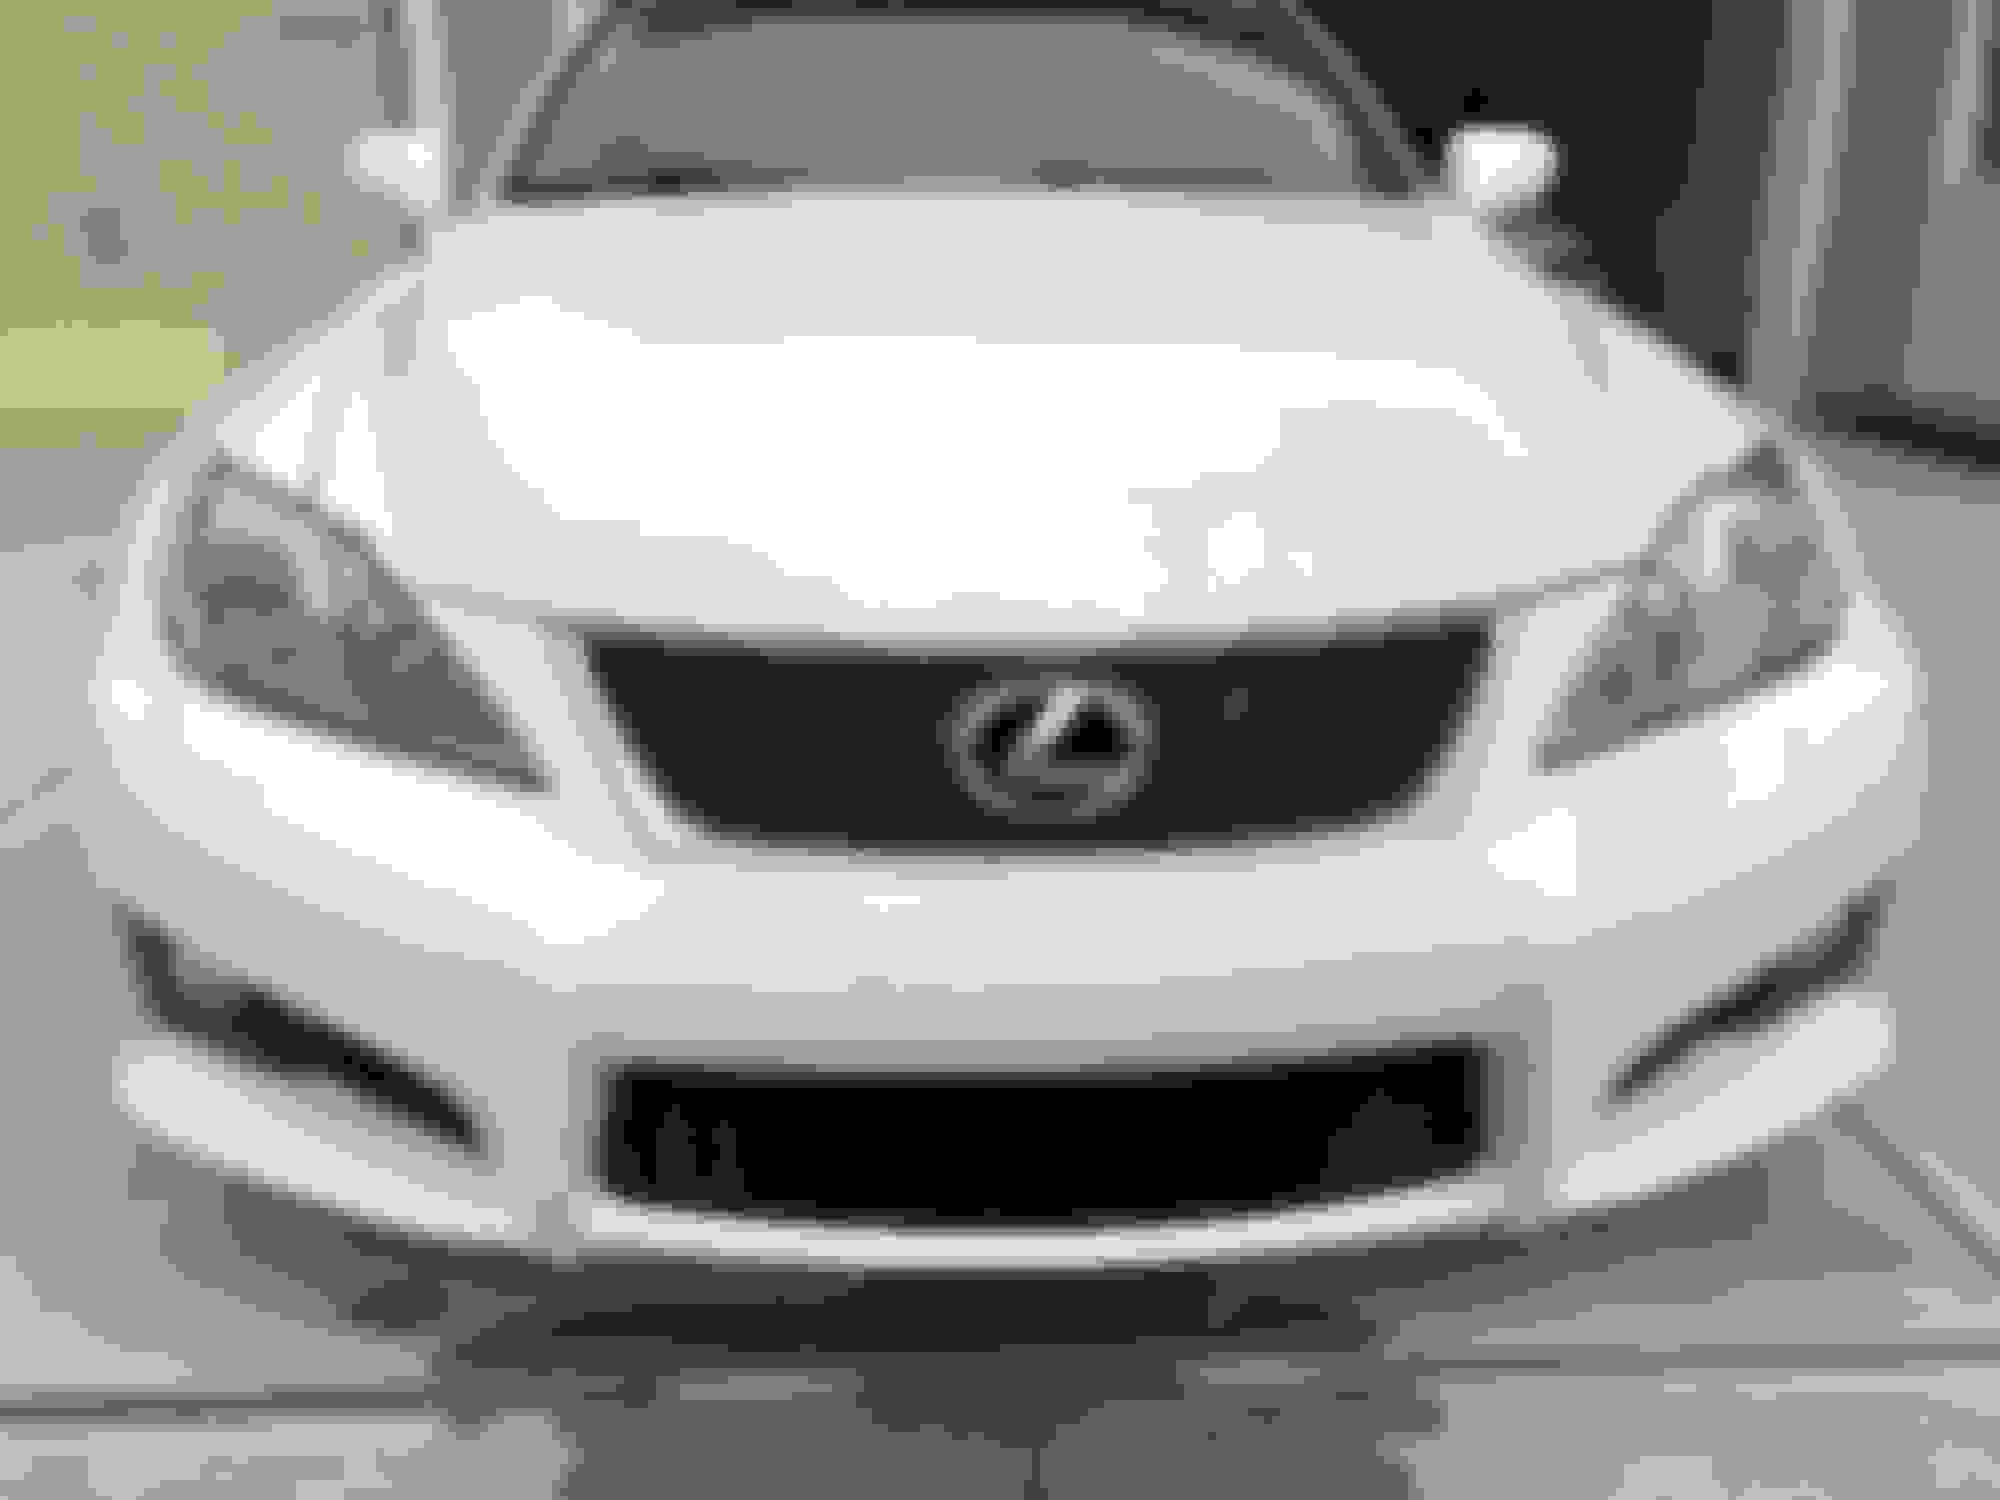
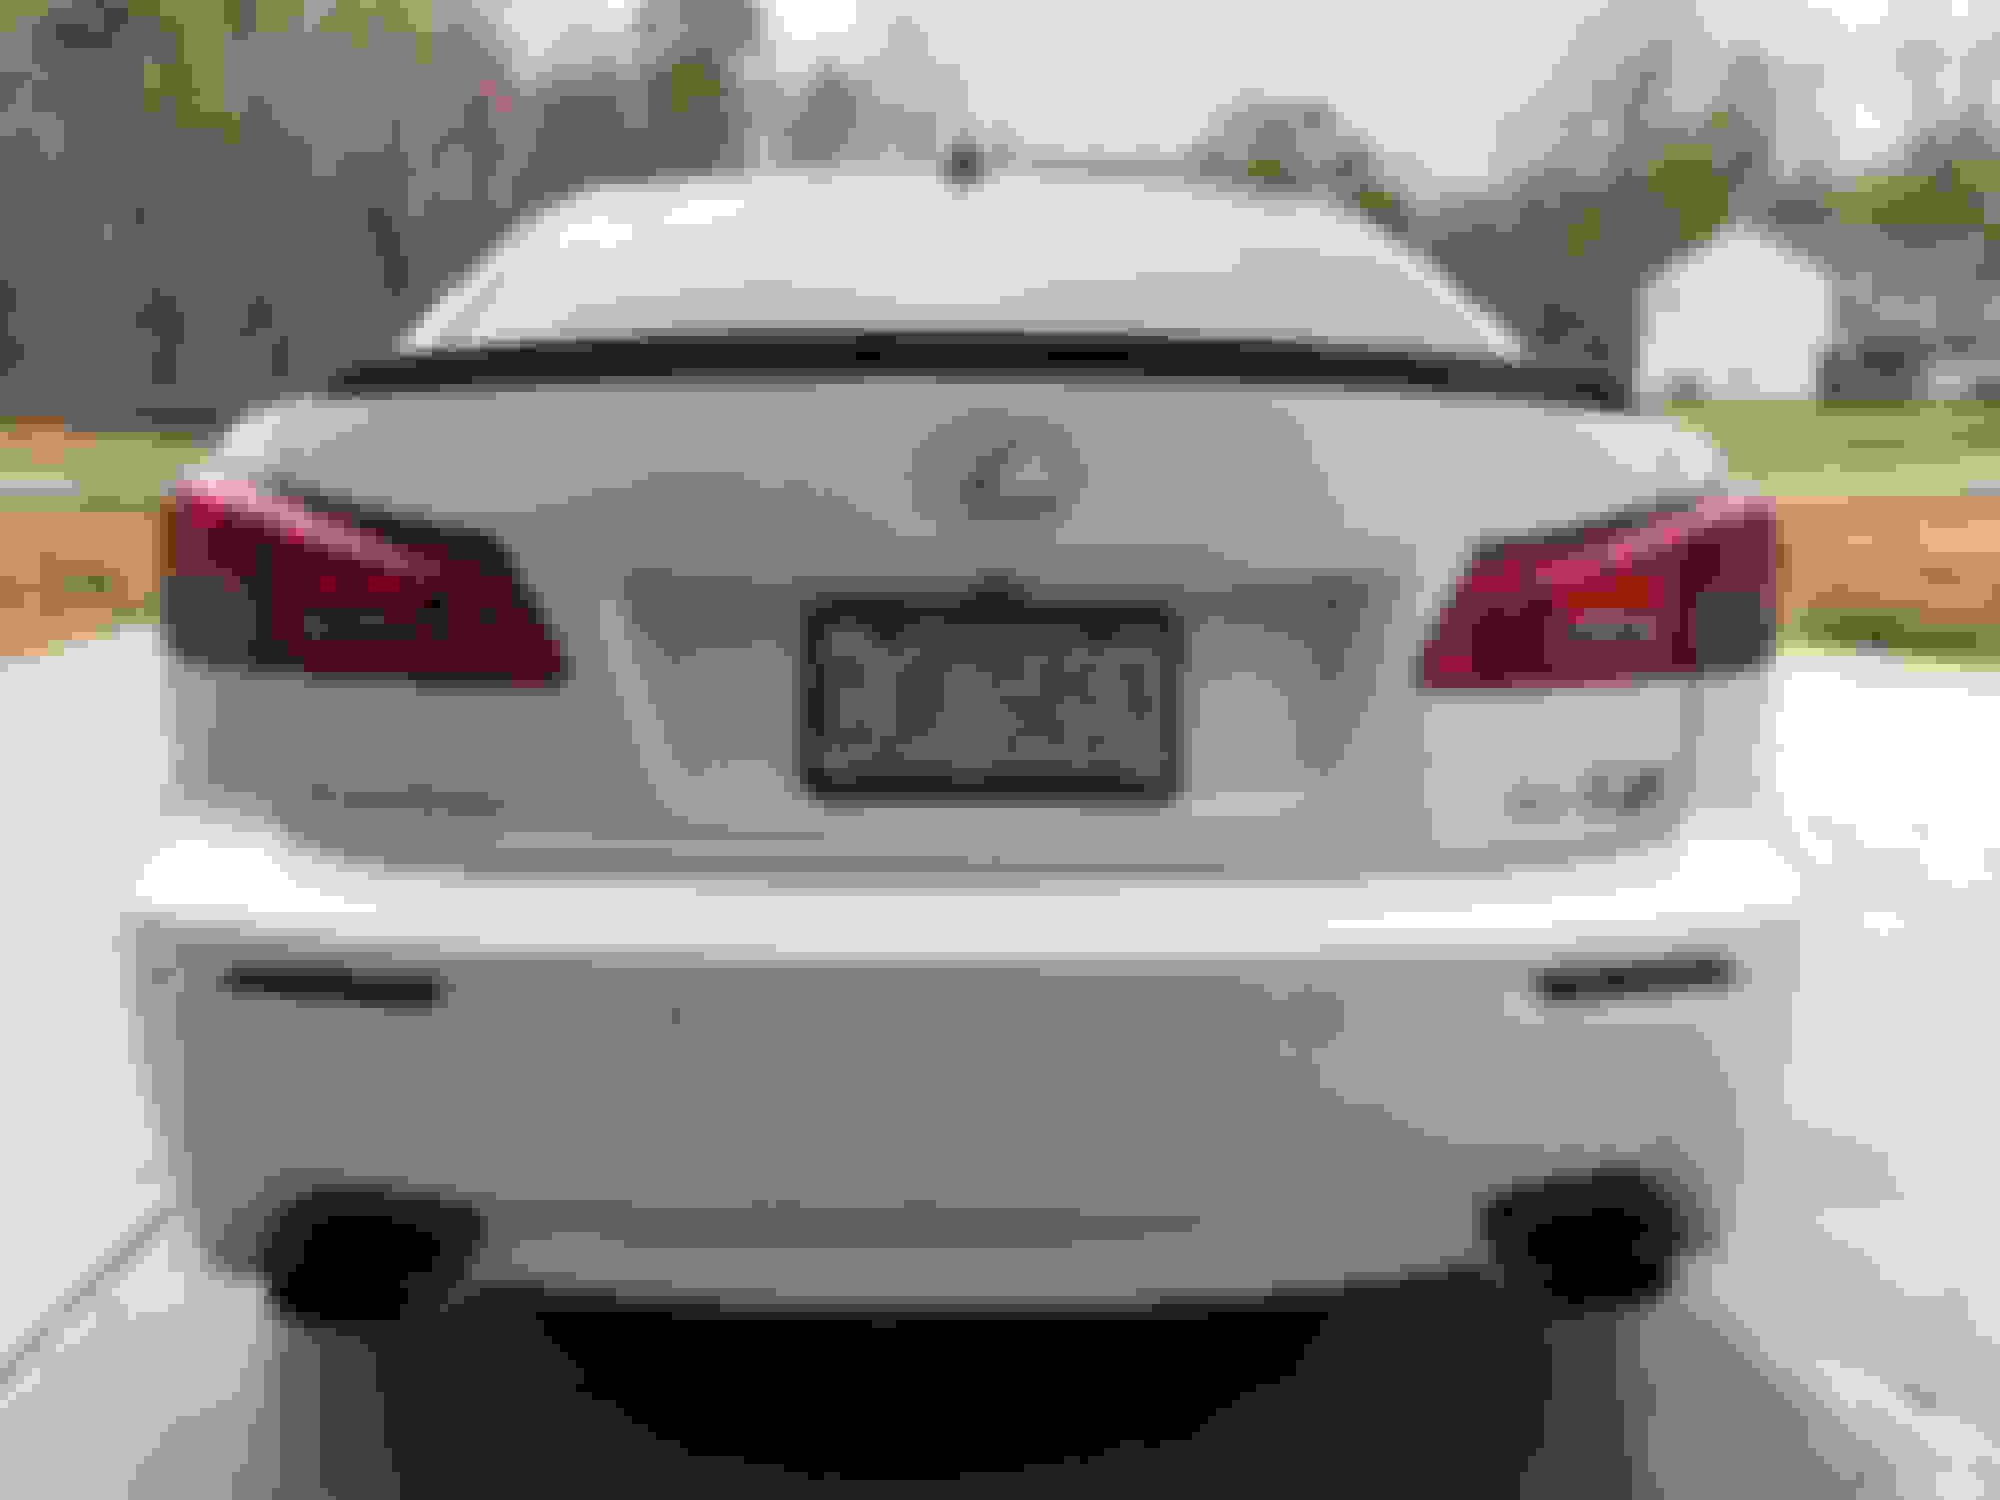
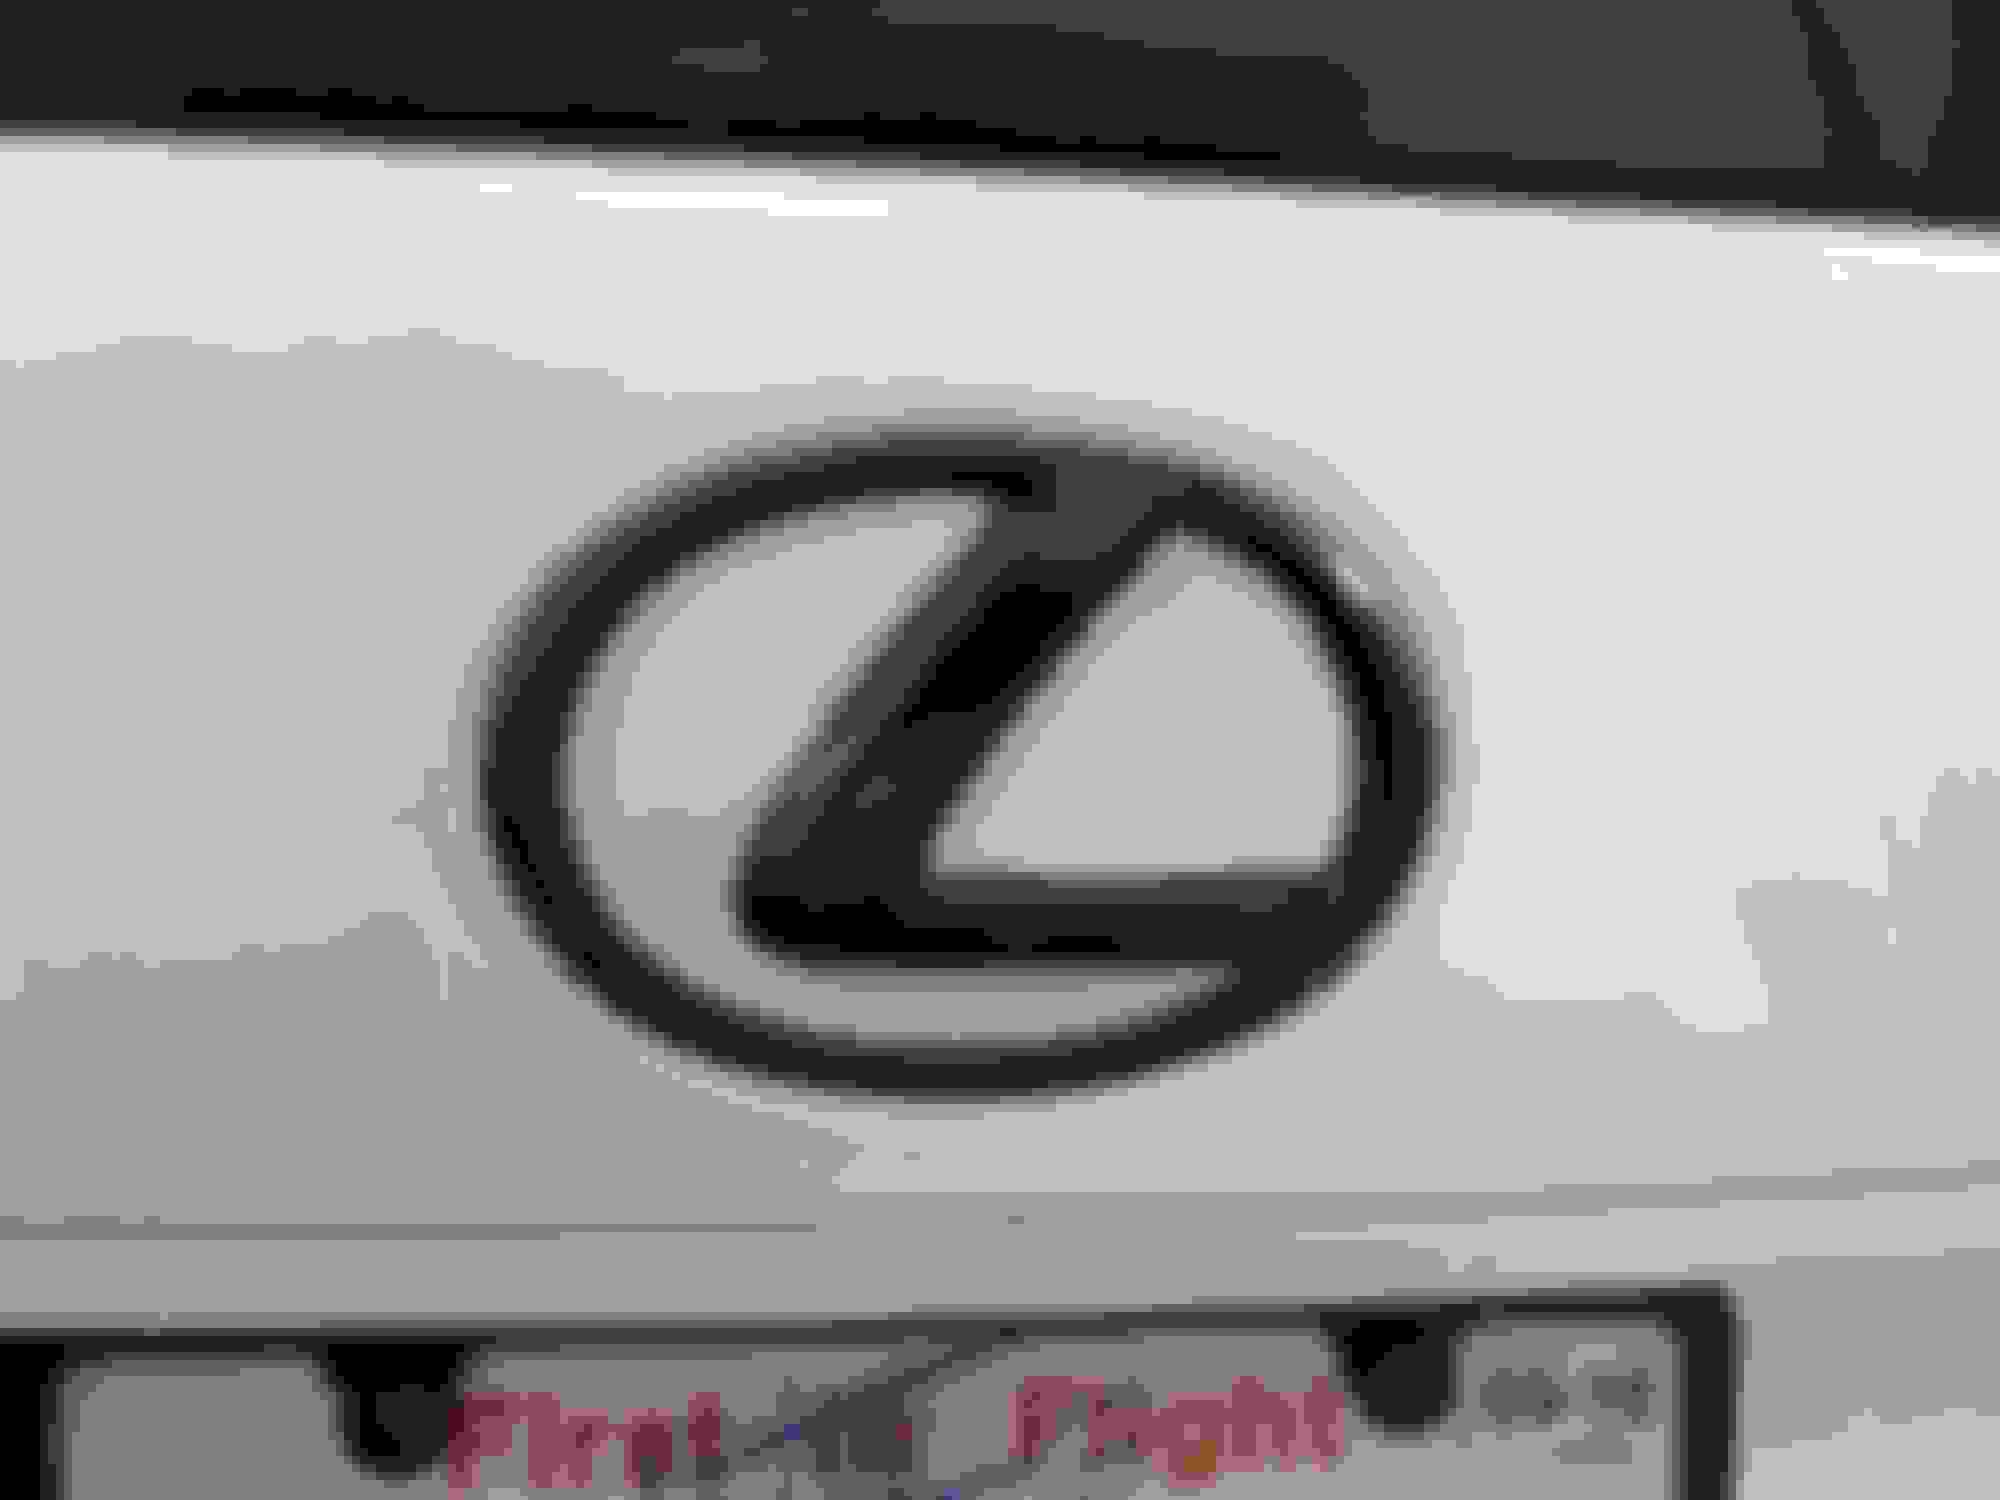
Here is a picture I took after a well needed wash and detail after a major overhaul of rotors, pads, coil over suspension and the newly painted emblems.
 04-07-18, 08:43 PM