Lexus GS Front Lip Splitter Install Video Keeps it Simple
Front splitter makes the Lexus GS or GS-F much more aggressive up front and the install is very simple.
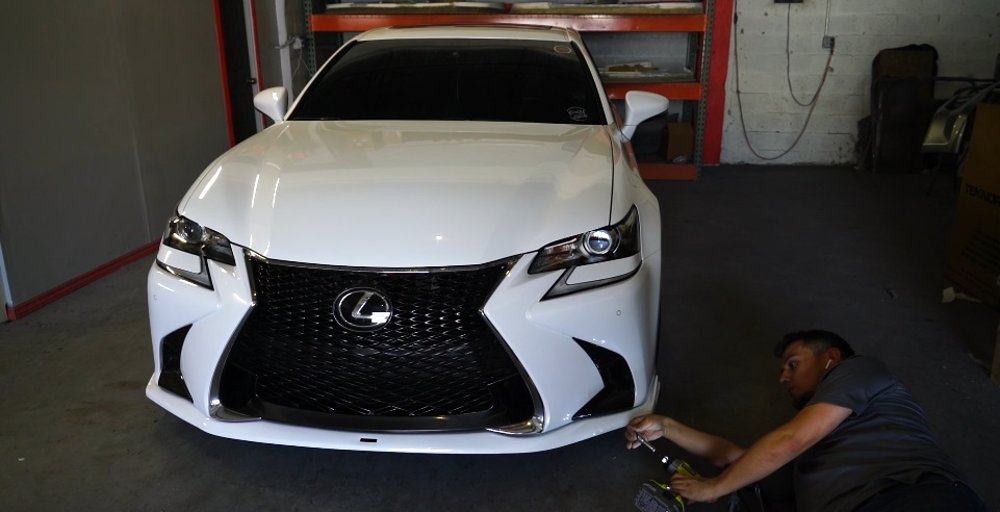
The video above comes to us from the NIA Auto Design YouTube channel and it features a walk-through of how to install their front lip splitter on a newer Lexus GS or GS-F. While this is a fairly simple piece that is easy to install, it goes a long way in giving the mid-sized luxury sedan a more aggressive face and a sportier stance. Some people might buy a piece like this with the intention of paying their local body shop to install it, but as the video above shows, this is a project that anyone with basic mechanical experience can tackle.
It should be noted that the installation is being performed on a GS-F, but it also bolts right up to the non-F Sport models.
The Introduction
The video begins with Kevin from NIA Auto Design explaining the project along with giving us a look at the piece prior to installation and the fasteners that come with the lip splitter package. This piece comes color-matched to your Lexus factory paint, constructed from ABS plastic that is flexible and durable enough to stand up to the abuse of daily road use.

In addition to the splitter itself, the package for the Lexus GS comes with two bolts and a handful of self-tapping screws. As for tools, the company recommends a stubby Philips head screwdriver, a ratchet with a 10-millimeter socket and a power drill with an angled Philips head bit setup. That power drill with the angled head isn’t required, but it makes the job quicker and easier.

The Tear Down
The first step of the process is to remove the bolts holding the factory front fascia onto the Lexus GS. As you go from side to side and remove the bolts, nothing will actually come off of the car, but you need to use the factory bolt holes to affix the NIA splitter.
Once all of the factory bolts running along the bottom of the front fascia are out, you are ready to install the new aero piece.

The Install
The majority of this project can be done by one person, but it is best to have someone help you lift the splitter up against the other side of the body until a few of the factory fascia bolts are holding it in place. Once those stock bolts are loosely in place along with two bolts that come with the kit for the GS-F, you want to begin by tightening the bolts in the wheel openings to make sure that the splitter is flush to all of the body lines.
Next, with the bolts still loose, you add the self-tapping screws, snugging the splitter up to the stock front fascia before going back through and tightening up all of the larger bolts that hold the splitter in place. You want to make sure that you are happy with the alignment of the splitter before adding all of the screws, but once you have the splitter straight and all of the bolts and screws tightened up, the project is done.

In the end, so long as you can loosen and tighten bolts and screws, you can install the NIA Auto Design splitter on your newer Lexus GS or GS-F.