Lexus RX: How to Fix Headlight Condensation
Condensation in your headlights not only looks bad, but it can also cause the bulb to short out, leading to expensive repairs. Here's how to fix headlight condensation on your Lexus RX.
This article applies to the Lexus RX (2005-2014).
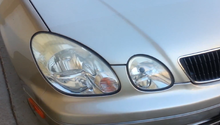
Whether your Lexus RX is new or several years old, you may be surprised to find a continuous buildup of moisture and condensation in one or both of the front headlights. While some vehicles are covered under warranty for this issue, others are not. It's possible to fix your RX on your own with a few common tools and a bit of patience. After finding the leak and sealing up potential trouble spots, you shouldn't have to deal with this issue in the future.

Materials Needed
- At least one can of silicone sealant (e.g., Permatex Silicone RTV Clear)
- Car/truck repair tape
- Screwdriver and pliers (optional)
- Old towel or rag (optional)
Step 1 - Remove engine cover and fender line
Start by removing the engine cover. Then take the fender line off by removing the two bumper bolts and plastic screws. You only need to remove the bumper halfway to access the headlamp.

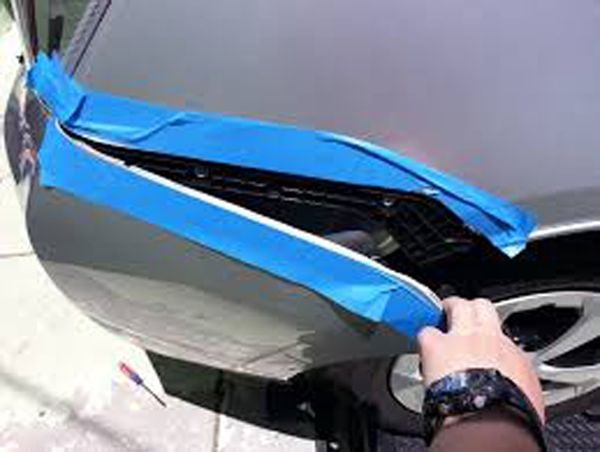
Step 2 - Tape the bumper
It's important to protect the vehicle with automotive tape to prevent scratches and nicks during the process. Tape the areas you'll be working near, including directly underneath the headlight.
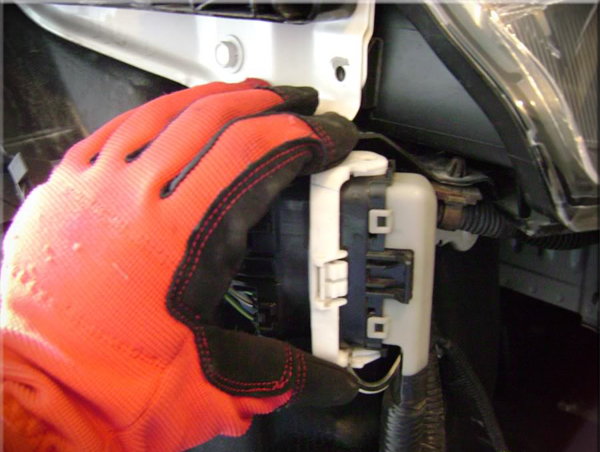
Step 3 - Unplug the connectors
Unplugging the connectors means removing any parts connecting the headlamp to the vehicle, such as turn signals, park lights, daytime running lights, and headlights.
Step 4 - Remove the headlamp
There are three bolts in total, including one on the side. Next, remove the washer fluid filler and stow away. Lift up the plastic tab on the far left (for the passenger side headlamp) or the far right (for the driver's side headlamp) as you slide the headlamp out.

Pro Tip
In some cases, the leak is in the gap between the lens and housing. The area needs to be sealed with silicone to resolve the issue. For owners with this type of leak, it is unnecessary to remove the headlamp. Instead, simply apply the silicone, wait for it to dry, then replace the bumper and any other parts you may have removed to access the headlamp.
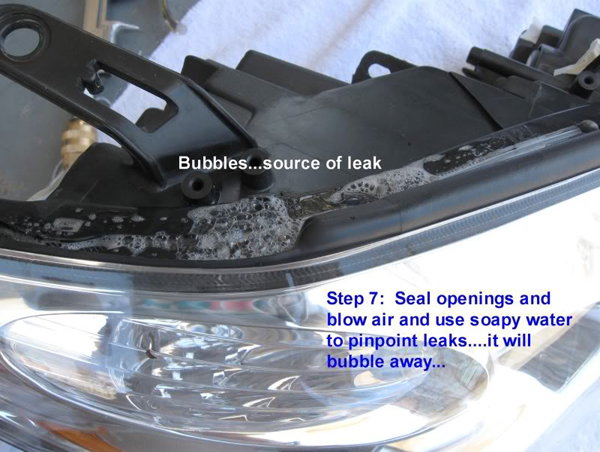
Step 5 - Find and seal the leak
Identifying the source of the leak should be relatively simple. Look for bubbles or areas of water and/or condensation. If the source of the problem is not immediately clear, use a bit of soapy water around the headlight assembly seals to check for signs of leaks. Once you've uncovered the leak, seal it with your sealant of choice and let it dry for at least an hour.
Pro Tip
Place the headlight assembly on an old towel or rag to dry. For faster drying, place it in a dry, sunny location.
Step 6 - Replace the headlamp and reassemble
When the headlamp is dry, simply replace it and reassemble the parts in the same order you removed them. Be sure to securely tighten all bolts and screws along the way.
Related Discussions
- Headlight Condensation Includes DIY Instructions - ClubLexus.com
- Headlamp Condensation Repair Tip - ClubLexus.com