Lexus IS: How to Replace Brake Calipers
Pads, rotors, and brake calipers are all common wear items, which means you'll end up paying for this work frequently when your warranty is up. Avoid those recurrent costs by learning how to install your own rotors, change your own pads, and flush your own brake fluid.
This article applies to the Lexus IS 250, IS 350, IS-F (2005-2014)
It's rare to have to replace calipers; however, they do wear out or even seize over time due to age and rust. Upgrading is another reason to replace the calipers. From the factory, your calipers are suitable for normal daily driving. However, if you go to the track frequently, then upgrading your braking system is always important and stronger calipers can make a huge improvement. Replacement is pretty easy but can be time consuming and messy due to having to remove and attach brake lines.

Tools Needed
- New calipers
- Brake cleaner
- WD-40
- C-clamp
- 13-17mm sockets
- 8-12mm sockets
- Cheater bar or air wrench
- Towels
- Tire iron
- Floor jack
- Jack Stand
- Brake bleeder
- Rubber hose
- Brake fluid
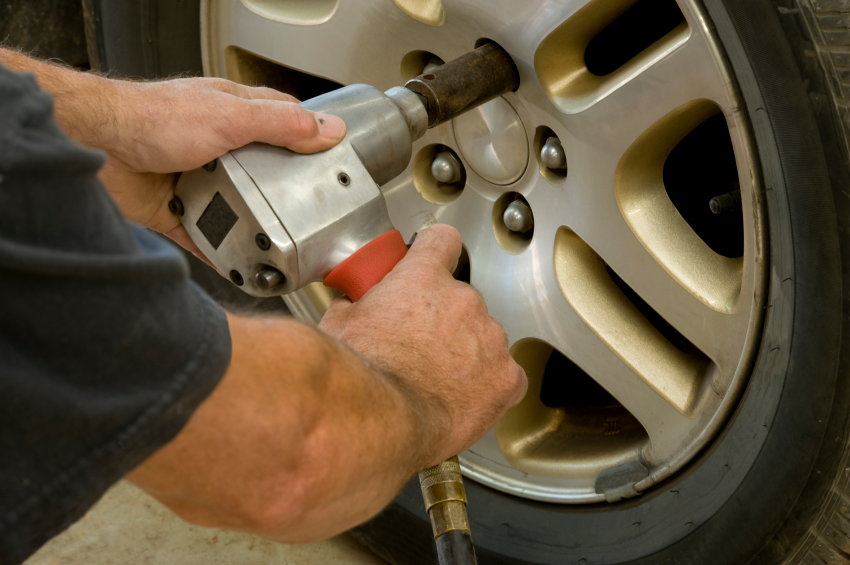
Step 1 - Remove the wheel
Set the parking brake, and loosen the lug nuts on the wheel. Don't remove them. Using the jack, raise the car enough to position a jack stand underneath. Finish removing the lug nuts and pull the wheel from the car. Then lower your Lexus onto the jack stand.
(Related Article: How to Jack Up Your Lexus - ClubLexus.com
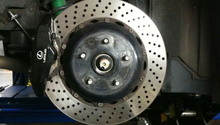
Step 2 - Remove old caliper
Remove brake fluid reservoir cap from under the hood. This will allow you to easily compress the brake caliper pistons later. You'll need to remove each bolt and the top and bottom of the caliper for a total of two bolts removed. The size of the bolts varies between year, and is usually around 13-17mm. With the bolts removed, wiggle the caliper off. If the caliper is sticking to the brake rotor, try to retract the pistons by compressing it with a C-clamp. Using a bucket or some wire, hang the caliper off to the side to take care not to damage the brake line.
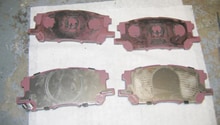
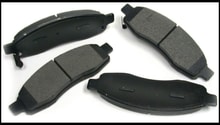
Pro Tip
If necessary, now is the perfect time to change your brake pads as well since you already have the caliper off.
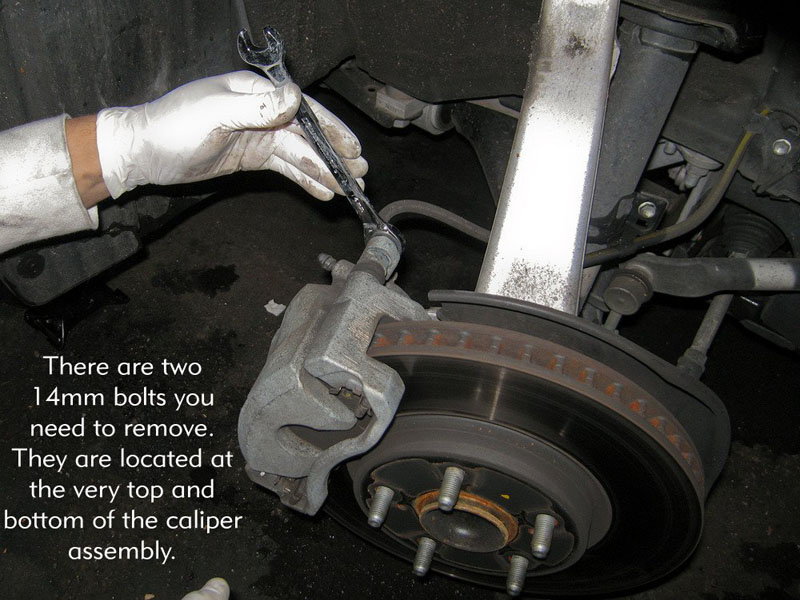
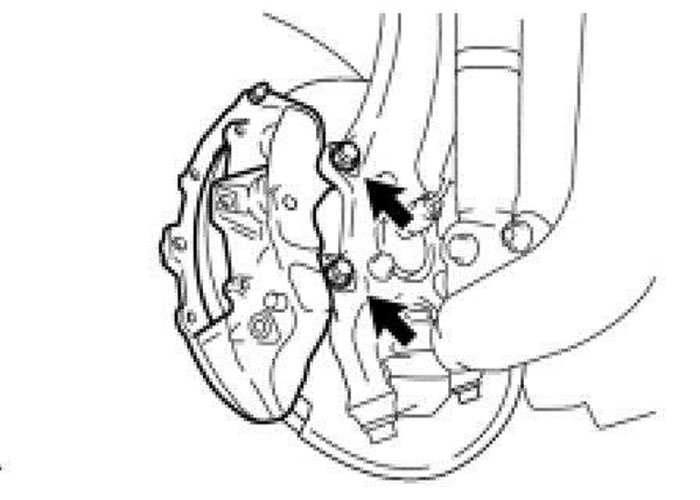
Figure 2. Caliper bolt locations. 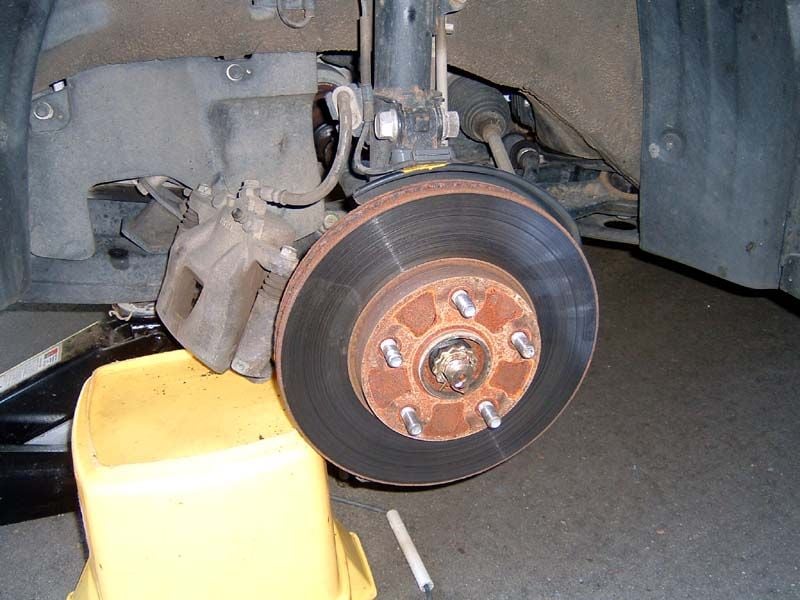
Figure 3. Supporting caliper and bracket after removal.
Pro Tip
If you're upgrading brake calipers to a different manufacturer, there's a chance you'll need to replace the brake caliper bracket as well. This is the metal frame that carries the caliper you just un-bolted. You can remove this by undoing the two bolts holding the caliper bracket to the steering knuckle. We've included a diagram to show which bolts exactly below.
Step 3 - Install new caliper
Position the new caliper into place. With no brake fluid in it, you should be able to compress the piston easily by hand if necessary. Tighten down the two bolts you removed earlier into the hole at the bottom and top of the caliper.
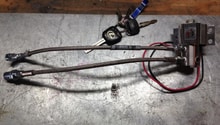
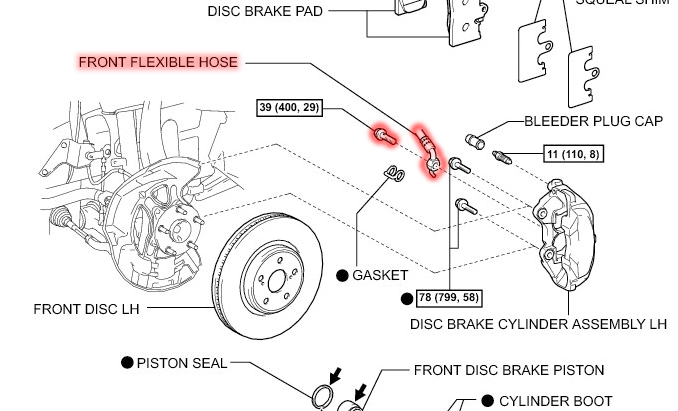
Step 4 - Switch brake lines
At this point you'll need to switch the brake lines over. This can get messy, so be prepared to do it fast and correctly. Angle the old caliper so the brake line is at the top to help prevent the fluid from draining out everywhere. It is recommended to line the underneath of your work space with either a large drain pan or plenty of towels to catch any brake fluid that falls. Take care not to get brake fluid onto the paint or your skin as it is extremely corrosive.
- The brake line is normally held on with a bolt through banjo style fitting; the bolt is normally between 8-12mm. Remove the bolt from the old caliper and carefully pull off the brake line.
- Position the brake line onto the new caliper and then tighten down the bolt.
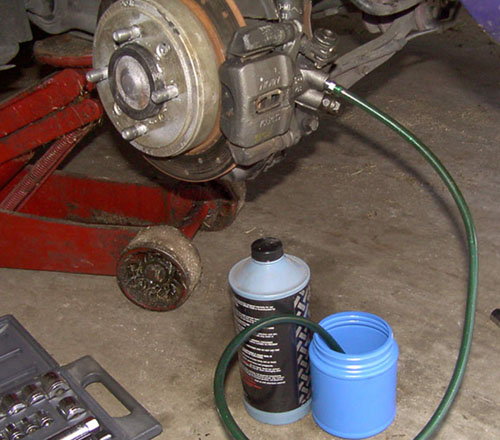
Step 5 - Bleed the brakes
If you're installing more than one caliper, you'll want to start with the one farthest away from the master cylinder.
Attach your rubber tubing to the bleeder valve on the calipers. Have an assistant depress the brake pedal about half way down (never completely depress it), and then open the bleeder valve. Bleed until there are no more air bubbles in the line.
Pro Tip
You may need to have your assistant release and halfway depress the pedal a few times until all the air is out. It's also important to keep an eye on the fluid level in the reservoir; you never want to let it run dry, as this can not only introduce a lot of air to the lines but also damage the master cylinder.
Step 6 - Finish up
Make sure everything is tight, re-install the wheel, and lower the car onto the ground. Make sure to tighten the lug nuts in a crisscross pattern to ensure they're tightened evenly. Now it's time for the test drive. It's crucial to properly seat the pads into the calipers during this drive. You'll want to speed up to about 40mph, slow back down to around 10mph, and repeat this process 4-5 times.
Pro Tip
During this break-in period, it's very important to never come to a complete stop while braking, as this can mess up the pad seating.
Featured Video: How to Install Brake Rotors, Pads, and Calipers on Toyota/Lexus
Related Sites
- DIY IS 250 Front Brakes - Clublexus.com
- How-To: Bleed Brakes - PopularMechanics.com