Lexus IS: How to Install OEM Navigation System
Should you attempt to add a factory-original NAV system to your IS 250/350? Is it worth the effort? Read on and find out which direction to take.
This article applies to the Lexus IS 250/IS 350 (2005-2014).
Back when first introduced, the navigation (NAV) system was a novelty; today it's almost a necessity. Upgrading from a non-navigation equipped vehicle to the Lexus' OEM navigation system is challenging. Depending on how old the Lexus IS in question is, upgrading to an aftermarket unit might be a better option. Still, it's the only way to get the factory look. Read on to learn more about installing an OEM or aftermarket navigation system.

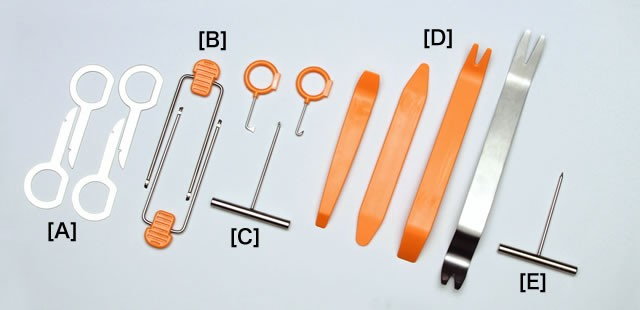
Materials Needed
- 10mm socket (have an assortment of sizes handy)
- Dash trim removal tools
- Factory shop manual and wiring schematics (highly recommended)
- Precision (e.g. jeweler's) screwdrivers
Step 1 - Deciding on OEM or aftermarket
Do you want an OEM system because it was a factory option, it improves resale value, or it just "looks" right? Those are reasons people typically give for upgrading to the factory Lexus navigation. A point of warning: the functionality of an OEM system also means living with the safety interlocks that are built into it. You'll have to stop to enter directions, and playing a movie while moving is not an option.
Additional features like back up cameras or iPhone integration are few reasons people opt for aftermarket head units. If you can live with having an aftermarket in-dash display and a set of controls that don't quite match the factory ones, or want current-tech components, then going OEM shouldn't be important to you.
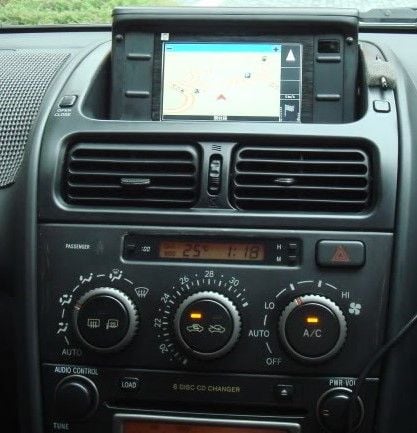
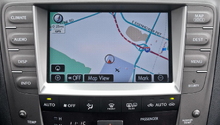
Figure 1. An OEM navigation in a 2002 IS 300. 
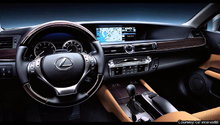
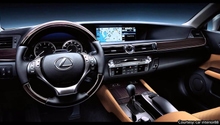
Figure 2. OEM navigation in a Lexus IS 250.
Step 2 – Know the differences in systems
The 2005-2013 NAV system is a collection of parts hidden from view and spread from the dash to the console to the trunk, connected with bundles of wires and connecting plugs that can give even an electrical engineer with a PhD headaches. You'll need to get ALL the parts from the same year of car, and preferably with the same audio system. Cars with the Mark Levinson (ML) version have differences in cabling/connectors as well as speakers, amplifier, etc. It's not a plug-and-play system. Get familiar with where everything goes and how it interfaces with the rest of the car, like steering wheel controls for the radio and volume, connection to speed and motion sensors, etc.
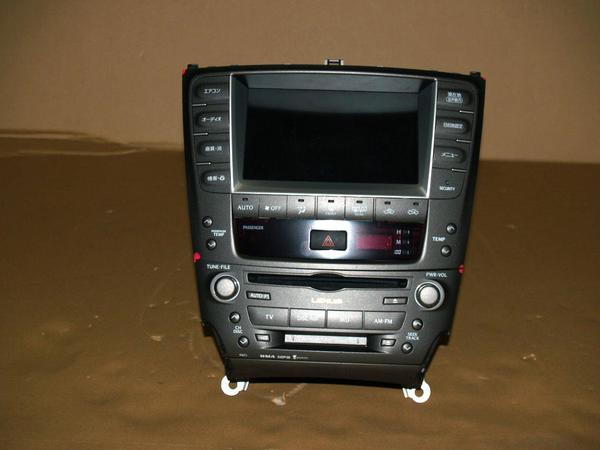
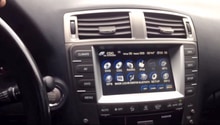
Figure 3. Lexus IS headunit - front. 
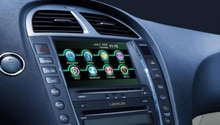
Figure 4. Lexus IS headunit - rear.
Pro Tip
You can subscribe to single-day or monthly access to an online shop manual by going to Toyota’s Technical Information System (TIS). Get the paper version from Helm, Inc.
Step 3 - Do the math
What will it cost to install an OEM versus aftermarket system? You need to get all the cabling, head unit, console buttons, pop-up housing with screen and motor, antenna, etc. Parts may be in excess of what an aftermarket system costs installed. Shop around. Making something permanent may hurt you when it comes time to sell, so that's something to consider. Many people have a map or navigation app on their phone. Is it really that important to install an in-dash unit navigation unit if it's going to cost $2,000 and potentially hurt the resale value?
Step 4 - If you're going to commit, have a plan (and the right tools)
Study up on how everything comes apart and goes back together in manuals and search for posts in the ClubLexus first- and second-generation IS forum as well as its Audio/Video security and electronics forums. Then pull out your typical hand tools – screwdrivers, socket wrenches, pliers, wire cutters/splicers, radio keys, etc. For an overview of how to perform this installation in a 2005-2013 Lexus IS, read the related forum thread below. There will be a lot of wire pulling, cutting, and general electrical work.
(Related Thread: How to Upgrade from a Non-Nav to Nav - ClubLexus.com)
Step 5 - Disassemble interior & remove parts
Have printouts or diagrams illustrating how to remove panels from the dash and console handy after disconnecting the battery. You'll have to use the appropriate radio removal tools to take the head unit out, then route cables from the trunk to the console and dash, and mount the navigation ECU in the trunk and the GPS antenna above the rear window. You may also have to remove the shifter knob and the steering wheel; this is not a job for the novice or inexperienced.
Featured Video: How to Remove Head Unit from the Lexus IS 250/350
Pro Tip
There are times when a job is better left to the pros. Considering all that is involved, it may be better for you to go to your favorite car audio dealer and set your credit card to "stun."
Step 6 - Install new components
We're going to gloss over the installation step by saying you should study the shop manual and wiring schematics to make the proper connections or modify the existing harnesses. Where connections need mods, take your time to make them.
Step 7 - Boot up the system
Assuming you got everything routed properly and the right connections made, you should have a functioning system. Load the appropriate navigation update DVD from Lexus (usually costing around $170) with updated mapping information to make sure you have the most-current data. Once you're sure everything is working properly, button everything back up, pick out a destination on the NAV system for a nice dinner, and go for a test drive.
Pro Tip
The 2002-2005 IS 300 has the DVD player for the NAV system in the trunk; 2006-up IS 250/350s have it hidden behind the clock and hazard switch panel below the dash display. You can download a PDF on how to update the NAV system through the related link below.
Related Discussions and Site
- Navigation System Installation Guide PDF - Sewellparts.com
- Lexus IS 250/IS 350 OEM Navigation Upgrade - ClubLexus.com
- Is it Possible to Install an OEM Navi Unit on My Mon-Navi IS250? - ClubLexus.com
- IS300 Non-Navi to Navi the Beginning - ClubLexus.com