Lexus IS/GS: How to Remove Grille
Replacing a grille is a nice modification on the Lexus as it changes the whole look of the vehicle. Here's how to do it yourself.
This article applies to the Lexus IS and GS (2005-2013).
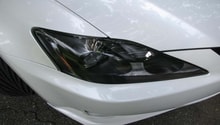
A real eye-popping mod that is easy to do is swapping out the stock grille with a sweet aftermarket version such as the F-Sport grille. This 30-minute job is relatively simple; the most difficult aspect is taking your time to not break any plastic bits or scratch your bumper. If you have a steady hand and the patience for the job, this is one modification you won't want to overlook.

Materials Needed
- 10mm socket
- Wrench
- Pliers
Step 1 - Remove all engine covers
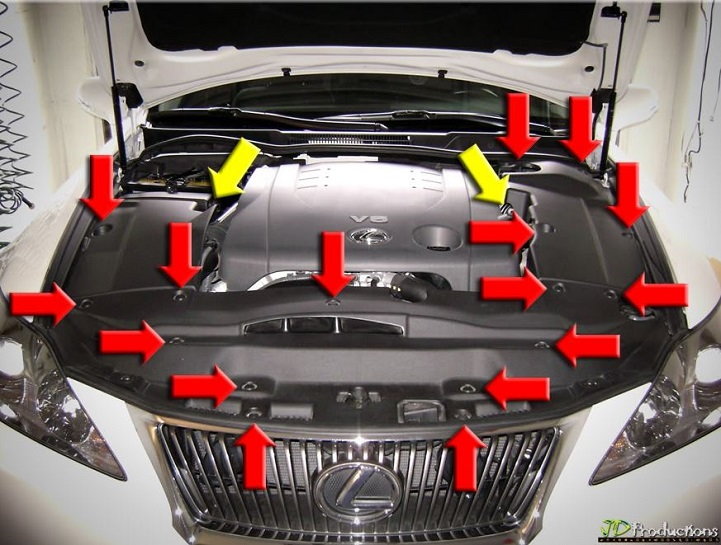
Pull off the plastic engine covers. The large plastic front cover is held in with 11 clips. It's found on top of the radiator facing the front grille. Remove the V-bank cover sub assembly, which covers the main engine, centered under the hood. The scoop faces the front grille just over the radiator.
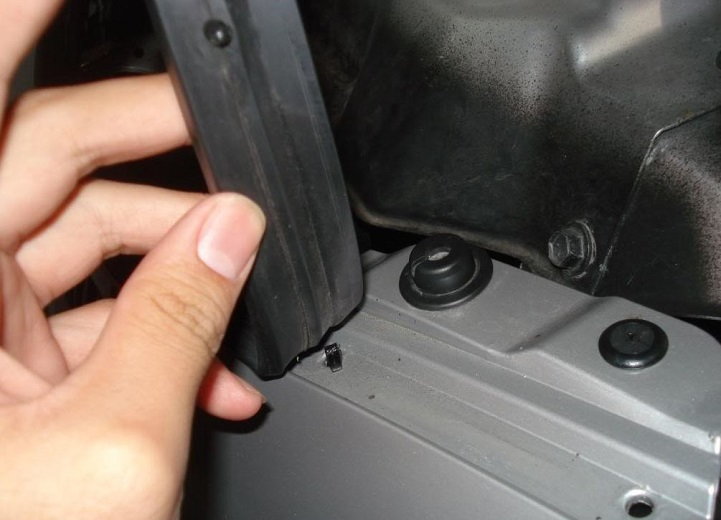
Step 2 - Remove weather stripping
Remove the weather strip very carefully. There are a couple of studs on either side; don't pull or yank as you can rip the strip at the studs. Pliers work well for this. Just go slow and take your time.
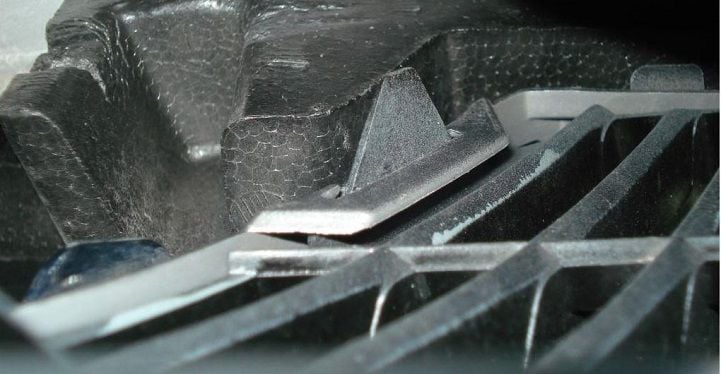
Step 3 - Pull bumper attachment tabs
There are four tabs, two on each side of the grille, that attach it to the bumper. Carefully move these gray triangular tabs back through the slots. Don't push or pull too hard or otherwise they could break, as they are only plastic.
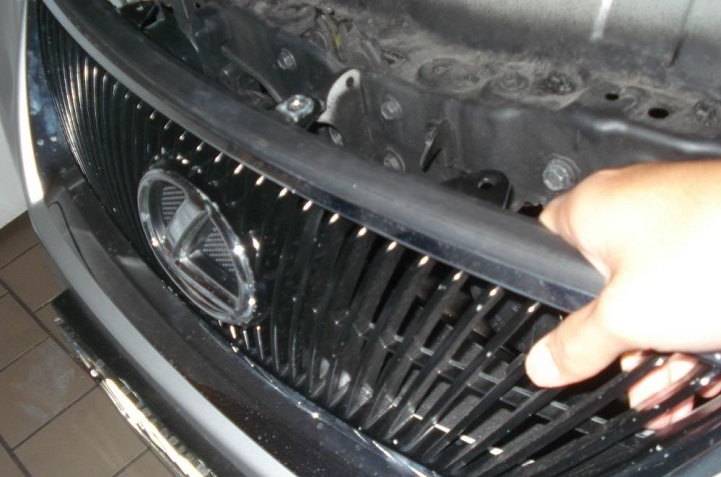
Step 4 - Remove grille
Slowly and carefully pull the grille off the car towards your chest. There are more tabs on the bottom of the grille that will disengage at this point. Don't yank or pull too hard. You will want to take extra care that you don't scratch your bumper in this step. Use a towel or tape to protect your bumper if necessary.
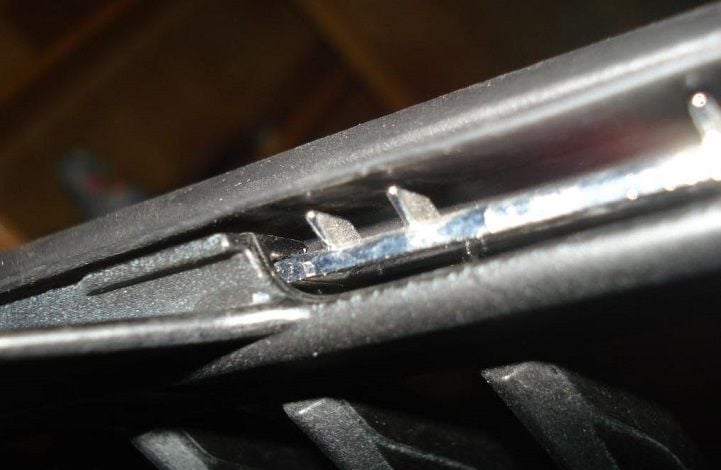
Step 5 - Remove inner grille bezel
The inner grille bezel is in two pieces that are "clamped" together. These are plastic pieces, so again, take your time and be careful not to break either piece.
Step 6 - Reverse steps to install the new grille
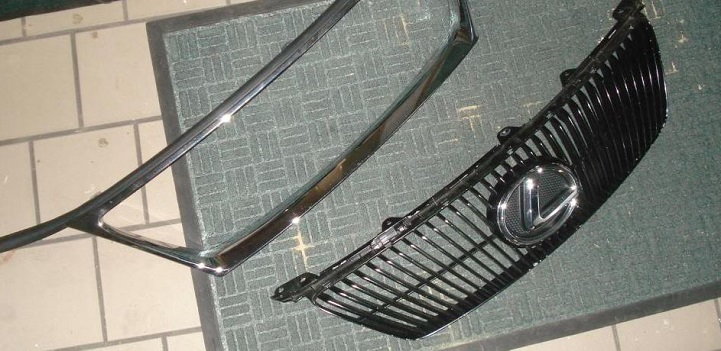
Reverse the steps in order to replace the stock grille with the new aftermarket grille you wish to install. The stock grille will be in two pieces as shown below. Match up for correct fitment when choosing a replacement. Install all the clamps and tabs you removed including the inner grille bezel, the bumper tabs, the weatherstripping, and the engine covers.
Related Discussion
- DIY Remove the Grille - ClubLexus.com