DIY: 3IS Spring Installation! Picture intensive


 looks good!
  08-01-16, 09:34 AM
#49
Intermediate
I tackled this yesterday evening and was unsuccessful.  I've done suspension mods on my G35 and am a decent handy man, but I struggled with this to the point I decided to stop working on it and try again later this week. This was the most troublesome mod I've done and I'm not sure why. The rear looks much easier to do - can someone confirm this???
My pain points w/ the Front:
I've done suspension mods on my G35 and am a decent handy man, but I struggled with this to the point I decided to stop working on it and try again later this week. This was the most troublesome mod I've done and I'm not sure why. The rear looks much easier to do - can someone confirm this???My pain points w/ the Front:
- Lower front shock bolt: This was a pain to break free! I had a breaker bar and it took some serious effort. 133 lb/ft of torque is no joke.

- Ball joint/Upper Arm: I got the separator tool, but since I've never used one before, I was not comfortable continuing to try at the risk of damaging the rubber cover. I went with the Upper Arm removal. It wasn't too bad, but getting into that area does require some dexterity!
- Shock/Spring: This drove me nuts. I used the compressor tool and had to redo the set-up of the tool 3x! I've never had this much trouble with using it and it really took its toll on me (I'm doing it all by hand, no power tools).
- Replacing the Shock: This was the last straw. The top hat was off by 1/2" rotation! I thought I set it right based on it fitting well, but I was wrong. I was slightly turned. ARGH. BY now it was 12AM and after a day of working on the front yard (digging landscape trenches), I was done.

08-03-16, 09:45 AM
#50
Intermediate
Question - should you see warning lights on the dashboard once you reconnect everything (I've only finished one corner!)? I have the traction control, ABS and PCS warning lights showing up. Maybe I need to reset by disconnecting the - battery terminal? Thanks.
08-06-16, 05:20 PM
#51
Driver School Candidate
iTrader: (1)

Join Date: Jul 2016
Location: CA
Posts: 5
Likes: 0
Received 0 Likes
on
0 Posts
Also wanted to add thanks for this DIY. I actually found removal of the 17mm bolt on the tie rod was unnecessary. The biggest headache was getting the 19mm bolt for the hub back in. It required loading the rear suspension to the max, so that the sway bar was practically touching the rear axle arm. After figuring that out, the second rear was a piece of cake. Also, I opted to use a ratcheting 14mm wrench and take out the A-arms up front. That was pretty simple.
08-07-16, 12:49 PM
#52
Driver School Candidate

Join Date: Aug 2016
Location: TX
Posts: 2
Likes: 0
Received 0 Likes
on
0 Posts
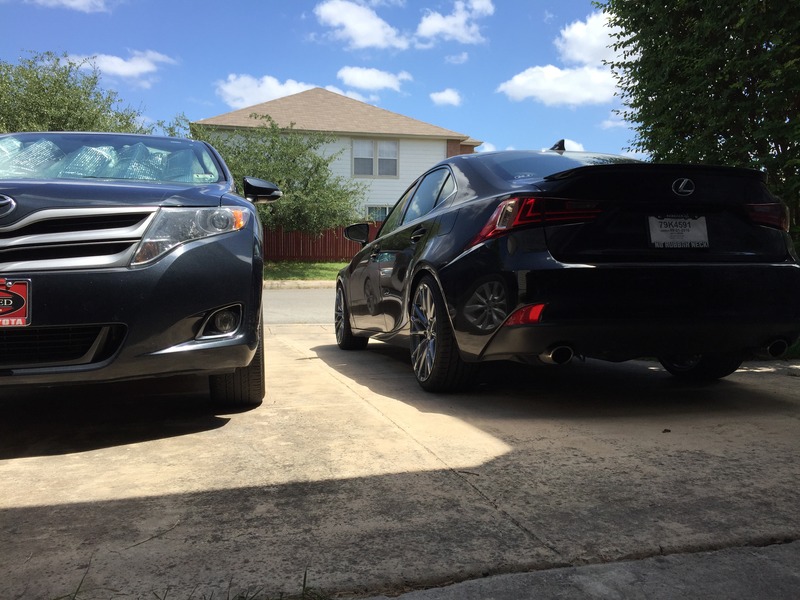
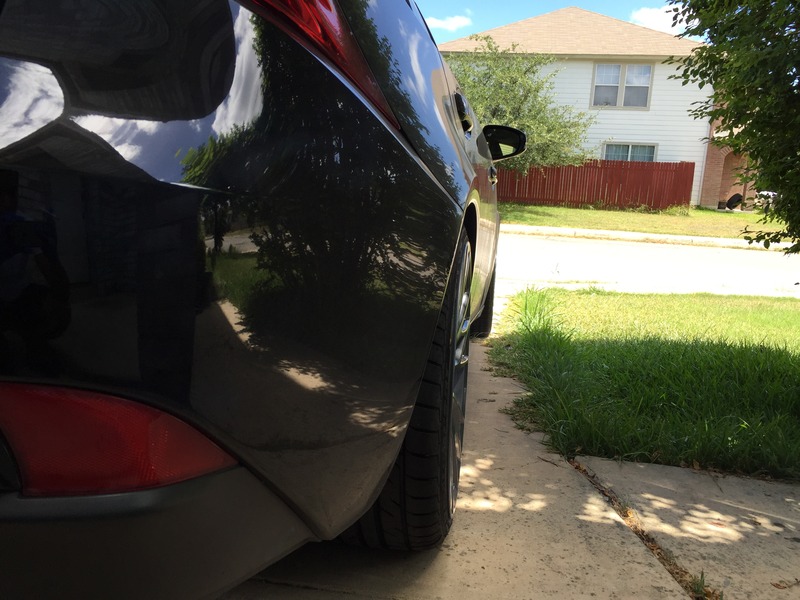
Thanks to this write up and harbor freight for cheap tools! Finished the car this morning. Broke a wheel stud with my super power strength. But it's ok it gave me a reason to buy a torque wrench 😁. Used the wheel hub remover to push the wheel lug off too. That tool paid for itself already.
Went with h tech and If I were to do it again I think would've gone with stech instead. But we'll see hopefully it goes down a bit more. Also I should've done 245 at least on the rear, kinda not into the stretch look, but oh well I'm cheap I'll leave it for now. Lol
Again, thanks for the awesome write up!😀
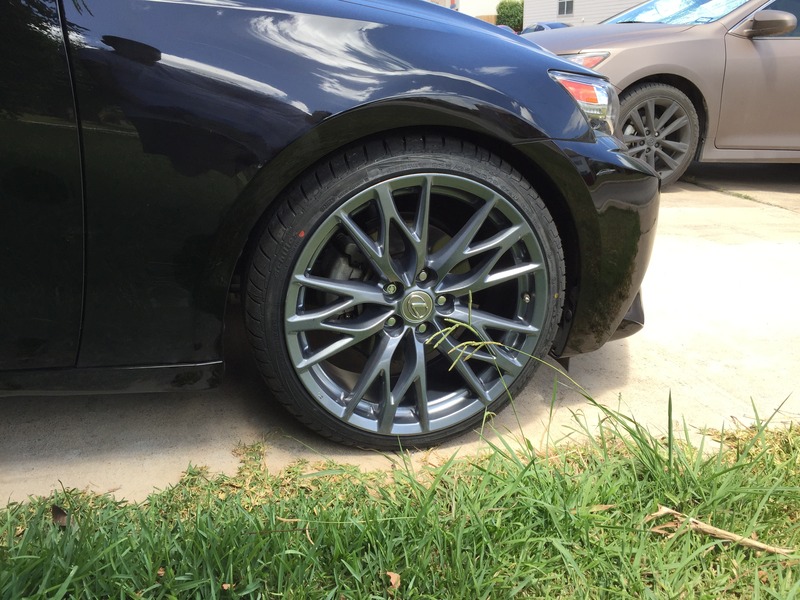
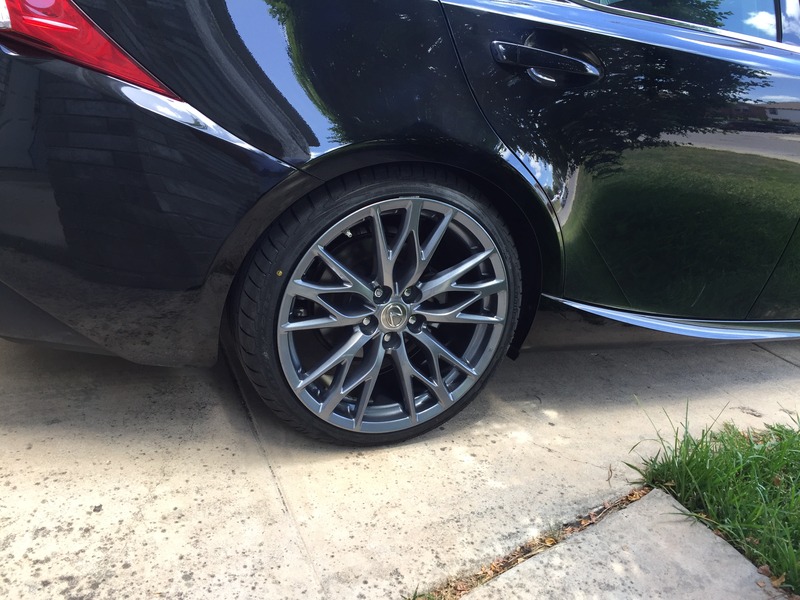
Isf reps 19x9 235/35 all four wheels...
Went with h tech and If I were to do it again I think would've gone with stech instead. But we'll see hopefully it goes down a bit more. Also I should've done 245 at least on the rear, kinda not into the stretch look, but oh well I'm cheap I'll leave it for now. Lol
Again, thanks for the awesome write up!😀
Isf reps 19x9 235/35 all four wheels...


 08-09-16, 01:23 PM
#53
Intermediate
Thanks to this awesome guide, I'm becoming a master at spring installation - partially due to my mistakes or dumb luck. Now that I've got through the initial problems - that lower front shock bolt really did me in, but I did get it off and replaced it with a brand new OEM one due to the head getting stripped, had a rattle in one corner resulting me in redoing it - I feel great about doing this myself.
Big thanks to CLUM!
Big thanks to CLUM!
The following users liked this post:
Yodog (11-19-23)
08-19-16, 12:50 AM
#54
Lexus Test Driver
I'm going to attempt this this weekend. Bought H-Techs. I've concluded the stock springs are a little on the soft/bouncy side. The car handles great but too soft for my tastes. When I go over speed bumps it dips a bit like a cadillac. Not like my modded 3-series... Anyway Did this job on a CT200h. Also have done several BMWs. Hopefully it'll go smooth.
A technique that's worked well for me in the past for dealing with coil over shock/strut setups is simply loosen the top shock/strut nut (the center one) with the full weight of the car on it. Then as you lift the car, it'll just gently lift off. You're basically using your car as the spring compressor. This method seems a lot easier and safer than using those "Death sticks." However I have never tried it on a Lexus. Don't see it why it should be different. If anyone has a specific reason to not go with that method, I'm all ears. Reinstall is reverse. Thread the nut to get it started then let the car compress it. Then torque it down
A technique that's worked well for me in the past for dealing with coil over shock/strut setups is simply loosen the top shock/strut nut (the center one) with the full weight of the car on it. Then as you lift the car, it'll just gently lift off. You're basically using your car as the spring compressor. This method seems a lot easier and safer than using those "Death sticks." However I have never tried it on a Lexus. Don't see it why it should be different. If anyone has a specific reason to not go with that method, I'm all ears. Reinstall is reverse. Thread the nut to get it started then let the car compress it. Then torque it down
 08-19-16, 09:34 AM
#55
Intermediate
I'm going to attempt this this weekend. Bought H-Techs. I've concluded the stock springs are a little on the soft/bouncy side. The car handles great but too soft for my tastes. When I go over speed bumps it dips a bit like a cadillac. Not like my modded 3-series... Anyway Did this job on a CT200h. Also have done several BMWs. Hopefully it'll go smooth.
A technique that's worked well for me in the past for dealing with coil over shock/strut setups is simply loosen the top shock/strut nut (the center one) with the full weight of the car on it. Then as you lift the car, it'll just gently lift off. You're basically using your car as the spring compressor. This method seems a lot easier and safer than using those "Death sticks." However I have never tried it on a Lexus. Don't see it why it should be different. If anyone has a specific reason to not go with that method, I'm all ears. Reinstall is reverse. Thread the nut to get it started then let the car compress it. Then torque it down
A technique that's worked well for me in the past for dealing with coil over shock/strut setups is simply loosen the top shock/strut nut (the center one) with the full weight of the car on it. Then as you lift the car, it'll just gently lift off. You're basically using your car as the spring compressor. This method seems a lot easier and safer than using those "Death sticks." However I have never tried it on a Lexus. Don't see it why it should be different. If anyone has a specific reason to not go with that method, I'm all ears. Reinstall is reverse. Thread the nut to get it started then let the car compress it. Then torque it down
FYI - the rear is super easy. It only took me 2 hrs start to finish (including installing wheels, lowering car and putting away all my tools) for the rears. Hardest part was lining up one of the bolts during reinstall - but even that only took a few minutes. The front was a pain primarily due to me stupidly stripping the lower shock bolt, but since I did one side about 2x (removing) it naturally became easier and easier and I could definitely do it again w/o problems. Good luck!
08-29-16, 09:09 AM
#56
Lexus Test Driver
My experience
The fronts were MUCH easier than the rear, in my opinion. However I did strip the front shock shaft thread at the top where the 17mm nut is. There was some surface rust and other debris in the threads and the nut stuck and spun the shaft. Long story short I ended up tearing up the threads on the shock and I had to order a replacement from my local dealer for $263 out the door. Effing rip off as the same shock is $163 shipped at any online Lexus dealer. but I needed the car quickly. So if anyone does this, be very careful with threading the front shock 17mm nut at top. Make sure the threads are clean.
The rear was a major pain. The bolts were incredibly hard to line up to get back in. Nothing back there wants to cooperate.
Thanks for the DIY though. It helped a lot, especially the torque figures.
Oh as for the electronic lines in the front (speed sensors) I found I only had to disconnect from the shock itself. Nowhere else. More than enough slack. But do whatever makes you comfortable!
08-29-16, 01:39 PM
#57
Pole Position
Thread Starter
Tip for the lining up the holes when doing the rear: buy a set of punches (or use strong screwdrivers) and pry bars. You can use the punches to slot in the opposite side you're trying to put the bolt through. Use the punch to help line up the holes on one side, while you push the bolt in through the other side. Pry bars are sometimes useful for wedging into areas in order to get the arms lines up as well.
08-29-16, 01:45 PM
#58
Lexus Test Driver
Tip for the lining up the holes when doing the rear: buy a set of punches (or use strong screwdrivers) and pry bars. You can use the punches to slot in the opposite side you're trying to put the bolt through. Use the punch to help line up the holes on one side, while you push the bolt in through the other side. Pry bars are sometimes useful for wedging into areas in order to get the arms lines up as well.
08-29-16, 07:33 PM
#59

a general tip for installing suspensions, the final torque values for the main suspension parts should be torqued while the suspension is loaded, not in the air. This is called clocking the bushings. If you torque them down while the car is off the ground, the bushings will be tensioned when the car is back on the ground, you want it to be neutral, hence torquing while the suspension is loaded. This can lead to additional wear on bushings, inconsistent ride height, and noises
08-30-16, 12:29 PM
#60
Pole Position
Thread Starter
a general tip for installing suspensions, the final torque values for the main suspension parts should be torqued while the suspension is loaded, not in the air. This is called clocking the bushings. If you torque them down while the car is off the ground, the bushings will be tensioned when the car is back on the ground, you want it to be neutral, hence torquing while the suspension is loaded. This can lead to additional wear on bushings, inconsistent ride height, and noises