
 12-12-14, 04:02 PM
Last edit by: IB Advertising
See related guides and technical advice from our community experts:
Browse all: Steering and Suspension
- IS ES GS: How to Install Airbag Suspension
Step by step instructions for do-it-yourself repairs
Browse all: Steering and Suspension

****My Air Suspension Install DIY***
12-03-12, 11:09 AM
#1
Driver
Thread Starter
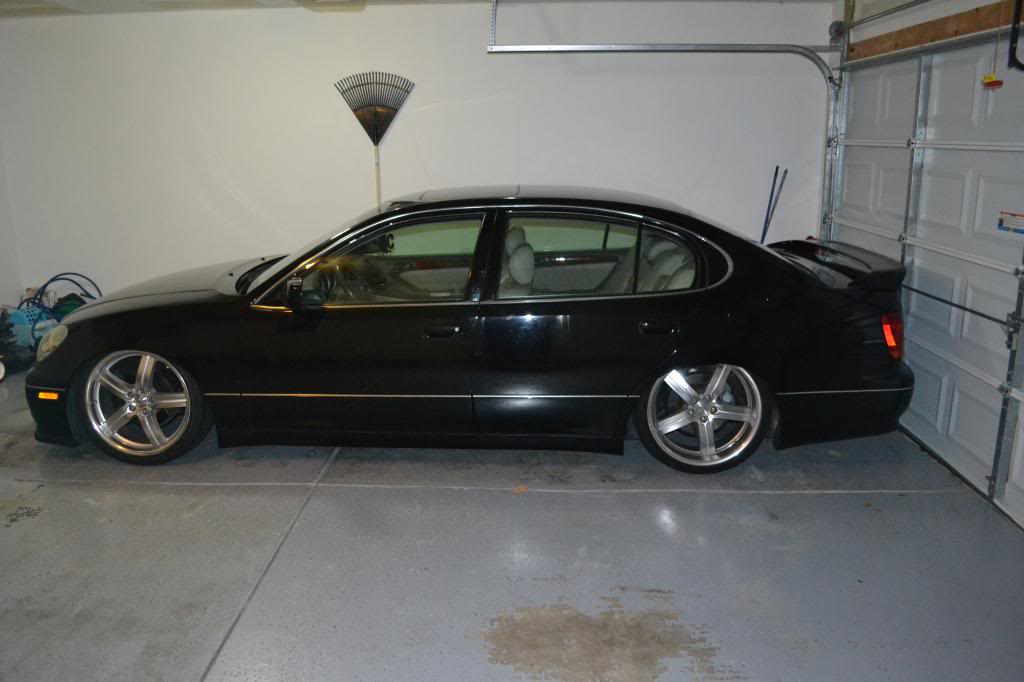
Ok Guys I just finished my air suspension install. I did everything by myself! It was pretty easy and it rides very well!
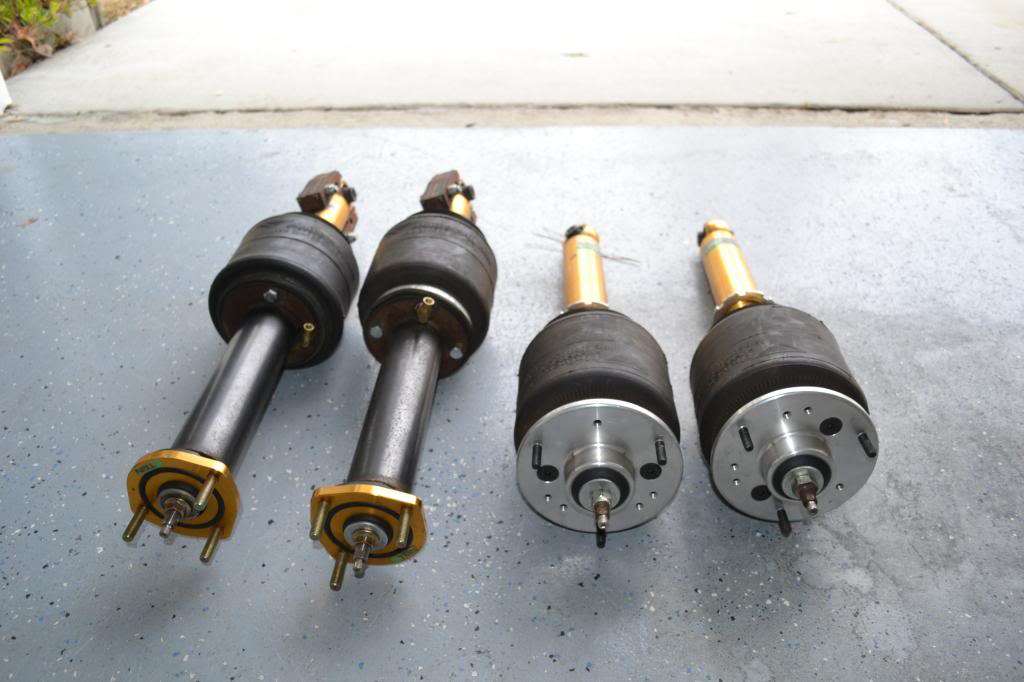
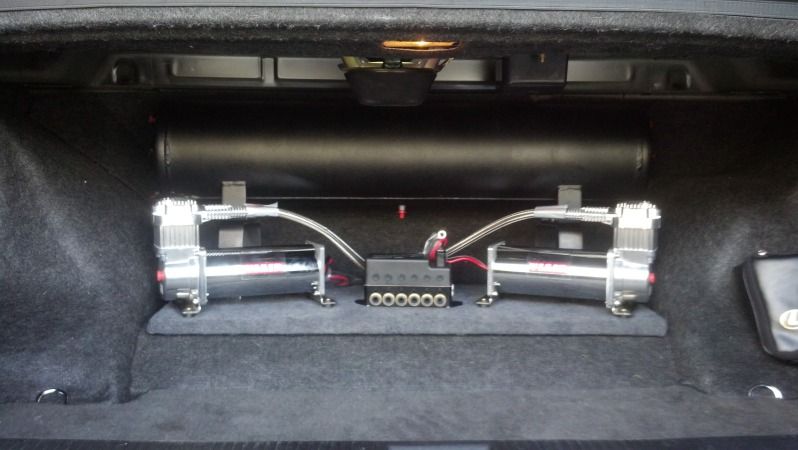
What i installed: Airlift Autopilot V2, 5 gallon skinny tank, 2 compressors, 3/8 fittings and lines, 4 UAS aero sport bags on Tein Cs shocks/coilovers. I can get these bags cheap!!
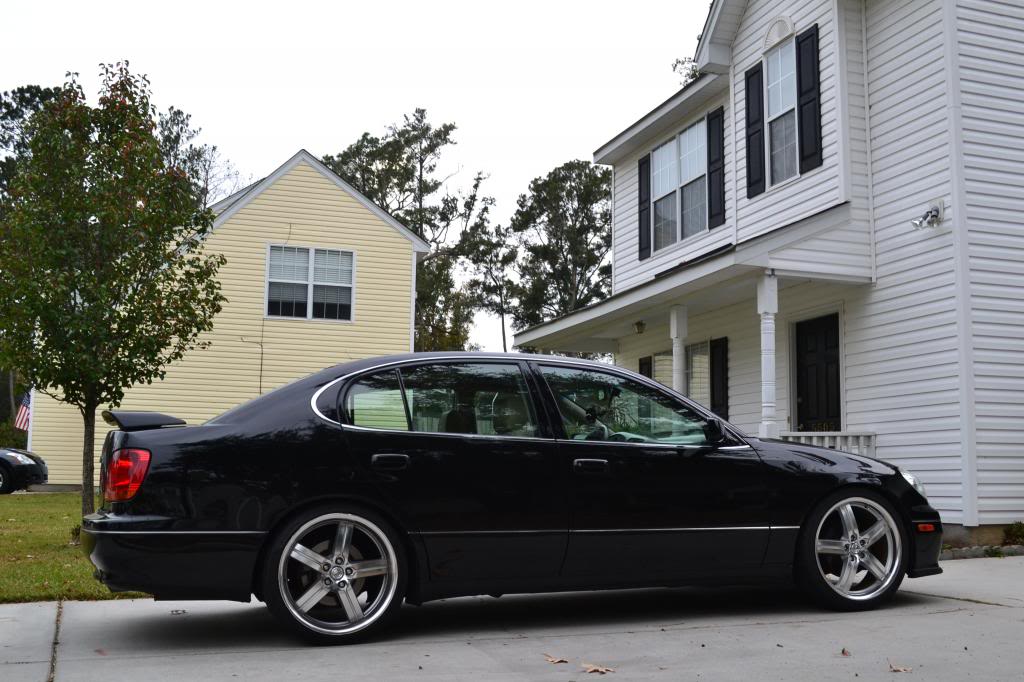
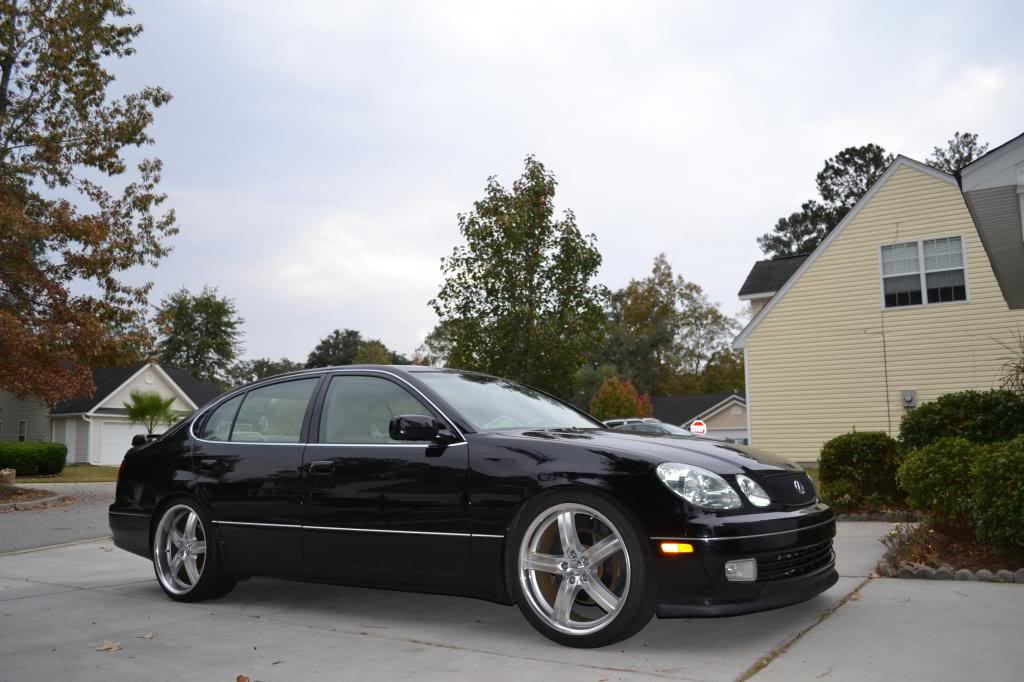
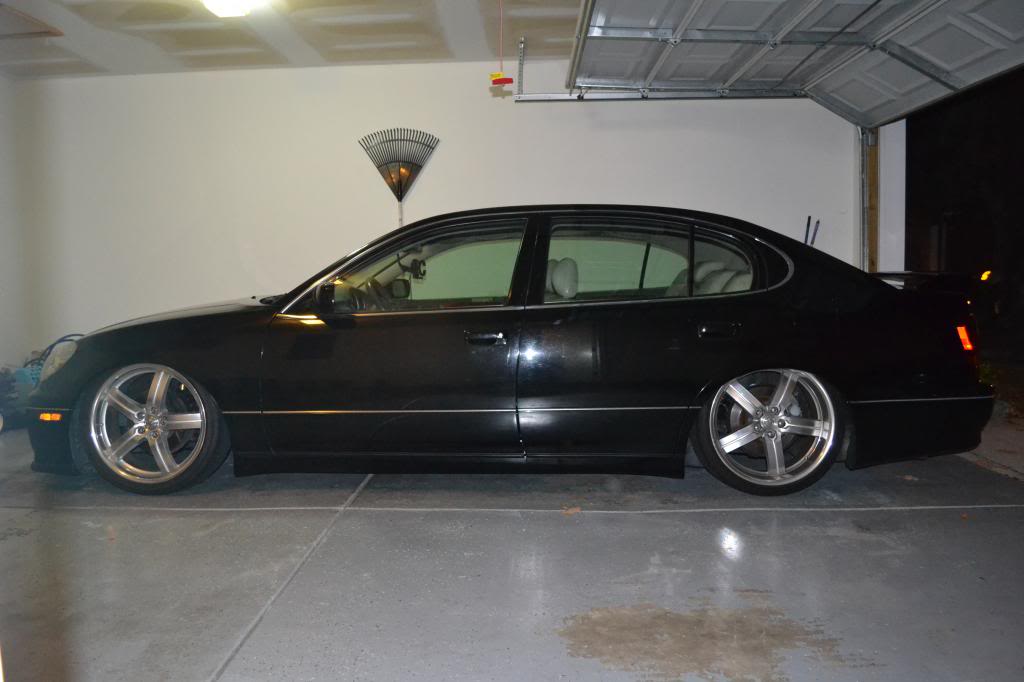
Pics of the car before the install...

Pics of the UAS Bags on the Tein Cs...
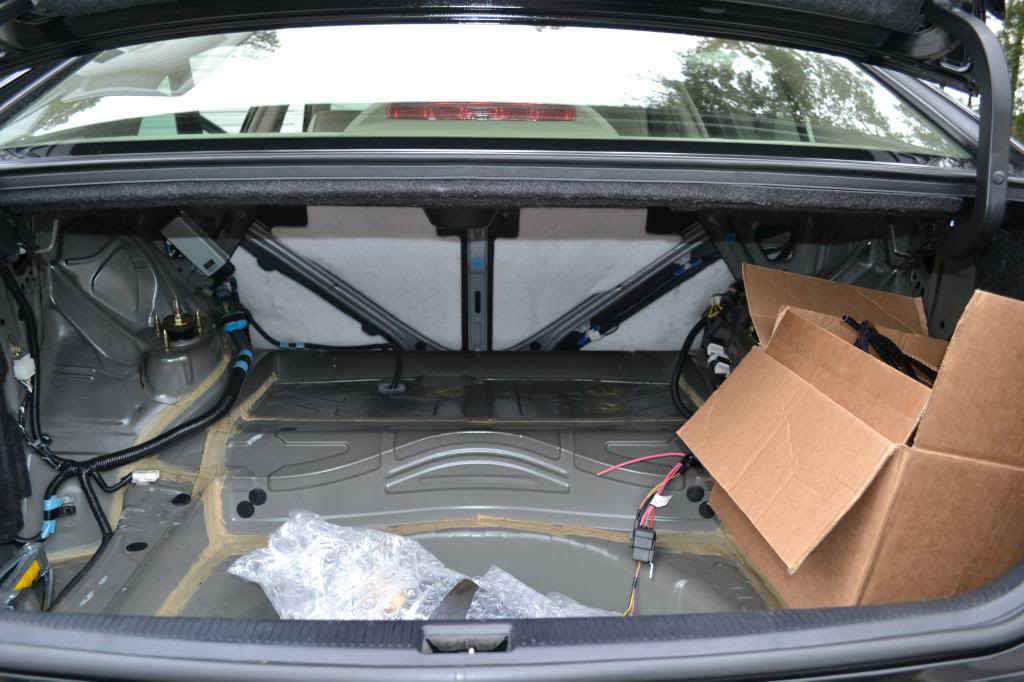
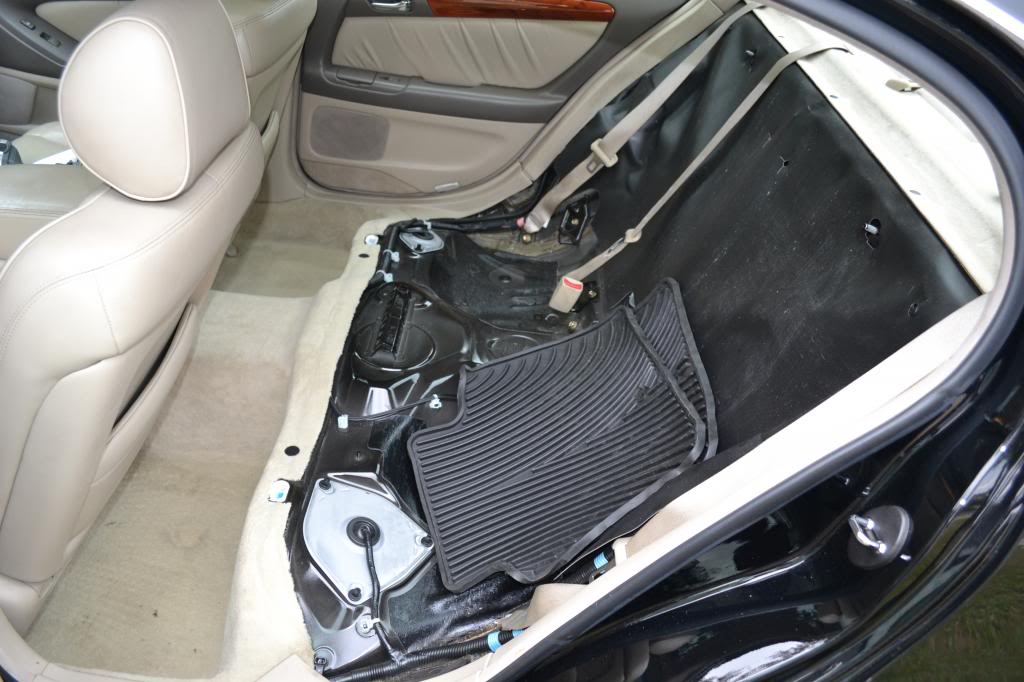
Ok! So the first thing i did was remove the trunk interior out of the way and the back seats out.

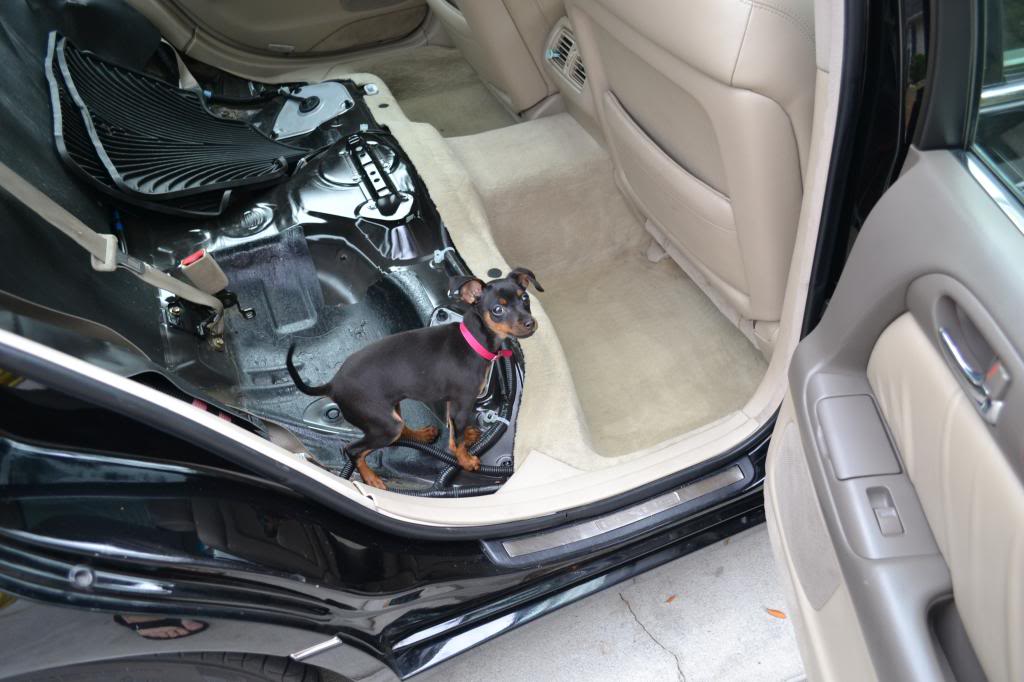
lol! But be careful to watch out for killer!
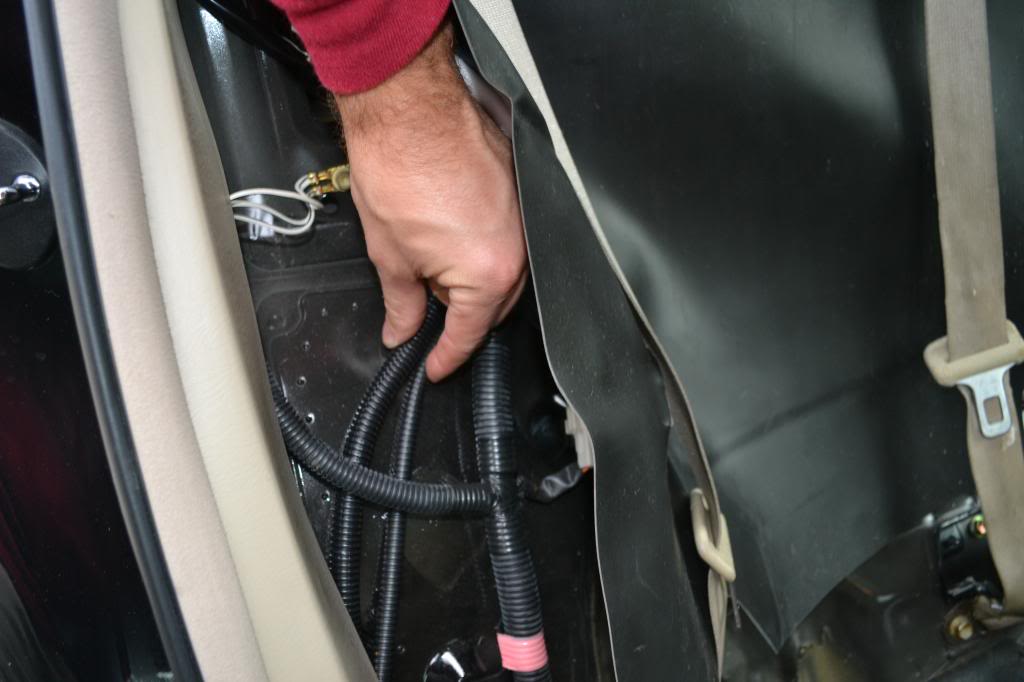
Next I ran the Wiring harness that came with the kit... I Started from trunk and worked my way up to the front all on the passenger side...
What i installed: Airlift Autopilot V2, 5 gallon skinny tank, 2 compressors, 3/8 fittings and lines, 4 UAS aero sport bags on Tein Cs shocks/coilovers. I can get these bags cheap!!
Pics of the car before the install...
Pics of the UAS Bags on the Tein Cs...
Ok! So the first thing i did was remove the trunk interior out of the way and the back seats out.
lol! But be careful to watch out for killer!
Next I ran the Wiring harness that came with the kit... I Started from trunk and worked my way up to the front all on the passenger side...
Last edited by 1SickGS300; 12-03-12 at 02:25 PM.
 12-03-12, 11:10 AM
#2
Driver
Thread Starter

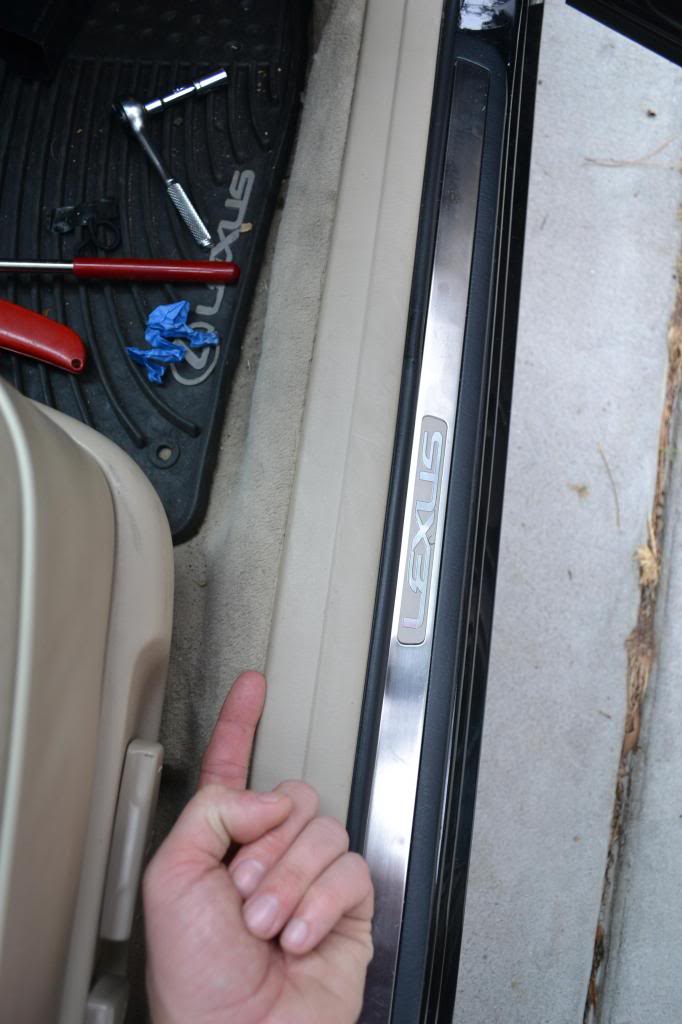
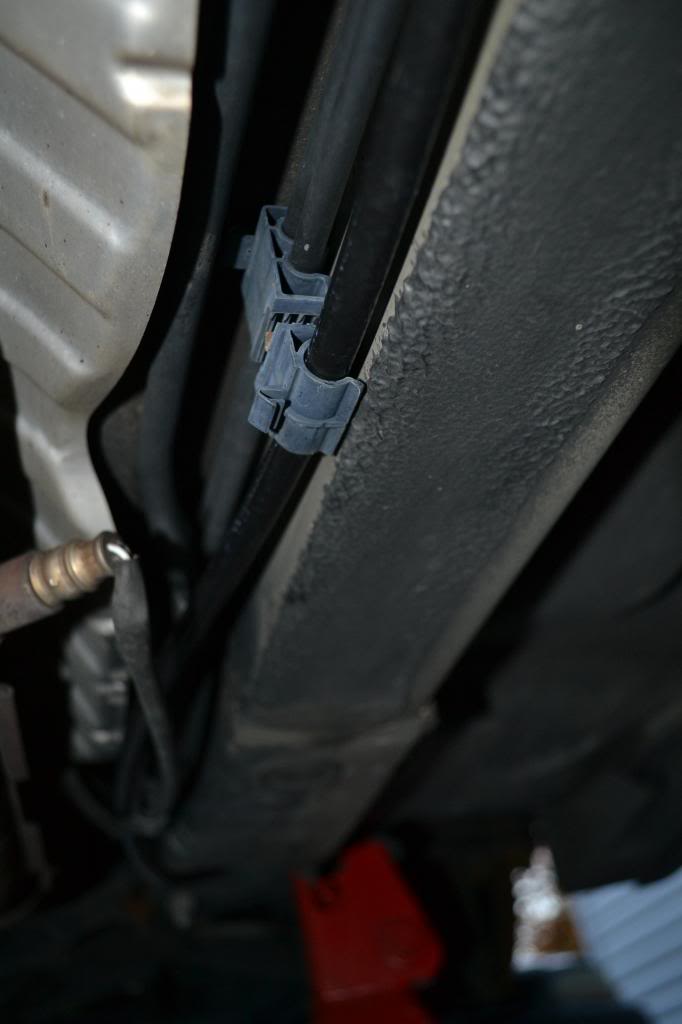
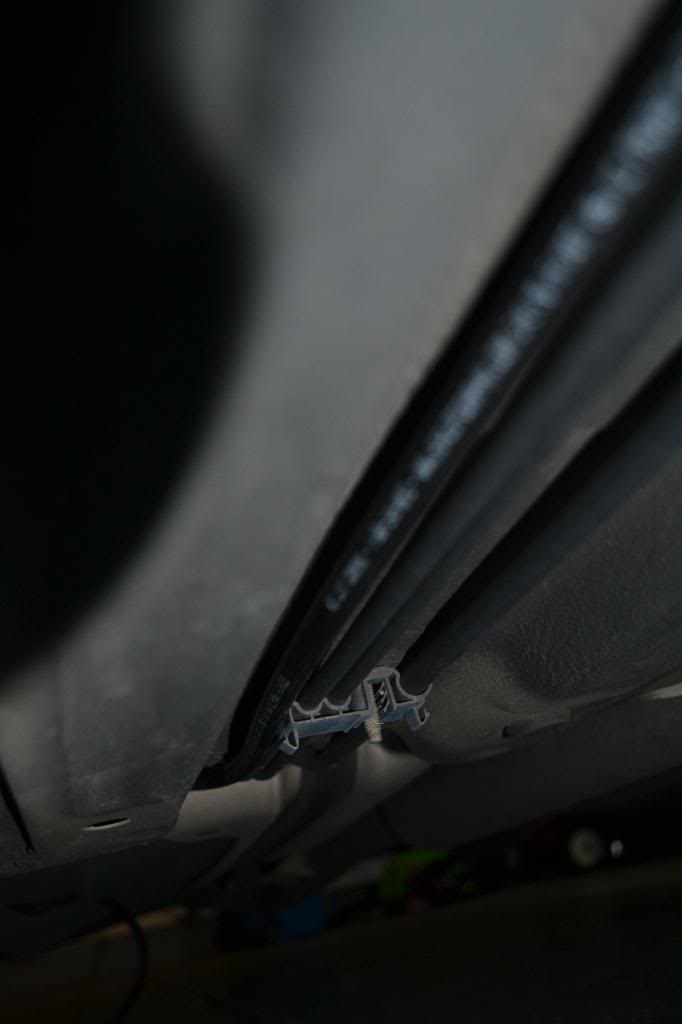
Pic of the harness going into the cabin...
Run it under carpet here..
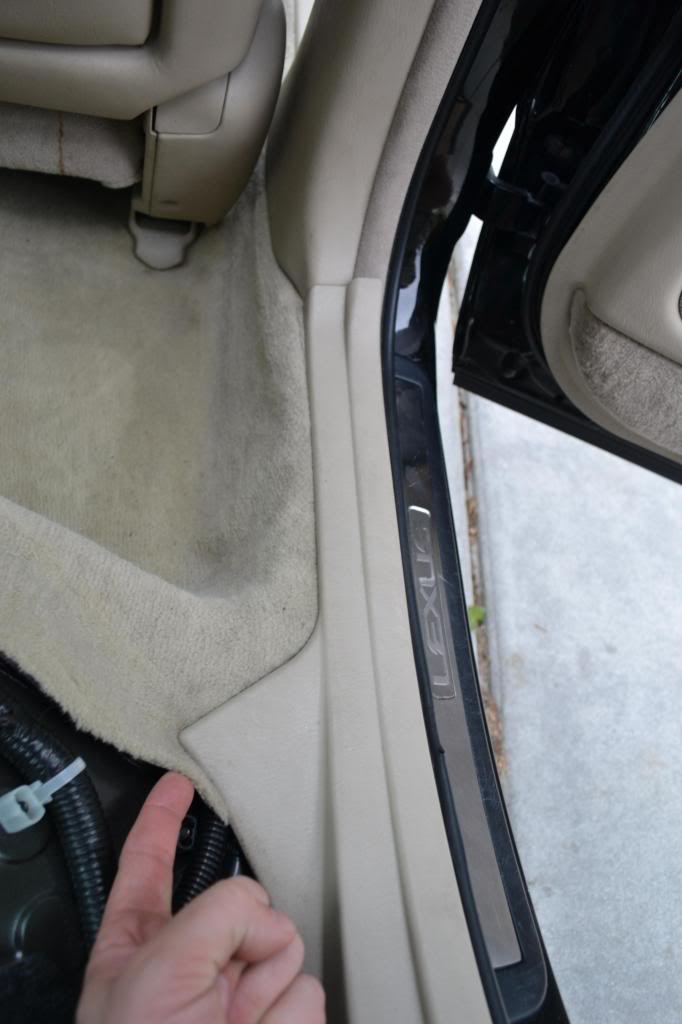
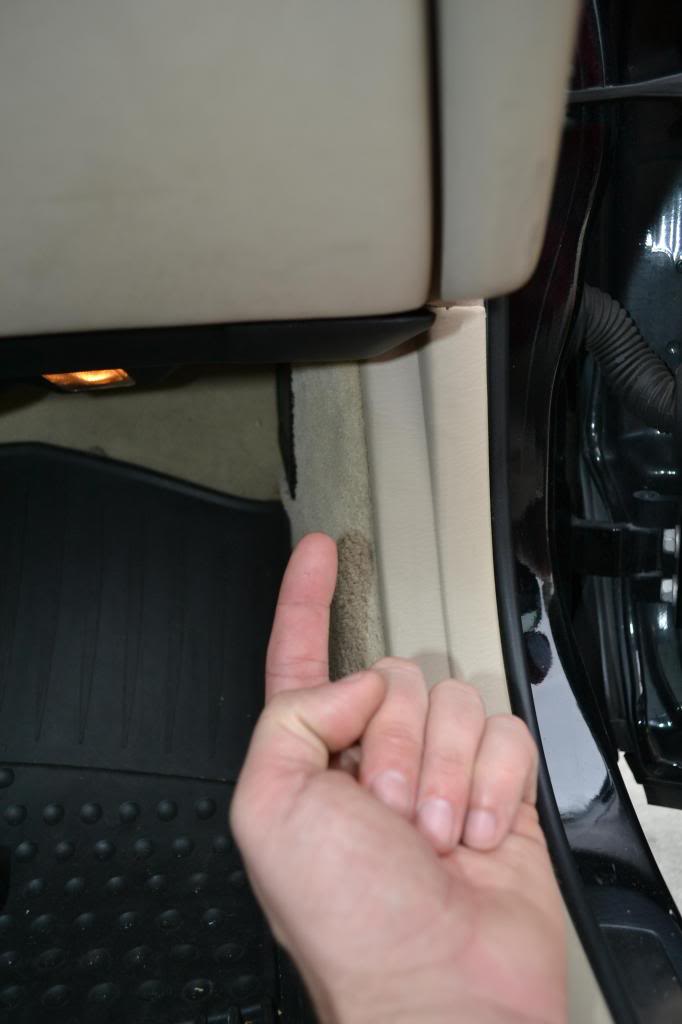
And here...
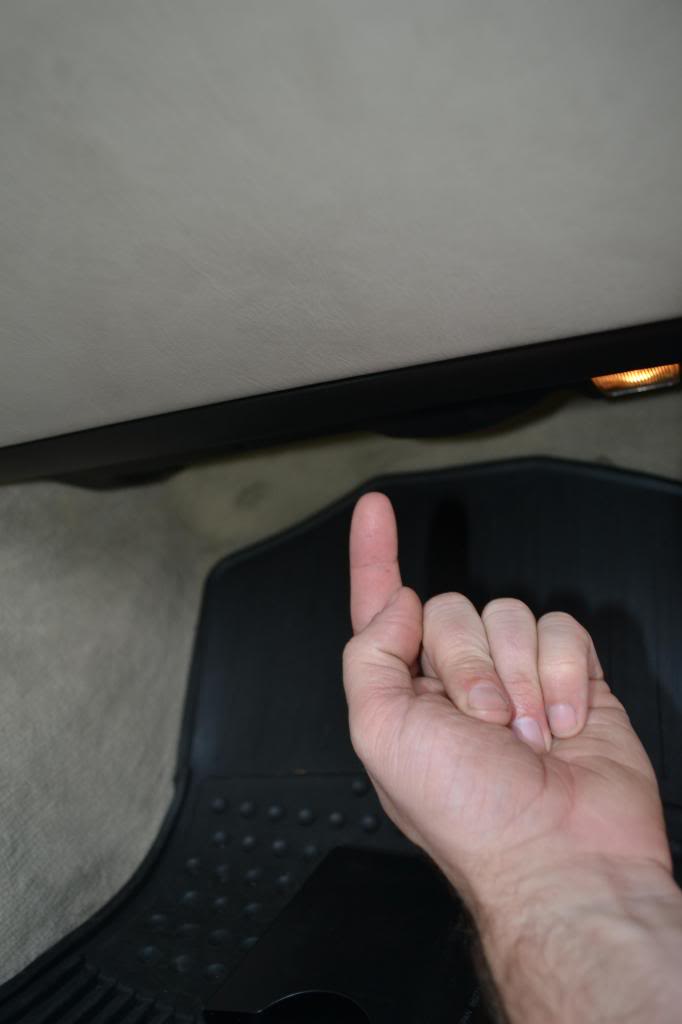
Up through here...
Take this plastic piece out and route your digital controller under the dash..
Next after you get your controller ran to your center console,( which you can run any way you desire.) Ill eventually move it again!

Last edited by 1SickGS300; 12-07-12 at 08:23 AM.
12-03-12, 11:11 AM
#3
Driver
Thread Starter
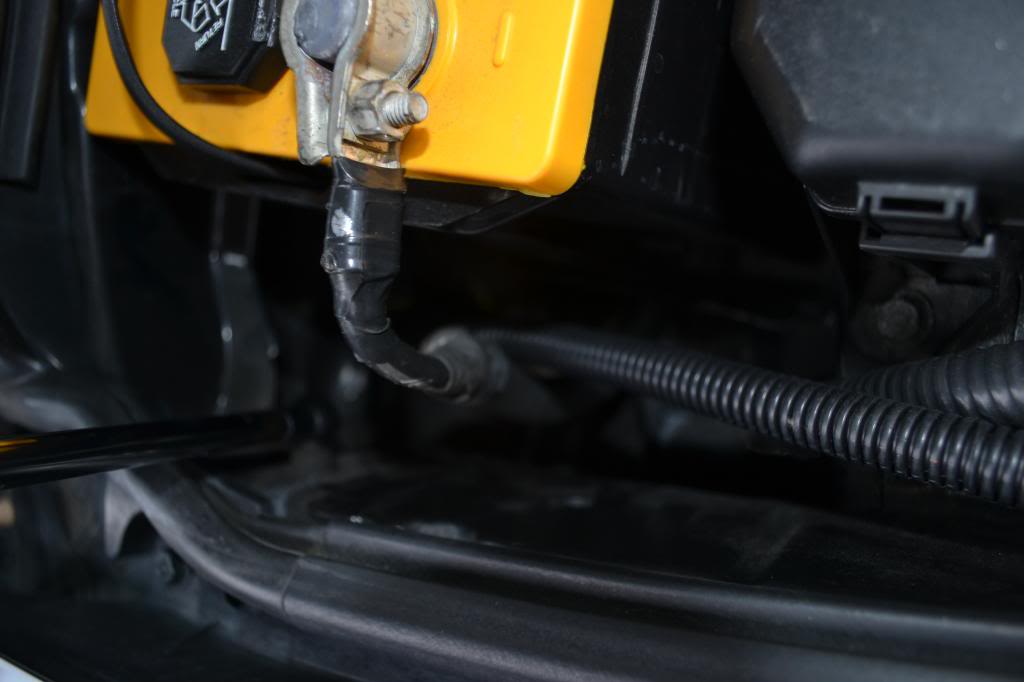
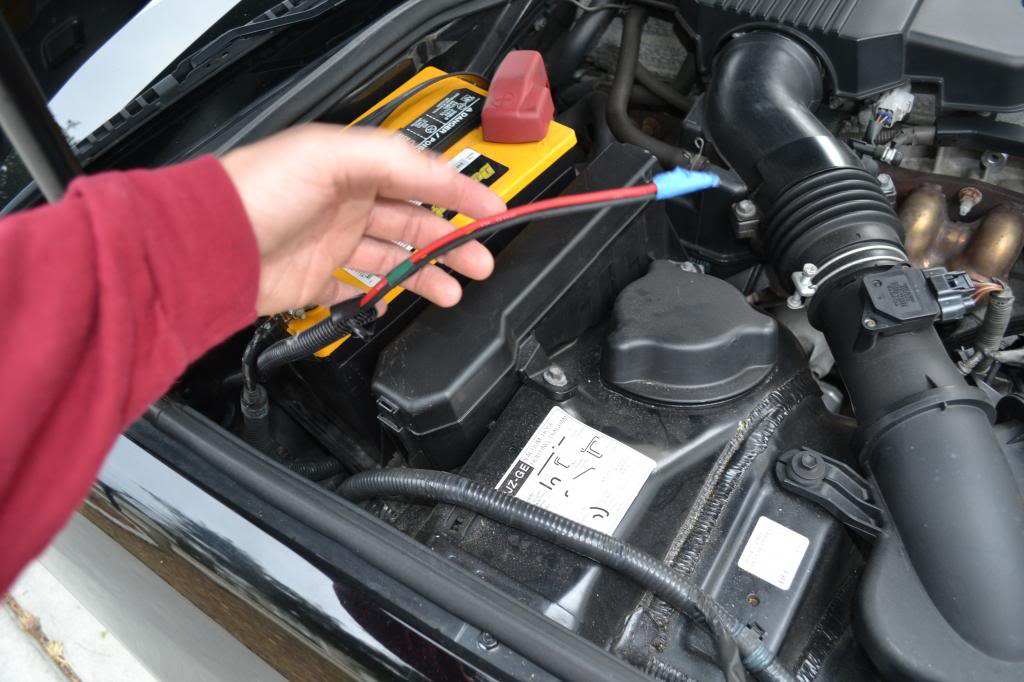
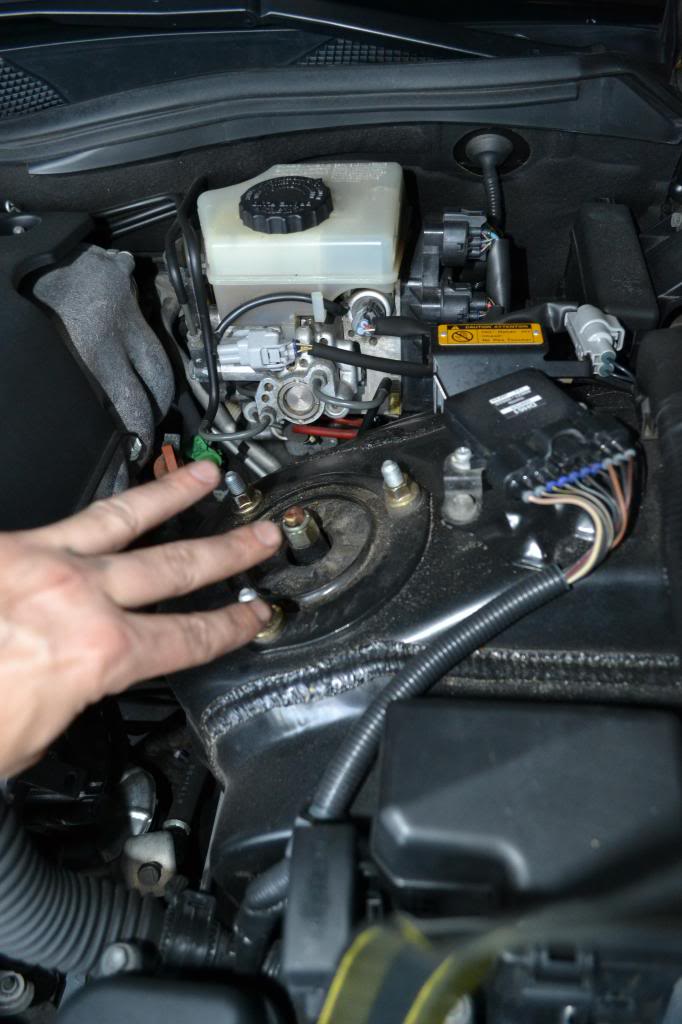
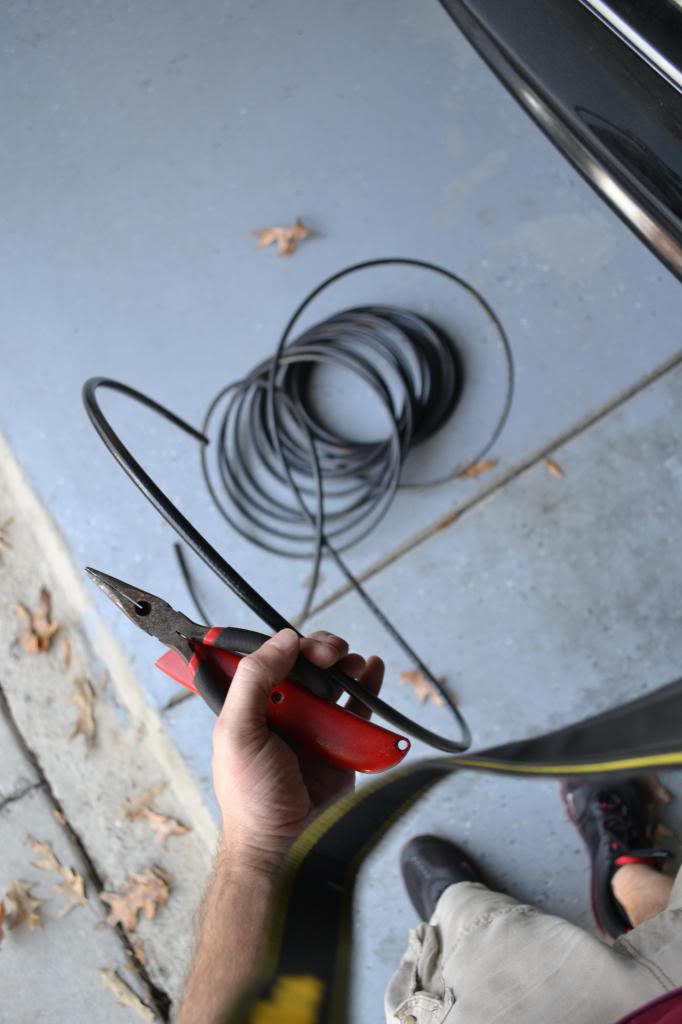
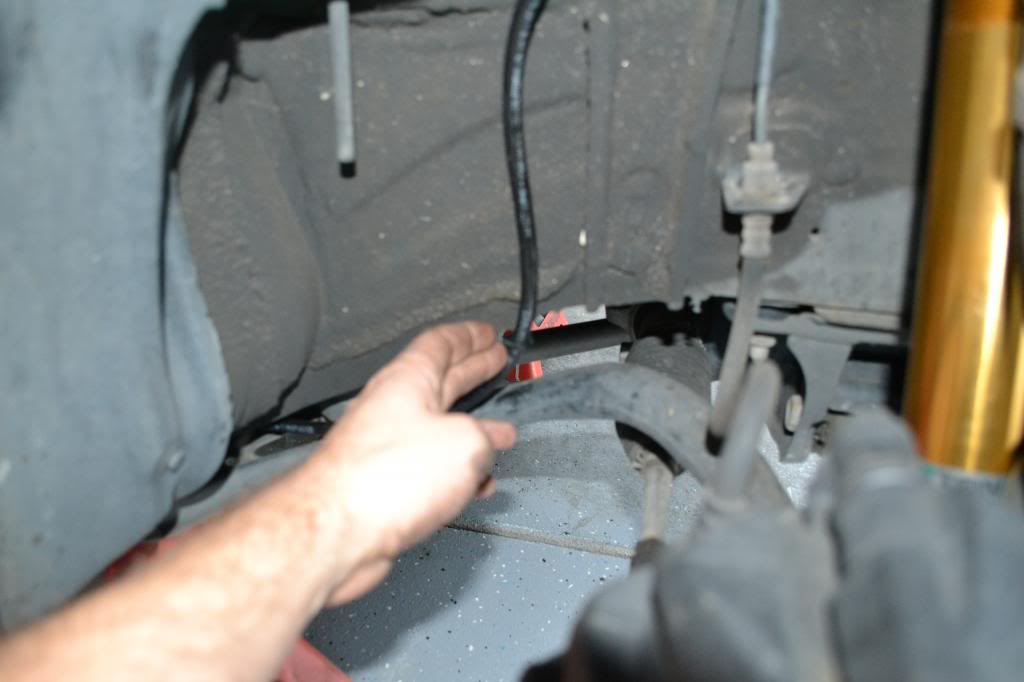
You’ll need to take out your battery and find the big rubber grommet right underneath it. Just make a dime size hole and find a wire hanger to snake it through to the cabin. Once you snake it through, then tape/tie the ground wire and power wire to it, so you can pull it back through and mount them...
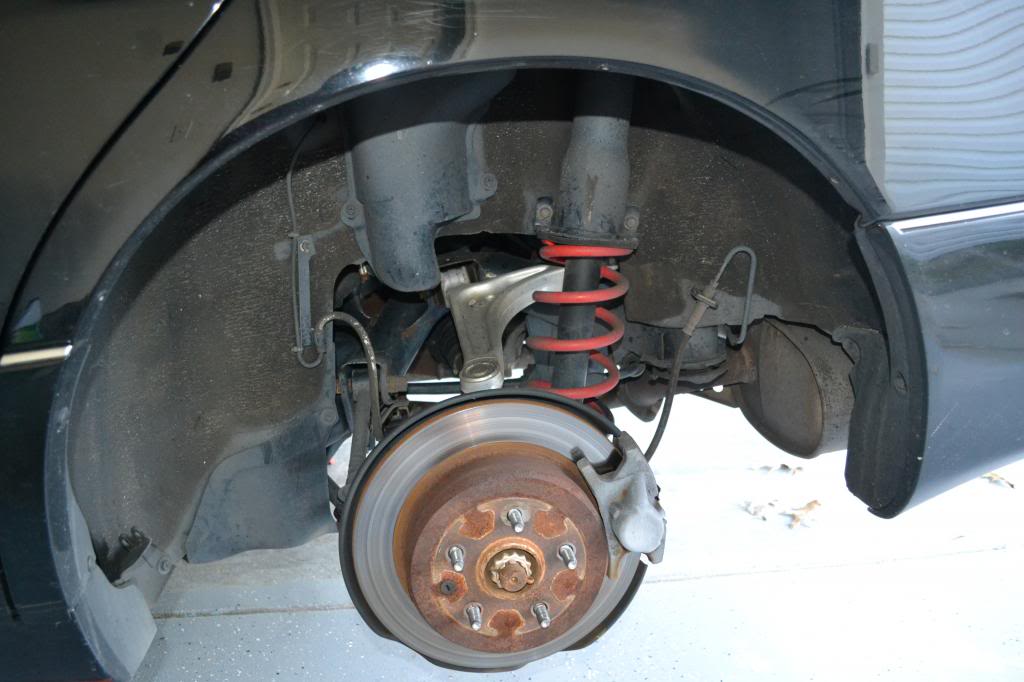
After I ran the harness, i then started on the Air shock install. I started with the rears first then the fronts last. Jack up both rears and get some jack stands to hold up the rears. Keep them up so you’ll be able to run your air lines.. Take rims off obviously!
Remove the bottom 3 bolts off of the lower rear arm...
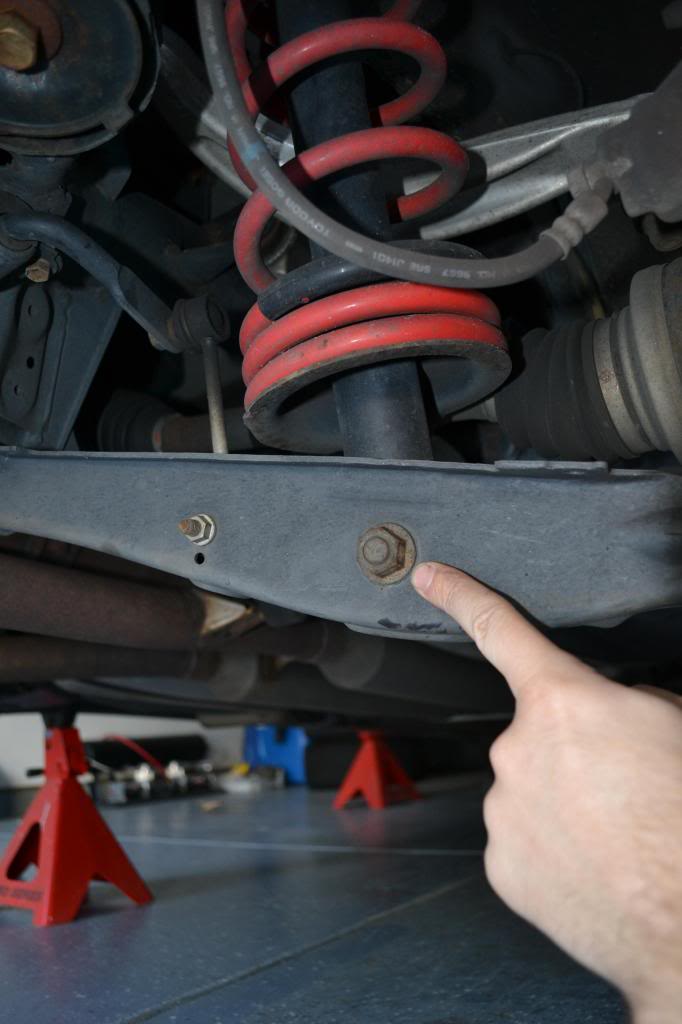
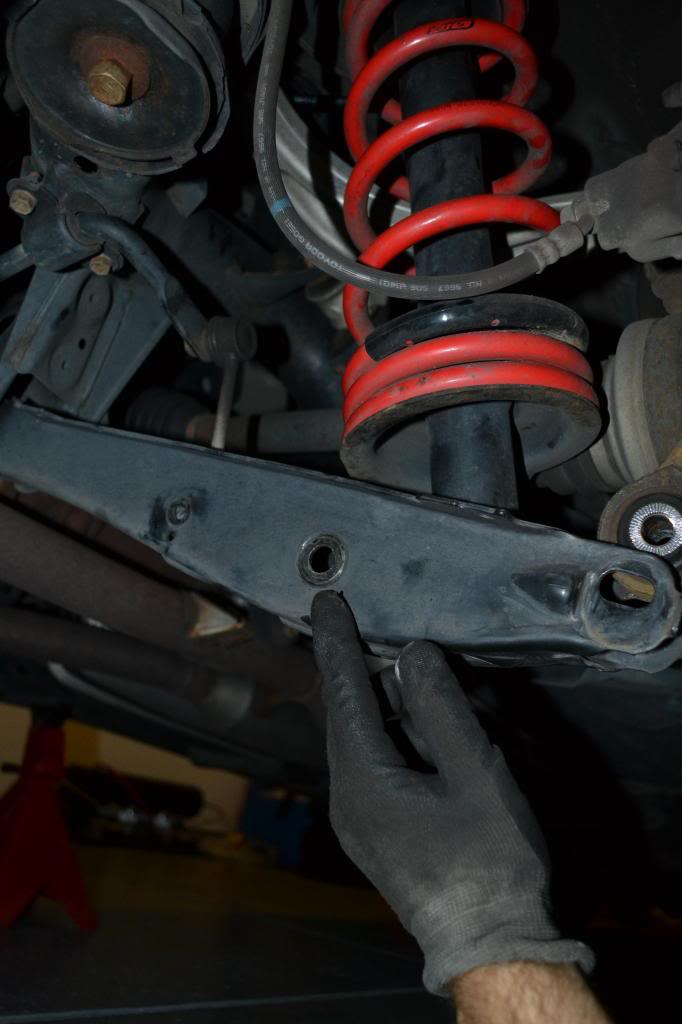
Next remove the 2 side bolts..
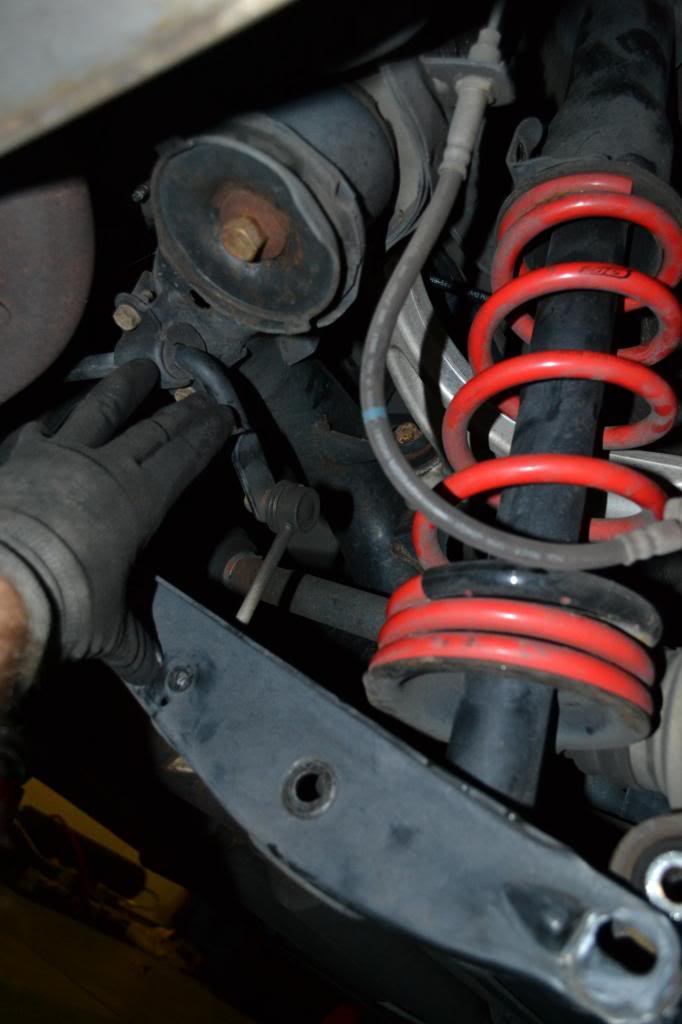
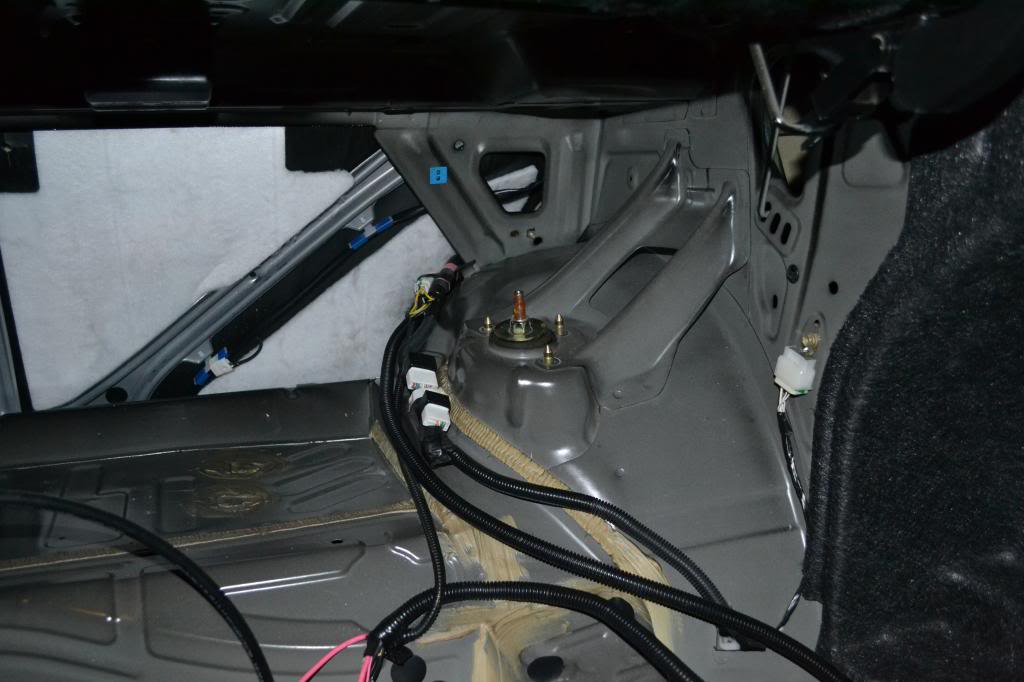
Next remove the 3 bolts from inside of the trunk that mounts to the top of the shocks...
After I ran the harness, i then started on the Air shock install. I started with the rears first then the fronts last. Jack up both rears and get some jack stands to hold up the rears. Keep them up so you’ll be able to run your air lines.. Take rims off obviously!
Remove the bottom 3 bolts off of the lower rear arm...
Next remove the 2 side bolts..
Next remove the 3 bolts from inside of the trunk that mounts to the top of the shocks...
Last edited by 1SickGS300; 12-07-12 at 08:22 AM.
12-03-12, 11:12 AM
#4
Driver
Thread Starter
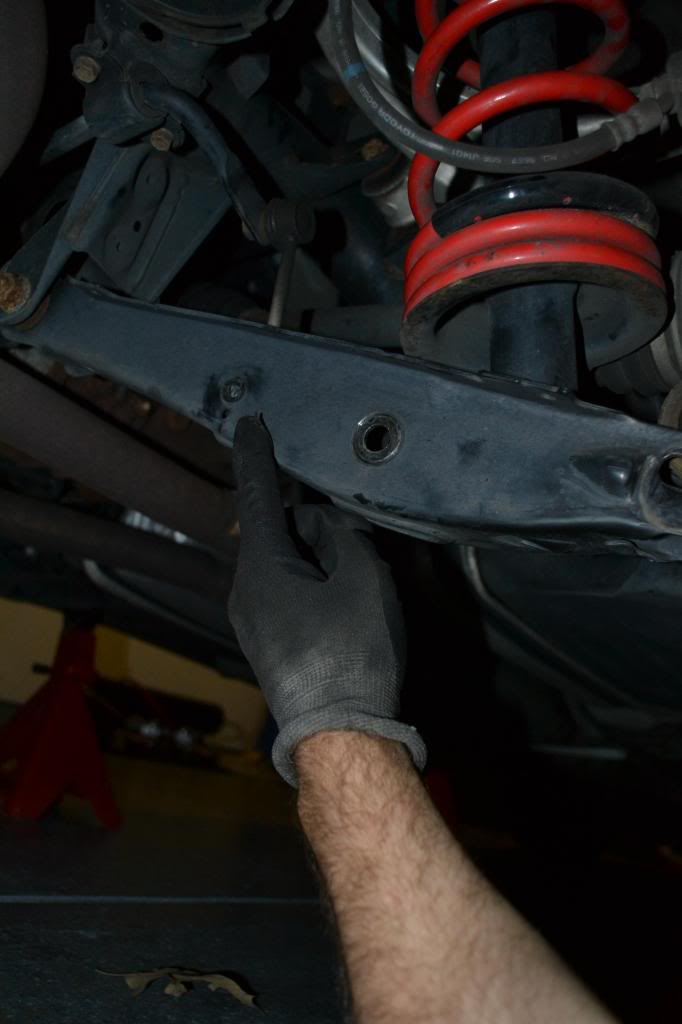
After that, its loose enough for it to wiggle out!
Then repeat same steps to add the air shock in!
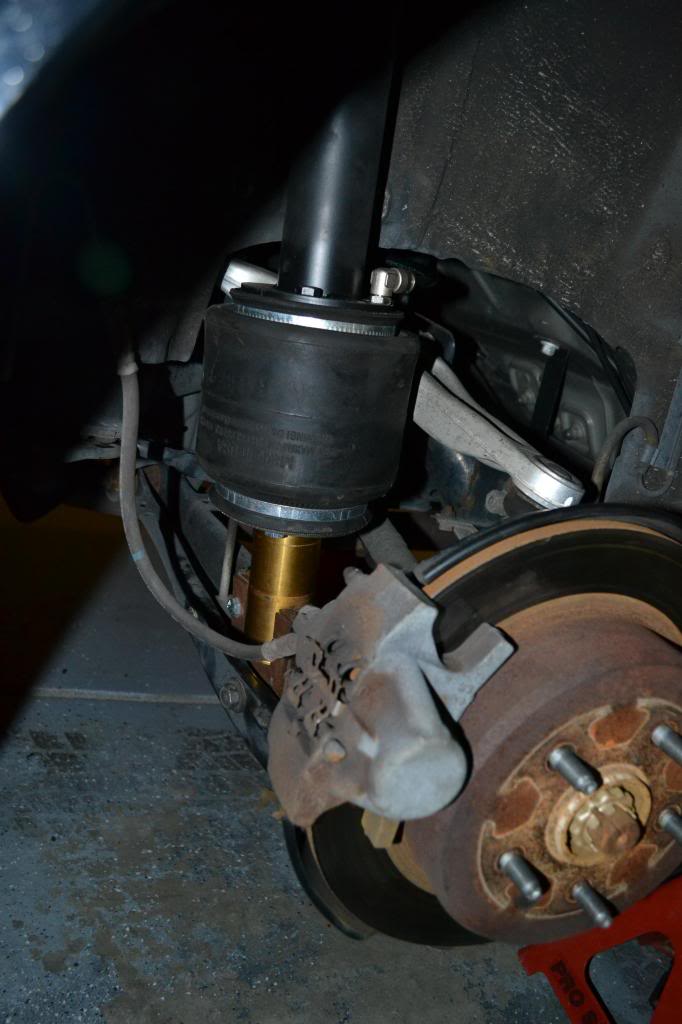
Then jack up your front and add some jack stands so that the car is off the ground!
Then uninstall the front shocks...
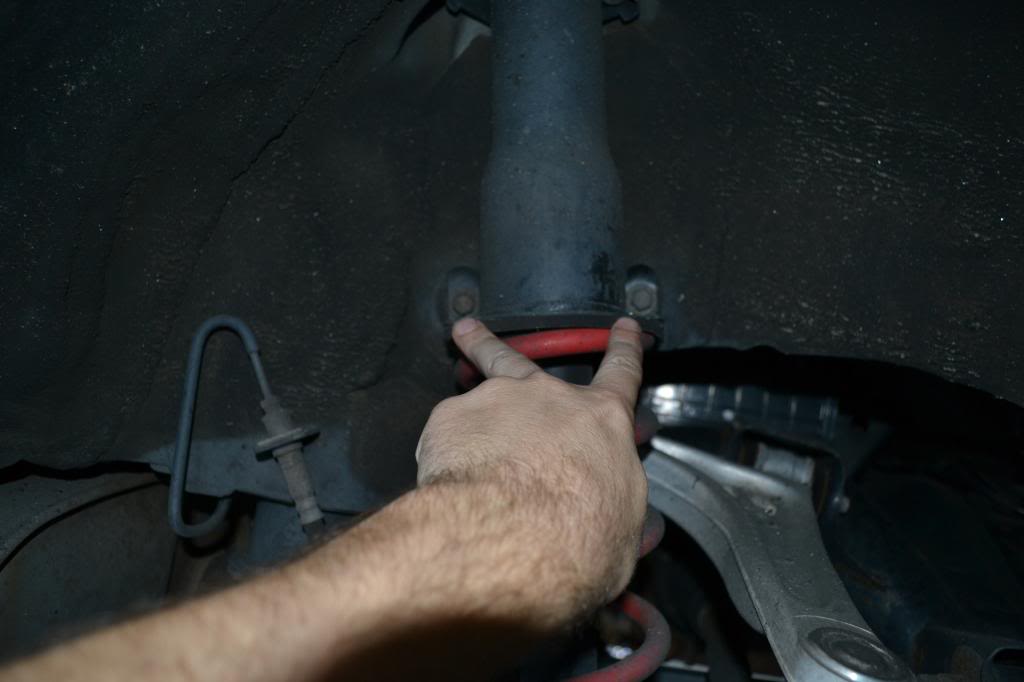
Remove the lower bottom bolt from front shocks..
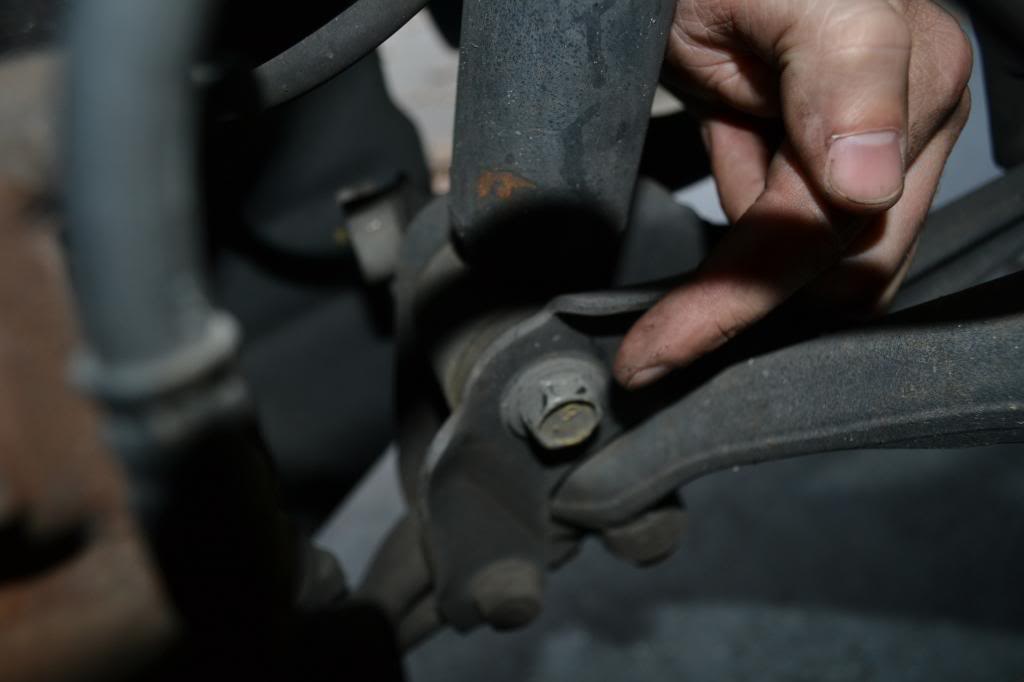
Next i had to remove the bolt from the sway bar only on the passenger side to get my lower bottom bolt off..(You might not have too)
Once you get the lower bottom bolt off, turn the disc brake assembly all the way to the left and pull the shock towards you out of the arm.
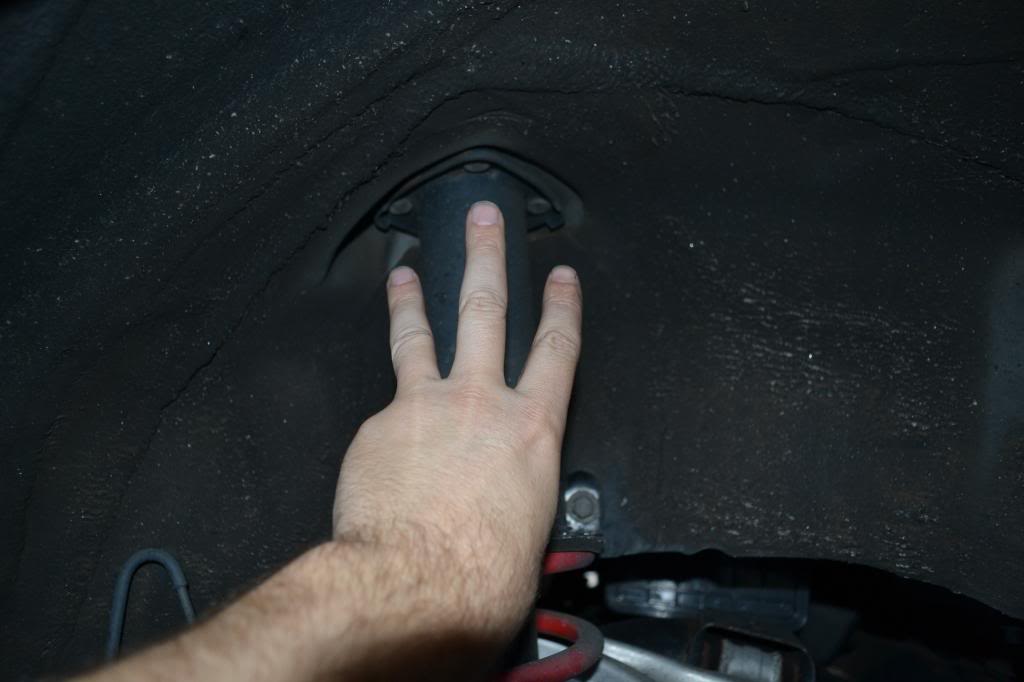
Then remove the top 3 bolts from the shock tower off..
Now it should be loose enough to remove..
And repeat the same and reinstall the new air shocks..
12-03-12, 11:13 AM
#5
Driver
Thread Starter
Next I started with running my 3/8 airlines...
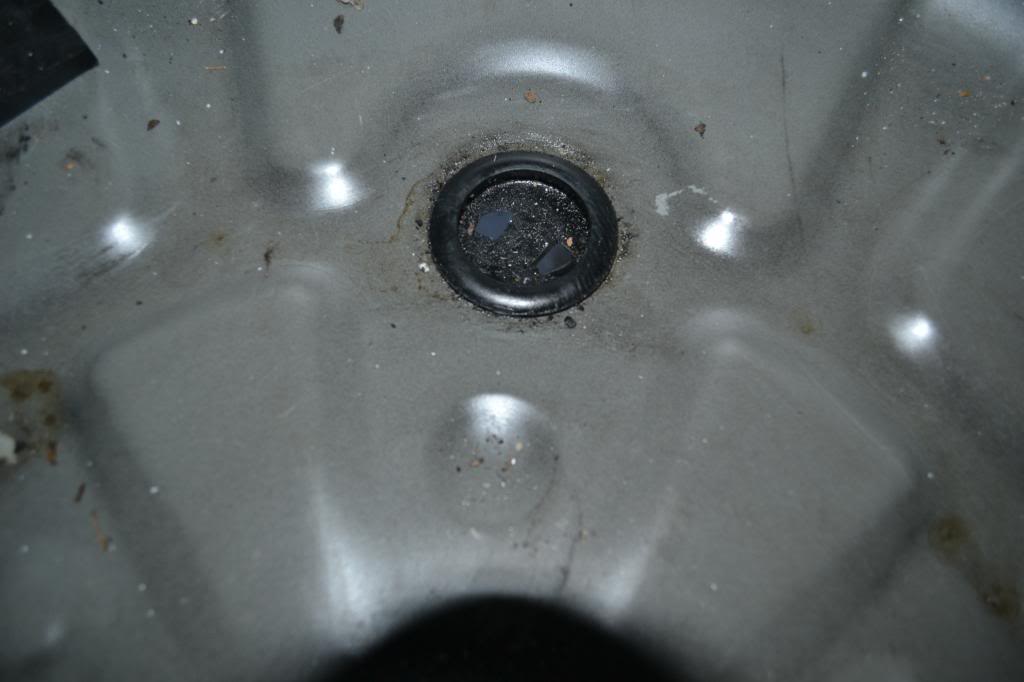
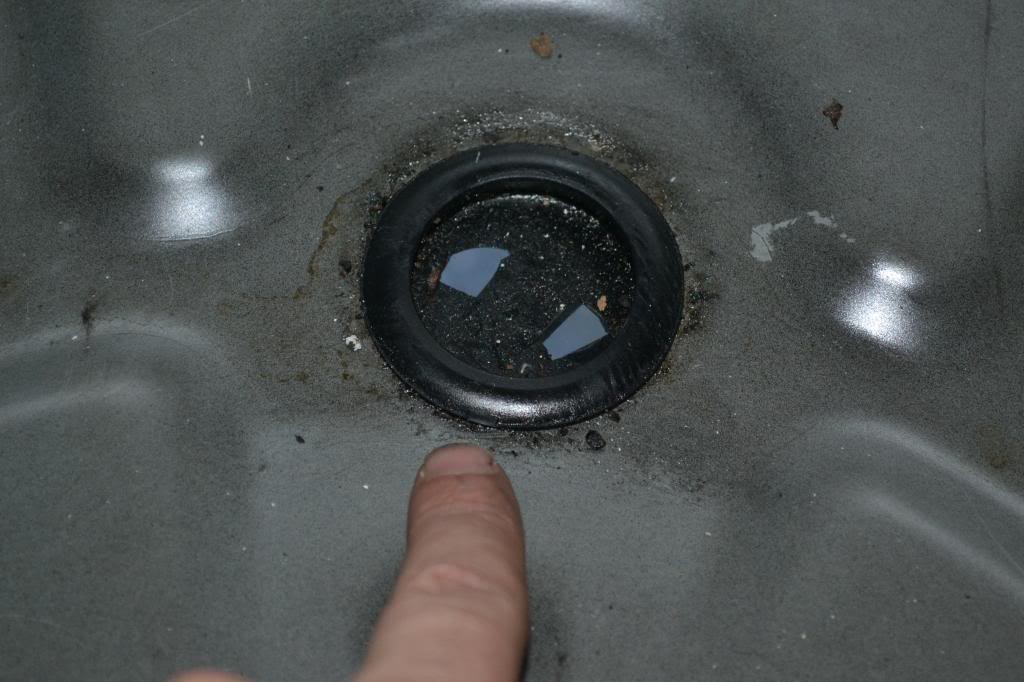
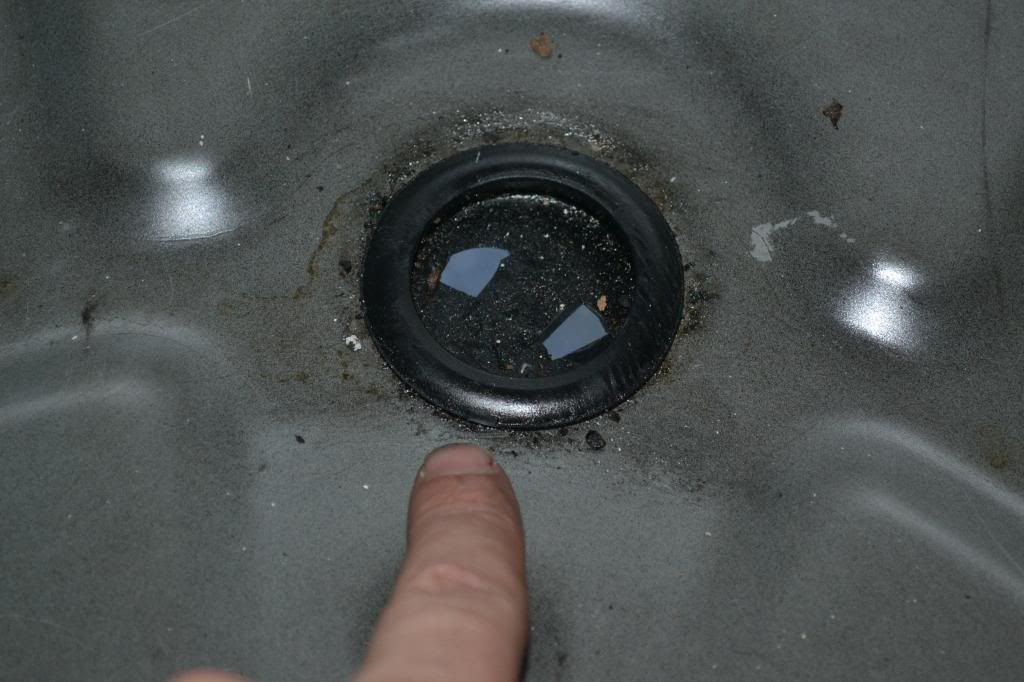
I went to the trunk and found a good place to run my lines. Where the spare use to sit, there is a big rubber cap. I cut 2 big holes into it to route my airlines through..

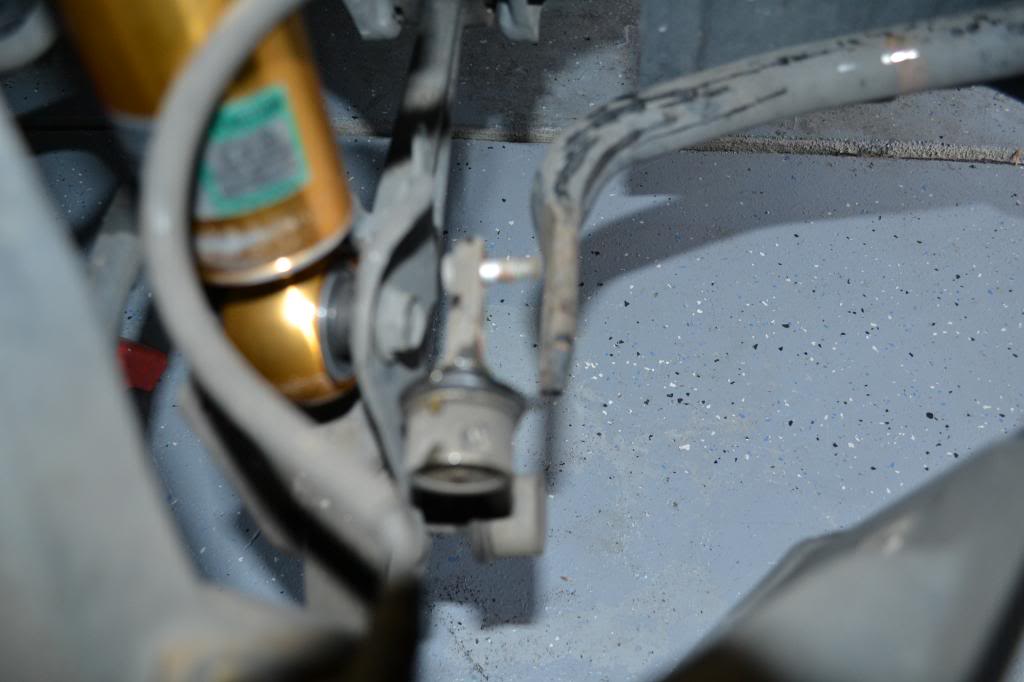
Then get your airline and start routing it... I ran mine through the rear over the differential casing. Once under there you’ll see what I’m talking about.

Next route your fronts!! I started from the front then worked my way back to the trunk...
Go ahead and plug the hose in the front fitting...
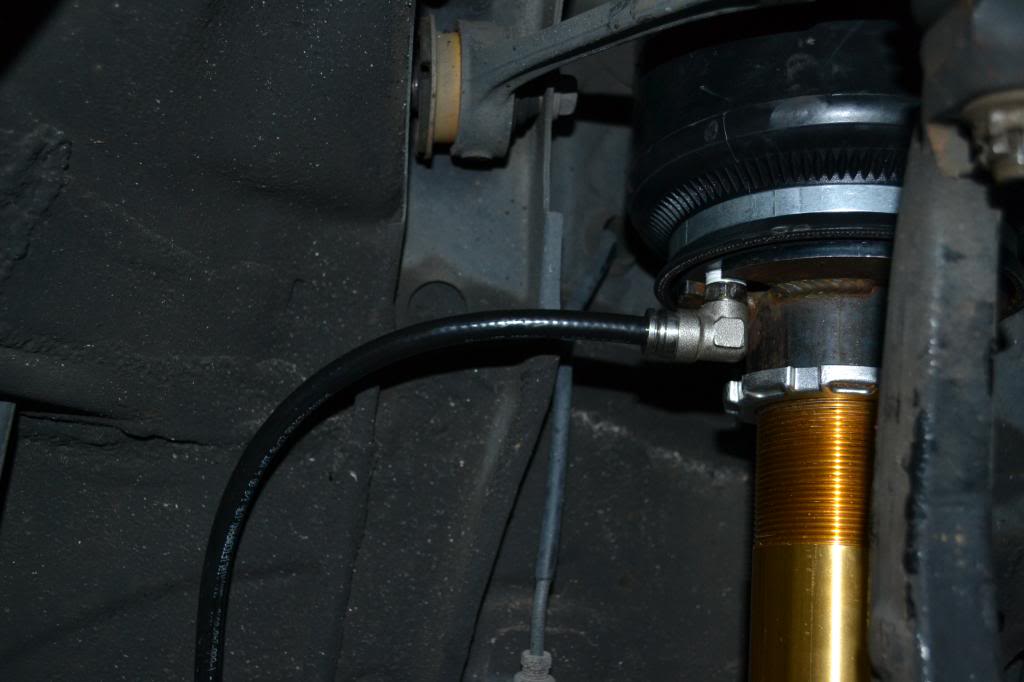
I tied strapped the line to the round hole part of the fender well..
I went to the trunk and found a good place to run my lines. Where the spare use to sit, there is a big rubber cap. I cut 2 big holes into it to route my airlines through..
Then get your airline and start routing it... I ran mine through the rear over the differential casing. Once under there you’ll see what I’m talking about.
Next route your fronts!! I started from the front then worked my way back to the trunk...
Go ahead and plug the hose in the front fitting...
I tied strapped the line to the round hole part of the fender well..
12-03-12, 11:14 AM
#7
Driver
Thread Starter
After that i just followed the lines that were under the car till I got to the trunk and then ran them into my trunk. It was very easy!!
Around the gas tank...

Once the airlines are ran, then set your tank setup in the trunk and test for leaks...
I didn’t have any leaks. All I used was Teflon tape and left about 2-3 threads showing on all my fittings.
Once everything is working and your happy, then put your interior back in and go have some fun psssing on ninjas!!
I hope this can hels you guys out and I’ll try to answer any question if needed! I’m still learning how to setup my presets and how to wire my compressor correctly. So ill update you guys with more info as I get them.
Around the gas tank...
Once the airlines are ran, then set your tank setup in the trunk and test for leaks...
I didn’t have any leaks. All I used was Teflon tape and left about 2-3 threads showing on all my fittings.
Once everything is working and your happy, then put your interior back in and go have some fun psssing on ninjas!!
I hope this can hels you guys out and I’ll try to answer any question if needed! I’m still learning how to setup my presets and how to wire my compressor correctly. So ill update you guys with more info as I get them.
Last edited by 1SickGS300; 12-07-12 at 08:25 AM.
Trending Topics
12-03-12, 11:15 AM
#8
Driver
Thread Starter
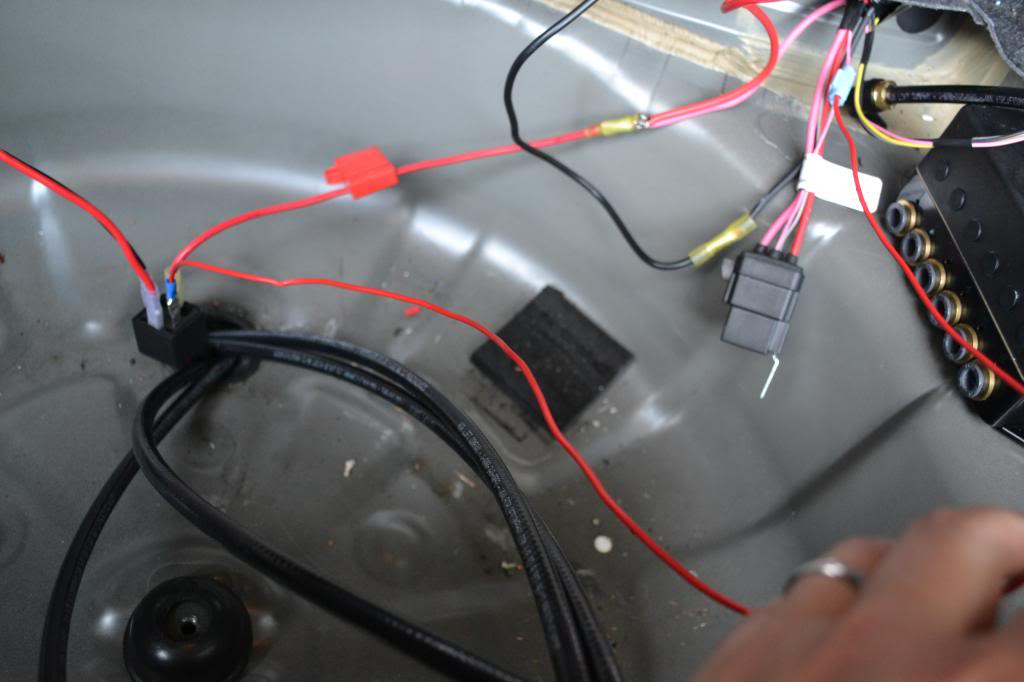
I need to find out how to properly mount dual compressors with the airlift autopilot harness. I currently have both comps running off the single relay. viair sent me a extra relay but I couldn’t get it to work correctly. So this will have to do until then!
also anyone else have weird air readings. Mine read like 90/73/ fronts and rears like 56/68??
Well again i hope this helps you guys out and any info please add here! Thank You!!


also anyone else have weird air readings. Mine read like 90/73/ fronts and rears like 56/68??
Well again i hope this helps you guys out and any info please add here! Thank You!!
12-03-12, 11:24 AM
#9
Driver
Thread Starter
12-03-12, 12:17 PM
#10


 12-03-12, 12:24 PM
#11
Driver
Thread Starter
i would find a better solution for the lines coming in....these are OEM drain holes designed to let water out if it gets in but with a hole in them, you will be letting water in and might end up with electrical shortages if you have your relays here....otherwise well done and nice DIY
Last edited by 1SickGS300; 12-03-12 at 12:36 PM.
12-03-12, 02:56 PM
#12
haha! Yes i most likely will remount them later and i plan on tweaking some things later. This is just a basic easy install to help others out! My electronics are higher up and if my car floods that bad i dont need it. I would need a truck! But Thank you sir for pointing that out!
12-03-12, 03:37 PM
#13
Driver
Thread Starter
12-03-12, 10:56 PM
#15
Lead Lap
iTrader: (4)

Join Date: May 2006
Location: tx
Posts: 514
Likes: 0
Received 0 Likes
on
0 Posts
Exactly what I needed. Answered a lot of my questions regarding air suspension. How do you like the Air Lift V2? Is it pretty accurate? Also, who made the mounting brackets for the UAS bags onto the Tein coil overs? PM sent