When you click on links to various merchants on this site and make a purchase, this can result in this site earning a commission. Affiliate programs and affiliations include, but are not limited to, the eBay Partner Network.
2008 GS450h wheel bearing step by step replacement
Hi there,
Just wanted to share my experience with front left (driver side) wheel bearing.Couple weeks ago I got noise from front left side when I am loading bearing into turns.Put car on hoist and check for freeplay .It was freeplay on Vertical axis. So it was not ball joint and it was not ball on spindle and it wasnt even tie rod end ball.So what was left over only wheel bearing.
here we go I had a lot of fun replacing it. All job was about 1.5 hours because I am rookie here.So I think about 1 hour should be ok if you have skills. first step is to put car up and secure it.
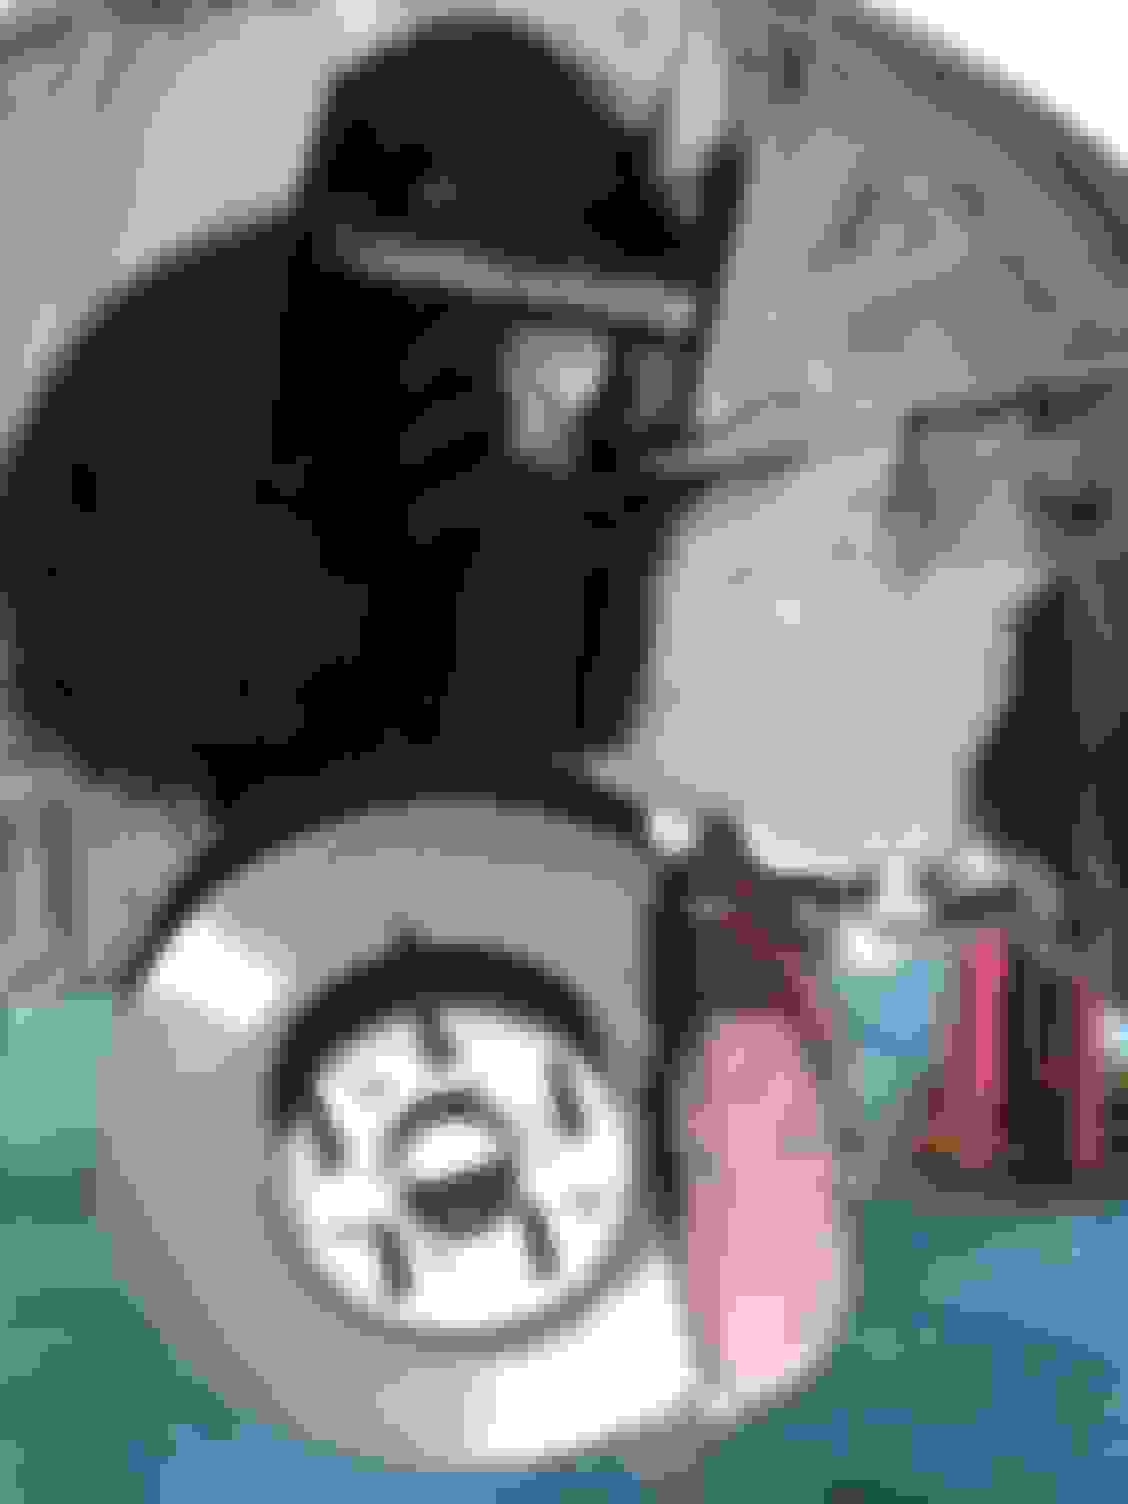
Please wear safety glasses and safety shoes. after removing front left tire ,this is what you get. next step is to lube brake caliper bolts and wheel bearing bolts.here I go crazy with IN FORCE penertrating oil in spray can. Just in case to remove a bit of rust if any. next step is to remove brake caliper 17 mm socket with breaker bar I have used here .Remember you have to secure brake calliper in order to protect your brake lines. See the picture for what I use here. I have used coils to attach brake calliper to it. slowly remove old rotor and put it on safe spot.
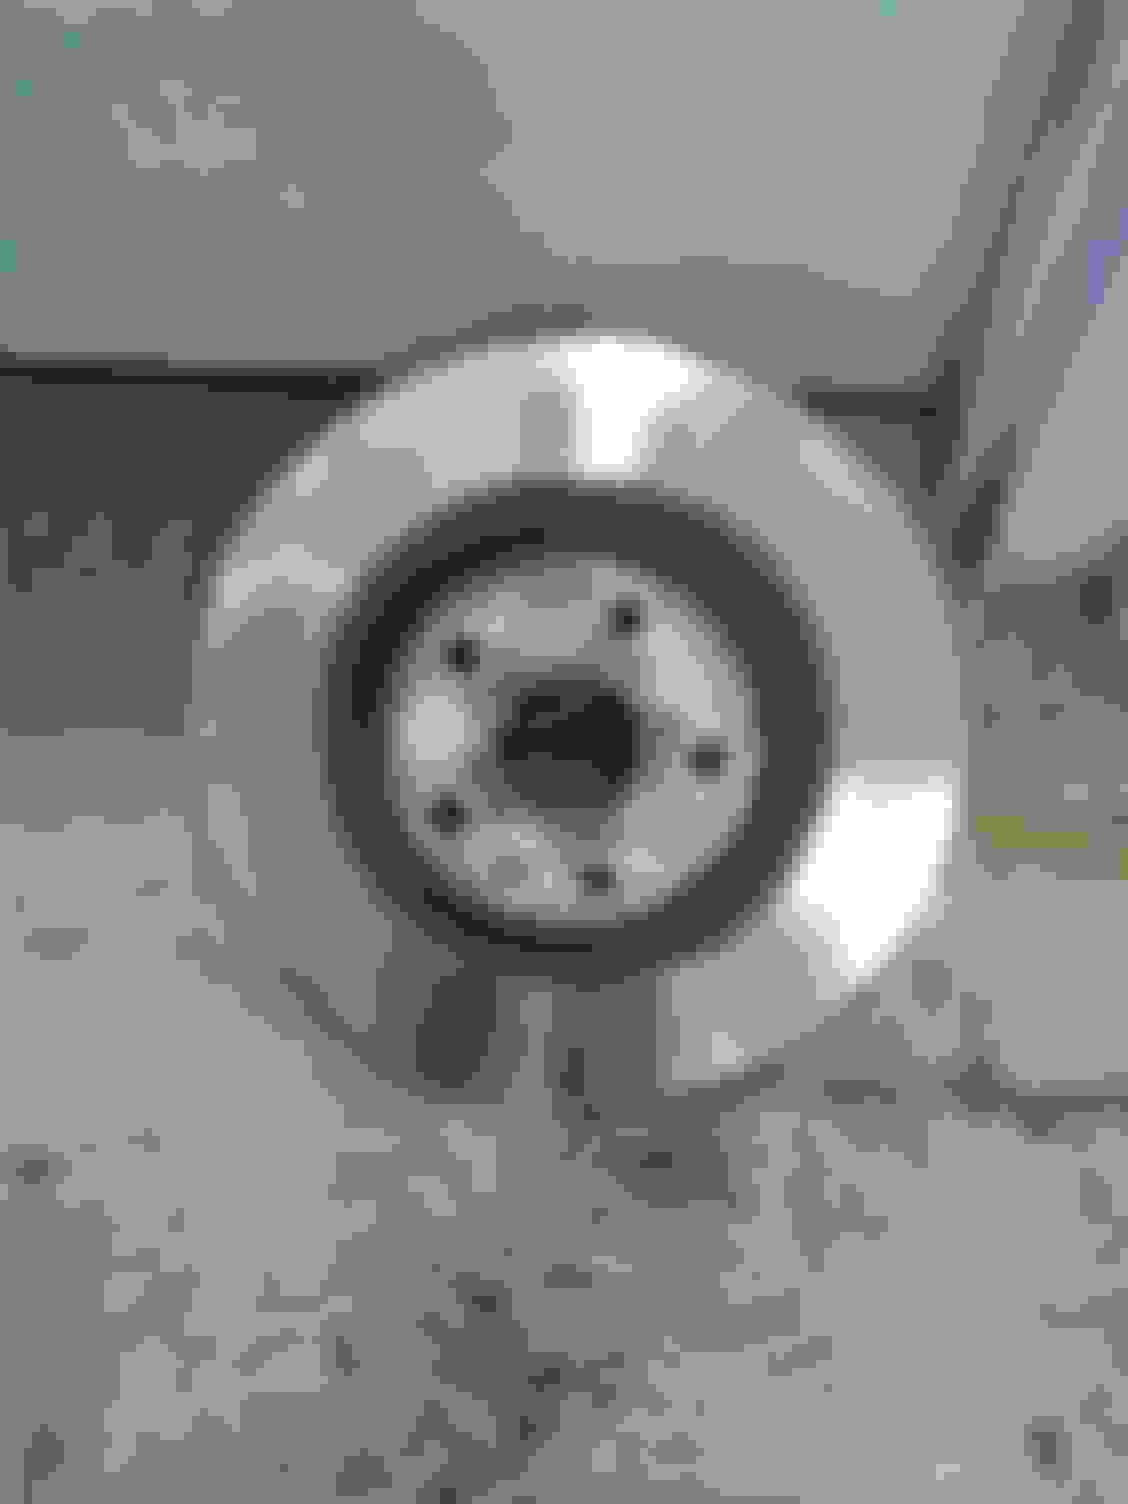
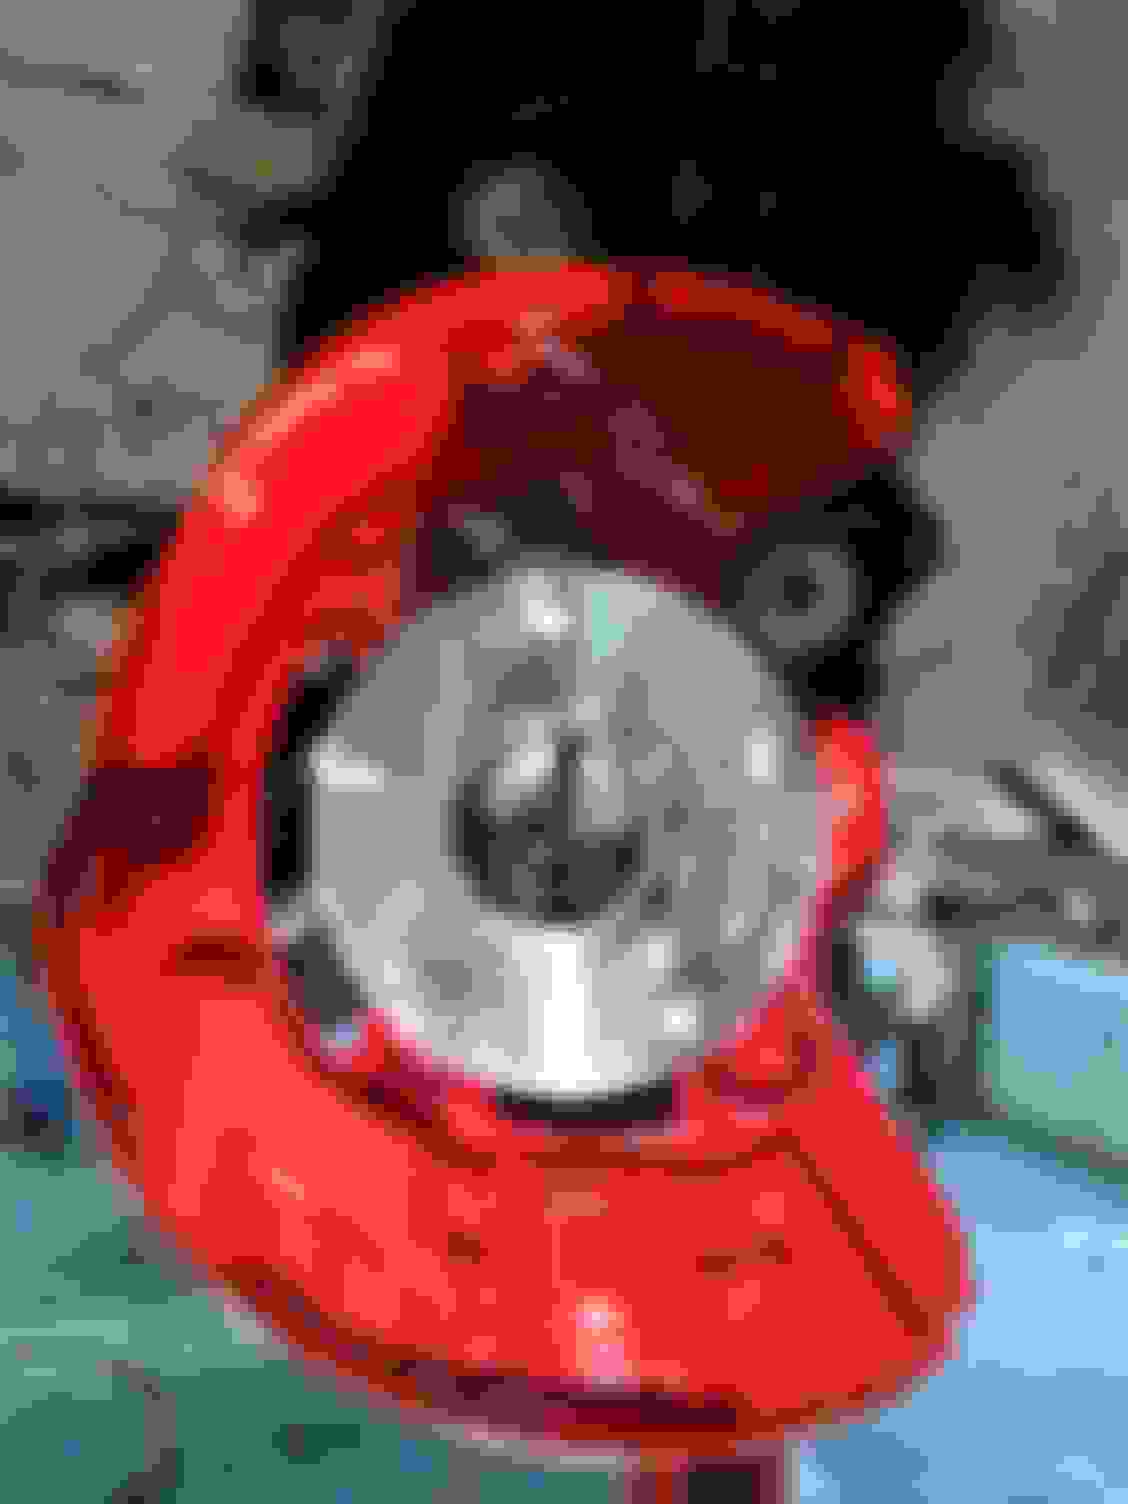
NOTE: in some cases rotor will be harder to remove ,use small hammer and tap it around but do not damage braking surface please.now you can see our beauty wheel bearing which has a lot of free-play.
Next step is to remove 4 bolts on the back of the bearing hub .Sorry ,correction Before 4 bolts removal you have to remove ABS sensor plug.
Please use small screwdriver and apply pressure as on picture to loose connector .
Put connector behind brake calliper that is not on the way when start removing of hub 4 bolts. here is ABS connector.2 pins. 17 mm socket with breaker bar .Just use some force here.After that use regular socket and remove all bolts.NOTE here you have to able to move steering in one side to gain better access to those bolts.DO NOT LOCK STEERING COLUM. all bolts what I have removed I have cleaned from rust and put a lot of antirust grease on them. Next step is again to use a lot, I mean a lot of penetrating spray around the edges on front and on the back around ABS sensor housing in order to easy remove bearing from spindle.
NOTE: TRY TO NOT USE ANY HEAT HERE BECAUSE SPINDLE IS MADE OF ALUMINUM AND BEARING IS STEEL. PLEASE This step is most important.This is tool I have used.Sliding hummer 4 lb.with mounting bracket.
So good, after 4-5 hits bearing was out.
I was so happy. use your wheel lug nuts to secure bracket before u put rod in it. and this is winning picture everybody like to see.
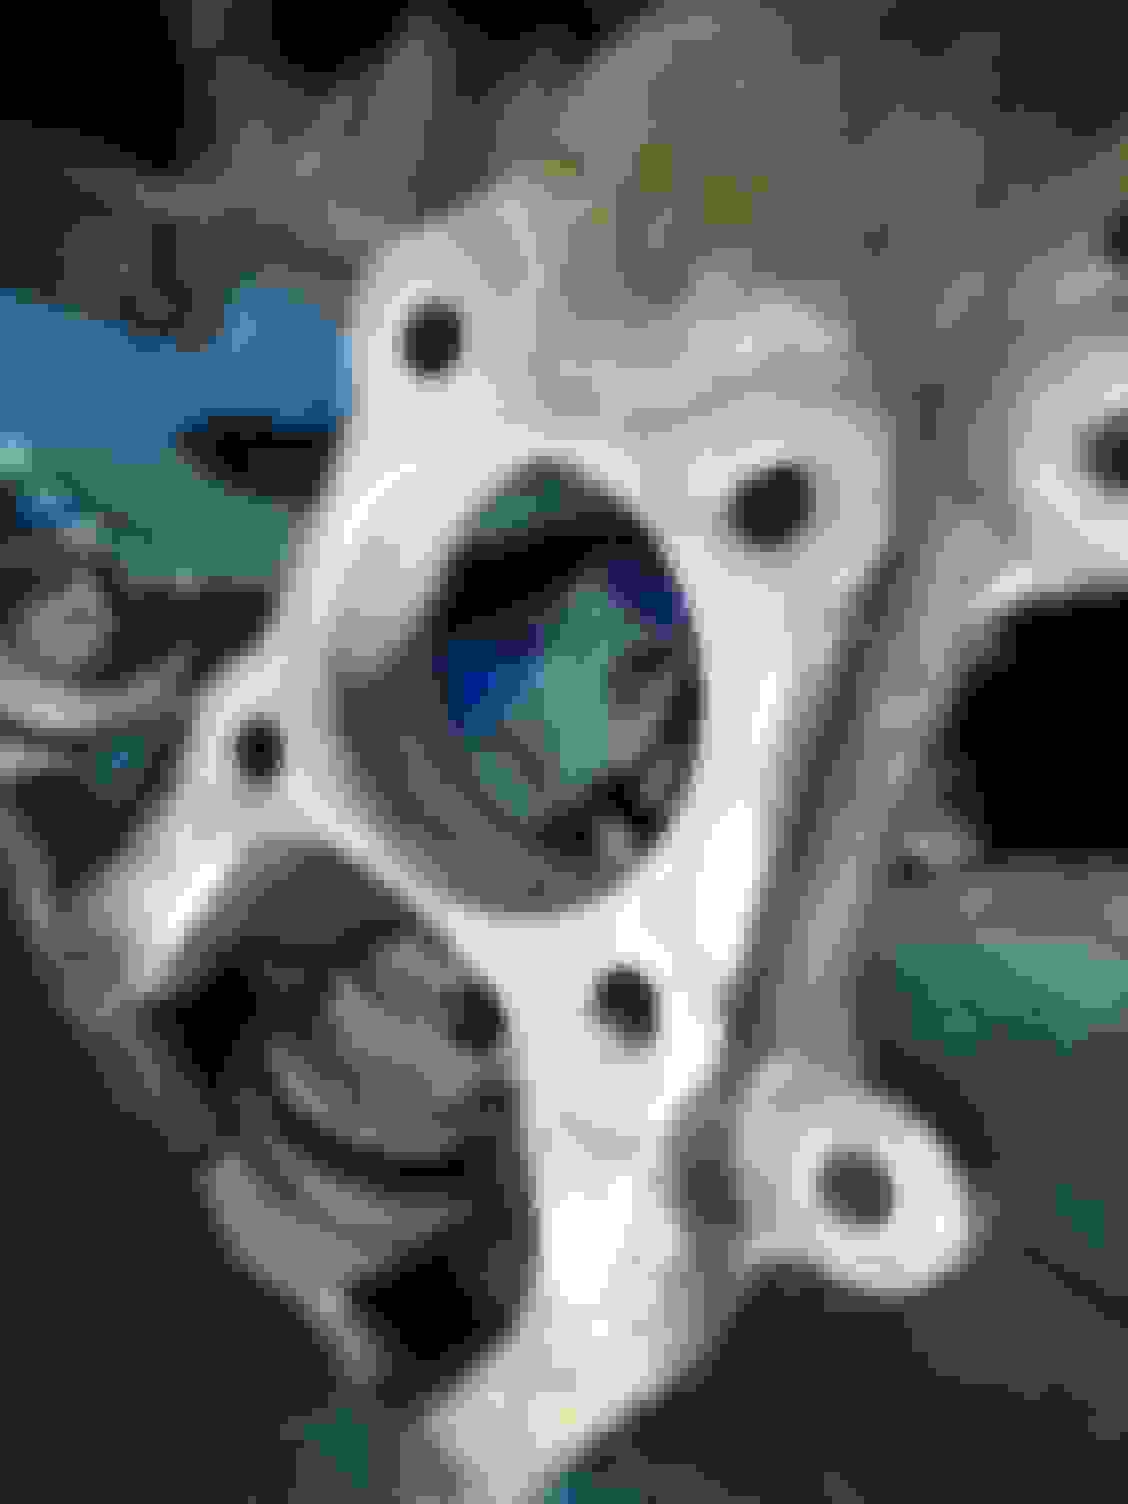
OLD WHEEL BEARING IS OUT YEEEE. Next step is to clean spindle as much as you can from rust and some other crap. One more time memento ...old bearing is out,
Note rust around it it was gross. this is tool I have use with brush to clean housing of the spindle. for cleaning you can use any brush or sand paper .Here is when is clean and lubed.Ready for new wheel bearing to install. I was using some antirust paint on the shield plate. (looks cool and protects from rust)
Now put back everything in reverse steps. Put rotor first and after that calliper and next is to get special;l torque wrench to torque all bolts . I have used 54 ft/lb on all wheel bearing bolts,
and on the brake calipper 84 ft/lb.
That is just me You can use whatever u feel it work for you.
ANY WAY THIS ALL THREAD IS FOR EDUCATIONAL PURPOSES ONLY ,
YOU ARE DOING ALL AT YOUR OWN RISK.
PLEASE BE CONFIDENT BEFORE ATEMPT ANY OF THOSE STEPS. last step is to put wheel back on and torque to specific torque I have used 90 ft/lb here.But again that is just me you can use other torque what your mechanic recommend or dealership. now all is good to go for test drive.....
test was conducted ABS sensors are OK.
no more noise from front left side.
no freeplay on the front left wheel.
mission accomplished.
NOTE; I AM USING HERE ON OF THE IMPORT HUB BEARING FROM EBAY ABOUT $76.00 USA DOLLARS.
THEY ARE FROM CHINA.I KNOW RIGHT ,IT IS NOT EVEN CLOSE TO TOMKEN OR OEM BEARING BUT WHO CARES FOR THIS PRICE I CAN TRY IT AND LET YOU KNOW AFTER COUPLE MONTHS HOW IT IS GOING.IT HAS ONE YEAR WARRANTY.
Thanks for the DIY. Luckily I also have a RWD so it should be this easy.
I can imagine AWD being a bit more involved with the front half shafts having to be removed first.
I'm surprised you have a hoist and an air grinder, but no impact gun to break those rusty bolts loose?
yes I do have airgun too but I still used breaker bar ,I didnt like to break the bolts with a lot of torque .I was going a bit slow just for fun.And yes you can use airgun to increase speed on all process.
Milage is about 197 000 miles.
I had chance to use garage with hoist ,it makes life easyer.
Here is new follow up on the front right side bearing(passanger side)
GRRRRRRR.
Just spent 4,5 hours to do this side .I was so tierd and angry that couldnt take any pictures of it.
But now is over and will share few thing with you guys.
First things first use a lot of penetrating oil /spray , (also it is very healty excercise by the way)
Here we go wheel take it off ,brake calipper off, and rotor off. Now was problem ,bearing and spindle are like one body I couldnt separate bearing almost 3 hours.
I have used all power tools ,sliding hamer, put wheel back and try kick it,still didnt work.
HERE IS SOLUTION,ONLY SOLUTION BY THE WAY.
---there is 2 bolts 19 mm on the bottom of the spindle that have to be removed and one nut on the top of the spindle (it has a safety pin that must be removed first).now when spindle is removed with bearing will be more easy for the next step.
put spindle in wise and grip it so tight .Now remove ABS cover from back of the bearing( I just used pliers to cut connector and remove it)Now you can see ugly pictures of hub bearing which is unremovable, but not for me.
this is by far best moment of the night ,please use of safety glases in this step is mandatory,use one hamer to put on the top of the bearing and some penatrating fluid ,after that bring the bigest hummer u got and start hitting so hard untill hurts .
it was about 4-5 hard hits and finally bearing was out.
Now clean spindle but very carefully because it made of aluminim and you dont want to make more room for bearing that needed.Also my brake shield was damaged due to use of power tools and hammer before I remove spindle.
Make sure when putting back brake shield it is not touching rotor otherwise you will have grinding noise while driving.
NOTE:
when you putting back spindle first tight two bolts on buttom 19 mm and after that one nut on top ,and use air gun ....it was much easyer,dont forget to put safety pin back on that nut.Reconnect ABS sensor put wheel back and spin it few times to check for any noise comming from brake shield.
regardless I am still lexus guy and one hard to remove bearing will not change my opinion about Japan technology.
New update for wheel hub bearing.
unfortunately after market bearing sucks .it was good only for 80,000 km.
Solution is koyo hub bearing from dealer.I had very bad experience with eBay part ,so I was trying to save us money but quality they sell thru eBay is not good.
Price thru dealership was double but it's worthed.
Front right side was replaced yesterday.
Next will be front left ,driver side to be replaced.
��
here is new update ,
Just discovered that front left and front right bearing are same .LOL .
Dealer selling front right side cheaper than front left side.very weird.
I got also great deal on other aftermarket wheelbearing hub by mevotech.I am now testing that one.So far looks ok and I didnt get that one thru ebay.
 01-22-17, 03:55 PM