What did you do to/for your sc430 today?
#181
Lexus Test Driver

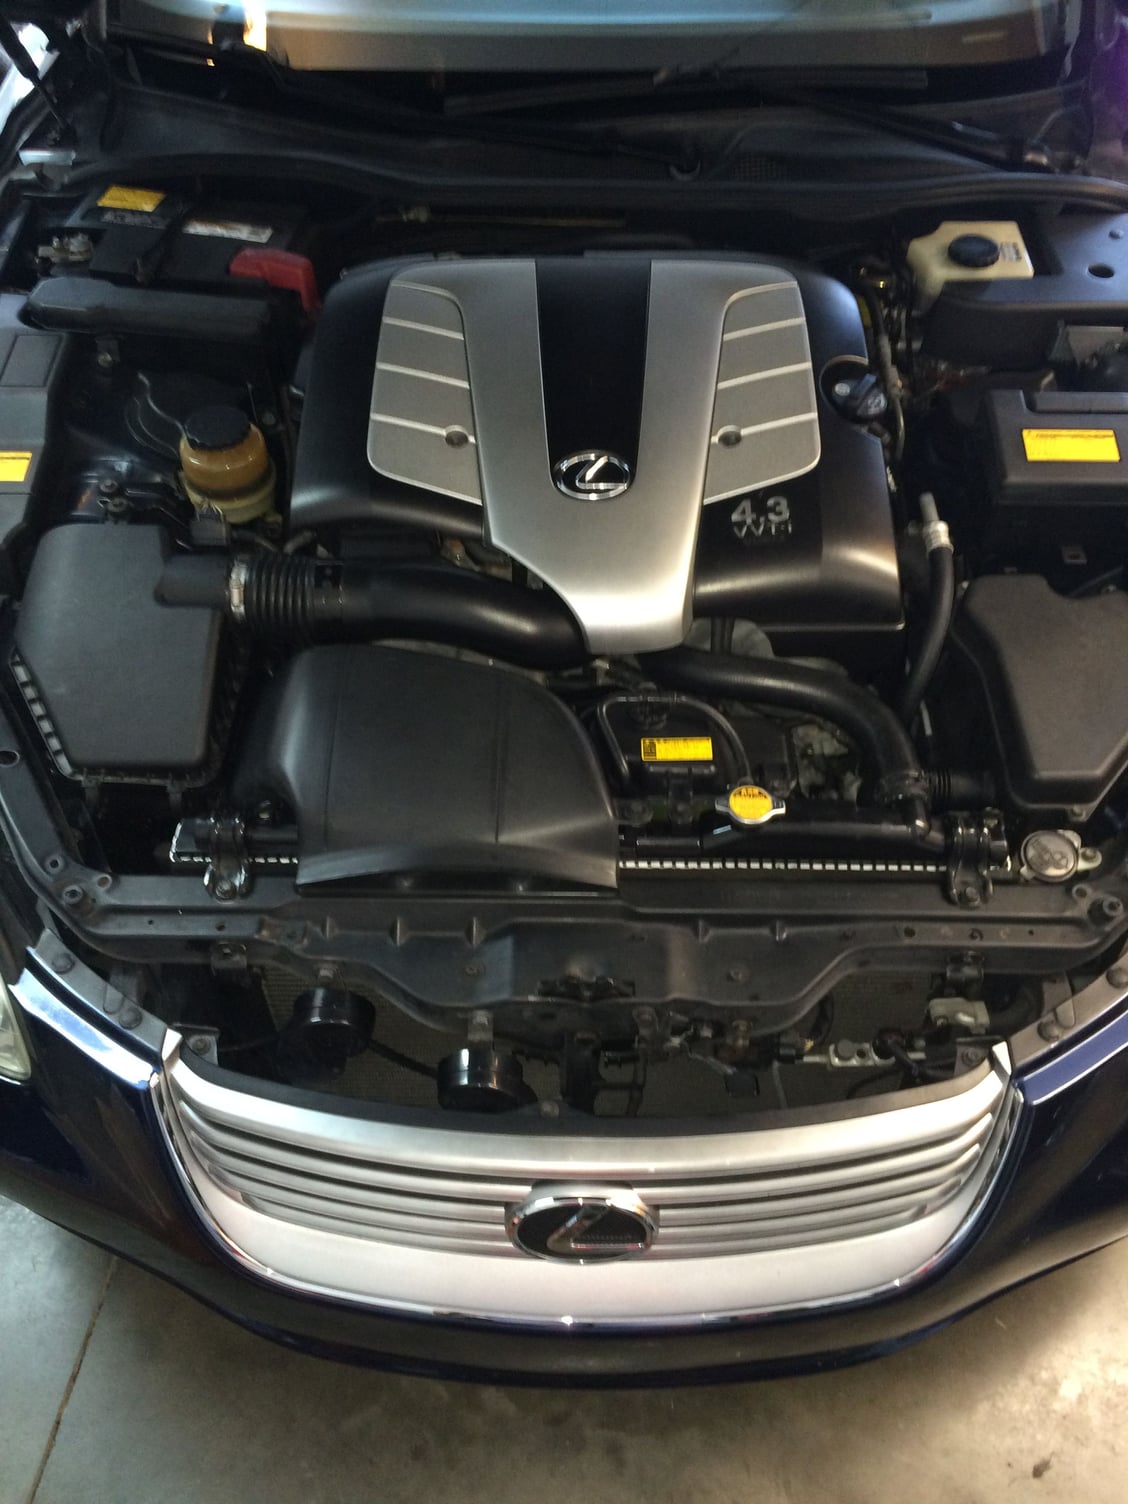
Only OEM under the hood
#182
Racer
Thread Starter
So my statement would only be true for the older style maf sensor. (80's and most of 90's )
https://en.m.wikipedia.org/wiki/Mass_flow_sensor
Our car use a hot wire, not a cold wire maf. The hot film maf does not have the burn off feature. The hot film ones are the ones that look like a honeycomb.
Last edited by Coleroad; 02-02-16 at 07:21 AM.
The following users liked this post:
elibutton (07-31-21)
#184
Instructor
[QUOTE=ecpeters;9361482]MeisterR coilovers + poly steering rack bushing + poly sway bar bushing install today
So how do you like your new bushings? Did they make a significant difference in handling/cornering? Any added harshness to the ride? I purchased new poly steering rack bushings a while back, but haven't installed them yet (too cold and snowy in Nebraska right now)...
So how do you like your new bushings? Did they make a significant difference in handling/cornering? Any added harshness to the ride? I purchased new poly steering rack bushings a while back, but haven't installed them yet (too cold and snowy in Nebraska right now)...
#185
Driver School Candidate
[QUOTE=riknchar;9361766]
I LOVE the bushings. It's hard to tell how much of the change is the suspension vs the bushings but everything is tight and right so far.
The biggest difference was in the famous deadzone older lexus's can develop in steering response. It's not super tight ratio-wise, I still need to turn the wheel quite a lot, but the feedback is much better.
MeisterR did a great job on the coilovers too, I've finally felt like the car has woken up. Nothing squeeks or rattles, camber is a little negative for my taste but our cars have always had that problem.
MeisterR coilovers + poly steering rack bushing + poly sway bar bushing install today
So how do you like your new bushings? Did they make a significant difference in handling/cornering? Any added harshness to the ride? I purchased new poly steering rack bushings a while back, but haven't installed them yet (too cold and snowy in Nebraska right now)...
So how do you like your new bushings? Did they make a significant difference in handling/cornering? Any added harshness to the ride? I purchased new poly steering rack bushings a while back, but haven't installed them yet (too cold and snowy in Nebraska right now)...
The biggest difference was in the famous deadzone older lexus's can develop in steering response. It's not super tight ratio-wise, I still need to turn the wheel quite a lot, but the feedback is much better.
MeisterR did a great job on the coilovers too, I've finally felt like the car has woken up. Nothing squeeks or rattles, camber is a little negative for my taste but our cars have always had that problem.
#187
Did you paint them or had caps over the trims?
#188
#190
#191
Pole Position
iTrader: (1)
I originally used dark tint adhesive film, check out RFTint on ebay, on both the upper garnish and the tail lights. Then I scored a second set of both upper garnish and tail lights, so I painted the second set with VHT NiteShades. The tint film is reversible but the spray paint is not reversible (without lots of work like paint stripping, clear coating, etc). You can always test with the adhesive film to check the look, as I did. Then upgrade to the permanent solution with the spray paint, if you like the look.
As for a DIY, the upper garnish and the tail lights are sooooooo easy to remove. There is a step by step tutorial on this forum.
As for a DIY, the upper garnish and the tail lights are sooooooo easy to remove. There is a step by step tutorial on this forum.
Last edited by ShawnOk; 02-25-16 at 12:52 PM.
#193
ShawnOk and texsexlex,
Thanks for your suggestion about using the vinyl film, good idea!
I found this on ebay : http://www.ebay.com/itm/12-x48-Neo-C...EAAOSwLVZV4Bj0
I am still waiting for more opinions from other members about the looks of body paint on the reflectors
Thanks for your suggestion about using the vinyl film, good idea!
I found this on ebay : http://www.ebay.com/itm/12-x48-Neo-C...EAAOSwLVZV4Bj0
I am still waiting for more opinions from other members about the looks of body paint on the reflectors


