When you click on links to various merchants on this site and make a purchase, this can result in this site earning a commission. Affiliate programs and affiliations include, but are not limited to, the eBay Partner Network.
Like most purchasing a much older SC430, my interior has some distracting flaws and looks very dated. I have detailed some of my plans in my big thread, but that thread managed to go all over the place with topics and would probably be better and easier for others to find if I created separate threads for the various projects. And I promise to make more effort to keep the thread on topic and not a blog.
In this thread I will be covering all of my interior cosmetic or functional projects. This will end up including replacing the carpet, redoing leather, modifying trim pieces, adding convenience features and electronics, LED lamp replacements, etc...
There are plenty of things I do not care for in the interior that IMO take away from the greatness of this car. For one, that carpet in places where carpet doesn't belong? WTH were they thinking? Looks very 70's to me! But that's a further in the future project.
If you are interested in ideas for modifying/restoring your interior, sub this thread and keep an eye on it.
This is my third attempt at this and I am still learning, so my intention is not to come across as an expert on this topic. What I am, however, is persistent. And I think I could cover a few things I have not seen in any tutorials on the subject.
Looking around my interior, I see several places that I felt I could add a more modern look. I know carbon fiber is all the rage, but I really like brushed aluminum personally. So, after taking stock, I decided I will be vinyl wrapping the shift cover, door panel switch cover plate, Navi display, and map light. I think I will only cover this once here (I showed the previous attempts in my earlier threads) and then won't revisit it again until it is all finished and we can take a look at how it fits with the interior.
In the previous attempts, I have learned a few things, but still making mistakes. The first thing I learned is that heating up the vinyl is absolutely necessary. It will rip when it is cold and will not stretch. So, I set my oven to warm (about 150 degrees F). I then cut out a piece of the vinyl big enough to fit over the part with about 1 1/2 inches extra. For the navi screen with a huge opening, I cut this out to save material, leaving about an inch into the opening.
I then remove the backing from the vinyl and lay it on the part very loosely (let it sag into openings.) Then I just lightly press on the vinyl around some flat areas to give it a little bit of definition.
Then toss it in the oven to warm up for about 5 to 10 minutes. You'll know it is ready to work when it is hanging limply and is really sagging over the openings.
Now you can remove it and start pushing the vinyl into the details and stretching it around corners. When you reach some stubborn parts, high detail parts, or it just stops stretching very easily, then stop and put it back in the oven again for another 5 minutes or so.
When you get down to the fine and sharp details you really want that film to be warm and pliable. So just keep going on flat parts and the majority of the part.
Don't worry too much about air pockets at this point. It is pretty much a definite that you will get them. We'll deal with those later.
I should point out here that this part I am going to show you took me over an hour to do. You really don't want to start something like this unless you can commit to the time. It is going to take as long as it takes and being impatient will just result in disaster (as you'll see.)
I pretty much use whatever I can find in my toolbox that seems to work for whatever detail I am trying to work. No doubt there are specific vinyl tools and I will probably end up getting some myself before this is all done.
Anyway, let's look at some amateur results:
First we cut up a piece a piece of vinyl and laid it on the part. You see where I pressed it on the sides of the navi display, but not anywhere else.
At this stage, you should choose the direction you want the grain to go if you are using something like brushed aluminum. For me, it made sense to have the direction parallel to the shortest piece. So, it will be horizontal to the floor.
After baking for about 5 minutes. Notice the vinyl shrunk and easily took most of the form without any effort on my part yet.
And how it turned out over an hour later, multiple reheatings, stretching, etc.. Quite a few flaws. Let's look at those.
This one was especially unfortunate because it happened when I was almost completely done. I got a little aggressive with my tool and ended up tearing it. Edges like this will have a huge air bubble. You use a pin or needle to poke a very tiny hole in the air bubble so you can push the air out while pressing the vinyl into the detail.Just keep in mind that vinyl can only stretch so far.
Those little blisters of air bubble came because I left it in the oven a little too long.
This is an example of something I should have preformed before I even baked it the first time. I could have folded it tightly into the crease
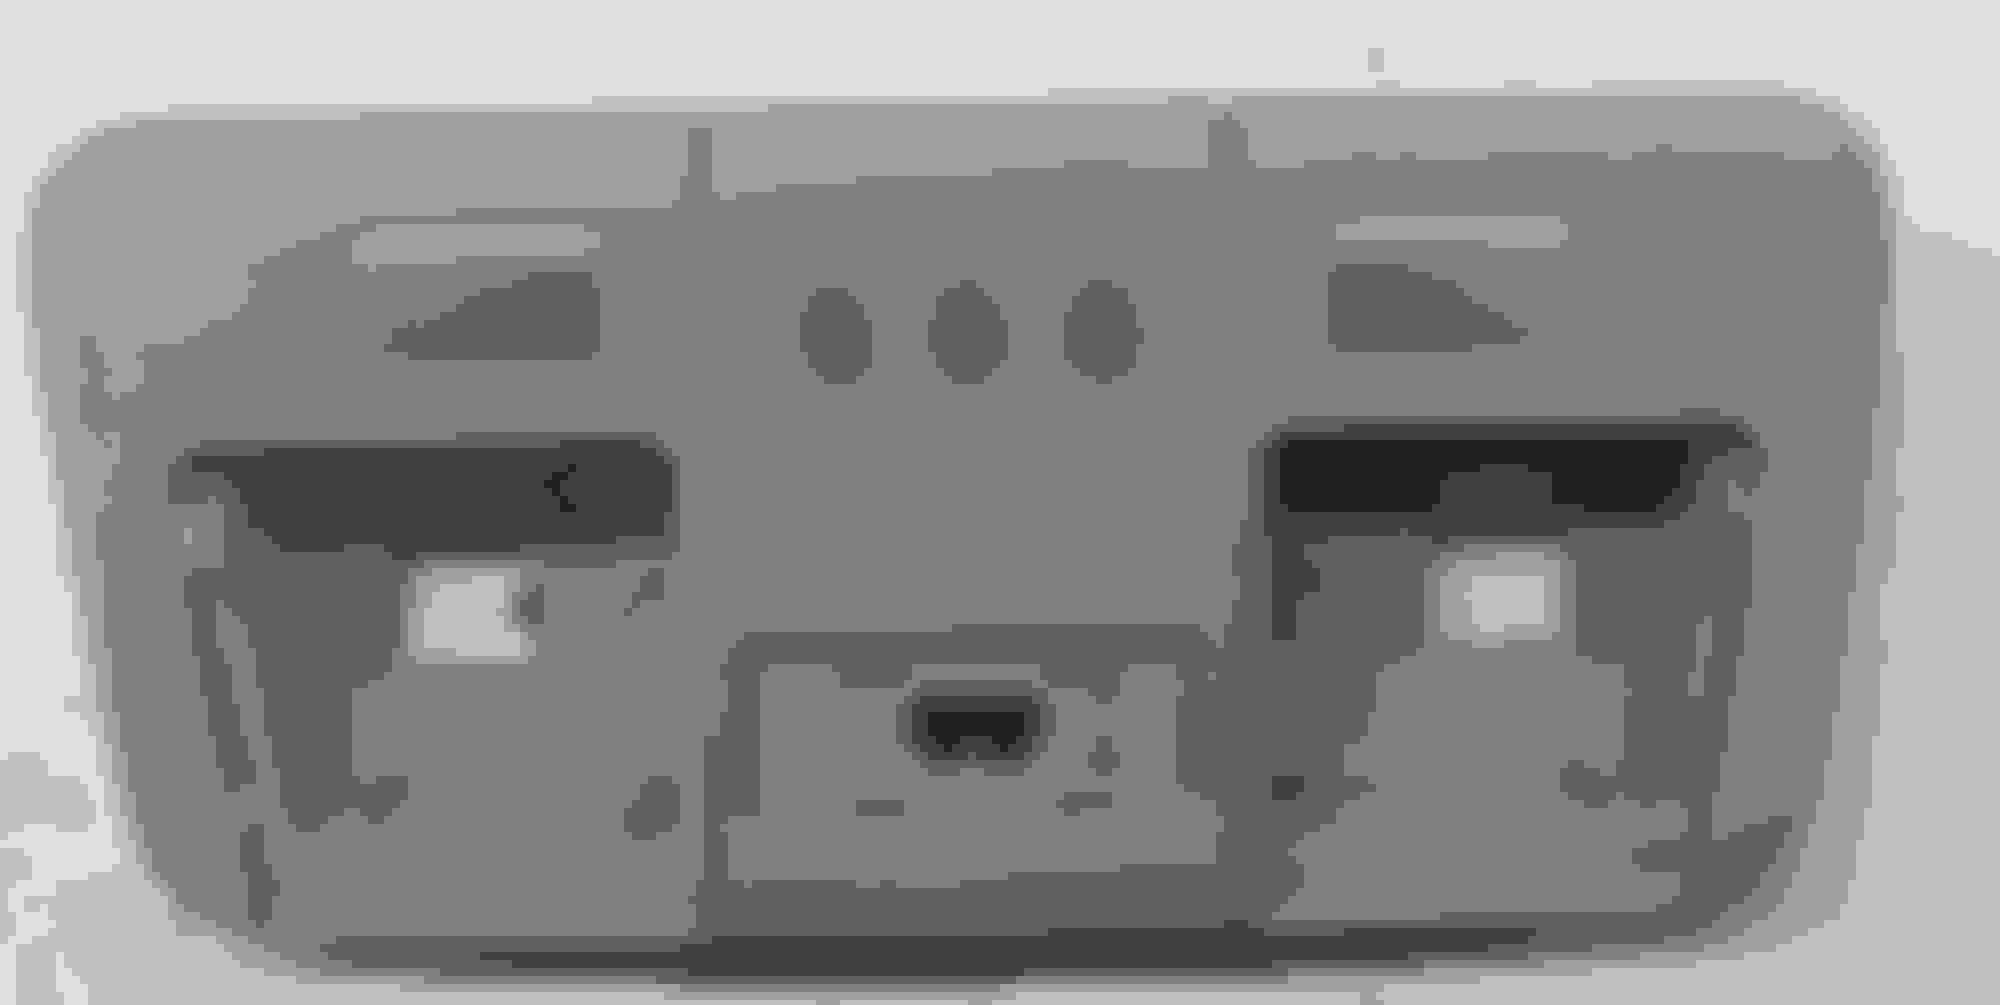
Slipped with the scalpel while cutting around the infrared filter.
And this is something I just haven't quite figured out yet how to overcome. I've tried several things, but my corners just are not coming out right. If anyone has some experience and any tips, I would really appreciate it! What I am currently thinking is that I need to start with more extra vinyl around the part so I can stretch it more. The goal is to get these ugly imperfections outside of the visible area. Then you can just trim it up. If it bunches up like that beyond the plastic edges, when you cut it off, nobody would ever know.
This next piece came out a little bit better.
First puttied, sanded and primered to fill in/get rid of scratches and gouges and also more closely match the vinyl if any of the base ends up showing through.
This would go back in the oven again for some last minute touch up, and then excess vinyl would be trimmed off. But I realized afterwards that I wanted the grain in the other direction and this pieces has a few more modifications coming up before I can vinyl wrap it.
That's it for vinyl wrapping until I have it all done and installed. If anyone here has experience with this, I probably wouldn't be the only person to benefit from your tips and suggestions.
But I can't seem to find any posts covering this part of his modifications. Anyone else here know if this was ever covered in a thread?
From what I have read, Langsdale sold the car long ago and hasn't posted here since 2011. That picture came from an ad from a second owner selling the car.
If anyone has any other info, I would appreciate it.
 10-10-15, 05:19 PM