Upper Control Arm, Lower Ball Joints and Outer Tierod Installation w/Pics
#1
Lexus Test Driver
Thread Starter
I am starting this thread to show you process of Replacing the upper control arms, the lower ball joints and the outer tierod ends.
I purchased the SLP upper control arms, part #72270 from a vendor on eBay for $290 shipped. These arms were suggested by my mechanic (Tracy) at Space Coast Tire, in Rockledge, Fl. Tracy suggested these after he did the alignment last March and the caster was out of spec. These control arms allow caster and camber to be adjusted.
I also purchased Moog lower ball joints and outer Tierod ends.
I thought about doing the job myself but knew it might be a real pain so I decided to let Space Coast Tire handle the work. This is a small facility that has only three people, Frank and Tracy own the place and Clay is their employee. The business has been open since 1998 and I can tell you they do fantastic work and have reasonable prices. Frank mainly handles the management but still turns wrenches, Tracy is the main mechanic and really knows his job well! Clay is a younger guy and he seems to be the alignment specialist.
If you live in this area, I highly recommend them for just about any work for your SC430. Tracy will treat it with care and make sure the job is done right the first time! I watched him work and interact with customers, he is very patient and takes the time to explain everything to them so they can make an informed decision.
Okay, back to the work, I am going to post up the pictures of the work that was performed. If you have questions, just let me know!
BTW, the car drive great now! Very tight and it feels solid at low and high speeds!
Last edited by Bgw70; 08-15-15 at 05:58 AM.
#2
Lexus Test Driver
Thread Starter
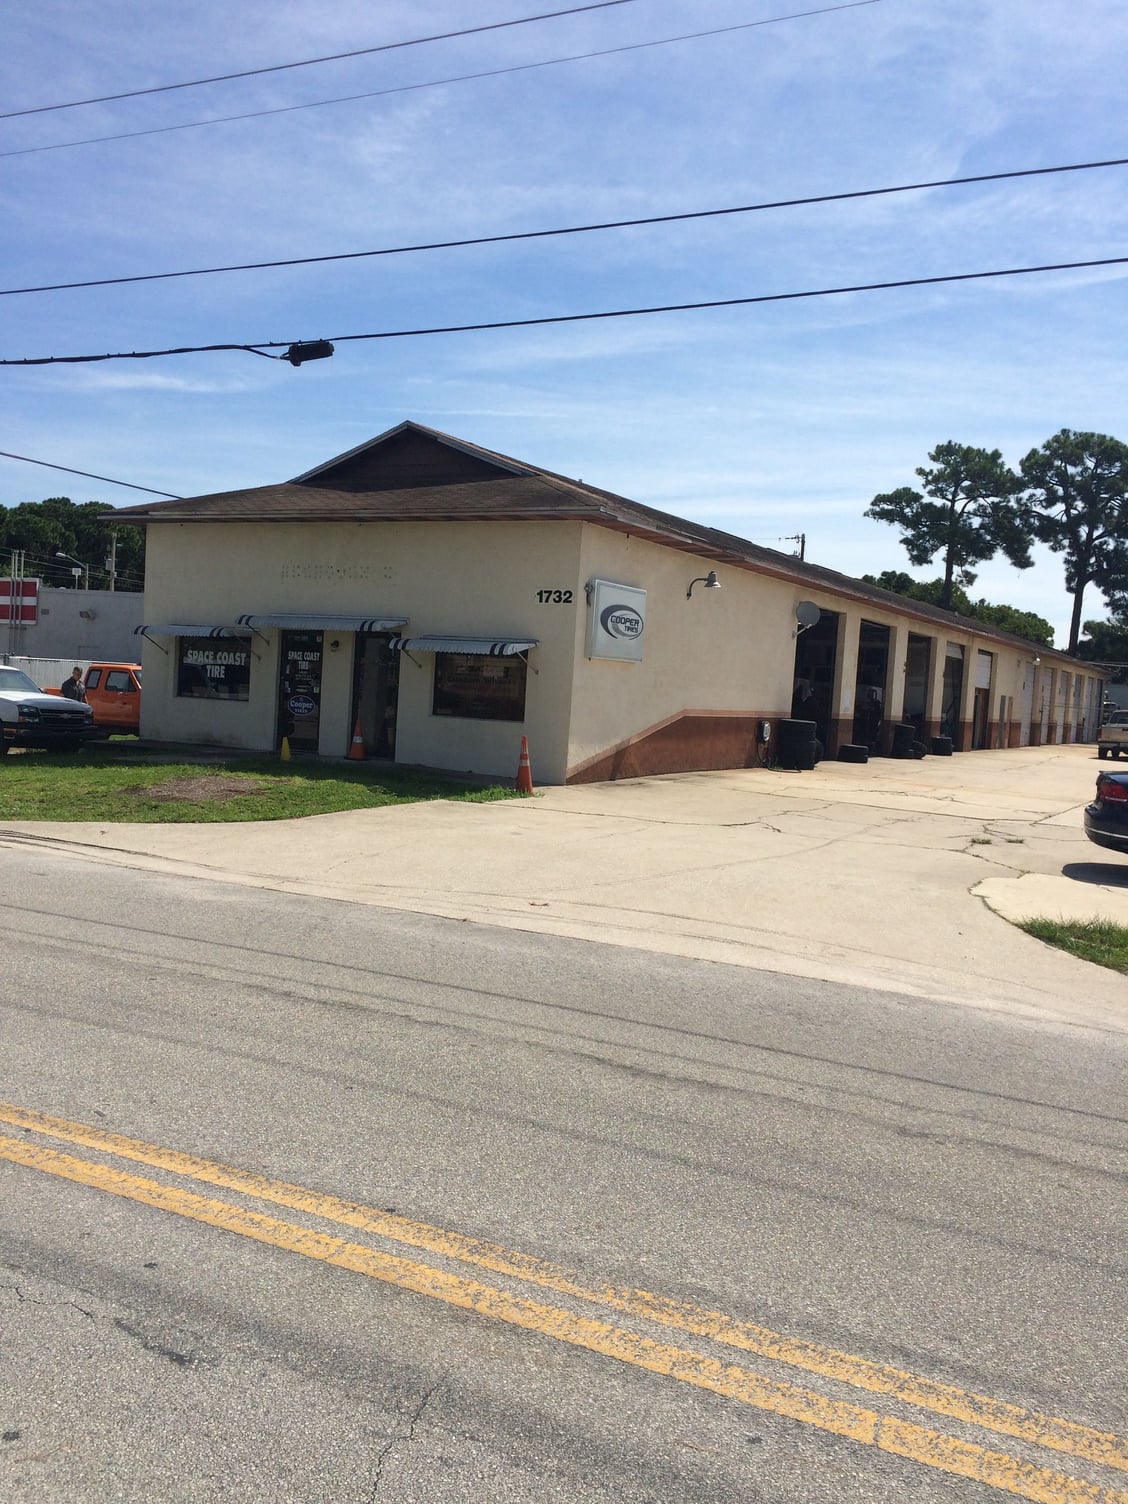
This is where it happened!
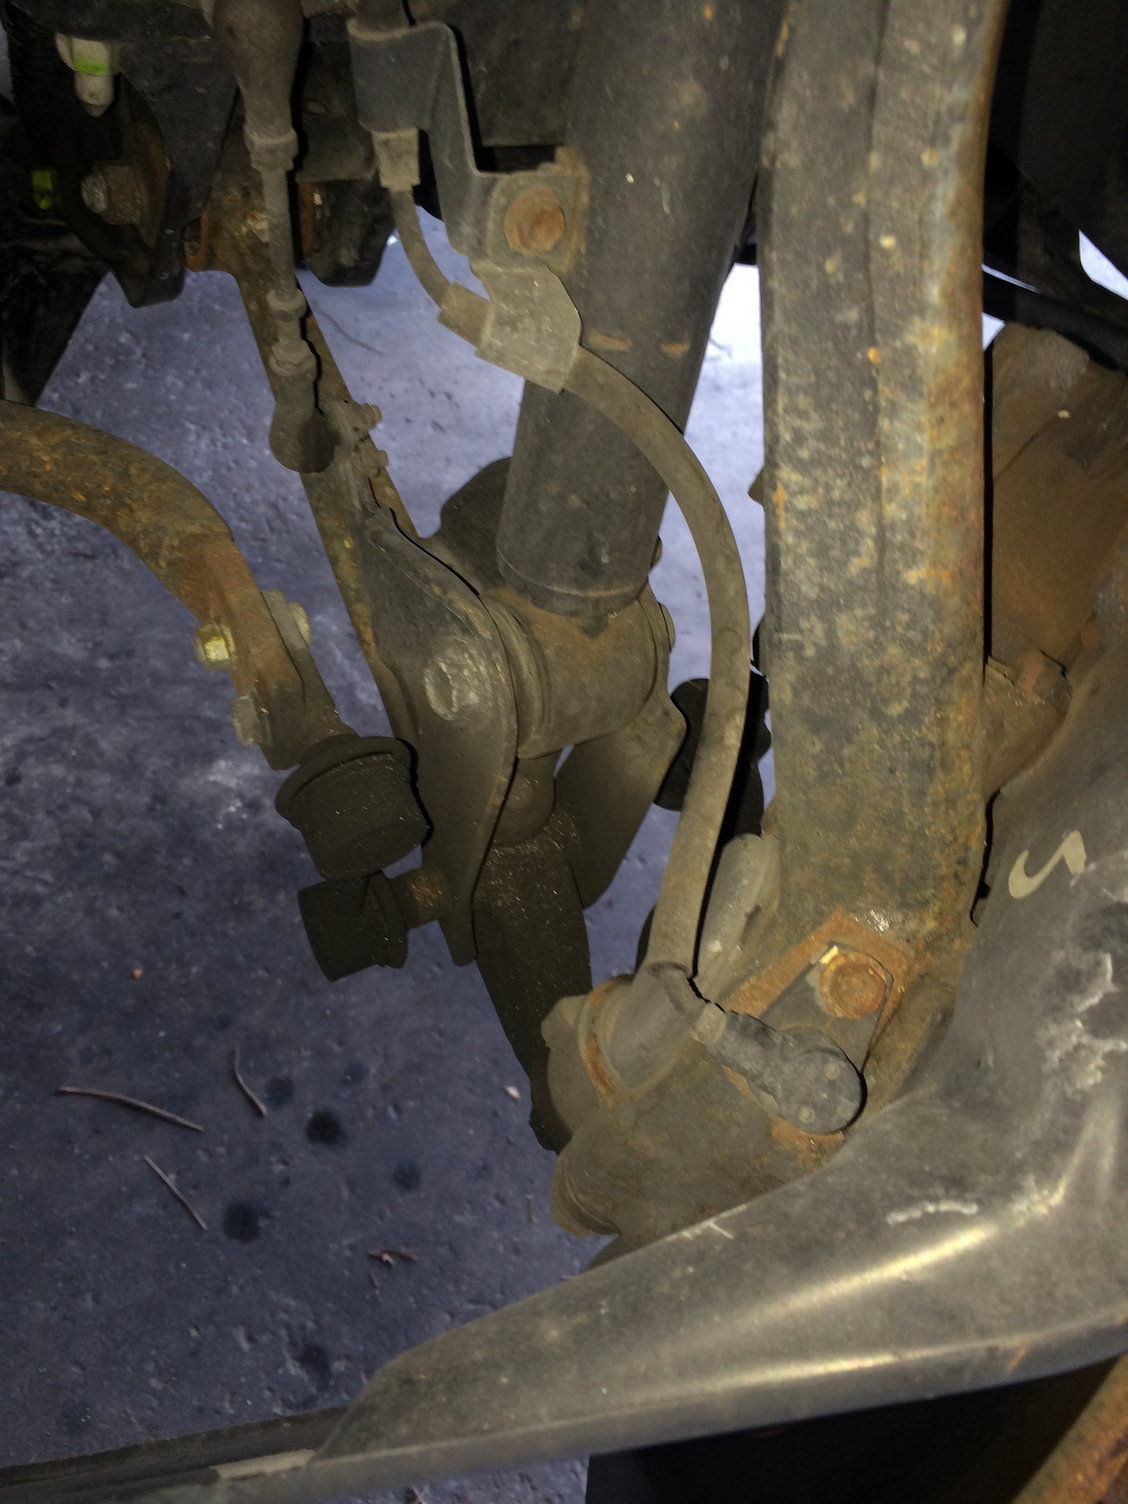
First thing, safely lift the car and remove both wheels.
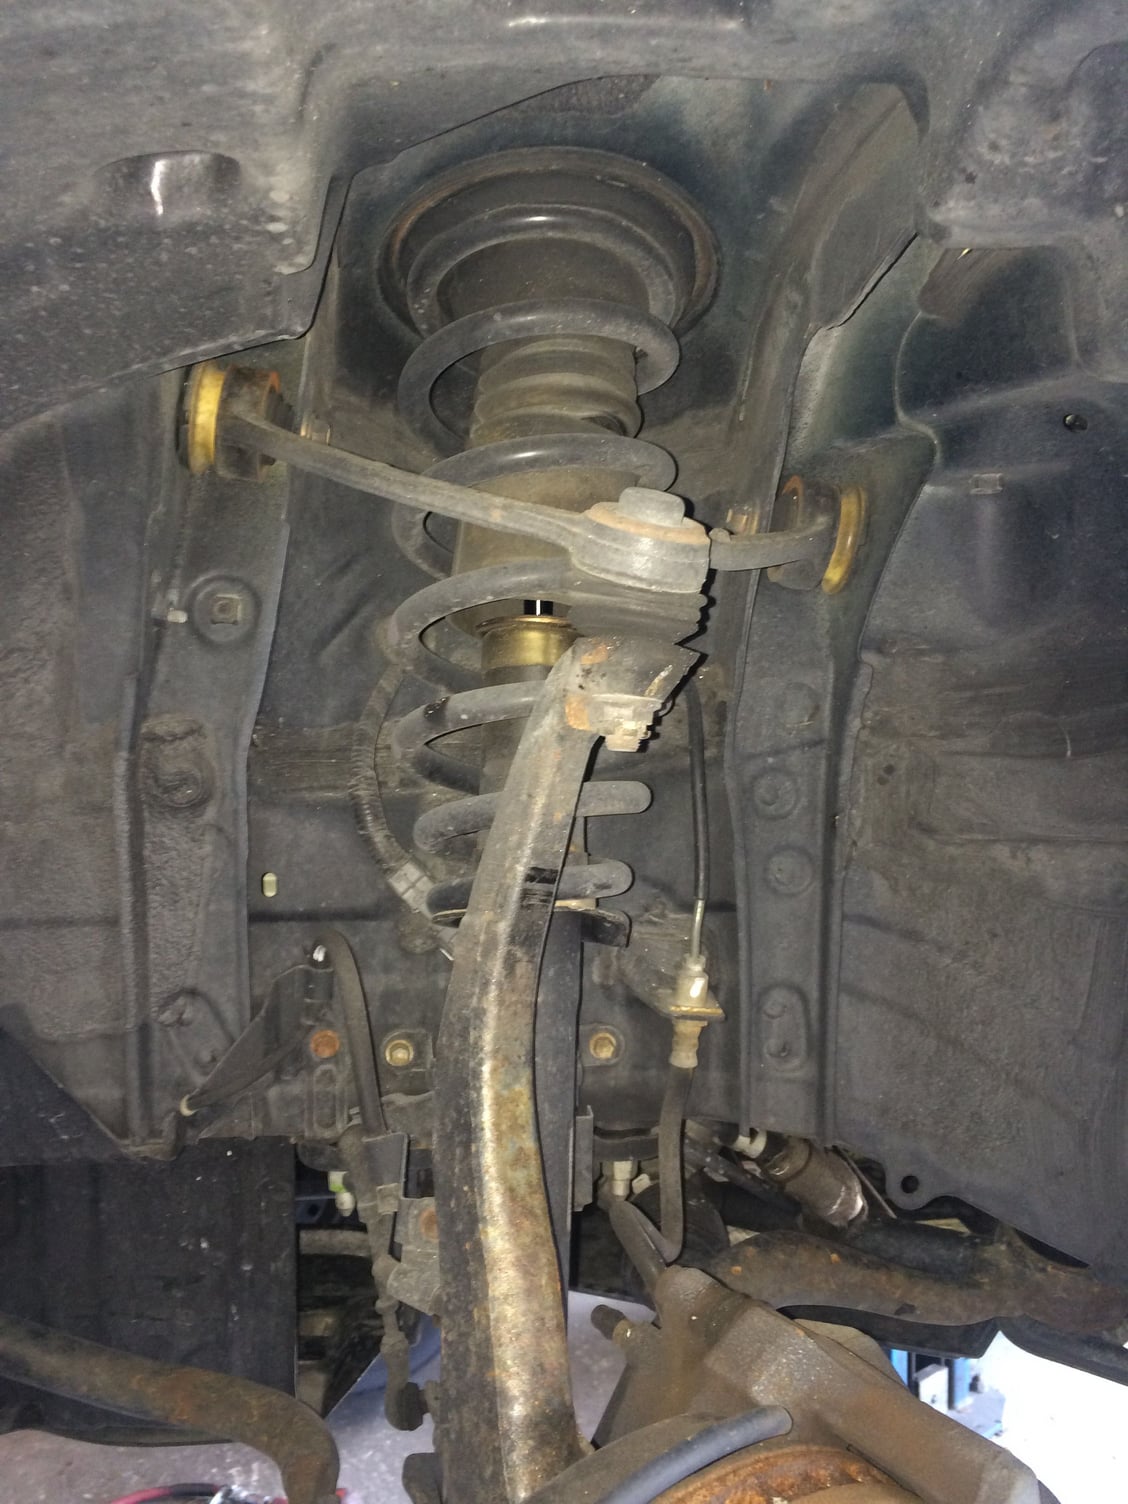
Left side before disassembly.<br/>Having a lift and the correct tools sure makes the job easier.
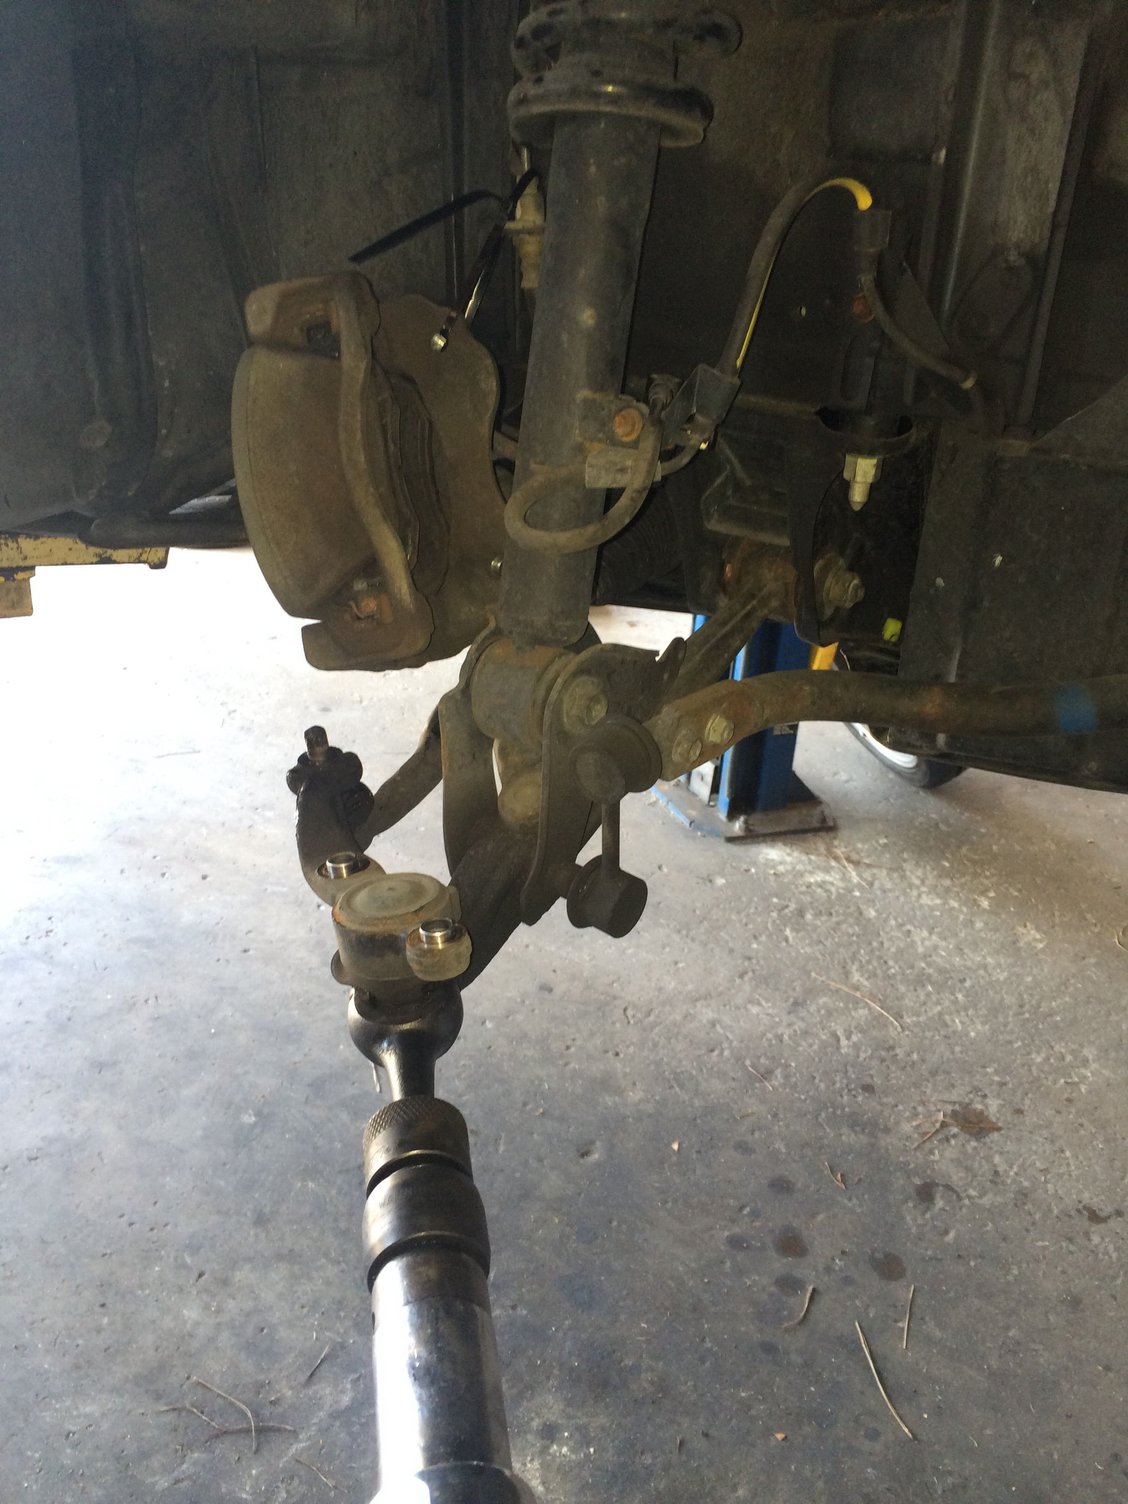
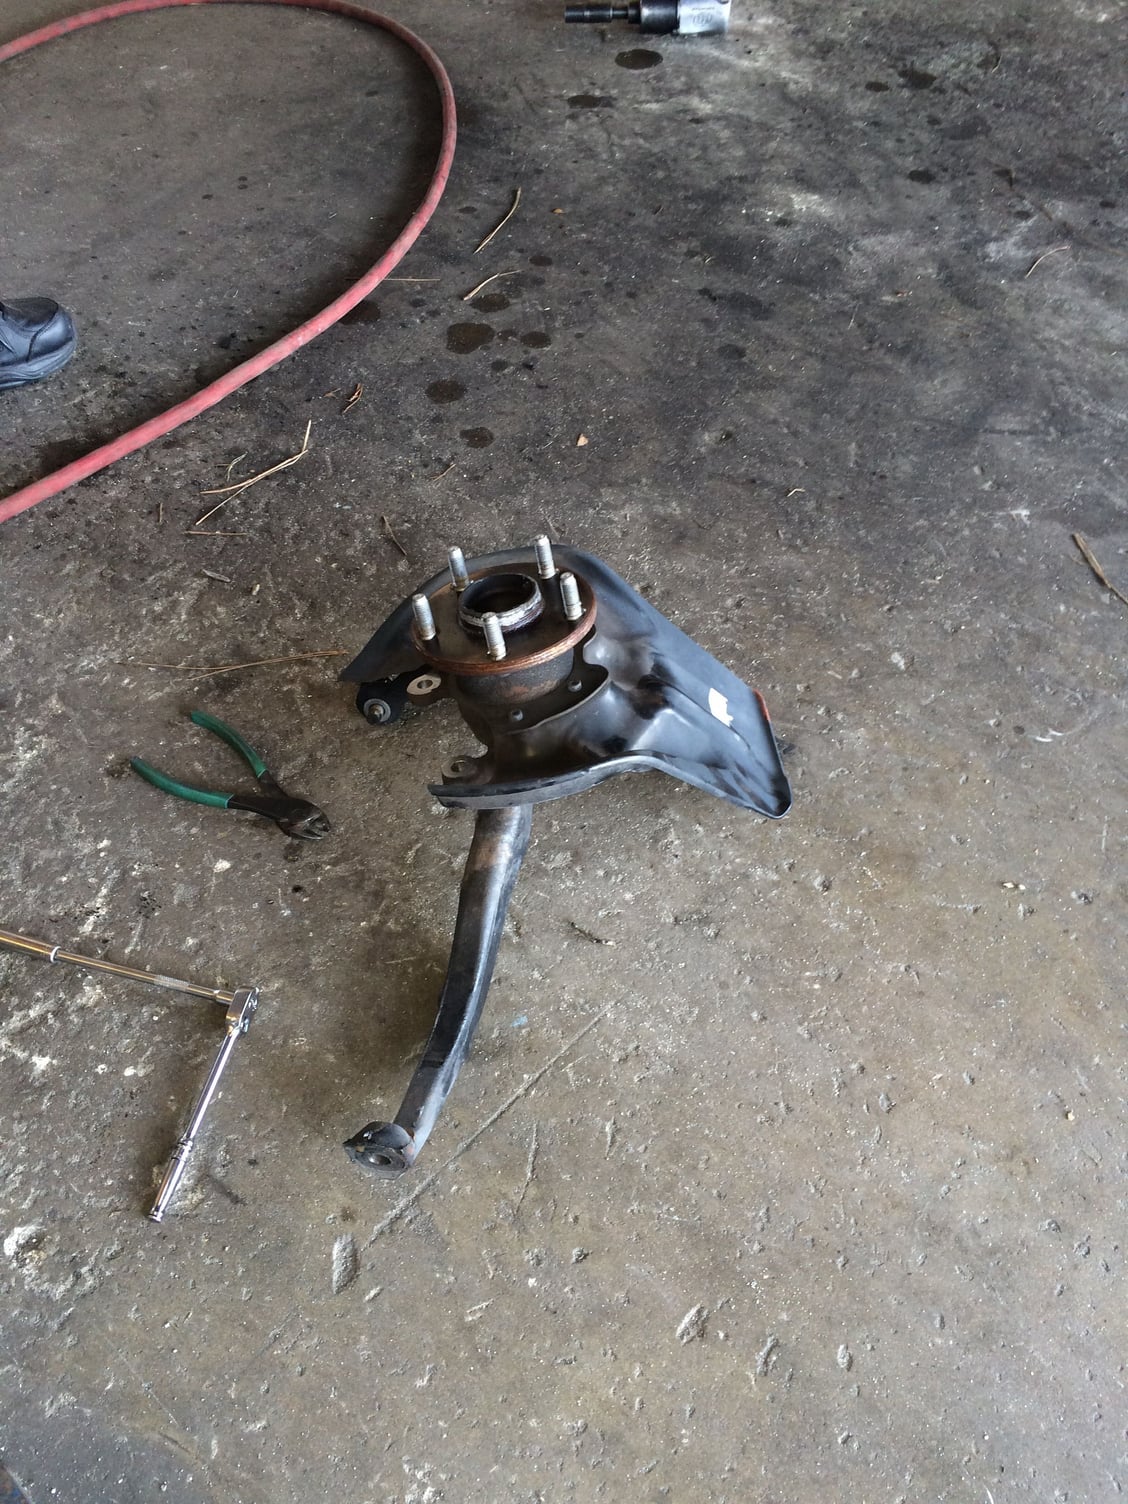
The two caliper bolts were removed and the caliper was hung out of the way using zip ties.<br/>The upper control arm was removed from the spindle along with the lower and the spindle was set aside.
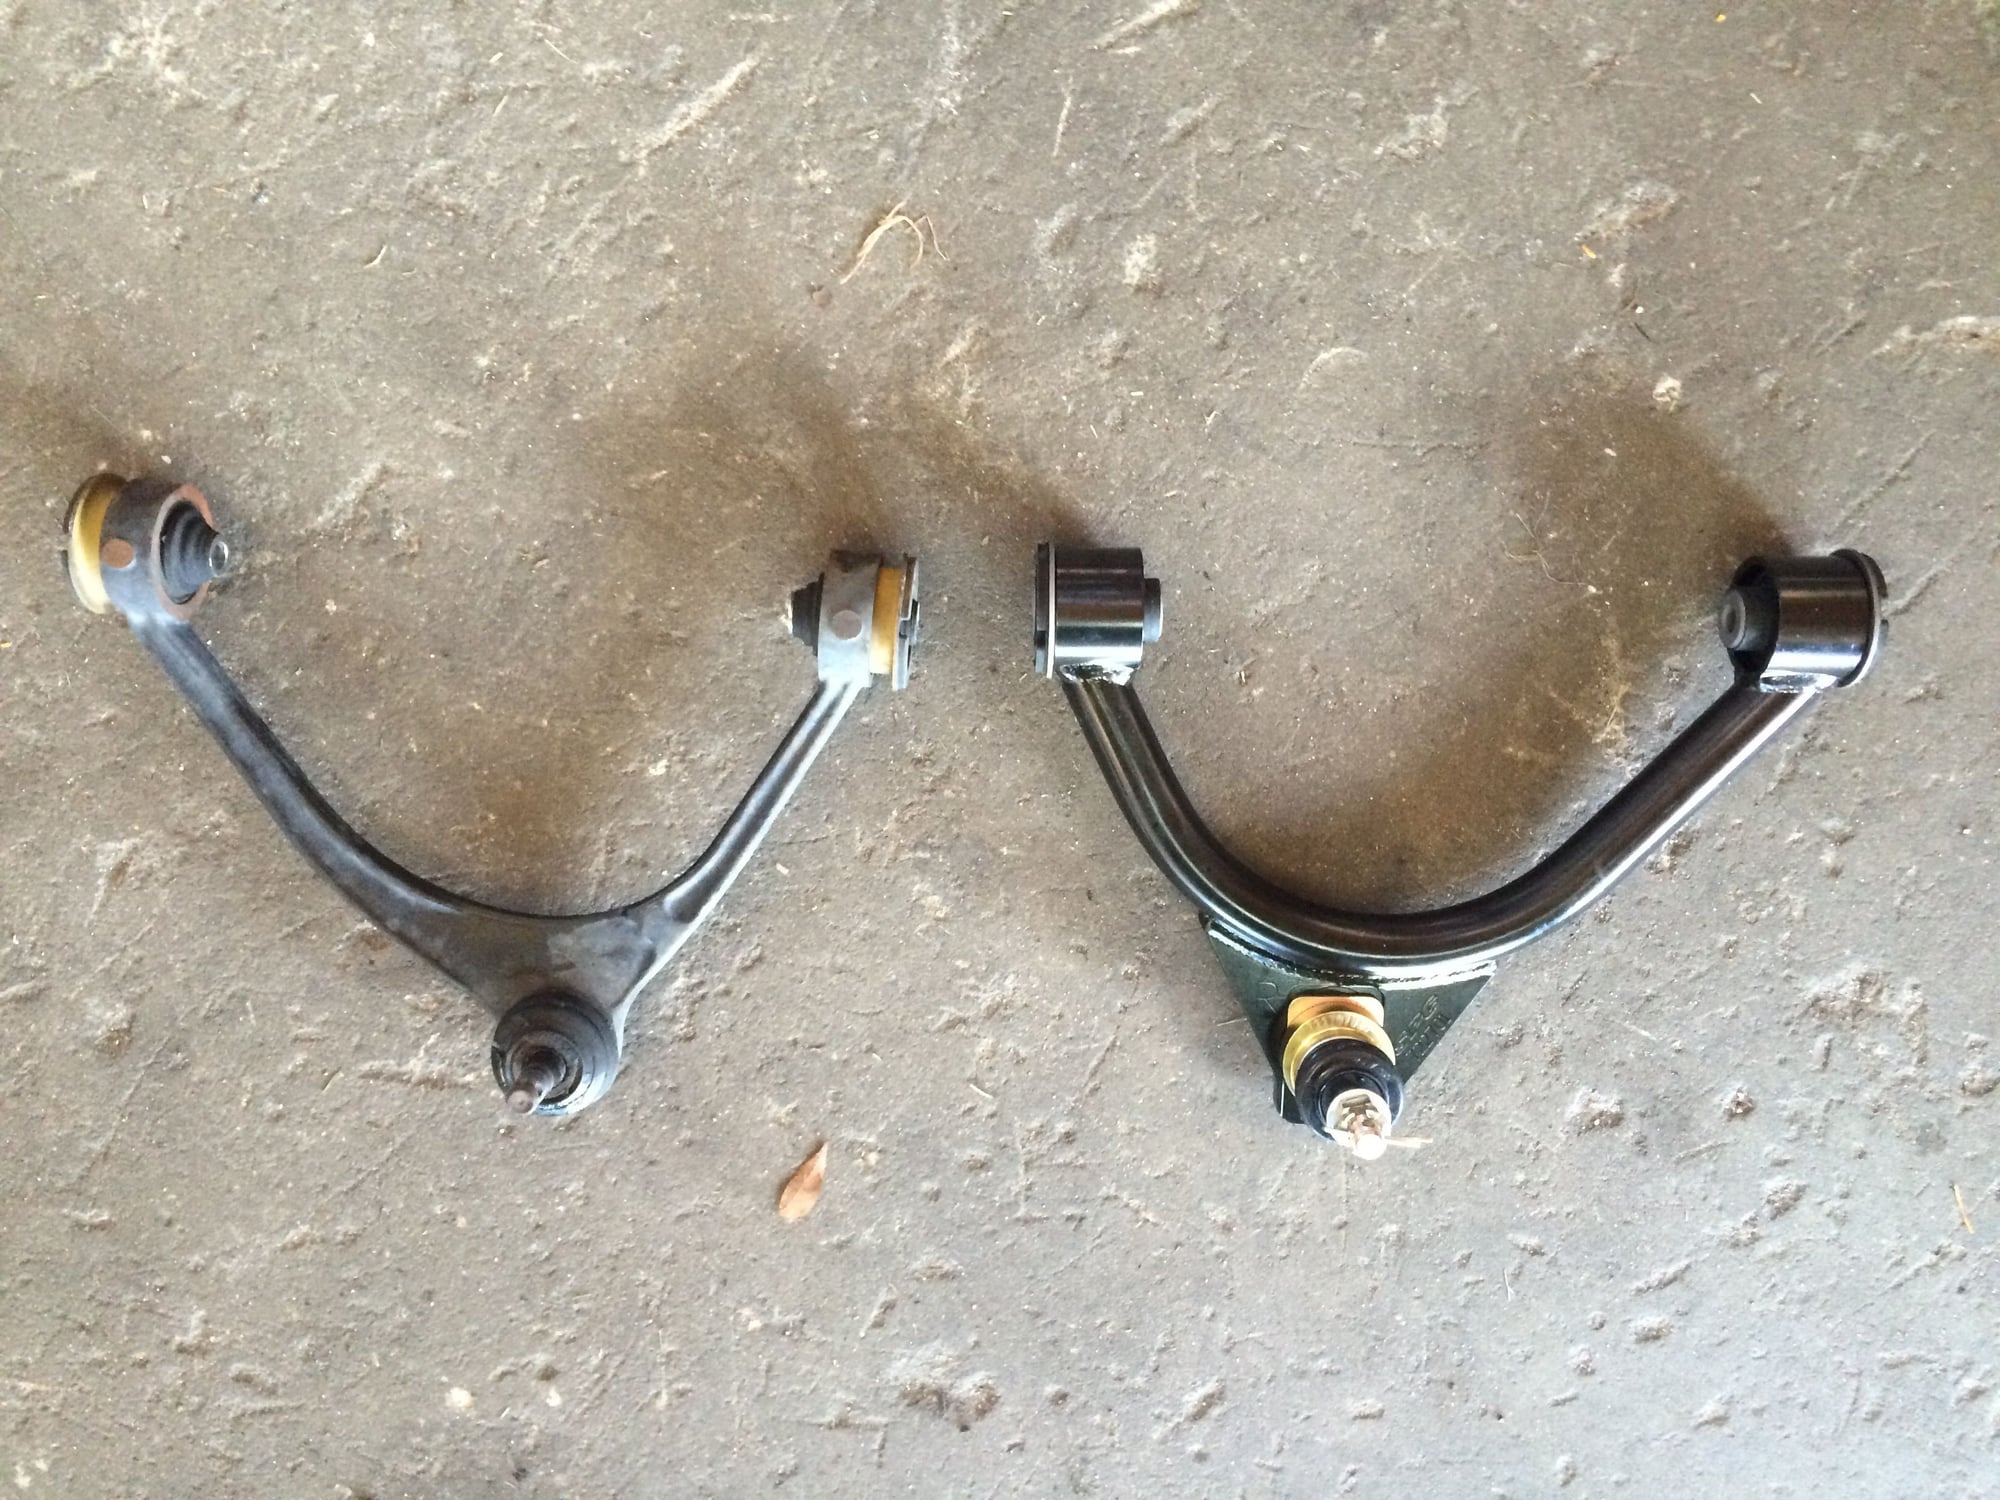
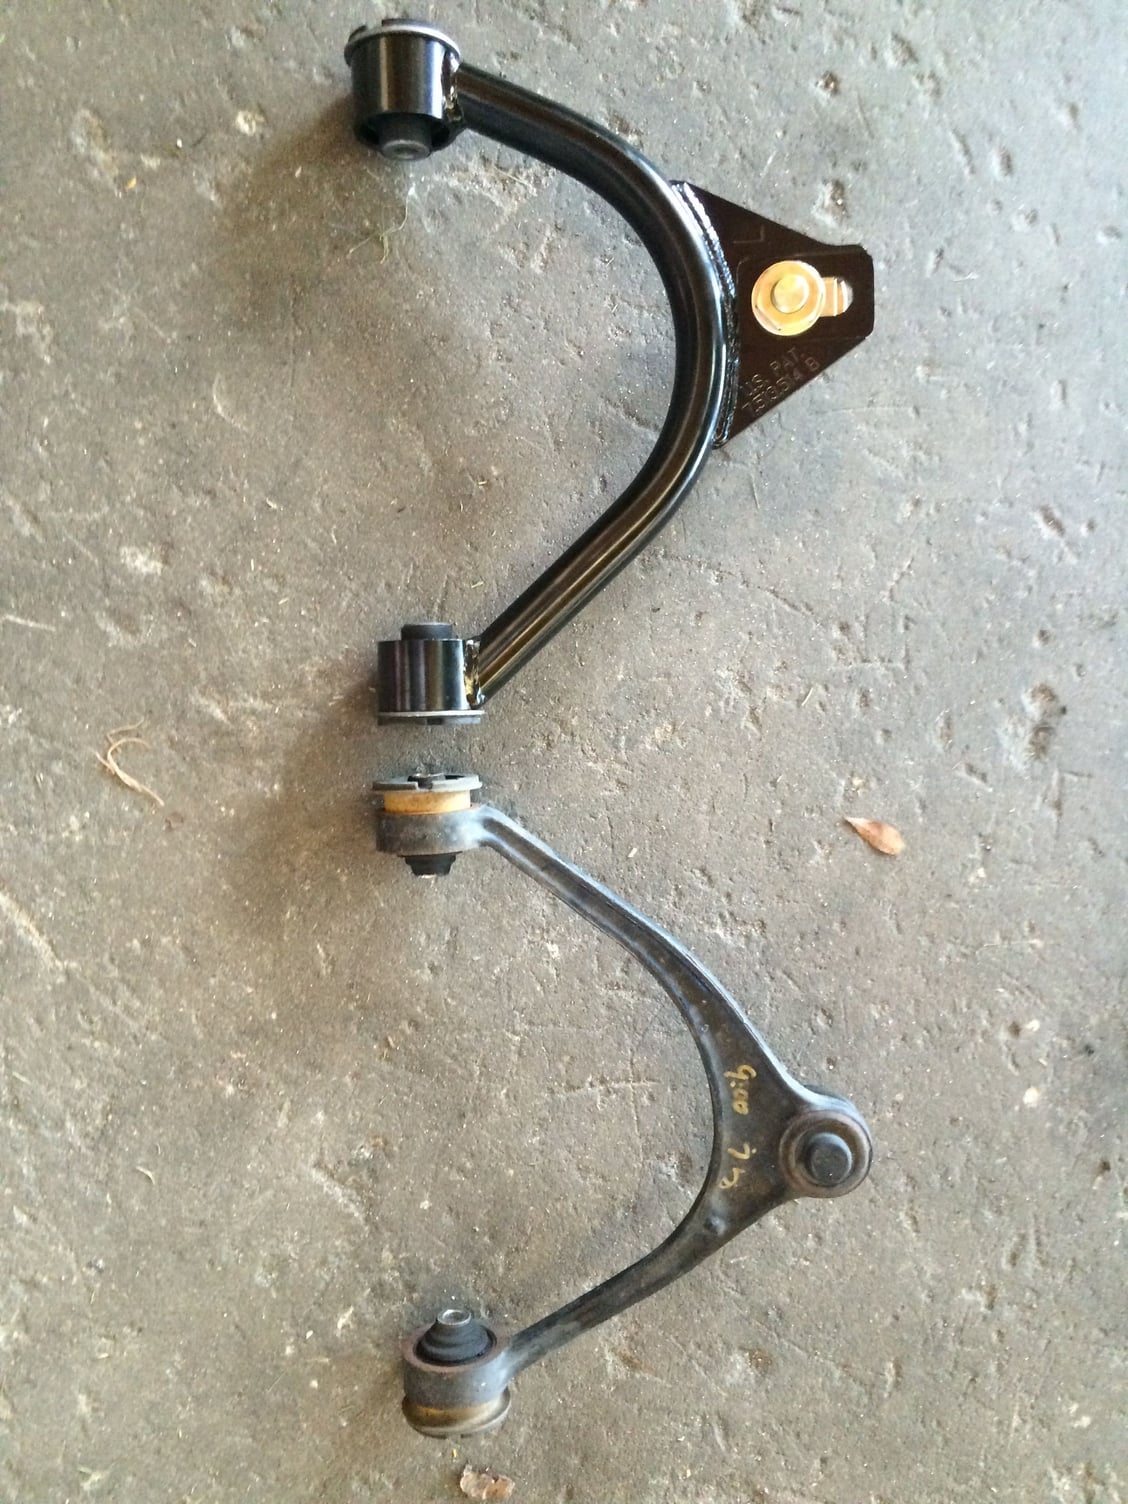
The new and old upper control arms
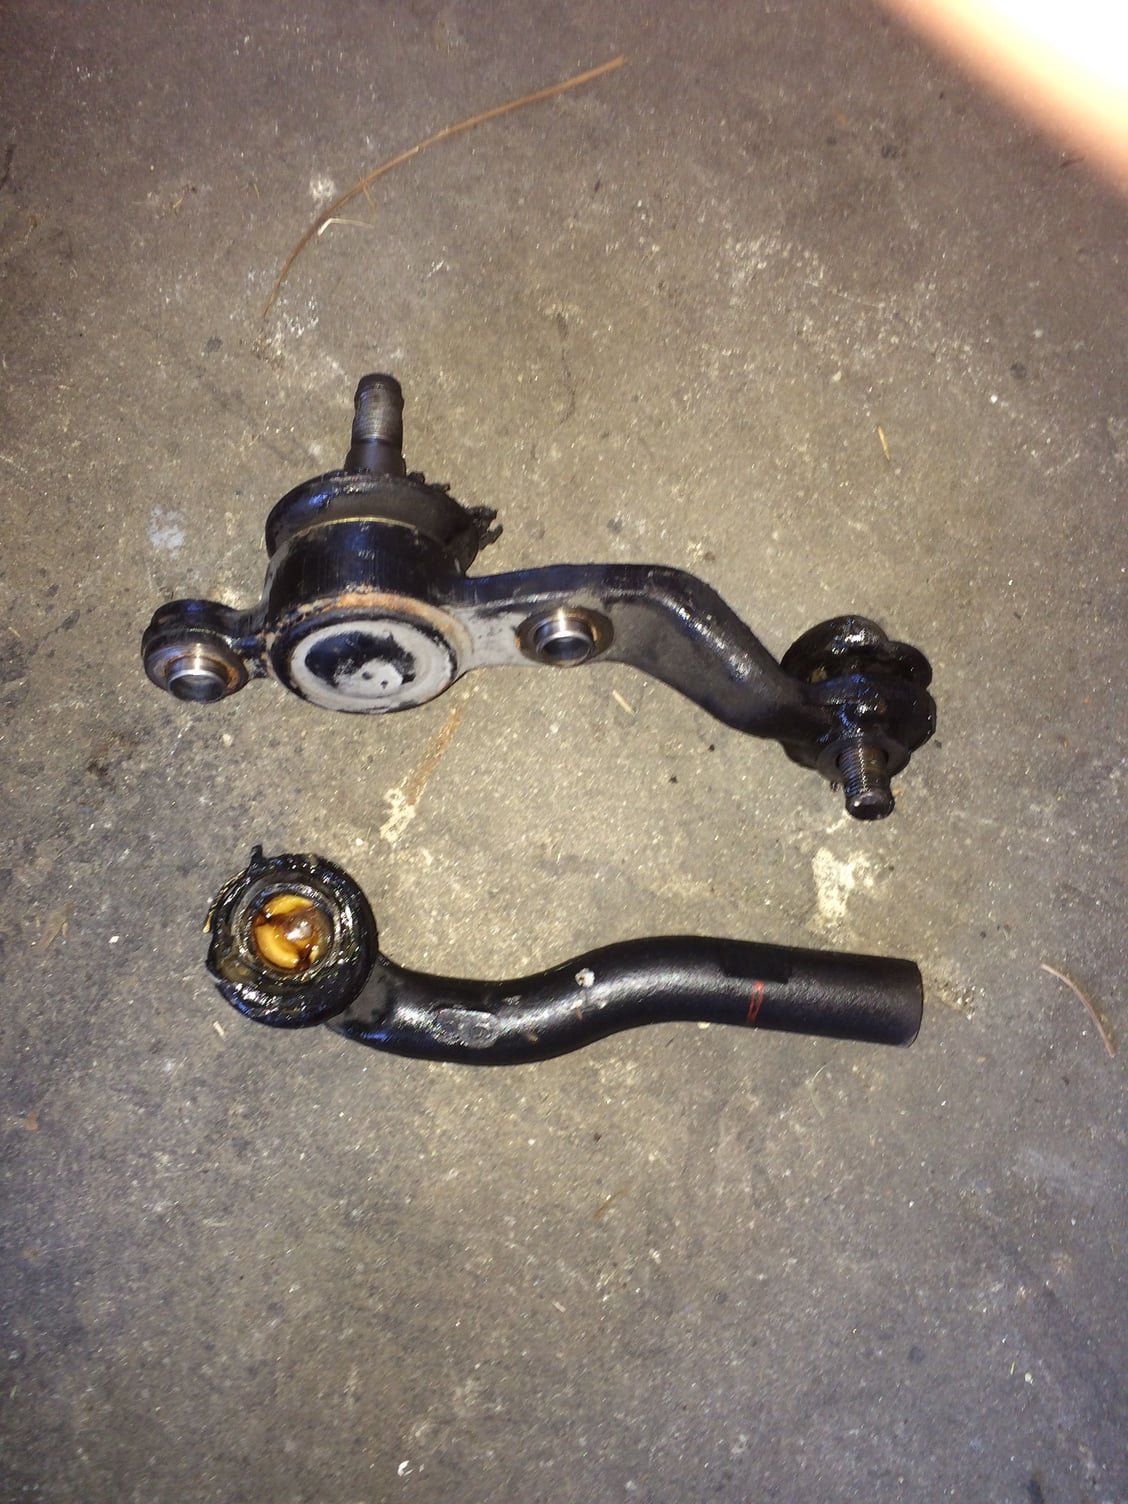
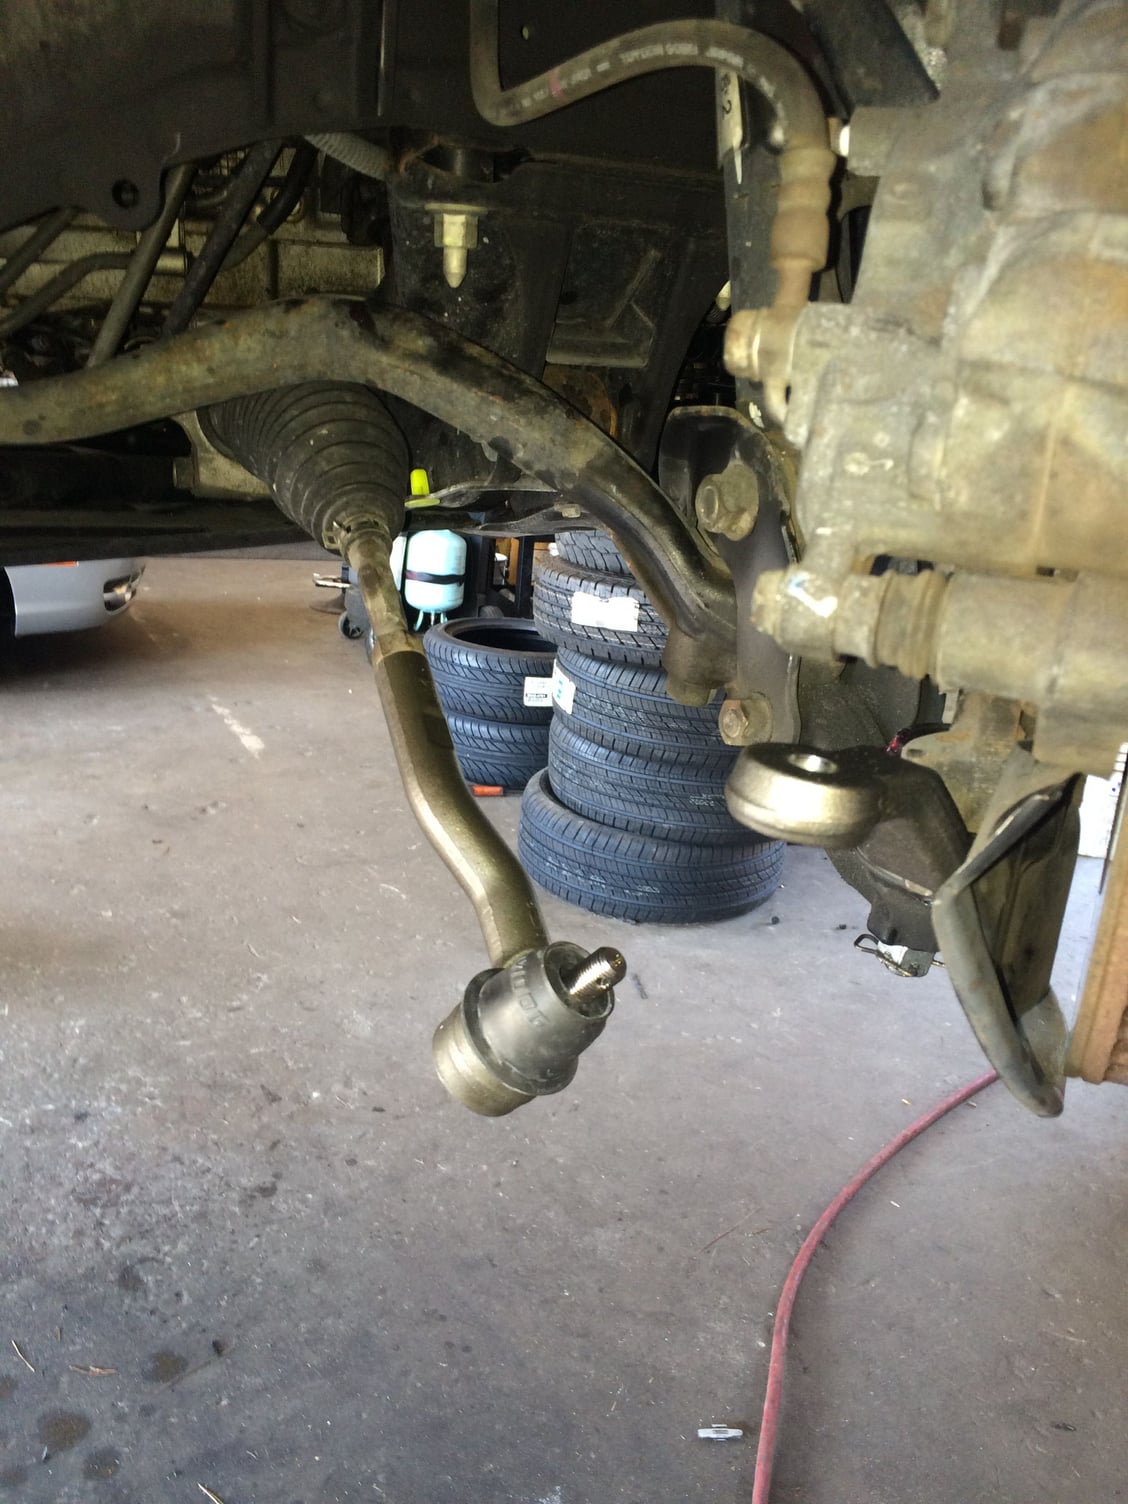
The old tie rod separated when removed.
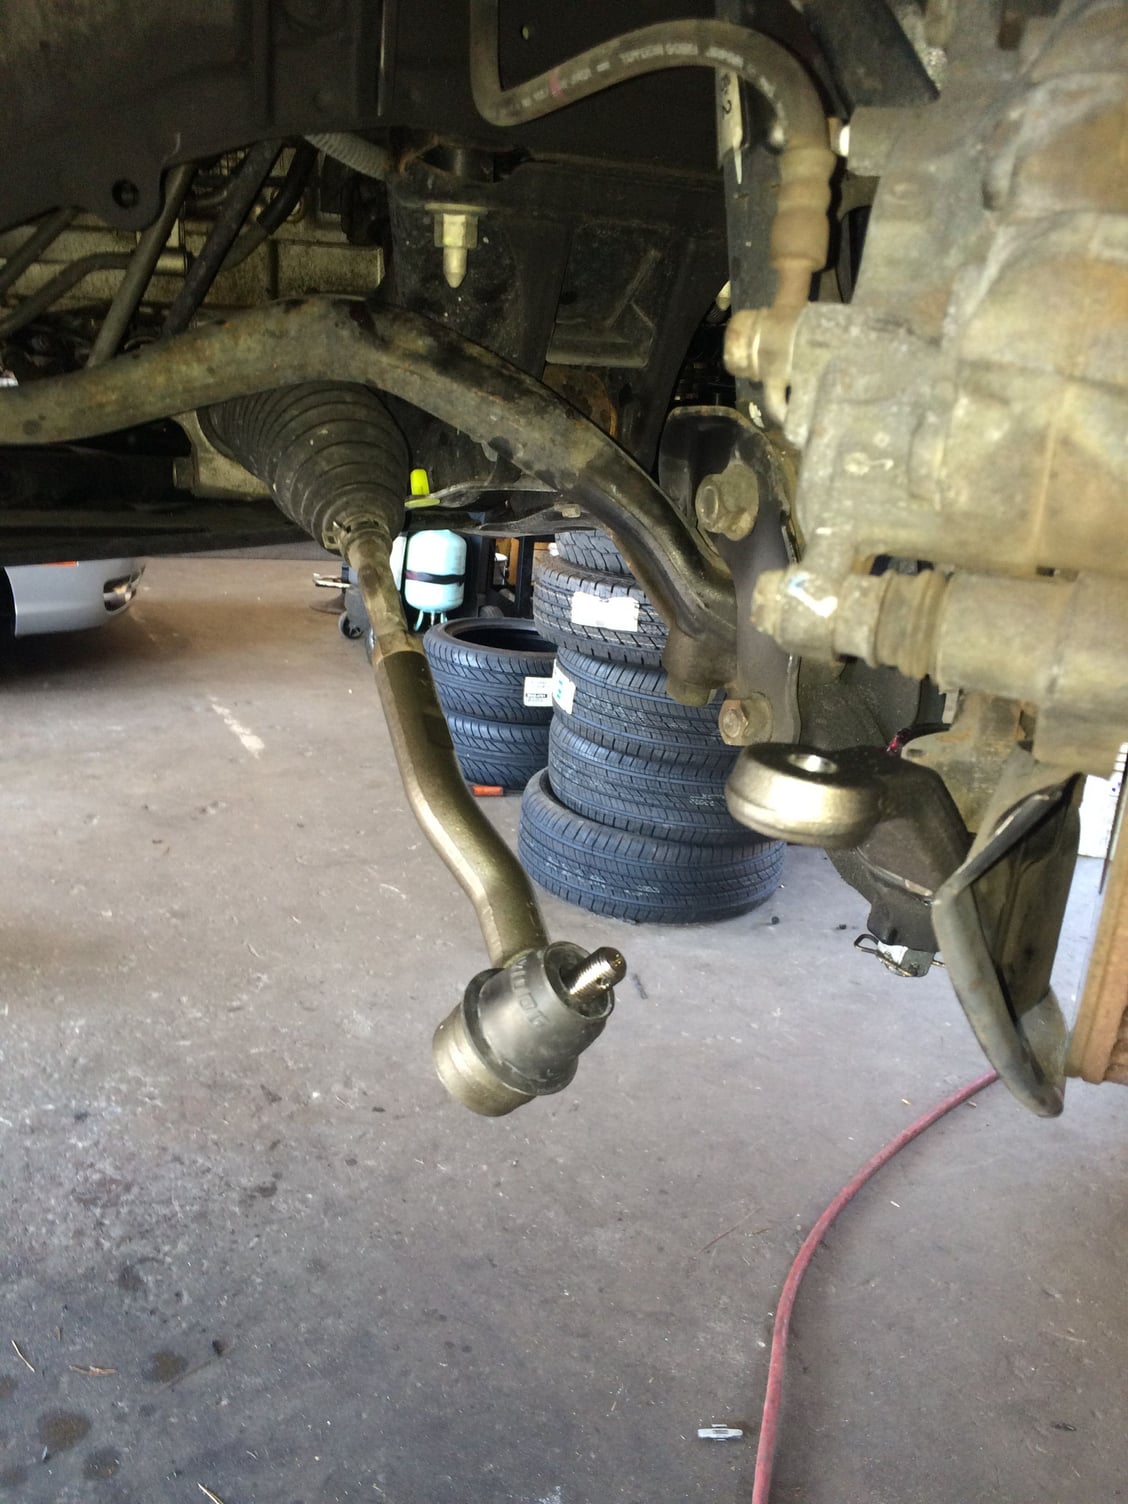
New tie rod installed
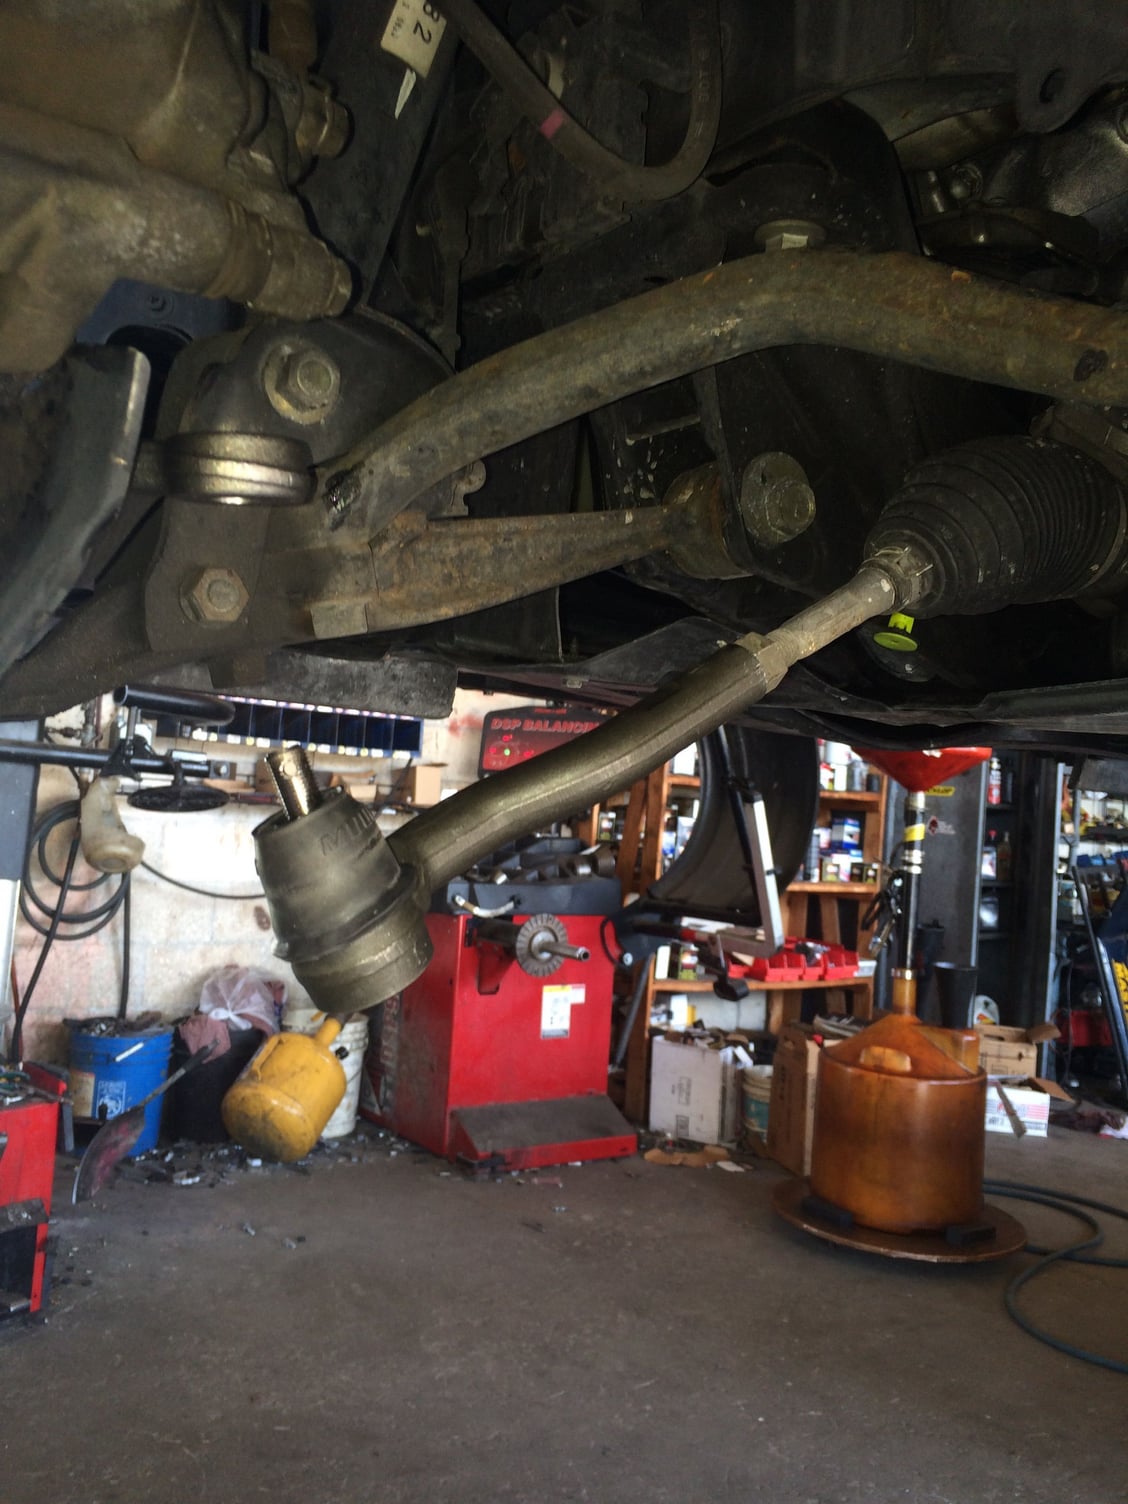
The tie rod installed
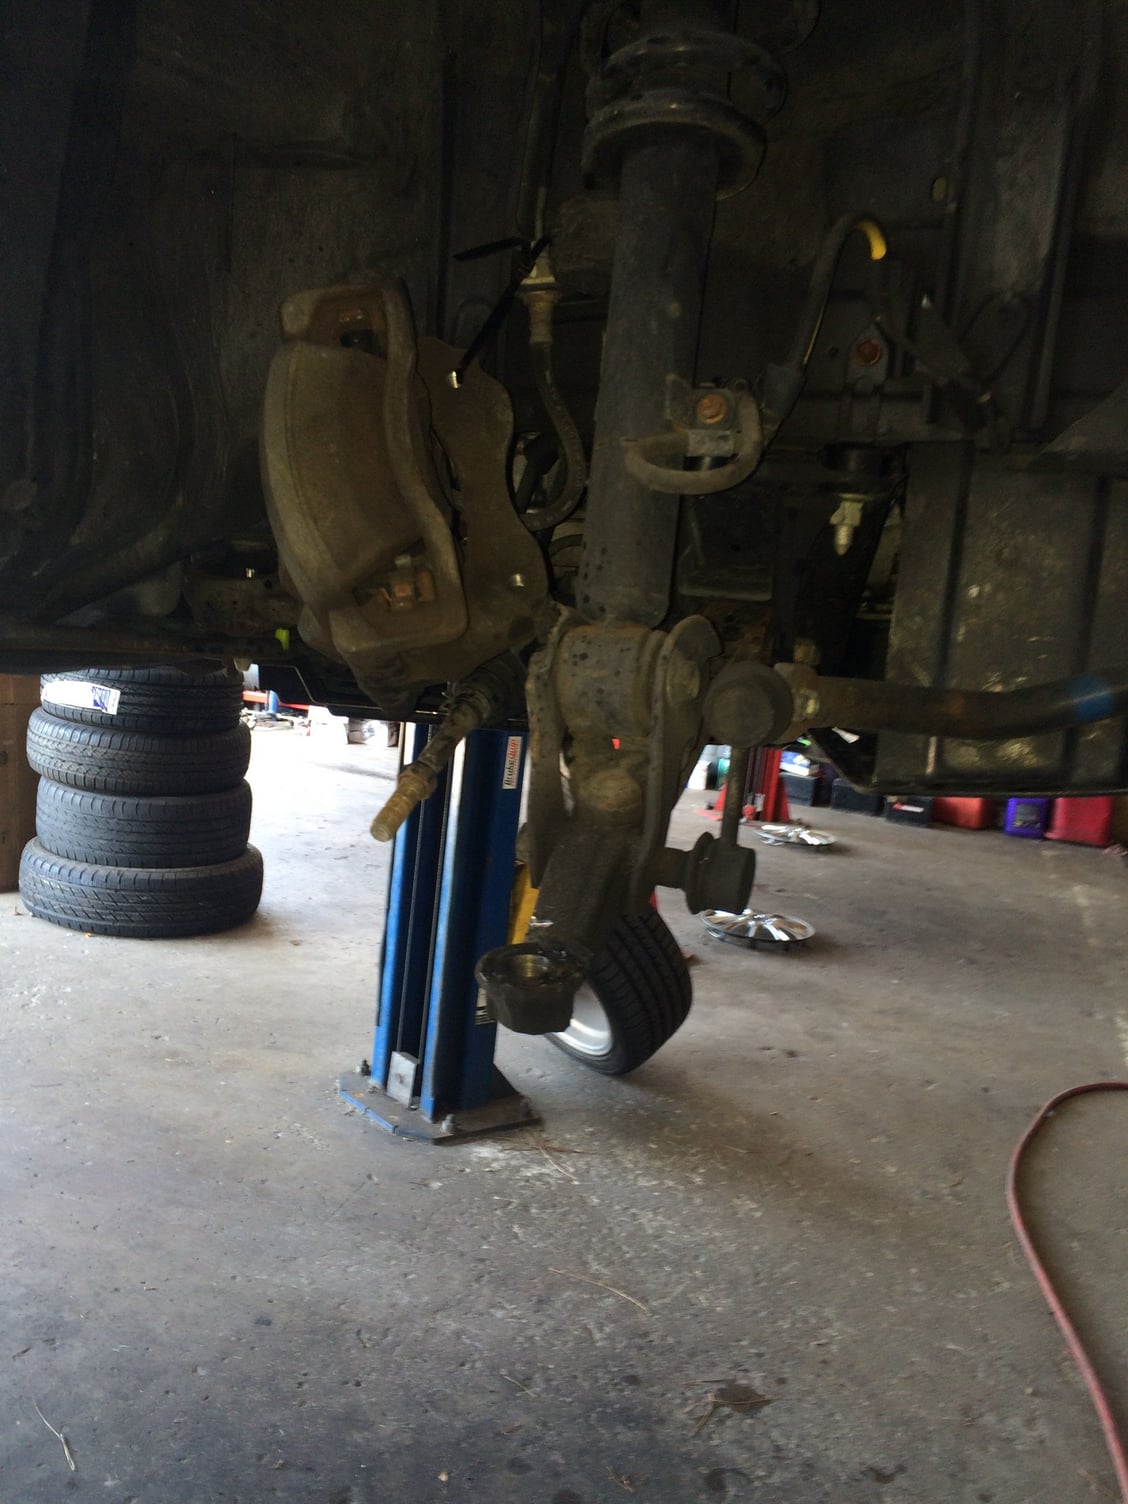
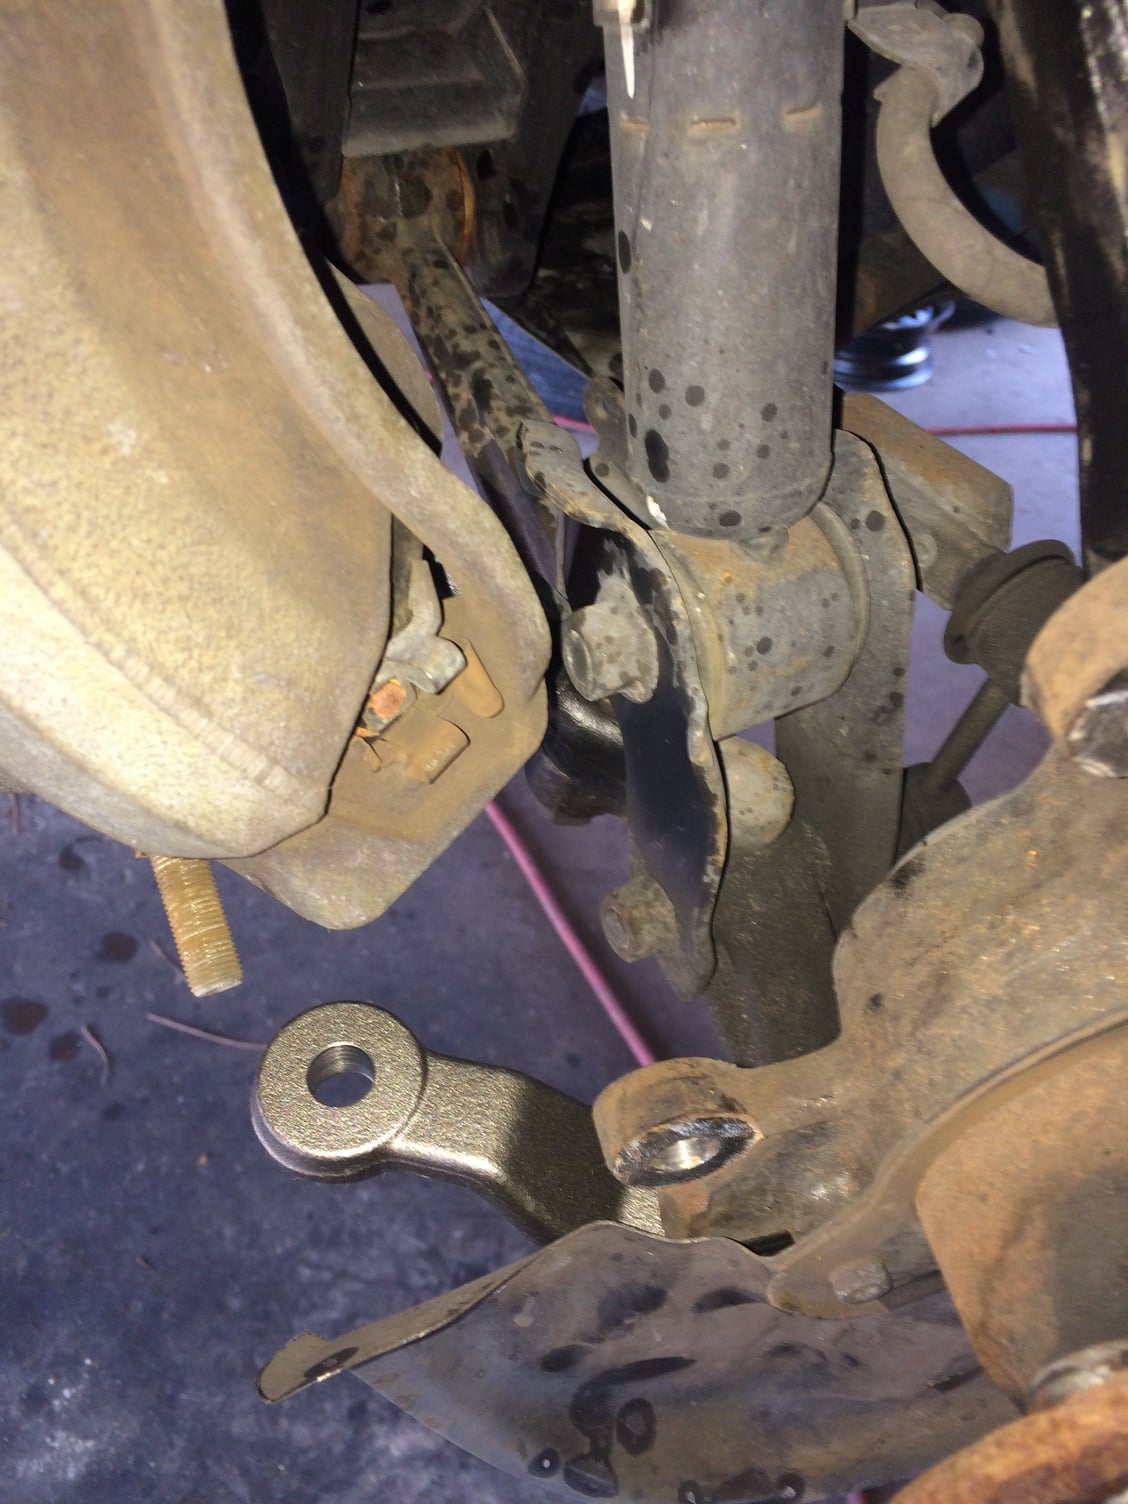
Front right view with all old parts removed.
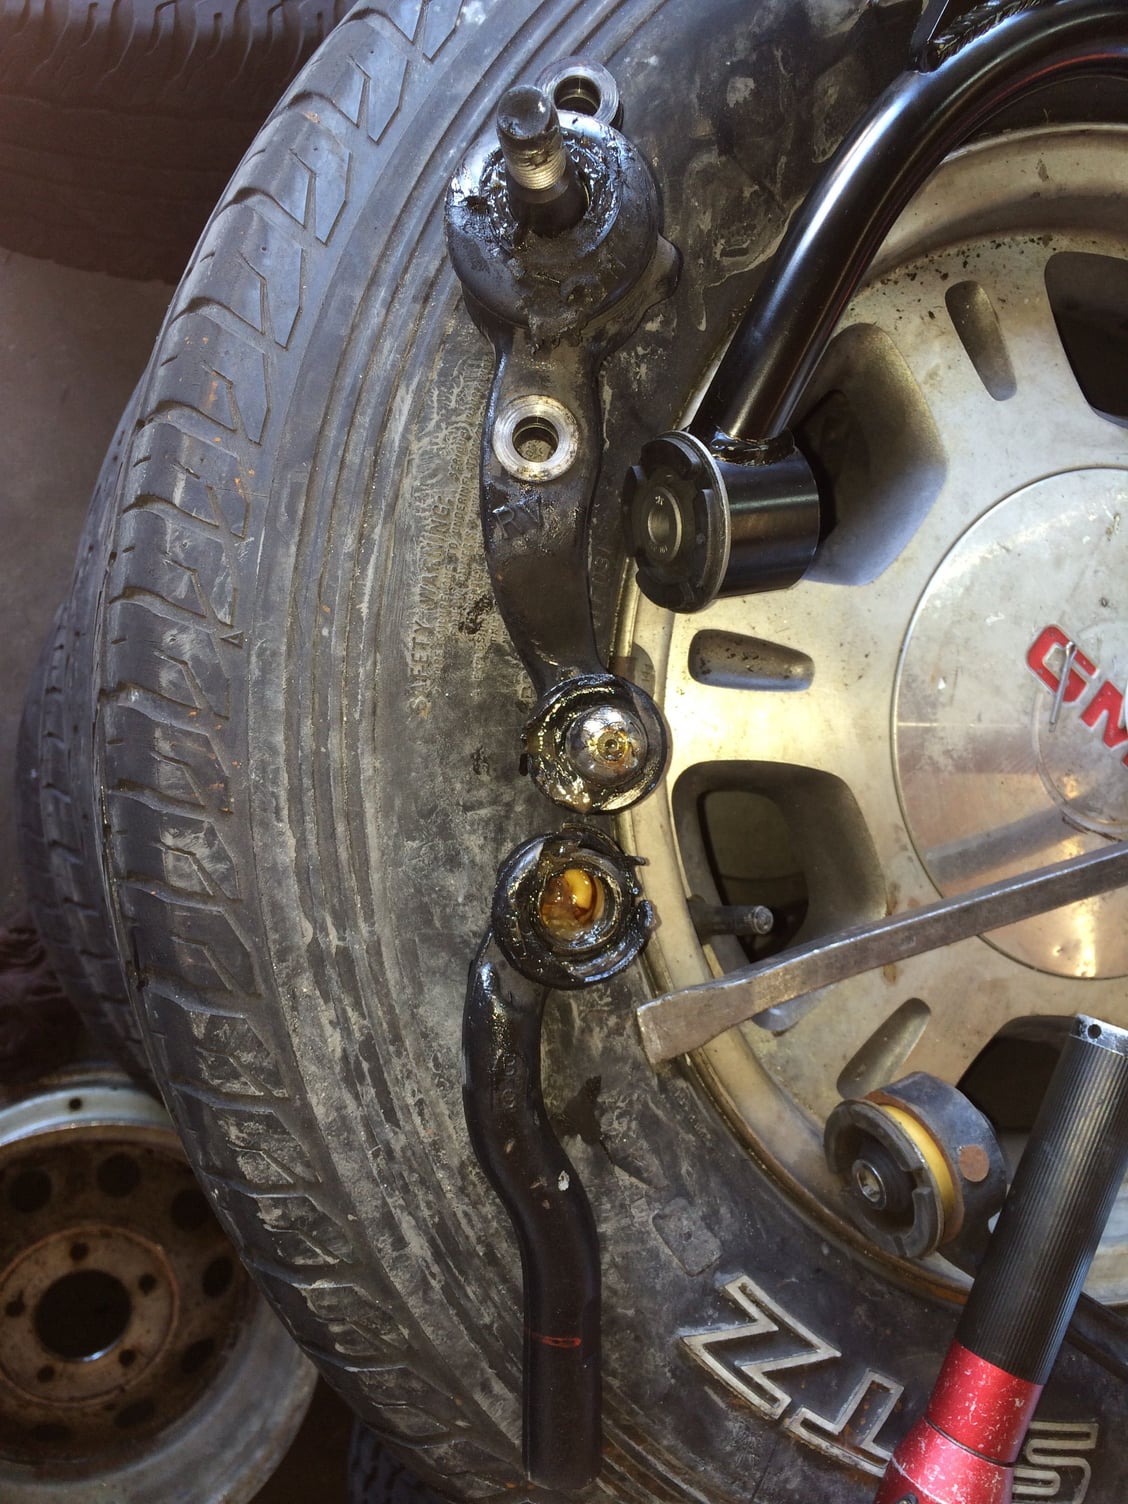
It is a good idea to replace the outer tie rod ends. They were destroyed removing them with the hammer fork tool. I was good with the replacement at $23 ea., also Moog brand.
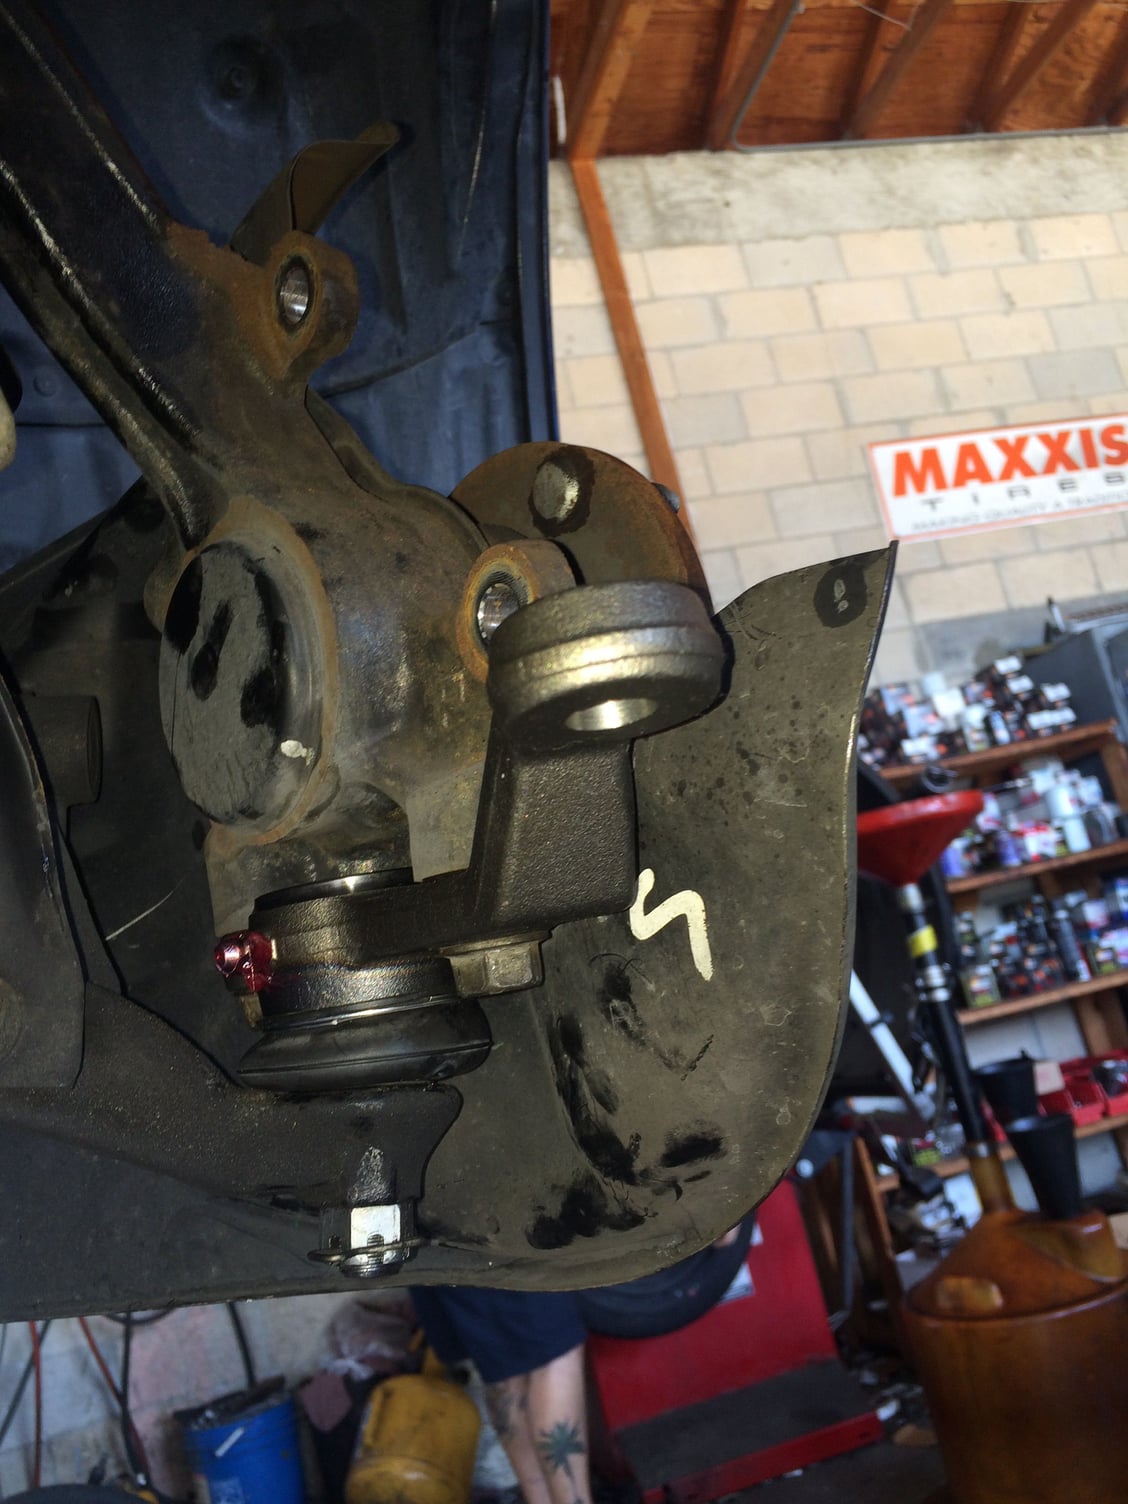
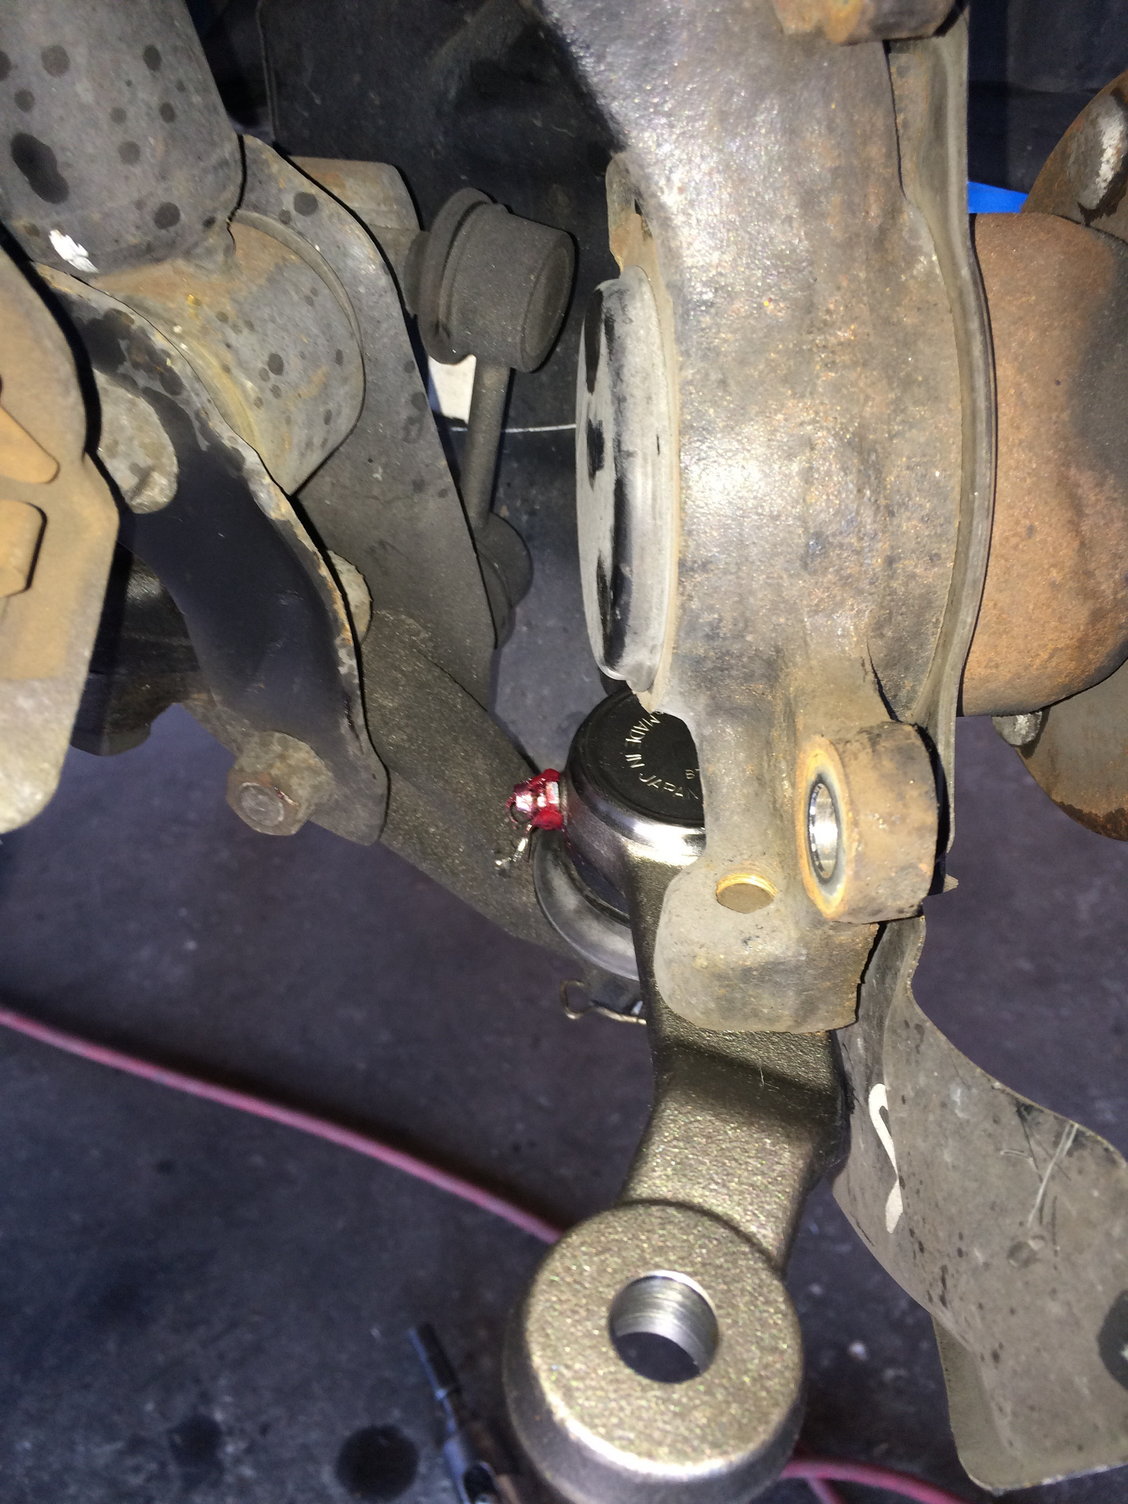
New Moog Lower Ball joint, note the grease zerk.
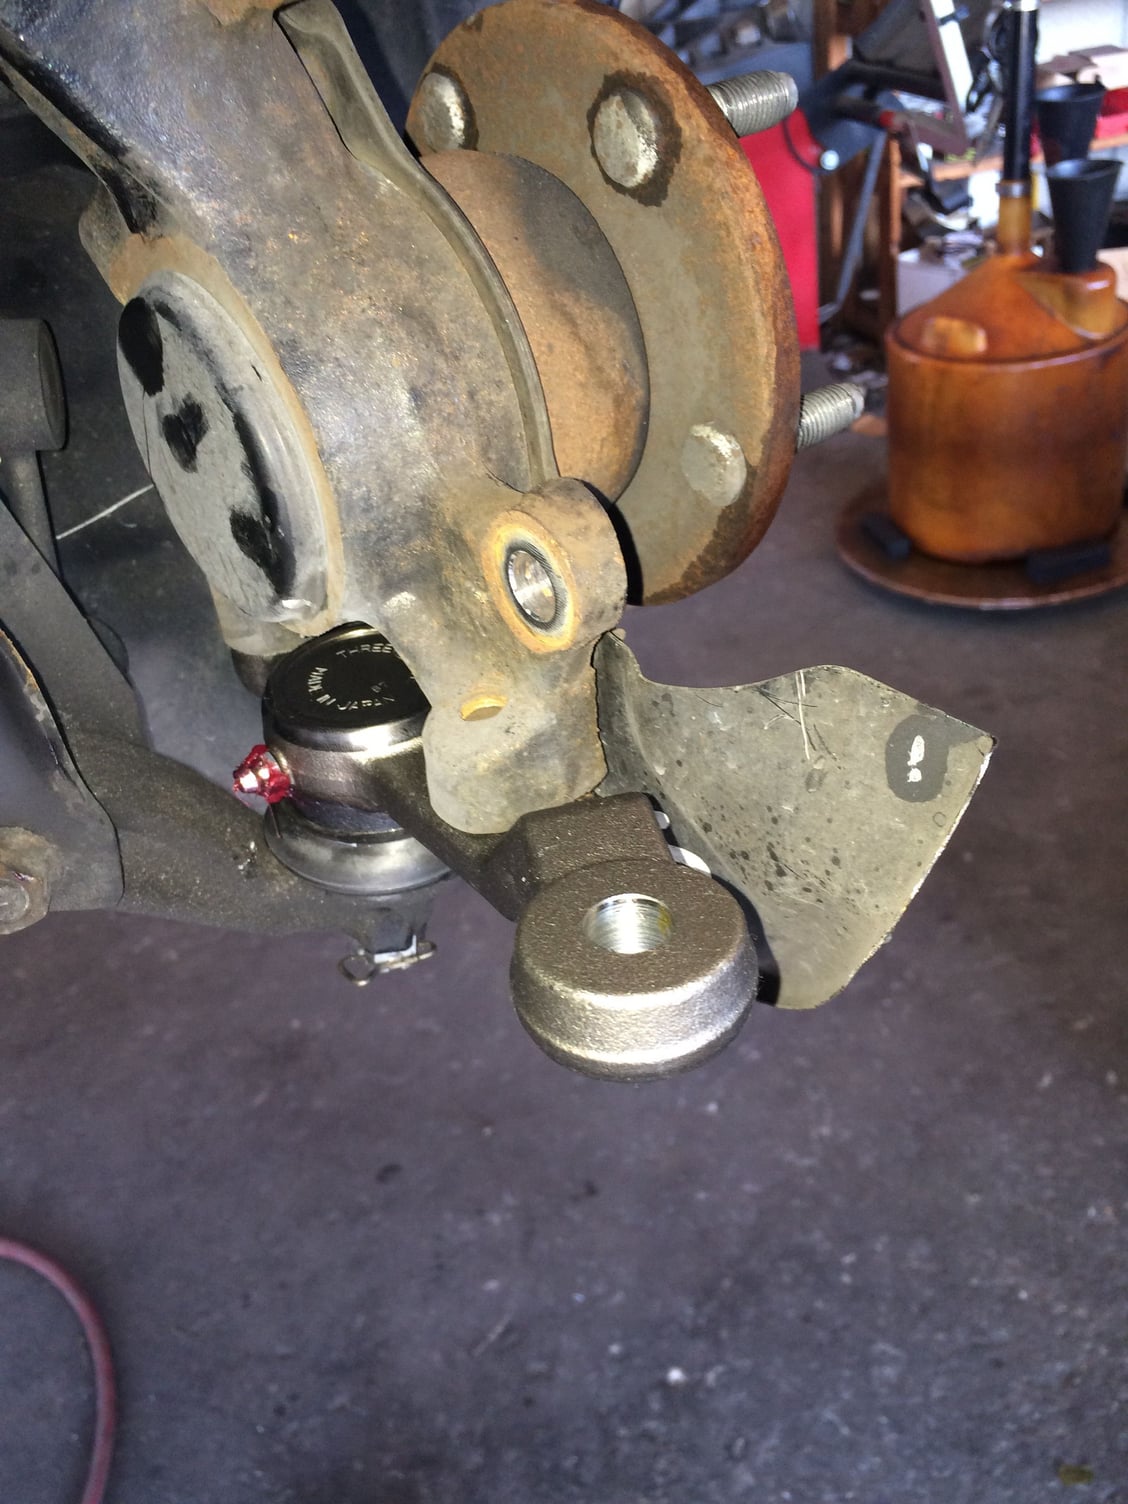
Another pic of the lower Ball Joint.
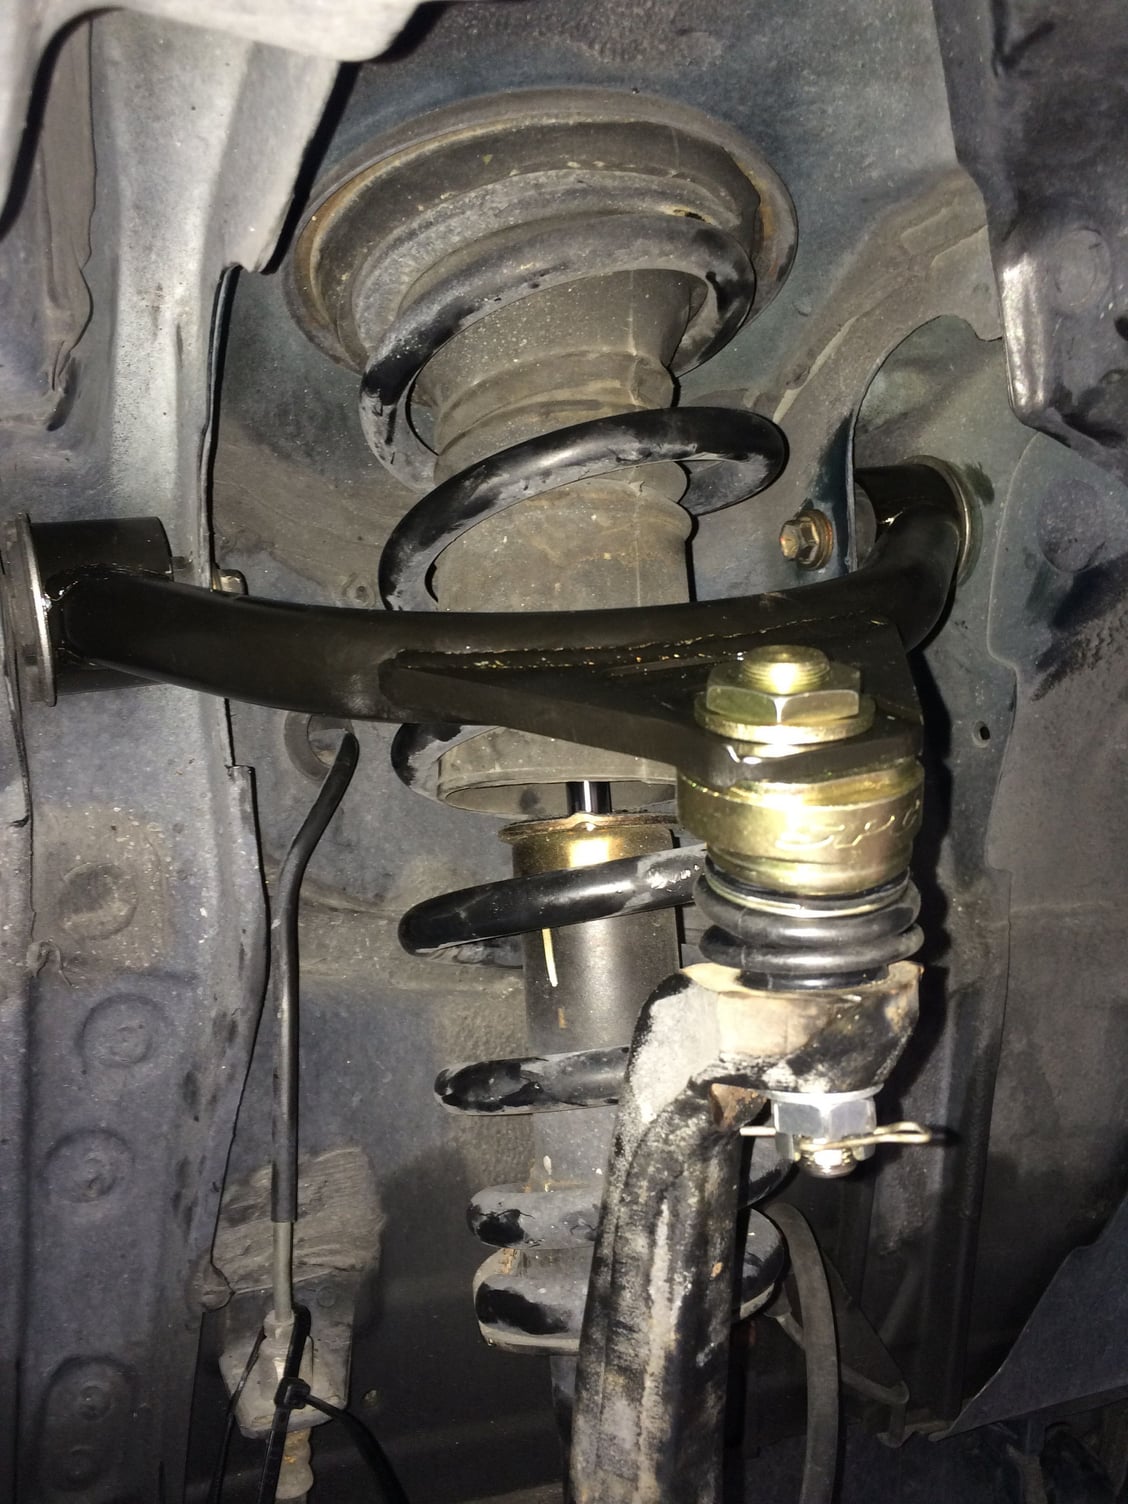
New Upper control arm. The nut on top allows camber and caster adjustment.
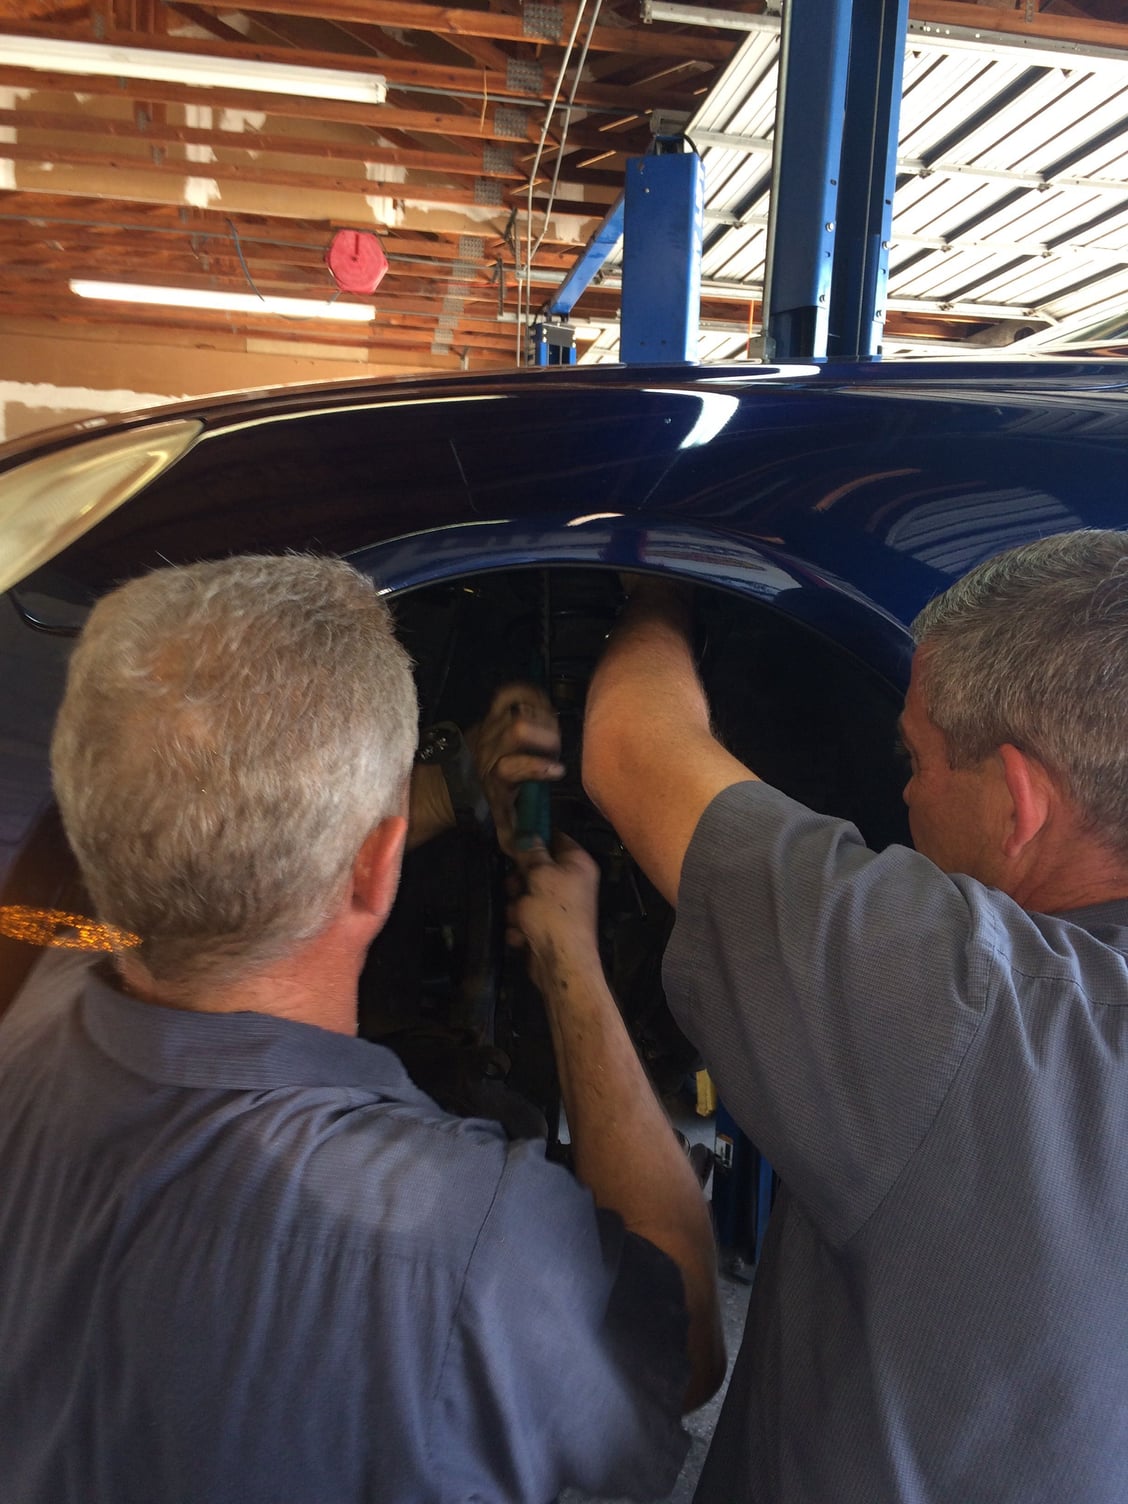
The drivers side aft or rear upper control arm bolt can be difficult to remove and replace.<br/>Frank and Tracy were able to tag team the installation, Tracy had to grab the spring and move it slightly while Frank inserted the bolt.<br/>The passenger side springs is seated 180 degrees opposite from the drivers side and bolts were easier to remove and replace.<br/>Great Job Guys!!!

New upper control arm

Almost back together, just waiting for the outer tie rod ends to show up!
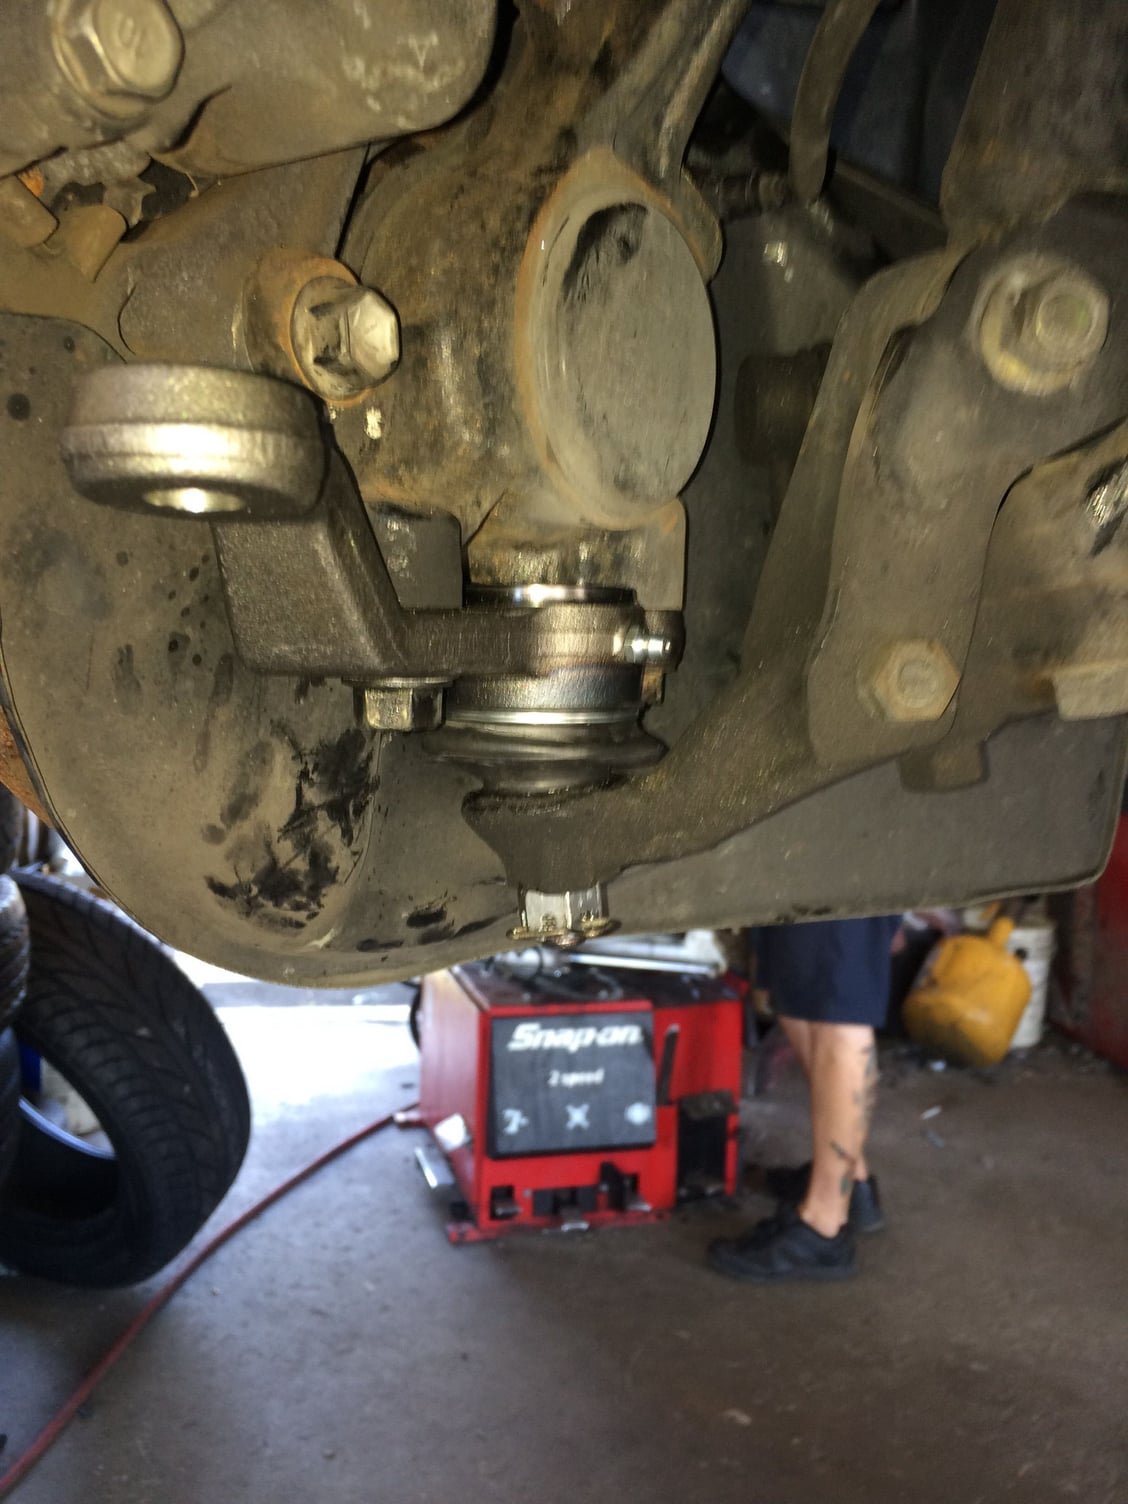
New ball joint
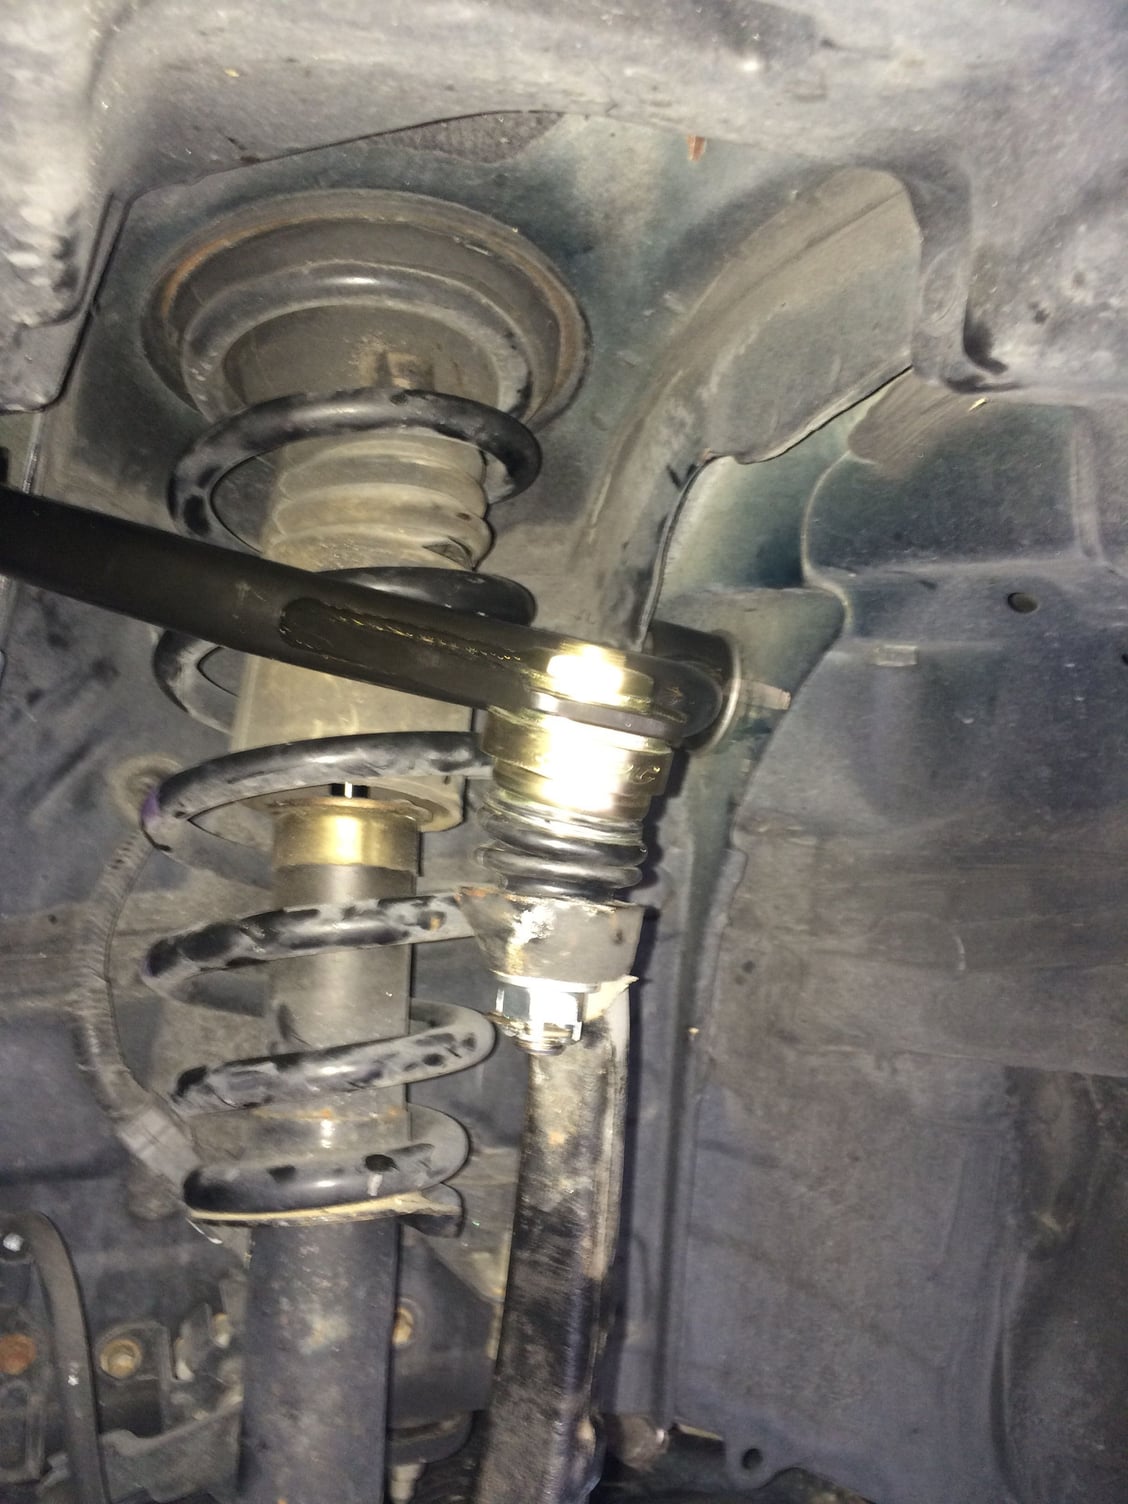
New control arm.

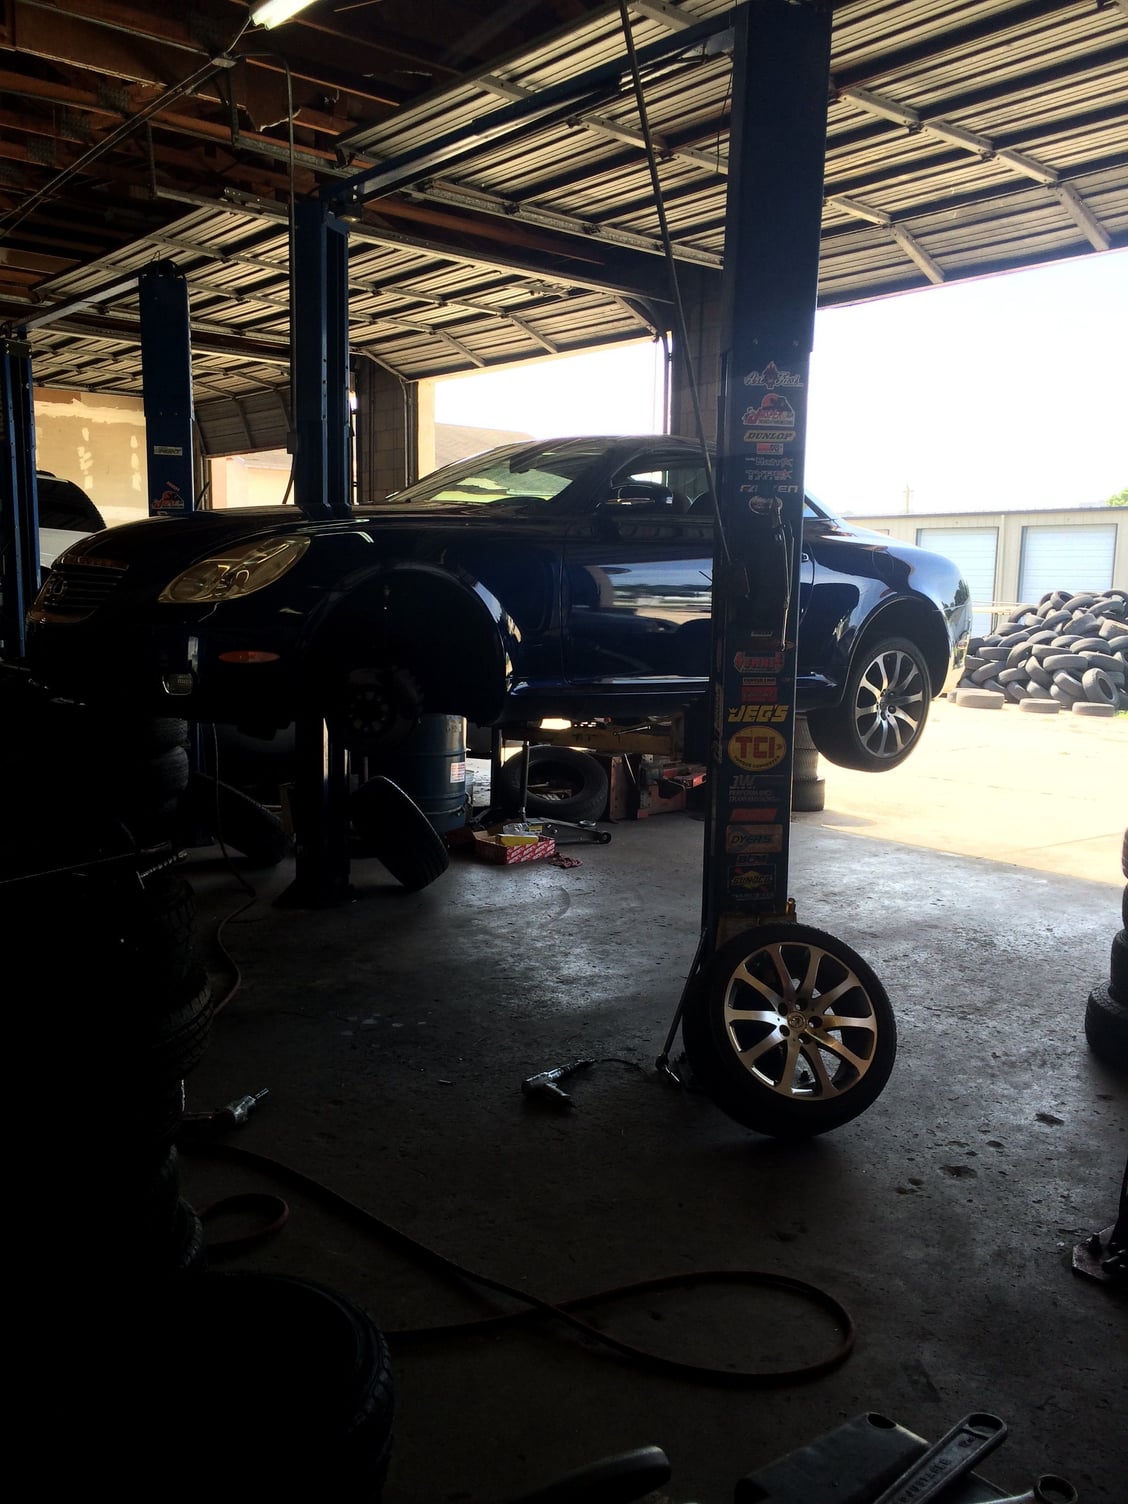
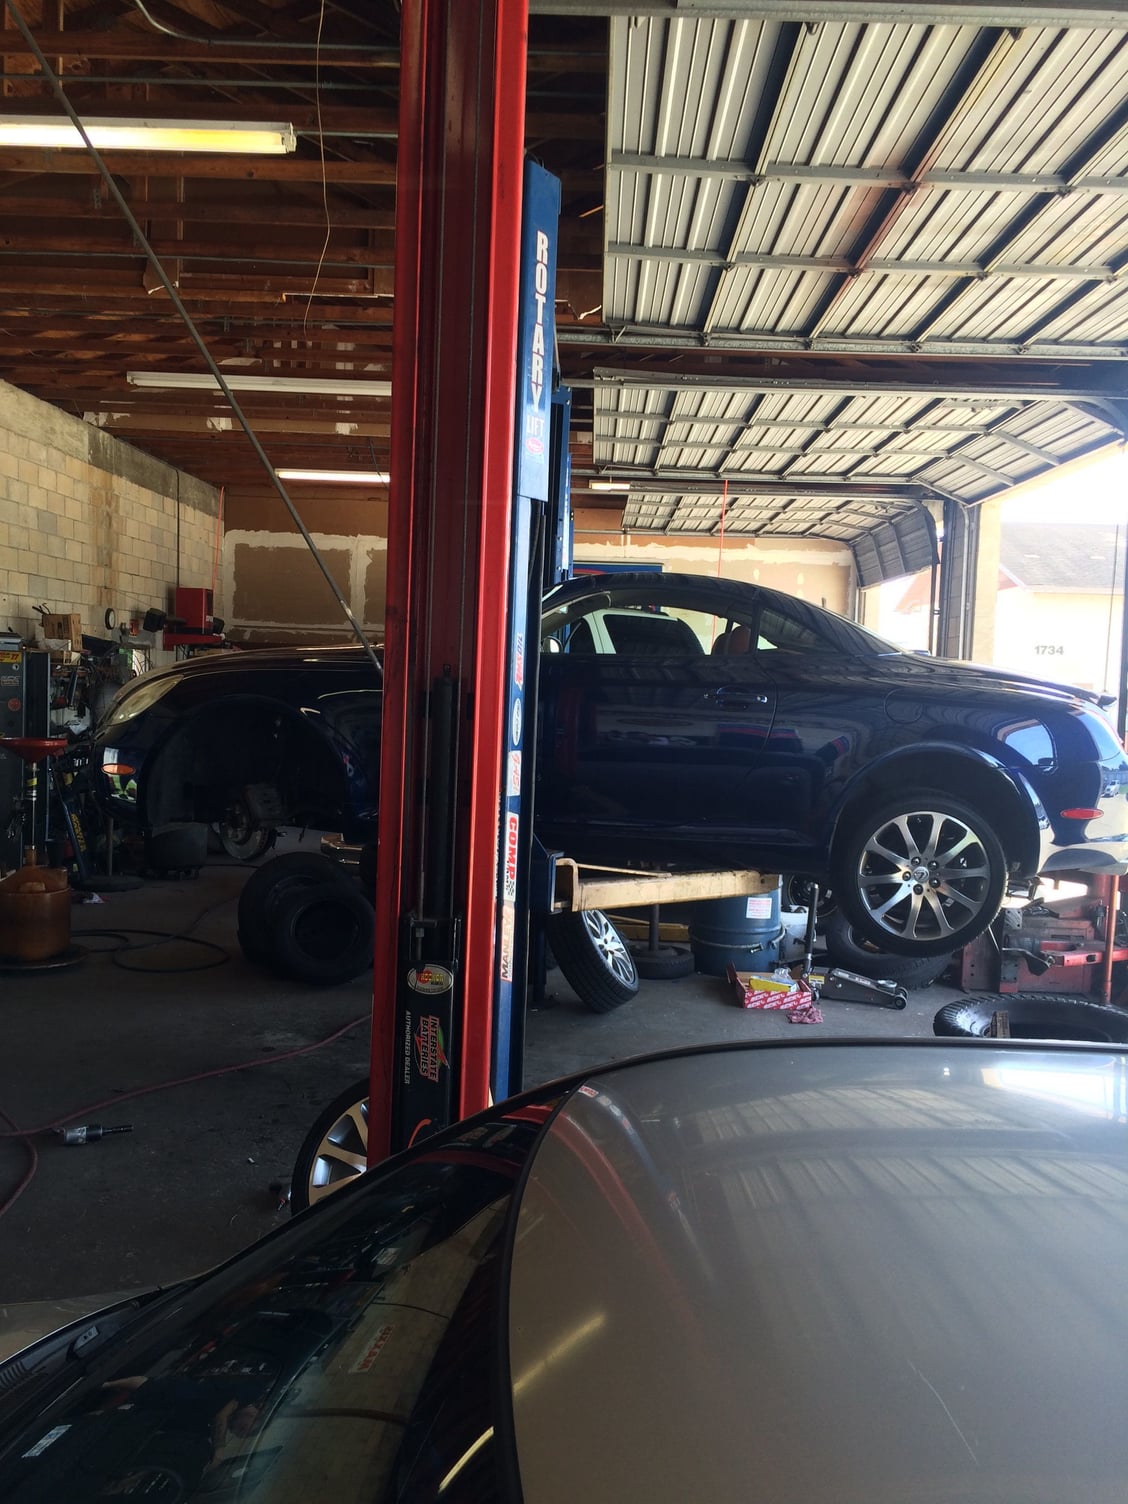
Almost ready for the alignment machine!
Last edited by Bgw70; 08-15-15 at 09:02 AM.
#3
Cool. Top it off with a nice alignment!
#4
Lexus Test Driver
Thread Starter
The tie rods half installed...
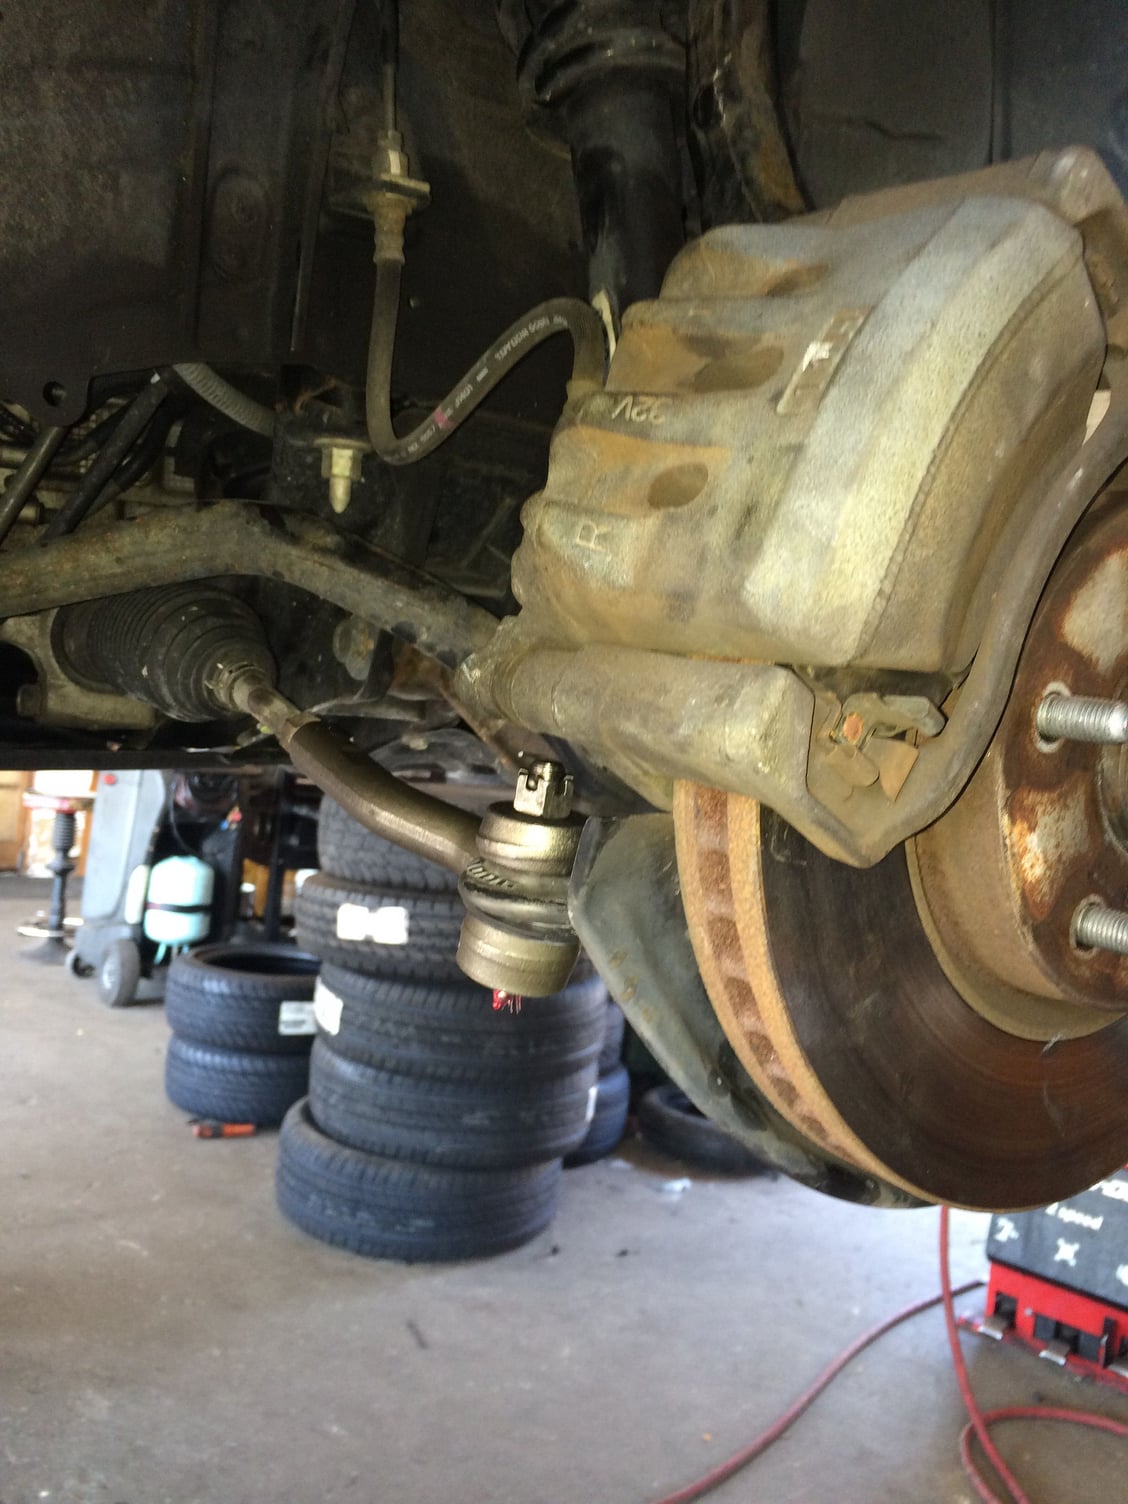
New tie rod end installed, I really like the quality of Moog products! Most if not all come with grease zerks!
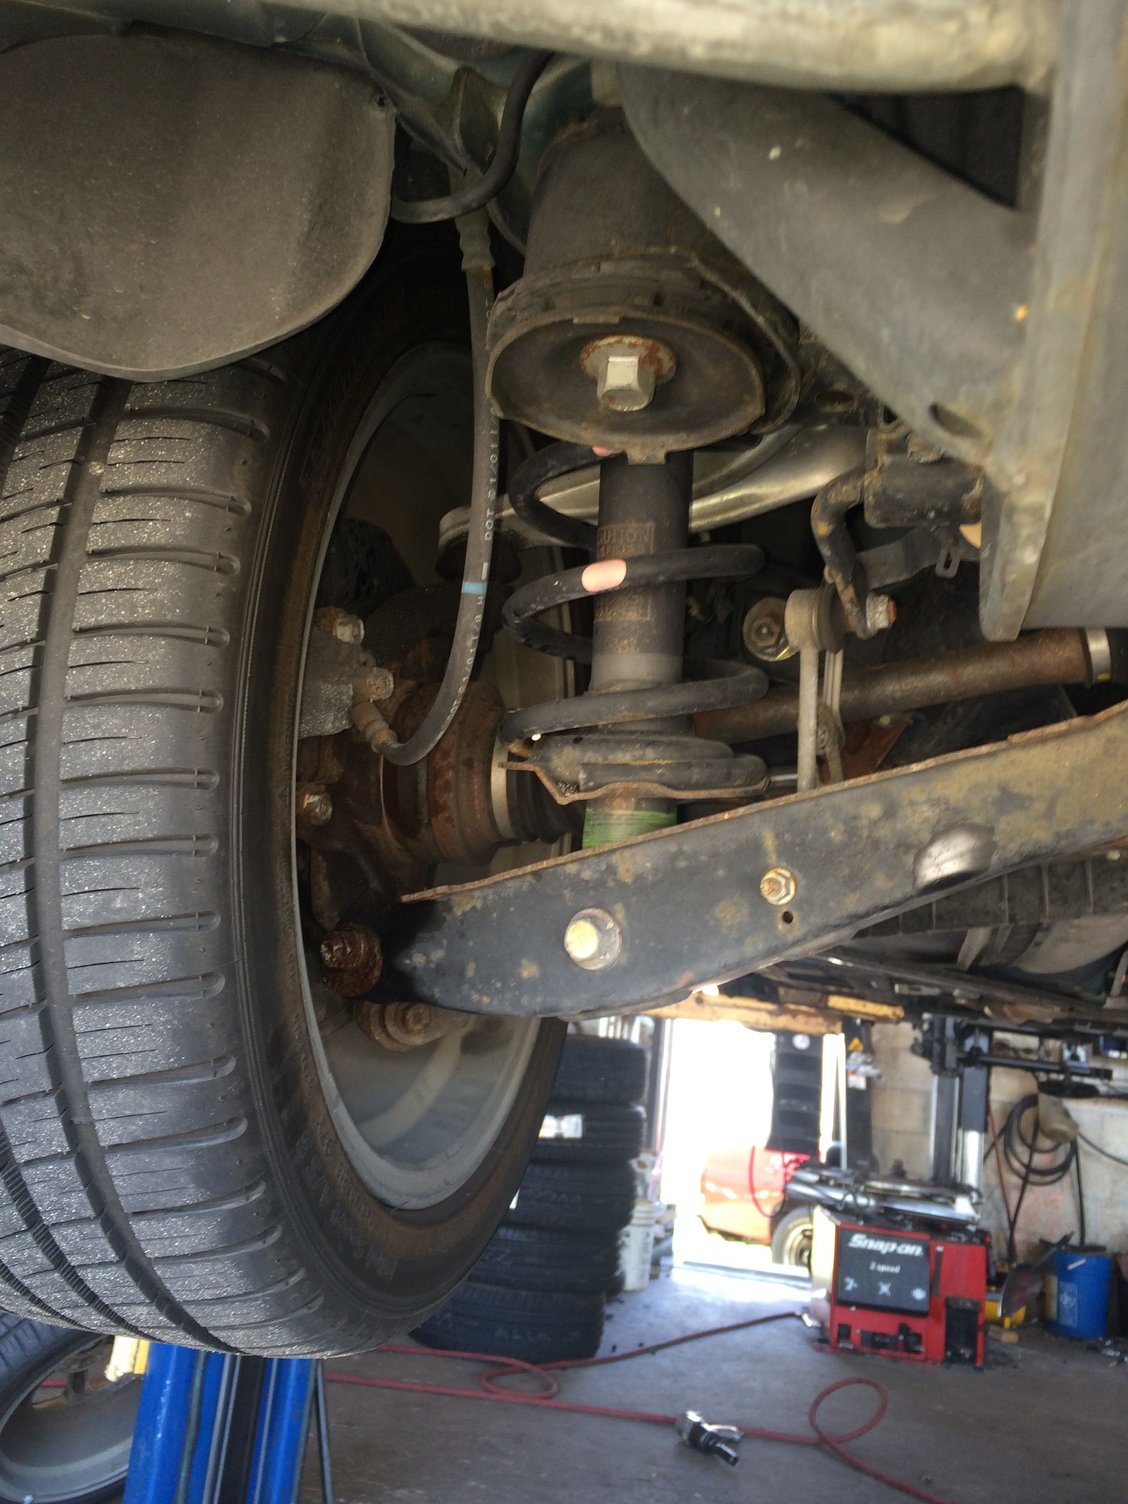
Left side rear end, showing the camber and toe adjustments
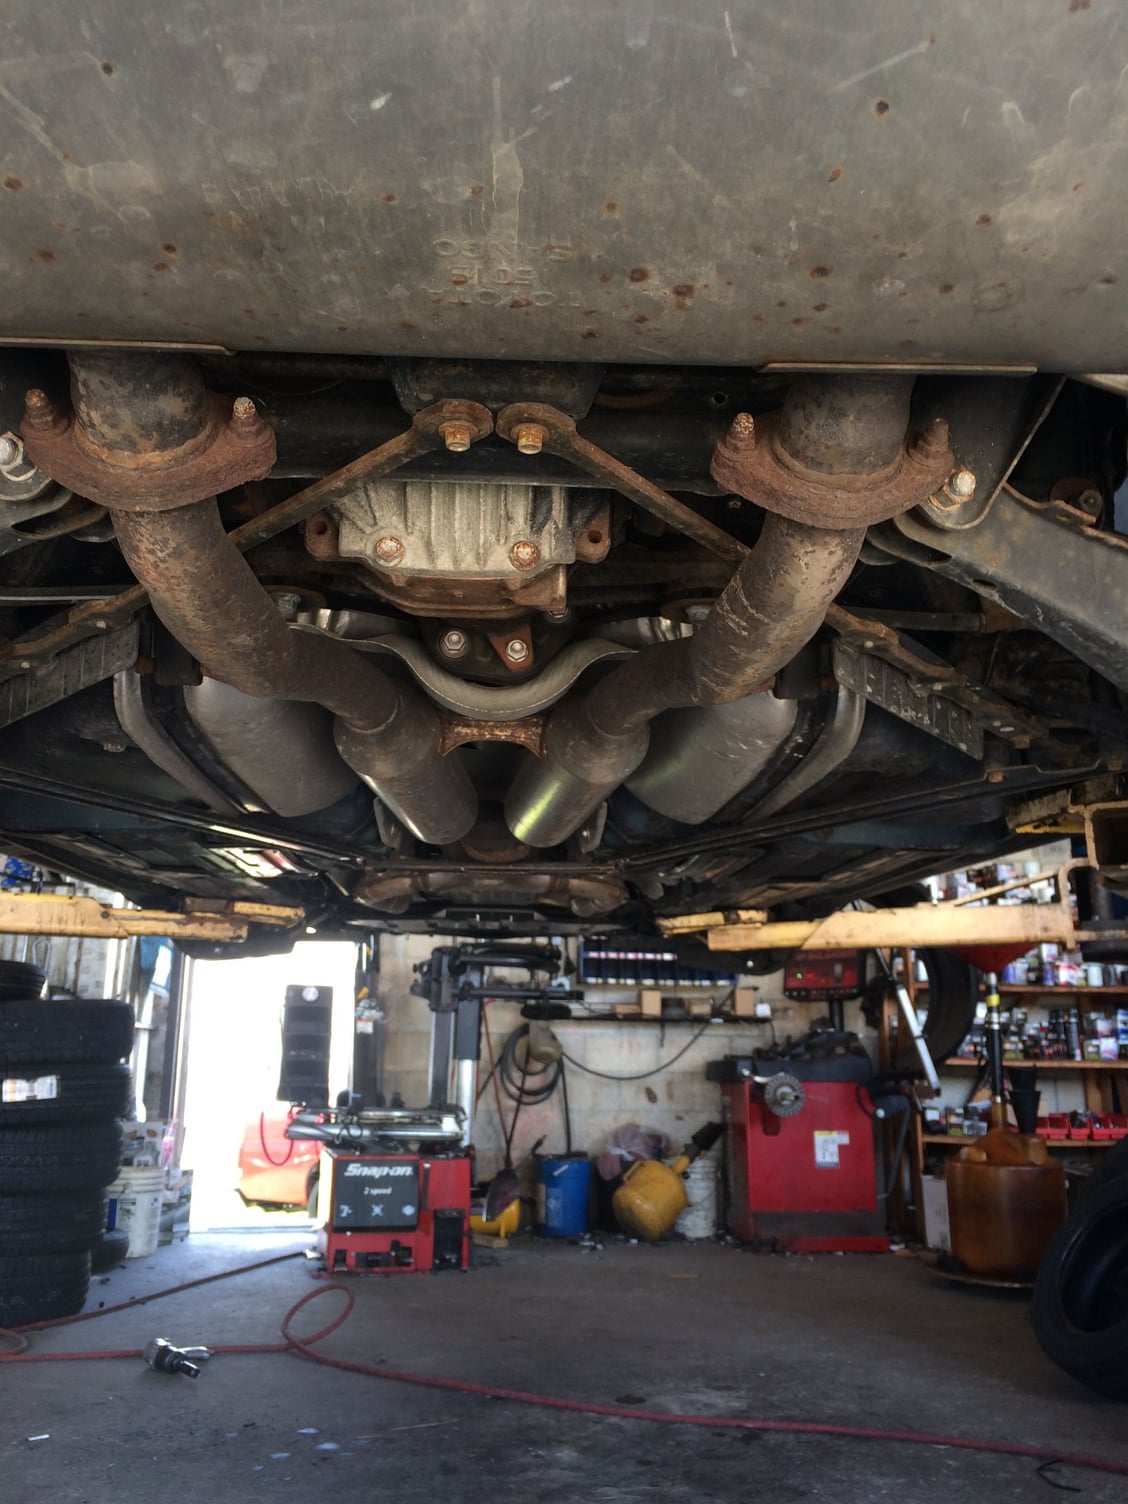
This is where the magnaflow exhaust is going to be installed!!! YESSSS!
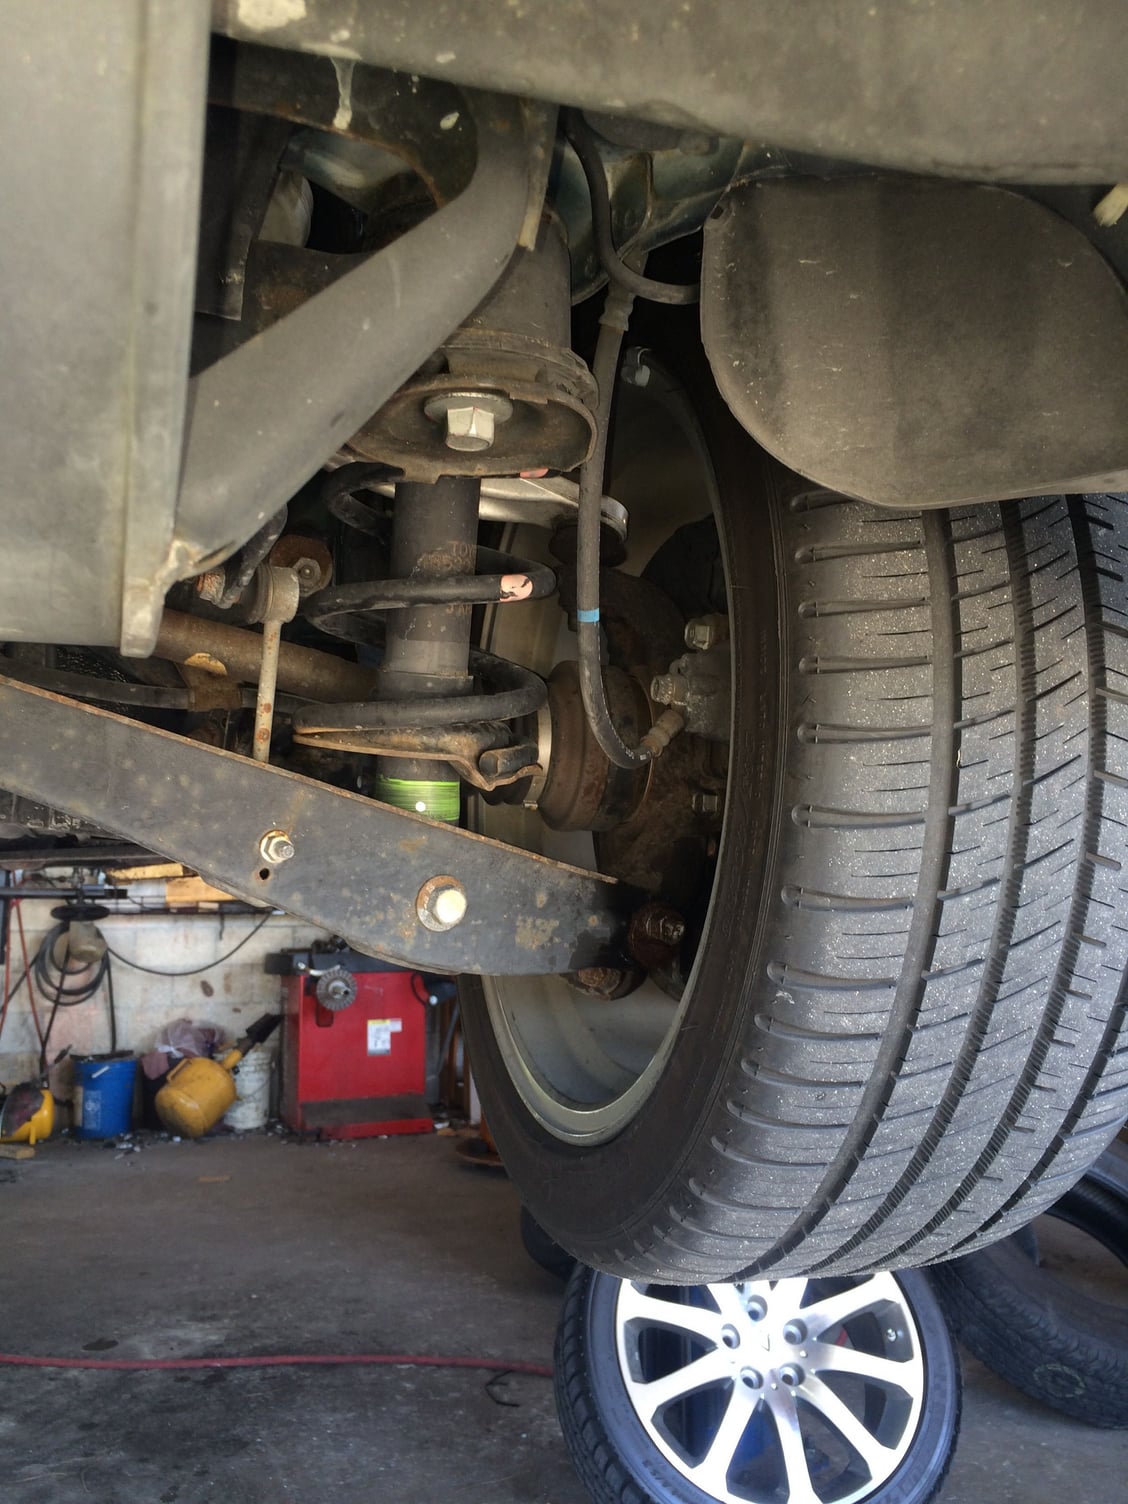
Right rear camber and toe adjustments
Finally on to the alignment machine!<br/>This is good machine!
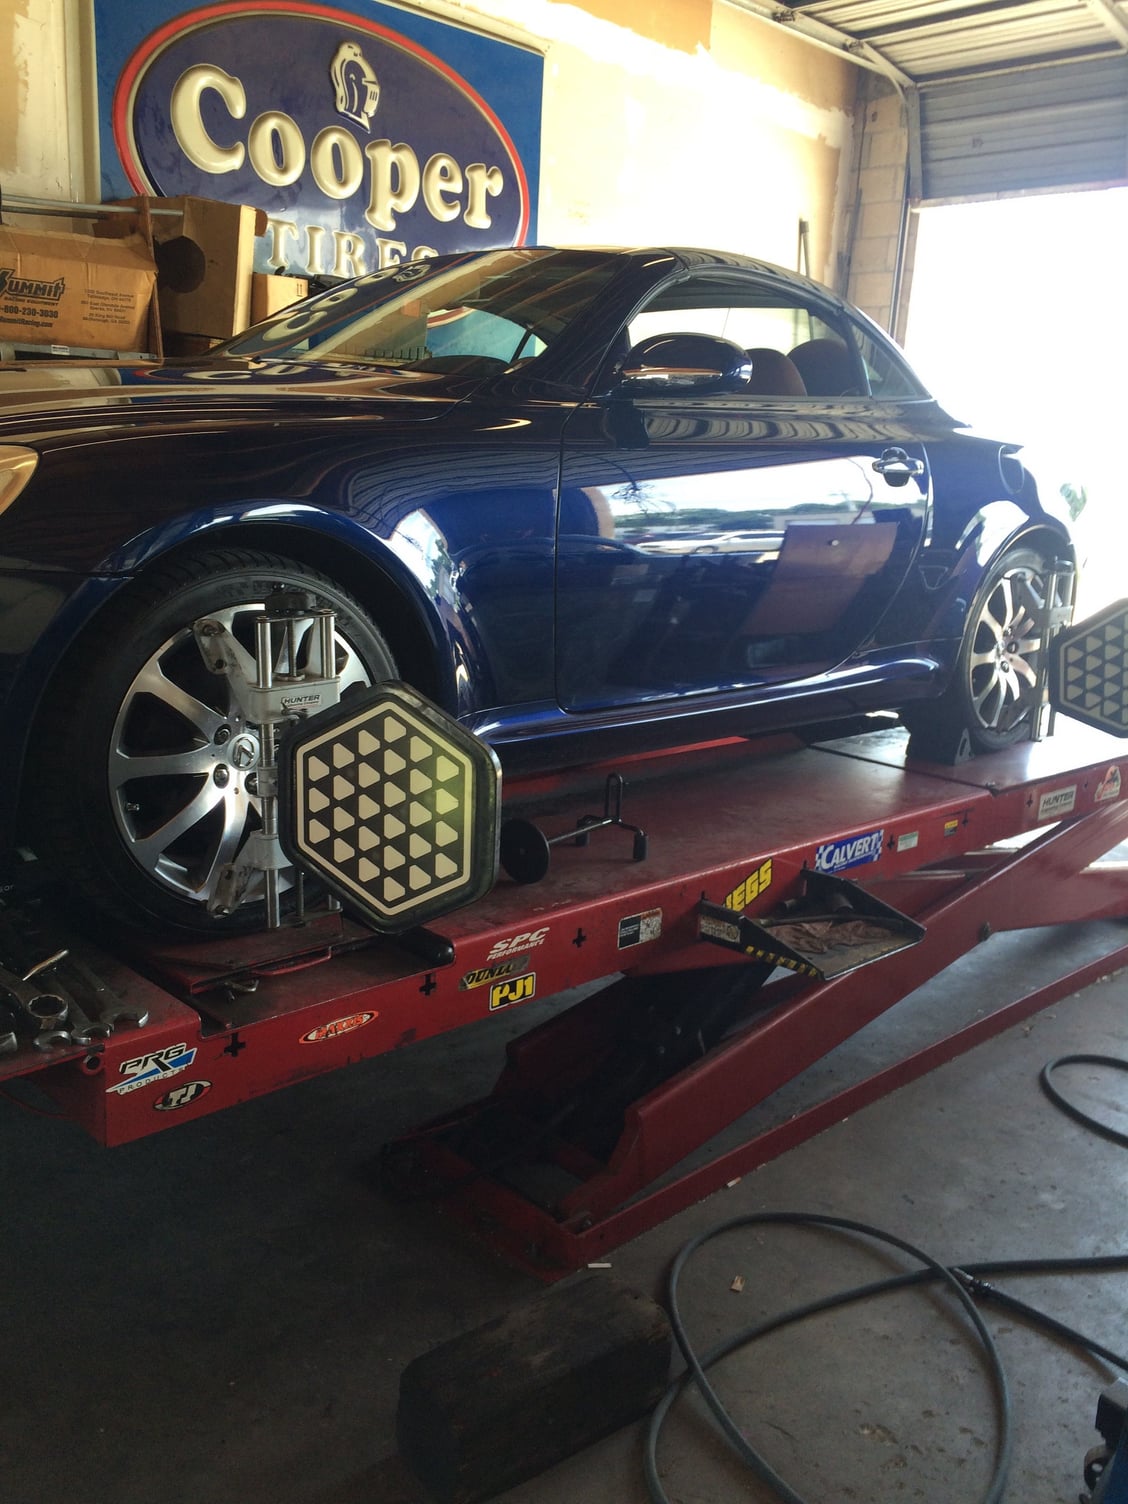
This machine is very sweet!
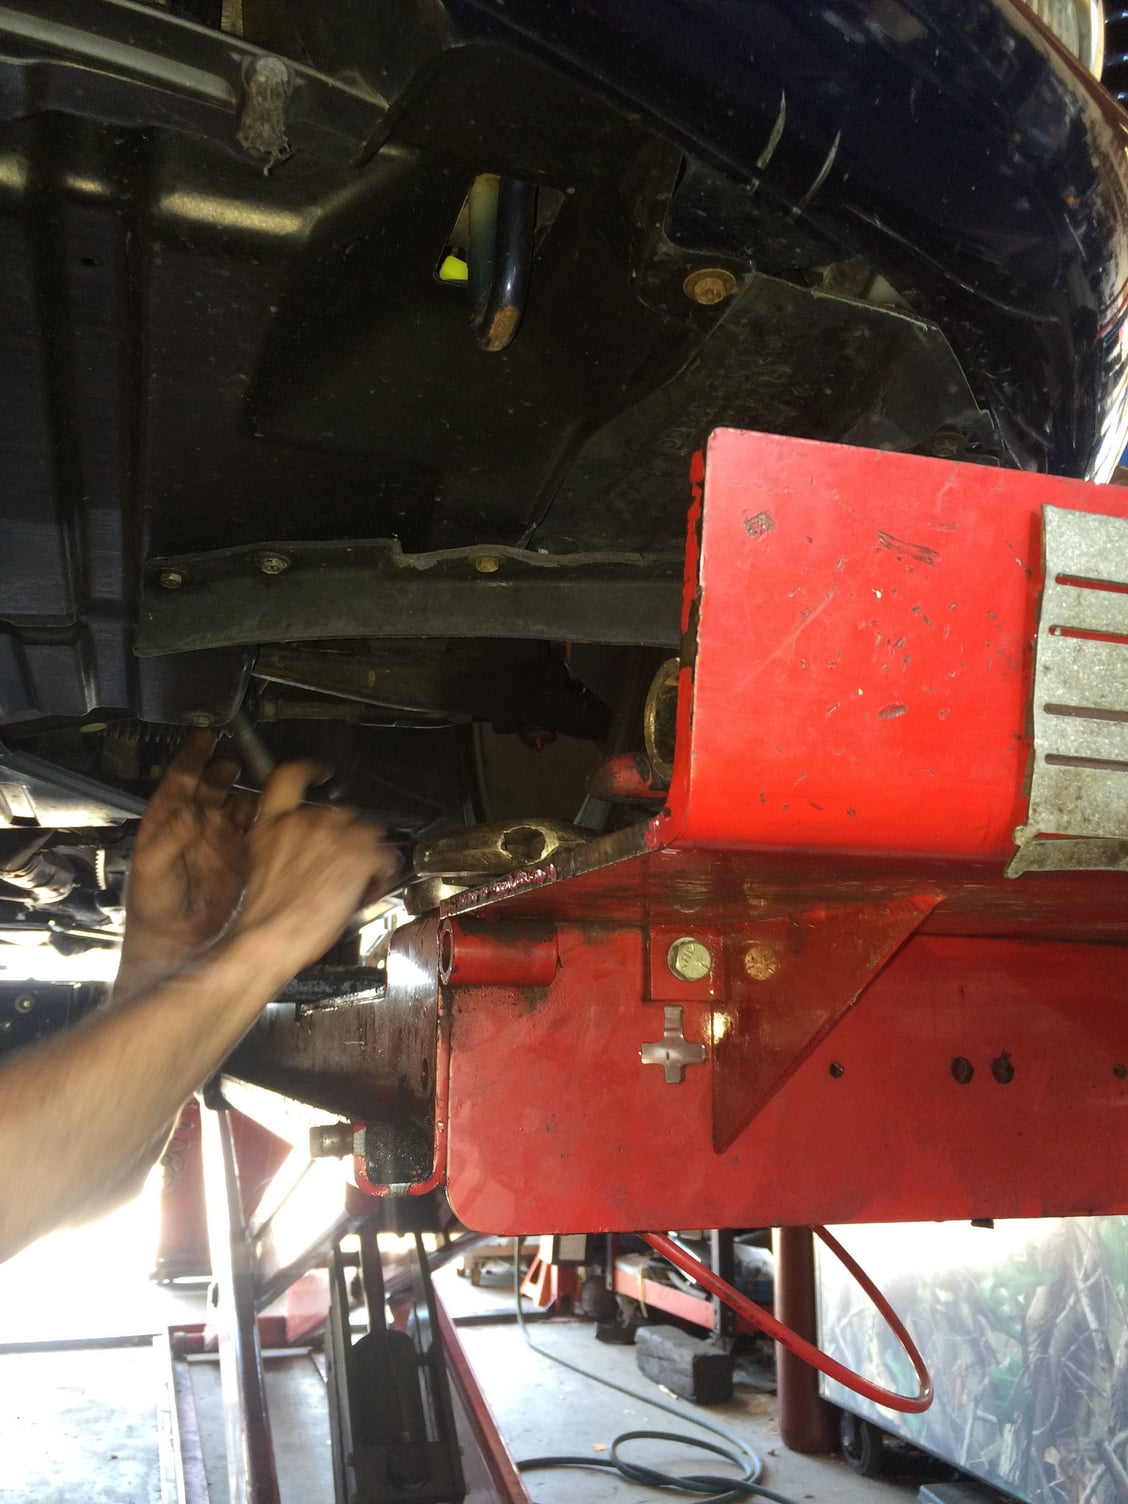
Adjusting the camber.
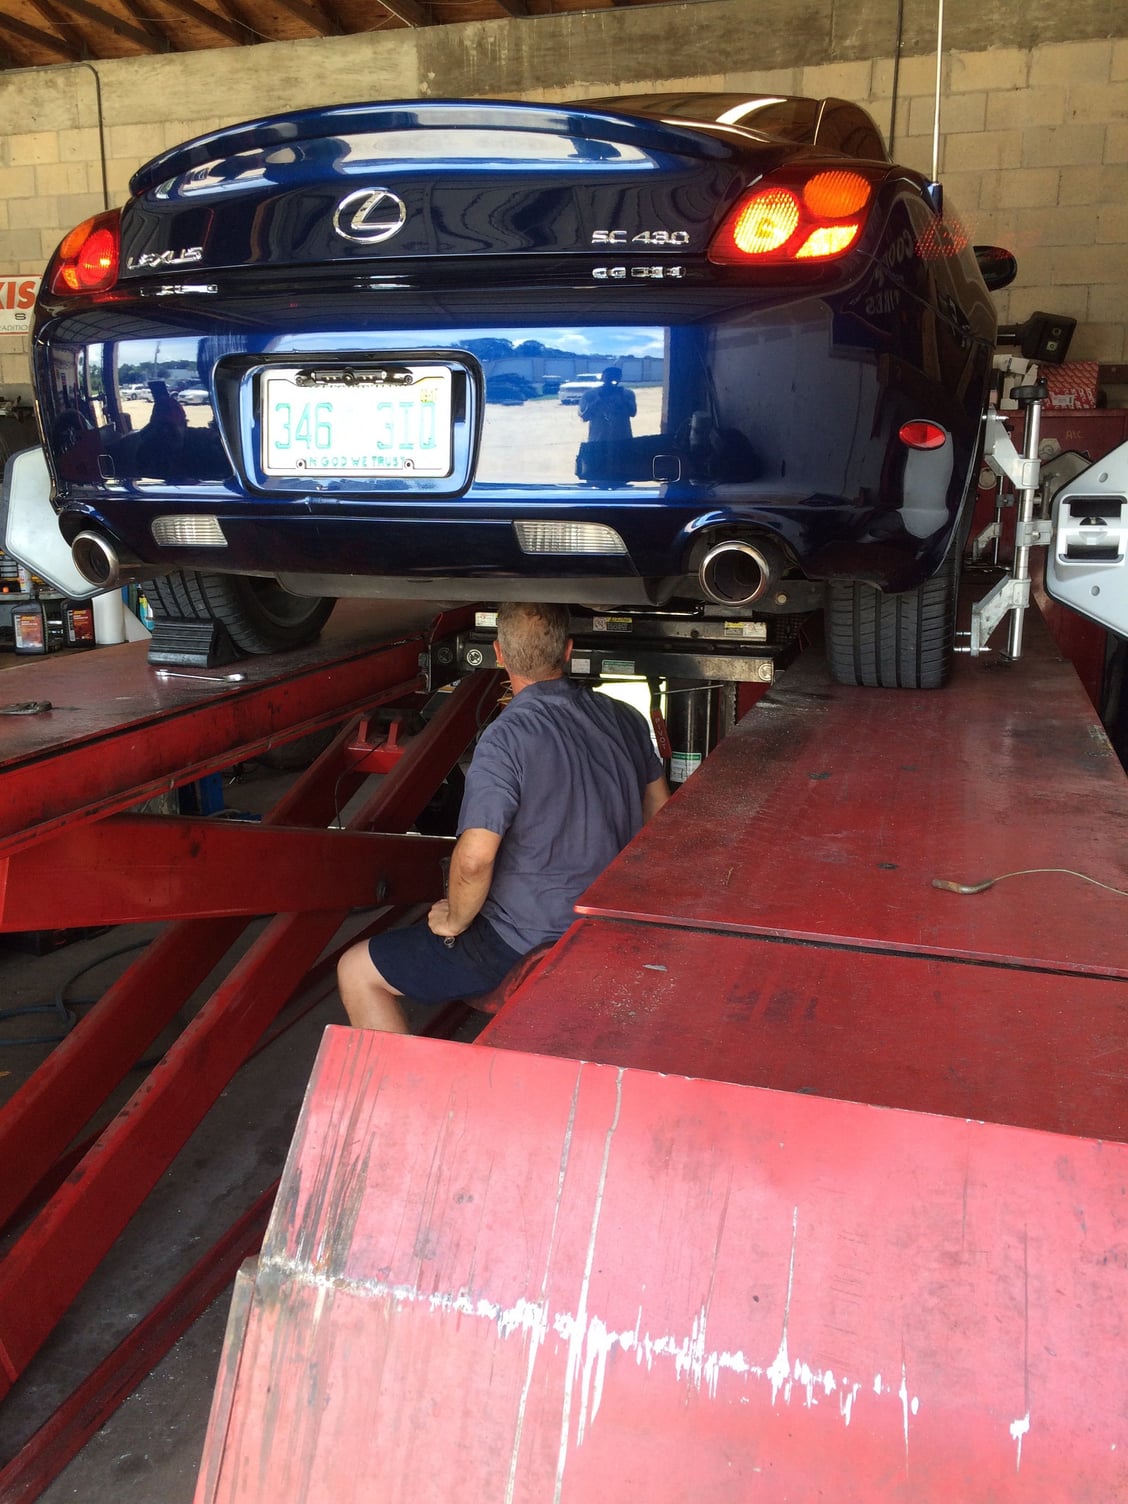
Tracy really took his time to make sure everything was perfect! He even took the time to tell me what he was doing every step of the way!<br/>He would make a fantastic automotive instructor!!!<br/>He adjusted the rear camber to .09 on each side, that was max.<br/>And he made sure toe was close to zero.<br/>These guys are good!!!
#5
Lead Lap
Great pictures and narrative Bgw!
#6
Driver School Candidate
Awesome--thanks for sharing! I'm looking to get the same arms for my GS300 but I am a little worried about it smacking the upper inside wheel well since I'm lowered a tad. But the spring rates are stiffened so it doesn't bounce lol
Anyhow, thanks again!
Anyhow, thanks again!
#7
Lead Lap
After just re-reading your post BGW, I realized just how patient your mechanic is! I would venture a guess that most mechanics wouldn't want someone coming in and taking pictures while he worked!
I just had a mechanic tell me that my lower ball joints and caster rod bushings were going bad. So I had a 2nd mechanic check it out and he told me that it should be fine for a good while. He said that there was only 1 to 2 mm of play and I shouldn't have to worry about it until it hits 3 mm or more. His take was that they probably have another 30k miles left at least. (He used to own a SC430.) I trust both, but am going with the 2nd. The 1st mechanic basically said that it wasn't to a safety issue but it probably should be addressed. I haven't seen any extra wear on the tire so I believe the 2nd guy's advice to be more sound. I took pictures of them so that I'll remember what they looked like now. The 1st guy estimated just over $1500 and the 2nd one was about $300 less. The 2nd guy said that the castor rods are a real pain to replace, though labor prices from the 1st guy indicate that neither is very easy ($337.50 for the ball joints and $405 for the caster rods).
I just had a mechanic tell me that my lower ball joints and caster rod bushings were going bad. So I had a 2nd mechanic check it out and he told me that it should be fine for a good while. He said that there was only 1 to 2 mm of play and I shouldn't have to worry about it until it hits 3 mm or more. His take was that they probably have another 30k miles left at least. (He used to own a SC430.) I trust both, but am going with the 2nd. The 1st mechanic basically said that it wasn't to a safety issue but it probably should be addressed. I haven't seen any extra wear on the tire so I believe the 2nd guy's advice to be more sound. I took pictures of them so that I'll remember what they looked like now. The 1st guy estimated just over $1500 and the 2nd one was about $300 less. The 2nd guy said that the castor rods are a real pain to replace, though labor prices from the 1st guy indicate that neither is very easy ($337.50 for the ball joints and $405 for the caster rods).
Trending Topics
#8
Harold,
They are very easy to install. Not sure why he said the castor arm (LCA#2) is difficult to install.
I did everything in my garage with floor jack and jack stands.
Lower Moog ball joints are about $60. Oem LCA#2 are around $250-$300.
They are very easy to install. Not sure why he said the castor arm (LCA#2) is difficult to install.
I did everything in my garage with floor jack and jack stands.
Lower Moog ball joints are about $60. Oem LCA#2 are around $250-$300.
#9
Lead Lap
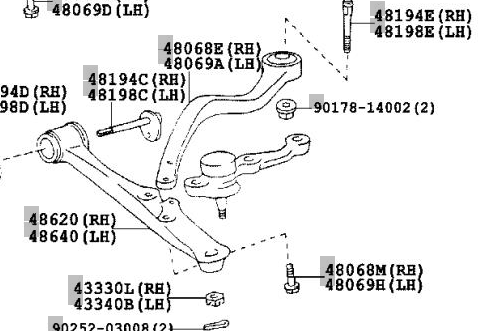
I think that it had to do with where it is connected to on the end away from the lower ball joint, the connection of which isn't shown here in this diagram. (The castor rod is a part number 48670 * 48660 but shown here as 48068 & 48069.)
#10
This guy show you how to do lower ball joints and LCA#2. They are for the 2GS but the front suspension for 2GS & sc430 are the same.
If you dont want to do it, just watch for fun.
If you dont want to do it, just watch for fun.

#11
Lead Lap
It helps to have all the right tools and know the proper torque specs. The lift would be real helpful also.
#12
Very true. There were multiple occasions that I had to stop what I was doing and ran to my local Harbor Freight to grab some tools to get thing done. For example, when I replaced brake line with stainless steel part, I had to buy a set of flare nut wrench cuz the damn line didn't want to get loose with the regular wrench.
#13
Thanks for documenting and sharing all the work you had done! I've ordered some coilovers and seeing this helped me decide I might as well replace my ball joints and tie rods while I'm in there. I'll have to take a look at my front upper control arm this week to see what condition it's in.
#14
Lexus Test Driver
Thread Starter
Thanks for documenting and sharing all the work you had done! I've ordered some coilovers and seeing this helped me decide I might as well replace my ball joints and tie rods while I'm in there. I'll have to take a look at my front upper control arm this week to see what condition it's in.
check motor mounts
BTW, I sold the D2 coilovers and installed OEM dampeners...I liked the high speed coilover feel but around town they were too stiff for me :-)
#15
Thanks for documenting and sharing all the work you had done! I've ordered some coilovers and seeing this helped me decide I might as well replace my ball joints and tie rods while I'm in there. I'll have to take a look at my front upper control arm this week to see what condition it's in.


