My new LED DRL's installed
 07-05-13, 09:57 PM
#61

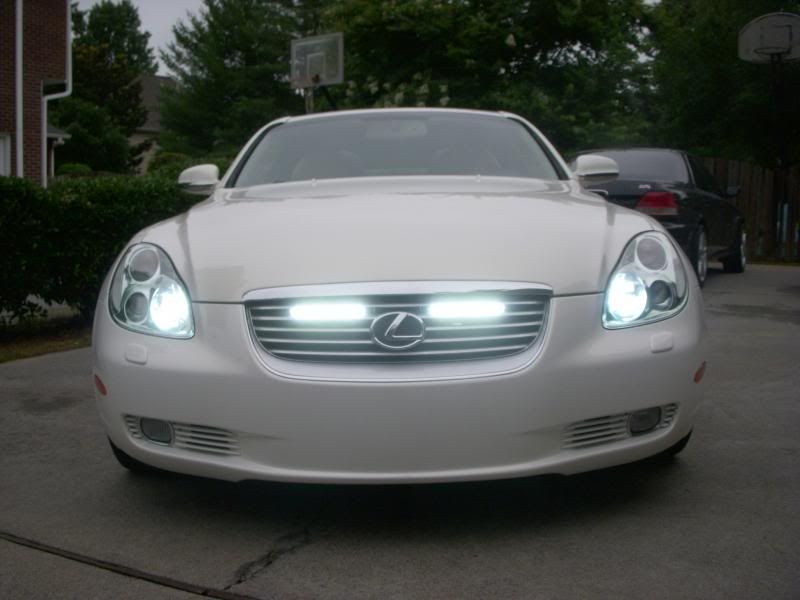
I finally wrapped up the wiring, straight forward as StillLine mentioned. The remote works great. There is a ON and an OFF, so you can make sure it is off when you do not need it. I have 2 keys and there's 2 remotes.
 07-06-13, 04:26 AM
#62
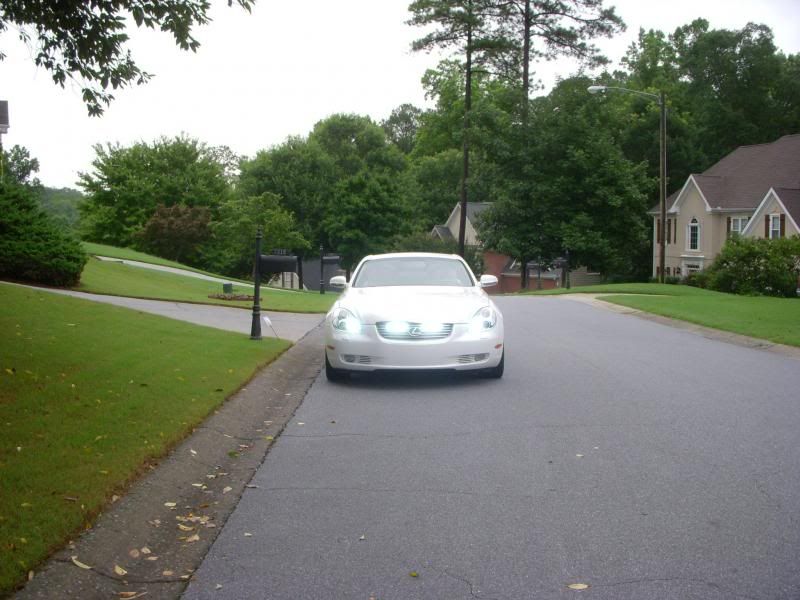
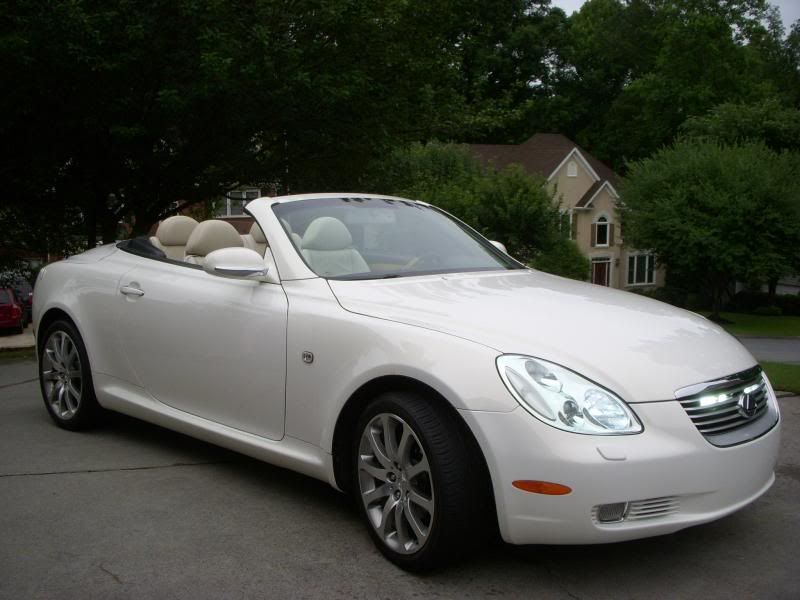
Here are some daylight pics, cloudy day though.


 07-06-13, 05:57 AM
#64
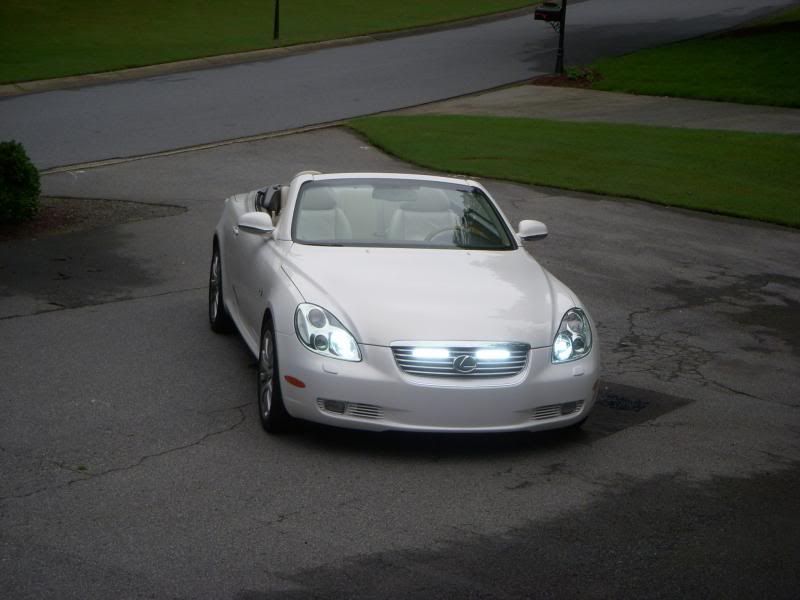
Would have been better if they were lower in the grille but there was no space.
I will keep it on for a while. They are just taped in there (it is not going any place).
My fear is if I forget to turn it off, there goes the battery.
I will keep it on for a while. They are just taped in there (it is not going any place).
My fear is if I forget to turn it off, there goes the battery.
07-06-13, 10:50 AM
#66
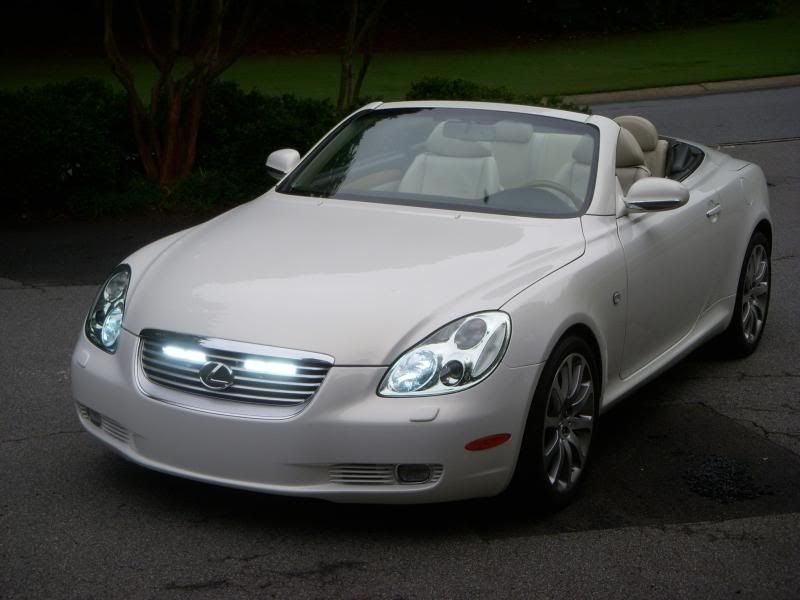
That's why I have a remote. Whenever I see some...I turn it off. Not really that bright. It is the same as my existing LED DRL in intensity.
07-07-13, 01:51 PM
#67
Pole Position
Join Date: Jun 2007
Location: Sunny Prestwick in Avon, IN
Posts: 283
Received 0 Likes
on
0 Posts
Beautiful car. I think they look ok.... still wondering about the yellow when the lights are off..??
Mandy, did you look into wiring them so they come on with the ignition and you could also put the remote in series and turn them off when you wanted too. I'm a little afraid I would leave them on too. Maybe they could be wired into the headlights so they stay on until they time out as normal?
Thanks for the pictures,
lar
07-08-13, 05:42 AM
#68
Wiring it hot all the time was to be able to turn them on “on demand,” like when approaching a car at night. But you are right there will be a time when you will forget to turn them off as I did once this weekend, was at the auto parts store and I realized I left them on.
I have been thinking about this.
It will be easy to switch it over to a fuse that is ignition on hot by moving the tap to an IGN on fuse.
I have been thinking about this.
It will be easy to switch it over to a fuse that is ignition on hot by moving the tap to an IGN on fuse.
07-08-13, 05:48 AM
#69
Beautiful car. I think they look ok.... still wondering about the yellow when the lights are off..??
Mandy, did you look into wiring them so they come on with the ignition and you could also put the remote in series and turn them off when you wanted too. I'm a little afraid I would leave them on too. Maybe they could be wired into the headlights so they stay on until they time out as normal?
Thanks for the pictures,
lar
Mandy, did you look into wiring them so they come on with the ignition and you could also put the remote in series and turn them off when you wanted too. I'm a little afraid I would leave them on too. Maybe they could be wired into the headlights so they stay on until they time out as normal?
Thanks for the pictures,
lar
Do not know why yellow, I bet you it is because it gave them the best end result illumination. Also hides the LED�s. When I sprayed the LED surface with translucent brown tint, the LED array was visible. The colored tinting was to hide the array obviously but why yellow, there must have been a reason behind it. If you understand paint and tinting, you will appreciate �hideability.� I am no paint expert, just have a little knowledge on paint since we do painting of plastics in my job.
07-08-13, 11:30 AM
#70
Driver School Candidate

Join Date: Mar 2010
Location: VA
Posts: 43
Likes: 0
Received 0 Likes
on
0 Posts
Thanks lar.
Do not know why yellow, I bet you it is because it gave them the best end result illumination. Also hides the LED�s. When I sprayed the LED surface with translucent brown tint, the LED array was visible. The colored tinting was to hide the array obviously but why yellow, there must have been a reason behind it. If you understand paint and tinting, you will appreciate �hideability.� I am no paint expert, just have a little knowledge on paint since we do painting of plastics in my job.
Do not know why yellow, I bet you it is because it gave them the best end result illumination. Also hides the LED�s. When I sprayed the LED surface with translucent brown tint, the LED array was visible. The colored tinting was to hide the array obviously but why yellow, there must have been a reason behind it. If you understand paint and tinting, you will appreciate �hideability.� I am no paint expert, just have a little knowledge on paint since we do painting of plastics in my job.
Thanks!
07-08-13, 11:42 AM
#71
Fairly simple, for the PLUS (+) connect to the # 9 location on the fuse box as earlier shown. For the minus, go directly to the Minus (-) of the battery. I will post a pic later. For the LEDs, tie the blacks and reds. Red would be PLUS Positive and Black would be Minus, Ground.
If using a remote relay, just follow the wiring instructions which are self explanatory.
Then play around the On and Off button on the remote, QED.
If using a remote relay, just follow the wiring instructions which are self explanatory.
Then play around the On and Off button on the remote, QED.
07-09-13, 02:01 PM
#72
Continuing the saga...I need some tint...off to wallyworld.
07-09-13, 03:59 PM
#73
Great look mandyfig,
Congratulations.
So for dumb electrical guys like me.
You;
1. place the DRLs per your liking
2. route the driver's side wire behind the grill and in front of the radiator
3. splice the 2 wires together
4. route a single wire to the fuse box in front of the battery.
5. split the wire
6. wedge a single wire into the #9 TEL 5 Amp fuse or switch out to a Mini Fused Circuit
7. loosen the negative battery connection and wedge the other wire and tighten.
8. force the fuse cover on the box and over the wire
Is this correct?
Question, this #9 fuse is only live with the ignition? I'm admittedly slow and don't want to have to keep remembering to turn off the lights and carry around another remote.
Last edited by Autoplak; 07-10-13 at 05:11 PM. Reason: ad information
07-11-13, 04:58 PM
#75
Driver School Candidate
Join Date: Mar 2010
Location: VA
Posts: 43
Likes: 0
Received 0 Likes
on
0 Posts
Fairly simple, for the PLUS (+) connect to the # 9 location on the fuse box as earlier shown. For the minus, go directly to the Minus (-) of the battery. I will post a pic later. For the LEDs, tie the blacks and reds. Red would be PLUS Positive and Black would be Minus, Ground.
If using a remote relay, just follow the wiring instructions which are self explanatory.
Then play around the On and Off button on the remote, QED.
If using a remote relay, just follow the wiring instructions which are self explanatory.
Then play around the On and Off button on the remote, QED.
I wanted to set it up such that the LED's are only on when the DRL's are on.
Thanks.