When you click on links to various merchants on this site and make a purchase, this can result in this site earning a commission. Affiliate programs and affiliations include, but are not limited to, the eBay Partner Network.
DO NOT ATTEMPT THIS MOD AS IS - ANGEL EYES STOPPED WORKING AFTER A YEAR. SEE MY POST AT THE BOTTOM OF THE THREAD FOR MORE INFO
This is, by far, the scariest and most complex mod I've ever made to the car, but I'm pretty happy with how it turned out and wanted to share with you guys.
I wanted more modern tail lights, but I didn't want to go for the 2006 conversion (mainly because I'm cheap as hell, but also because I wanted a look that was mine and only mine!).
So I decided to insert red angel eyes INSIDE the lens case. I figured that the seamless look of COB lights would give the car a nice modern look but keep an OEM feel.
I posted a quick video of the process below. Some notes if you want to attempt this:
My next project (if I manage to do the other side successfully) is to do the same thing on the indicators, with orange lights, obviously. I think it'll look really good to have the two circles in the back.
Question for the forum: how should I seal the slot? I'm thinking some sort of putty, but I'm not sure which. It was to be 100% water-tight or I will have corrosion issues. All ideas are welcome... and thanks for reading.
I calculated resistance to determine if I need load resistors or not. Here's a summary:
The original, incandescent light draws 0.41 amps
The LED bulb I have there draws 0.031 amps
The Angel Eye draws 0.321 amps (note that this is almost 10x what the LED bulb draws)
Everything is in parallel, so the currents get added
0.321+ 0.031 = 0.35 amps, which is "almost" what the incandescent light draws
The manufacturing of incandescent lightbulbs is not very precise, it's not uncommon to see +/- 10 or even 20% variations in current draw. This means that there is no way the car is sensitive enough to detect a 0.06 amp variation between my angel eye + LED combination and the original incandescent bulb.
So my new taillights work well without a resistor anywhere. No dash light.
For the brakes:
The incandescent light (21W, both filaments on) draws 1.78 amps
The LED draws 0.157 amps
So we are missing 1.62 amps
I used a 6 ohmns (2amps ) resistor I had lying around. Sure enough, after turning the car off and restarting again, no dash light with the lights on, or off, nor braking....
Very ingenious. I wonder if you could have heated up the lens and separated it. I have a Lexus lx450 and that is how we tint the inside of the lenses. Heat up in an oven and the sealant gets gooey (technical term) and you can pry the two halves apart. Do the work then use silicone to put back together.
Anyway you asked about what glue to use. I would use silicone sealant. If you have some 2 part seam sealer it would be better, but the gun for that is not cheap.
Another thing you might have to do, when I added led tails to my other car, I had to add a resistor in line so that my cruise would still work. Same for turn lights, to stop the hyper flash.
Another thing you might have to do, when I added led tails to my other car, I had to add a resistor in line so that my cruise would still work. Same for turn lights, to stop the hyper flash.
Thanks! Yes, I've read about putting the lens in the oven, but to be honest, I simply don't dare to do it! I'm really afraid the plastic will crack or something... did it work out ok for you?
Yes, I need to put load resistors everywhere once I hook everything back up and I've recalculated consumption for the whole thing (angel eyes + bulb). I don't want to overload the cables.
RE: sealant. Would you suggest I use simply bathroom silicone? How do I prevent it from seeping into the lens unit? Isn't it a bit too fluid to hold before it dries up?
Awesome modification! Great write up and video! I'm very intersted in following this mod too! YOU ARE ONE FIRE BUDDY! KILLING IT! You could use a two part (plumber's) epoxy to fill the gap. That stuff is great for PVC work so should work here. It's also creates a waterproof seal. Check it out! Great work! Can't wait to see the final product with the LED and angel eye actually on that car.
Awesome modification! Great write up and video! I'm very intersted in following this mod too! YOU ARE ONE FIRE BUDDY! KILLING IT! You could use a two part (plumber's) epoxy to fill the gap. That stuff is great for PVC work so should work here. It's also creates a waterproof seal. Check it out! Great work! Can't wait to see the final product with the LED and angel eye actually on that car.
Thanks Shawn! it's the one advantage of having a six month long winter... :-)
That epoxy you mention is not J-weld, is it? That would seem excessive... Can you recommend a brand maybe?
Thanks Shawn! it's the one advantage of having a six month long winter... :-)
That epoxy you mention is not J-weld, is it? That would seem excessive... Can you recommend a brand maybe?
J Weld would work but if you ever have to remove it, might be tough. You'd have to dremel it again. I've used Harvey's and Oatey's Plumbers Putty. I can be painted (i think) and even removed later (with a chisel or screwdriver). You could also use Bondo filler after putting a mesh over the gap.
J Weld would work but if you ever have to remove it, might be tough. You'd have to dremel it again. I've used Harvey's and Oatey's Plumbers Putty. I can be painted (i think) and even removed later (with a chisel or screwdriver). You could also use Bondo filler after putting a mesh over the gap.
yes, on bathroom 100% silicone. Set it upside down on some waxpaper. gravity is your enemy!
Thanks for the tip on the waxpaper: very good idea.
After watching the video, I think I'm sticking with my proven slot method. Not sure I'd trust anyone who uses a butter knife to disassemble a highly fragile piece of equipment... :-)
Nice write up! Some tail lights can be baked.. I tried baking my 01 GS tail lights and well it didn't budge, just ended up cracking it. If the lens is held in place with butyl it can be baked and seperated but if it is held in with a solid epoxy of sorts then no baking will not work. My GS tail lights were held in by said hardened epoxy.
Nice write up! Some tail lights can be baked.. I tried baking my 01 GS tail lights and well it didn't budge, just ended up cracking it. If the lens is held in place with butyl it can be baked and seperated but if it is held in with a solid epoxy of sorts then no baking will not work. My GS tail lights were held in by said hardened epoxy.
I was able to finish the second lens. Looks just as good as the first: the angel eye snapped right into place, same location as the first one (I was worried that I would have to reposition them manually, or that they would look askew when installed in the car).
I started sealing the slot. Like fj40ih8mud suggested, I used 100% silicone, transparent. To borrow a phrase from medicine, I'm using a "scaffolding technique": layer upon layer as they cure. Second round tomorrow... if I try to put it all at once, it's going to seep in.
Lastly, I realized that I can't do the same thing with the turn signals, as I planned. Unlike the main light, the receptacle is not open: there is a "sub receptacle" inside where the bulb fits. Weird. So it's going to be an LED bulb there as soon as ShawnOK tells us which error-free bulb he used and if he liked them... right Shawn? :-)
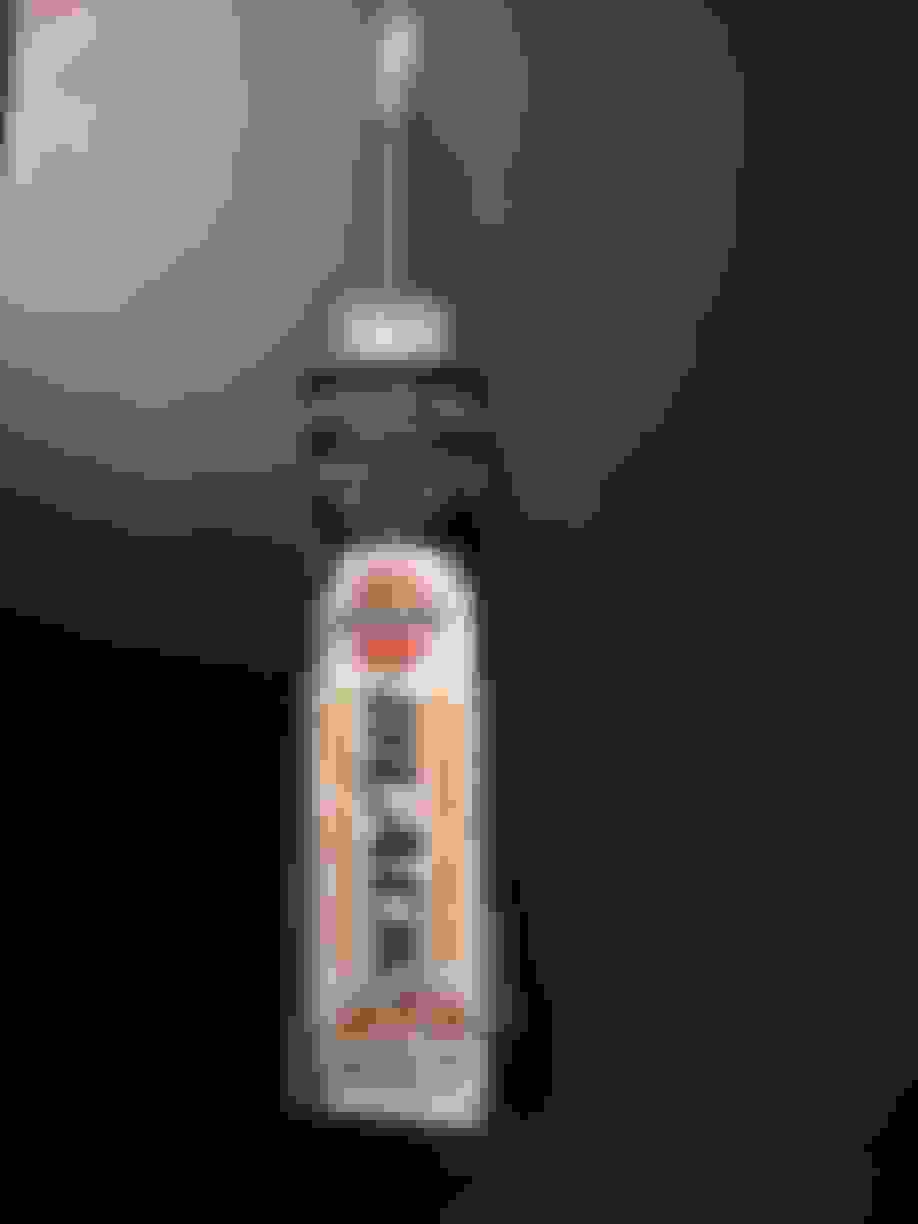
An interesting turn of events today: the silicone I put on the other day WOULD NOT CURE. No idea why, maybe it was defective, or old, or I put it on when it was too cold... whatever the reason, it just stayed a gooey mess for three days even under a heater, so I decided to take it all off (messy job) and replace it with this:
Windshield sealant. Also 100% silicone, but much denser, easier to apply (smaller tube) and, above all, black. So it looks much, much nicer:
 01-27-15, 05:14 AM