When you click on links to various merchants on this site and make a purchase, this can result in this site earning a commission. Affiliate programs and affiliations include, but are not limited to, the eBay Partner Network.
try the stock air box cut a hole in the side run a 3 " or 4" hose to the from of the car done true cold air sytem that works and will sound good.
That's I did and gained about 4whp. There's a post with pictures. Also the OEM plastIc doesn't heat up like metal does. I also have a K&N drop in filter in the airbox.
My intake is completely insulated now, as is the heat shield, so with the huge cone air filter I am hoping that the set up works. Lots of time and energy spent on this and I'm not going back. Although returning to the original set up was just the base SRT intake. All I did was insulate (making ugly) and swap out for larger cone filter. If just have to unwrap all that crap if wanted the original design.
Unfortunately I threw away the stick air box when I had the SRT intake installed.
But I do believe this CIA works; when I originally got it installed at SRT I felt a HUGE difference.
But that's probably because a chip was also installed that produced more aggressive timing.
Anyone have thoughts on the efficacy of the velocity stack?
Most ugliest? probably not but it definlity isn't purdy!
If you want to put a prom dress on it might I suggest a flexible dryer exhaust line painted black and cut down the side to "snap" it on. One little tug and it comes right off (just like the perfect prom dress!)
I'm sticking with the original equipment, for better or for worse, just like I took my wife. BTW, she tried her old prom dress on recently(after 40 years) and it took more than "a little tug" to get it on and off. "Perfect".....a relative term!
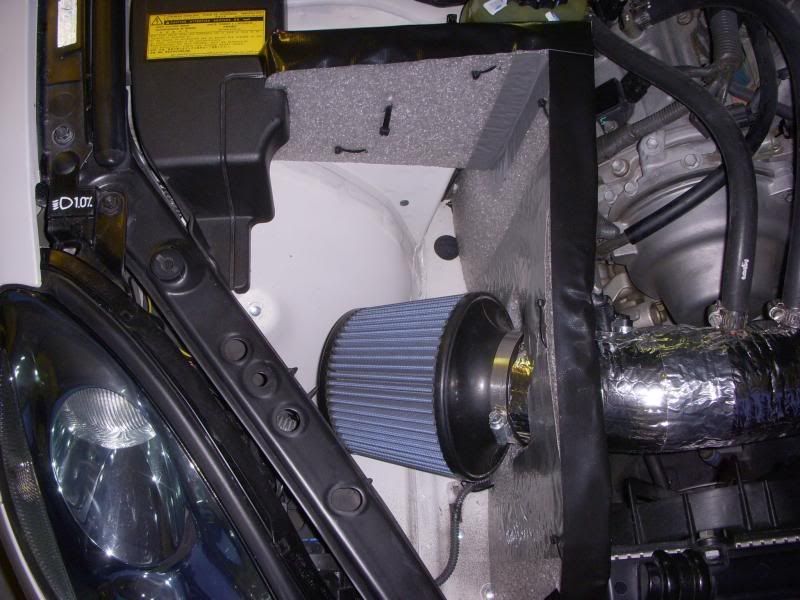
Here are some details on what I did with my CAI set up. First, I used Design Engineering Header Wrap and Silicone Paint. While this stuff is a little expensive, it is the highest quality stuff out there. You can pick it up at an auto store like Advanced Auto or Autozone:
Here are some tips for the install:
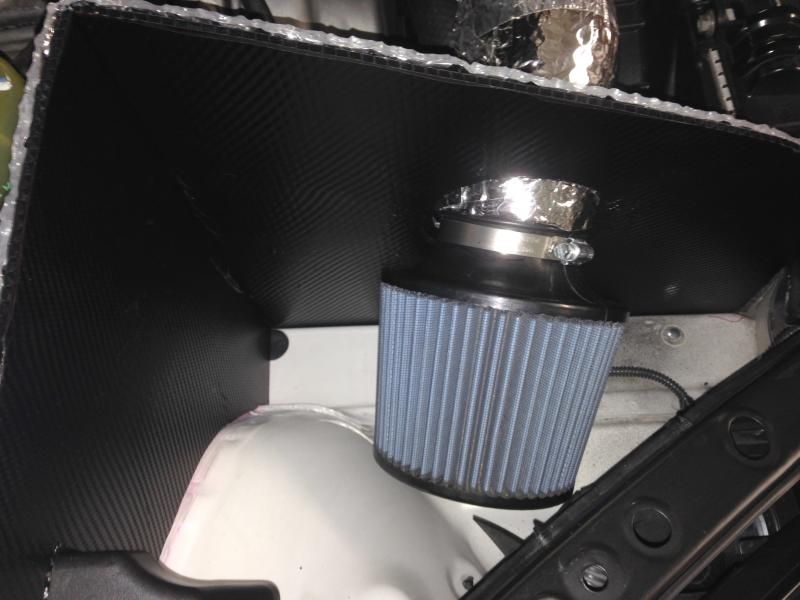
1. You mentioned that you were interested in the "couplers". That is a tight space indeed and I too found it difficult to put in the huge AEM cone filter. I went to Lowes and found a variety of flexible rubber couplers in the plumbing section ($5). These are flexible and durable and perfect for our purposes.
2. Tighly wrap the DEI product to get the best fit and finish. This may take you a couple tries. Then use your metal or zip ties to hold it in place.
3. The DEI silicone paint seals the wrap and makes it hard to the touch. It looks very nice when dry, but may take several applications.
4. I noticed your heat shield with installation. it looks good. I also had a similar set up, but then I found carbon fiber adhesive backed material on Amazon, and I put it on the heat shield and it looks gorgeous. Here is the product, and I will take a picture later so you can check it out:
I also put this carbon fiber material on the intake, but it wrinkled. I spent a lot of time figuring out how I could apply this materially in a smooth and continuous fashion. I just ordered some neoprene adhesive backed material to put on the intake, and then the carbon fiber material on top of that. I'm hoping it applies nicely, and I can let you know. I feel that the neoprene would also act as a heat insulator. Here it is:
5. There is a small hole just in from of the your cold air intake, next to the headlight, a few inches from the grill. There is a plastic-rubber cover there. If your take it off, or bend it back, I believe there will be a lot more cold air blowing into your intake via the front of the car and grill. I bent this material back, hoping to allow for better airflow, although I cannot quantify if this makes an improvement or not.
6. Lastly, it just occurred to me the other that the lines coming out of our intake are vacuum lines and we can feed Seafoam into those hoses to clean the upper engine. It is really easy. Just pull one off and dump about a 1/3 or 1/2 of the bottle in the vacuum (it will suck it right up) and then rev your engine. You'll see a massive bloom of smoke, which is actually just steam produced from the Seafoam.
I see your heat shield has tape on the edges? You can tape some rubber hose and cut it down the middle with the razor, and it will fit perfectly on these edges. Pics to come...
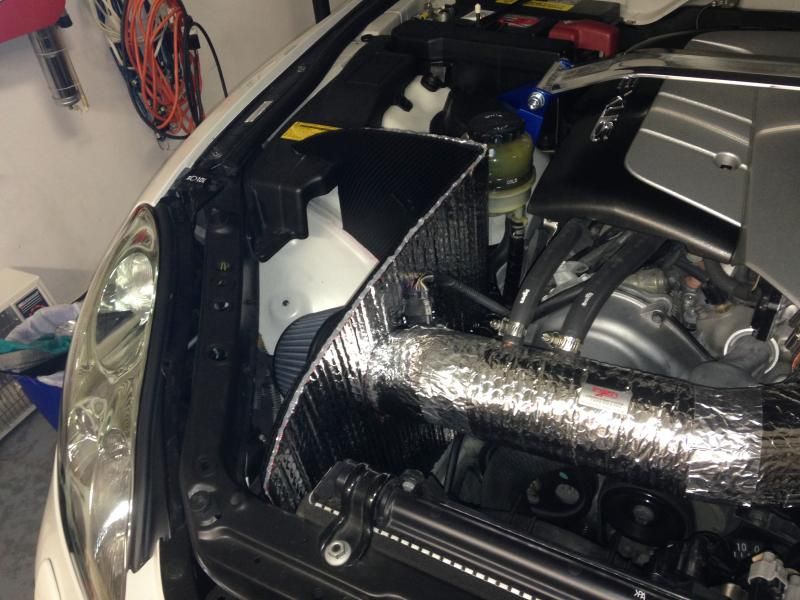
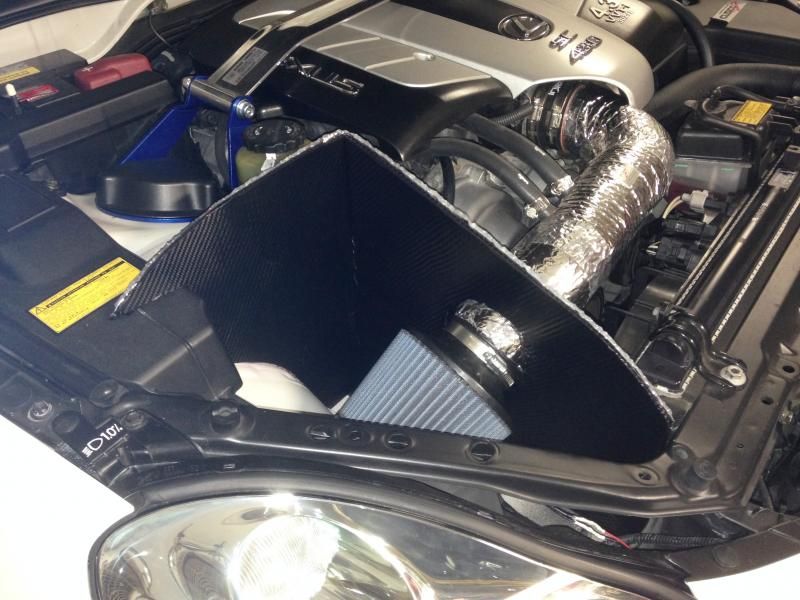
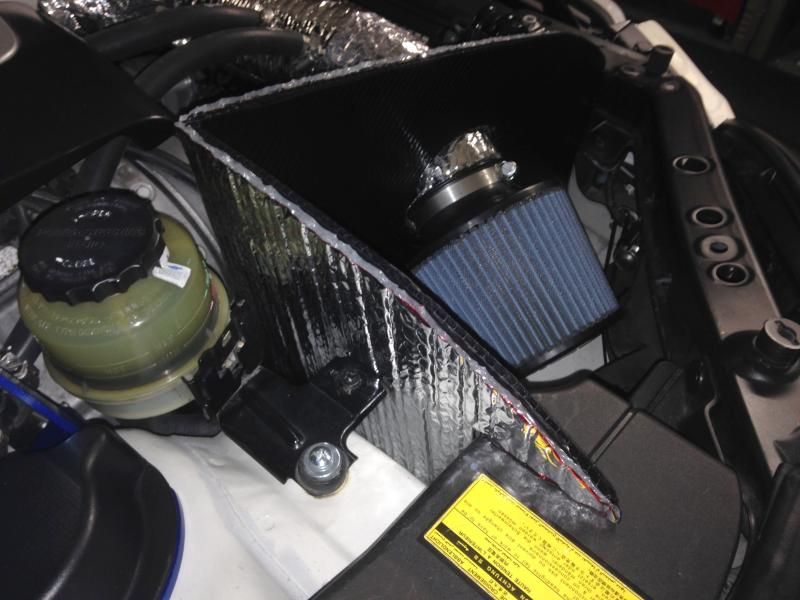
Lexbrett, thanks for your inspiration, finally had time to upgrade my intake. I found a 1/4" plastic board at Home Depot and this is what I used. For insulation, I likewise used an insulation wrap, found at HD, had plenty left over from my previous intake DIY. I used 2 sided tape to get it to stick to the board.
I had left over Carbon Fiber wrap as well, used it to wrap the inside of the plenum. I had plenty of practice with the carbon fiber, it it pretty forgiving, pull it out and stretch, until wrinkles and bubbles are gone, using a hair dryer. Mine's wrinkly too but who cares.
Thanks for the tip on the rubber hose, I will use that to cap the edges. where did you get the hose?
Like you said, I too, folded some of the rubber cover on the side of the headlight to allow fresh air to go into the plenum, in addition, I installed like a diverter into the grille to scoop fresh air to the plenum, using a piece of binder cover and tie warp it so it stays.
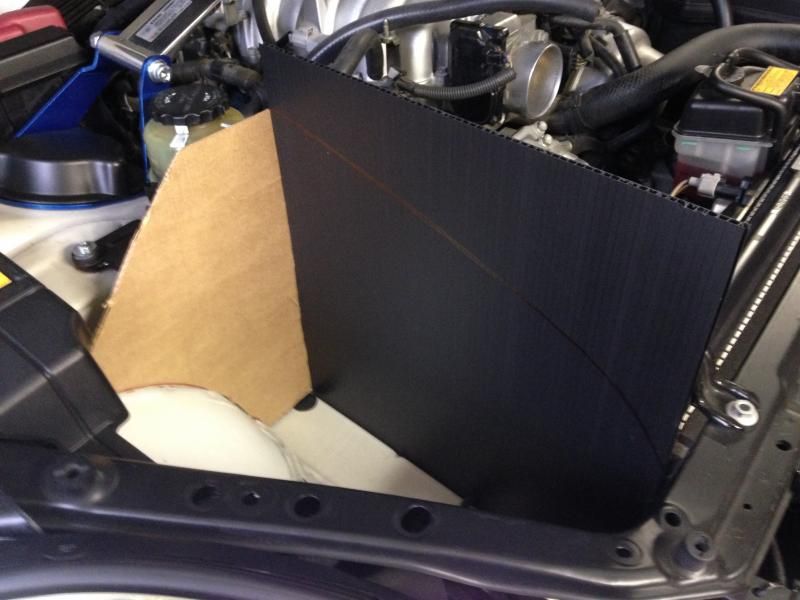
Here are my pics of the steps. Use a cardboard to do your template, cut and wedge into place. They will stay, no need to anchor the plenum.
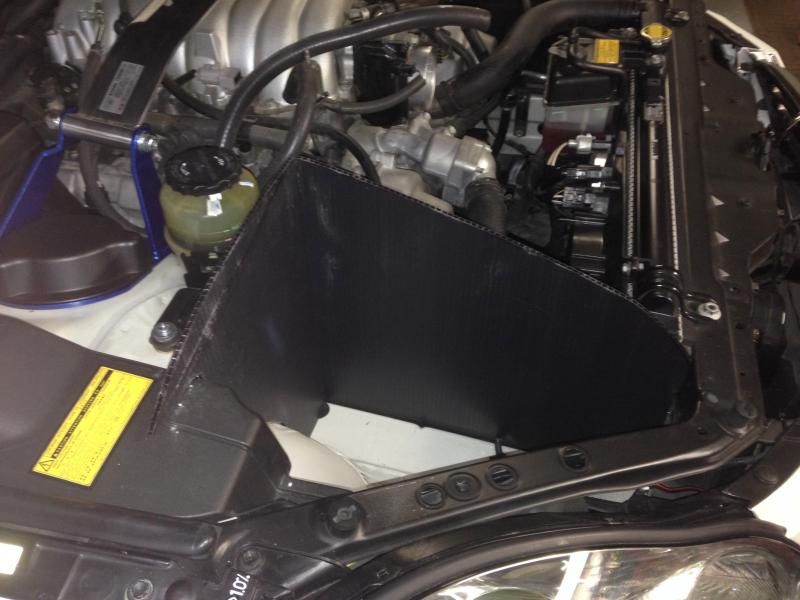
All that is missing is the cap over the edges. I used gorilla tape and after some time, with heat they fail. The rubber cap is a good idea. Also, I had to remove my Cusco bar to get the engine cover out, to get my intake pipe out. In so doing, being careless, I lost a pipe clamp (on the big vacuum hose) into the engine bay, it is wedged in between the V8 engine, at least I know where it is. I saw it and when I tried to get it with my magnet, I lost it, lesson learned, think before your hand moves.
Finally, you will notice that I designed my partition as close to the to the bottom of the hood, not allowing hot air to come form the top. I used some baby powder on top of the plenum to see how high I can go before it rubbed the insulation, Then I backed off an 1/8 inch so the hood does not touch the plenum. Hence you will see that my intake is high.
Hey Buddy,
I used spectre split loom flexible hose for the edges. You can get this on Amazon, or go to Pep Boys. It comes in black, red, blue, chrome, and yellow. I used red and it looks really nice. I showed the guys at Pep Boys and they thought it looked great. I will post some pics later.
I too used carbon fiber wrap to finish up on the heat sheild as well as the intake. There is just no way of getting around the wrinkles.
Do you notice any difference with all the insulation? I guess it would be hard to tell..
I sure did feel the difference using the insulated plenum for the intake. I used my ScanGage e and it showed that the intake temperature took a while to raise while on a stop. Whereas before the plenum, it sucked up the engine bay air which can go as high as 200+F.
Now with the insulated plenum, it takes a while to get the intake air to get up to engine bay temps, while you are on a stop. Otherwise while running, it takes on the ambient air temps. Winter time is OK, summer time is where we get all the benefit of the intake air plenum. Of course the best would be an intake in front of the radiator. In our SC430 case, it is near impossible. My Miata has a true CAI.


 12-11-14, 06:35 AM