SC300 stereo system and interior rebuild
 08-07-11, 09:32 AM
#46

That's nice man I like the suede headliner I'm waiting for the rest of my suede to come in so I can finish that up also.
As for the dash wood grain you have to remove the glove box and there are wing nuts on the back of the wood trim that need to come off but they might be tight. Mine were super tight. Then a couple of 10mm nuts and then it should come out but just be gentle.
Let me know if you need any other help I'm always down to help out if I can
 , and i'll definetly be picking your brain somemore!...Ha Ha Cant wait to see how your build comes out.
 08-10-11, 12:32 AM
#47
Driver
Thread Starter

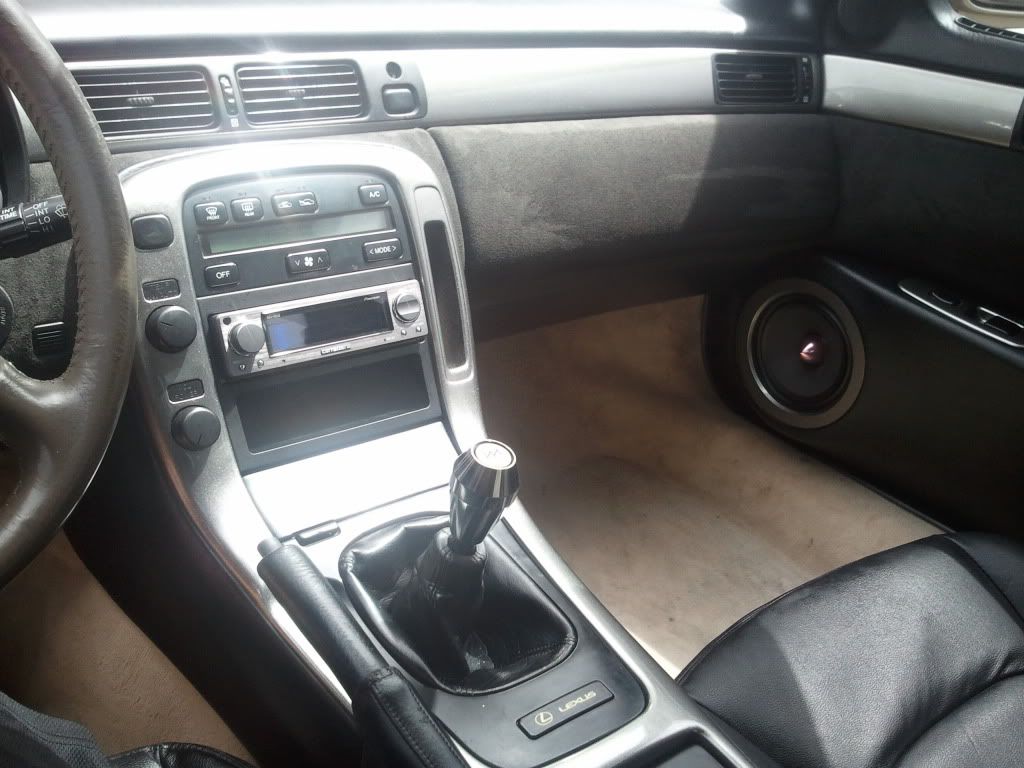
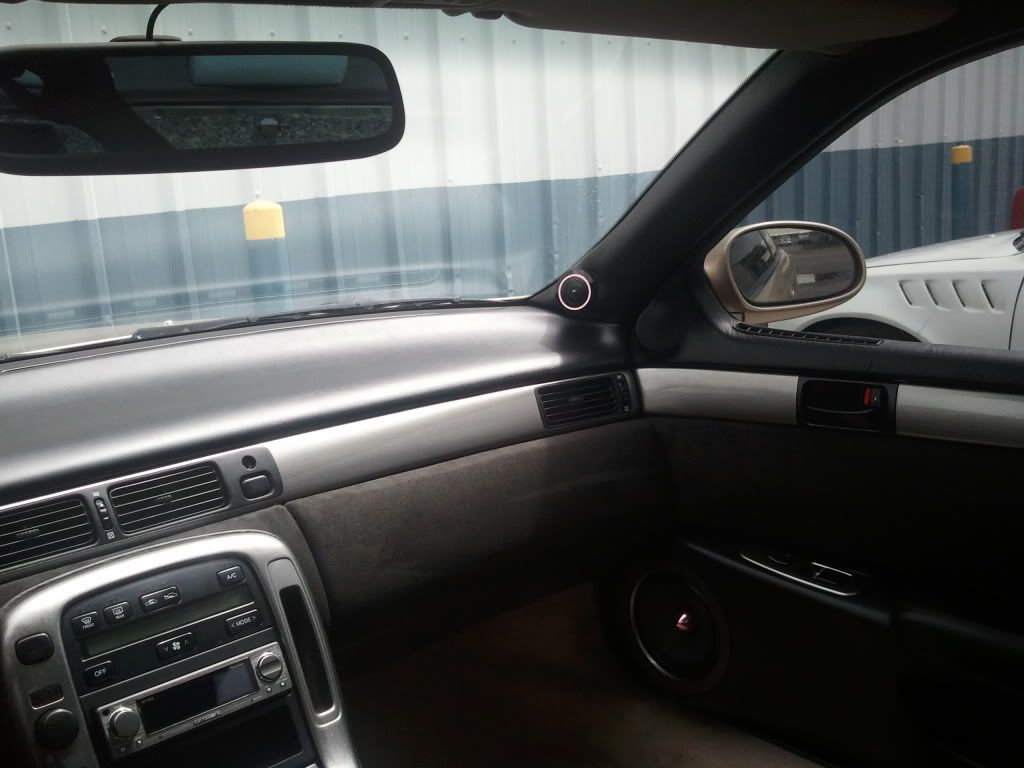
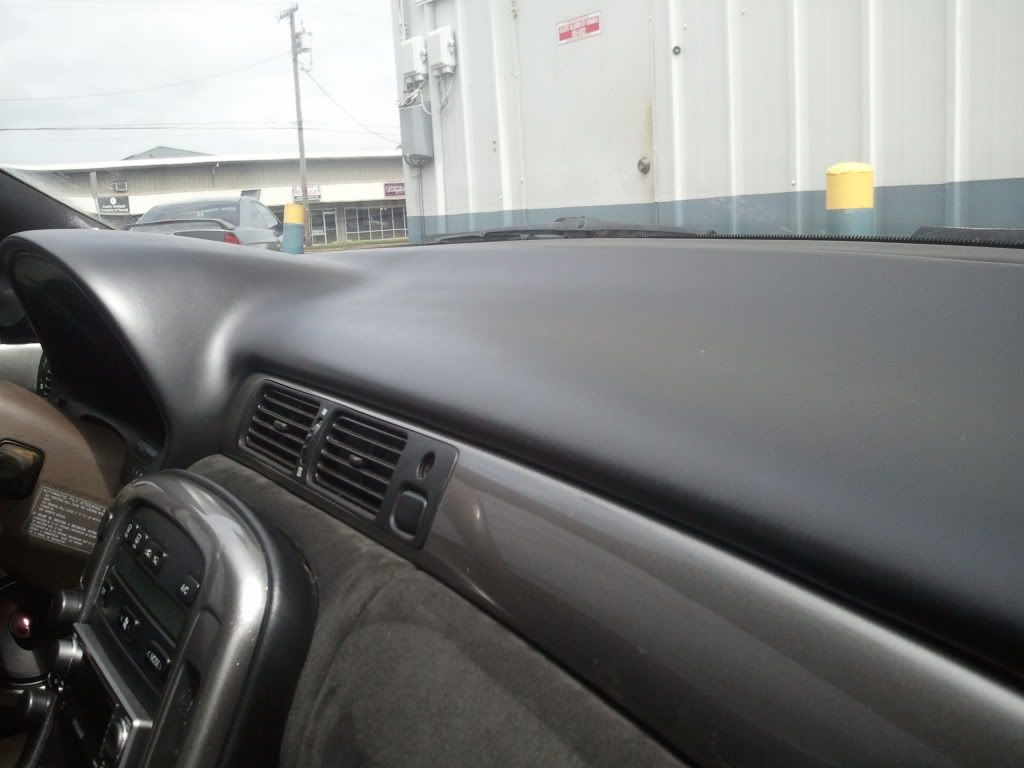
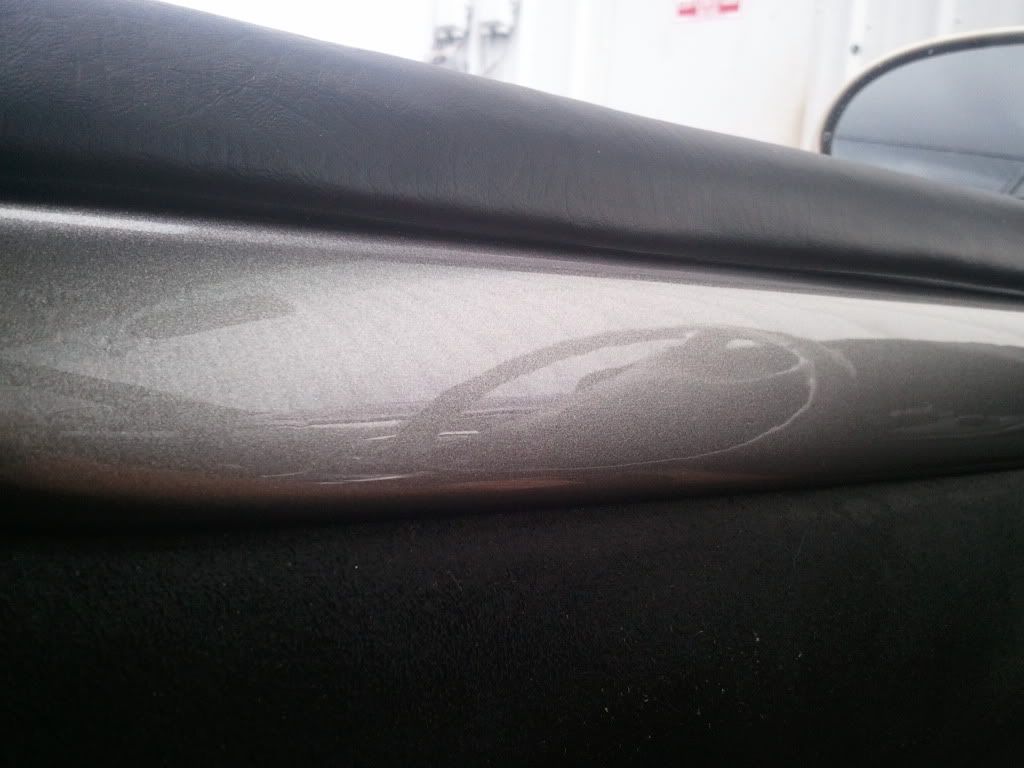
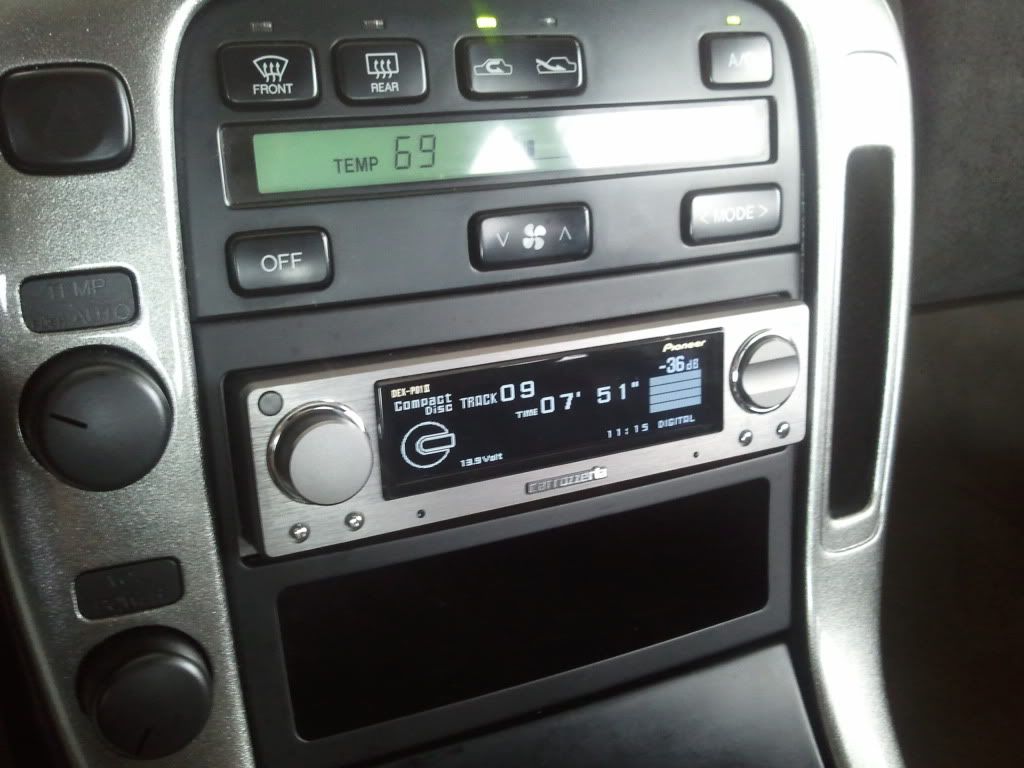
Got a little update. Dash is back together and most of the interior is back in. Mostly all of the wrapping and dyeing is done for now. I just need to find a black steering wheel and have someone stitch a new cover for the center console arm rest along with a few other things.
Stock interior before

After


Stock interior before
After
08-10-11, 06:39 AM
#49
Lexus Test Driver
iTrader: (17)

Join Date: Sep 2003
Location: Texas
Posts: 849
Likes: 0
Received 0 Likes
on
0 Posts
Great looking interior! You should buy my 1999 OEM Black SC 3 Spoke steering wheel with air bag. That would really set that interior off big time. It's really hard to understand until you see it in person how much better a 3 spoke looks and feels in a SC interior. Looks 1000% better! Mine is in excellent condition for $350. Email me for pics if your interested. draytonwebb@yahoo.com
08-10-11, 08:05 AM
#50
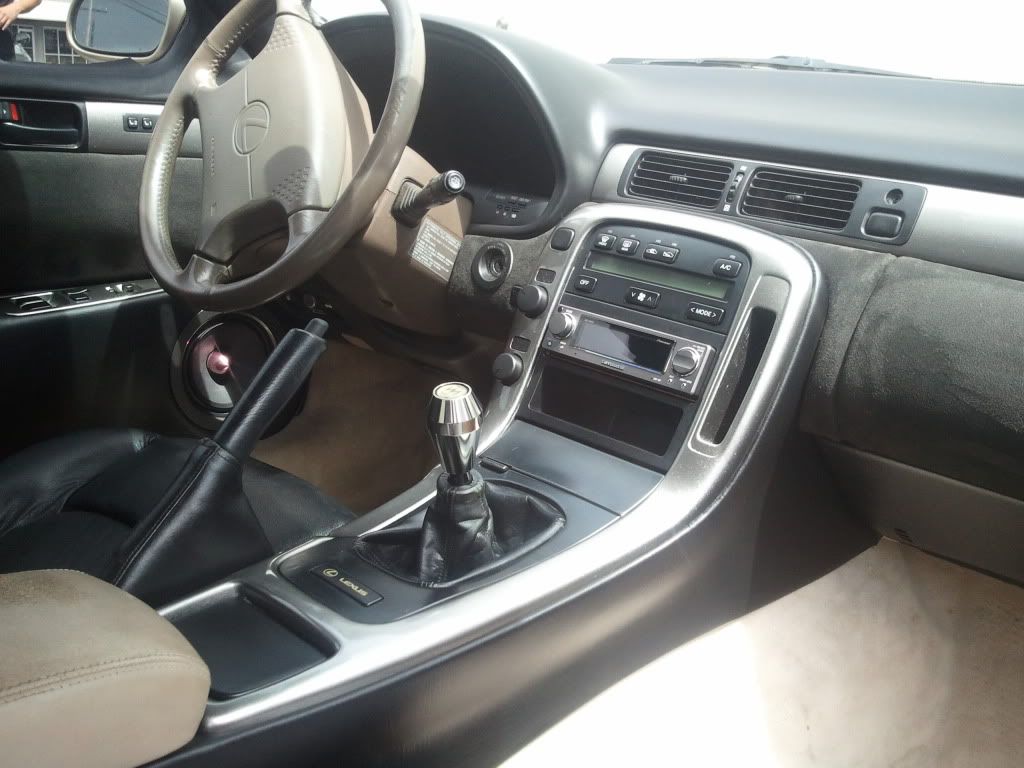
DAAAUUUMMMM!!!! That's a thing of beauty right there JMO I think you should change or spray the steering column when you swap the steering wheel. (you were probably going to do that already though right?) Pure sickness bro. Now on to the next one(the sub enclosure and mounting location maybe?) 
This is what i did to mine:


Even changed the crotch vent to black just for an accent.
JMO I think you should change or spray the steering column when you swap the steering wheel. (you were probably going to do that already though right?) Pure sickness bro. Now on to the next one(the sub enclosure and mounting location maybe?) This is what i did to mine:
Even changed the crotch vent to black just for an accent.
08-11-11, 01:46 AM
#52
Driver
Thread Starter
yeah i gotta do the wheel next. I found a 2000 celica gts thats being parted out here and the 3 spoke wheels is still intact and i can get it pretty cheap so i'll prob go that way.
thanks for all the comments guys
thanks for all the comments guys
08-14-11, 10:32 PM
#58
Driver
Thread Starter
Update time. I decided to tackle the amp rack and processor mounts today so I can get it wired and playing. I haven't had any music in the car in over 3 months and it's killing me.
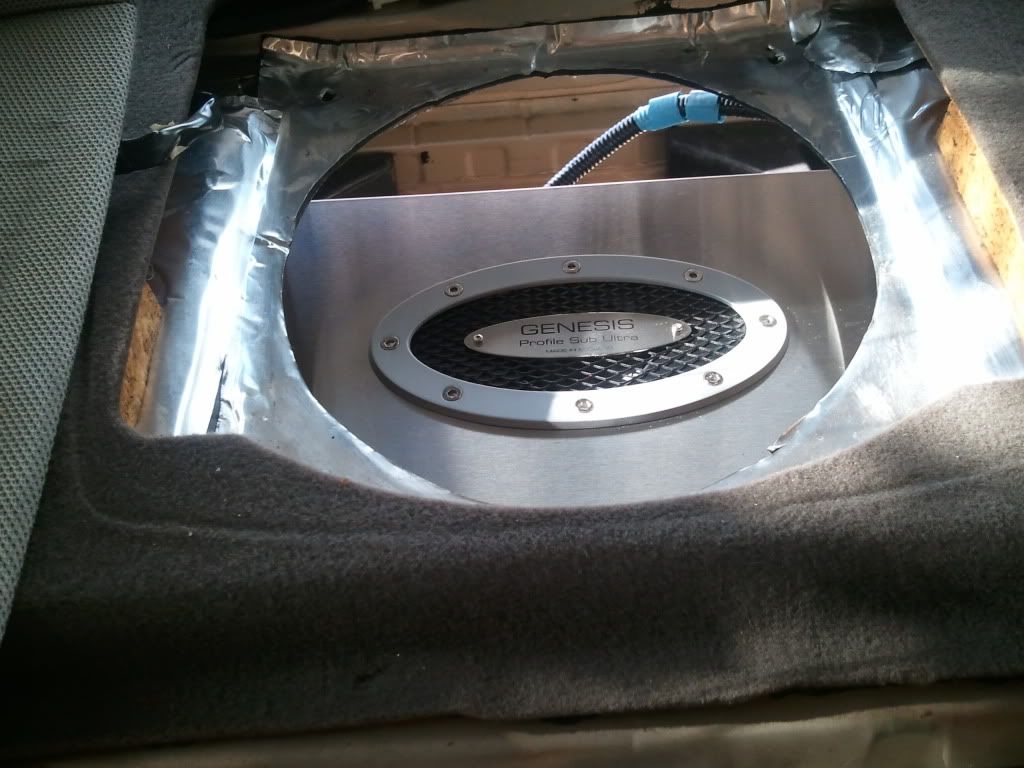
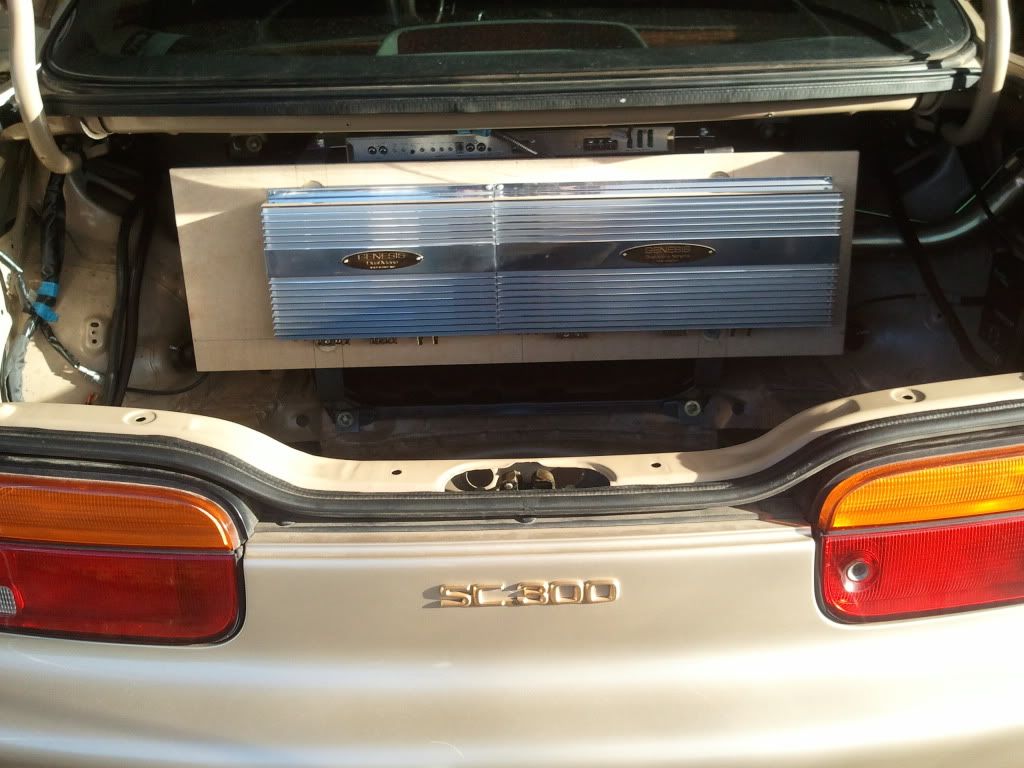
I want to show all the amps and processor but I have to problem of different size amps and different series. I decided to mount the sub amp over the gas tank and have the top of the amp show through the rear deck. It will give a nice look to the deck and also give a way for the hot air to escape via the fan mounted in the middle of the amp. The midbass and tweeter amps will have equal size windows to show them and that will take care of the problem of different size amps. Processor and basscube are mounted on the passenger side corner and the processor will also be shown but the basscube will be hidden.
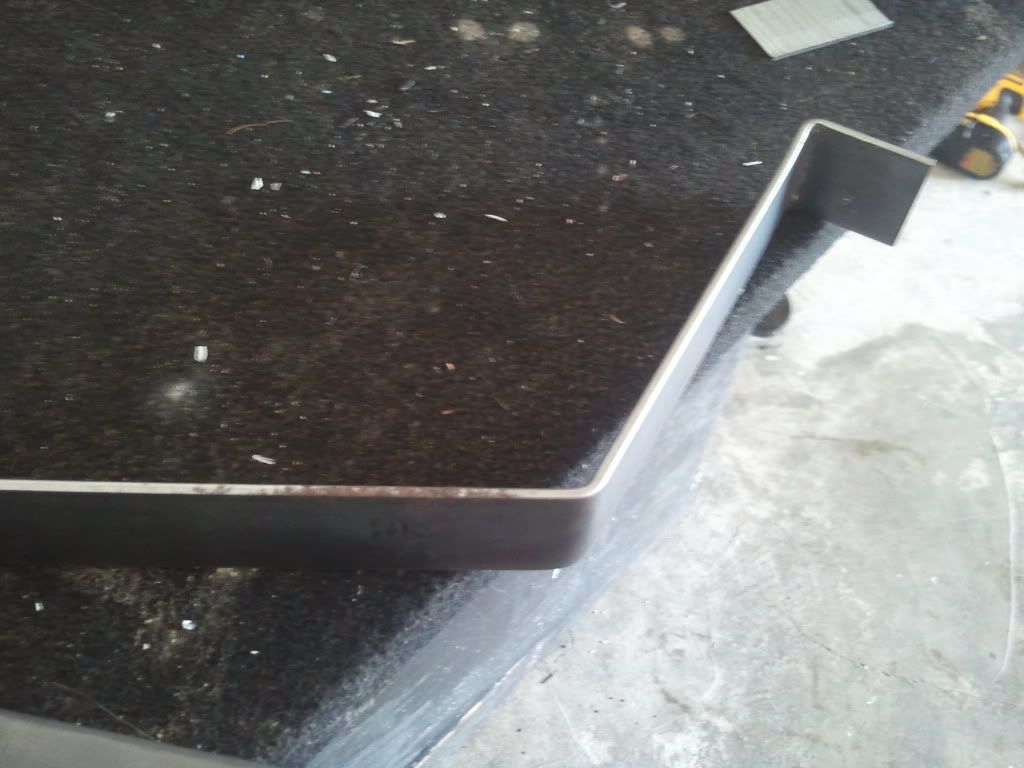
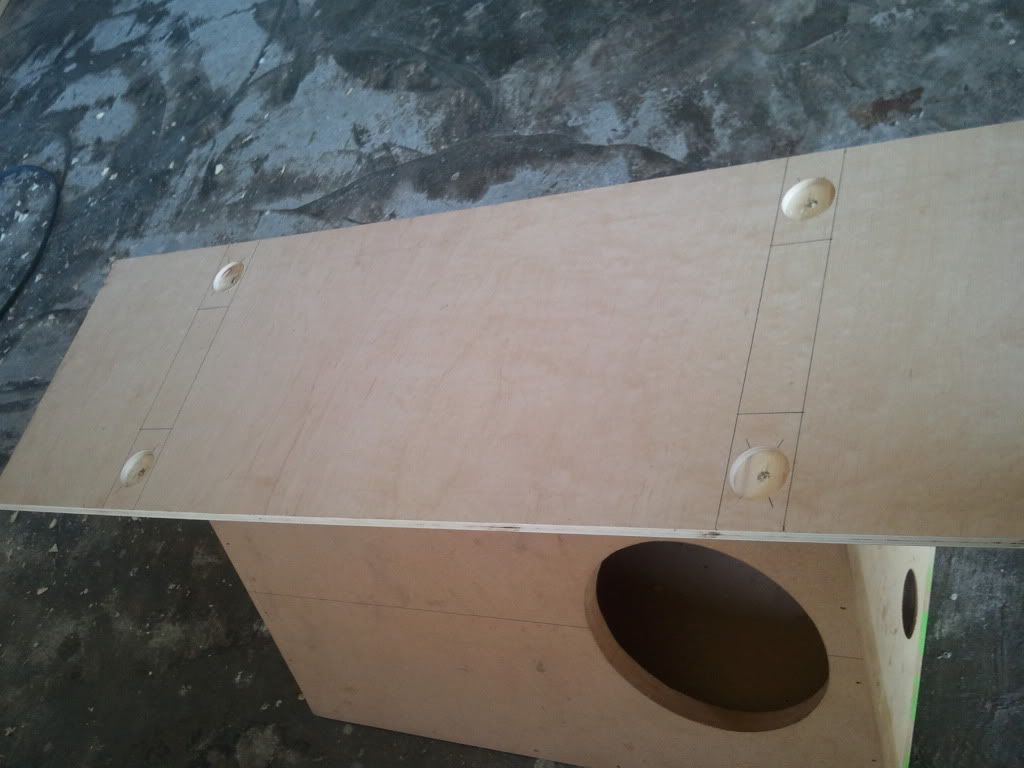
I built the amp rack out of 1/8 x 1 1/2 inch steel and 1/2 inch birch. That means it was time to get old school and bust out the trusty hammer and vise. I got the pieces to hold all three amps without too much work.
I started with a straight piece and ended up with one like this and then I just had to copy it for the other side.

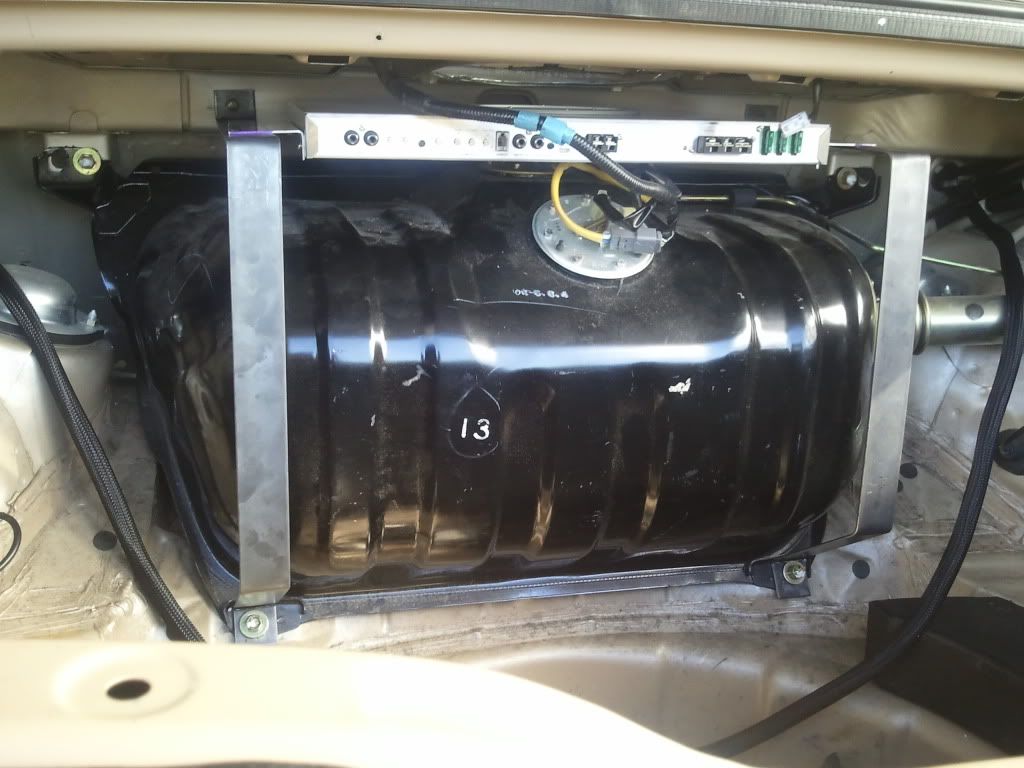
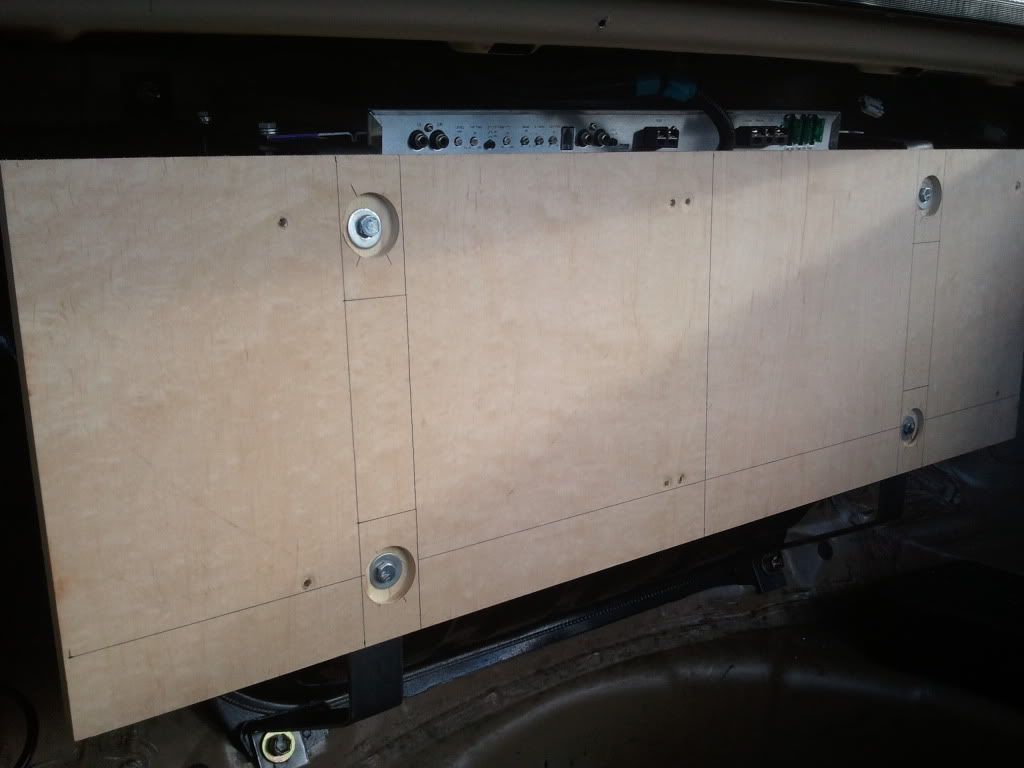
The bottom of the mounts are bolted down with the factory bolts for the gas tank and the top is bolted through the front of the rear deck. I had to drill holes from in the trunk and holes from behind the rear seat to be able to bolt it in.
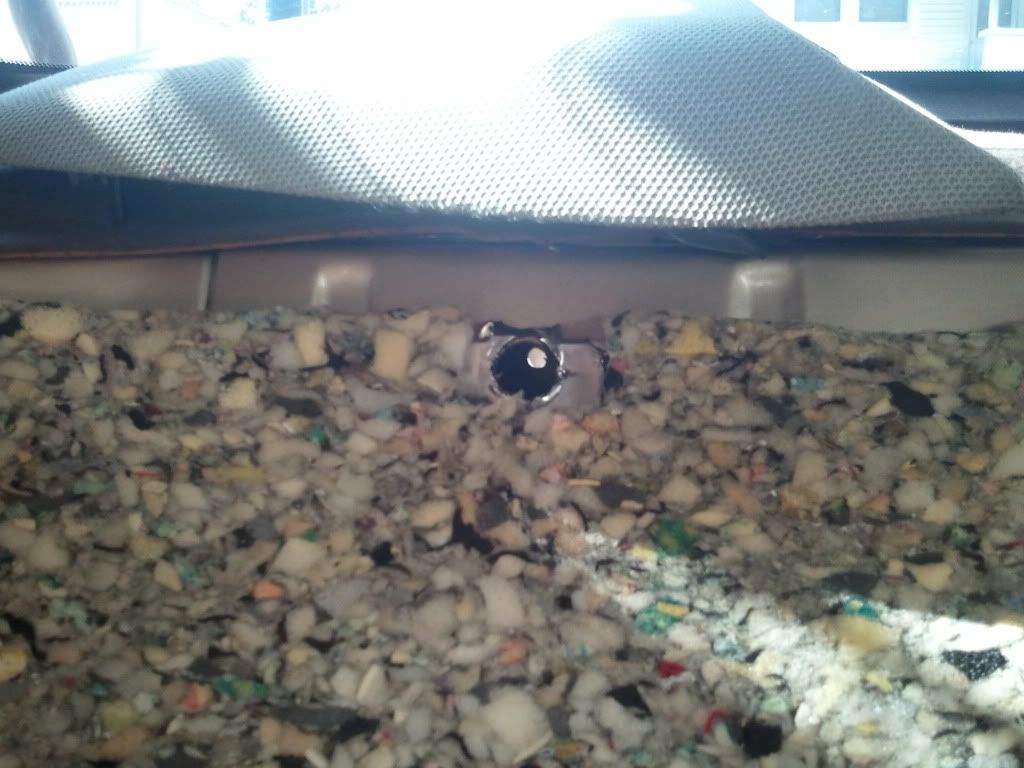
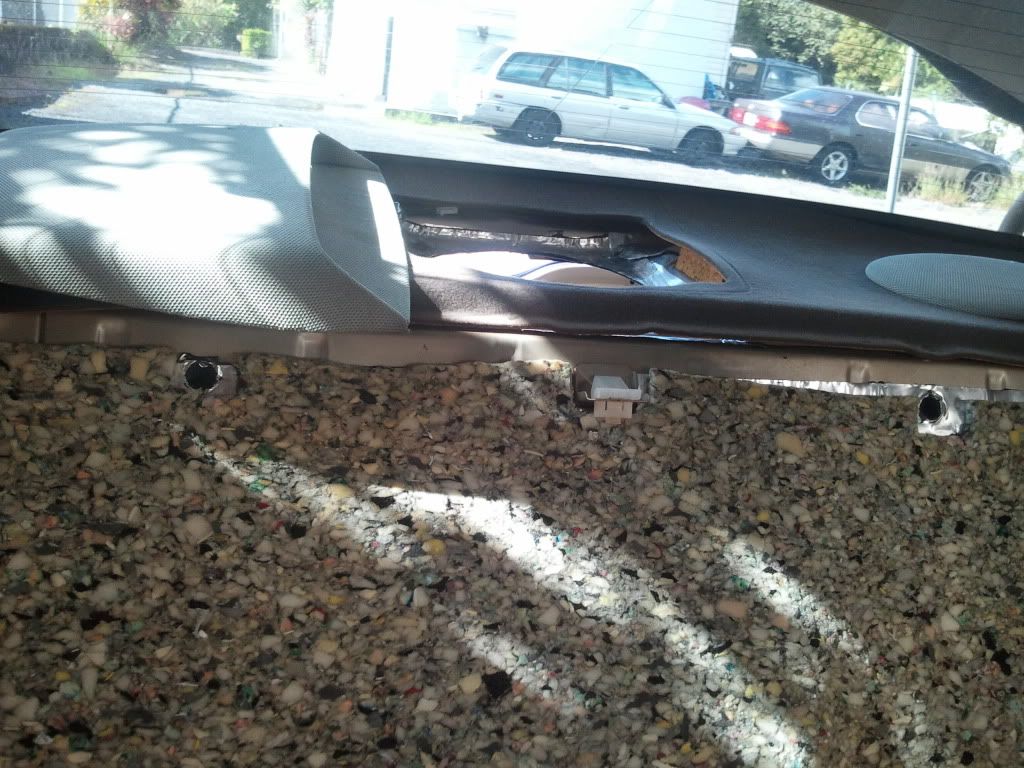
View of the sub amp through the factory rear speaker opening. It looks off centered because of the angle I had to take the pic at
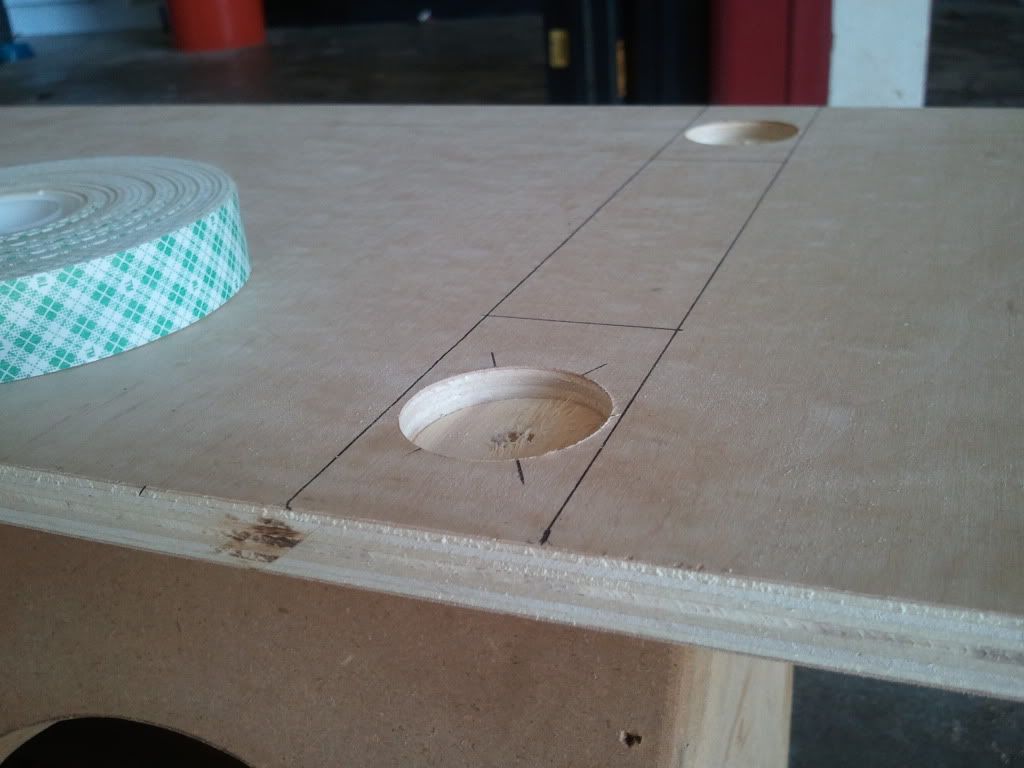
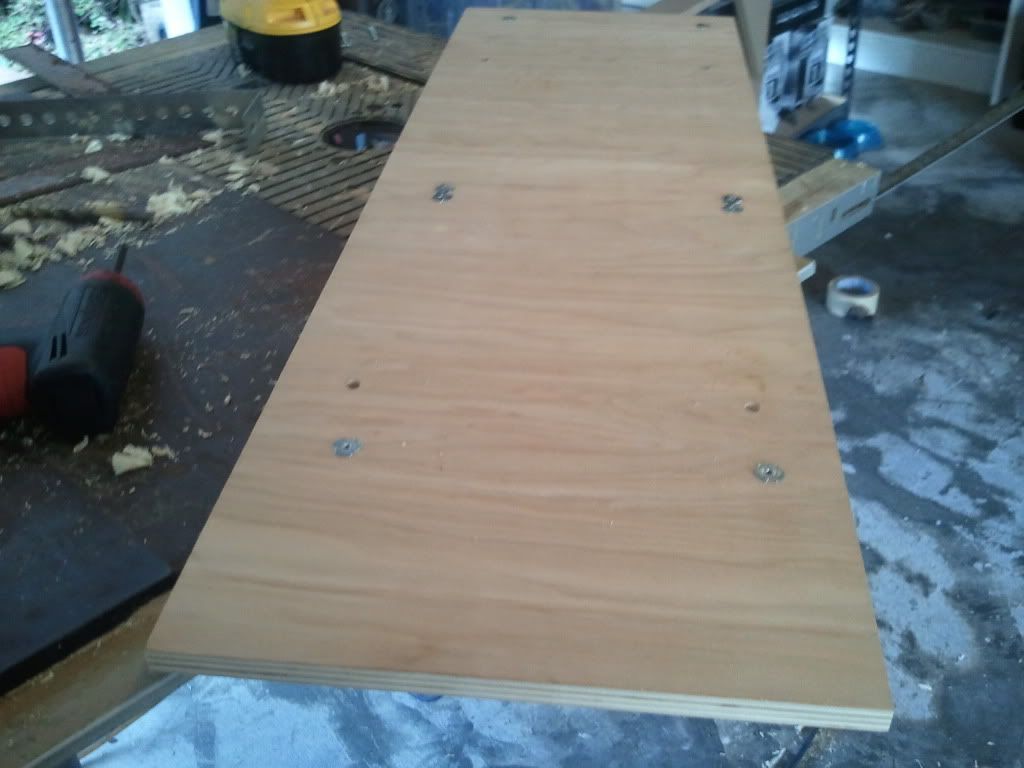
I used the 1/2 birch to make the plate that holds the 2 front amps. It is secured to the steel rack with bolts and the amps are secured to the plate with hurricane nuts.
I want to show all the amps and processor but I have to problem of different size amps and different series. I decided to mount the sub amp over the gas tank and have the top of the amp show through the rear deck. It will give a nice look to the deck and also give a way for the hot air to escape via the fan mounted in the middle of the amp. The midbass and tweeter amps will have equal size windows to show them and that will take care of the problem of different size amps. Processor and basscube are mounted on the passenger side corner and the processor will also be shown but the basscube will be hidden.
I built the amp rack out of 1/8 x 1 1/2 inch steel and 1/2 inch birch. That means it was time to get old school and bust out the trusty hammer and vise. I got the pieces to hold all three amps without too much work.
I started with a straight piece and ended up with one like this and then I just had to copy it for the other side.
The bottom of the mounts are bolted down with the factory bolts for the gas tank and the top is bolted through the front of the rear deck. I had to drill holes from in the trunk and holes from behind the rear seat to be able to bolt it in.
View of the sub amp through the factory rear speaker opening. It looks off centered because of the angle I had to take the pic at
I used the 1/2 birch to make the plate that holds the 2 front amps. It is secured to the steel rack with bolts and the amps are secured to the plate with hurricane nuts.
08-14-11, 10:35 PM
#59
Driver
Thread Starter
Amps all mounted and waiting for wiring.
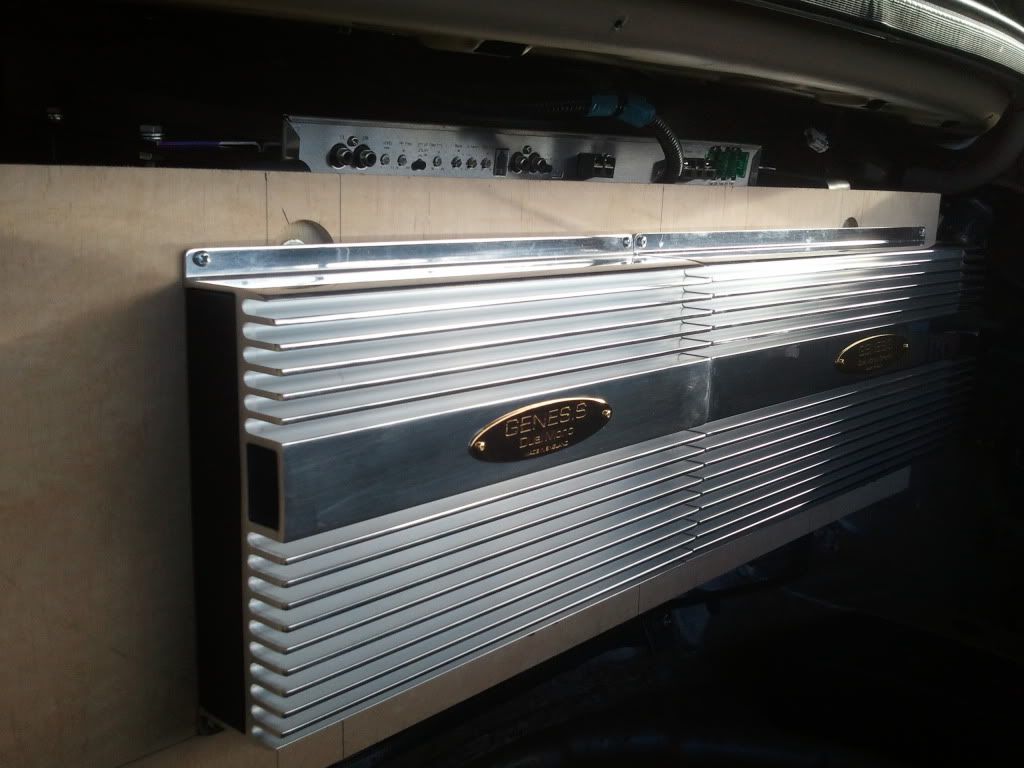

Yes I know the amps aren't centered but the key to it is the emblems are even centered in the car so when i make the beauty panel it will look normal.
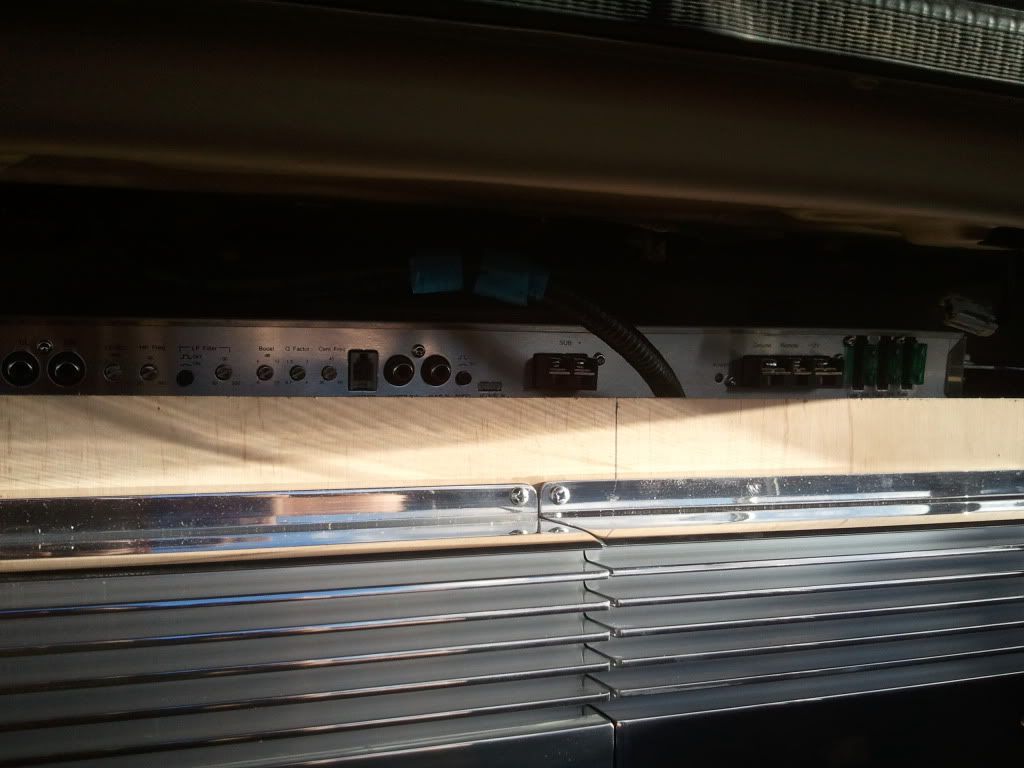
One good thing is that I can keep all the wiring running the same way ( Power on one side and signal on the other. Also I can still get to all the controls for the sub amp.
Yes I know the amps aren't centered but the key to it is the emblems are even centered in the car so when i make the beauty panel it will look normal.
One good thing is that I can keep all the wiring running the same way ( Power on one side and signal on the other. Also I can still get to all the controls for the sub amp.