
DIY Tire Well Harness Relocation
 03-17-10, 10:29 AM
#31

And I did this writeup mostly as an alternative to cutting all of the wires like the writeup on the first page of the DIY thread
 03-17-10, 08:15 PM
#33
 04-03-10, 03:40 PM
#35
Hi. Haven't been on in a while but I thought I would just say that the pictures were my main reason for doing it. It's easier to show where something is than trying to explain it. I just hope it helps others like it would have helped me.
04-08-10, 12:09 AM
#36
Did this today at work. Sure was nice with a lift and power tools 

Only thing I could think of adding is trying to get as much slack as possible at the washer fluid resevoir. When pulling the bulk of the harness through that hole, you will notice there's a branch of the harness that forks off towards the washer bottle. I had to cut the factory wire loom and try to seperate the two harnesses to obtain some more slack in the primary harness. I used every last available bit of slack to get one of the connectors back into its socket (believe it was the largest connector). Made the wires tighter than I like.
Thanks for the how-to. Made it a breeze. Figured I could do it w/o a problem, just needed to see the basics, which you provided.
Last edited by Spooled; 04-09-10 at 07:10 AM.
04-08-10, 11:05 AM
#37
Rookie
Join Date: Oct 2009
Location: NC
Posts: 55
Likes: 0
Received 0 Likes
on
0 Posts
Did this today at work. Sure was nice with a lift and power tools

Only thing I could think of adding is trying to get as much slack as possible at the washer fluid resevoir. When pulling the bulk of the harness through that hole, you will notice there's a branch of the harness that forks off towards the washer bottle. I had to cut the factory wire loom and try to seperate the two harnesses to obtain some more slack in the primary harness. I used every last available bit of slack to get one of the connectors back into its socket (believe it was the largest connector). Made the wires tighter than I like.
Thanks for the how-to. Made it a breeze. Figured I could do it w/o a problem, just needed to see the basics, which you provided.
04-09-10, 07:12 AM
#38
Not sure. I was able to get my reservoir back in. I did notice that carefully cutting the factory wire loom right at that branch in the harness, where it splits next to the reservoir, and pulled the 2 harness apart a little, I got some more room. The reservoir neck was a tight fit, but it made it back in.
04-09-10, 06:43 PM
#39
Driver

Join Date: Sep 2008
Location: ca
Posts: 120
Likes: 0
Received 0 Likes
on
0 Posts
Not sure. I was able to get my reservoir back in. I did notice that carefully cutting the factory wire loom right at that branch in the harness, where it splits next to the reservoir, and pulled the 2 harness apart a little, I got some more room. The reservoir neck was a tight fit, but it made it back in.
04-09-10, 09:16 PM
#40

I tried to do this, but I couldn't get to the harness plugs since my Compustar Brain was in the way. I wasn't gonna bother to take it out and redo it.
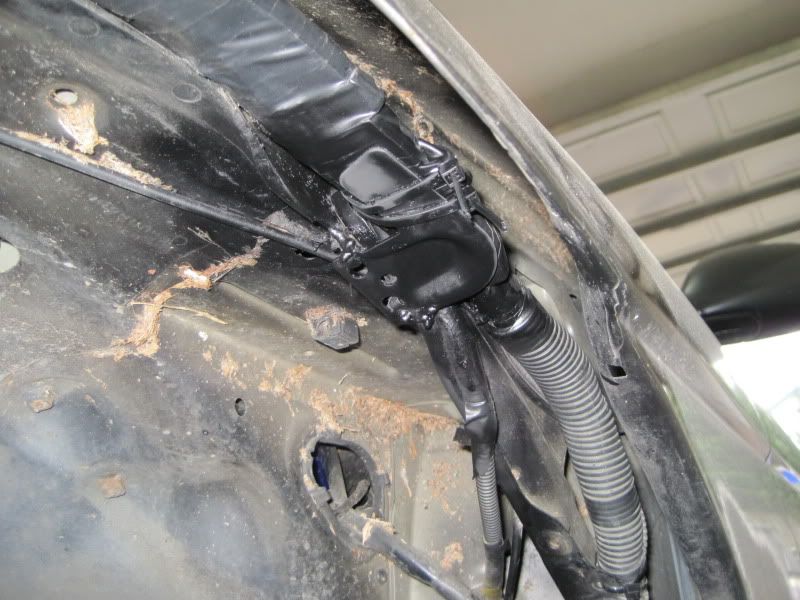
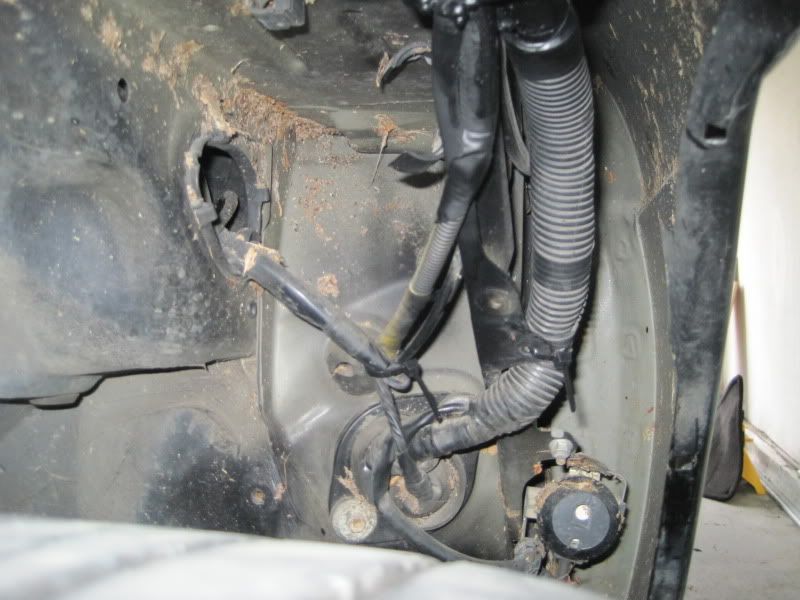
So I did this instead.
Alot of zipties and a random metal brace welded on the lip. Sanded and painted. Tucked, and ziptied. Doesn't rub.
Pics are front to back.
Car was jacked up so you can see. and for working room.


So I did this instead.
Alot of zipties and a random metal brace welded on the lip. Sanded and painted. Tucked, and ziptied. Doesn't rub.
Pics are front to back.
Car was jacked up so you can see. and for working room.
 04-21-10, 10:51 AM
#45
It depends on how low you are. If you're rubbing the lining then you might as well leave it off. Last thing you would want is to rip it off when you are on the highway. If you only occasionally rub the lining then leave it on since it looks better with it.