Visor Homelink DIY
 09-21-09, 06:00 PM
#1
Pole Position
Thread Starter
Join Date: May 2009
Location: Ca
Posts: 216
Likes: 0
Received 0 Likes
on
0 Posts
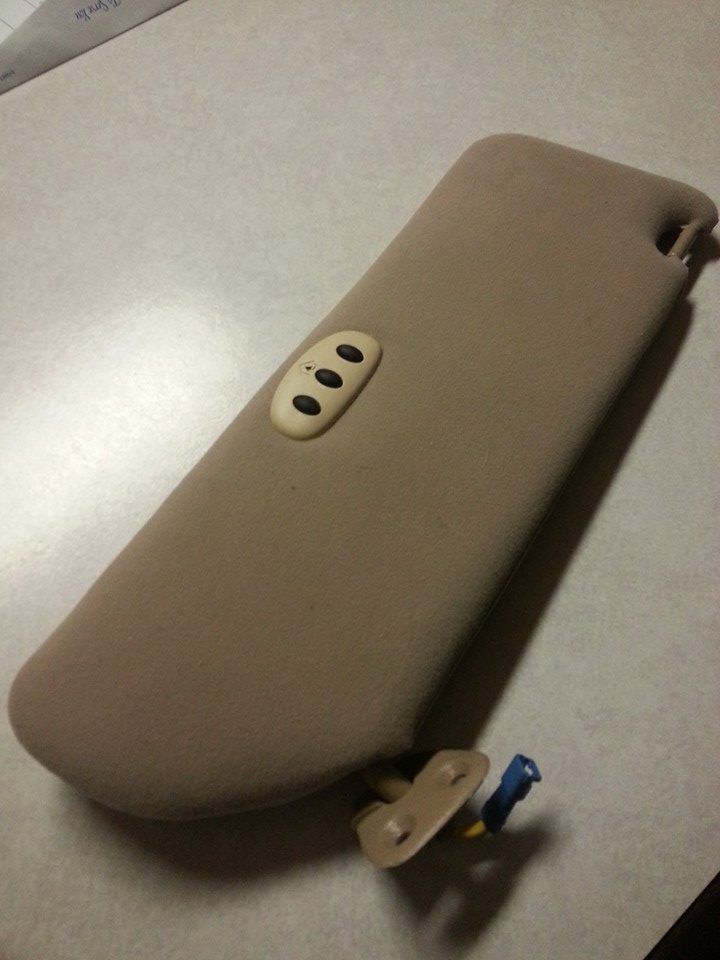
The Rolling Code Homelink was bought on Ebay for $25 with free shipping. It came with two wires on the connector, about two inches long. It was originally going to be installed in the headliner, but the visor was less risky. It is positioned behind the driver's visor mirror and uses the mirror wiring for the electrical source. This opener has short range of about 30 feet, much less than the built-in opener that came with our Camry. Make sure your mirror lights before proceeding. Open the passenger side visor mirror. If the light goes out, you have blown the 10 amp fuse in the engine bay fuse box.
Remove visor. Pry off plastic cover on the headliner. Remove two screws and unplug the connector.
Remove mirror. Pry off the plastic light cover. Remove two screws. Lift the right side and slide right to pull tabs under left edge free. Unplug connector. Set aside for now.
Remove foam. (very carefully � don�t cut through plastic liner or material.)
Lay Homelink on the foam and trace a pattern for removal. My unit had some tabs that had to be removed to allow it to go almost completely into the hole I dug out. The tabs uppermost on the sides of the unit were left in place to keep unit from pressing too hard on the material once reassembled. Carefully cut, dig, or otherwise shape the hole to hold the unit. I used side cutters, box knife, and a rough file. Again, do not cut through plastic liner and material. Relieve some of the foam to form a shallow hole where the connector rests to eliminate any binding when assembled.
Remove ribs on back of mirror. There are ribs on the back of the mirror. For the unit to fit, grind down the ribs. Depending on the thickness and dimensions of your particular unit you may not have to remove all the ribs. Now fit together and check for fit. Make any adjustments. Try not to get these black plastic particles on your visor material. They are difficult to remove.
Wiring. For the mirror, two black wires go to the plug, one hot, one ground. Identify the live wire with a voltmeter. Two wires come from the unit. Mine had a black which was ground and a green with red which was power. Remove insulation from each black mirror wire about an inch from each other and solder the appropriate lead from the unit. Insulate.
Install faceplate. Feel through the material for the location of the button holes. Carefully cut a slit from hole to hole and then carefully enlarge the hole in the material and the plastic to fit the rubber three button form and gasket and the push pins on the faceplate. Include the opening for the light in the arrow window. Press on faceplate and reinstall visor.
Program. � Go to Homelink.com. Mine didn�t program from my original opener. I had to press the learn button on the garage door motor and see the signal light flash. Go to your unit and press the button you choose for your garage. That worked for me.
I'm having trouble loading photos. I'll keep trying. I'll answer any questions.

 01-10-14, 08:33 AM
#6
Sorry to bring up an old post but I discovered something after doing this install on my car. I had a Homelink mirror in my 1992 and didn't swap it into my 1996 because it had auto-dimming outside mirrors that get their signal from the inside mirror. I still wanted the Homelink function in my car so I tried this modification and all went well until... I tried opening the garage at night. When the lights are on the car lowers the power to the vanity mirror (which supplies power to the Homelink) and it isn't enough to use the unit. Turn off the lights, it works, no problem, but if you have automatic lights it's an irritant. I'm going to go ahead and install my Homelink mirror on this car, to heck with the outer mirrors. I think there may be a trigger on it for the outer mirrors too, need to research!
Just wanted to give folks a heads-up if they were planning this update... One more hint, if you do this install make sure you get and reuse the metal bar that the box attaches to in an OEM set-up. It's the signal antenna for the Homelink and extends the range significantly!

Just wanted to give folks a heads-up if they were planning this update... One more hint, if you do this install make sure you get and reuse the metal bar that the box attaches to in an OEM set-up. It's the signal antenna for the Homelink and extends the range significantly!
08-01-14, 02:03 AM
#7
I just want to throw in a thank you to okbobo for the great writeup! I just added a used Homelink module to my driver side visor following these instructions and everything worked out perfectly. Very nice to have this feature on my older SC. Also, I have not encountered the power issue Murco listed above. I have a 1993 model. I have been able to use the Homelink with my headlights on and I leave the stalk in automatic on/off mode.

Thread
Thread Starter
Forum
Replies
Last Post
luca
LS - 3rd Gen (2001-2006)
7
08-19-08 03:41 PM