FYI, There Is A Polyurethane AC/Shine Bumper Now.
 05-05-16, 05:05 AM
#301

sell that 97 stuff buddy  .
.
The AC kit is for me a nice subtle improvement in the looks department of the SC . It still looks like the classic 97 SC .. not too aggresive but more modern. You don't have to worry much about a fiberglass breaking now
. The AC kit is for me a nice subtle improvement in the looks department of the SC . It still looks like the classic 97 SC .. not too aggresive but more modern. You don't have to worry much about a fiberglass breaking now
 05-06-16, 03:06 PM
#302
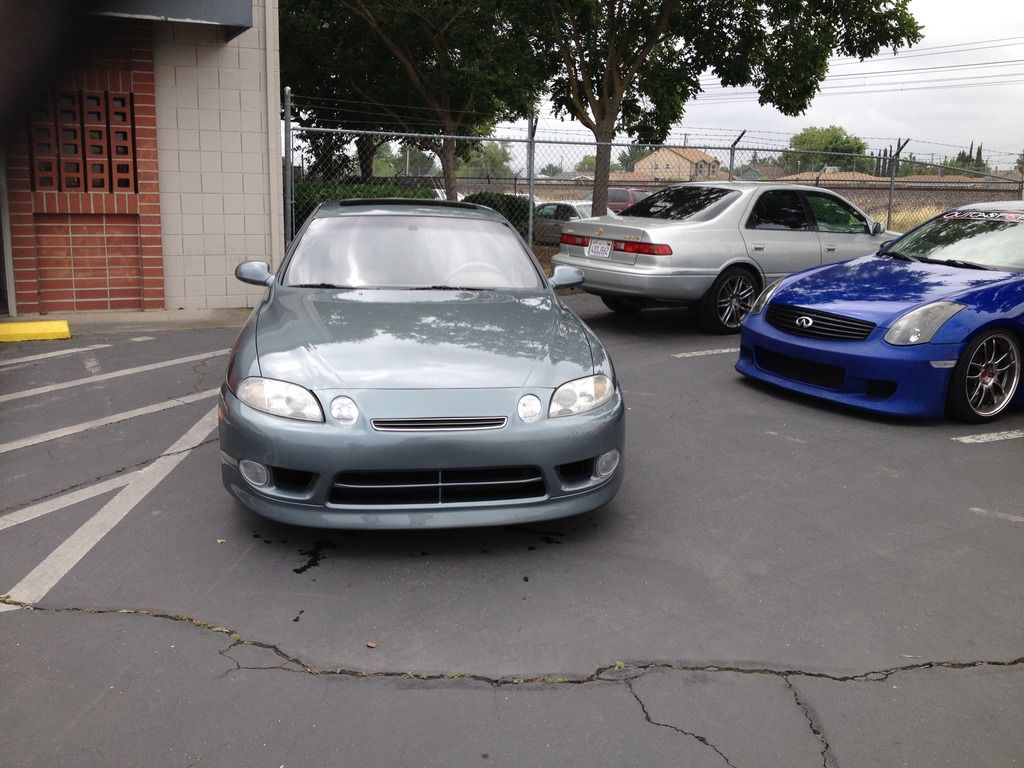
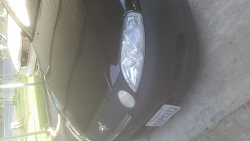
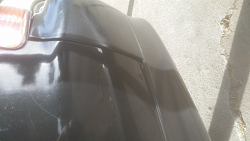
Yea!!!!!!! Picked up the car with the new bumper fitted, painted, and mounted. Could not be happier with the outcome.
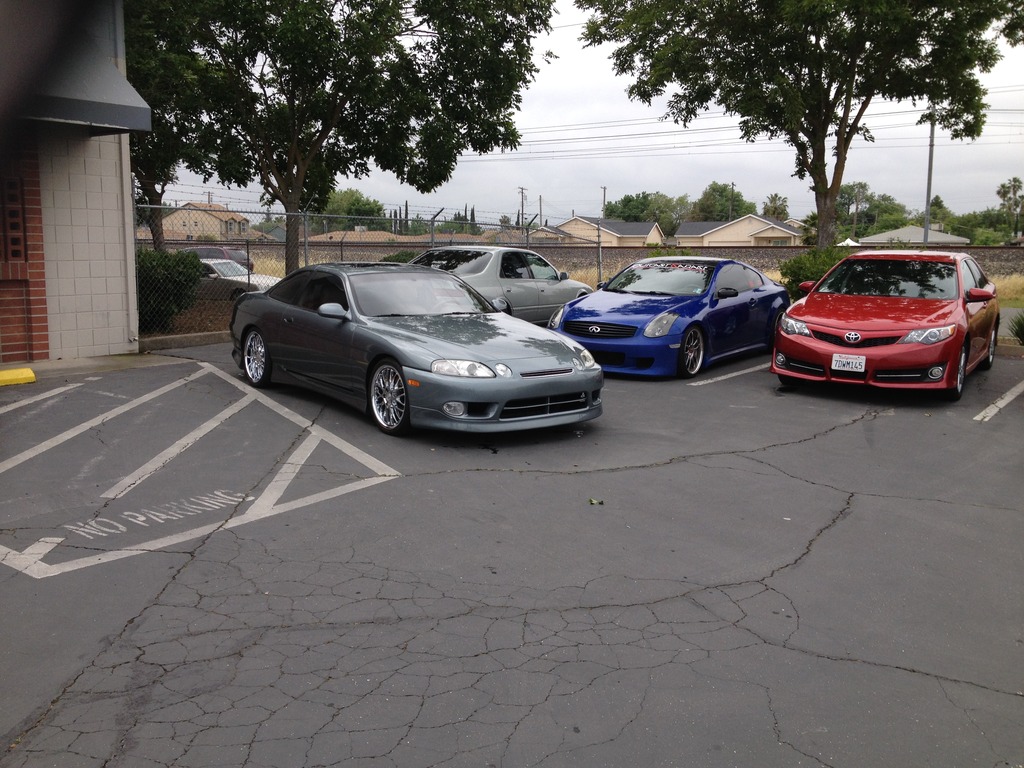


The body shop owner said it was one of the thicker, heavier bumpers he has seen.....They took extra care to adjust and fit it to get this look. All the lights, blinkers, and grill fit well, too.
Thanks again, Irving and the team at APTech


The body shop owner said it was one of the thicker, heavier bumpers he has seen.....They took extra care to adjust and fit it to get this look. All the lights, blinkers, and grill fit well, too.
Thanks again, Irving and the team at APTech
Last edited by Duck05; 05-06-16 at 03:52 PM.
05-06-16, 03:24 PM
#303

Yea!!!!!!! Picked up the car with the new bumper fitted, painted, and mounted. Could not be happier with the outcome.

The owner said it was one of the thicker, heavier bumpers he has seen.....They took extra care to adjust and fit it to get this look. All the lights, blinkers, and grill fit well, too.
Thanks again, Irving and the team at APTech
The owner said it was one of the thicker, heavier bumpers he has seen.....They took extra care to adjust and fit it to get this look. All the lights, blinkers, and grill fit well, too.
Thanks again, Irving and the team at APTech
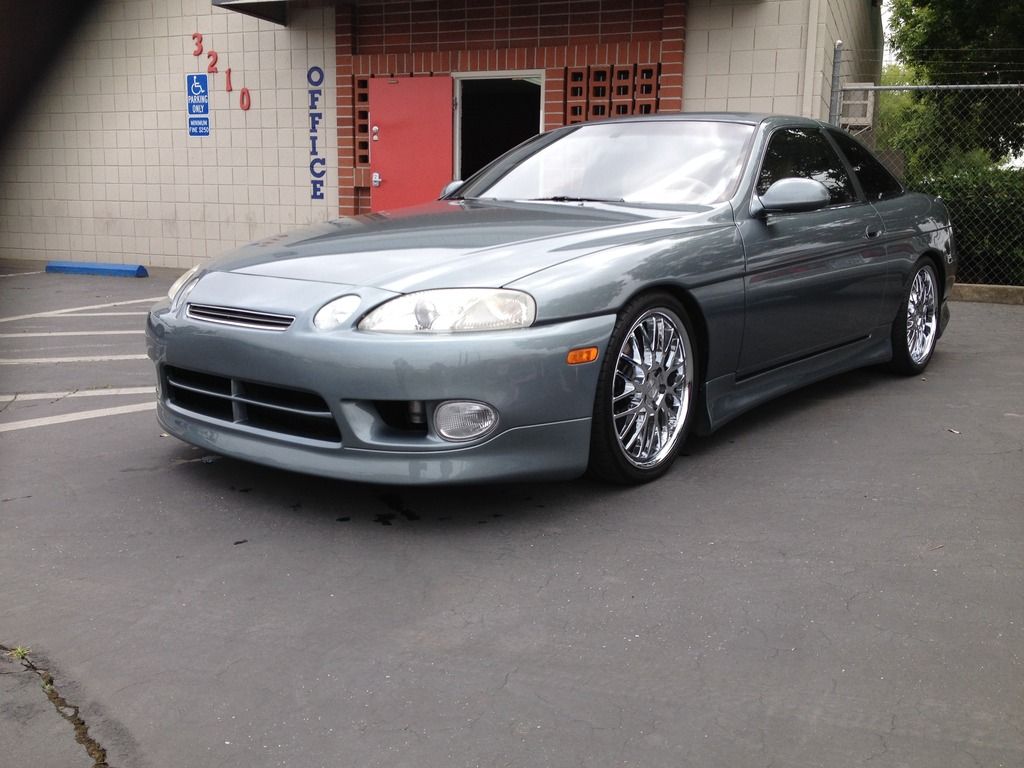
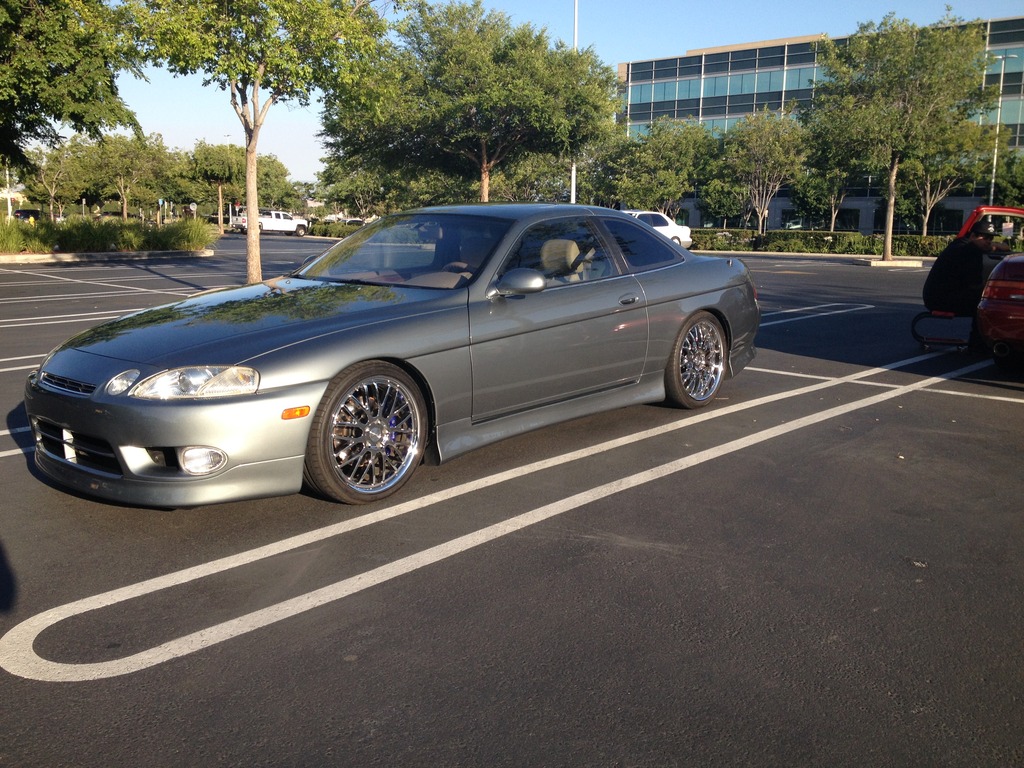
Installed the rest of the kit on my car today:


Hoping to see a few of you at toyotafest tomorrow!
05-08-16, 08:31 AM
#305
(I apologize for nerding out on everyone)


 05-09-16, 08:56 AM
#307

Yea!!!!!!! Picked up the car with the new bumper fitted, painted, and mounted. Could not be happier with the outcome.
The body shop owner said it was one of the thicker, heavier bumpers he has seen.....They took extra care to adjust and fit it to get this look. All the lights, blinkers, and grill fit well, too.
Thanks again, Irving and the team at APTech
The body shop owner said it was one of the thicker, heavier bumpers he has seen.....They took extra care to adjust and fit it to get this look. All the lights, blinkers, and grill fit well, too.
Thanks again, Irving and the team at APTech
 06-05-16, 01:08 PM
#308
Need to get updates from all you group buyers and post finished results......
We had 28 buyers and besides gerrb (that "over achiever") only a handful of us have posted their installs....
The pictures may help to entice more folks, get some momentum for the other front ends being considered, and convince APT/KBD to develop more products. Irving is working on the Vertex model, rear spoilers, and keeps getting hounded for a diffuser.... Actions will help drive these requests....
Share your pictures.....


 06-08-16, 07:47 AM
#310
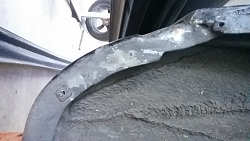
Well front bumper fits good and look way better after I score the plastic thing that blocks water in between the hood and bumper. My rear took forever. I finally gave up and just left it the way it is. Everything is perfect except getting the oem clips in. It just won't stay perfect so I just forced it in the hole and screwd it after almost two hours of trying. Down side is the rear is is slightly off on the bottom by the tires. Now sides is just killing me would love some more advice. A video or diy with pics would be awesome. If someone have free time to do this it would mean the world Cuz I hate driving around the way it is. If you look at the pics it shows the driver side. In the second picture is me putting the side to where it would sit flush. But there are no holes. I'm guessing I have to drill a hole. And where do I buy those screw in thing for the empty holes. Back of the skirt for it to be flush I would I have to drill by the silver part below the first hole and a little up on the second. I am stumped. Would like your ideas and like before if any one have the time a diy or video you'll be the real mvp. I'm no mechanic or auto body specialist just a guy who likes working on my my car.
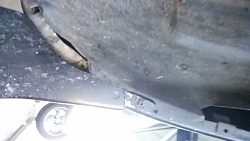
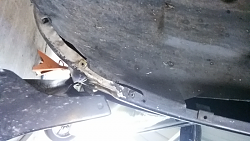
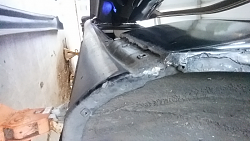
Sorry don't know why the pics flipped


Sorry don't know why the pics flipped

 06-08-16, 09:52 AM
#312
What I personally did was I used self tapping screws on the inner fender well area to hold the edges in place (i hit the skirts on the driveway into our lot, so i need to use more than just tape to hold it in place).
In the areas that go into the door jamb there are indentations that line up with your factory holes. Again here i used small self tapping screws to ensure they would hold the skirt in place.
Since my skirts are already installed this is the best i could do:
 06-08-16, 01:17 PM
#313
Many thanks. Pics helps a lot. Will need to buy some self tapping screw and get started. Since I had no holes that matched it threw me off. I just thought all of you guys had it simple with the correct holes aligned. Will update once I get the screws.
06-08-16, 01:32 PM
#315
Yea if you look at the pics I posted. One is where the skirt would sit flush and one showing the holes. None of them match thats why i didnt know if i needed to drill a new hole. The upper hole is above the oem piece trim and the bottom one way too low.